
The Extra Mile
The proven step-by-step system to turn your ZBrush sculpture into a polished illustration for concept and character artists.
Take your design skills to the next level – improve your sculpting approach, advanced your texturing workflows, refine your lighting and rendering processes, and master compositing to create artwork you want to create.
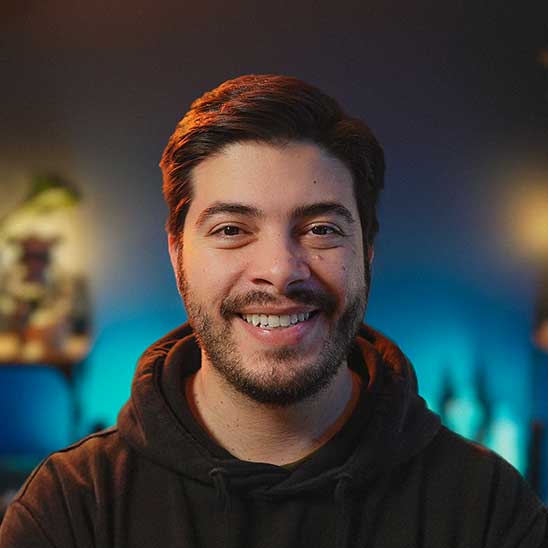

Hello, I'm Pablo Muñoz Gómez
The purpose of the course is simple:
To help you go the extra mile with your work.
By the end of the program you'll have a polished composition of your own design, a clear understanding of the tools, and the skills to make many more portfolio pieces.
Every module was built to simplify the workflows and get you to results you're proud of while your skills develop underneath.
I'm going to be your instructor in The Extra Mile course. I've been working and teaching within the realm of 3D graphics for a long time, I'm a Maxon ZBrush Master Trainer, and in the process I have developed and refined a series of workflows that, consistently, give me great results.
I’ve created The Extra Mile course to share with you everything I know about character design, concept, sculpting, texturing, lighting, rendering and compositing.
Here are some of the places my work and training resources have appeared:























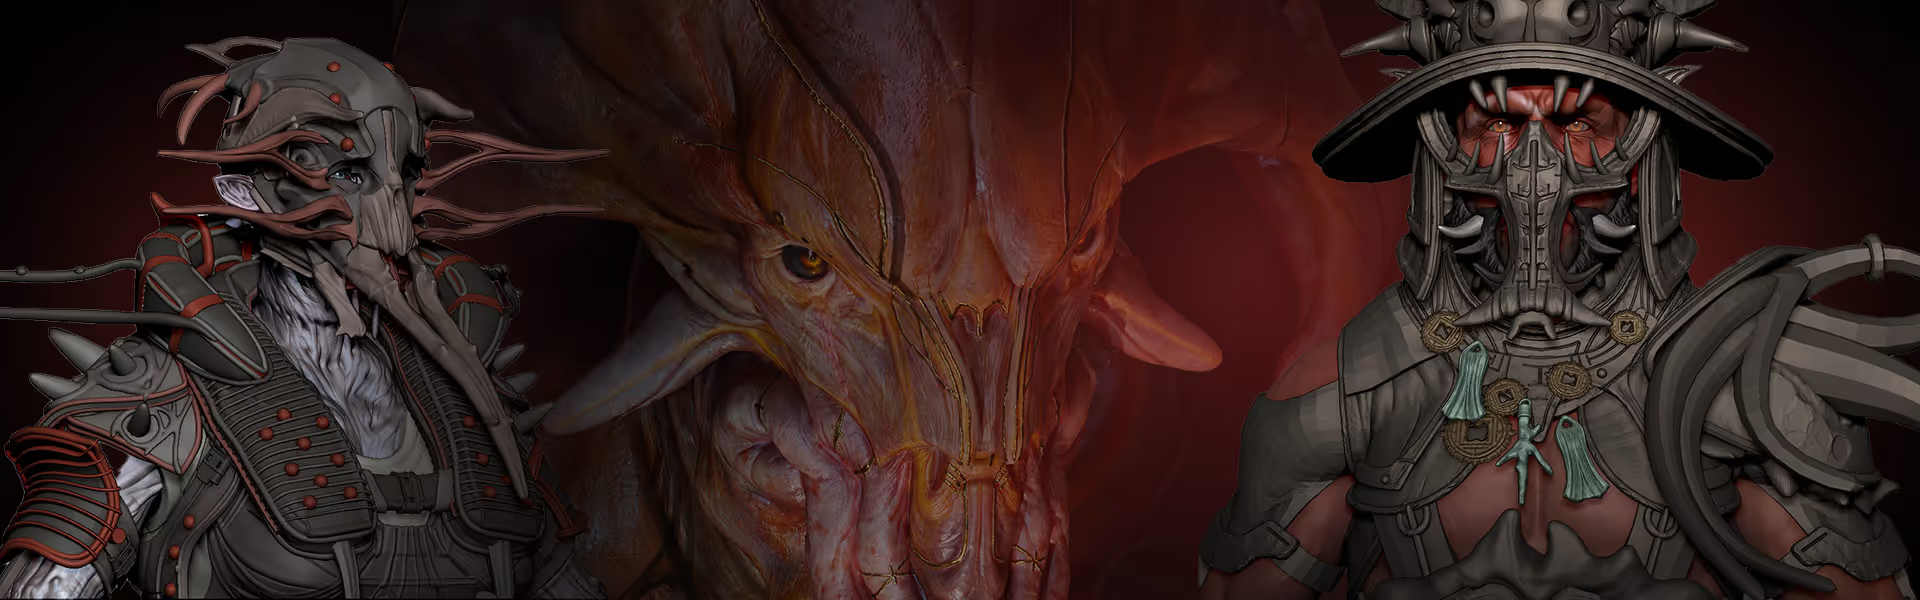
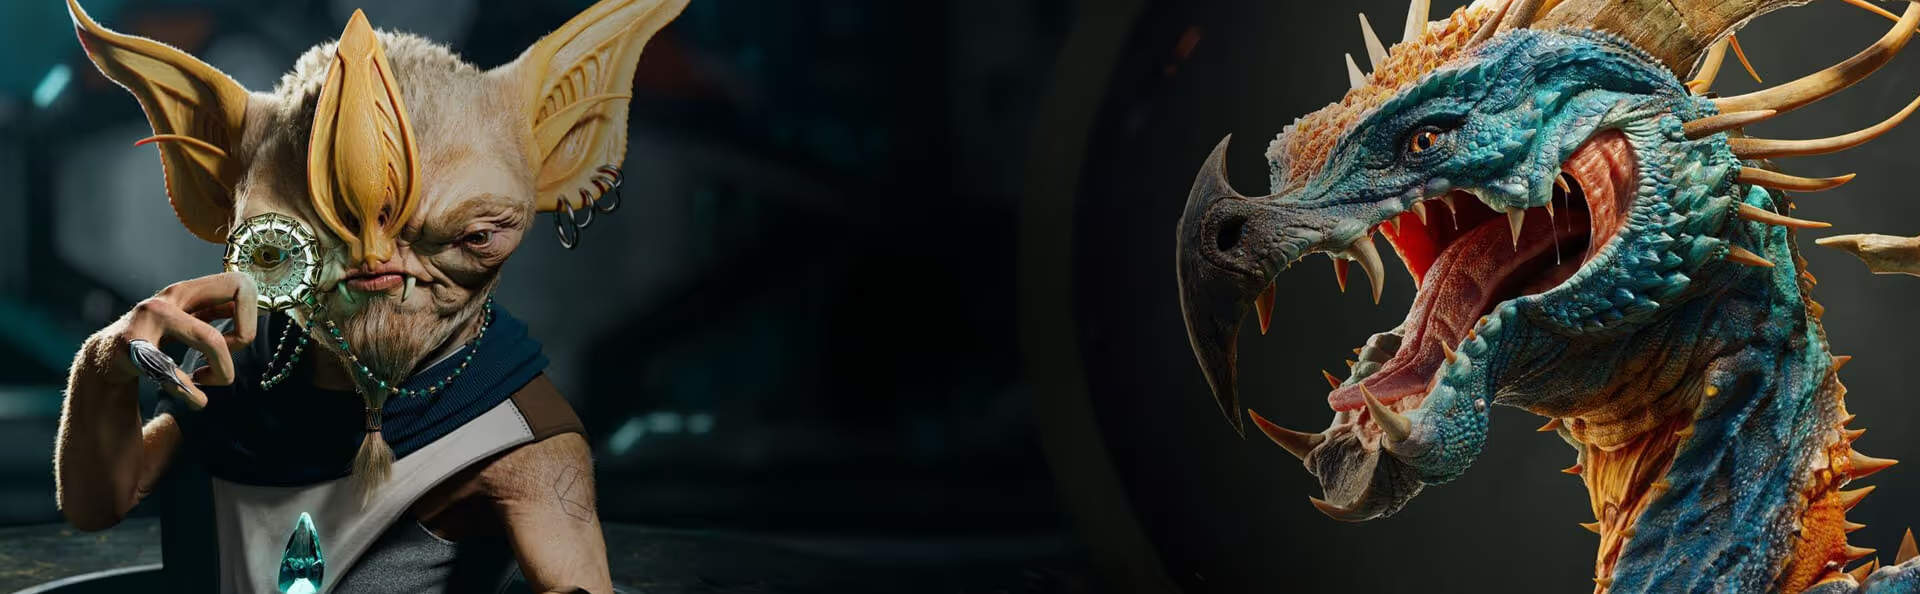
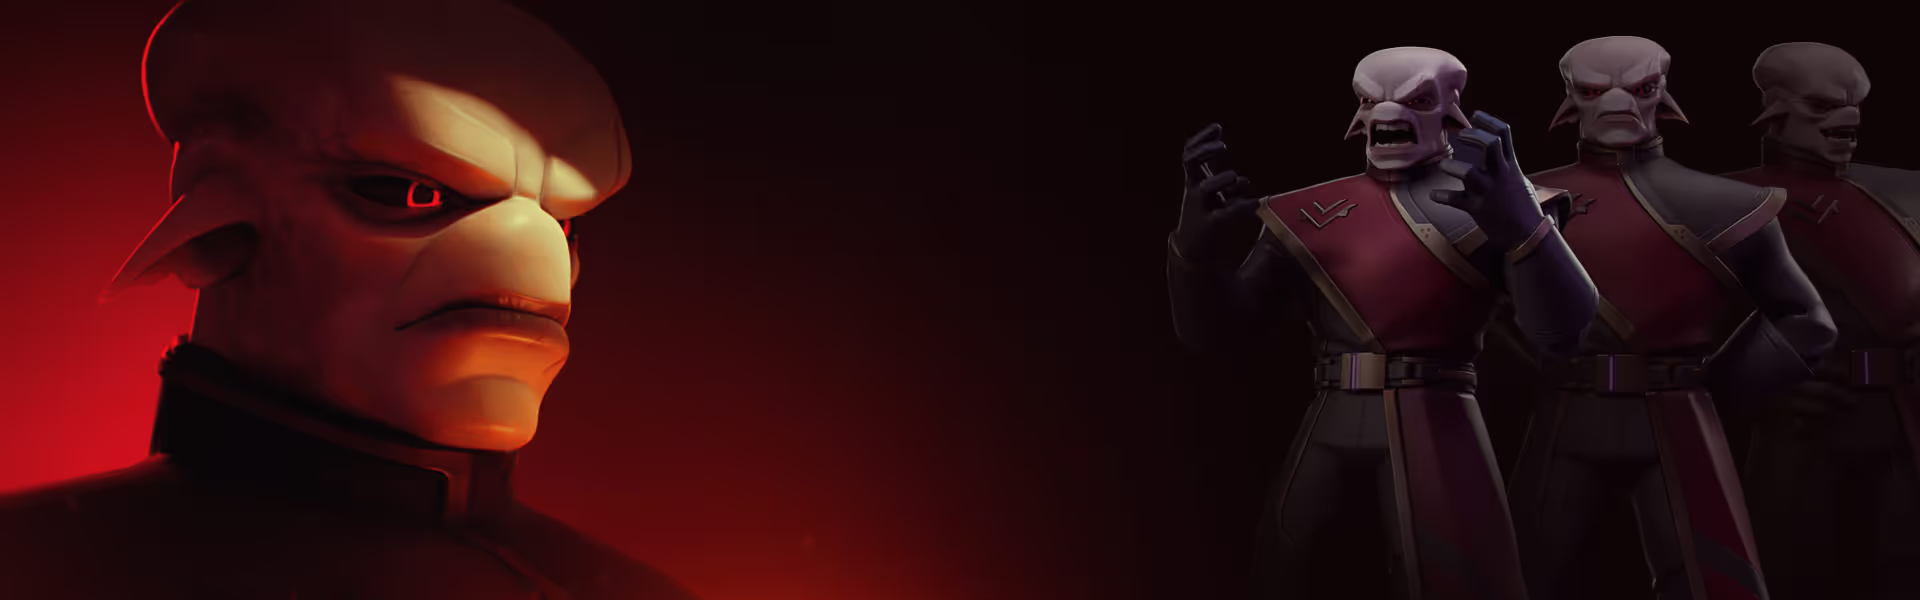


So what does going ‘The Extra Mile’ mean?
Well, going the extra mile is relative, but it could be about that little extra step you were missing, or the bit of work you didn't even know your piece needed to feel finished. For instance...
- You've got a crystal-clear vision for your creation, but at a certain point in the process things start to get hazy... what's the actual next step after sculpting in a T-pose?
- You're a confident ZBrush sculptor and you want to move into Substance 3D Painter for texturing. How do you even begin with a whole new workflow?
- You know that presenting your work shouldn't take hours, but you're not sure how to keep the process simple and still end up with something that looks good.
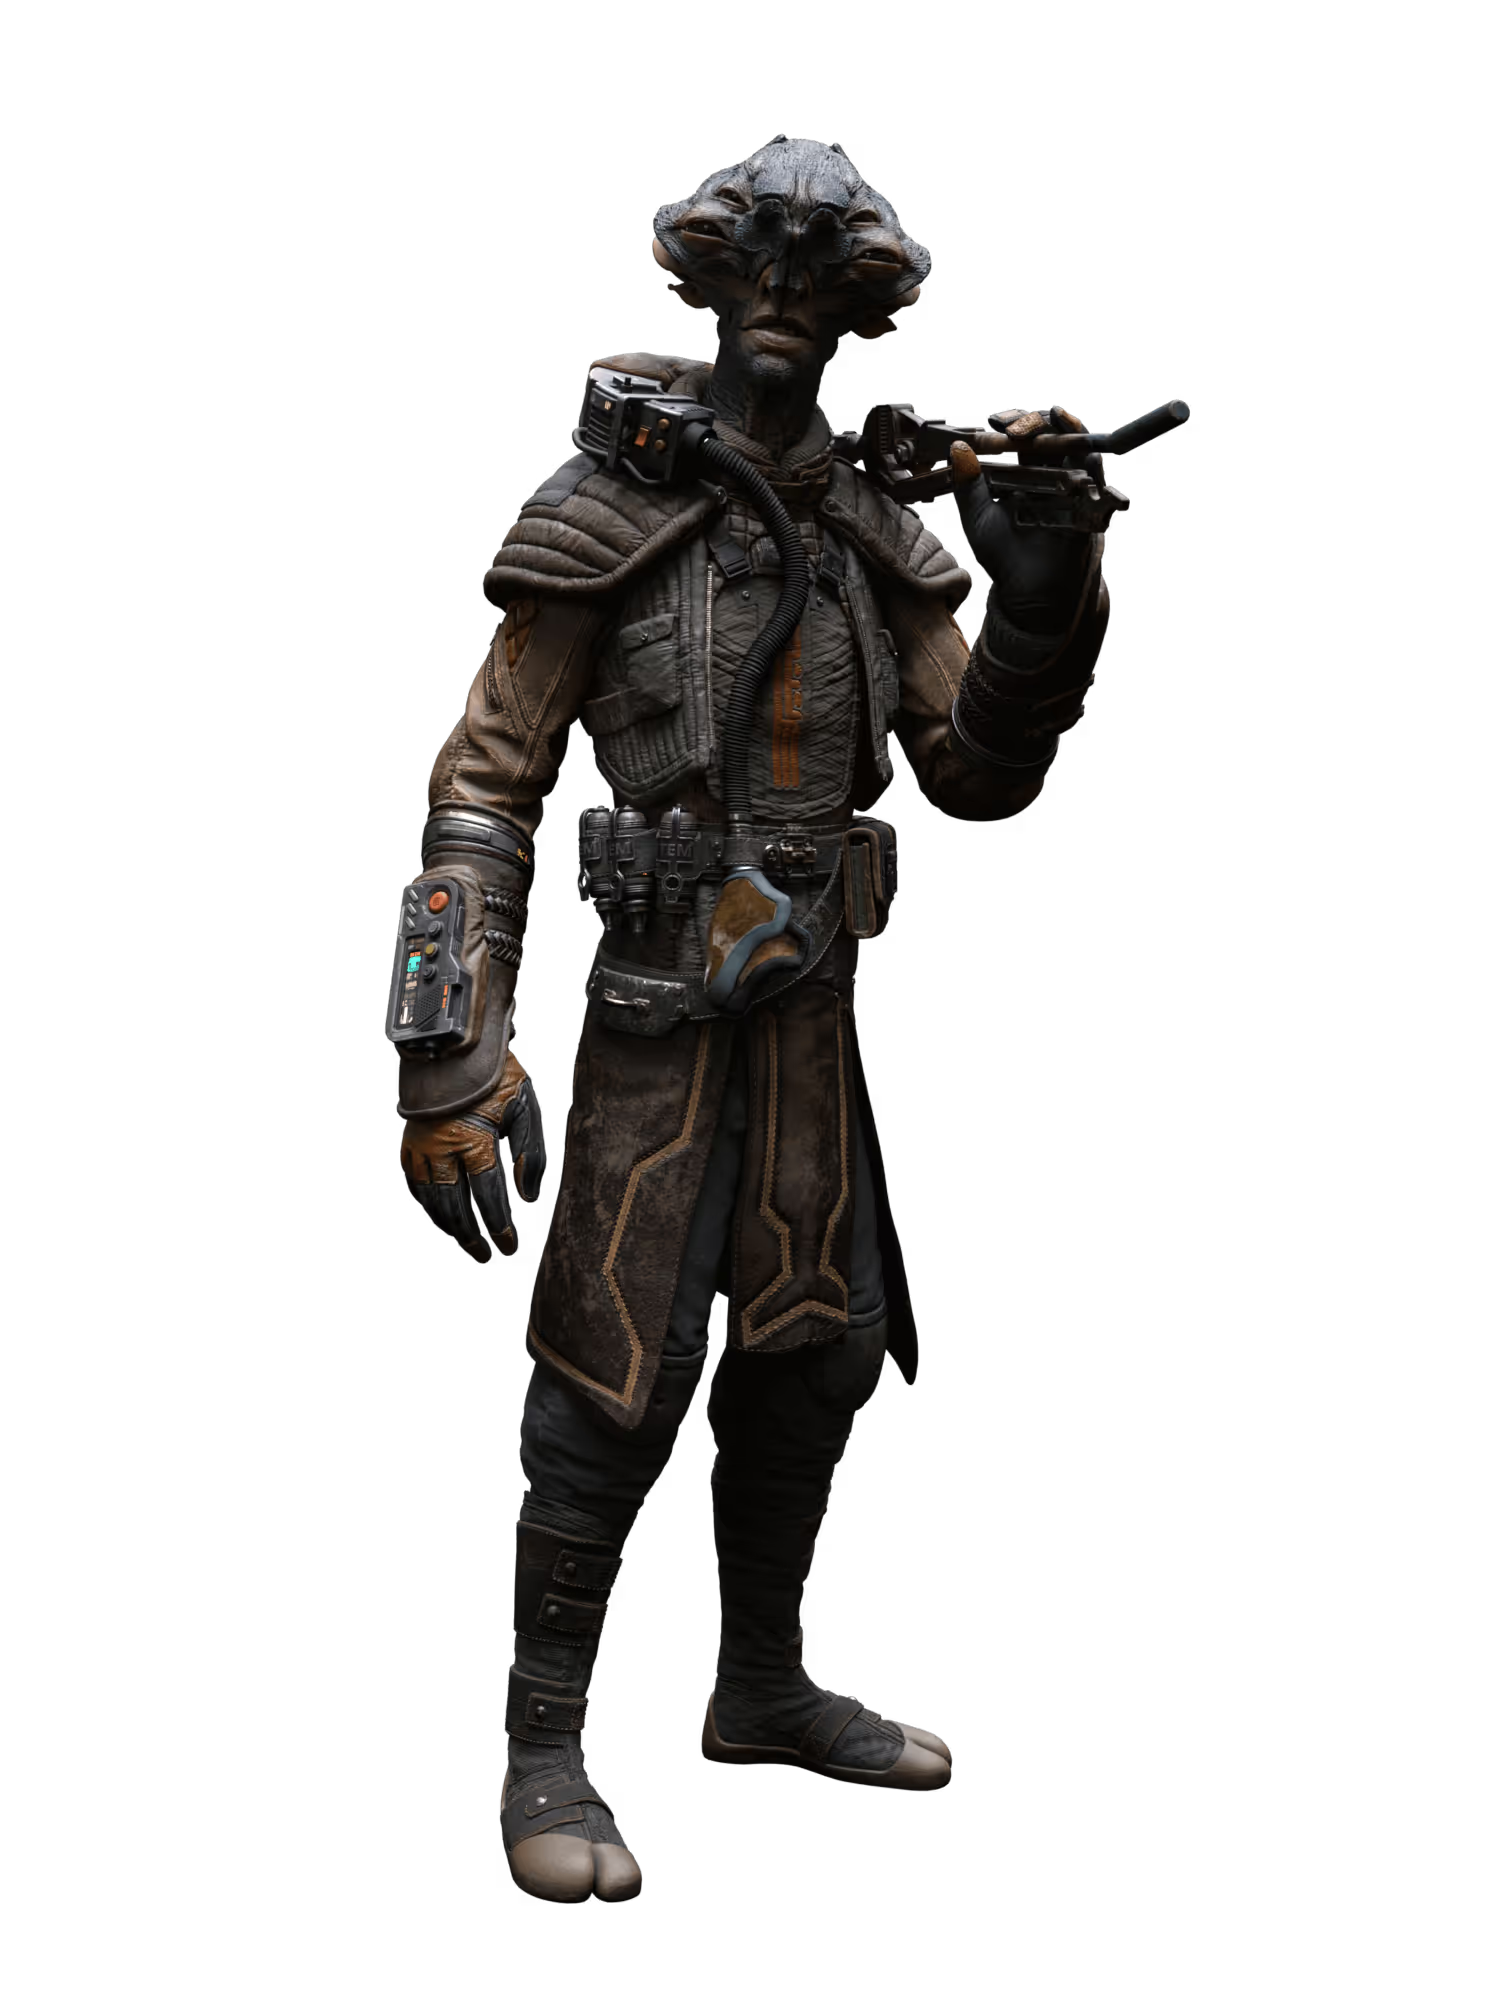
- You're comfortable with the texturing workflow, but rendering, lighting and the compositing side of a new piece are where you always seem to hit a stumbling block.
- You know your way around most of the workflows, and yet the final result never quite has the impact you were aiming for when you started.
- Sculpting, texturing and rendering the individual passes is fine, but assembling all of them into one strong composition is where things really start to get overwhelming.

The TEM Program in a nutshell
The Extra Mile course embodies years of refining a systematic approach to learning that has helped hundreds of students achieve incredible results while mastering a variety of tools and workflows. I'll guide you through a series of straightforward steps, leading you from a thumbnail sketch through a ZBrush sculpture to a stunning final render or illustration.
Here's what's inside The Extra Mile:
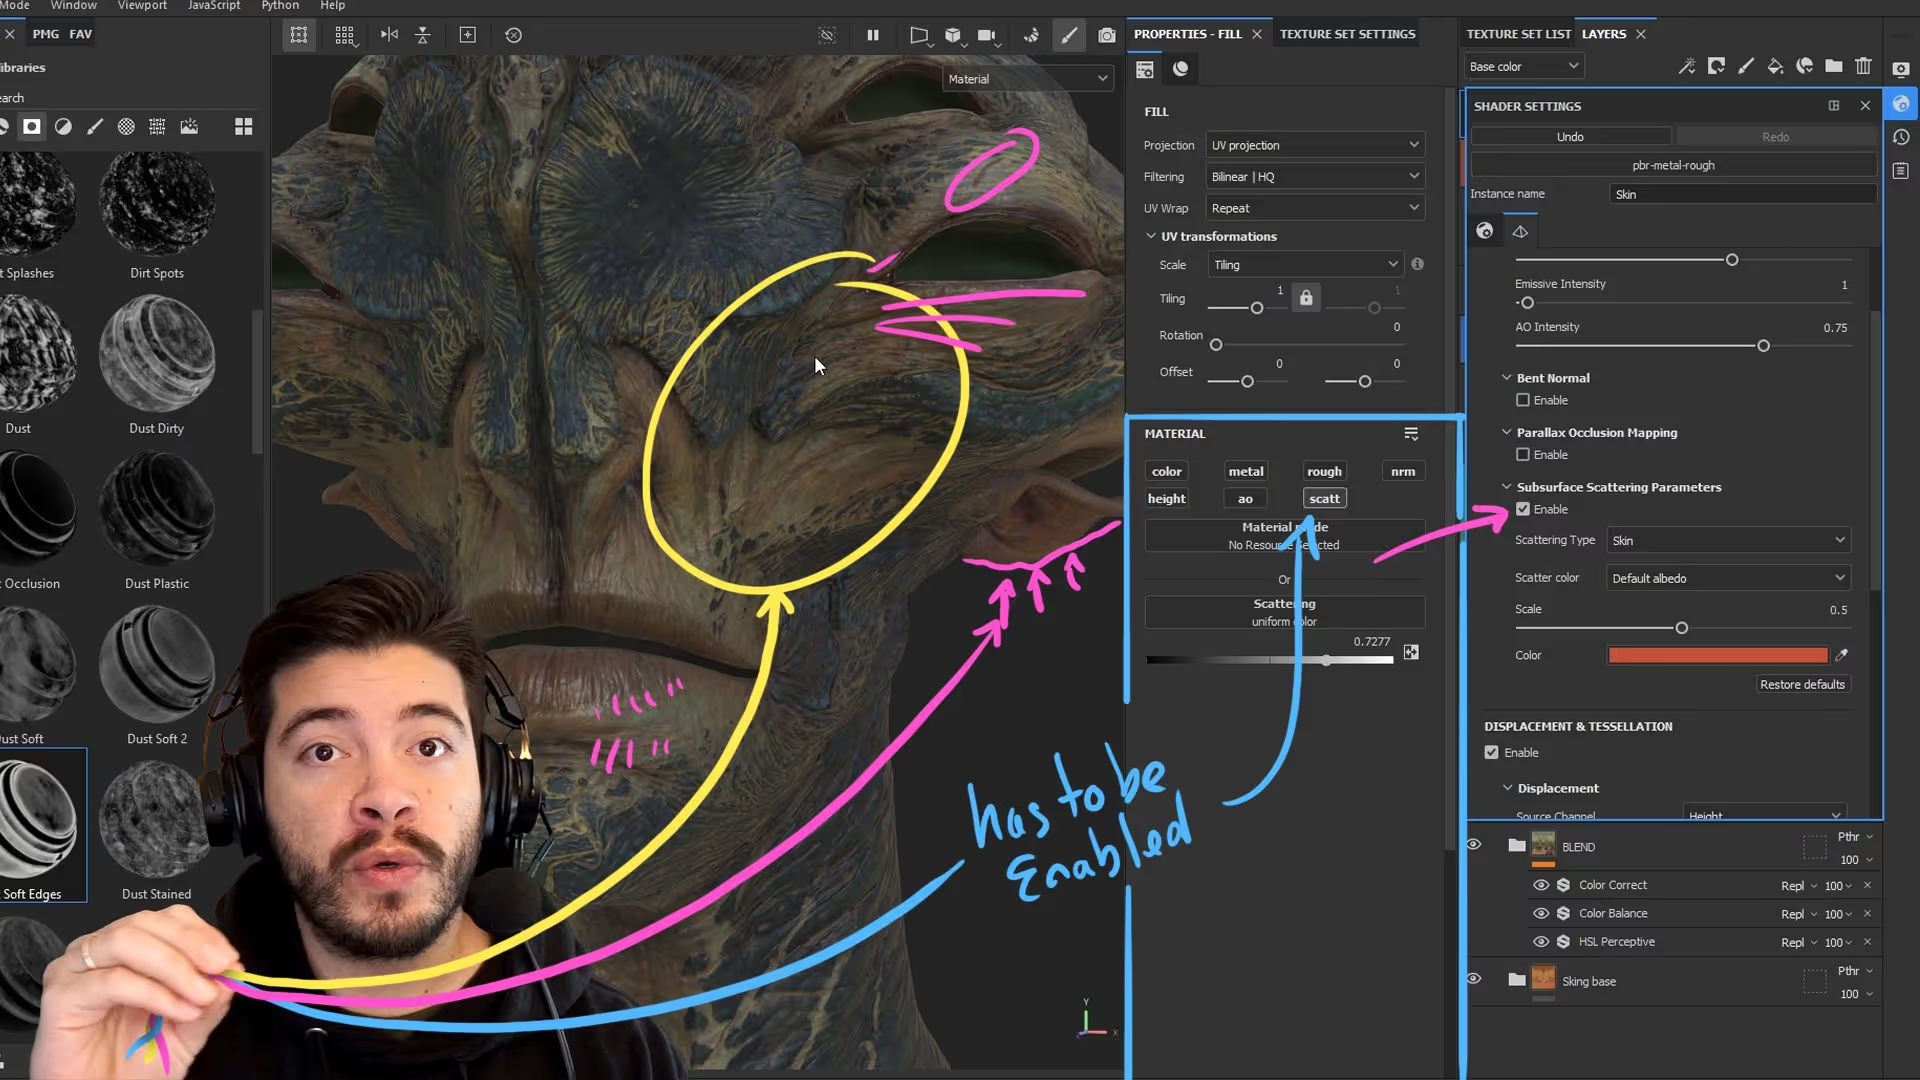
Core Lessons
The backbone of the course. Nine modules taking you from exploration and design through sculpting, texturing, posing, lighting and rendering, each one building on the last.
You go at whatever pace fits your week, and lifetime access means the course still works as a reference long after you've finished your first project. Come back to any lesson, any time ;)
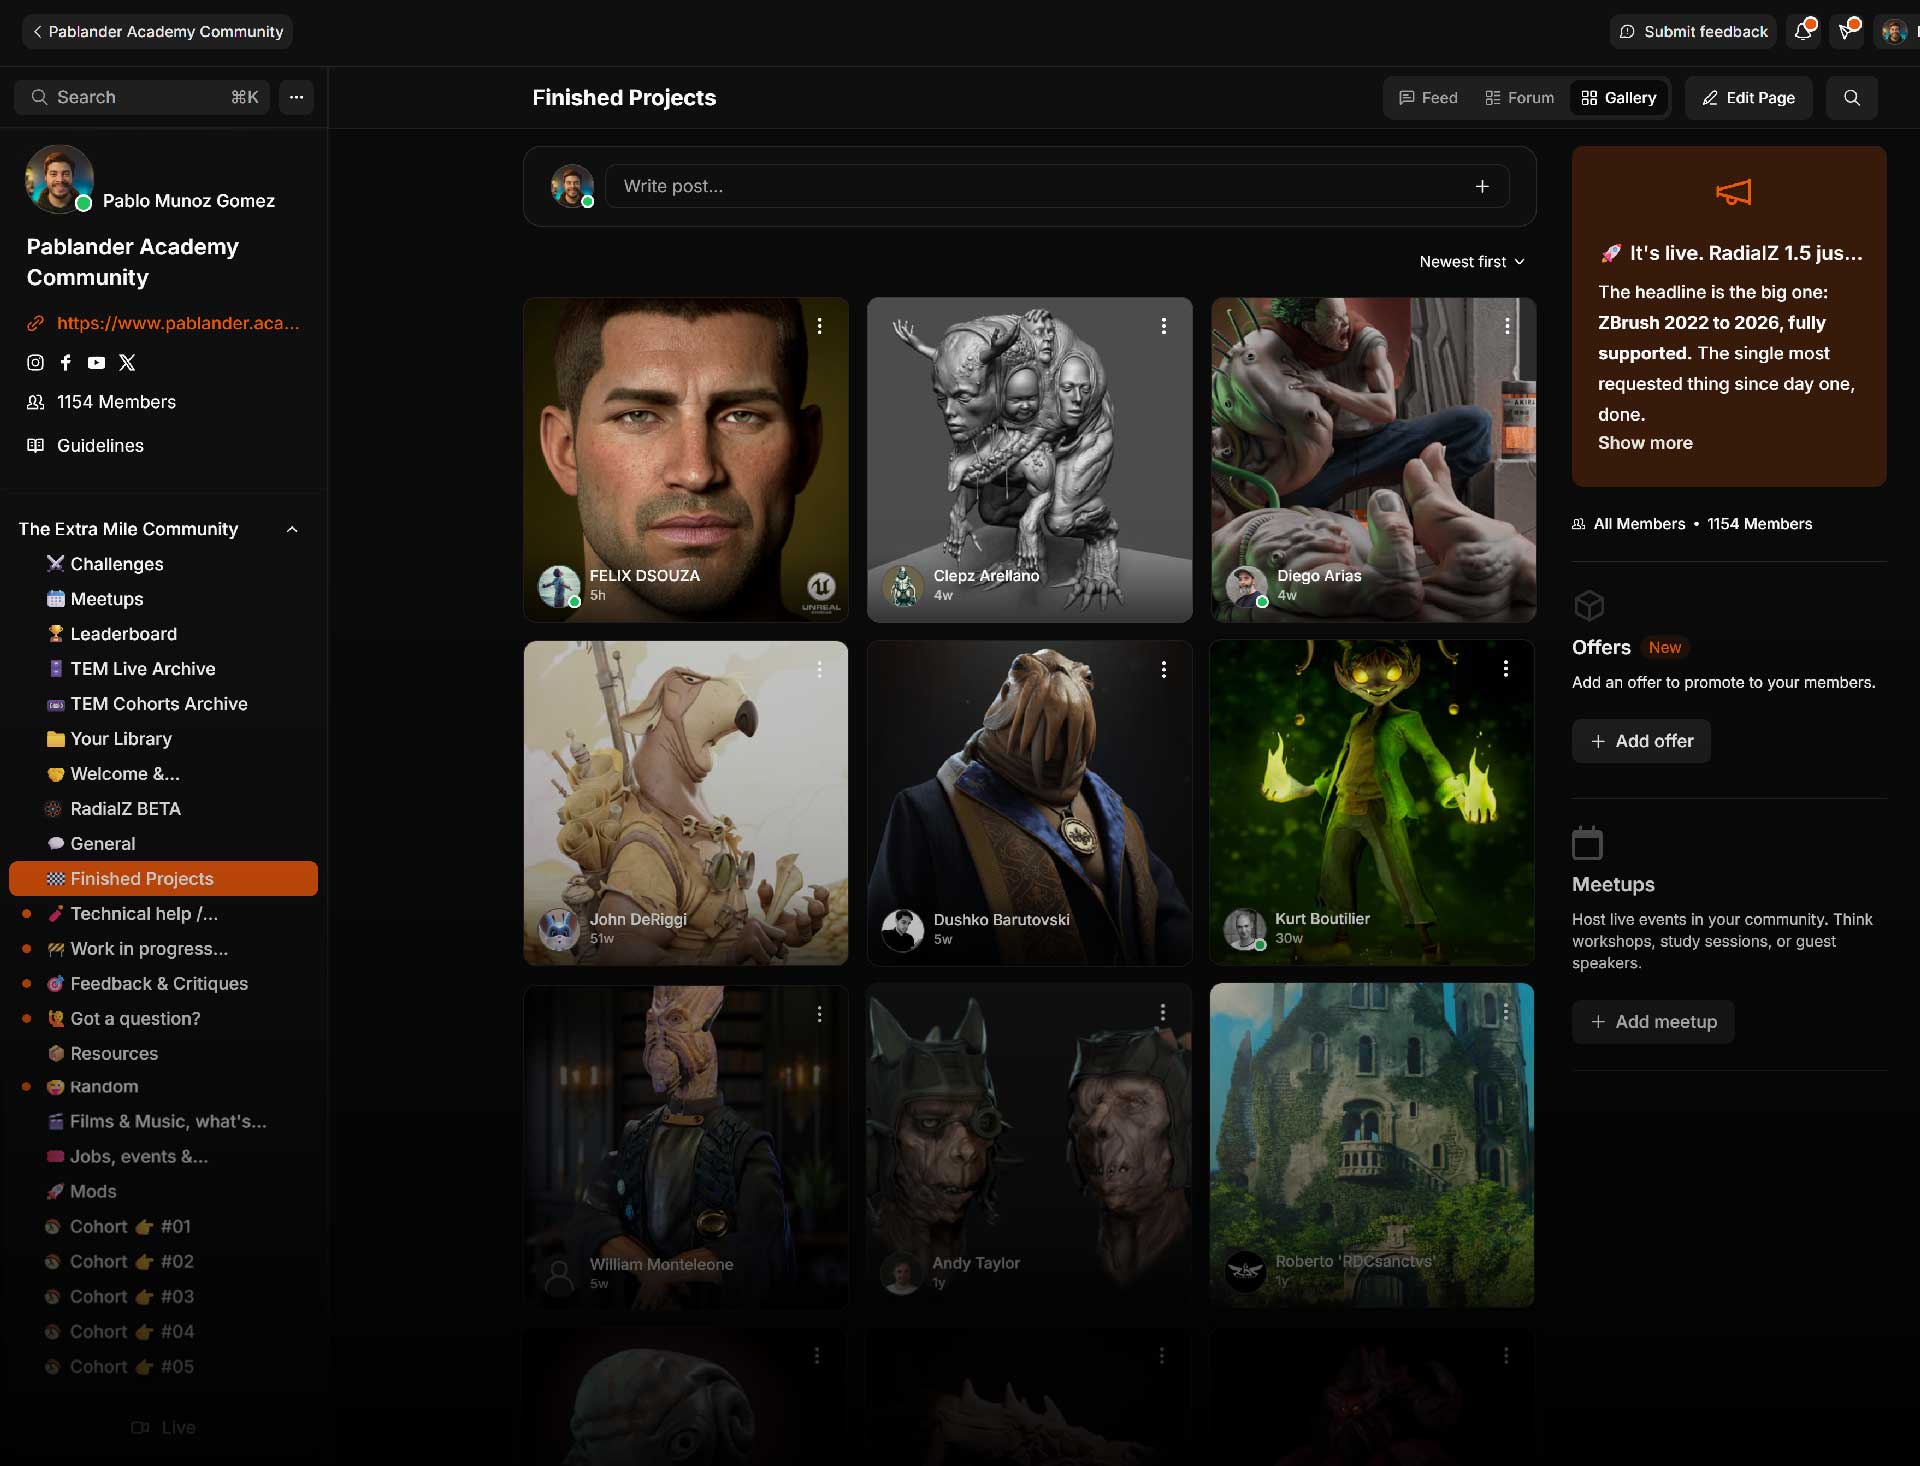
TEM Community!
Learning isn't a solitary thing. The community is where you post work in progress and get feedback... sometimes a reply, sometimes a paint-over or a sketch on top of your concept.
It's honestly my favourite part of the whole thing. New work goes up constantly, and you learn nearly as much watching someone else solve a problem as solving your own.
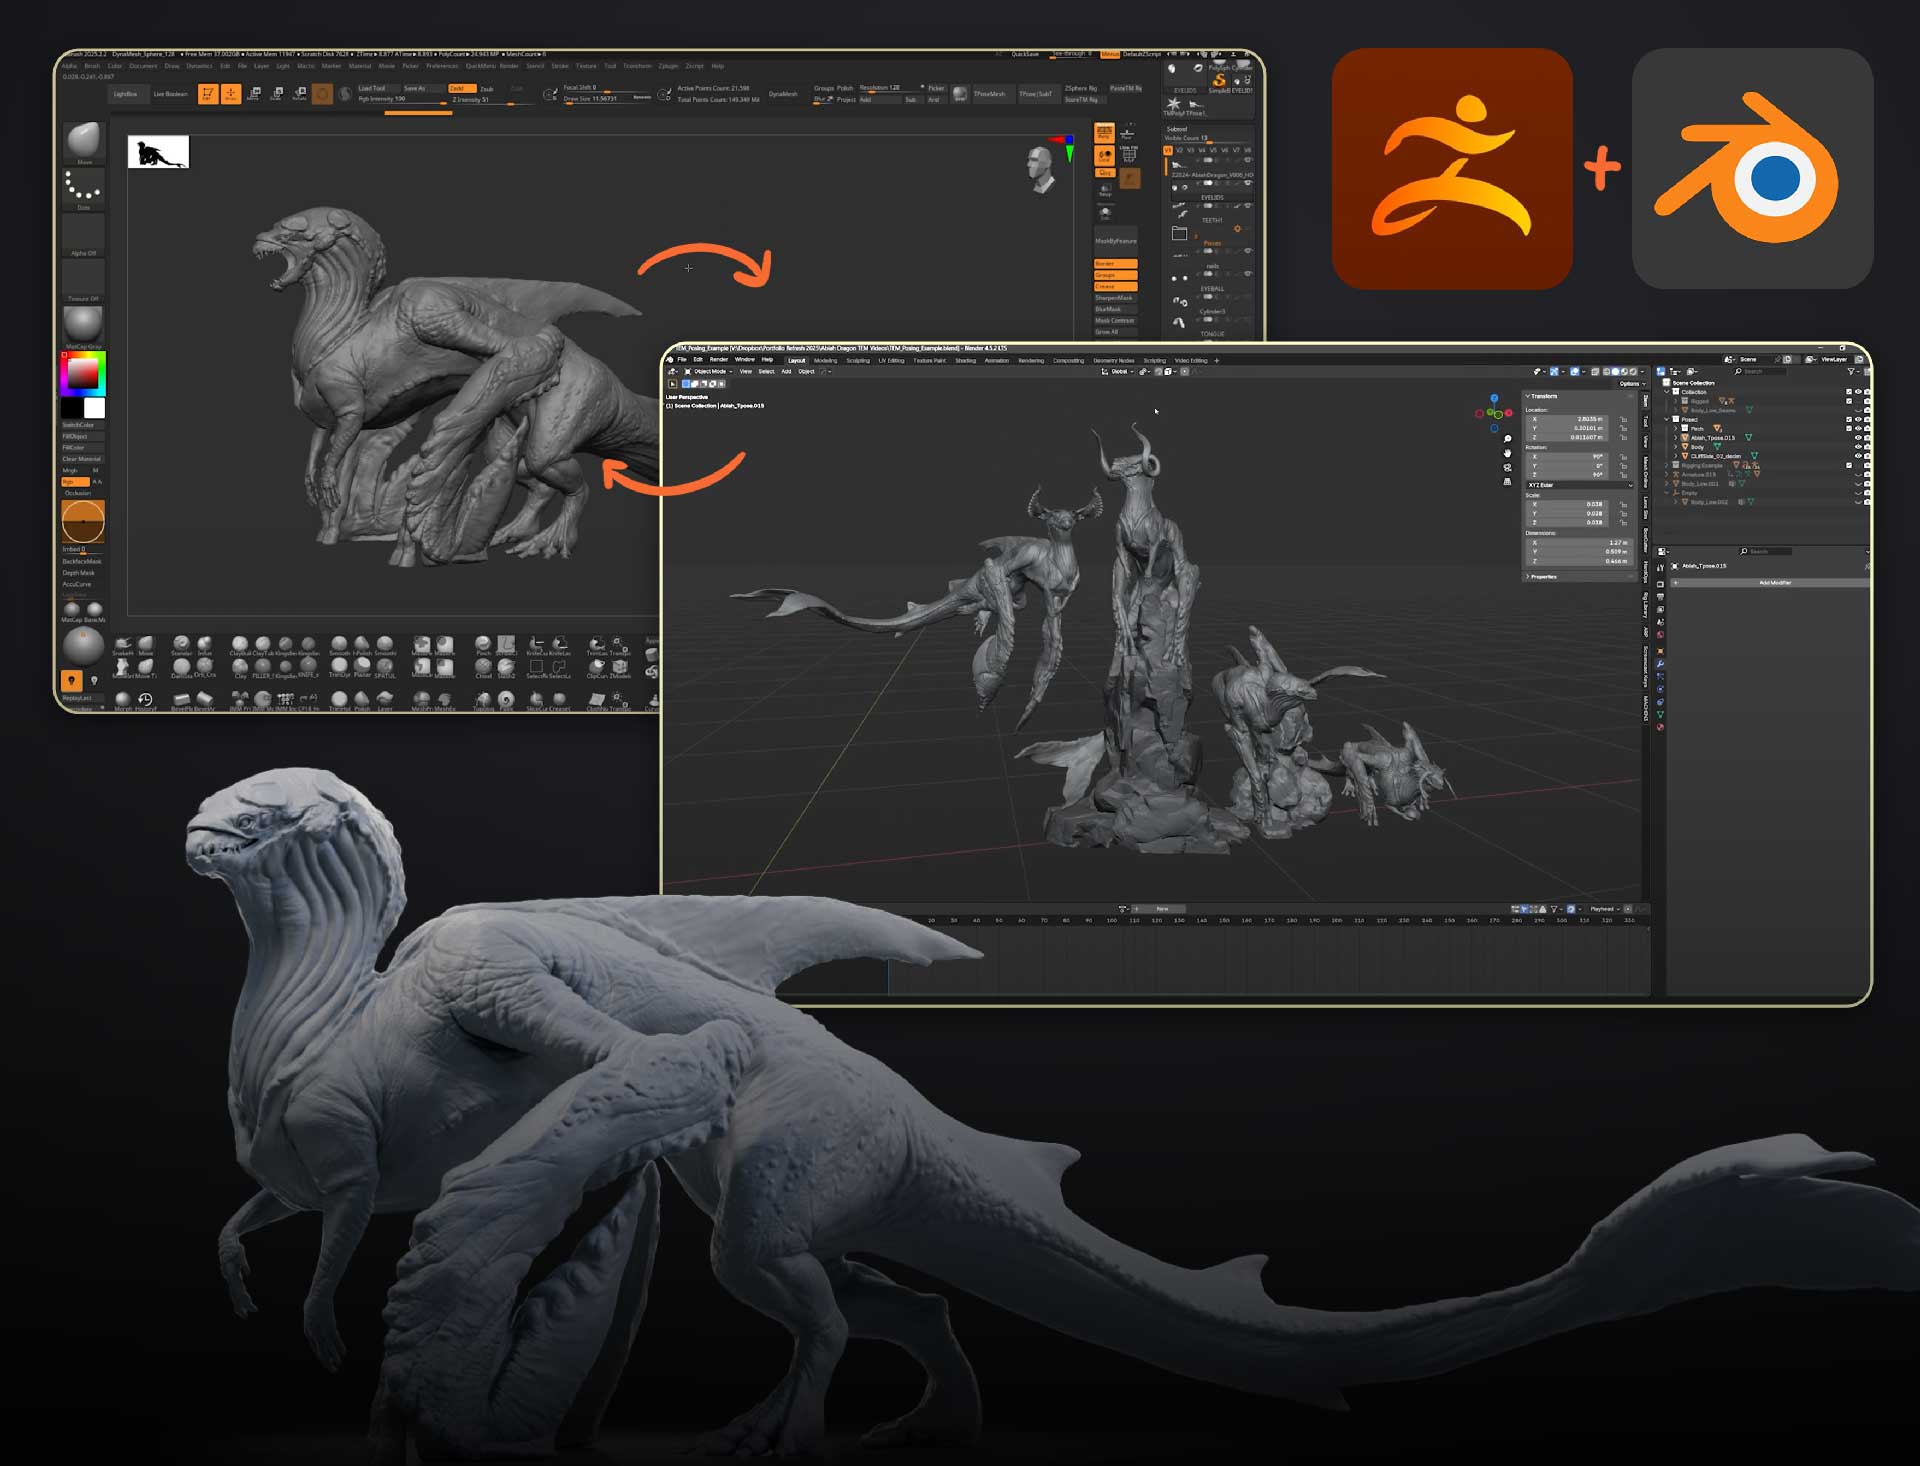
Always Growing!
The course doesn't stop at the lessons. Bonus modules get added over time, like Gareth's rigging and posing workflow, plus brush and resource packs to use on your own projects.
You'll also get whatever software deals and extended trials I manage to line up, and early access to the tools I'm building, like RadialZ. Anything new that gets added, you get.

TEM Live Workshop!
The course lessons are the detailed version: every step, in order, as many times as you need. There's a lot in there, and that's the point, but it can look like a mountain from the outside.
The Workshop isn't more content piled on top. A few times a year I run The Extra Mile as a live cohort, and across eight weekly sessions we develop a complete new concept together from scratch, using the same system from the course. The useful part is seeing how quickly the work moves once the steps make sense, and what the whole thing looks like applied to a real project rather than taught one lesson at a time.
The sessions are fluid rather than scripted. We follow the questions that come up, yours and everyone else's, and branch into whatever's worth covering that week... a tool that just landed, a technique someone's wrestling with, wherever the group's interest goes. No two cohorts end up the same.
The Workshop is part of Core + Live option only. It is not included with Core, and it runs when the next cohort opens.
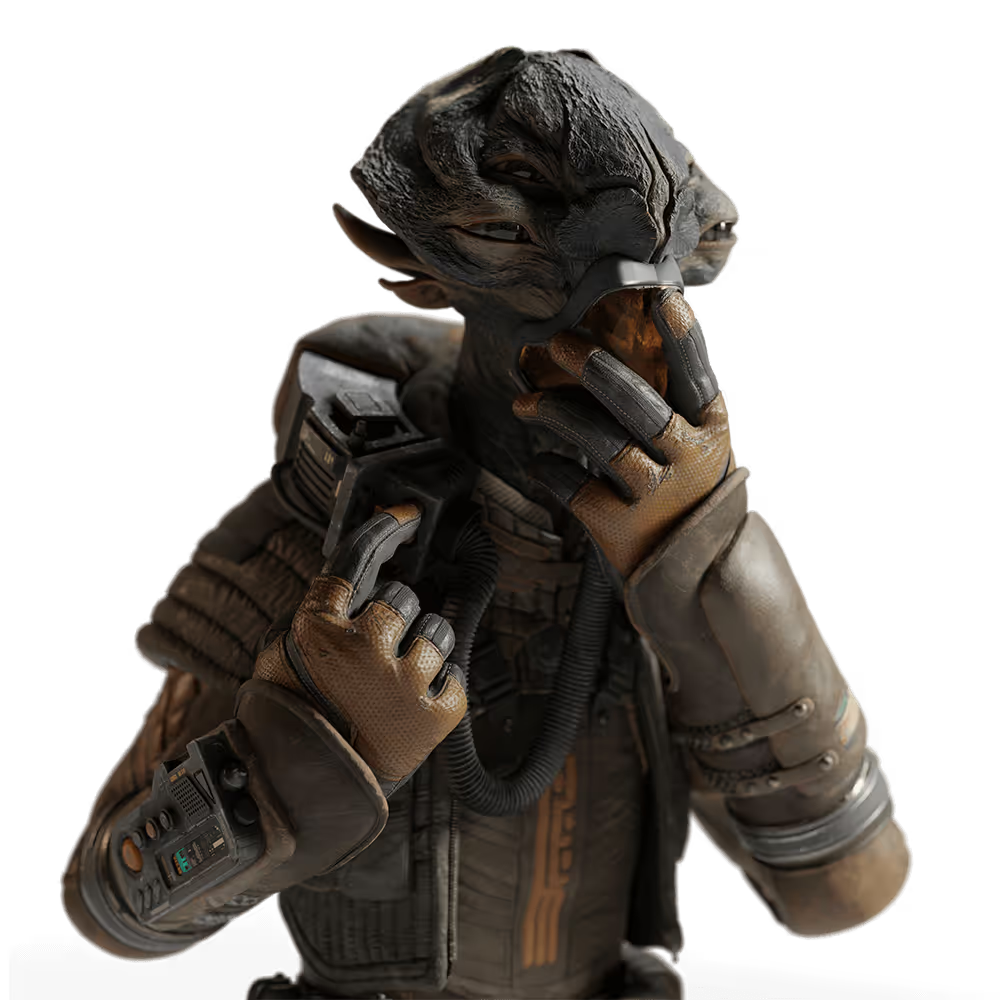
Click here to check out the final renders from the concept we created with the previous cohort of students.
Who is this course for?
The Extra Mile is for 3D artists who want to push their character and concept work further but keep getting stuck somewhere in the process. If you've spent time in ZBrush, started plenty of projects and finished fewer of them, or you just want a structured way to get your ideas out properly, this is for you. Self-taught, hobbyist or already working in the industry, The Extra Mile gives you a clear framework to build better projects with more purpose, and have fun doing it.
Check out these Extramiler profiles:
Lead Sculptor & Art Director at SIDESHOW COLLECTIBLES
The Extra Mile Course offers an immersive, hands-on experience to learn fundamental and advanced techniques. With expert instruction and access to state-of-the-art software tools, it is ideal for digital artists looking to master this art form
Classically trained figurative sculptor
What impressed me about The Extra Mile, and ultimately led me to commit to it over a host of other options, was Pablo's holistic approach to the process of making a piece of art. After attempting to learn Zbrush by wading through an endless slog of tutorials, uncertainty, and trial and error, I was thrilled to find a course that clearly presented the fundamental concepts of creating within the context of digital sculpture.

Freelance 3D Print Artist
The Extra Mile course is great for anyone, beginners and pros alike, who are interested in diving into the world of 3D concept art and illustration using industry-standard programs like ZBrush and Adobe 3D Substance Painter. The program was a great help in raising my work to a higher standard of quality and polish

3D Artist, Master Graduate of the BigRock school
The Extra Mile 2.0 has helped me a lot, being still new in this world, by creating the basis for a creative and structured workflow. It gave me the opportunity to connect with other wonderful artists in the community and to be able to learn the endless and valuable advice Pablo always gives. I could not have chosen better!
3D Hard Surfacing Artist
The Extra Mile 2.0 course blew my expectations from day one. Pablo has shared his valuable insights, tips and tricks on how to create engaging and impactful content which has helped me grow as an artist.
2D Illustrator
The TEM course is awesome for diving into character creation, it covers all details from start to finish. Plus, you get cool extras like access to more stuff, live sessions, and a great community. I always get to find cool new tips to turbocharge my projects. Love it

Graduate from SAE Institute Geneva
The TEM course us very detailed and useful whatever your level is. You will always learn something and what makes it even more interesting is the live workshops and the community. Exchanging with other students and professionals is really encouraging

Hobbyist - 3D Artisan
The EXTRA MILE 2.0 is awesome. The lessons are detailed and explained in a simple and effective way. After the UZG course, it was an obvious choice for me. Pablo is brilliant and the community is full of creative and helpful people
Character Artist and Games Industry Veteran
The Extra Mile is a fantastic resource for anyone looking to speed up their 3D concepting workflow. The modules are clear, concise and full of tips and tricks you'll want to add to your toolbelt :)
Check out what other Extramilers are saying about this course
So what's actually in the course?
The Extra Mile: from a thumbnail sketch to a 3D polished illustration is a program of 94 lessons across 9 modules. They're grouped by workflow rather than by tool, so each stage follows on from the last and the process stays digestible as it builds. Here's what each module covers:
Module 1
Introduction
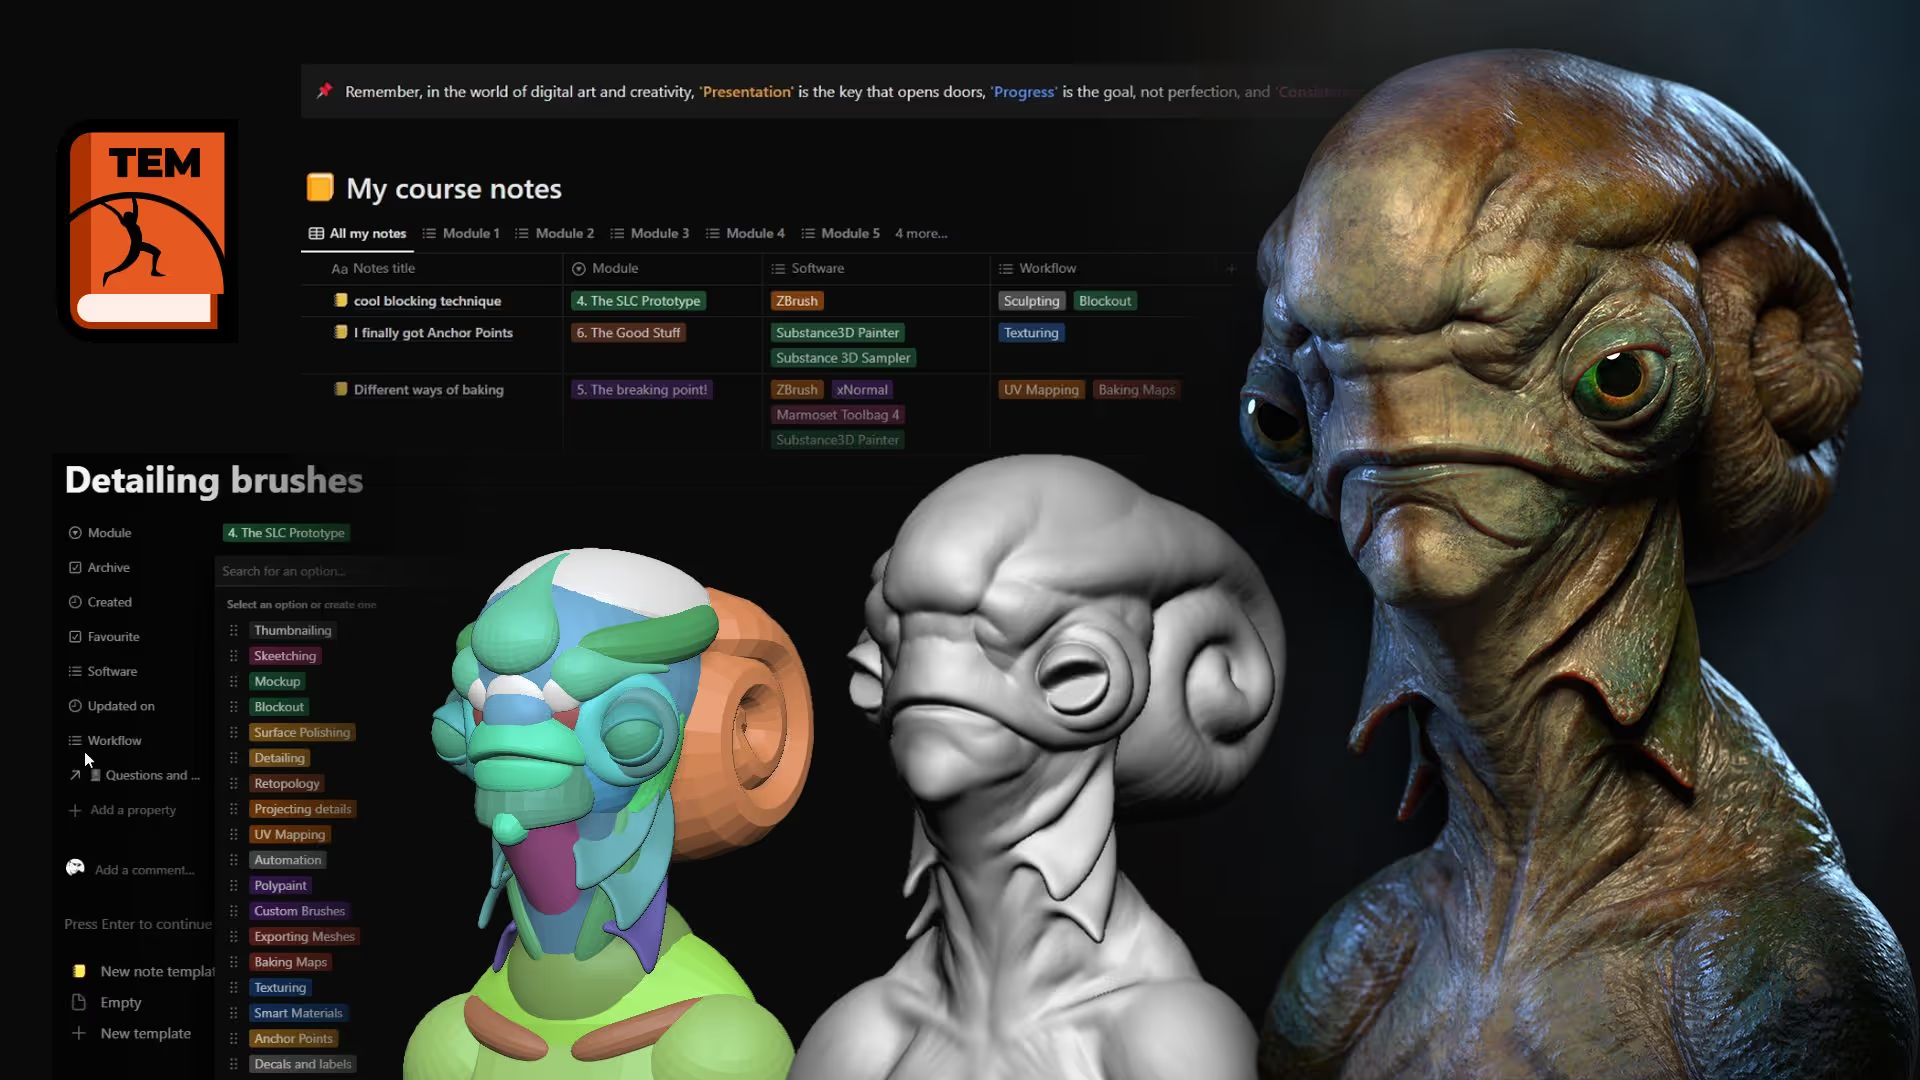
The introduction is a fun, practical set of lessons designed to get you moving quickly and prove to yourself that YOU CAN DO IT.
I'll show you an effective way to take and organise your notes so you can find things again later. Then we'll create our first concept across four quick lessons, covering sculpting, detailing, retopology, UVs, texturing, lighting and rendering. It's a taste of the full workflow before we go deep on any of it. You finish something complete in your first sitting.
Module 2
Fundamentals
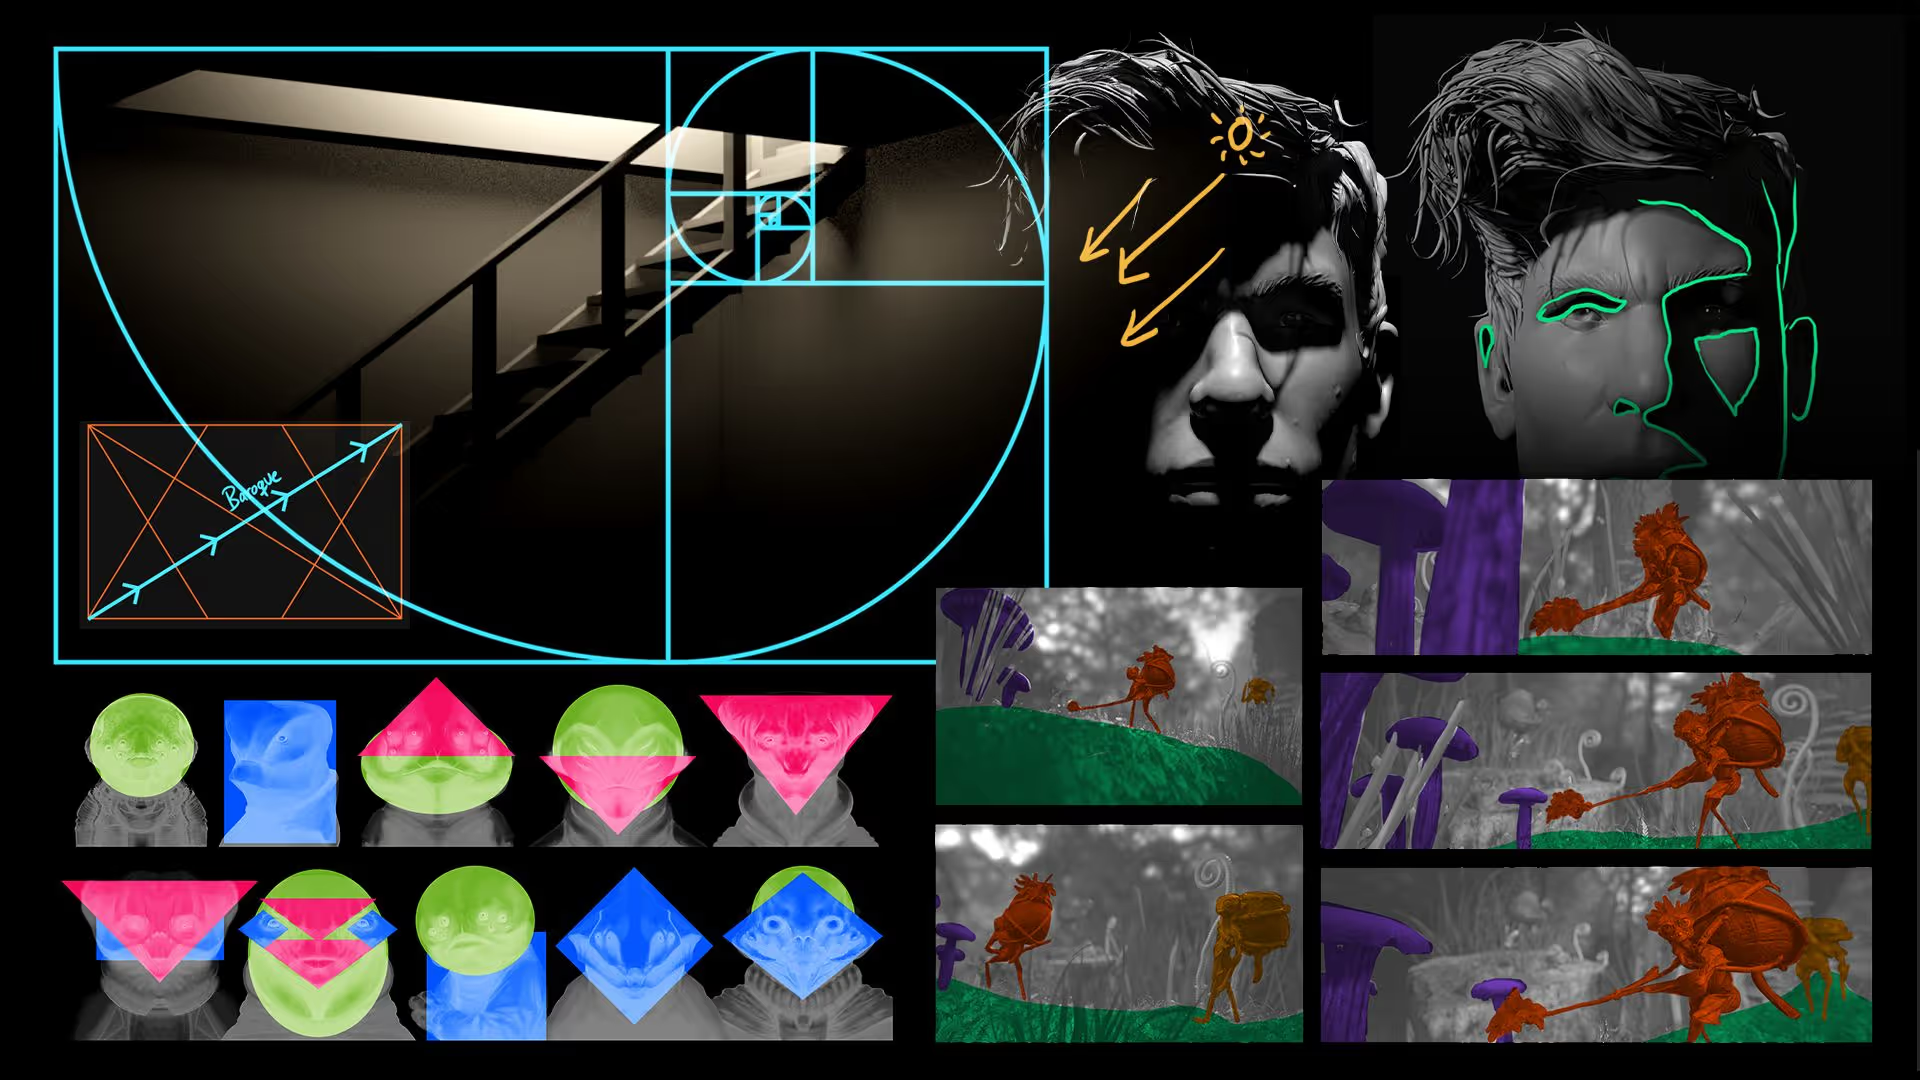
This module is about setting a strong foundation and understanding the concepts you'll be putting into practice for the rest of the course.
We'll smash a few myths that quietly damage your confidence as an artist, go through practical ways to make characters that are expressive and readable, put the elements and principles of design to work, talk about composition, and break portrait lighting down into a simple set of steps that actually holds up. These are the ideas you'll keep coming back to in every module that follows.
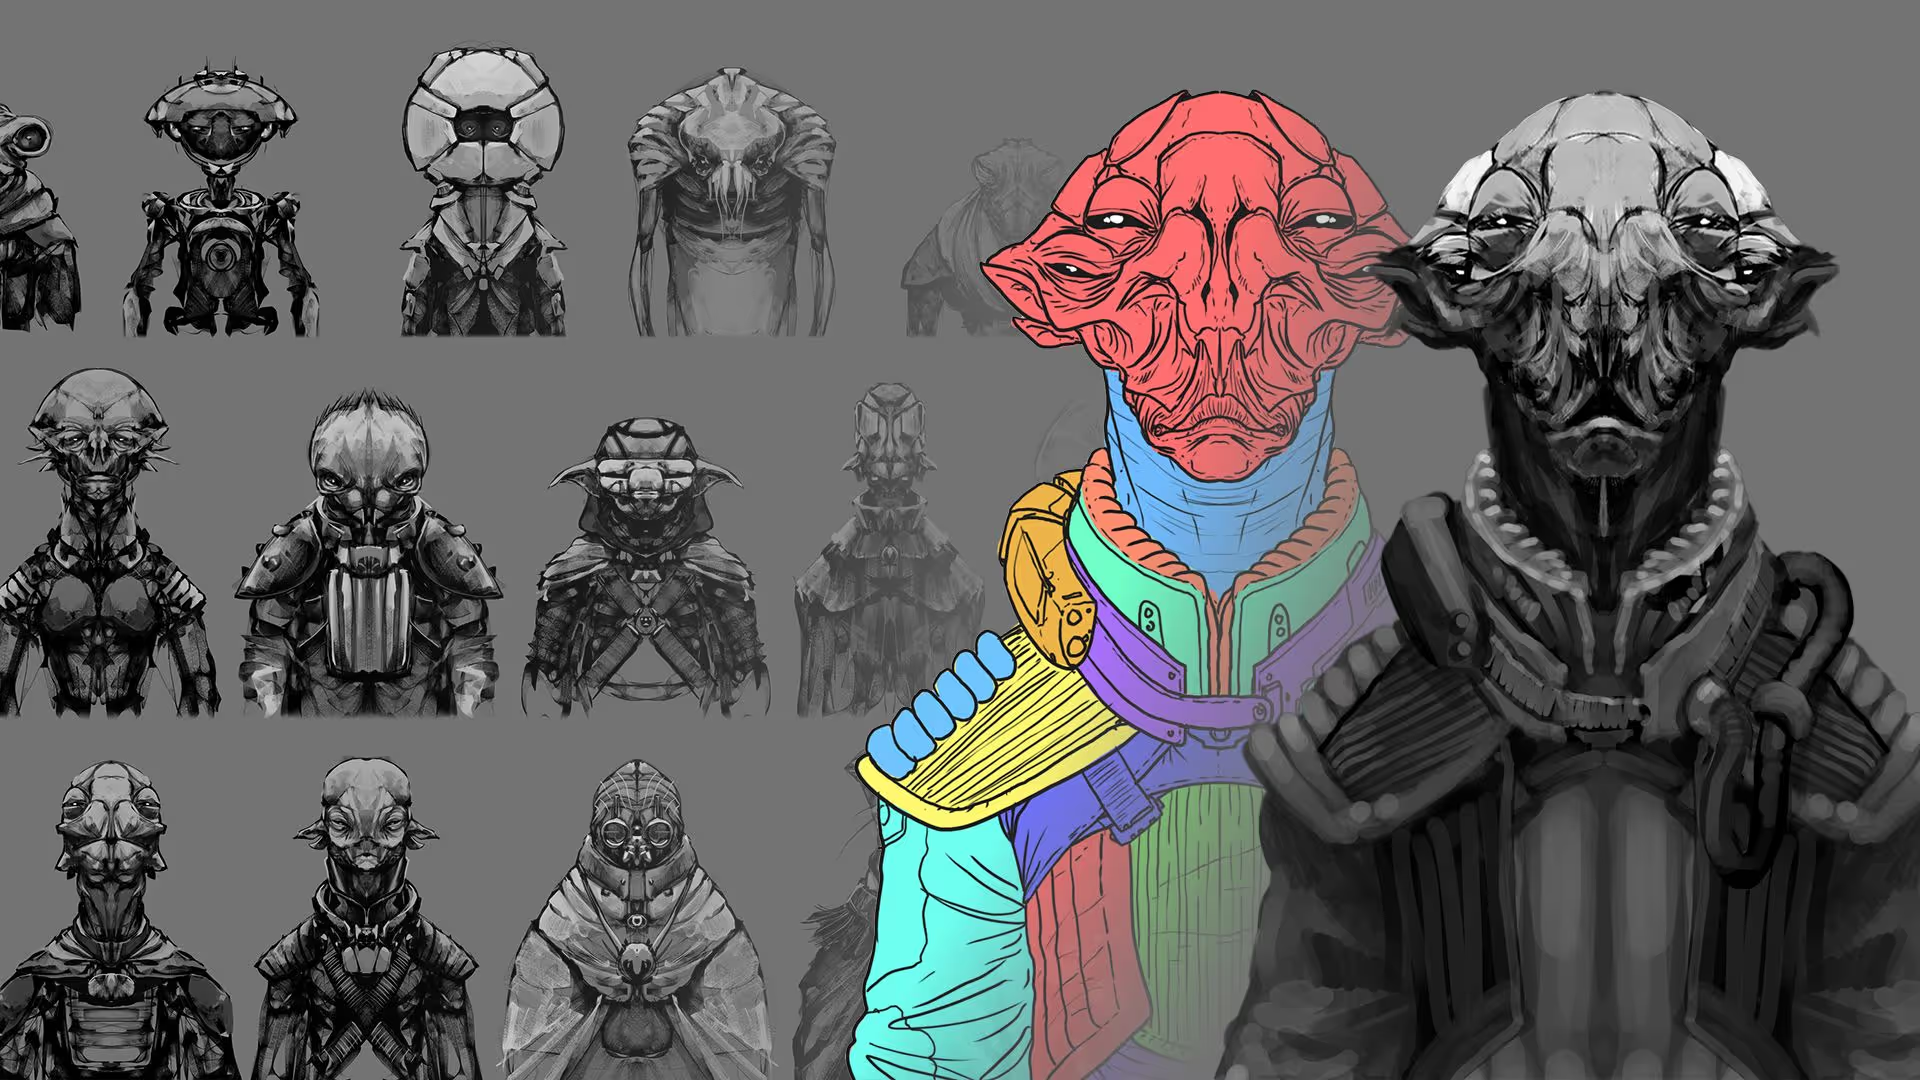
Module 3
Sharpening The Axe
"Give me six hours to chop down a tree and I will spend the first four sharpening the axe." - Abraham Lincoln
That's what this module is about. We go deeper into the exploration and iteration phase of building an original design, the part that decides whether everything after it is worth doing.
I'll also share a practical and genuinely fun way to make a mockup of your idea, which speeds up the blocking and sculpting later. It works even if you don't feel confident sketching in 2D yet.
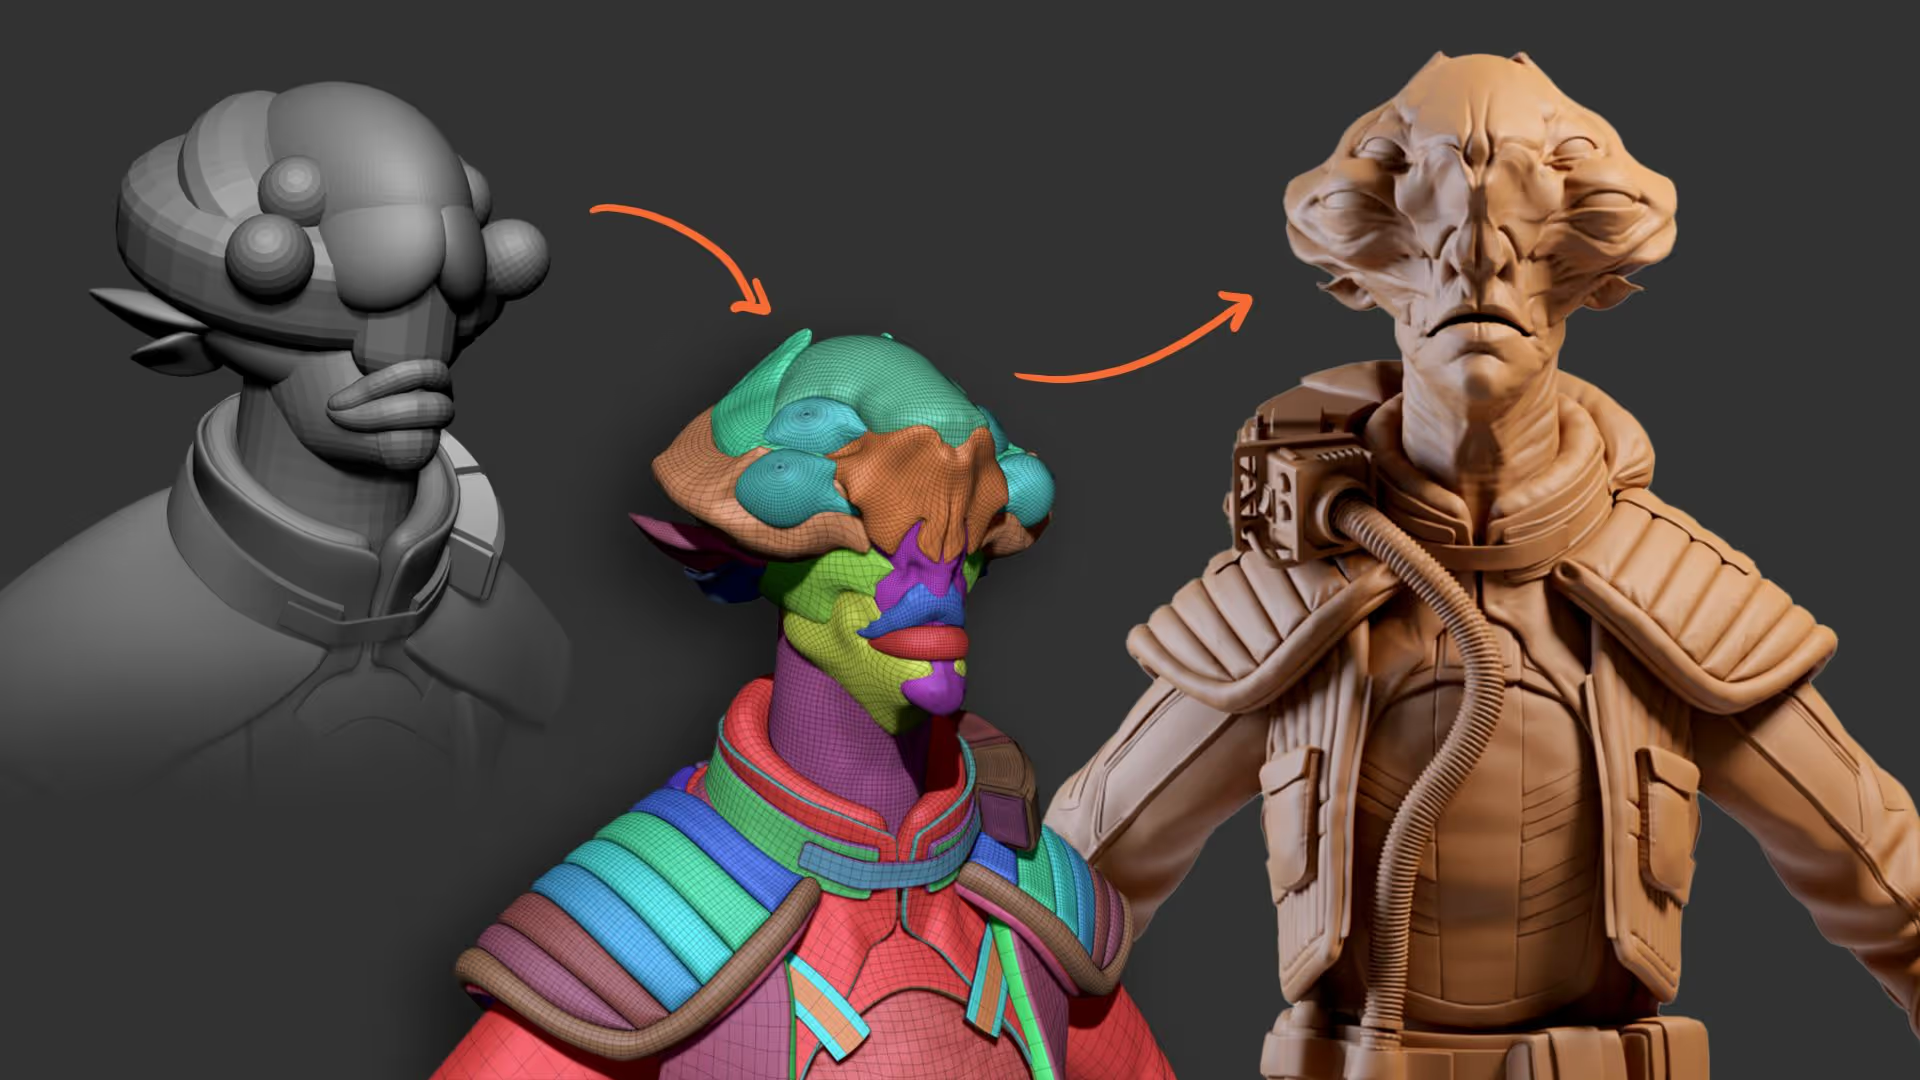
Module 4
The 'SLC' Prototype
In this module we follow the guiding principles of Simple, Lovable and Complete to produce the concept sculpt.
It's packed with techniques and workflows for turning an idea or a 2D sketch into a fully fleshed 3D concept. We'll use advanced sculpting techniques while keeping the steps Simple, design with a story so the character is Lovable and actually connects with people, and make sure it's Complete so the whole thing holds together as one design.
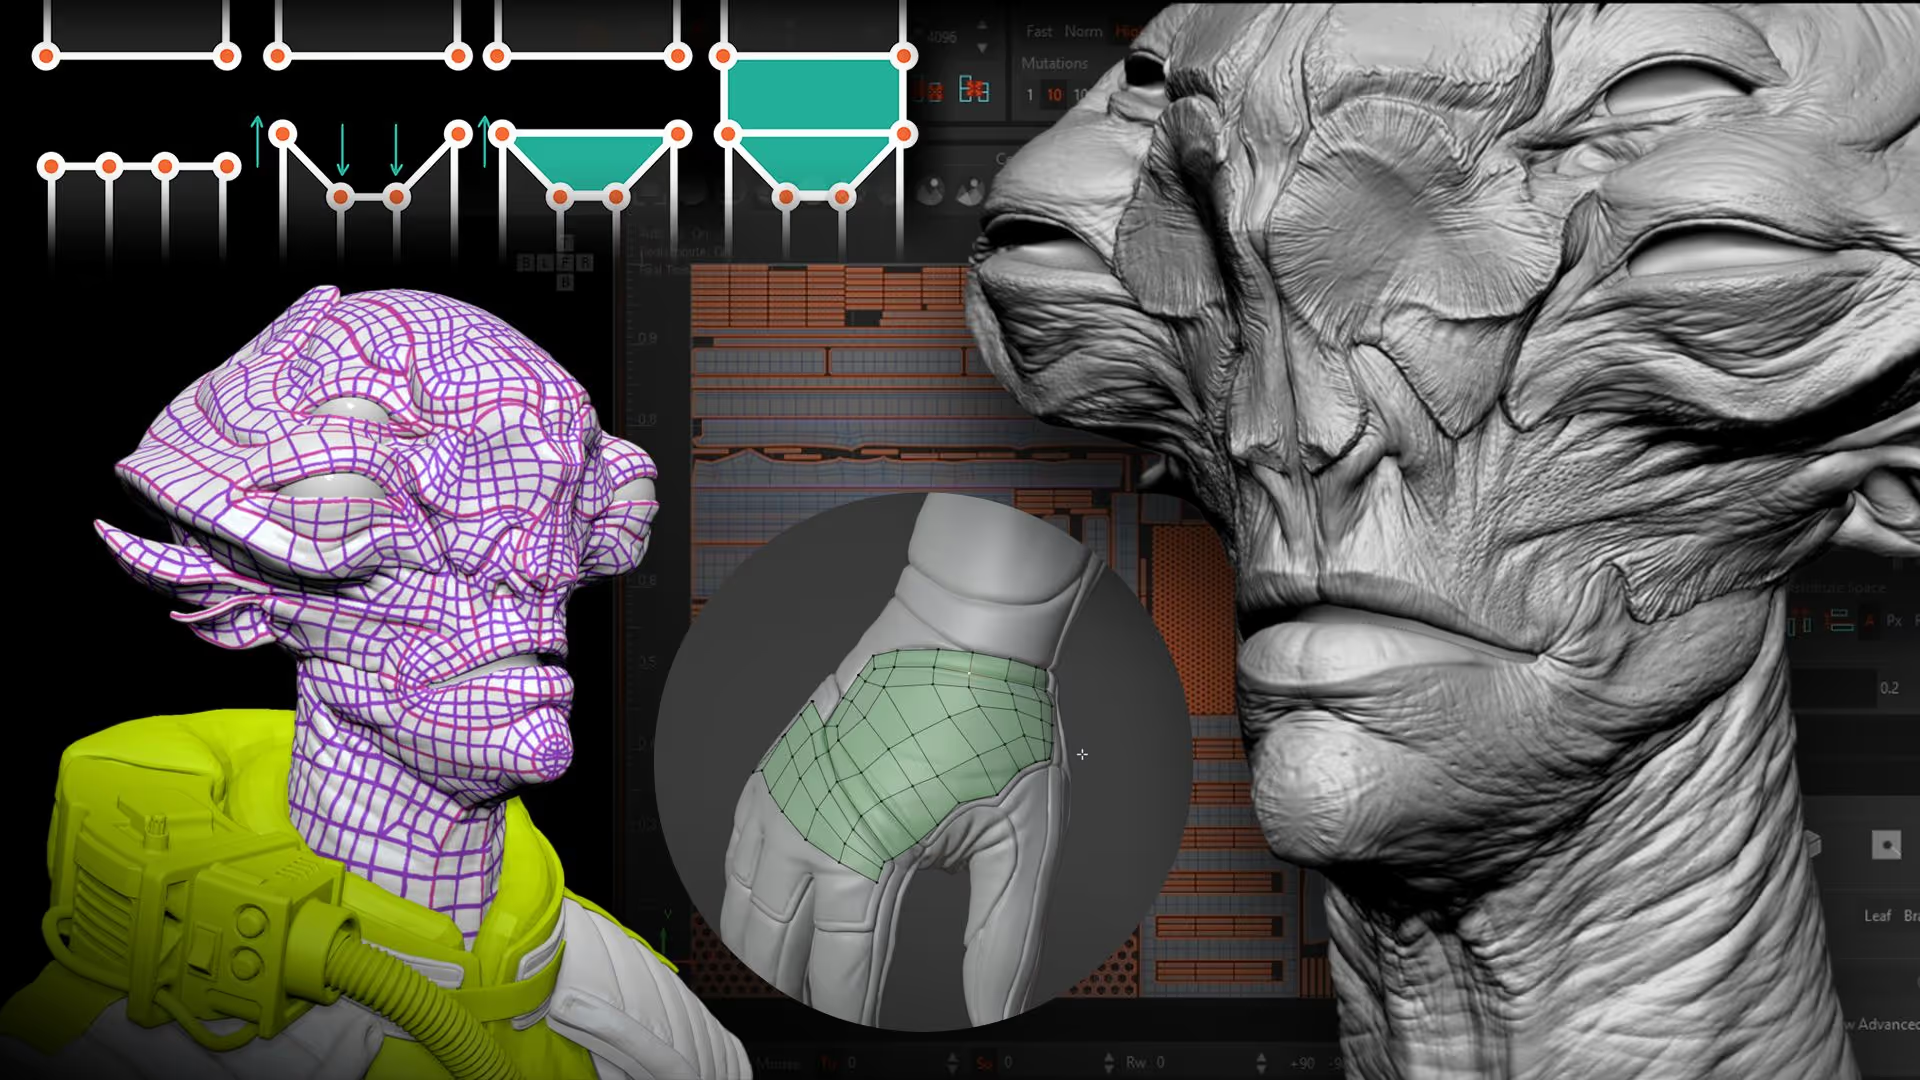
Module 5
The Breaking Point
This module covers the parts of the pipeline that can feel technical, abstract, or just plain overwhelming.
I'll share effective techniques that simplify retopology, UV mapping and sculpting high-frequency detail in ZBrush.
For each one we'll look at a few different tools that get you to the same result, so you can pick whatever sits most comfortably in your own workflow.
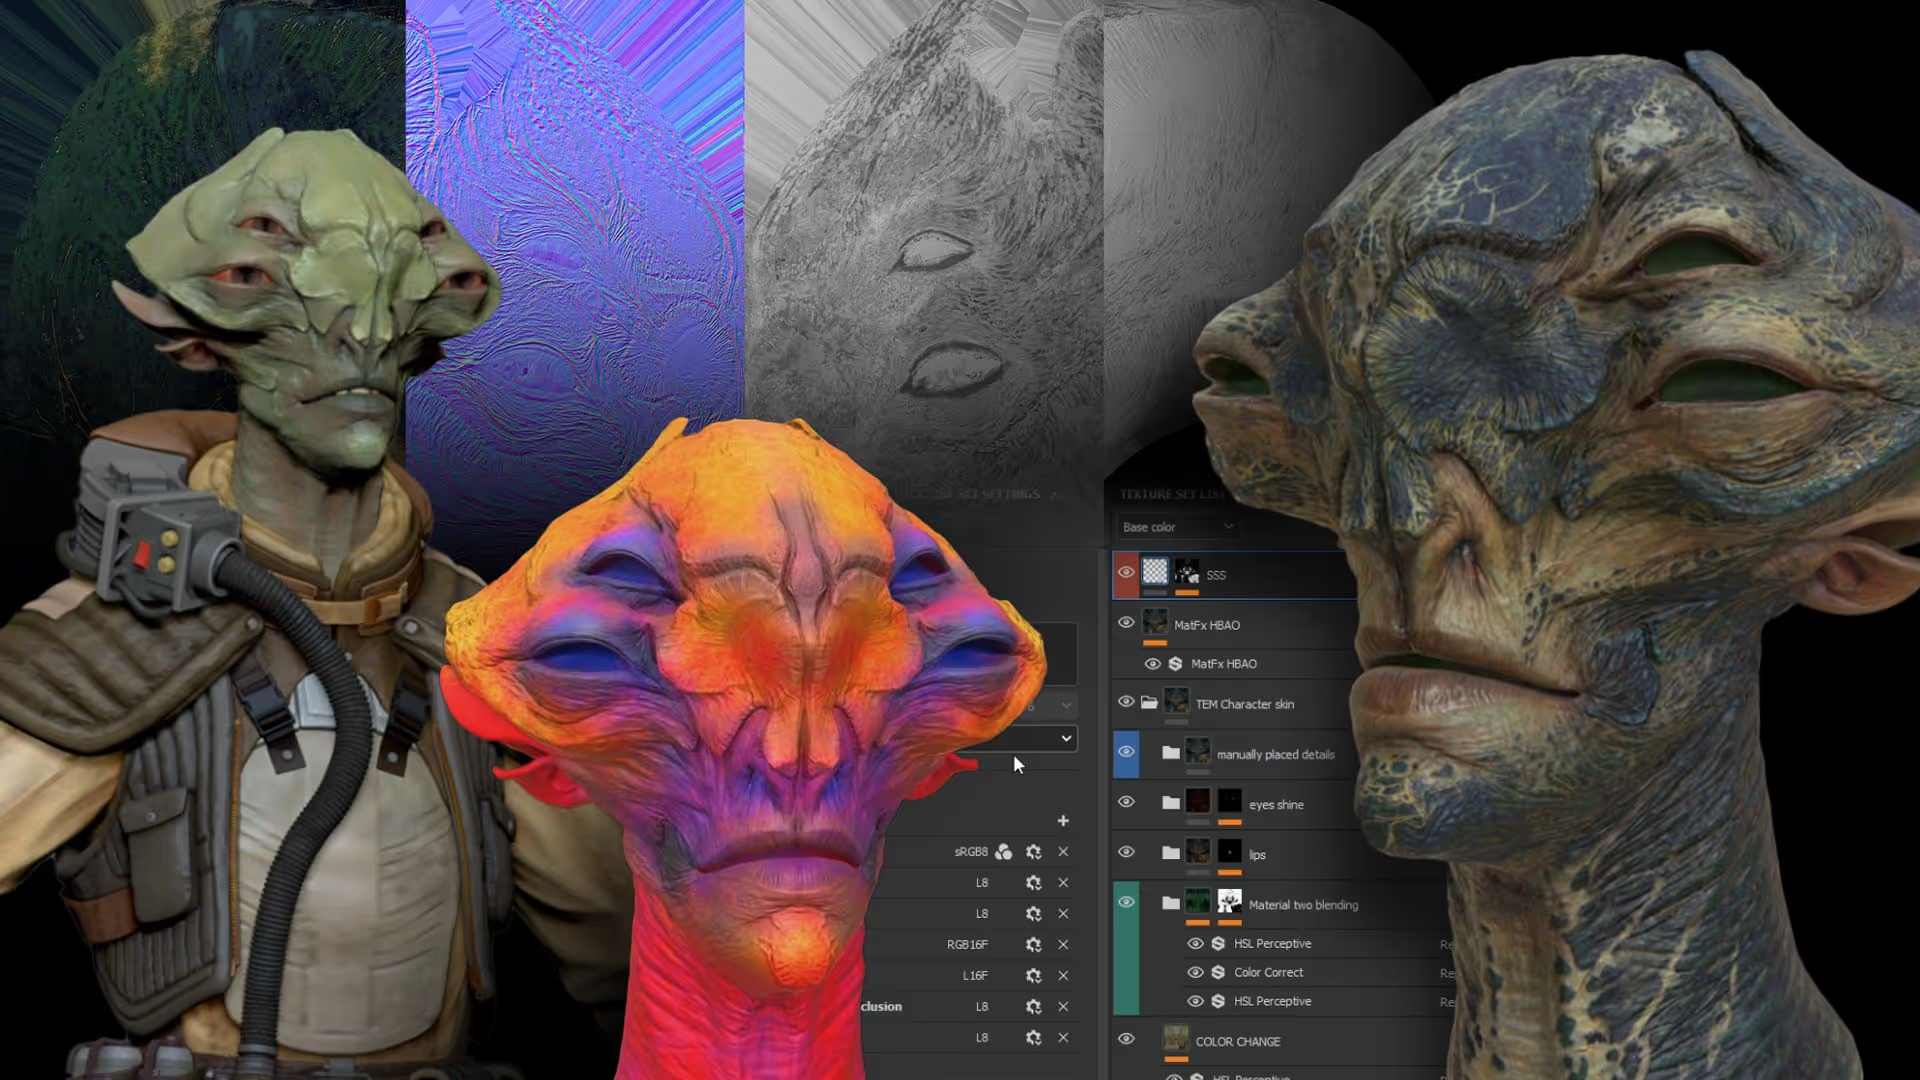
Module 6
The Good Stuff
Another module packed with information, this time covering a range of texturing workflows for building convincing, rich materials on your concept.
We'll go from Polypainting in ZBrush through to complex Smart Materials in Substance 3D Painter, so you can get the look you're after whatever your style.
I'll also cover baking high quality mesh maps and how to fix the mistakes that tend to show up in that process.

Module 7
The Necessary Evil
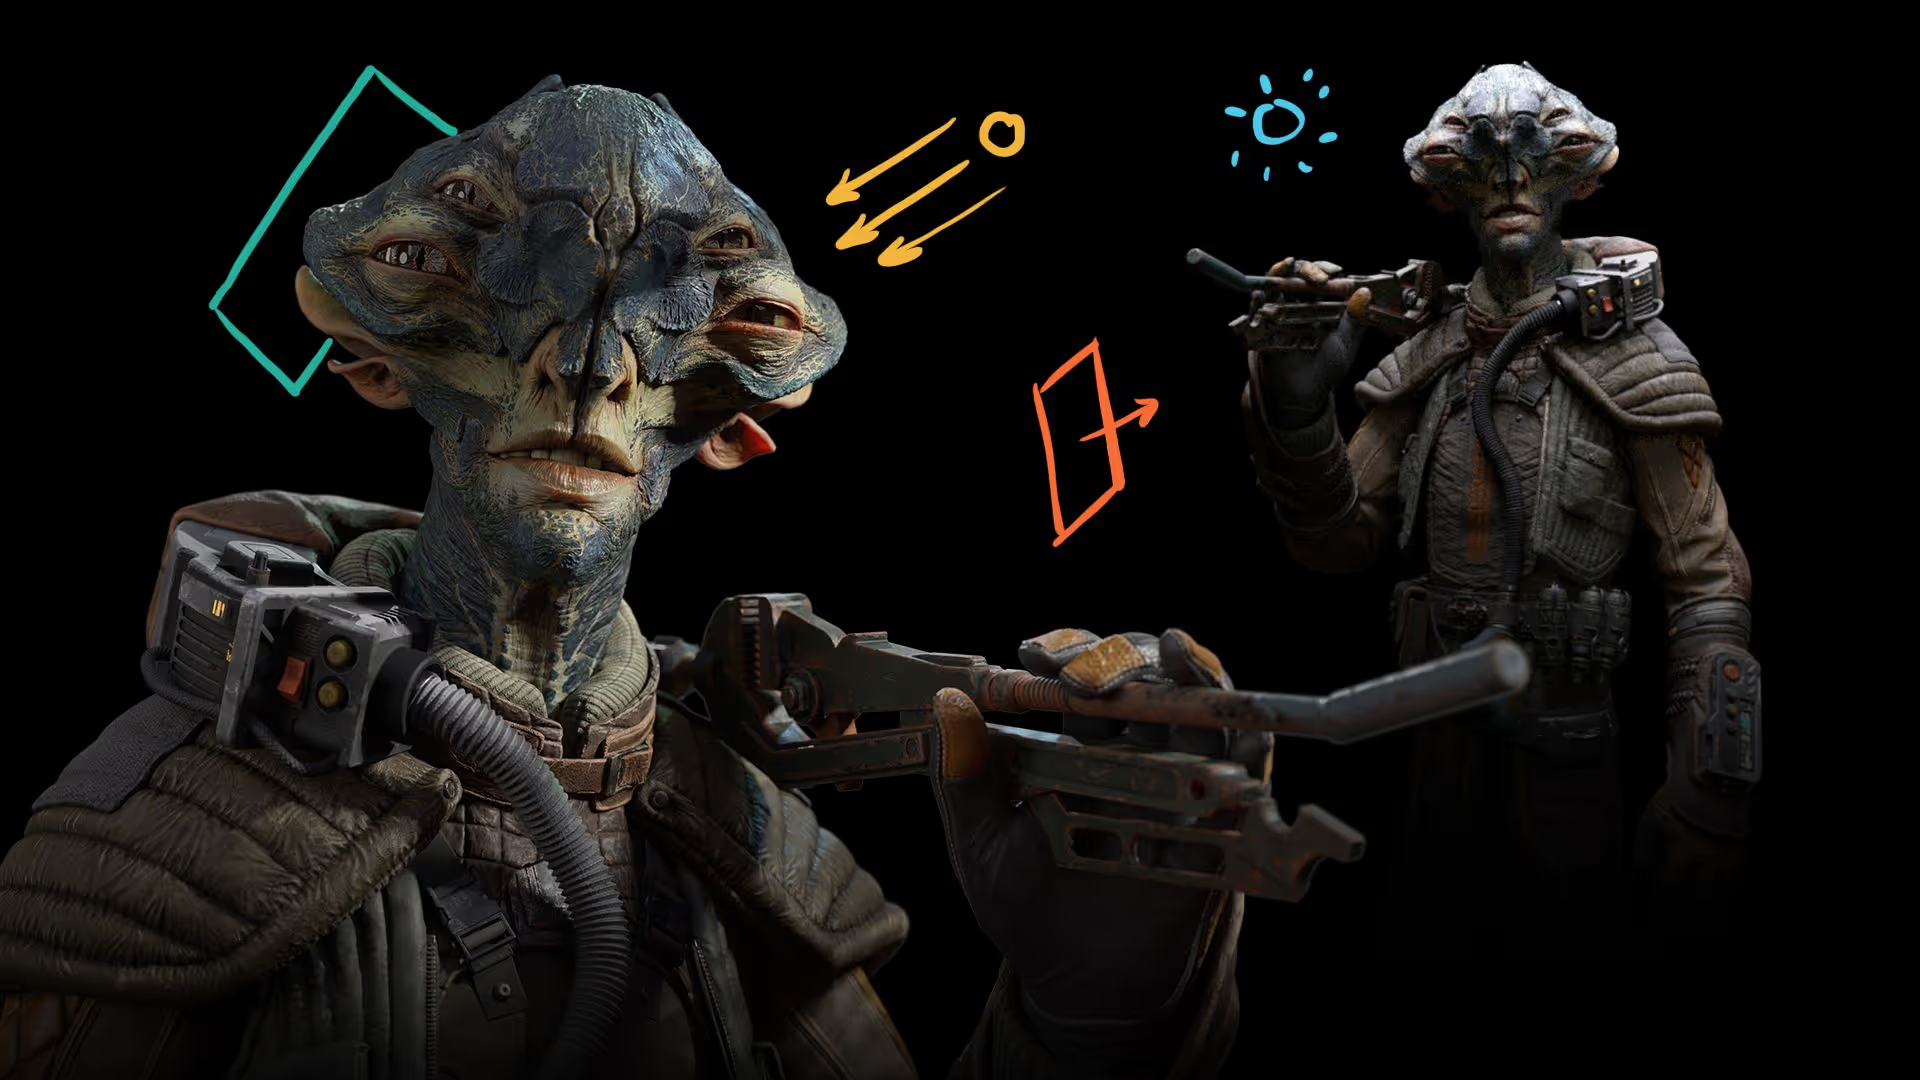
When it comes to presenting your character, the pose does a lot of work. It can reinforce everything you built into the design, or it can make the whole composition feel awkward.
I'll take you through posing in ZBrush with Transpose Master step by step. We'll also get into an advanced workflow connecting Character Creator 4 with ZBrush, which opens up a lot more control over how a character sits.
Module 8
The Make or Break
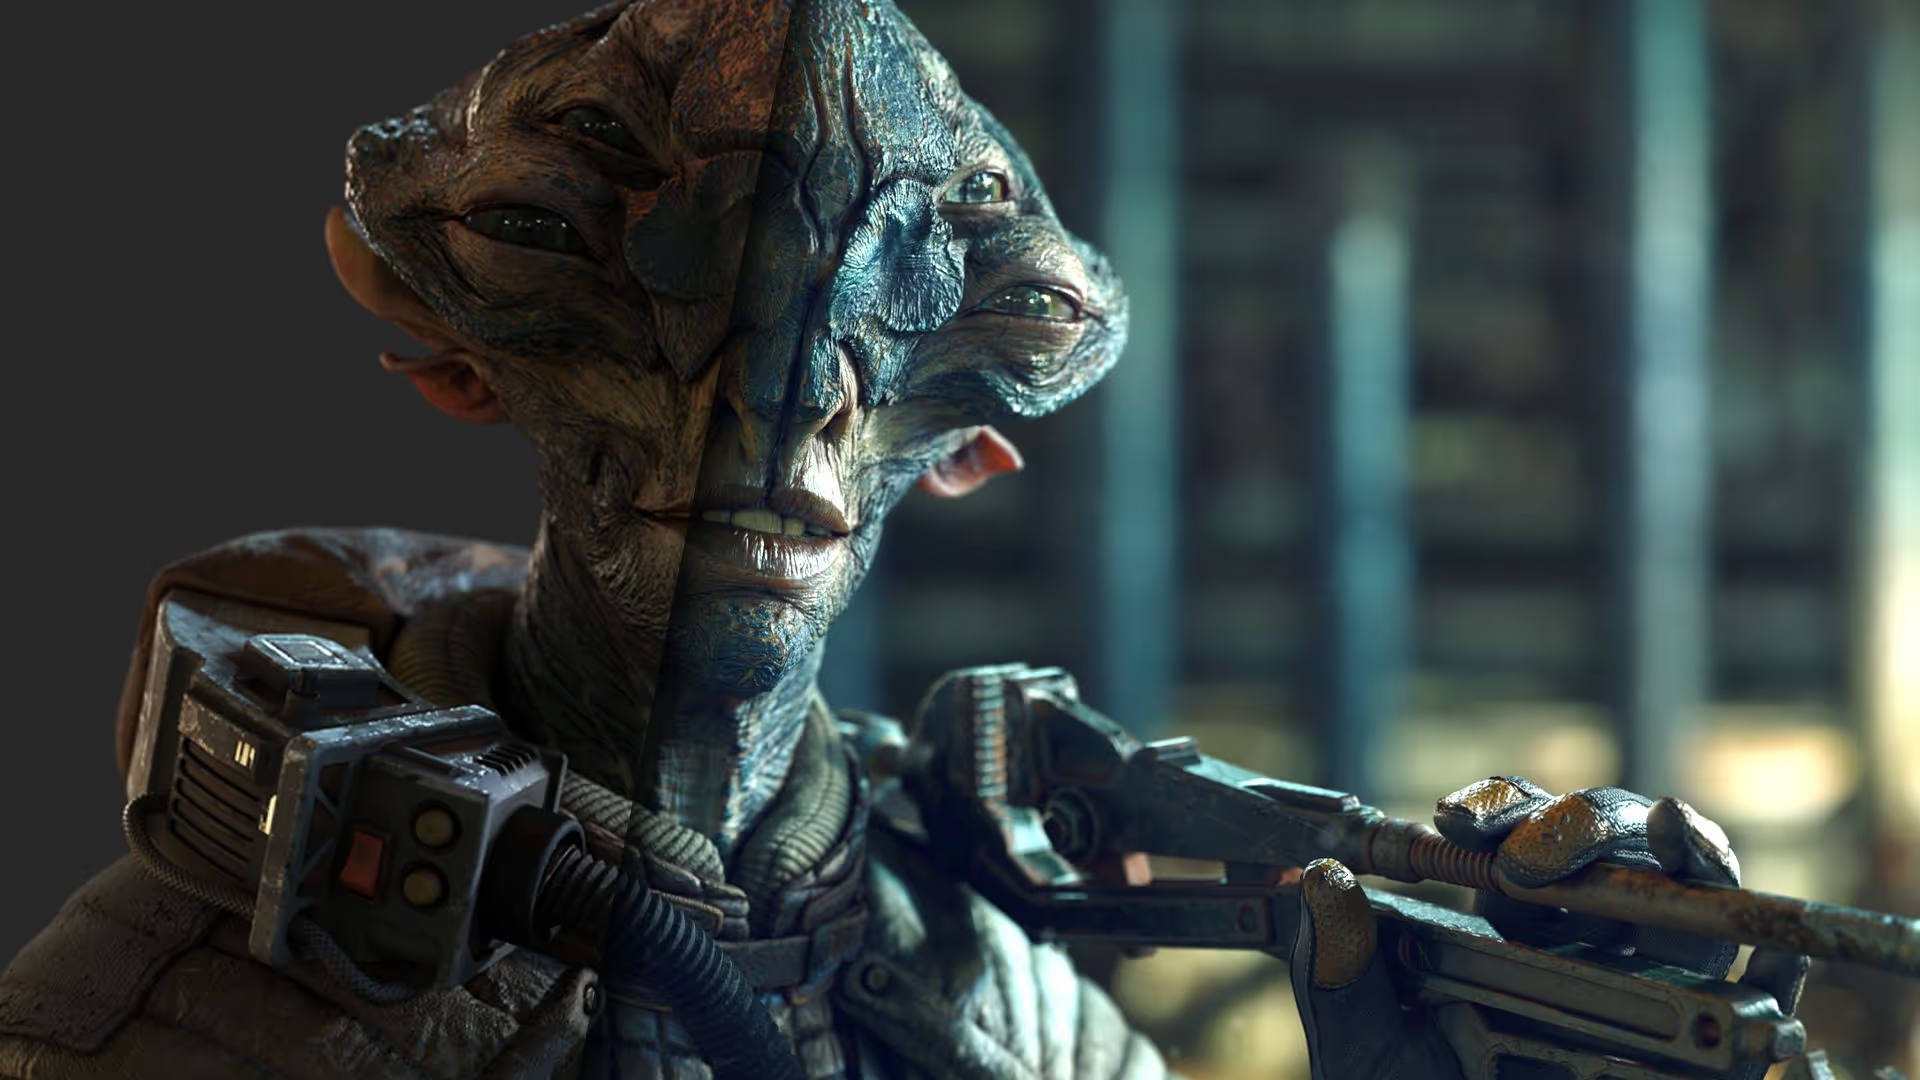
However much detail you've added, however good the textures look, however dynamic the pose is, one thing can still make or break the piece: lighting.
Don't worry. This module goes straight into lighting and rendering with a set of steps that give you consistent results whichever renderer you prefer. We'll cover BPR, 3D Stager, Marmoset Toolbag 4, Blender Cycles and Eevee, Keyshot, and of course Maverick Render.
Module 9
The Bells & Whistles
This is where all the work from the previous modules pays off.
I'll start you on compositing with BPR passes, then move into the more advanced techniques and the specific steps I follow on my own pieces.
We'll use renders from the different tools we covered earlier to show that even a render you're already happy with can be pushed further in compositing.
Tools covered
Here are the tools covered across The Extra Mile lessons. You don't need all of them. Every stage has more than one route through it, so a tool you don't own is never a dead end. My goal is to show you alternatives that fit your own workflow.







Bonus module: rigging and posing!
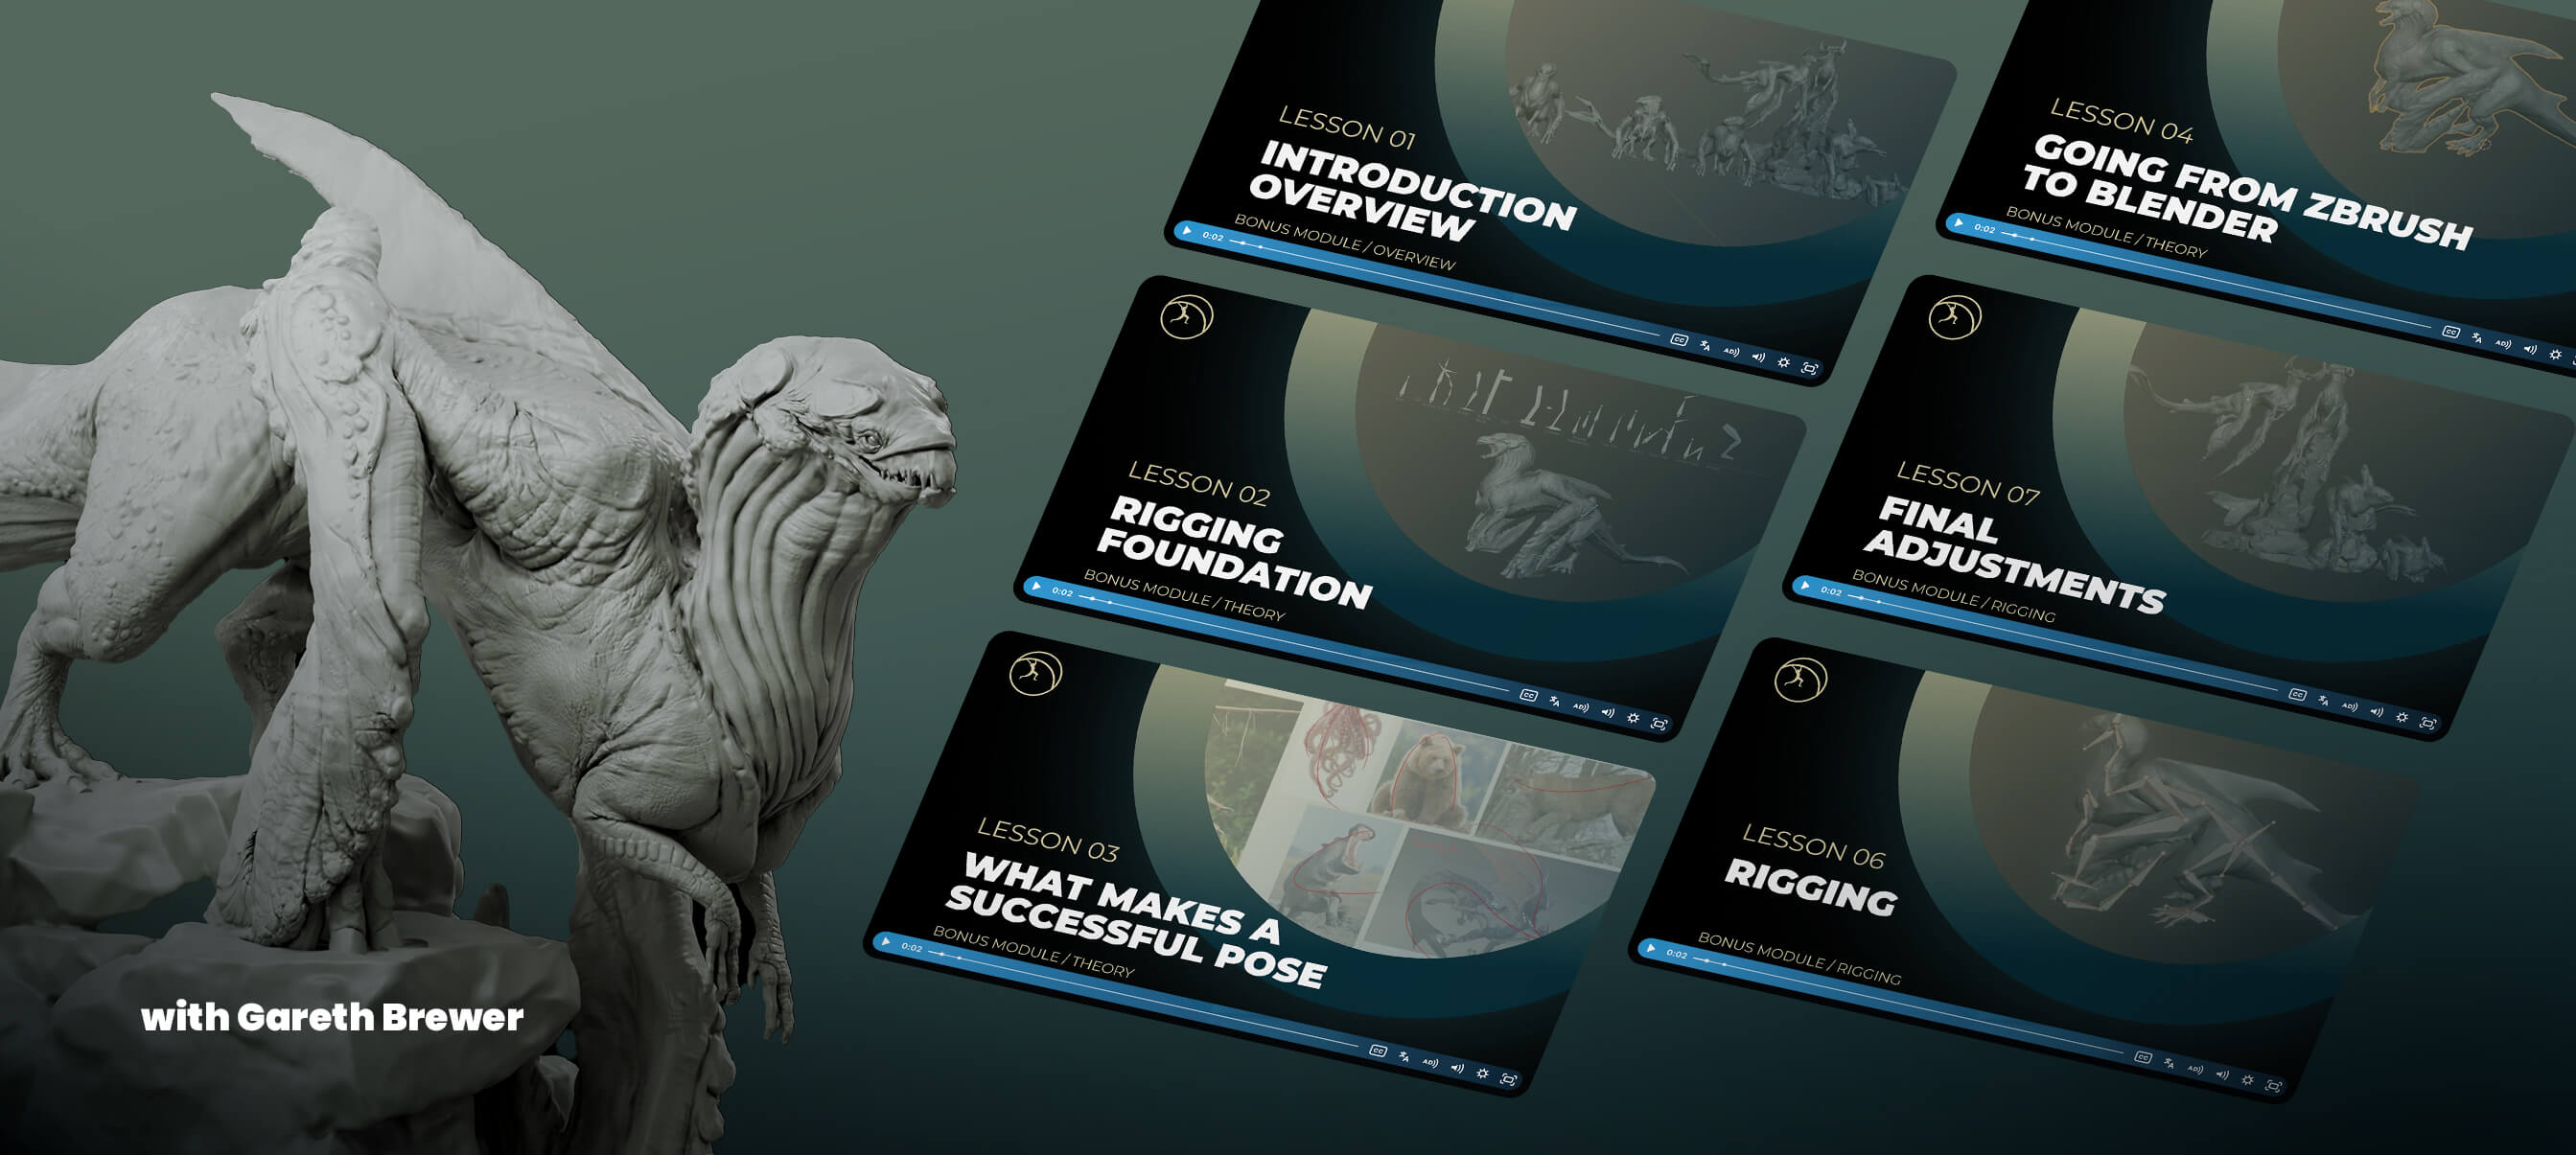
7 dedicated lessons on creating super dynamic poses for your characters... fast.
For this bonus module, I brought in Gareth Brewer, a creature artist and one of The Extra Mile's own students, who has developed a fantastic rigging and posing workflow in Blender that we just had to share with you.
He breaks it all down into clear, practical steps... taking your ZBrush sculpt into Blender, rigging and posing it, then bringing it back into ZBrush for further refinement, all while maintaining your subdivision levels. The result? Super dynamic poses in just a few minutes.
Anything else?
Sure! how about some cool bonuses? Oh, and did you know you can get an official certification for this course?

Student perks
Being on The Extra Mile comes with a few practical perks on the software side. Over the years I've built good relationships with several of the companies whose tools we use throughout the course, and they've been generous with the students who come through it.
Depending on what's running at the time, that can mean discount codes, extended trials, or student and educational licences you can apply for. The details shift as offers come and go, so I share whatever is current in the community.
Additional Resources!
As part of my commitment to help you with the development of your skills in different areas, I have compiled some extra training and resources into this bonus to complement the workflows I teach in the course.
With this bonus, you’ll get access to a mini-course covering the production and sculpting of clothes in ZBrush and a resource pack with custom brushes to work with FiberMesh
Certificate
Thanks to the incredible work that past students have produced following the TEM program, the Pablander academy is officially certified by The Rookies with a formal accreditation that is awarded to schools (online or in person) that provide the highest quality education.
You can read all about the certification in The Rookies website HERE.
As a result, upon completing The Extra Mile course, you can apply for a certificate.
Supported by:




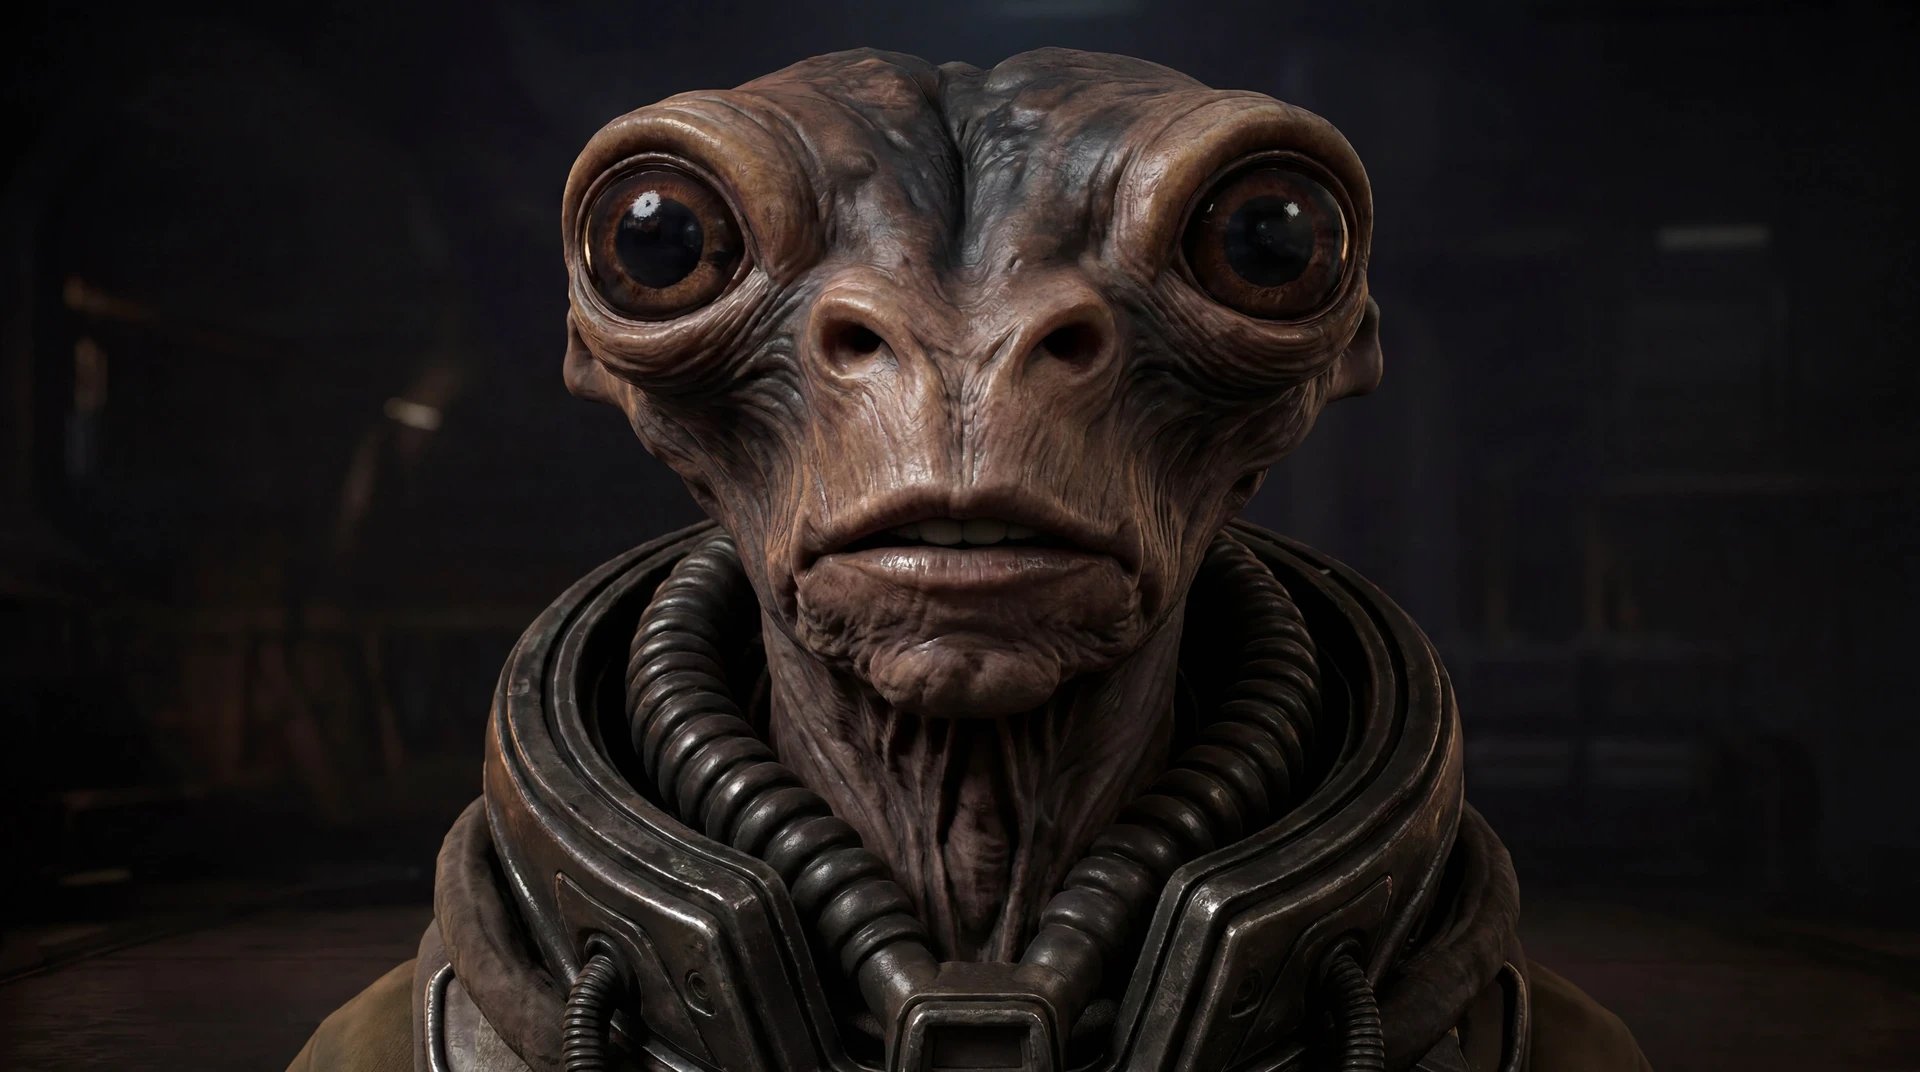
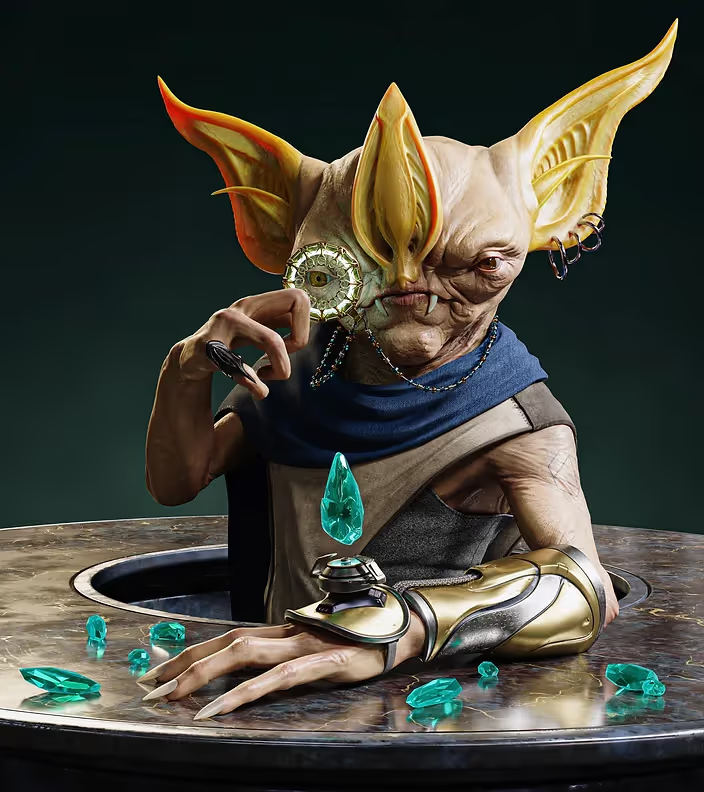
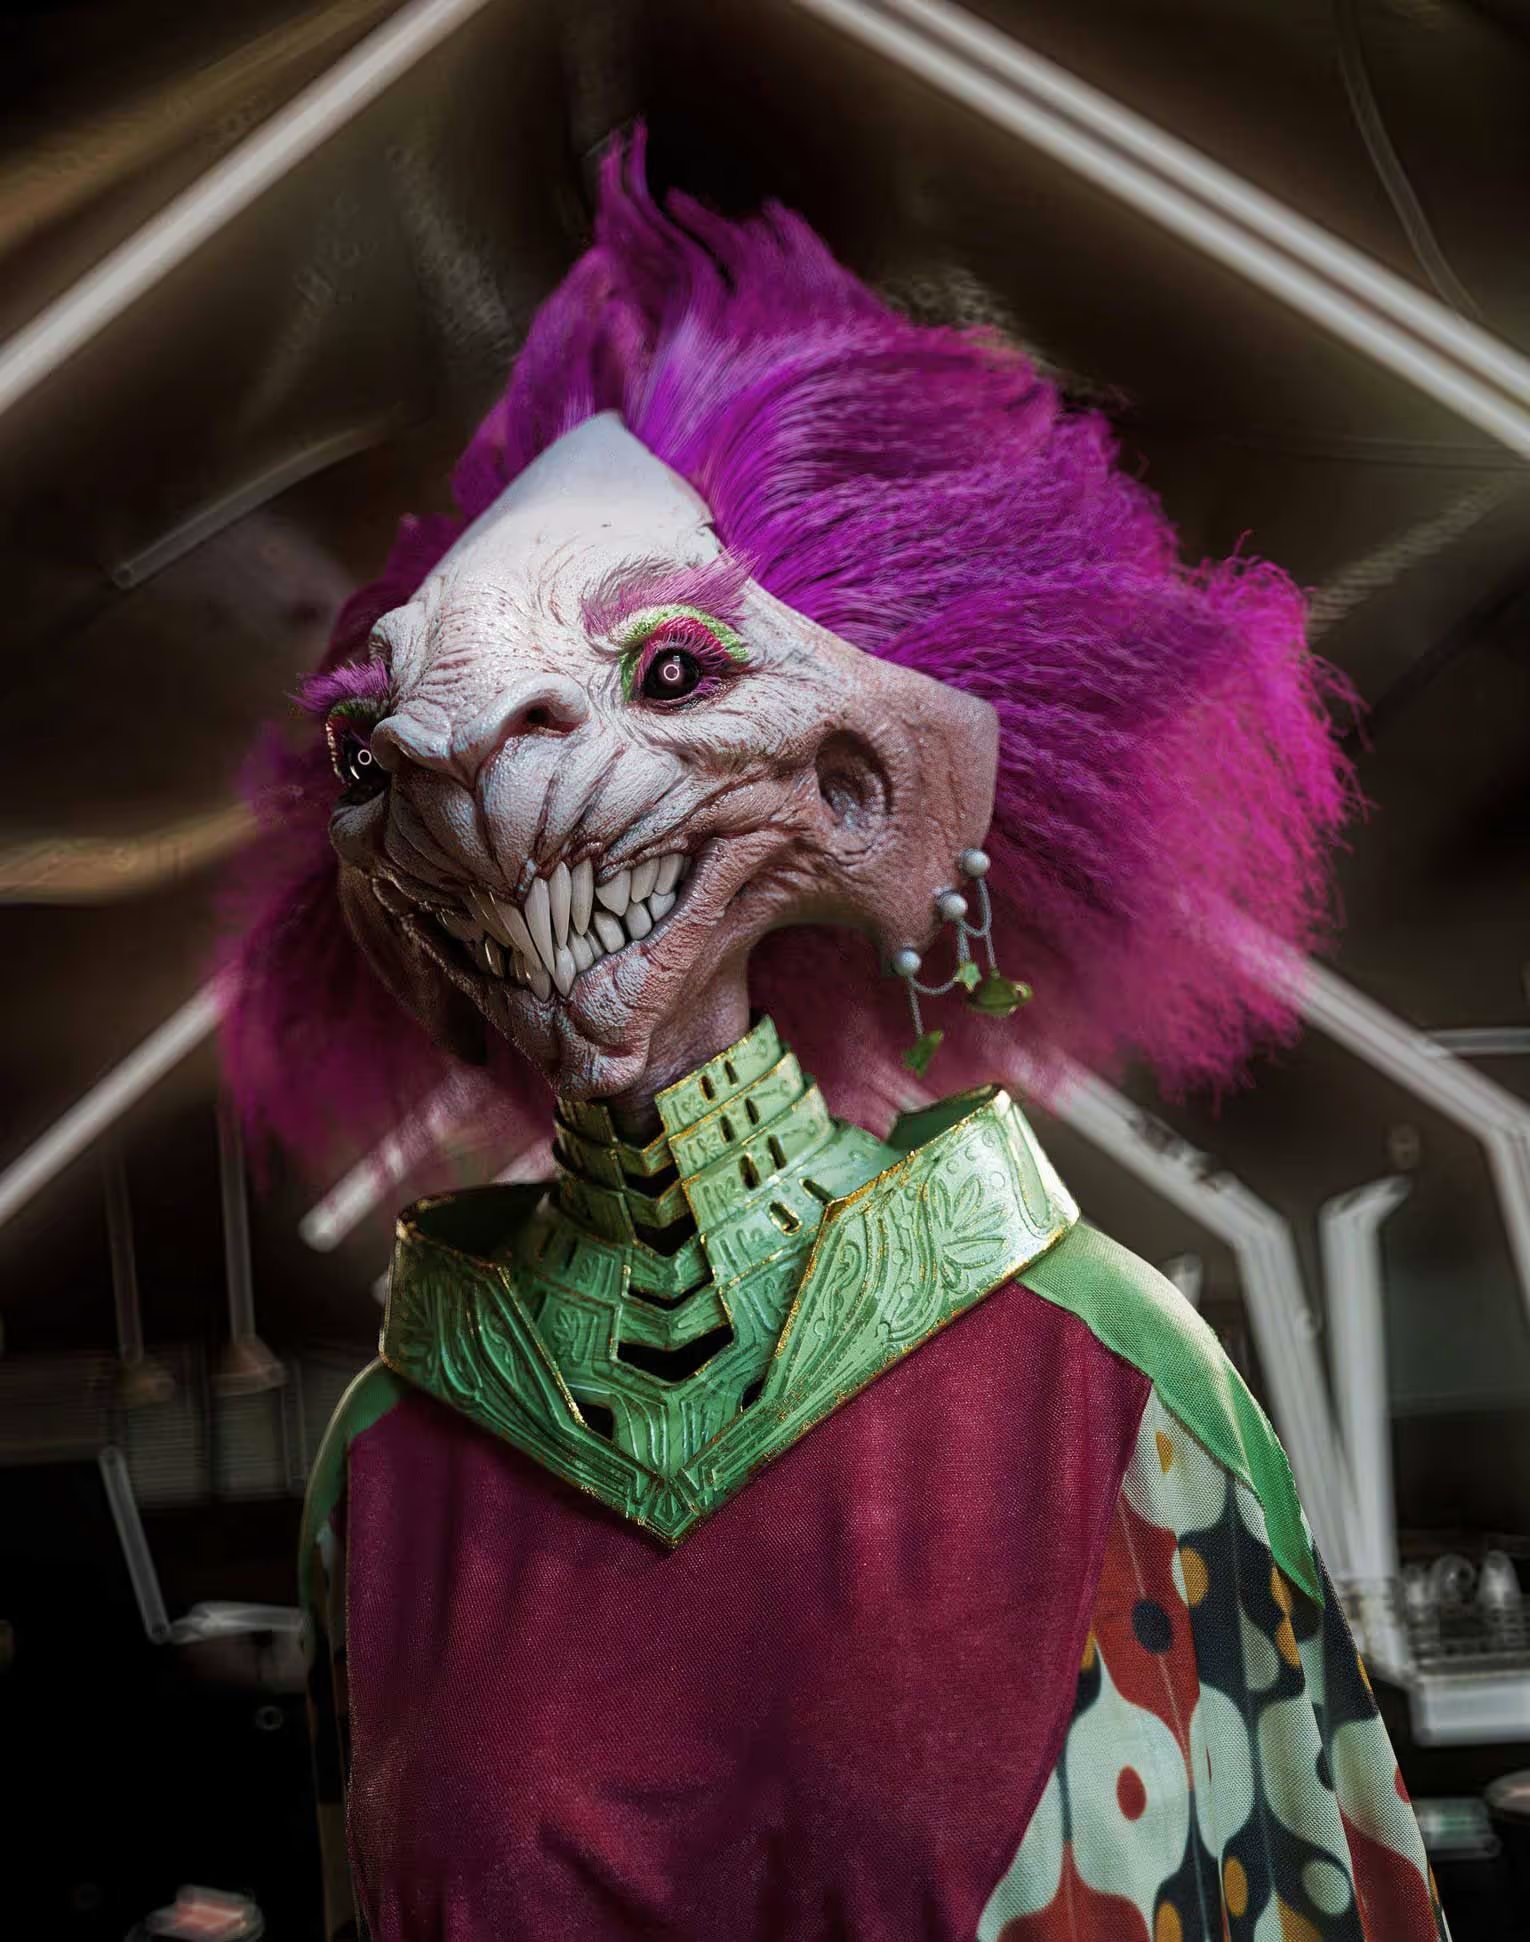
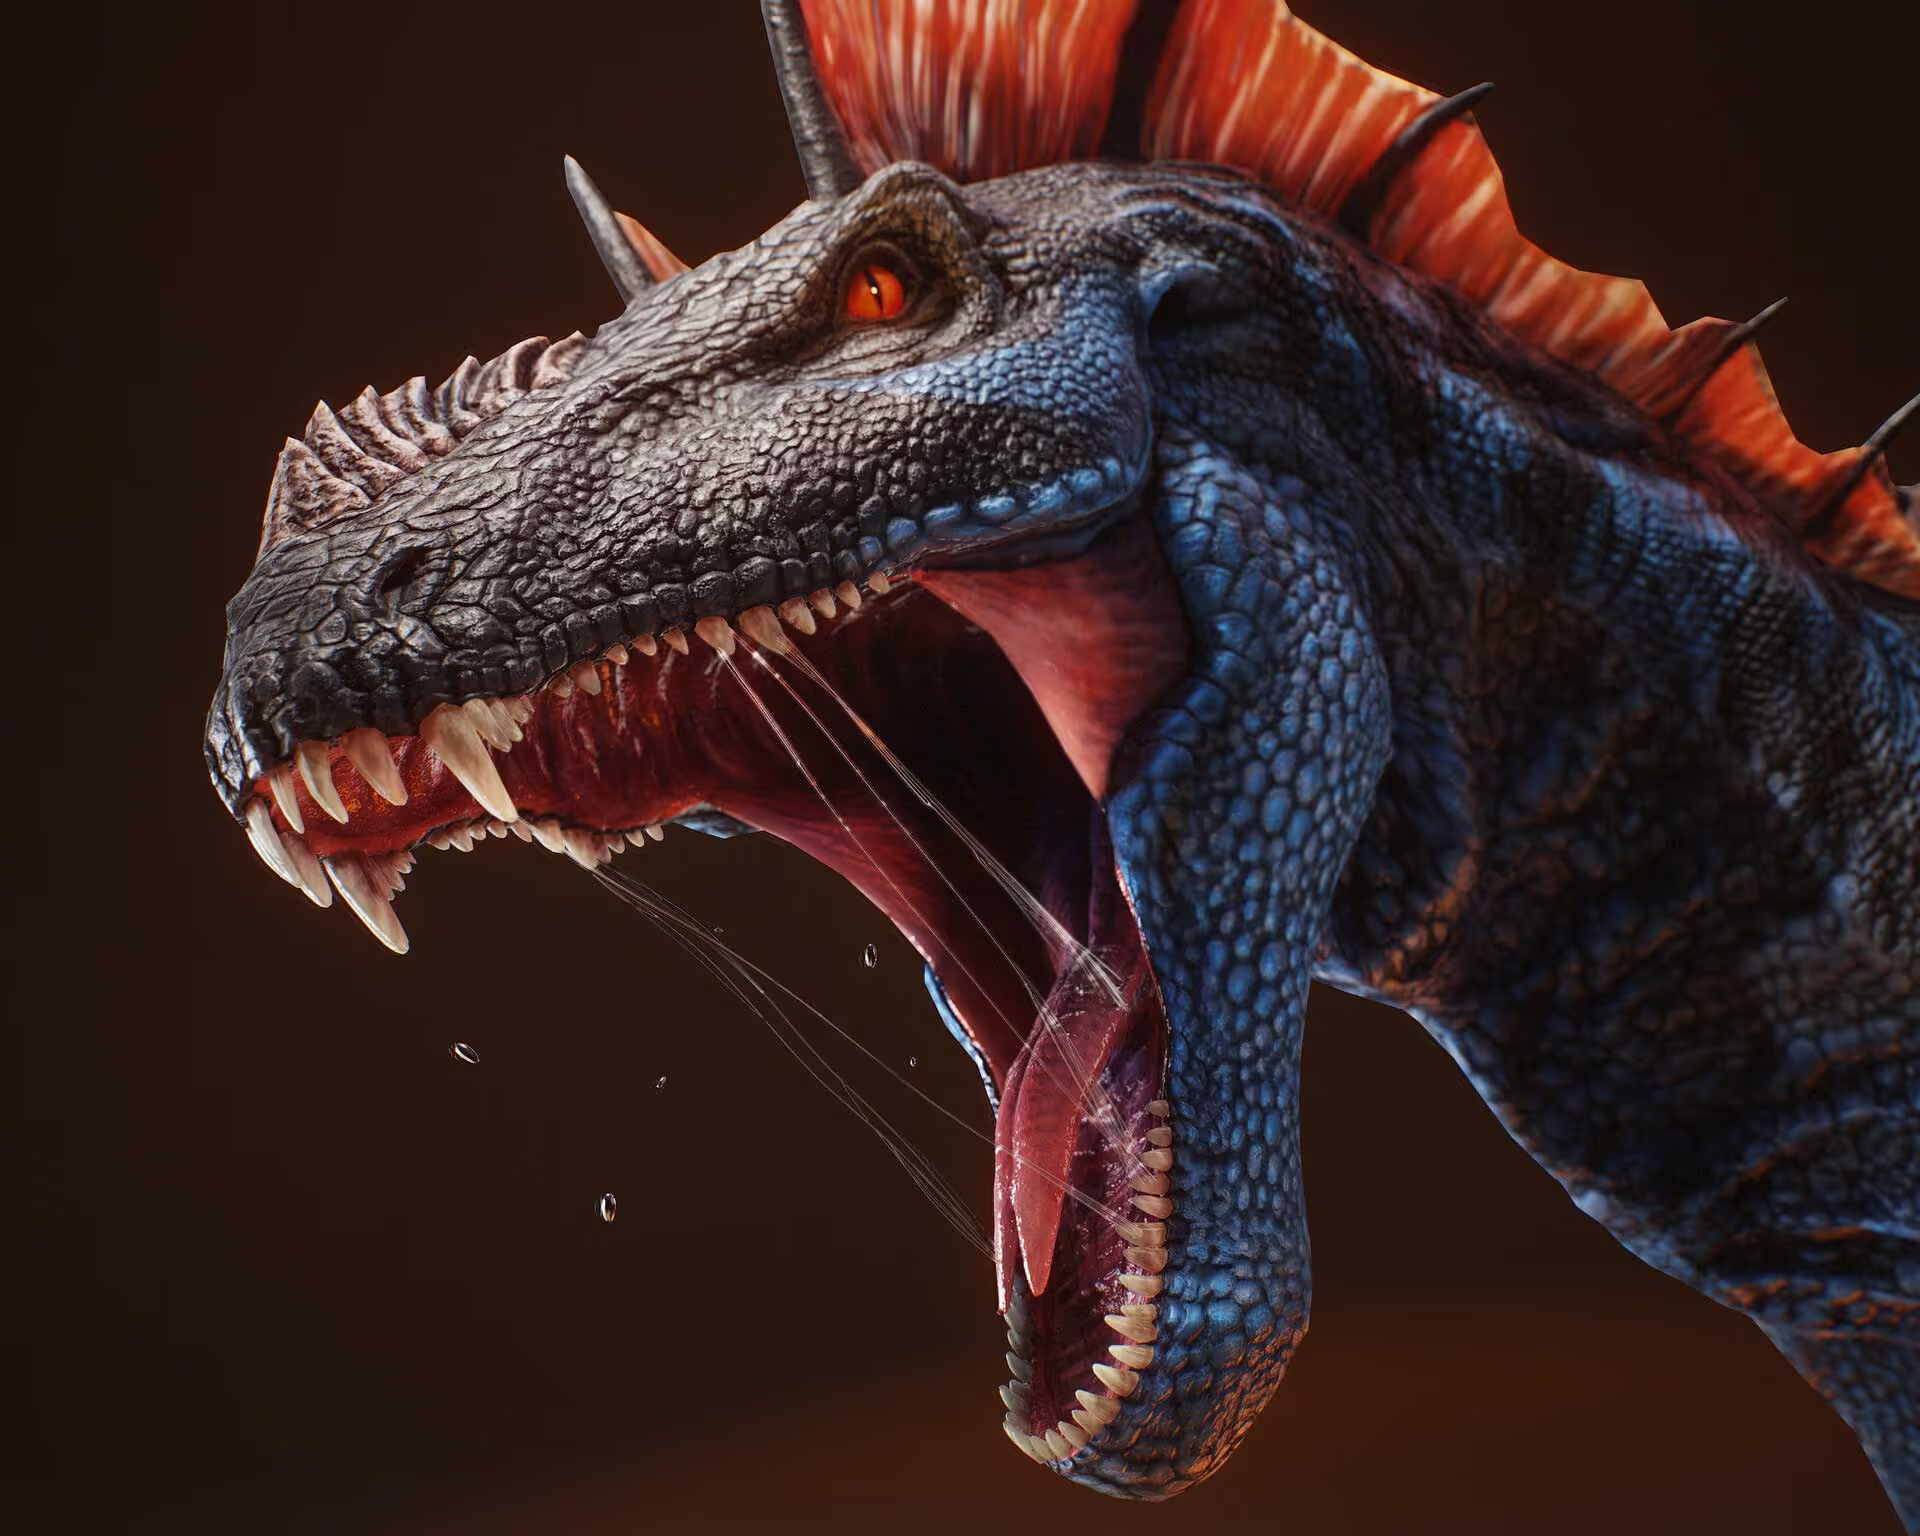
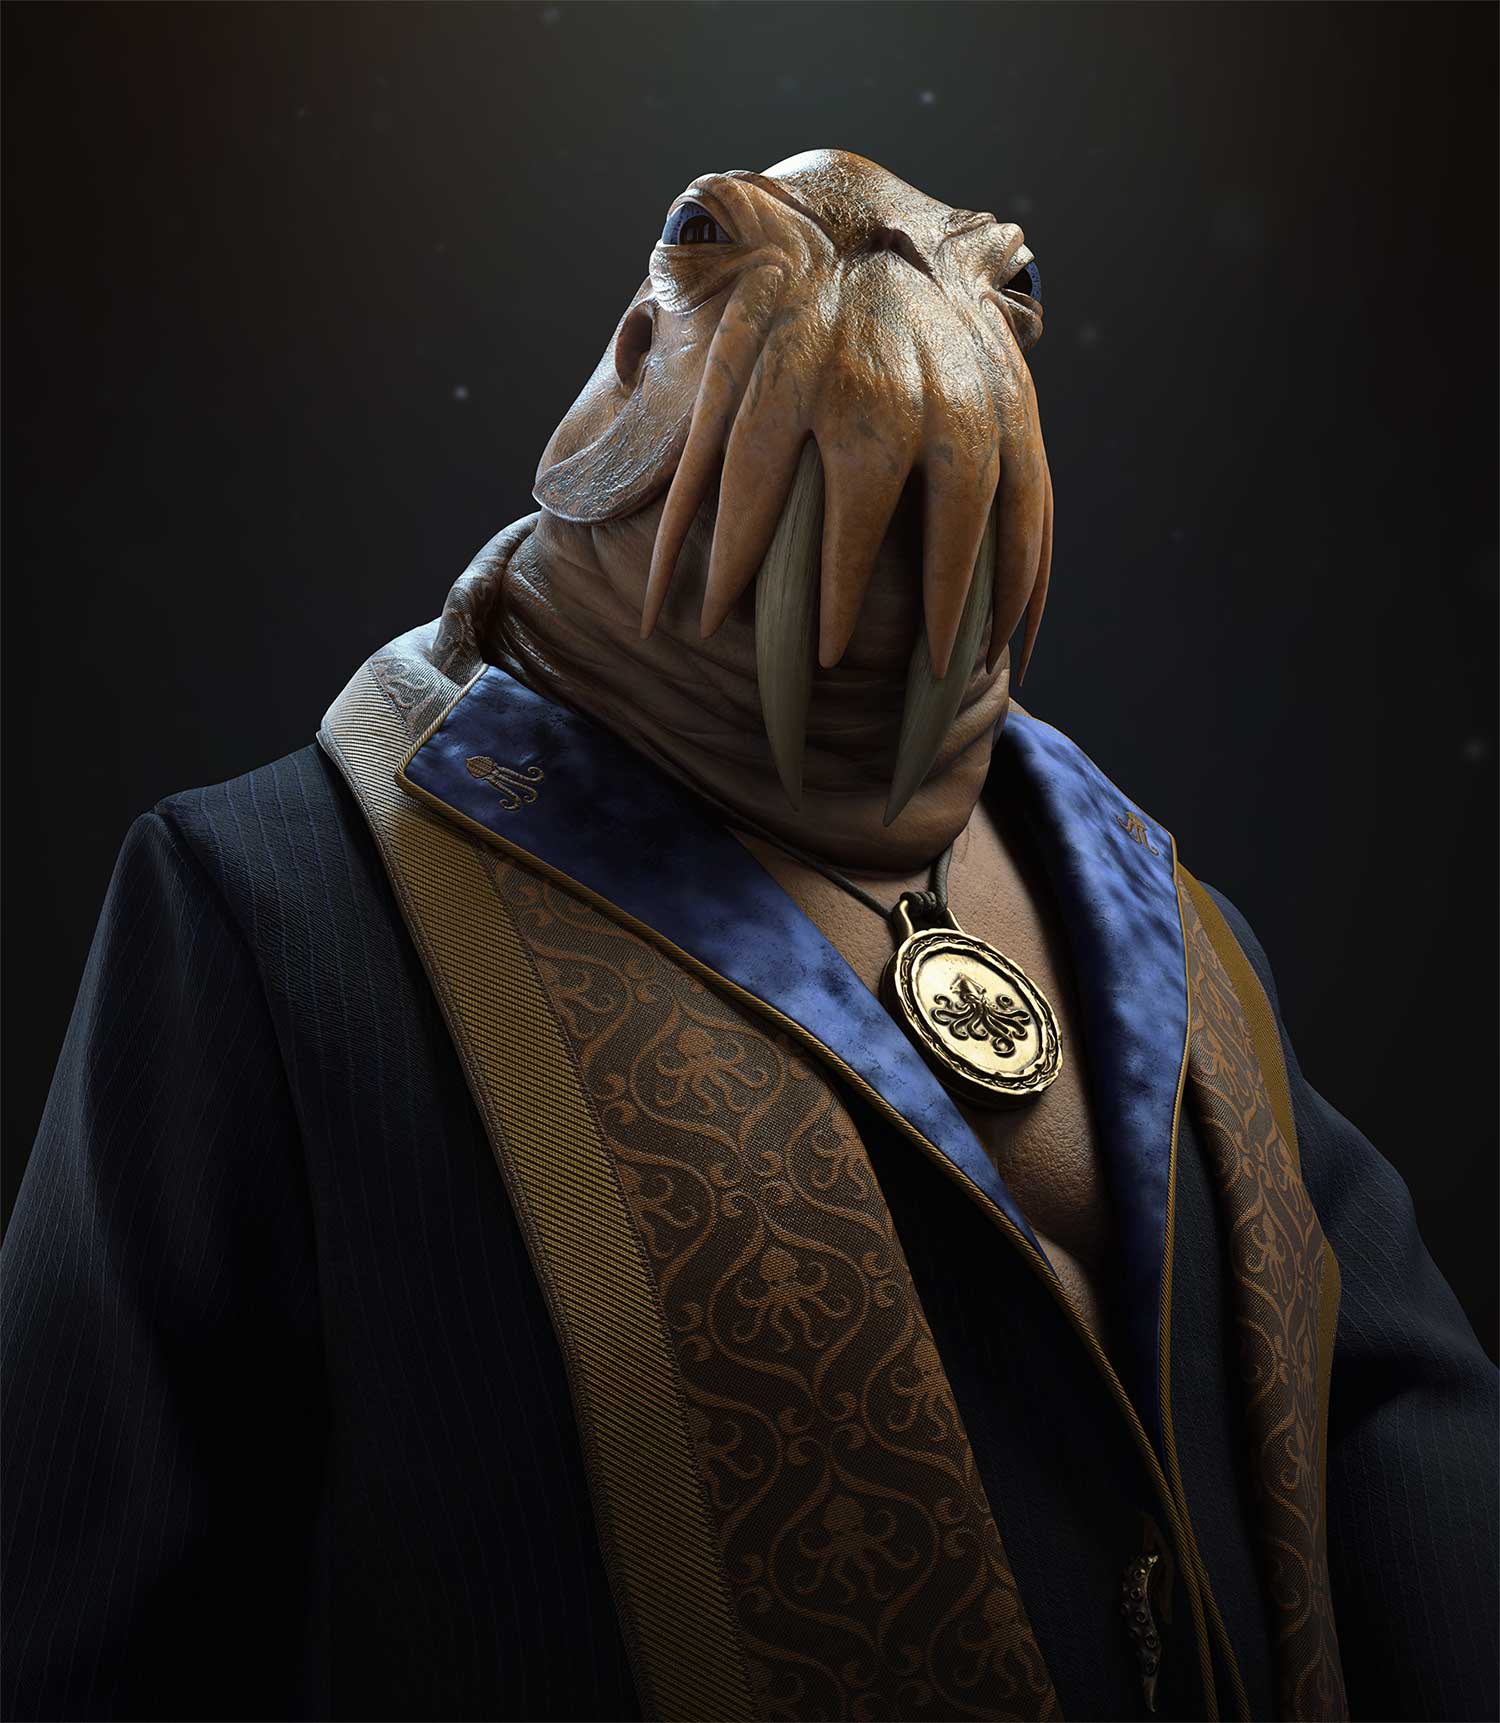
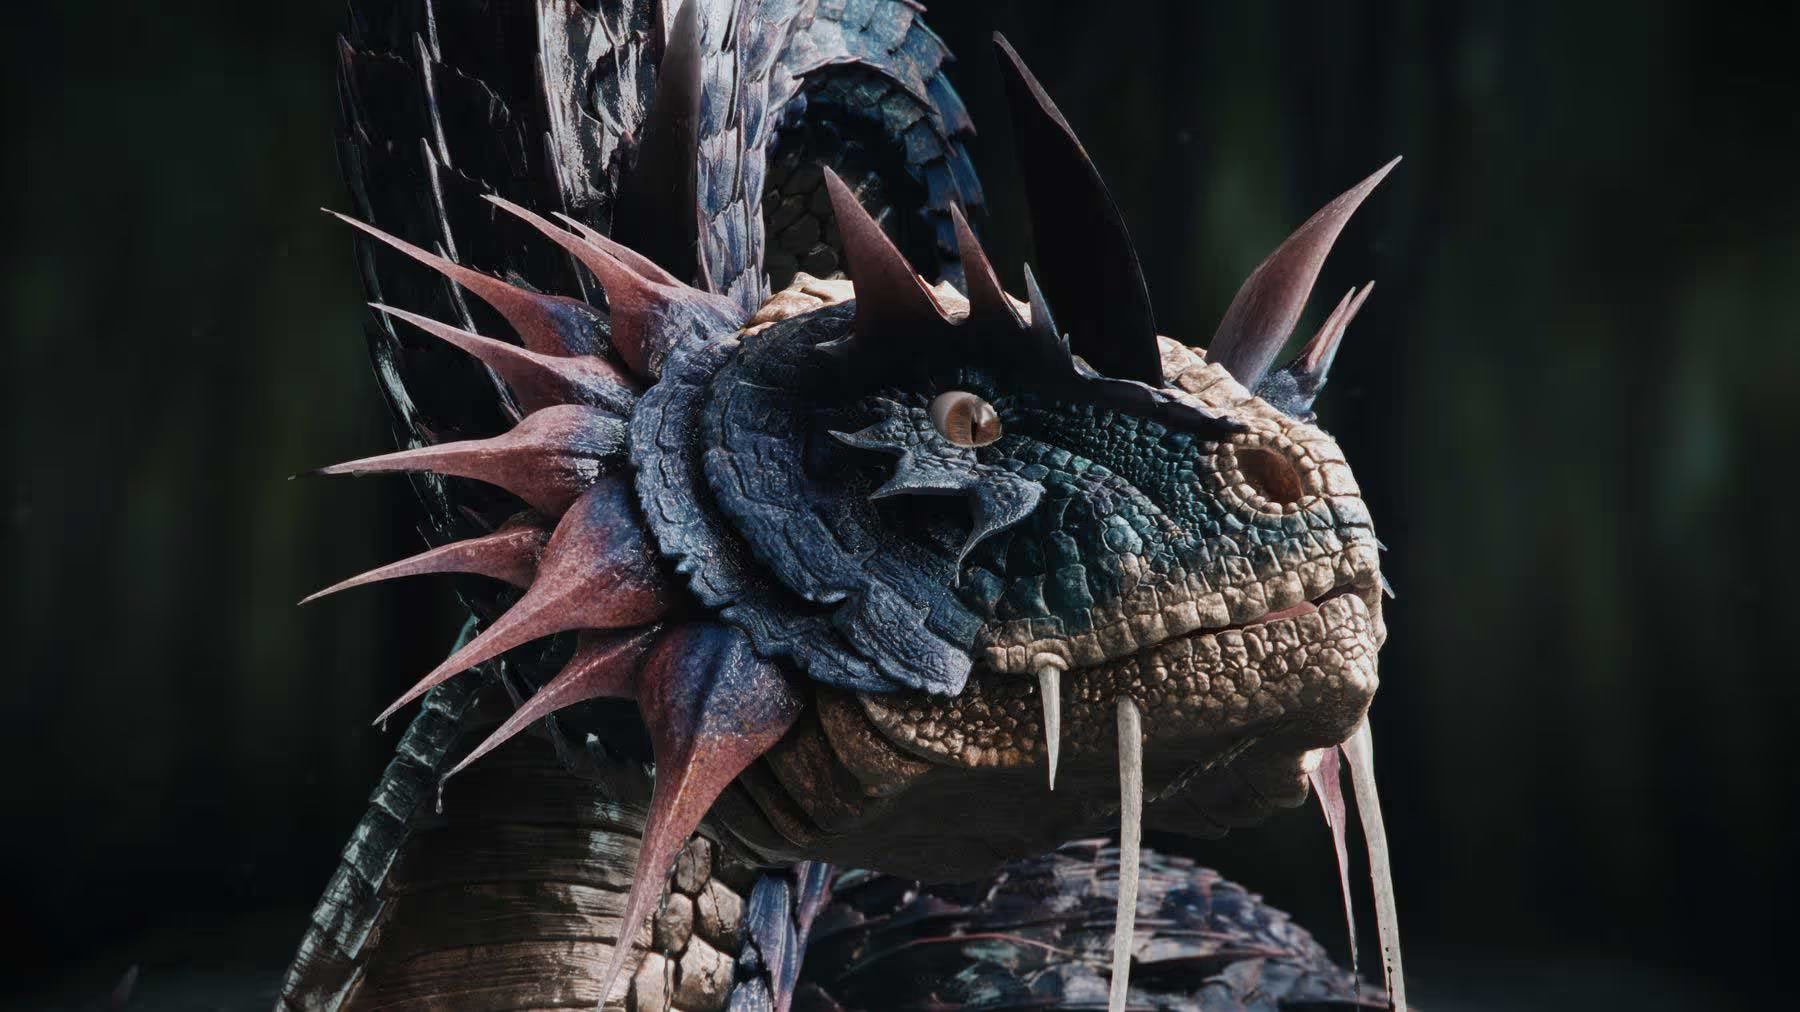
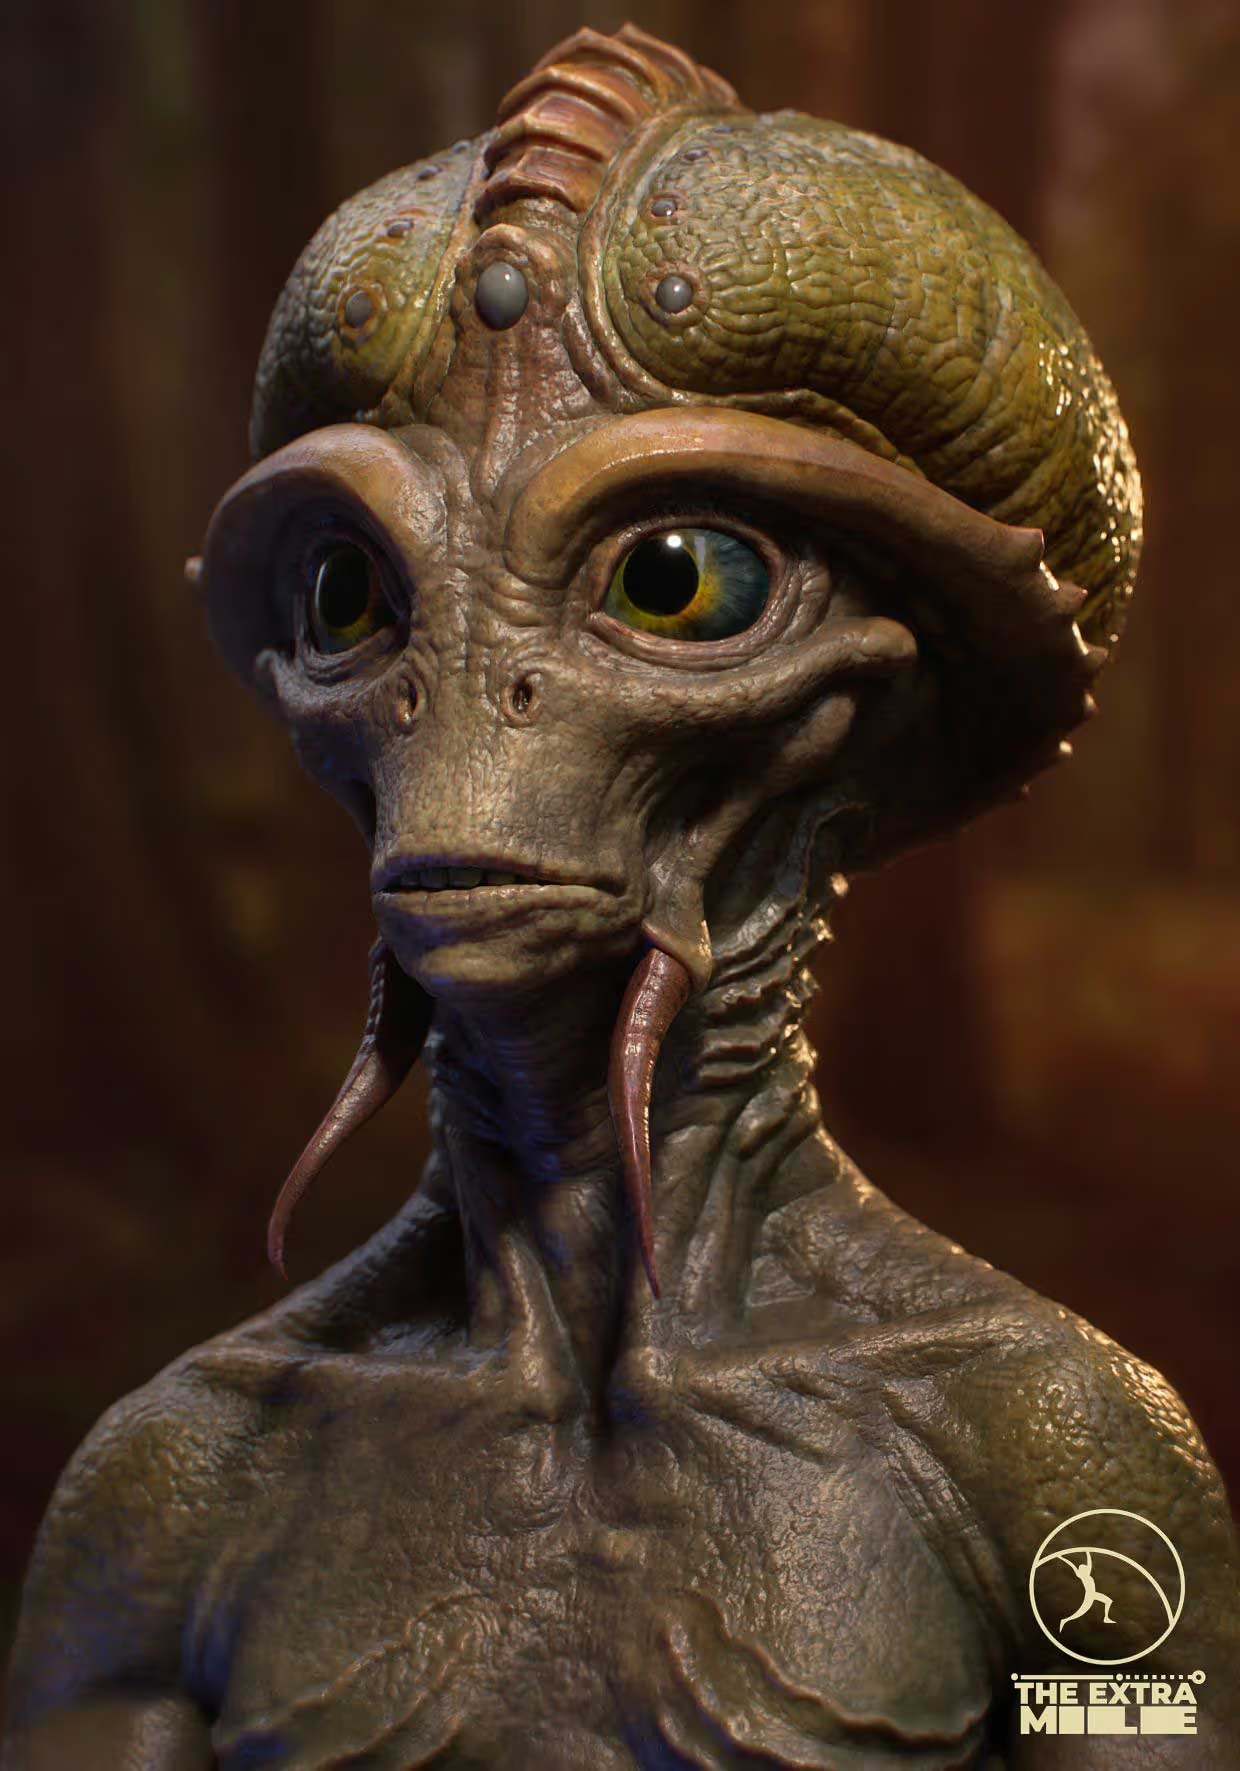
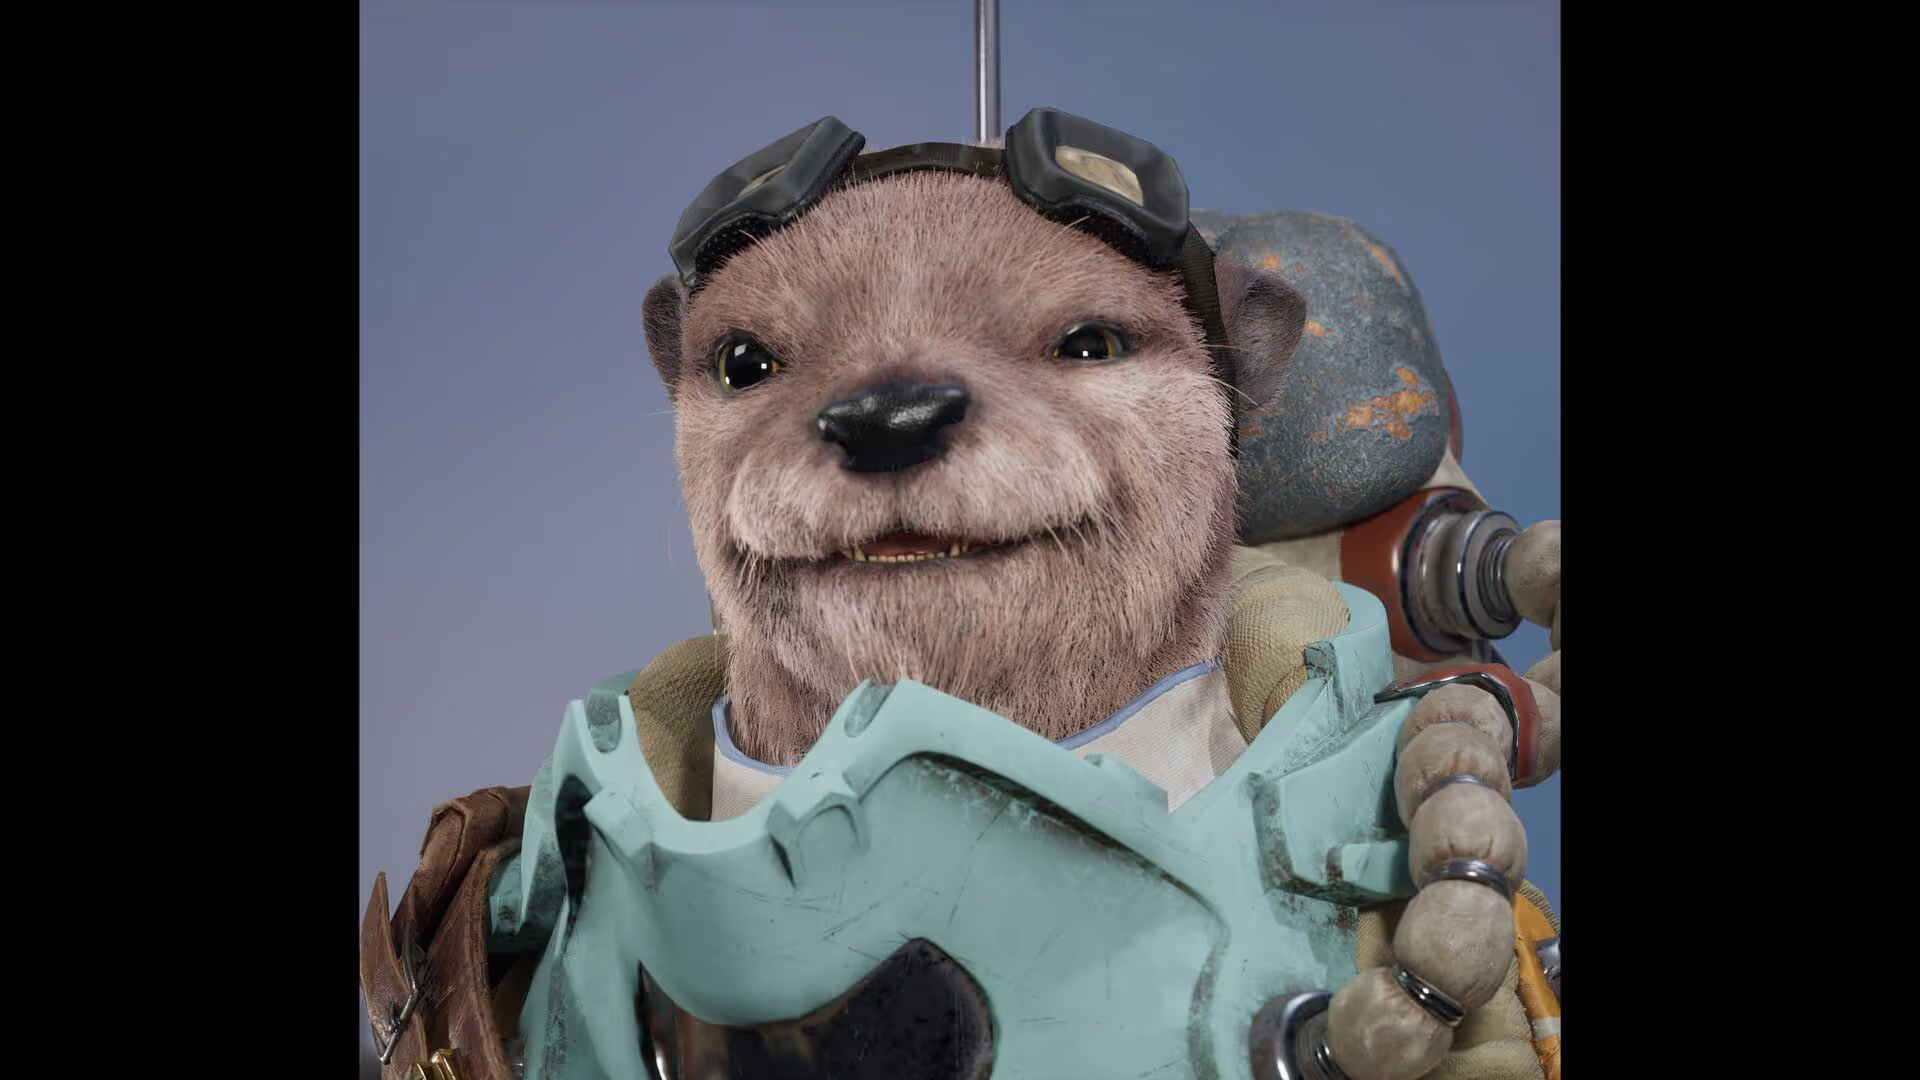
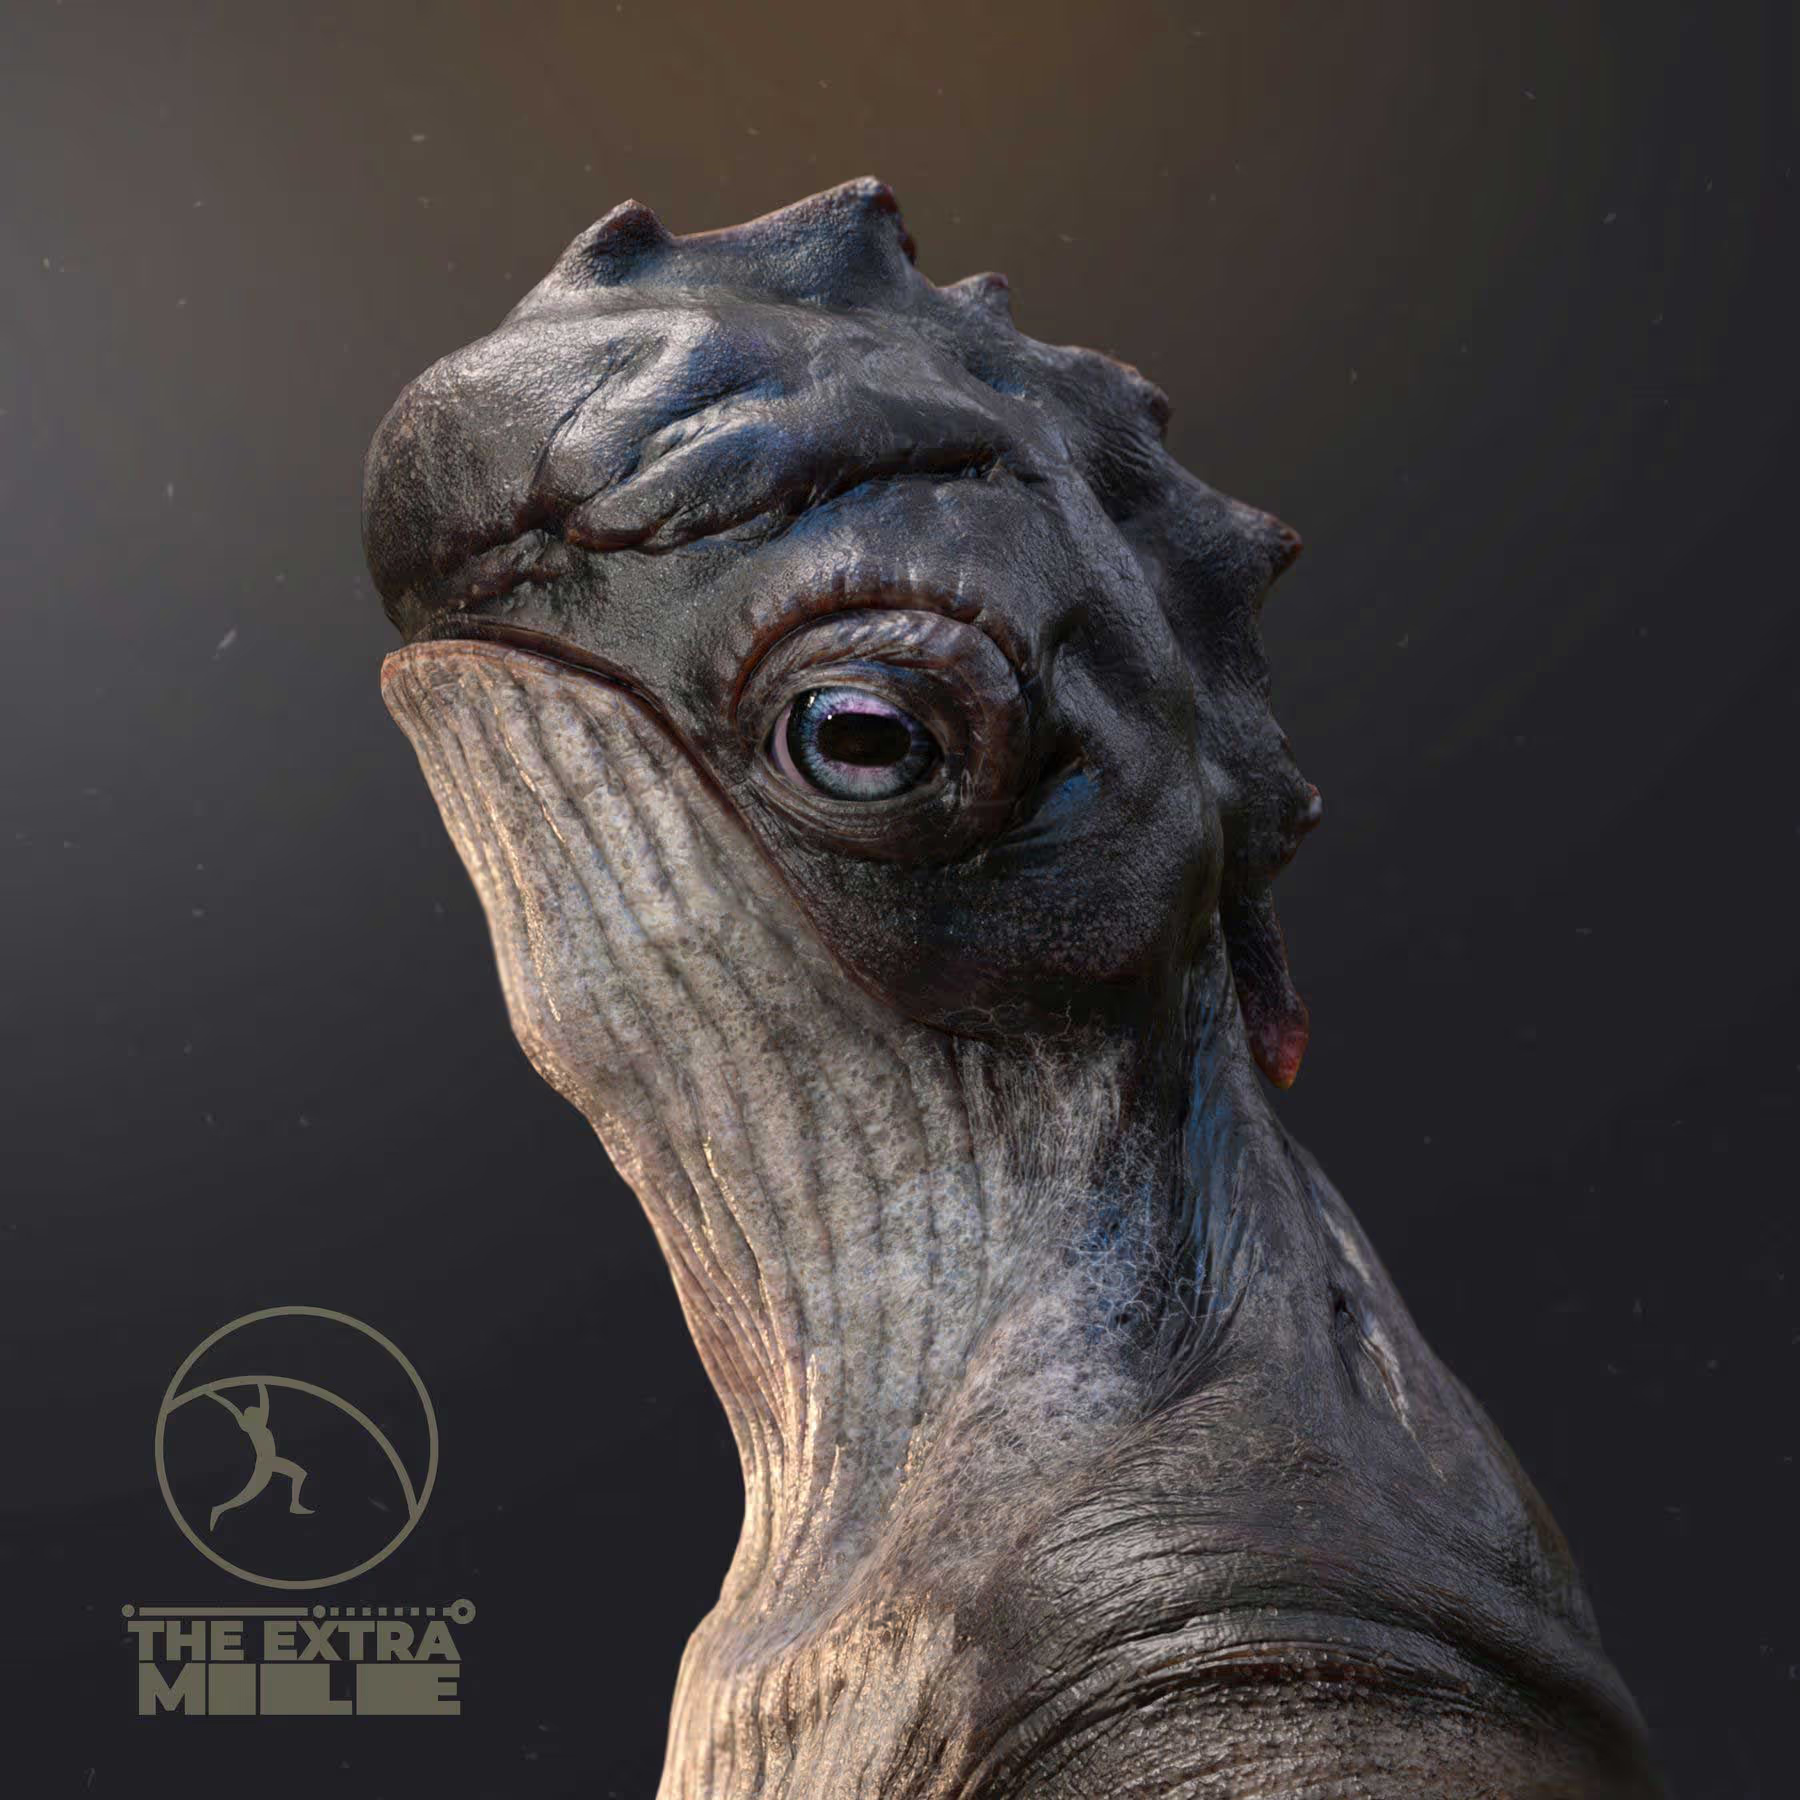
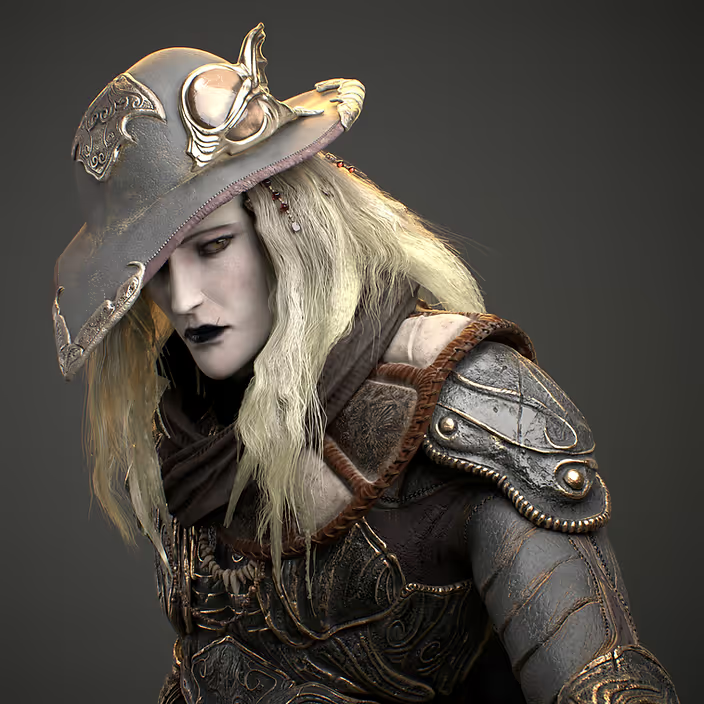
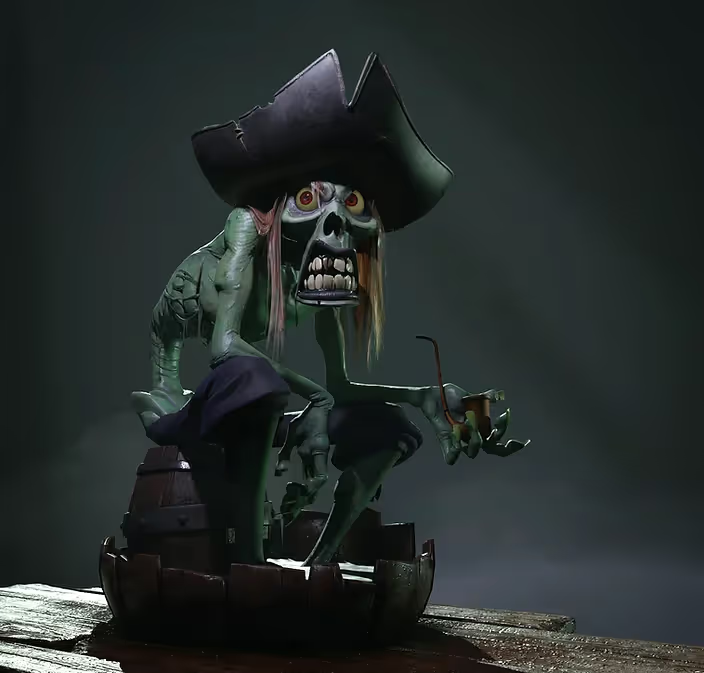
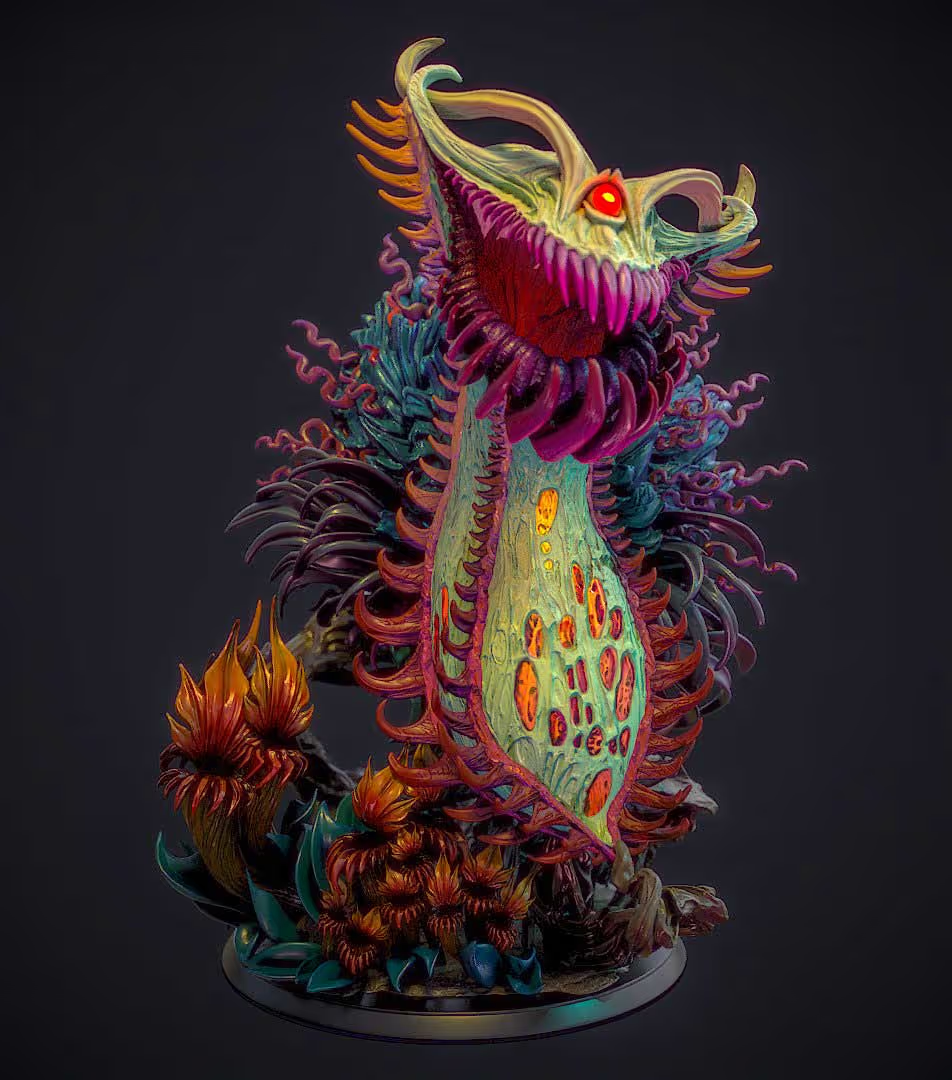
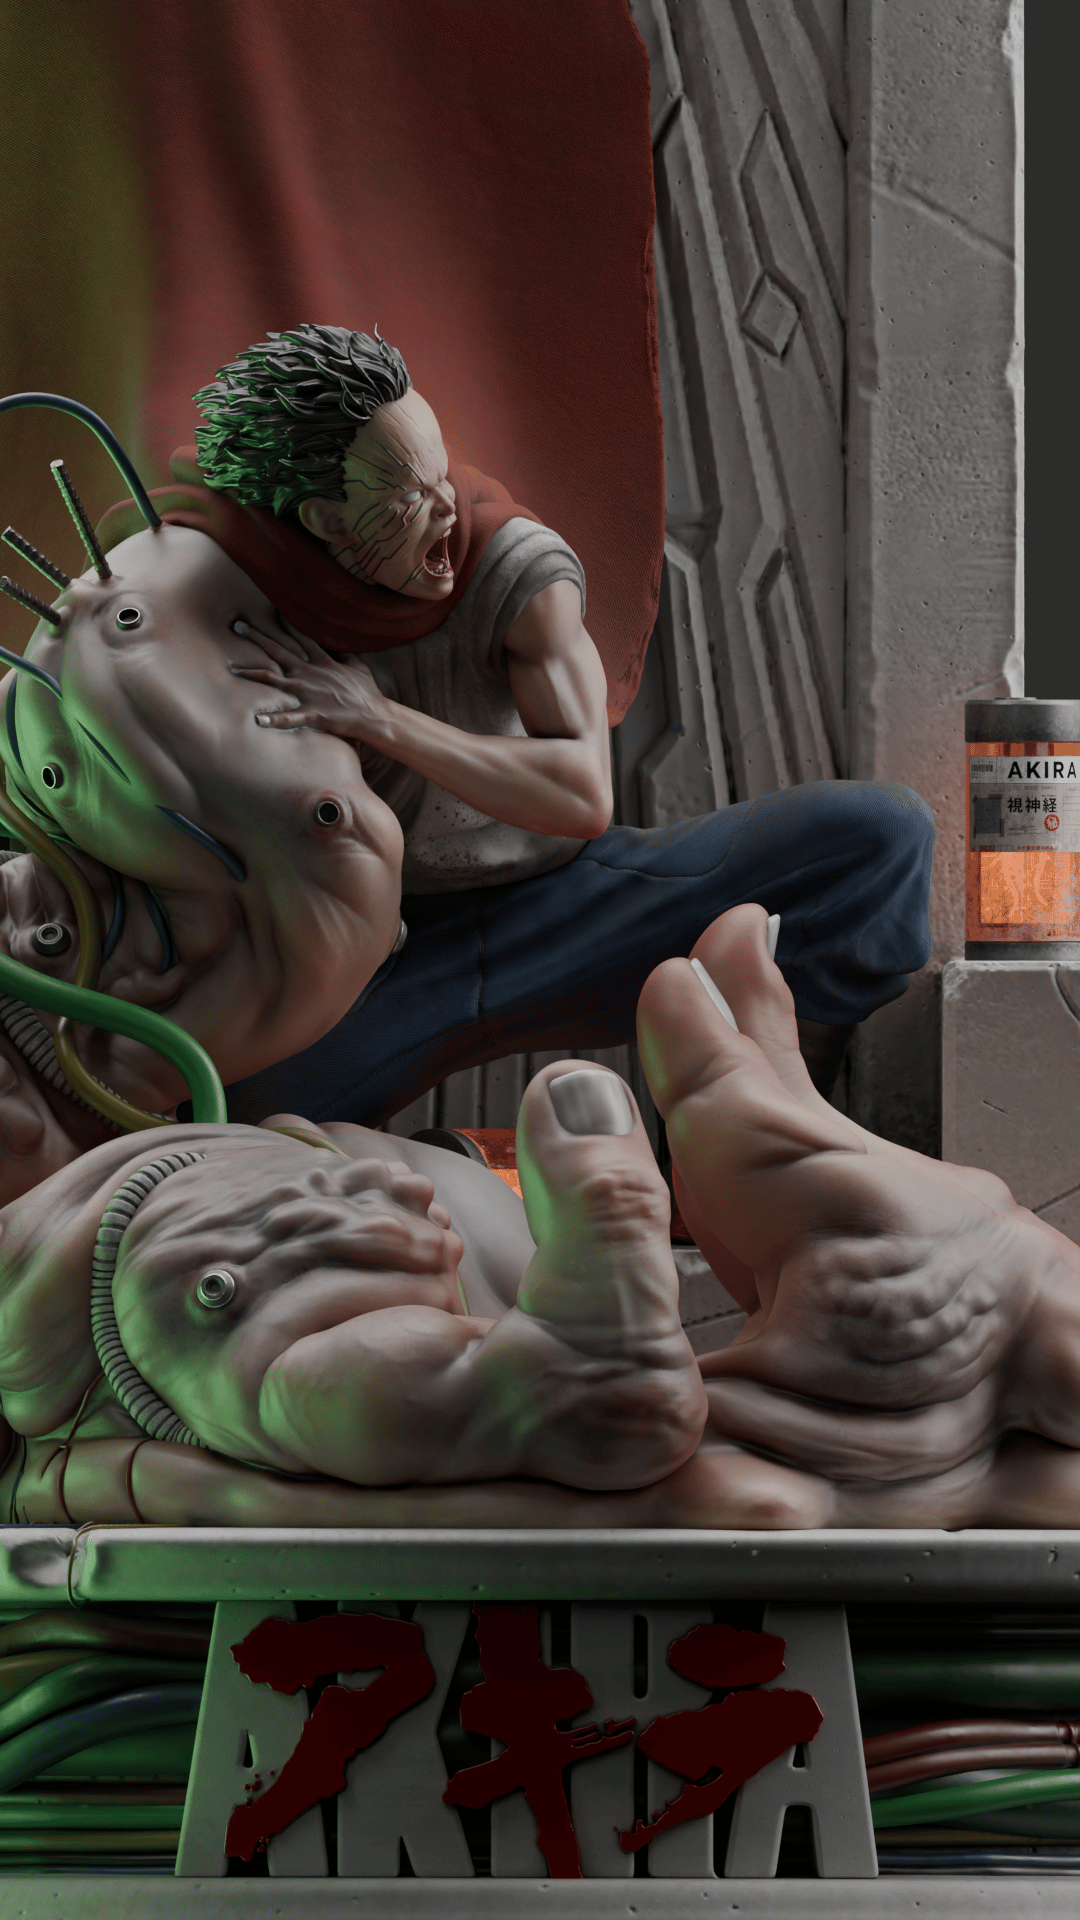
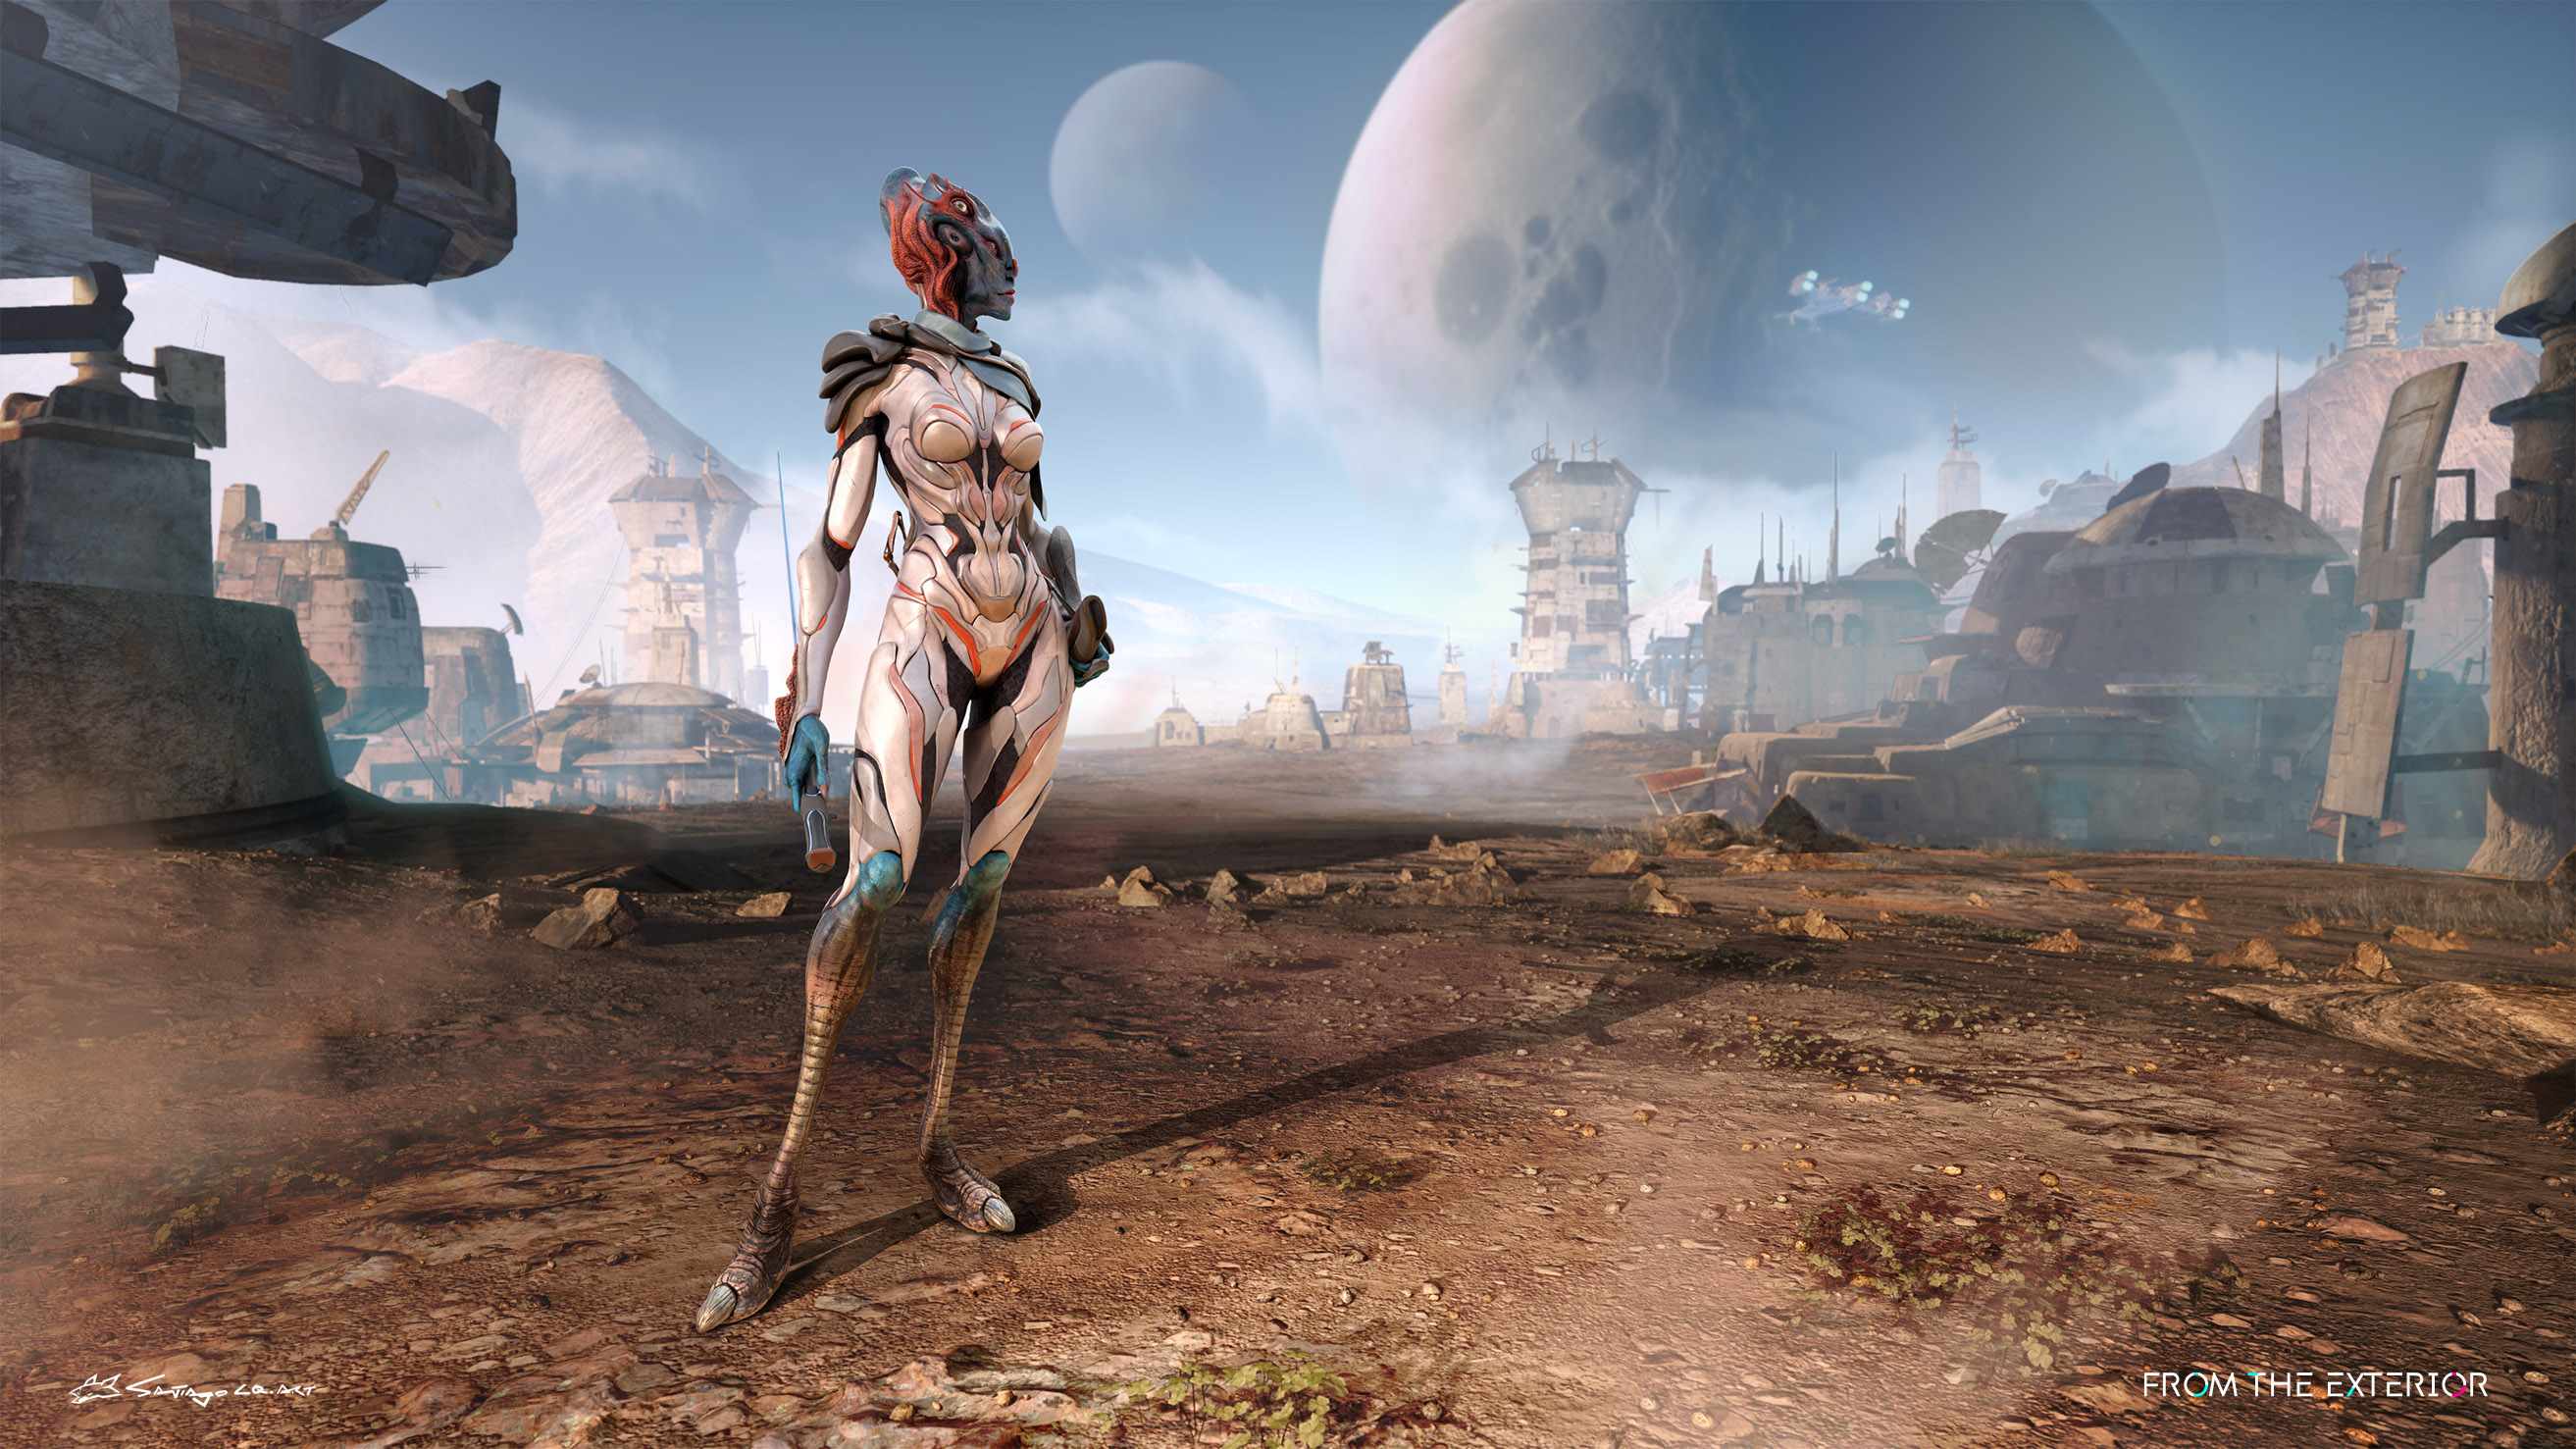
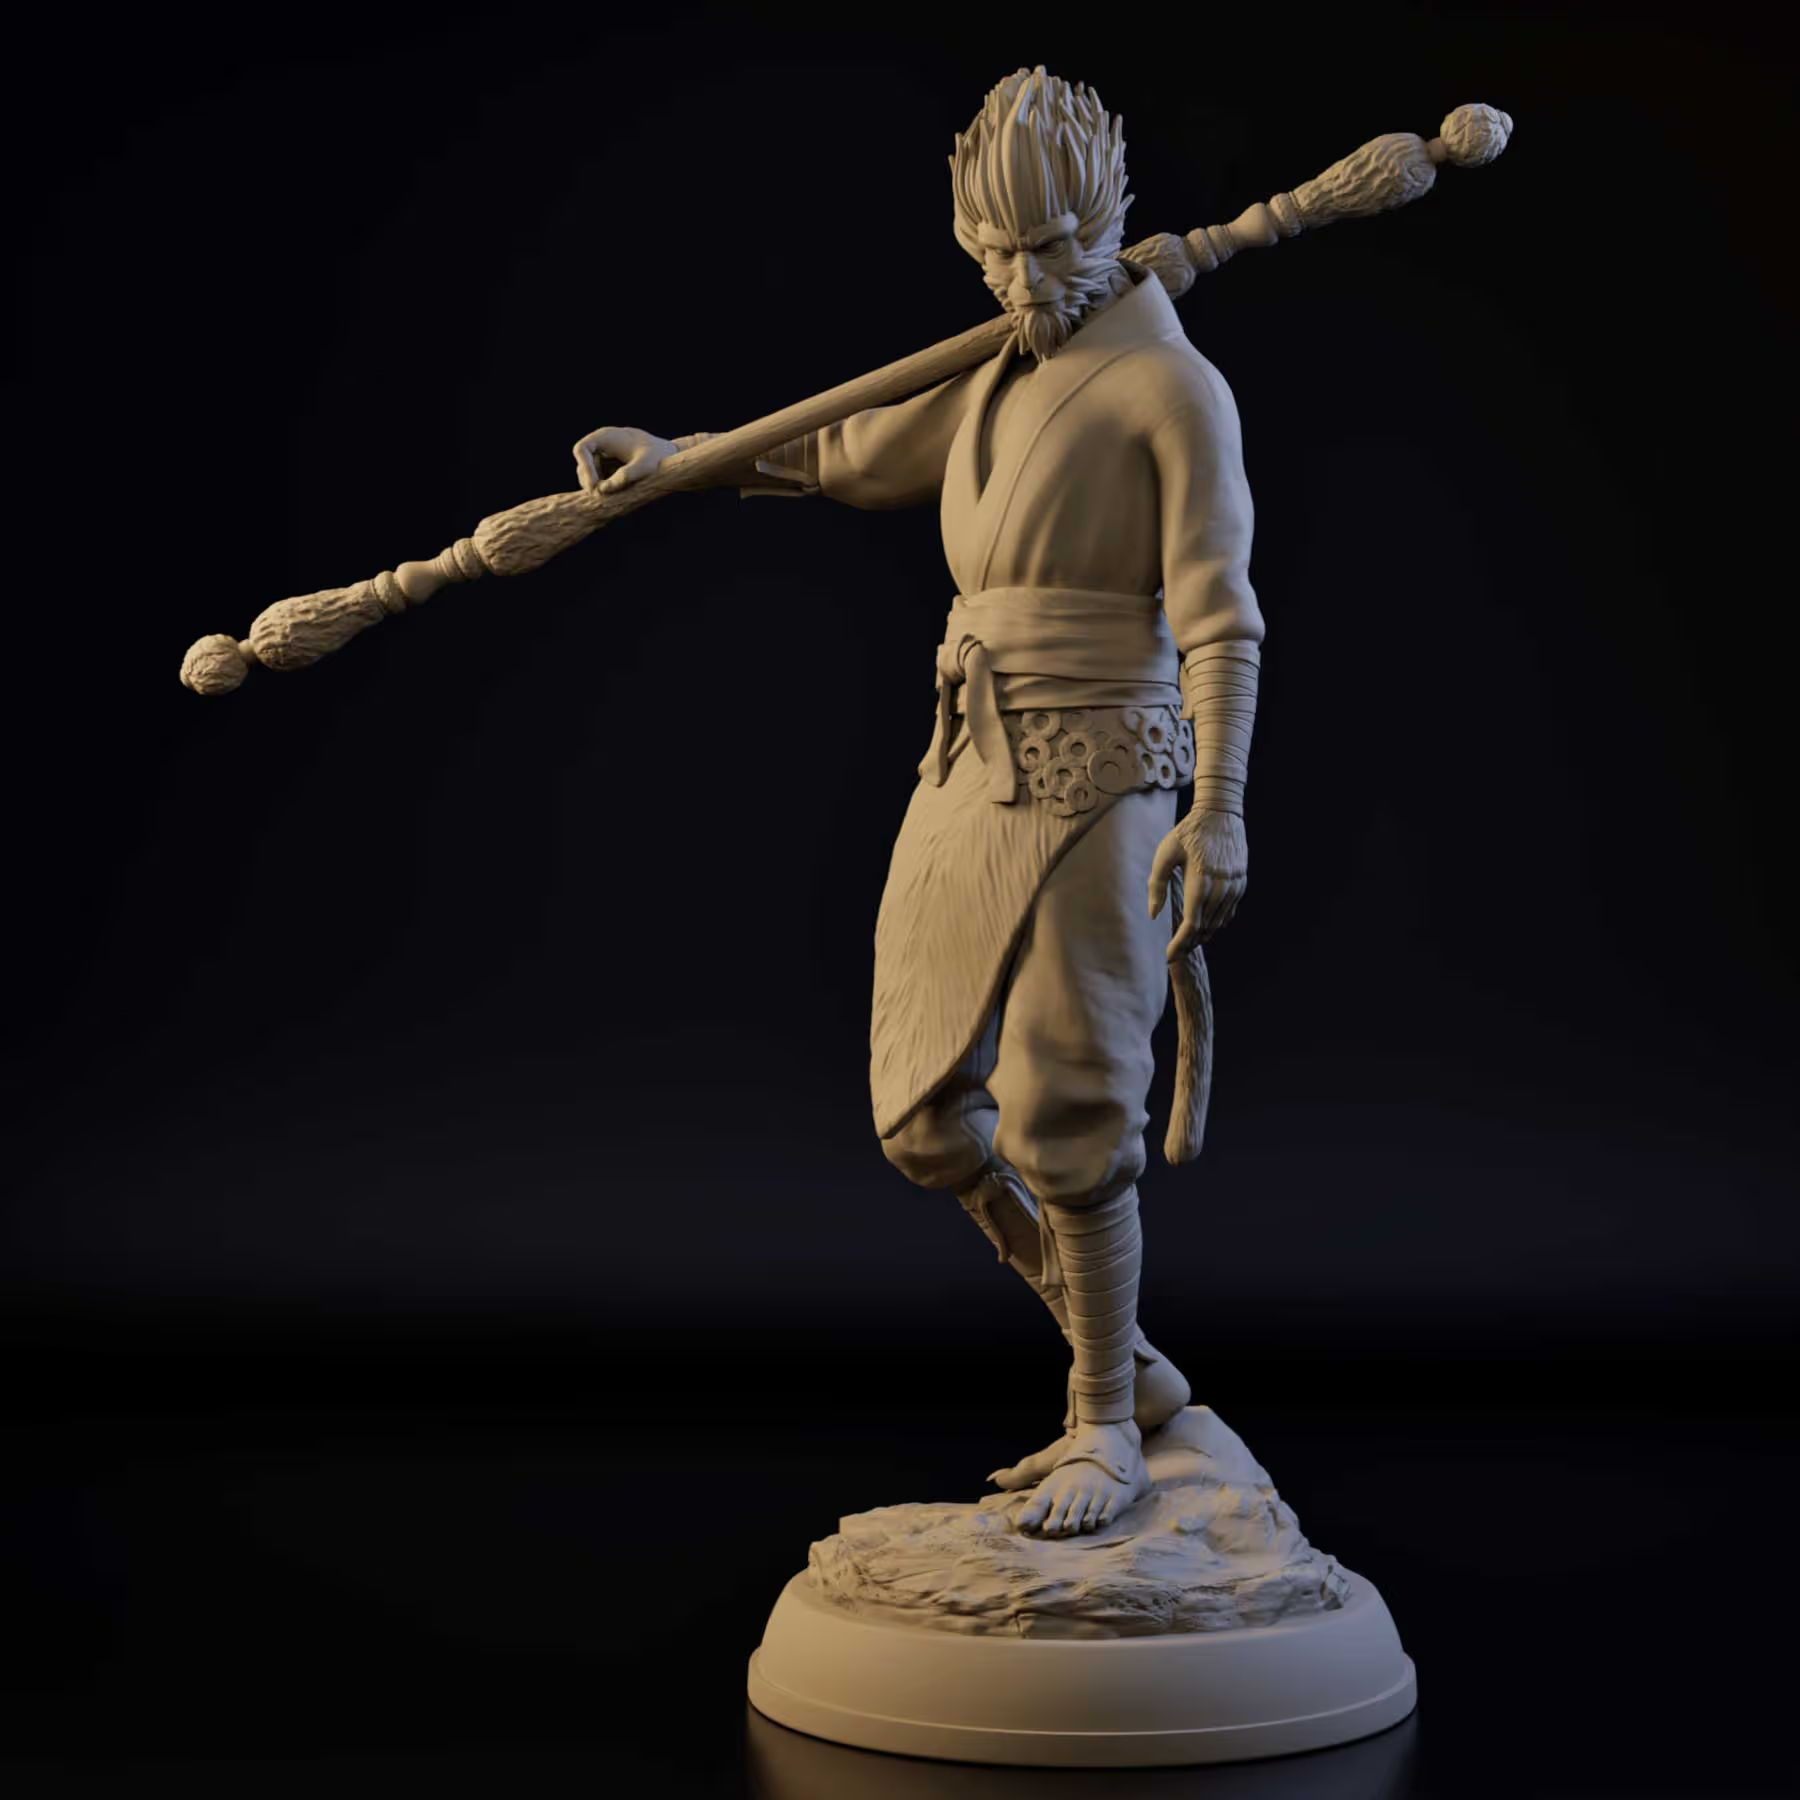
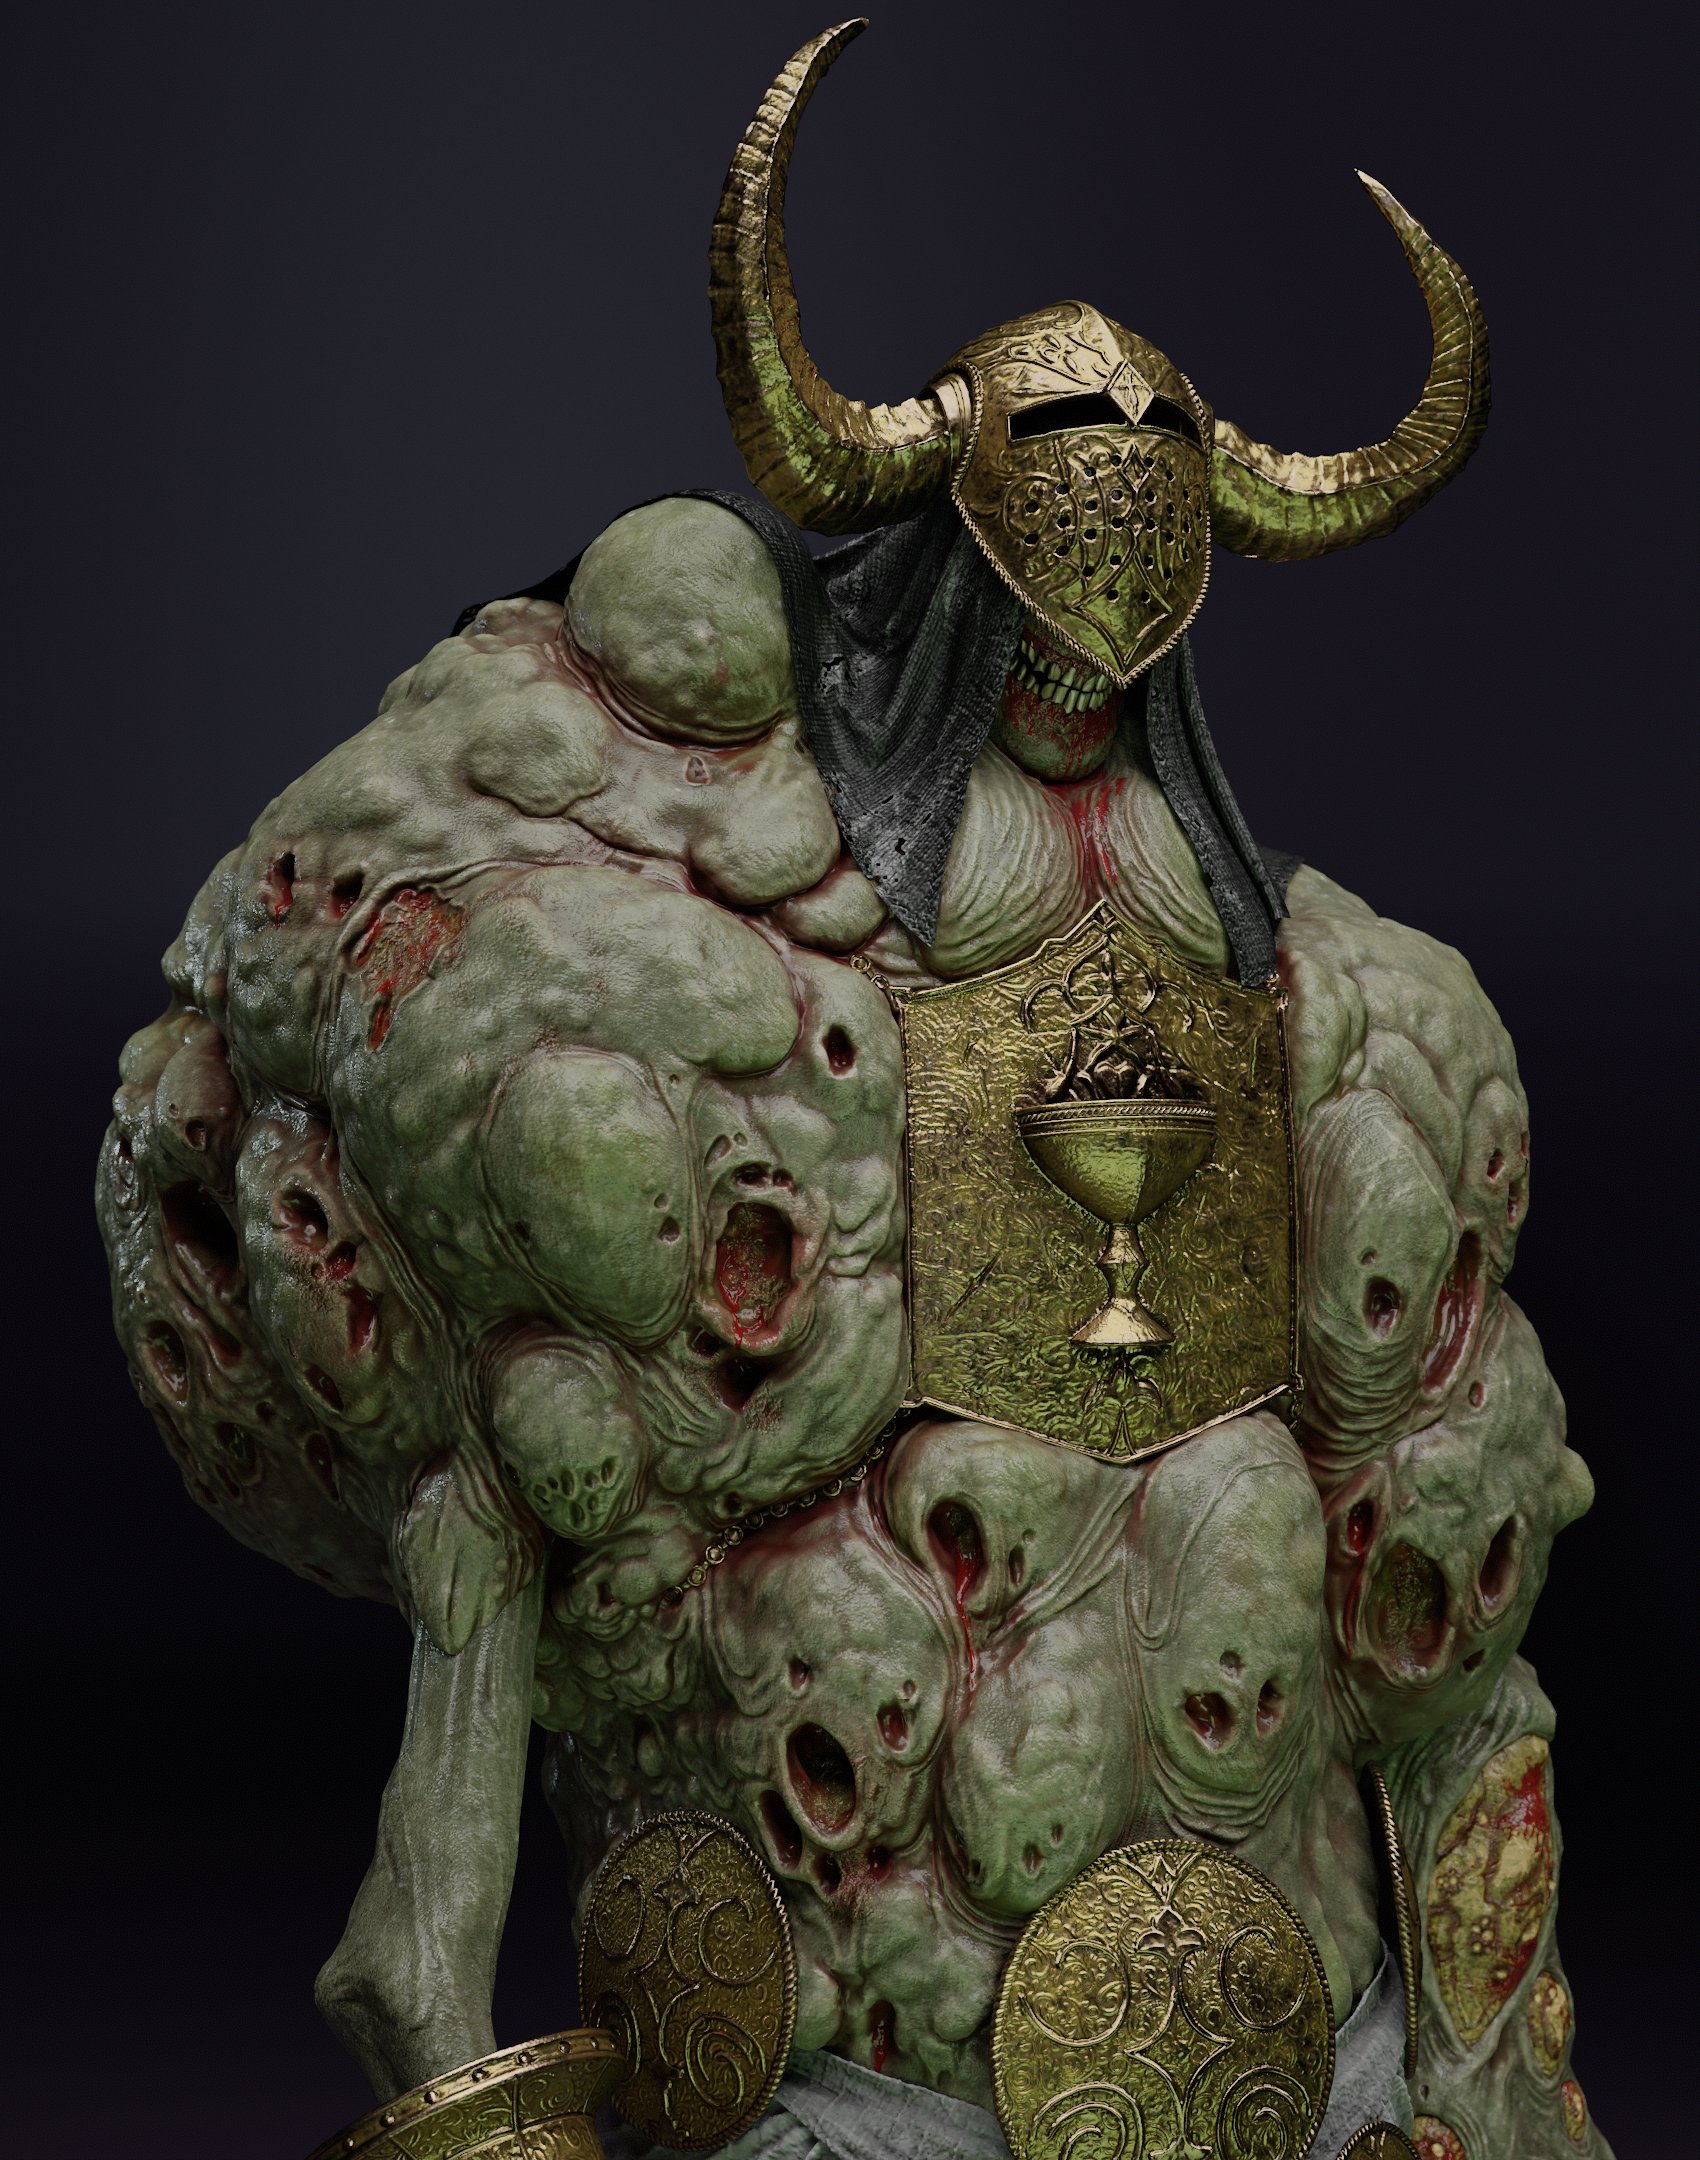
Work from the 'Extramilers'
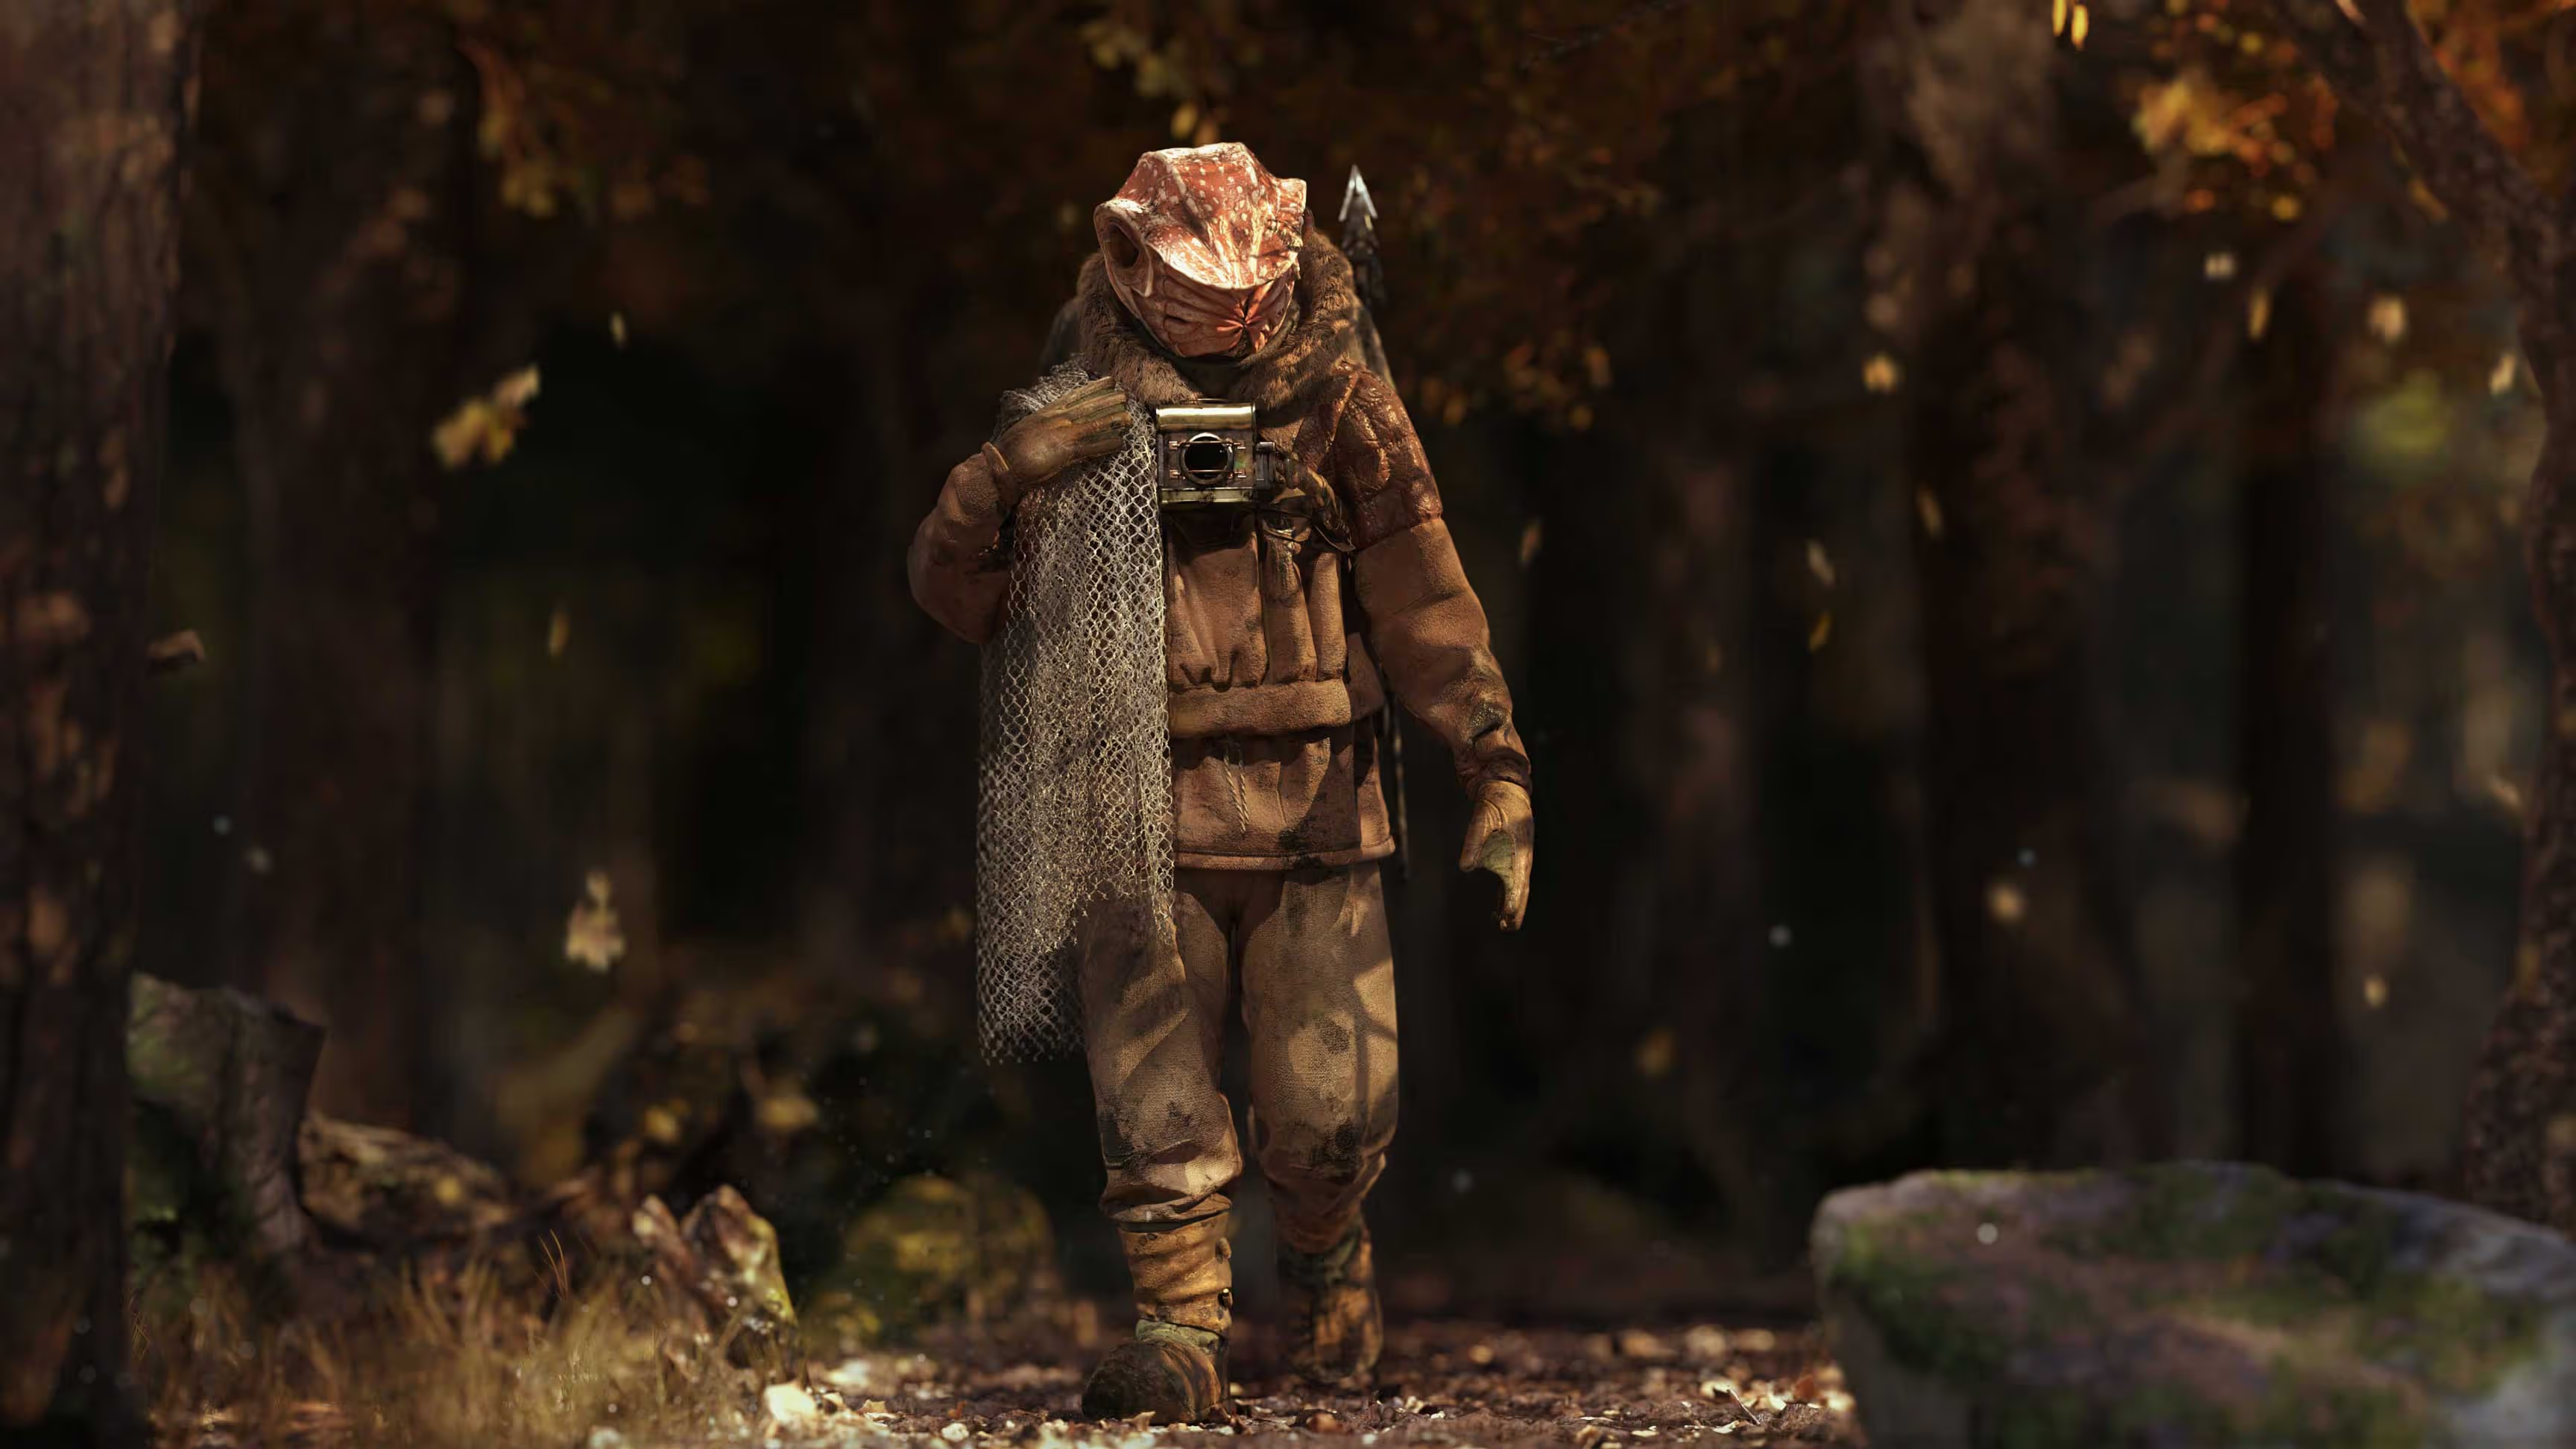
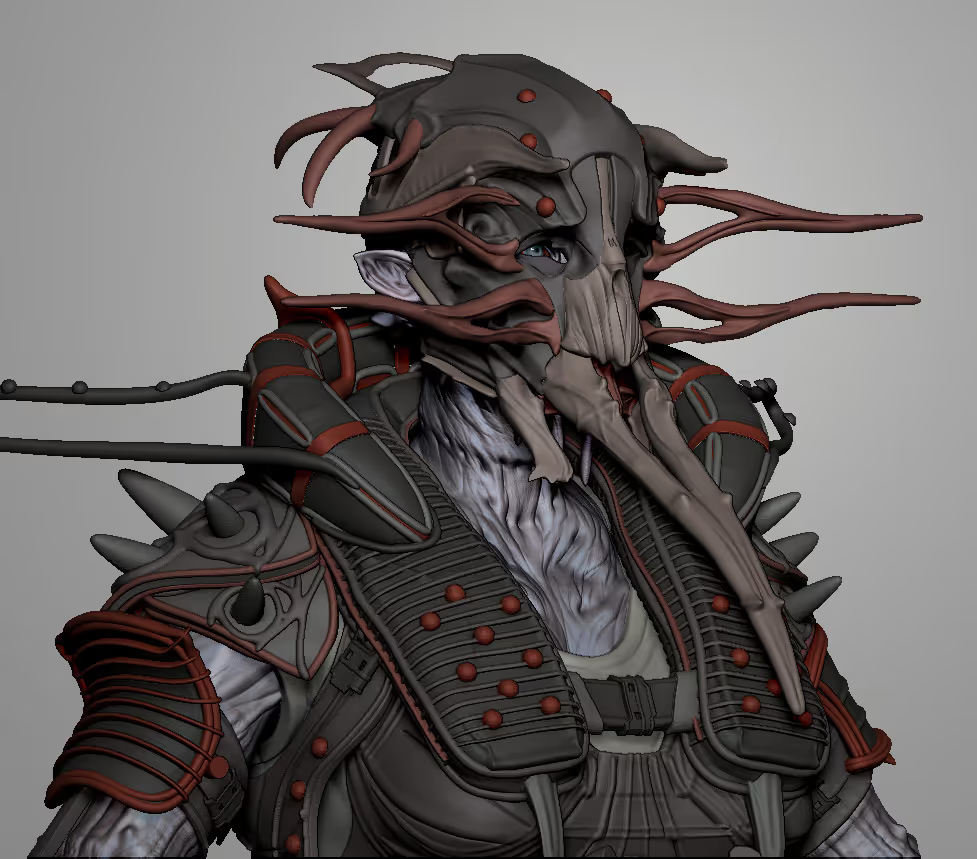
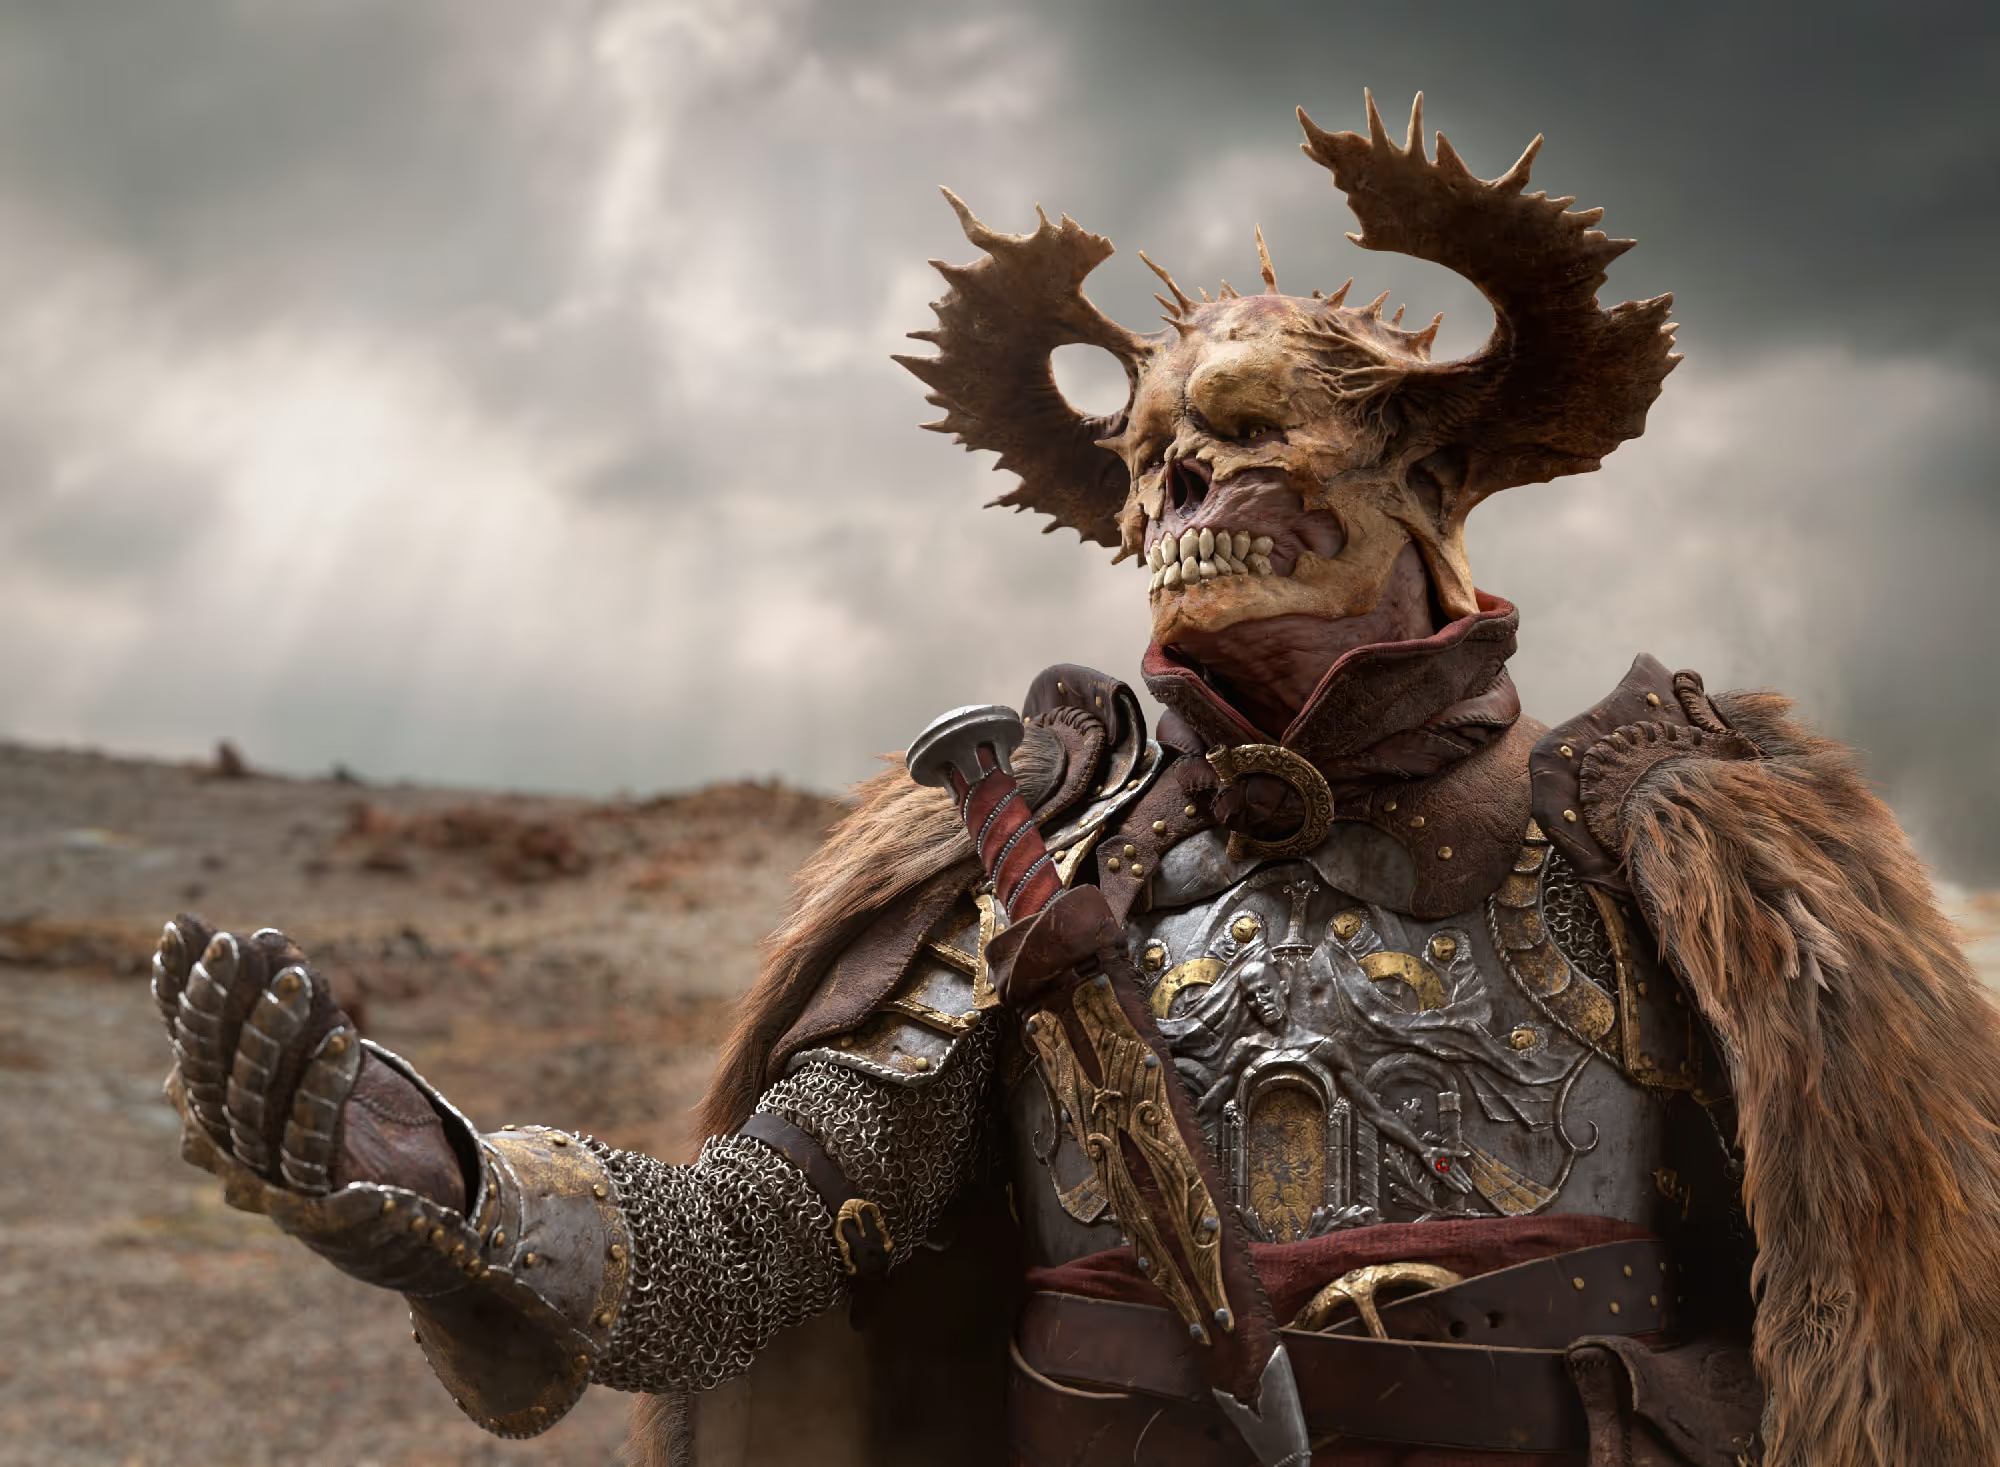
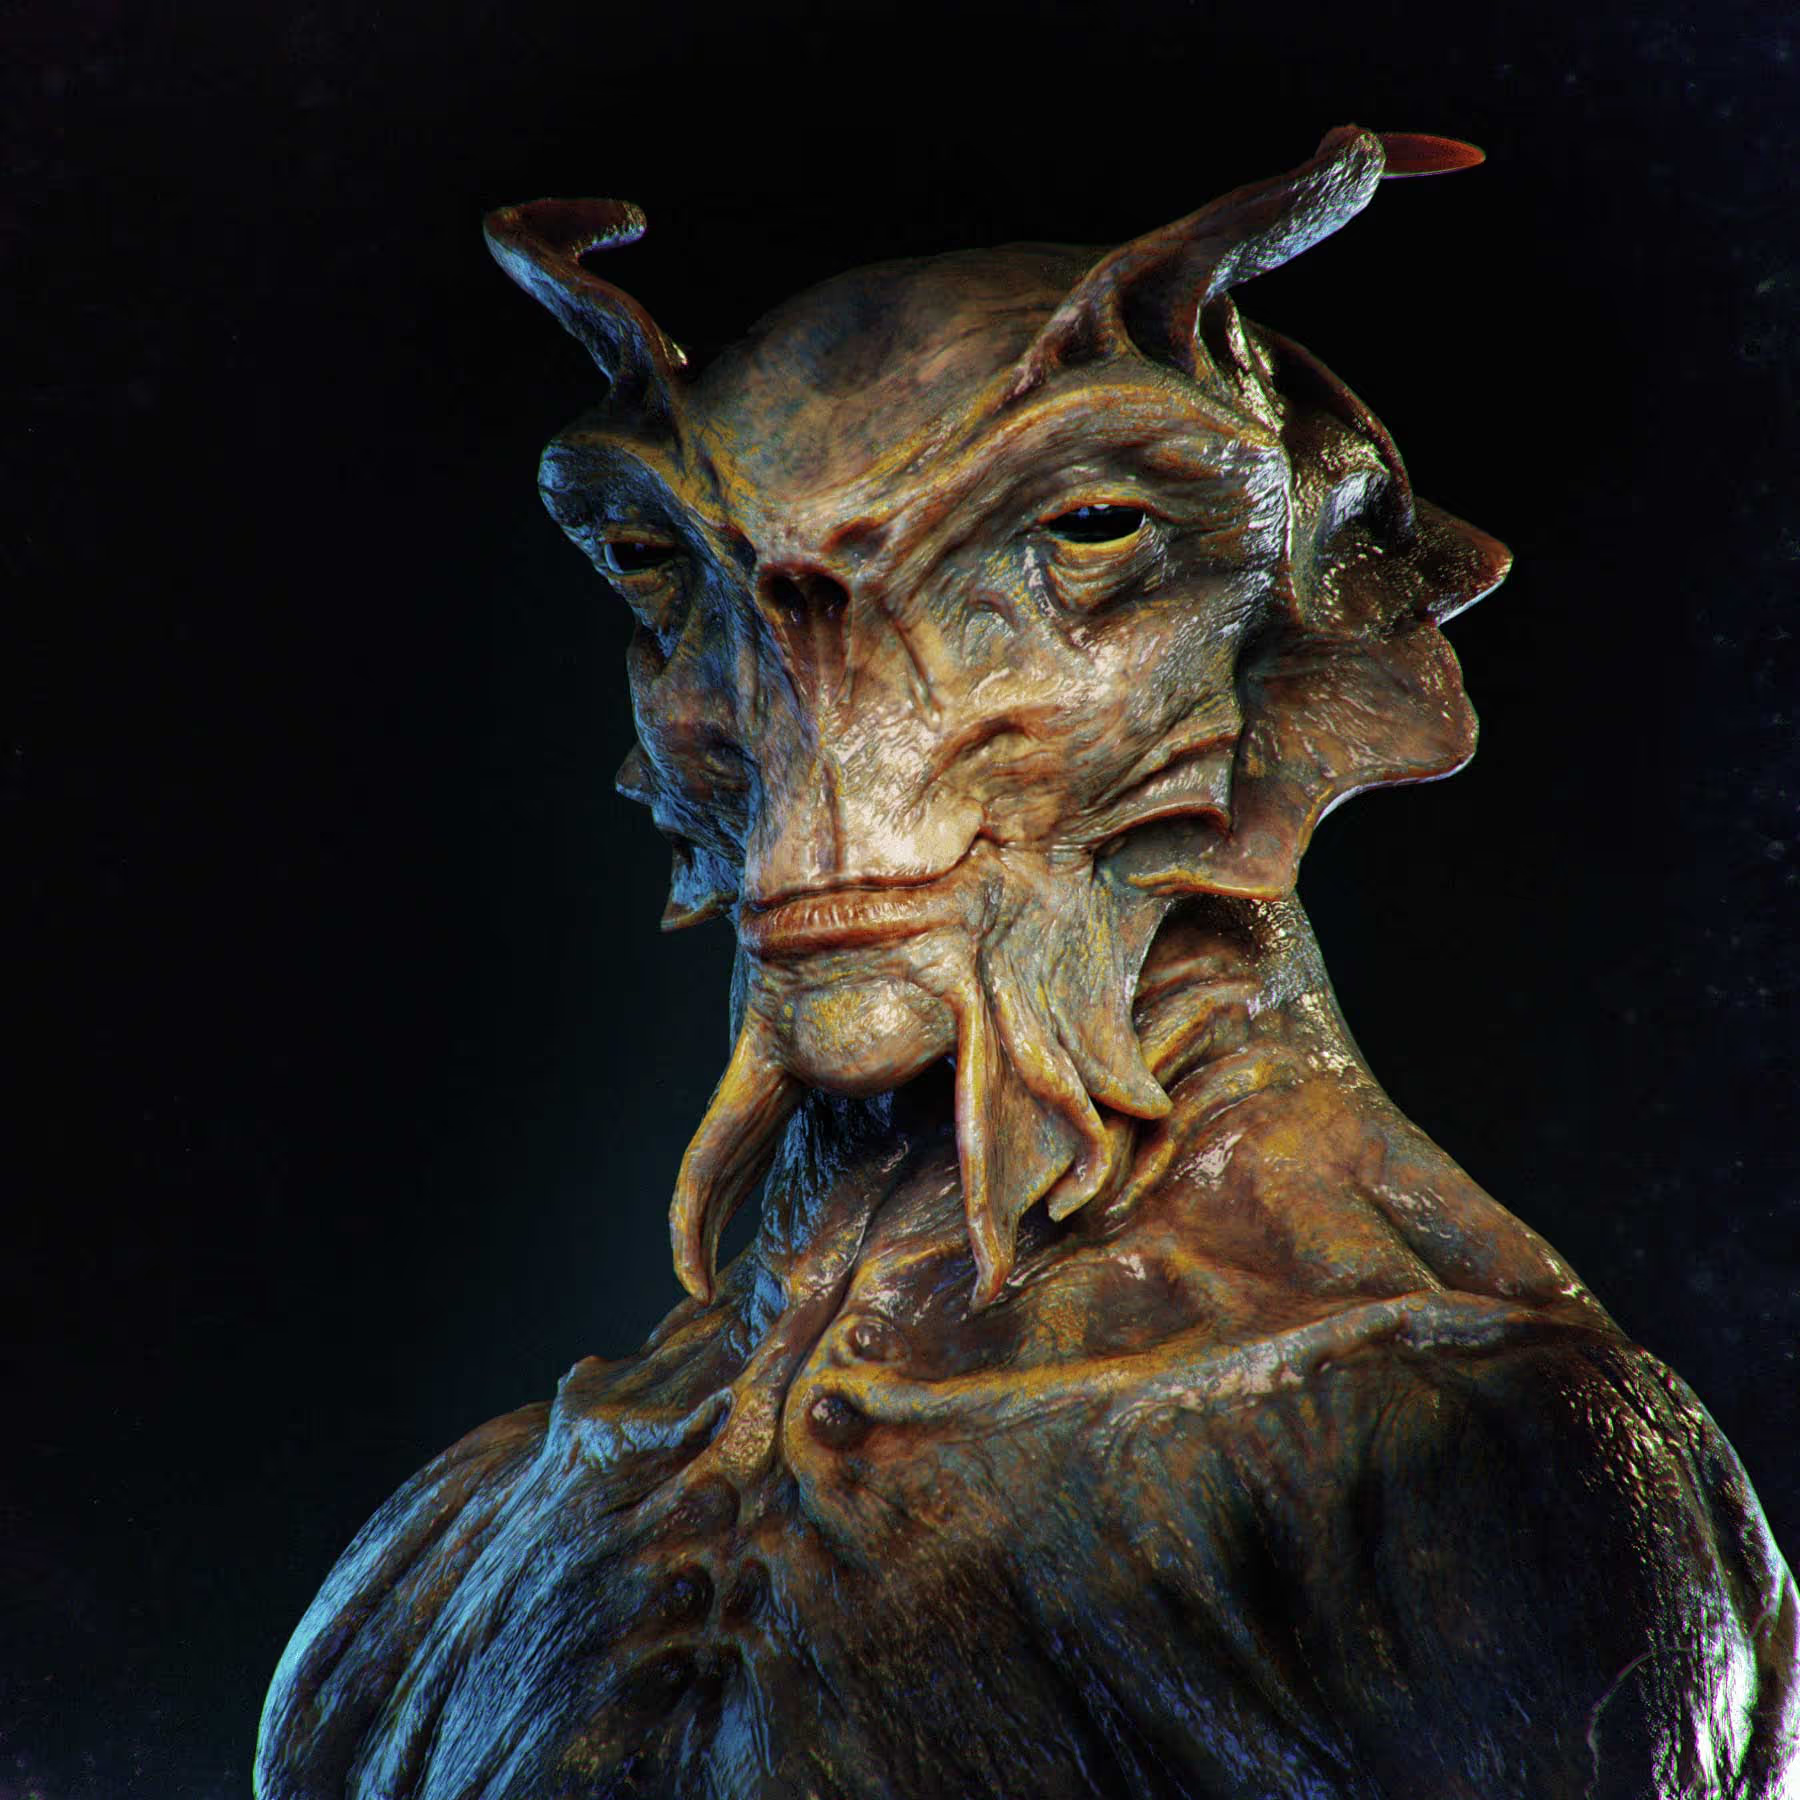
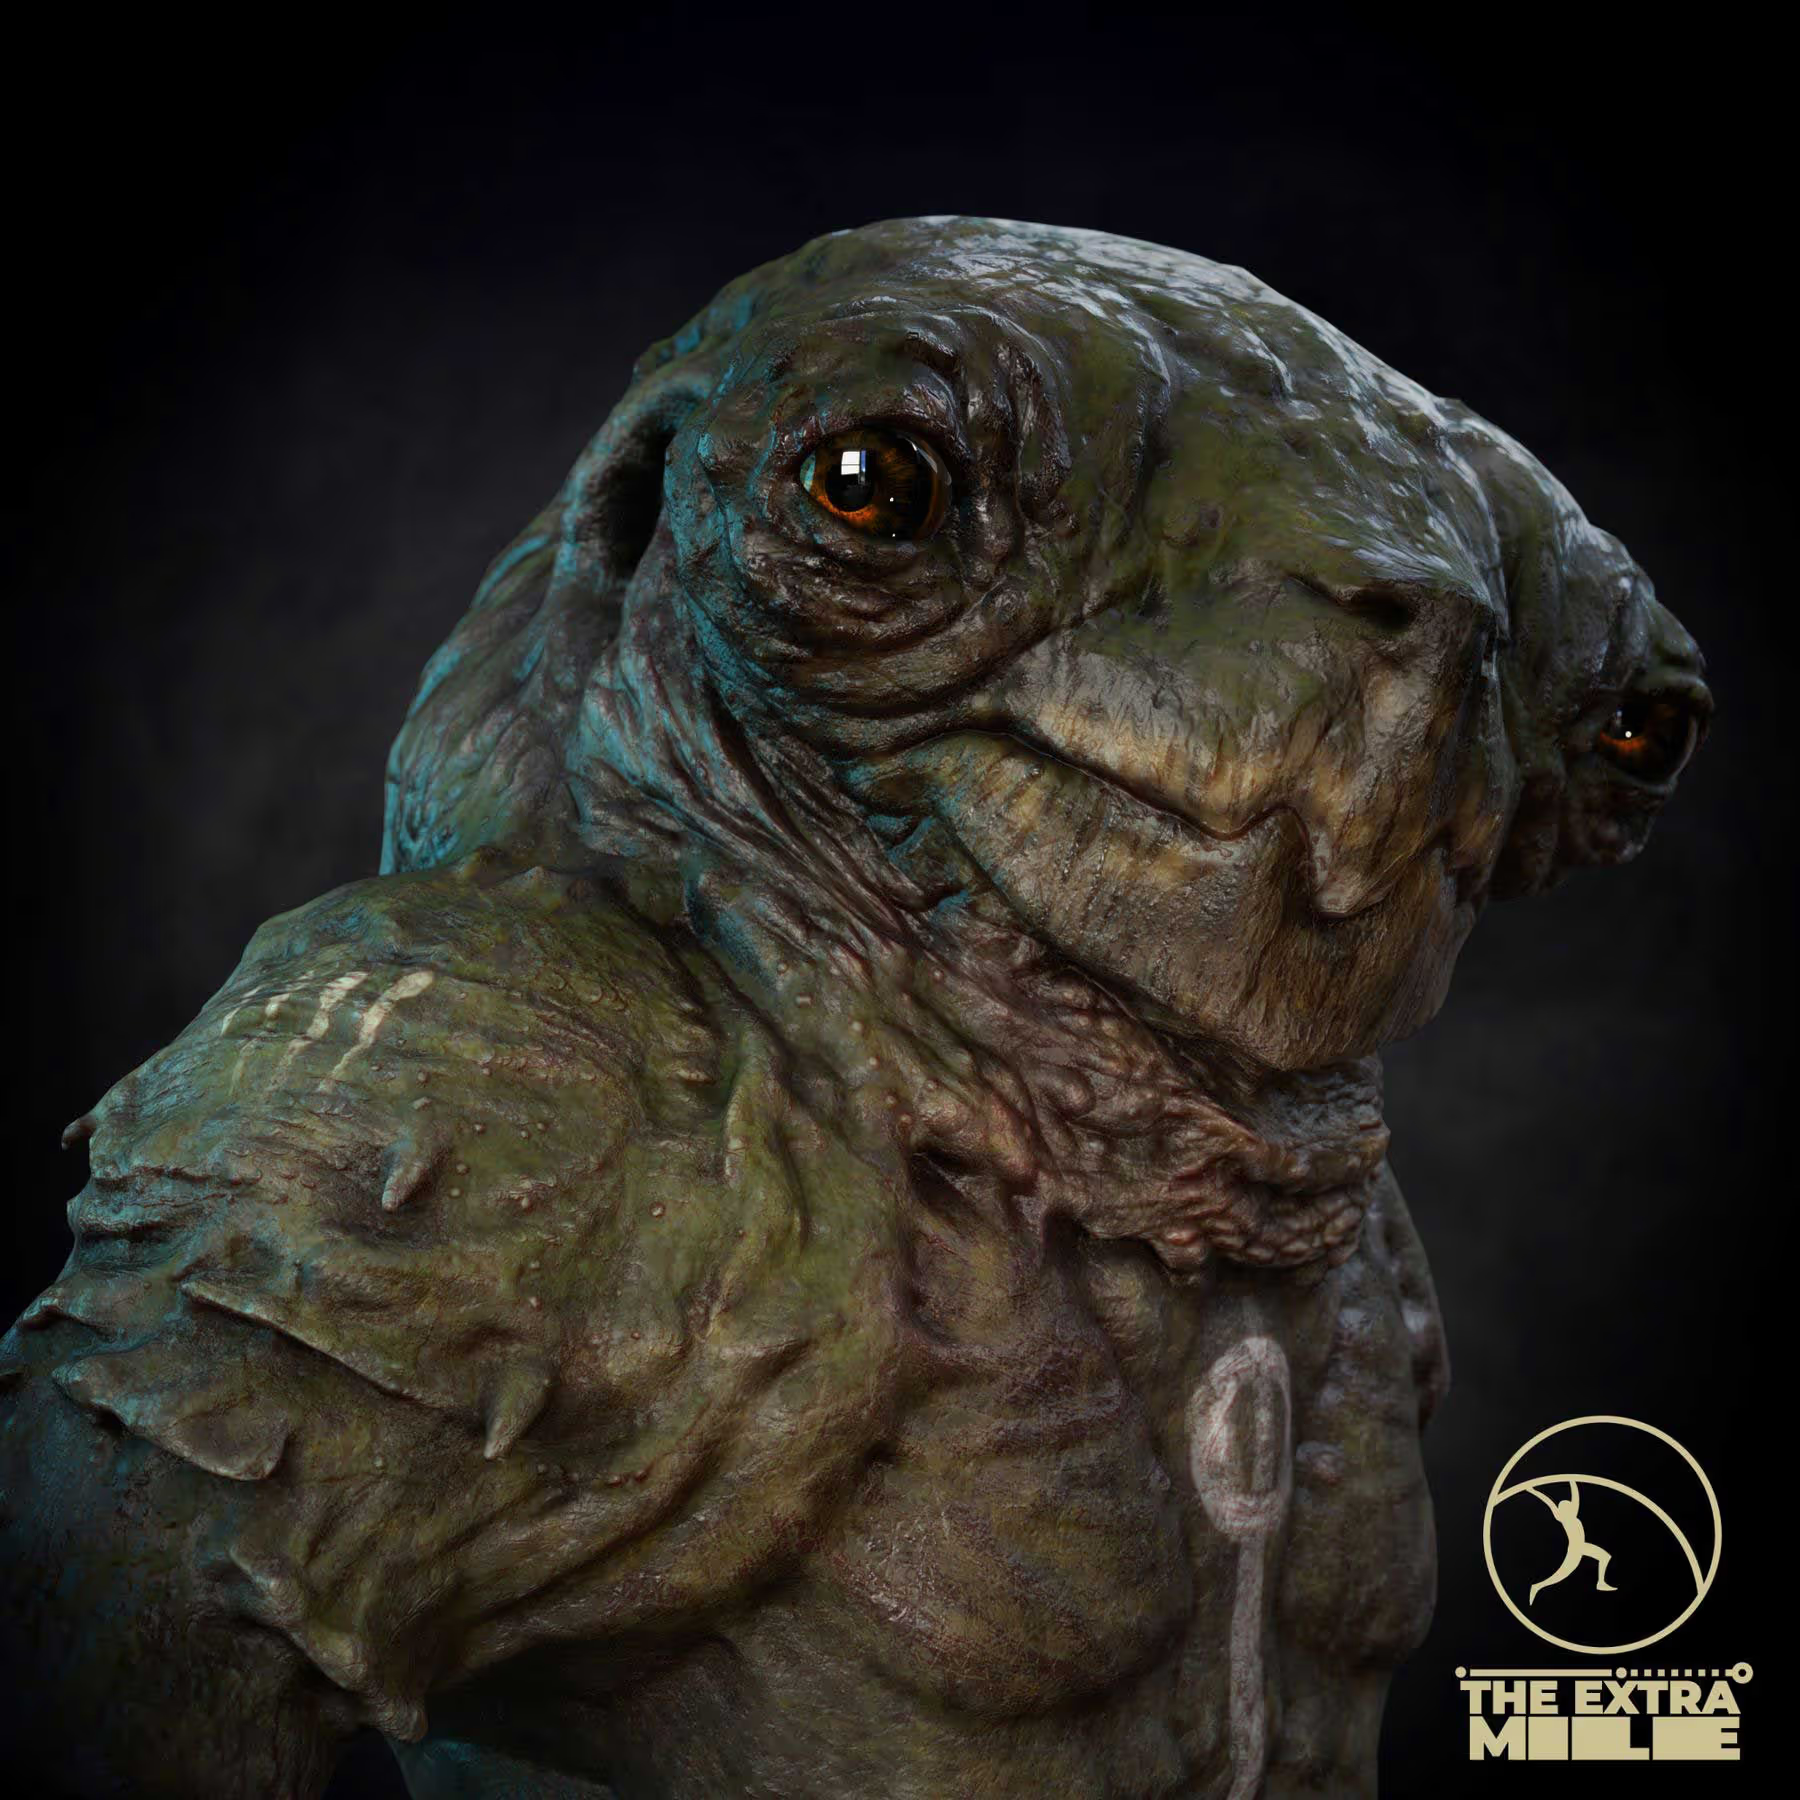
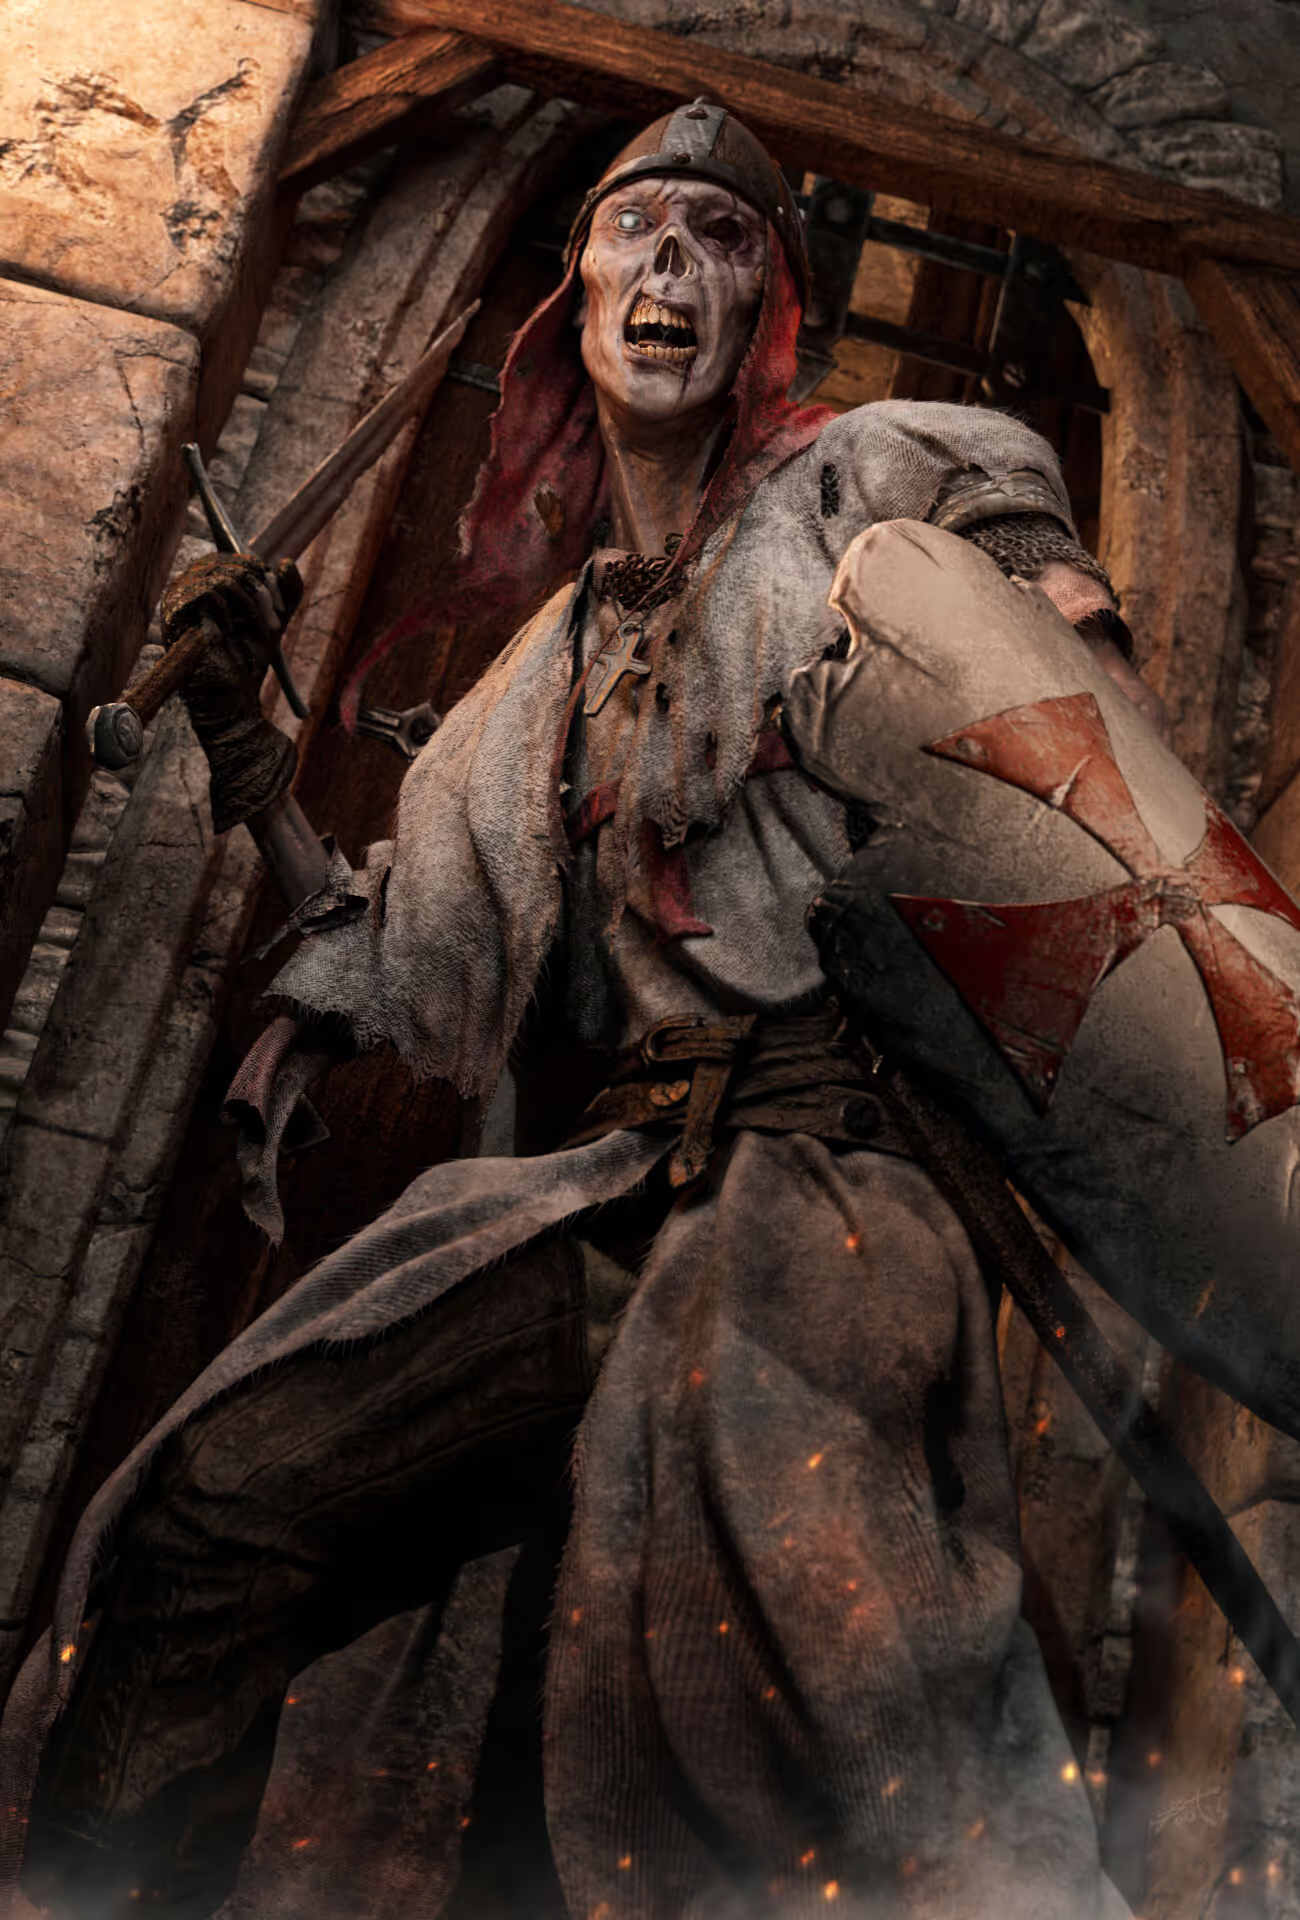
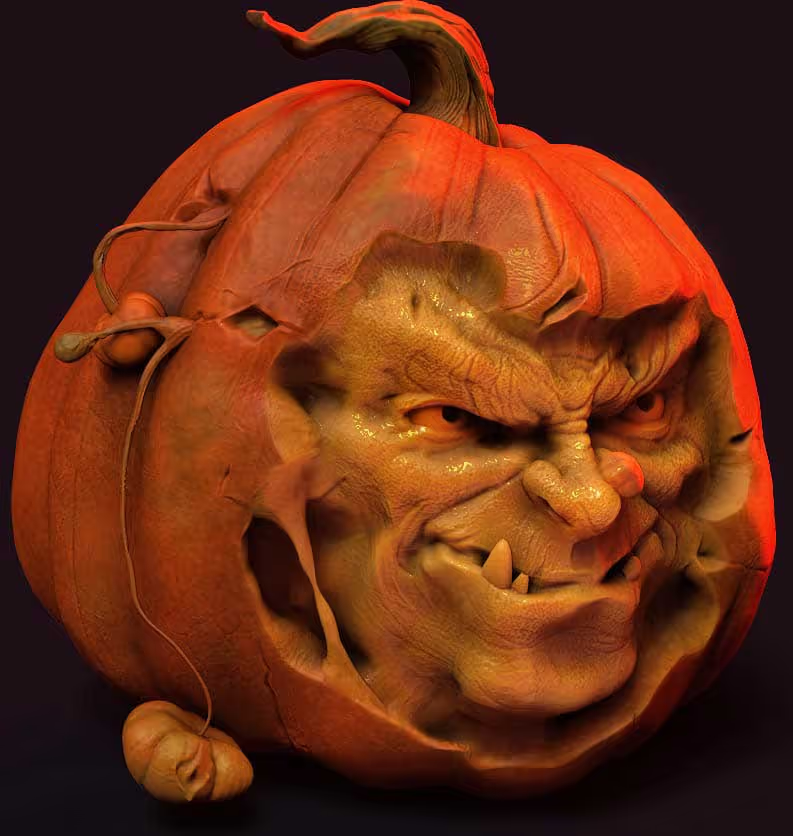
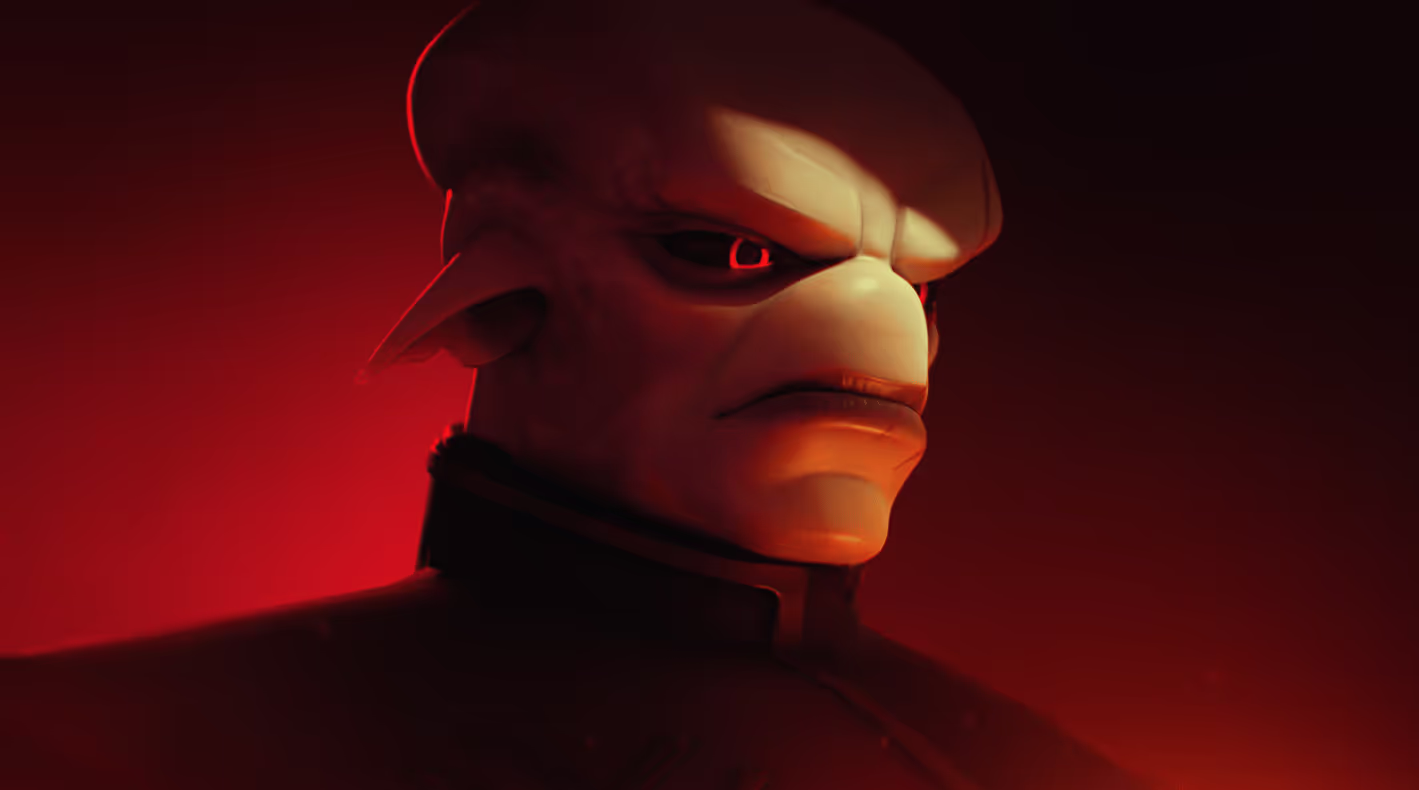
Check out some of the amazing work from the 'Extramilers' below:





How to get started?
The system I teach in The Extra Mile is a proven method I've tested and refined over the years. It takes you from a thumbnail sketch to a polished illustration, and the steps stay the same whatever you're making.
I've packed every workflow I've tested and know works into the course, so you don't waste time figuring out the right mix. Character design, lighting, composition, sketching and sculpting in ZBrush, retopology, UVs, polypaint, texturing in Substance 3D Painter, and of course rendering, compositing and presentation. I don't hold anything back.
With every step I'll show you HOW to get from point A to point B efficiently. More importantly, I'll explain WHY things work the way they do, so you can push the tools further and make them work for you.
I'm very proud of this course and confident the system will get you results if you put the time in ;) And if it doesn't, there's a 30-day money-back guarantee.

Get access today!
Everything you need, start to finish!
Core is always open, so you can start today. Core + Live adds the TEM Workshop when a cohort is running. Either way, you get the complete course.
Core
🎬 9 modules, 94 video lessons
♾️ Lifetime access, including all updates
💬 TEM Private Community access
🎁 Bonus modules as they're added
🏷️ Software perks and discounts
📜 Certificate of enrolment and on completion
📦 Project files and working resources
🛡️ 30-day money-back guarantee
Core + Live
Still on the fence?
Here are some frequently asked questions:
- Everyone who joins The Extra Mile gets:
- Lifetime access to all the content
- 9 modules with 94 video lessons, plus the bonus module on rigging and posing
- All the course resources (brushes, models, materials, light setups, etc.)
- All future updates to the course, free
- Access to the TEM community
- Student perks, additional resources and certificates
- Login 24/7 (all digital)
- 30-day money-back guarantee
- The TEM Workshop, 8 live sessions across 8 weeks, developing a new concept from scratch
- Recordings of your own cohort's sessions to rewatch
- Dedicated private channel for the duration of the workshop to discuss progress.
- Any assets or resources built during the workshop, yours to keep
Core is the complete course: 9 modules, 94 lessons, the community, the bonuses and resources, yours for life. You can start the moment you buy it.
Core + Live is all of that plus the TEM Live Workshop, eight live sessions across eight weeks where we develop a brand new concept together. Cohorts run a few times a year on set dates.
The Workshop is not included with Core. If you start with Core and want to join a cohort later on, that's an option I offer to existing TEM students, and I let them know by email whenever a new one opens.
Straight away! once you are in the course... YOU ARE IN! you can start immediately ;)
Not on its own, sorry. The Live lWorkshop assumes you already know the system from the core lessons and refers back to them constantly, so it doesn't work as a standalone. That's why it comes bundled as Core + Live.
Some basic prior knowledge of ZBrush (i.e. interface and navigation) and Photoshop (i.e. what layers are etc) is required, but for the rest, I take you from beginner to intermediate to advanced!
We've got you covered! With the course you also get access to the closed TEM Community, and that's the hub for asking questions, getting feedback and sharing your progress with other artists going through the same thing.
You'll have a login account where you can access your library of content at any time, 24/7. Everything is online, so there's nothing to download or install, and you can pick up where you left off on any device.
The main software is ZBrush and Photoshop. With just those two you can follow the BPR rendering and compositing workflow all the way through.
To take full advantage of the course, you'd also want Substance 3D Painter for texturing, and Maverick or Marmoset Toolbag 4 for rendering. If you have access to 3D Painter, chances are you also have the Adobe 3D Suite, so you can use 3D Stager for rendering as well, which is covered in the rendering lessons.
There are other tools mentioned, like Blender (100% free) and RizomUV, but they're not essential. One of my objectives when I designed the course was to give you alternatives, to reinforce the idea that it isn't about the tool, it's about the workflow and understanding what the tool does.
Honestly? For a lot of things, AI is faster. That's not really the question.
The question is whether you want to be someone who can make this, or someone who asks for it. Those are different things and they lead to different places.
If you learn to build a character properly, you understand why something reads well, why a silhouette works, why a material feels like leather rather than plastic. That understanding is what lets you look at any image, including one a machine made, and know what's wrong with it and how to fix it. Without it, you're accepting whatever comes back.
Practically speaking, a portfolio gets you the conversation. But studios hire people who can be given a problem and solve it, then solve the next one. That's what the process in this course is actually teaching, and it's the part that transfers to whatever they put in front of you.
There's also the part that rarely comes up in these arguments. Nobody goes to the gym purely for the muscles... you go because you want to be the kind of person who commits to something, and the effort turns out to be the reward. Making things works the same way. Sculpting for six hours and stepping back from something you built is a good feeling, and handing that to a prompt removes the bit that made you want to do this in the first place.
I don't know anyone in this industry who's in it purely for the money. We do this because we like doing it.
That's what this course is for. It gives you the skills so you don't have to outsource your passion to a prompt.
Yes, all the videos of the core lessons are ready when you are. You can watch them, re-watch them, and go through the entire course at your own pace.
There's also the option of the TEM Live Workshop, eight intense live sessions with me going through a brand new concept, and those come with Core + Live whenever a cohort is running. If you join a live cohort, you can watch the workshop lessons live and take part, and they're recorded too, so you can catch up on anything you miss after the workshop is completed.
Yes, a little bit. I go through every process in detail, but some previous knowledge of the ZBrush interface and a basic understanding of the tools will help you move faster.
If you're starting from scratch with ZBrush, the Ultimate ZBrush Guide is the better place to begin.
Not exactly. I'd say ZBrush and Photoshop are the fundamentals. Part of the idea with The Extra Mile is to give you a few different routes to the same goal: a great looking image. It's also why I end up with several different final compositions from the different workflows.
For example, if you don't have Substance 3D Painter, or you'd rather not use it, you can still follow the rest of the modules. You'd texture with polypaint and produce the maps for Marmoset Toolbag 4 straight from ZBrush, exactly as I explain in the UVs and baking lessons.
And since the modules are structured by workflow, if you pick up Substance 3D Painter later on, or any other software you don't currently have, you can just go back and revisit the module where we cover it.
Nope. With the exception of ZBrush, which I'm assuming you've used before, I'll give you a brief introduction to all the software we use... enough to get you started and producing good work with it.
Most of the processes I explain in the course aren't specific to a version number. If you have a version where a button or a tool I teach isn't there, I'll do my best to provide an alternative. For instance, with Keyshot I use version 8.2 Pro, and I know there are features other versions don't have, like the HDRI editor or Material Graphs. In those cases I also explain how to get the same or a similar result a different way.
I'll give you feedback on your work in a few different ways, depending on where you are with your project. That could be painting over your image with suggestions, showing before and after, a sketch over your concept or sculpt, or a reply to your post in the community with a list of possible changes and fixes. And when a piece of feedback would be useful to more than one person, I'll sometimes go live in the community and go through a few pieces properly, so everyone can watch.
On top of that, you can post work in progress in the TEM Private Community at any stage and get feedback from other artists straight away. Remember that everyone in there is either doing the course or has already been through it, so what you get back is relevant rather than generic. I'm an active member too, and I give as much honest feedback as I can.
It means the course is yours. There's no subscription and no expiry date, so you can log in whenever you want, go at your own pace, and come back to any lesson years later. It also covers every update and every bonus module added after you join. To be clear about the wording: 'lifetime' refers to the lifetime of the course itself ...so if the platform were ever retired the access would end with it. Not something we see happening any time soon though ;)
No, sorry. The course is designed as a complete program where each module builds on the one before it, so the modules are only available together. That said, I do have shorter, more focused courses if you're after one specific area like learning ZBrush from scratch or Adobe Substance 3D Painter.
I'm confident that the lessons in each module, and the way I've structured the course, will help you develop your sculpting, texturing, lighting, rendering and compositing skills. Like with anything else, you'll need to put the time in to practise if you want to improve. And if the course isn't what you hoped for, contact support within 30 days of your purchase and you'll get a full refund.
Testimonials
We asked the TEM community... Why did they enrol in The Extra Mile? How has the course helped them improve their skills and What are their thoughts on the overall TEM Experience? Check some answers below:
If the videos don't load click here