



ZBrush Clothes & Drapery course
Sculpt clothing in ZBrush that behaves like real fabric
A focused course on how cloth actually behaves and how to sculpt it in ZBrush. Folds, wrinkles and drapery, built on a fantasy character so you see every technique in context.









Your Instructor
What's in this course?
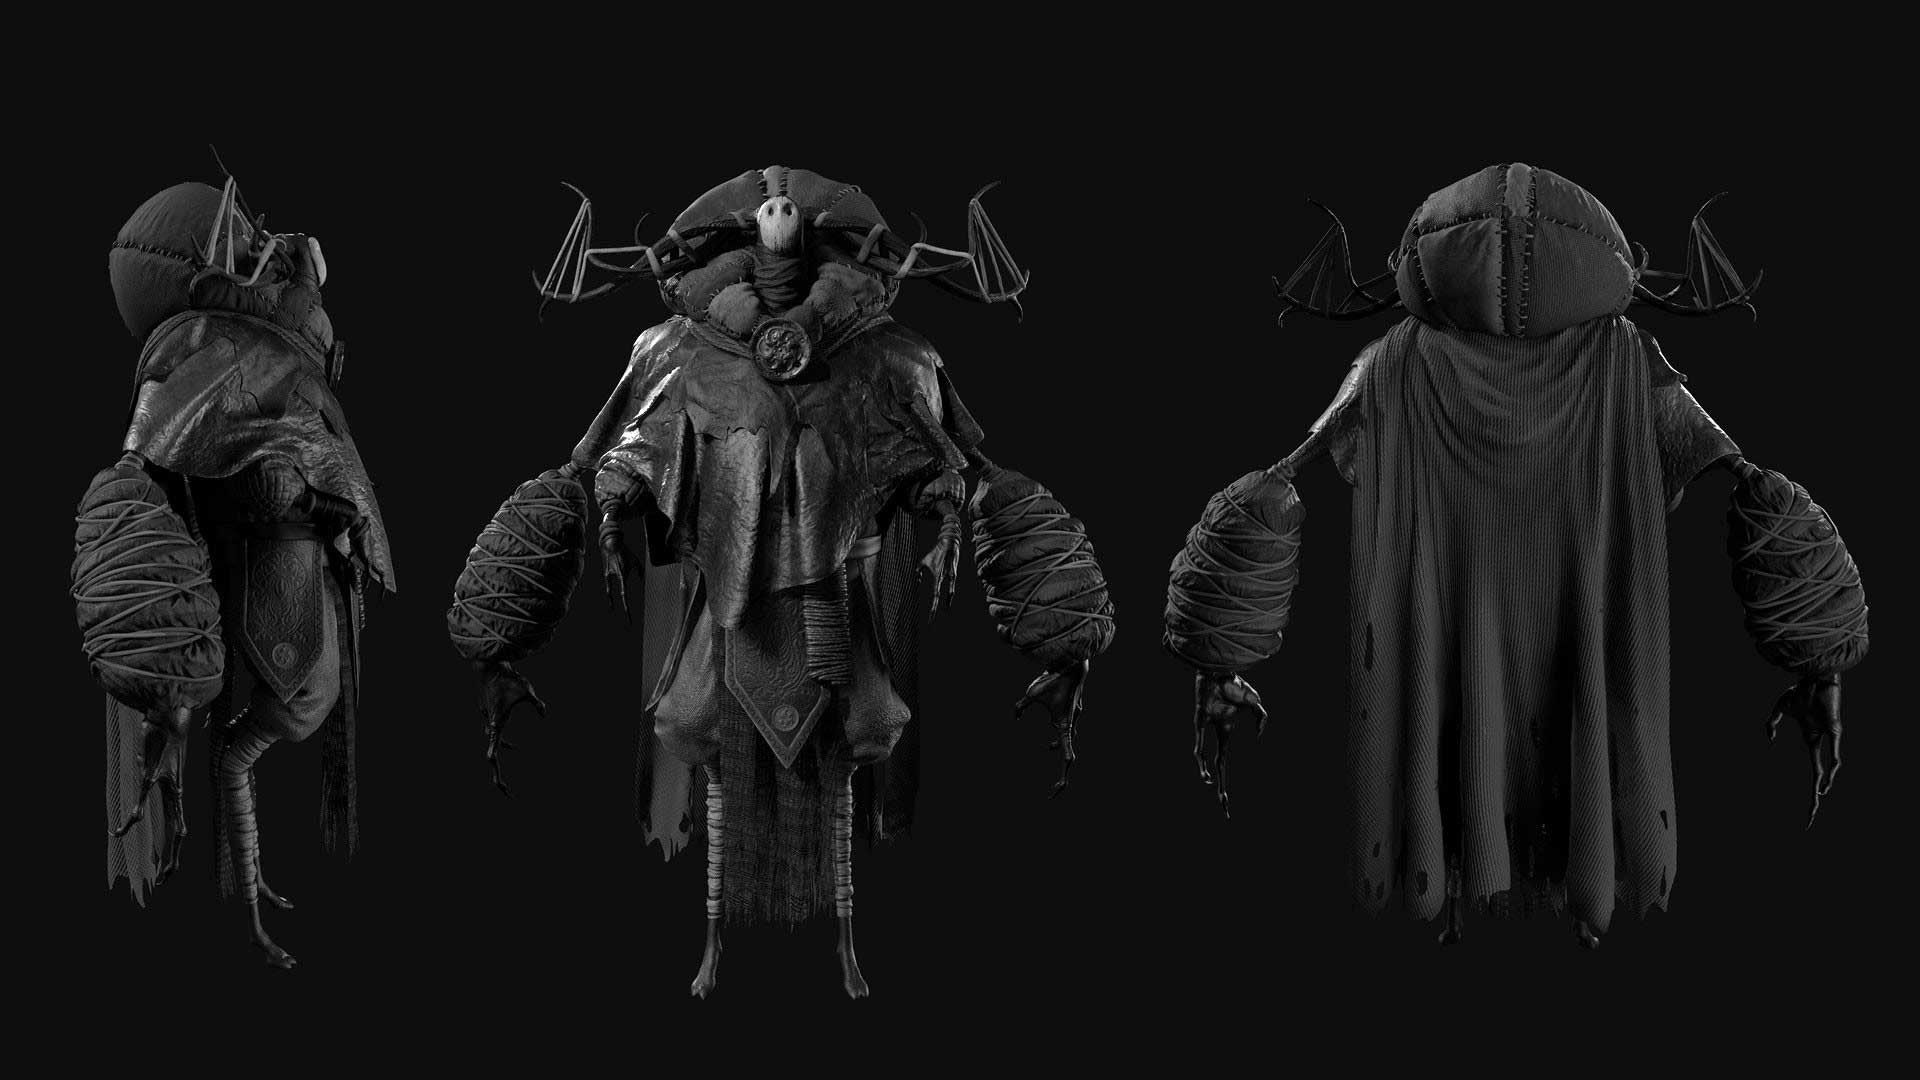
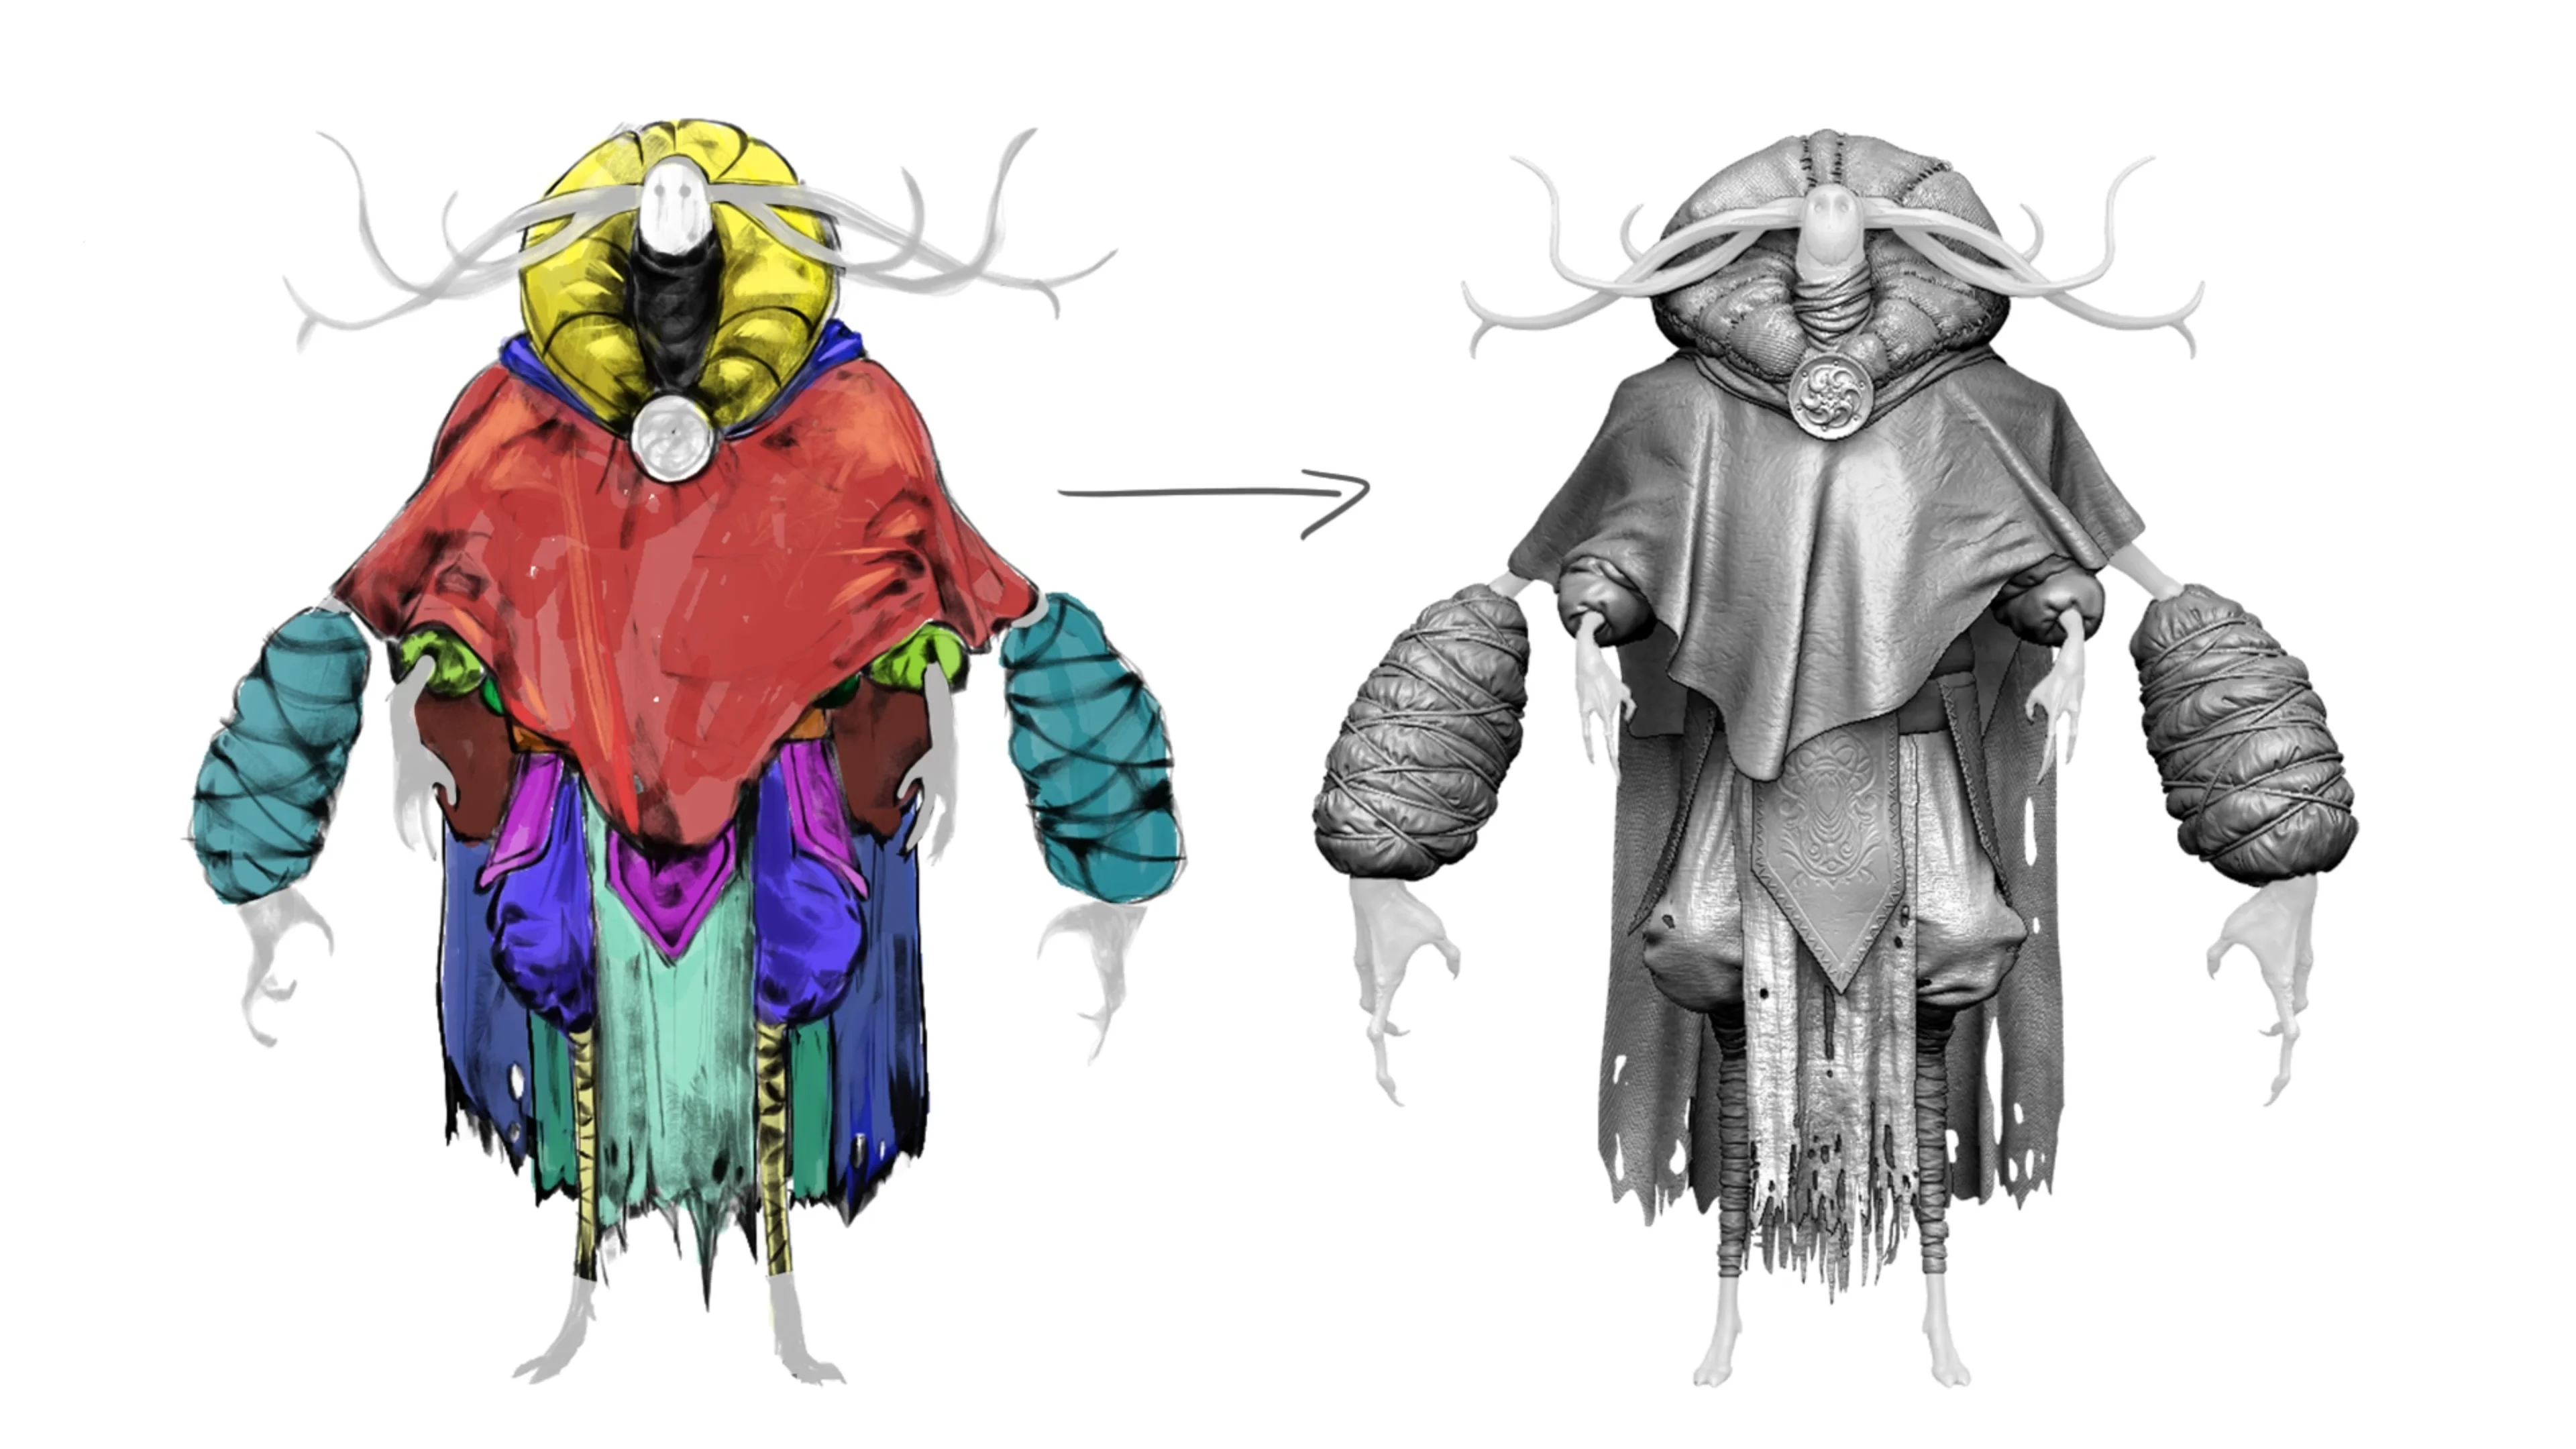
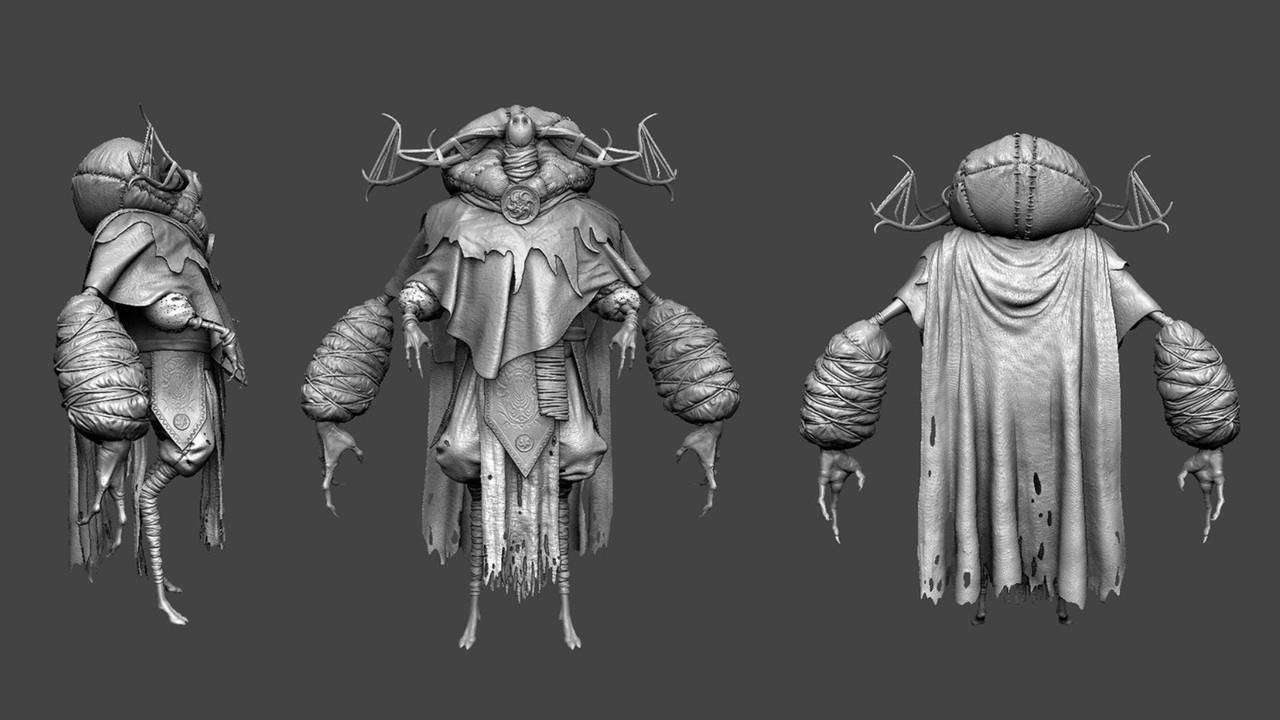
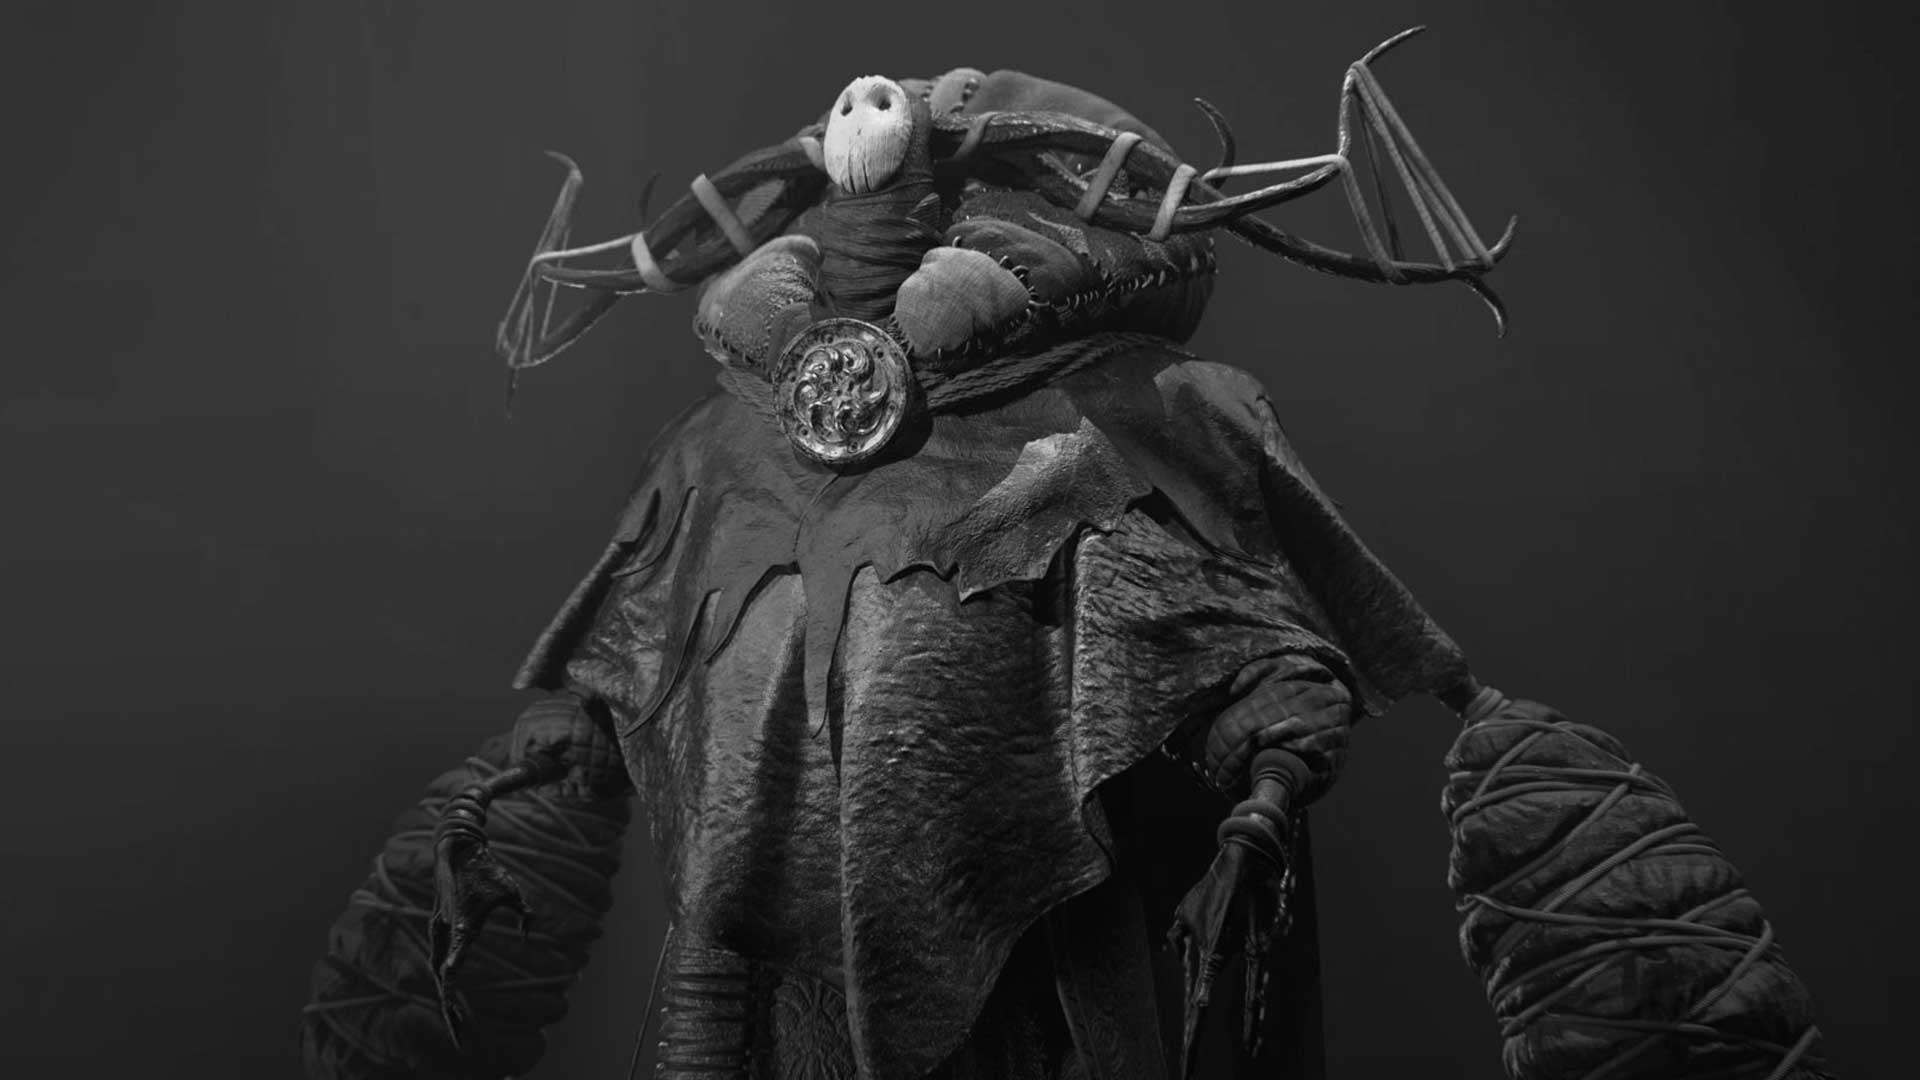
The focus here is sculpting clothes in ZBrush for a fantasy character. Across the lessons I'll take you through the workflows, the theory behind how fabric behaves, and the sculpting techniques for folds, wrinkles and drapery, so you can build clothing for your own characters with some confidence about why it looks right.
Course Modules
Full outline of the course
The course runs in the order you'd actually work: theory first, then blocking the main shapes, then sculpting them properly, then the detailing that makes fabric read as fabric. Each module builds directly on the one before it.
Intro and Setup:
Introduction to the course outline, theory and essential concepts.
Intro and Setup:
Video 01 – Intro:
A brief introduction to the course and the expected outcome.
Video 02 – Exercise Files:
A short explanation of how the exercise files work and an overview on loading brushes and Ztools
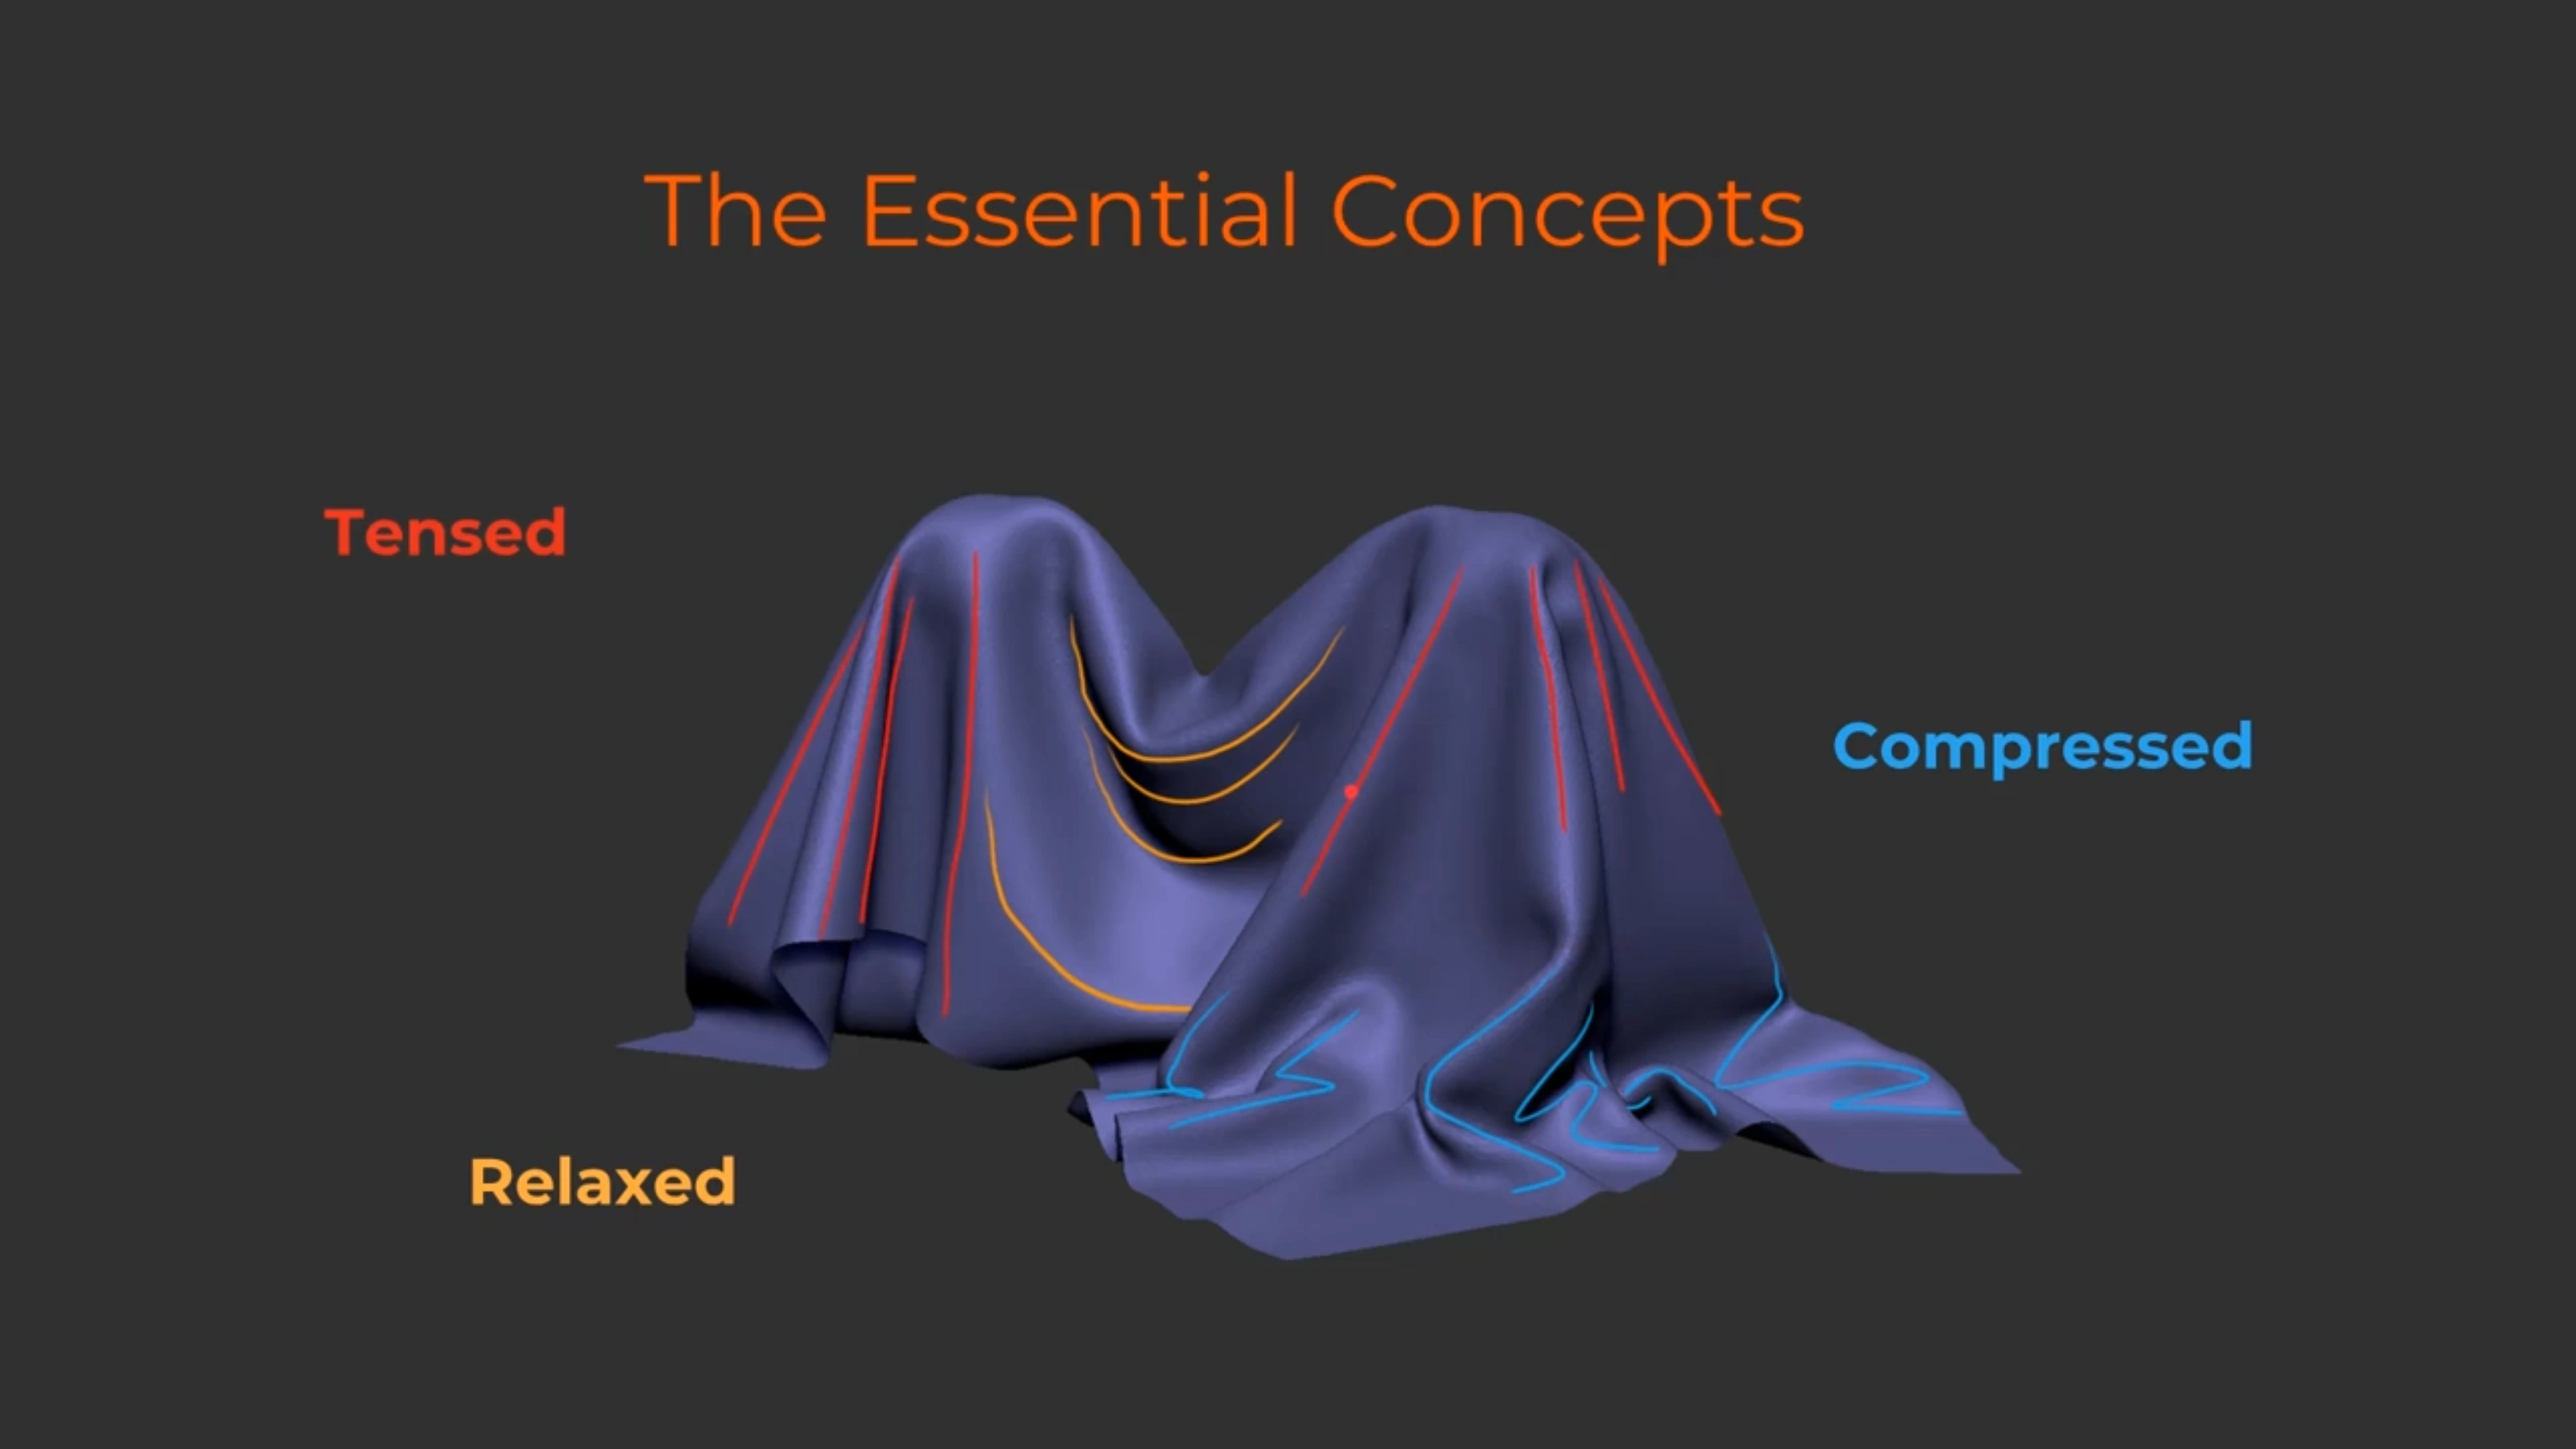
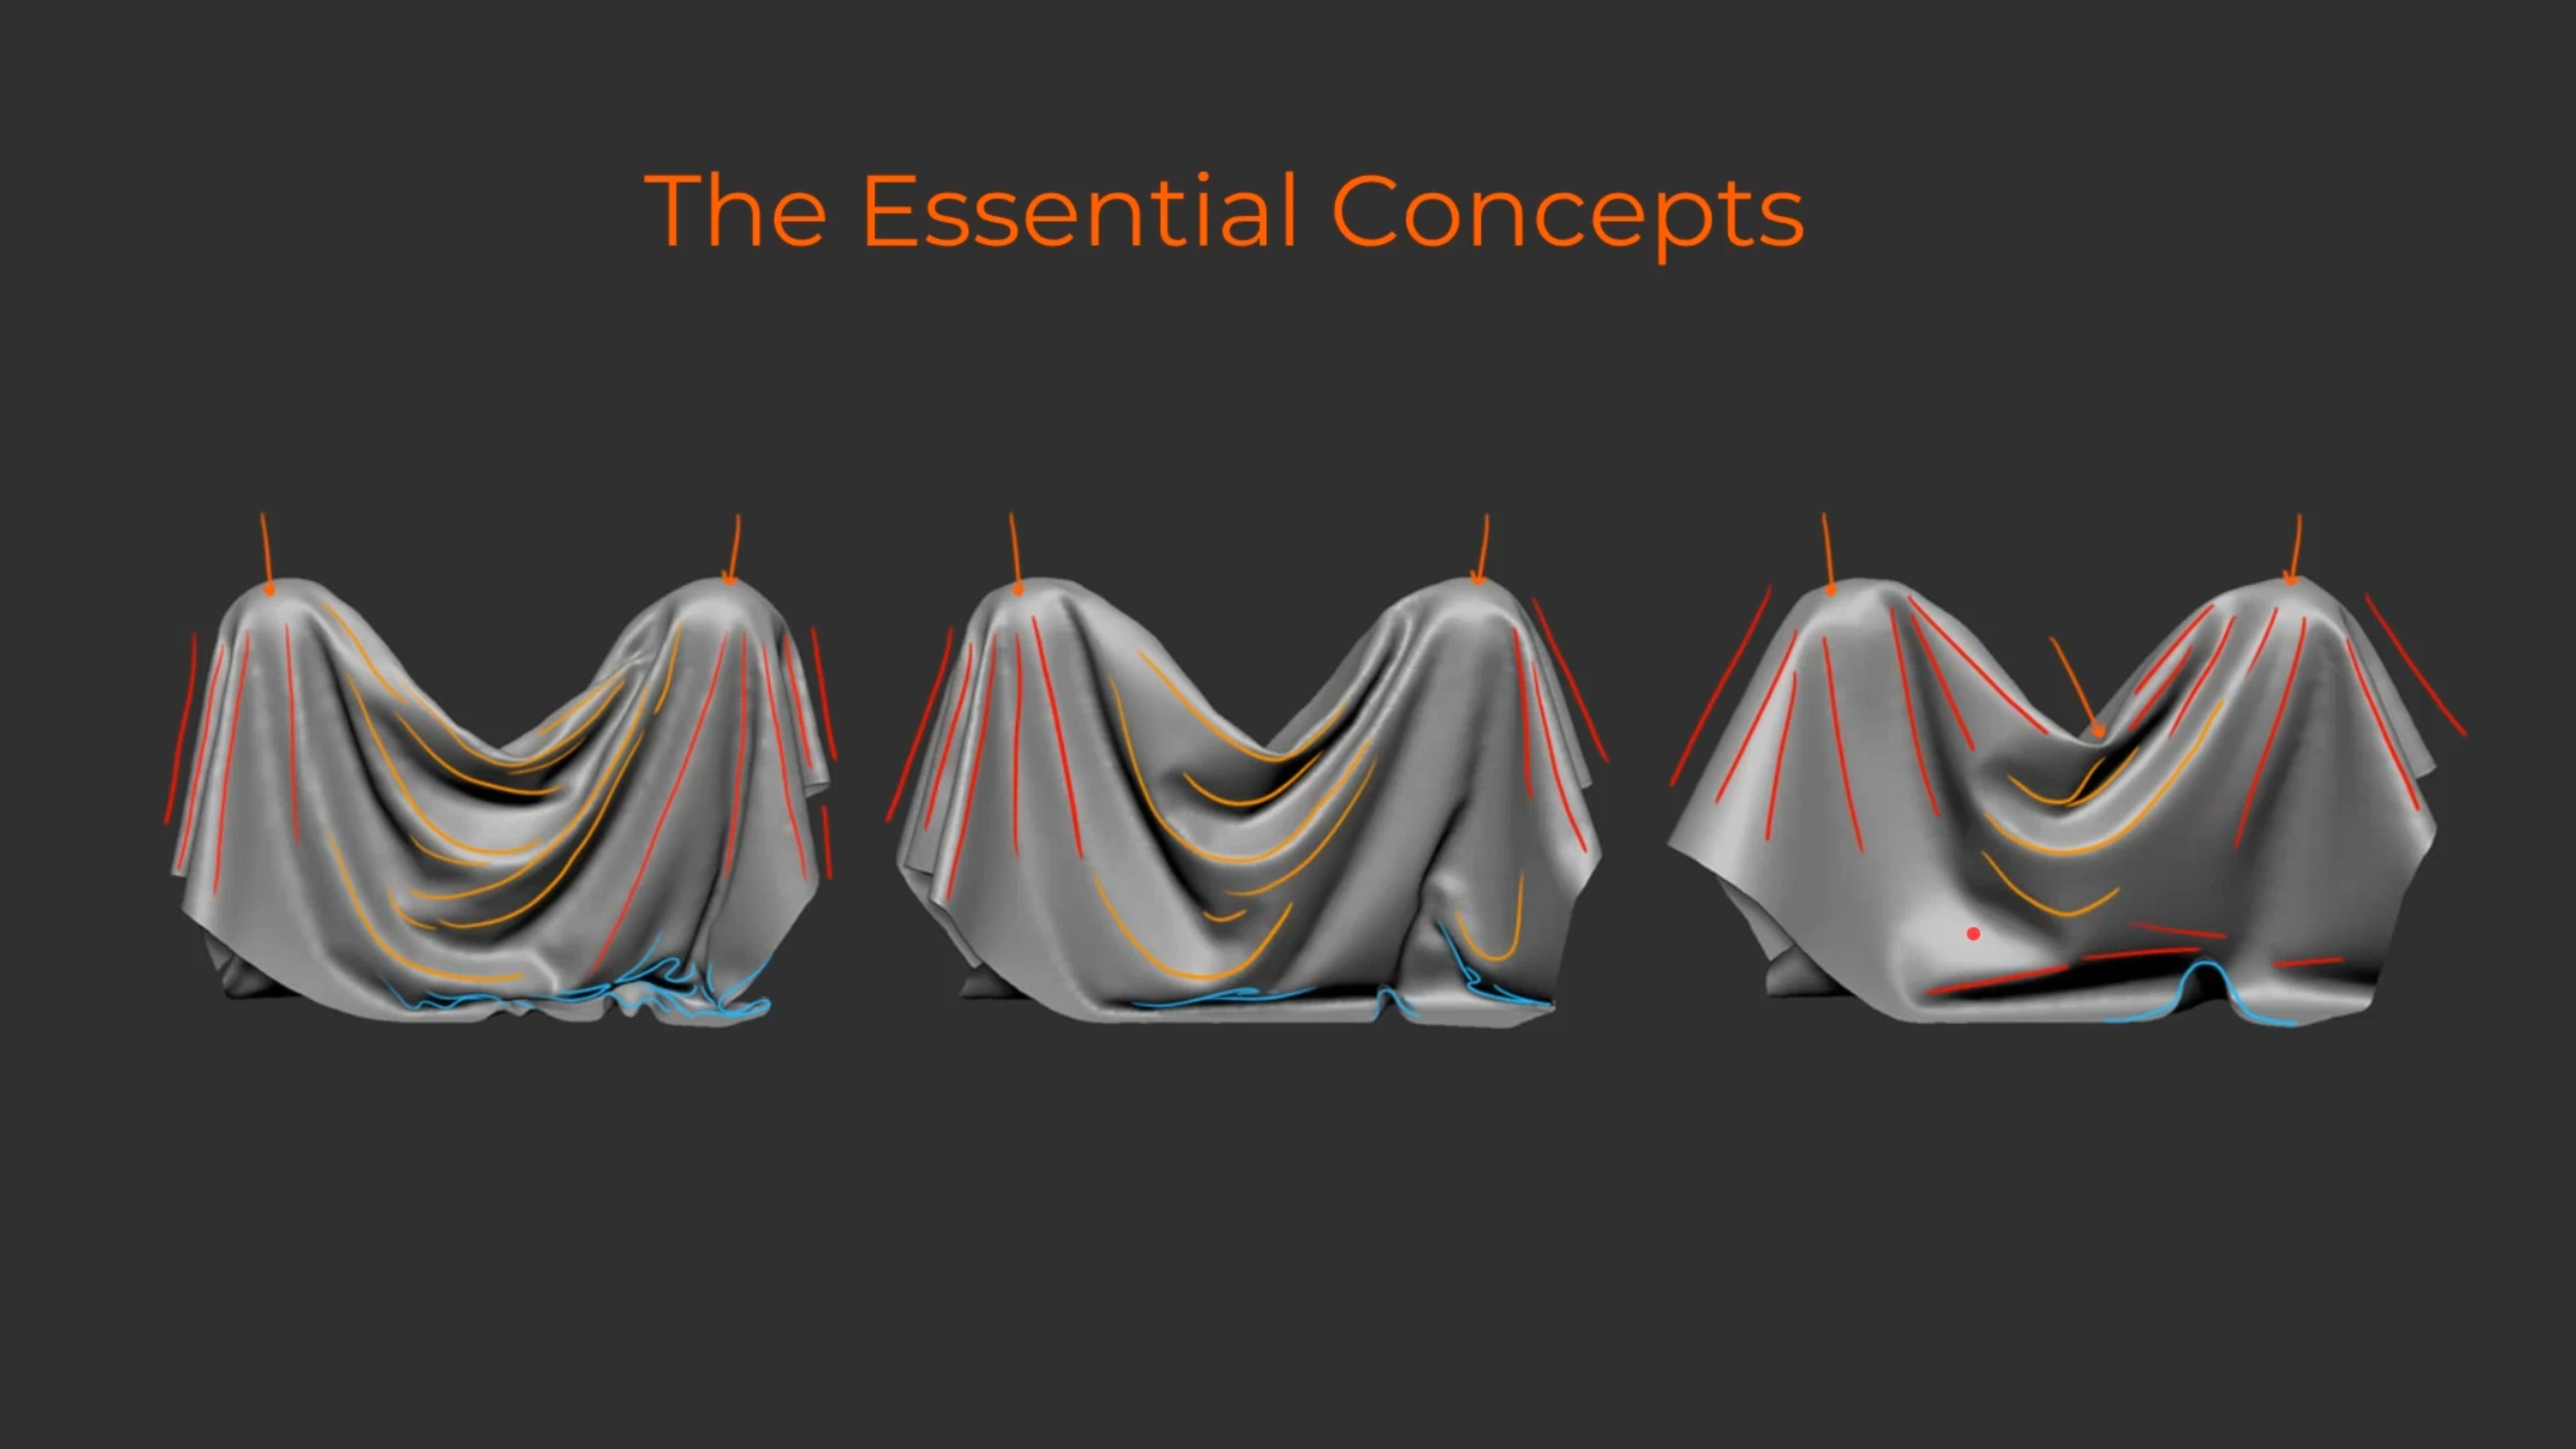
Video 03 – Essential Concepts:
Introduction to important concepts like Gravity, tension points, Material properties and more.
Video 04 – Types of Folds:
In this video, we’ll discuss the types of folds, we’ll categorise them and learn how to identify them.
Video 05 – Workflow & Thinking Approach:
This is an overview of the methodology we’ll use in the practical part of the course.
Video 06 – Lower Body Blocking:
In this video, we’ll start by setting up the base of the clothes for the lower part of the body.
Video 07 – Upper Body Blocking:
Continuing with the blocking stage, in this video, we’ll set up the shapes for the upper body.
Video 08 – Refining Shapes:
Using a limited but powerful set of tools we’ll spend some time refining the base mesh.

Sculpting and refinement:
Once you have the blocking of the main shapes, you can move into the secondary and tertiary shapes of the different materials.
Sculpting and refinement:
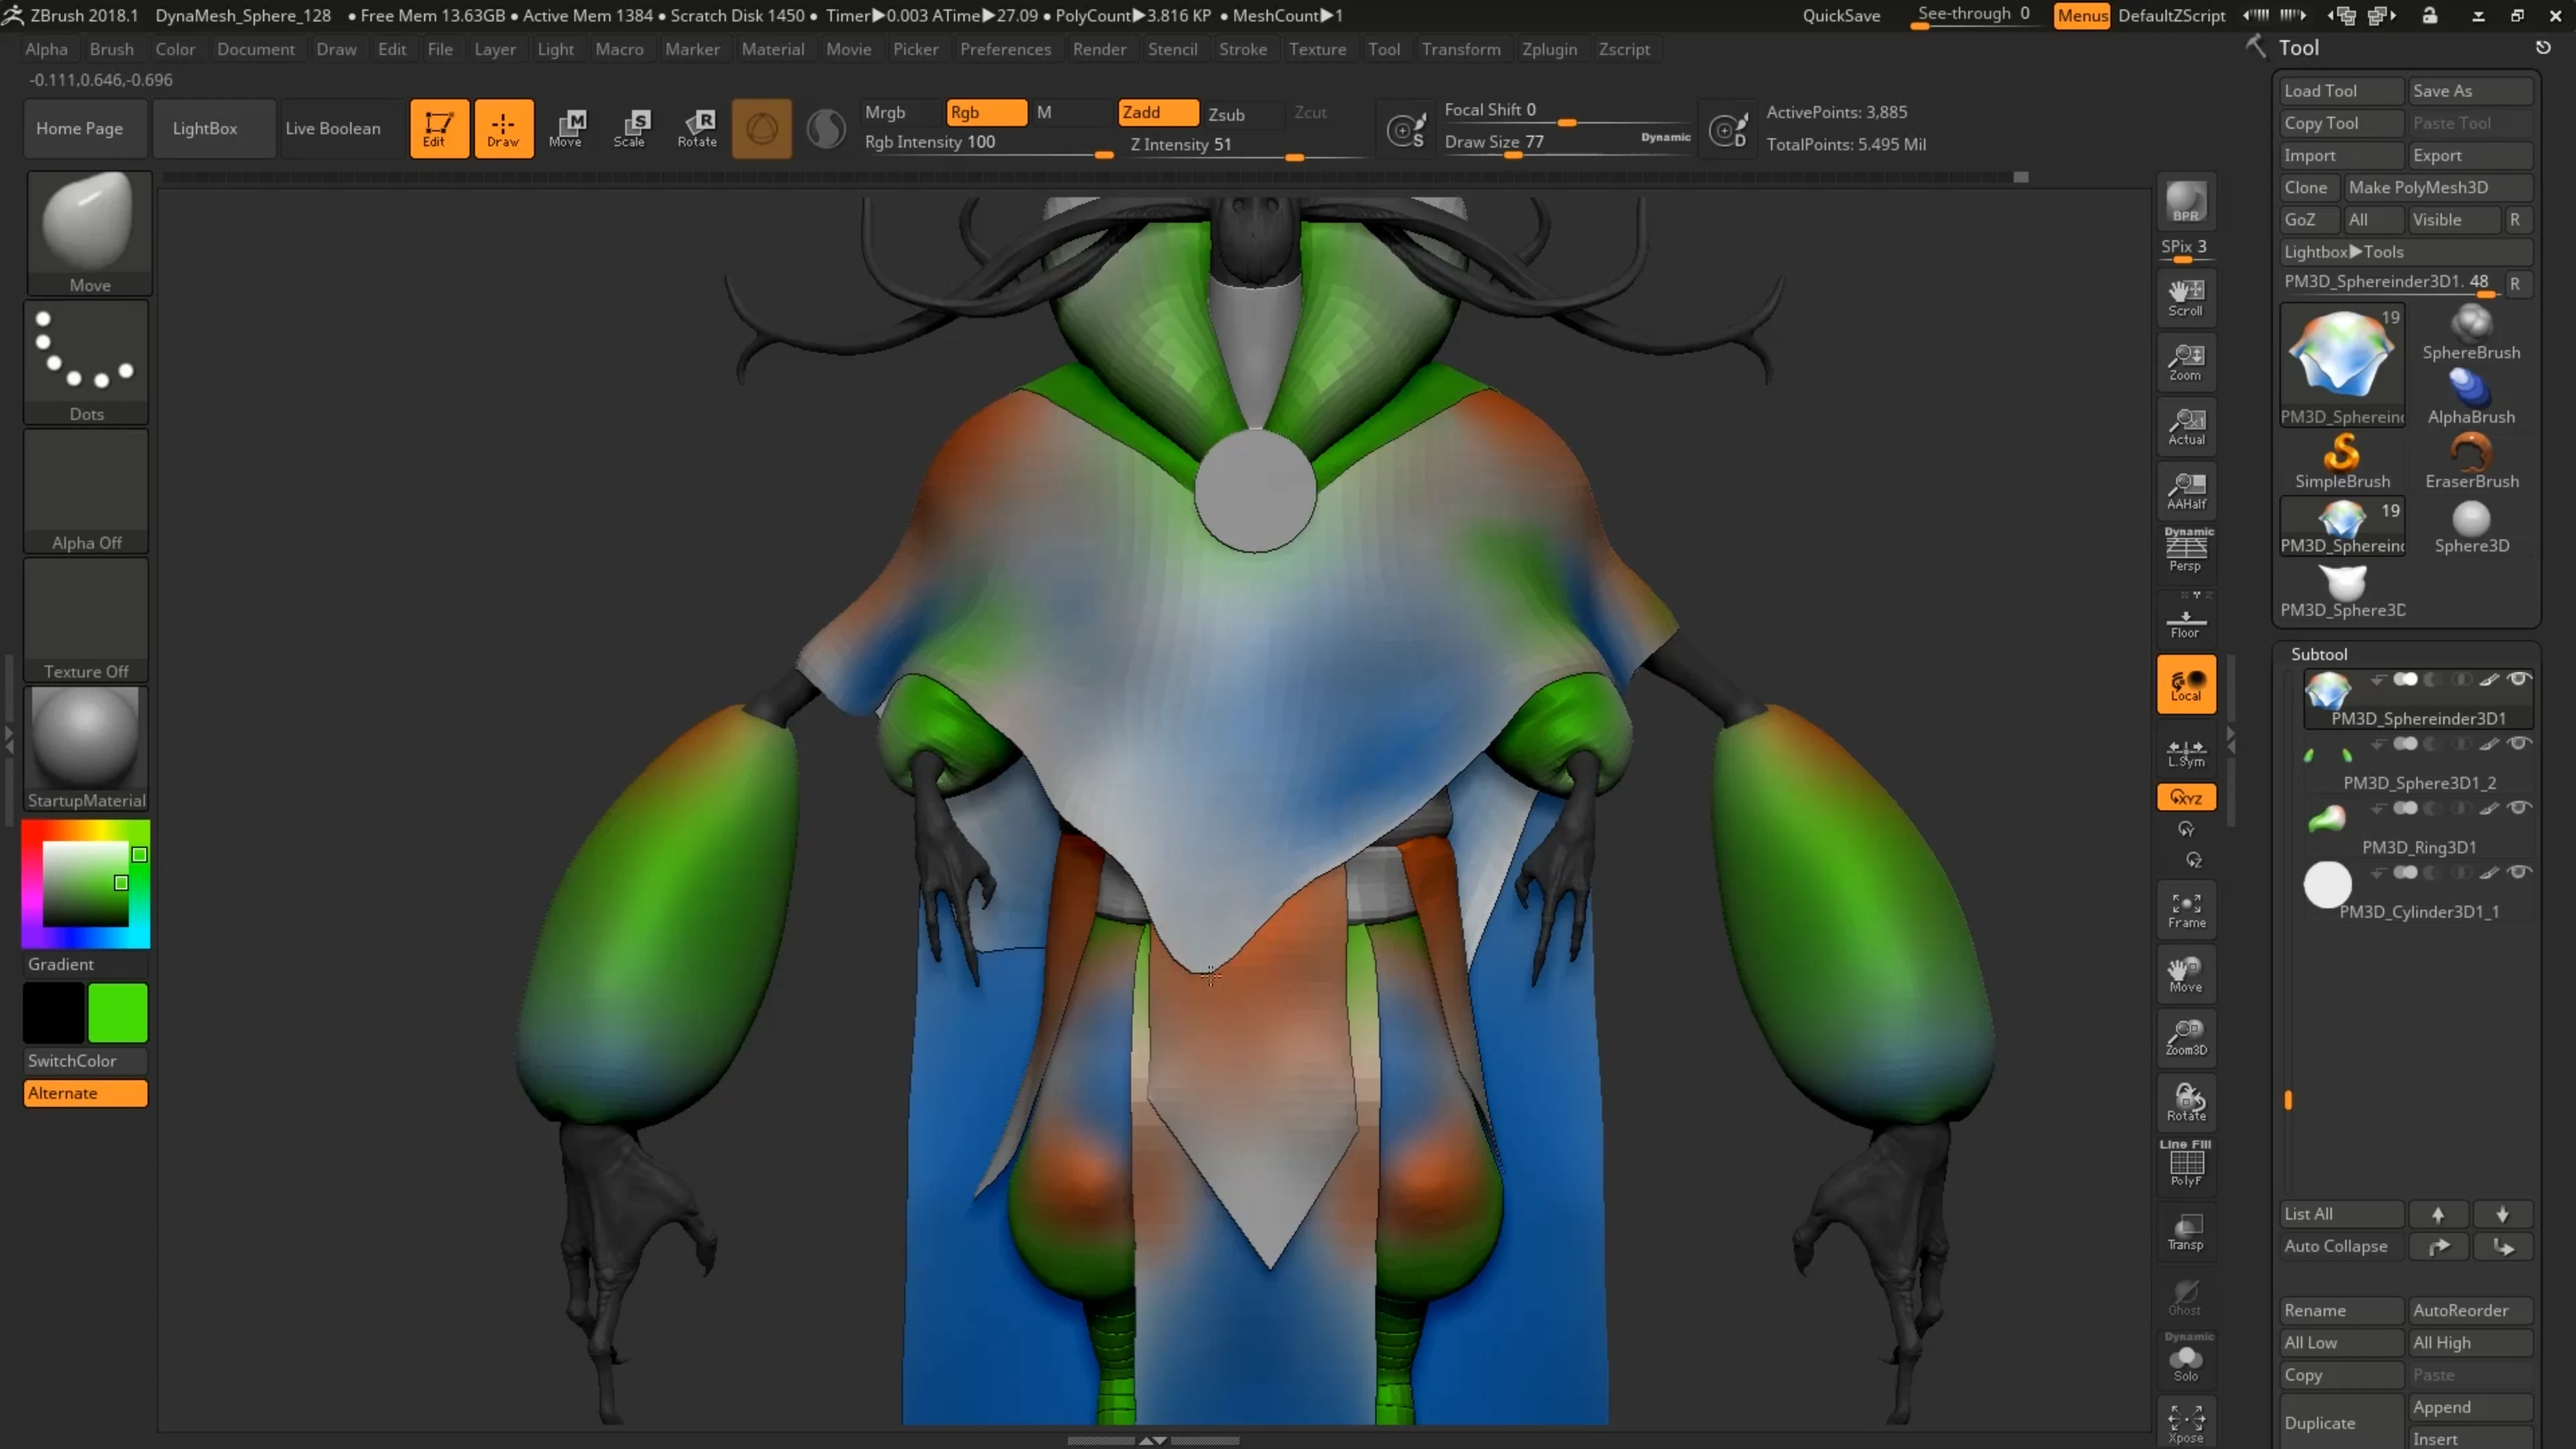
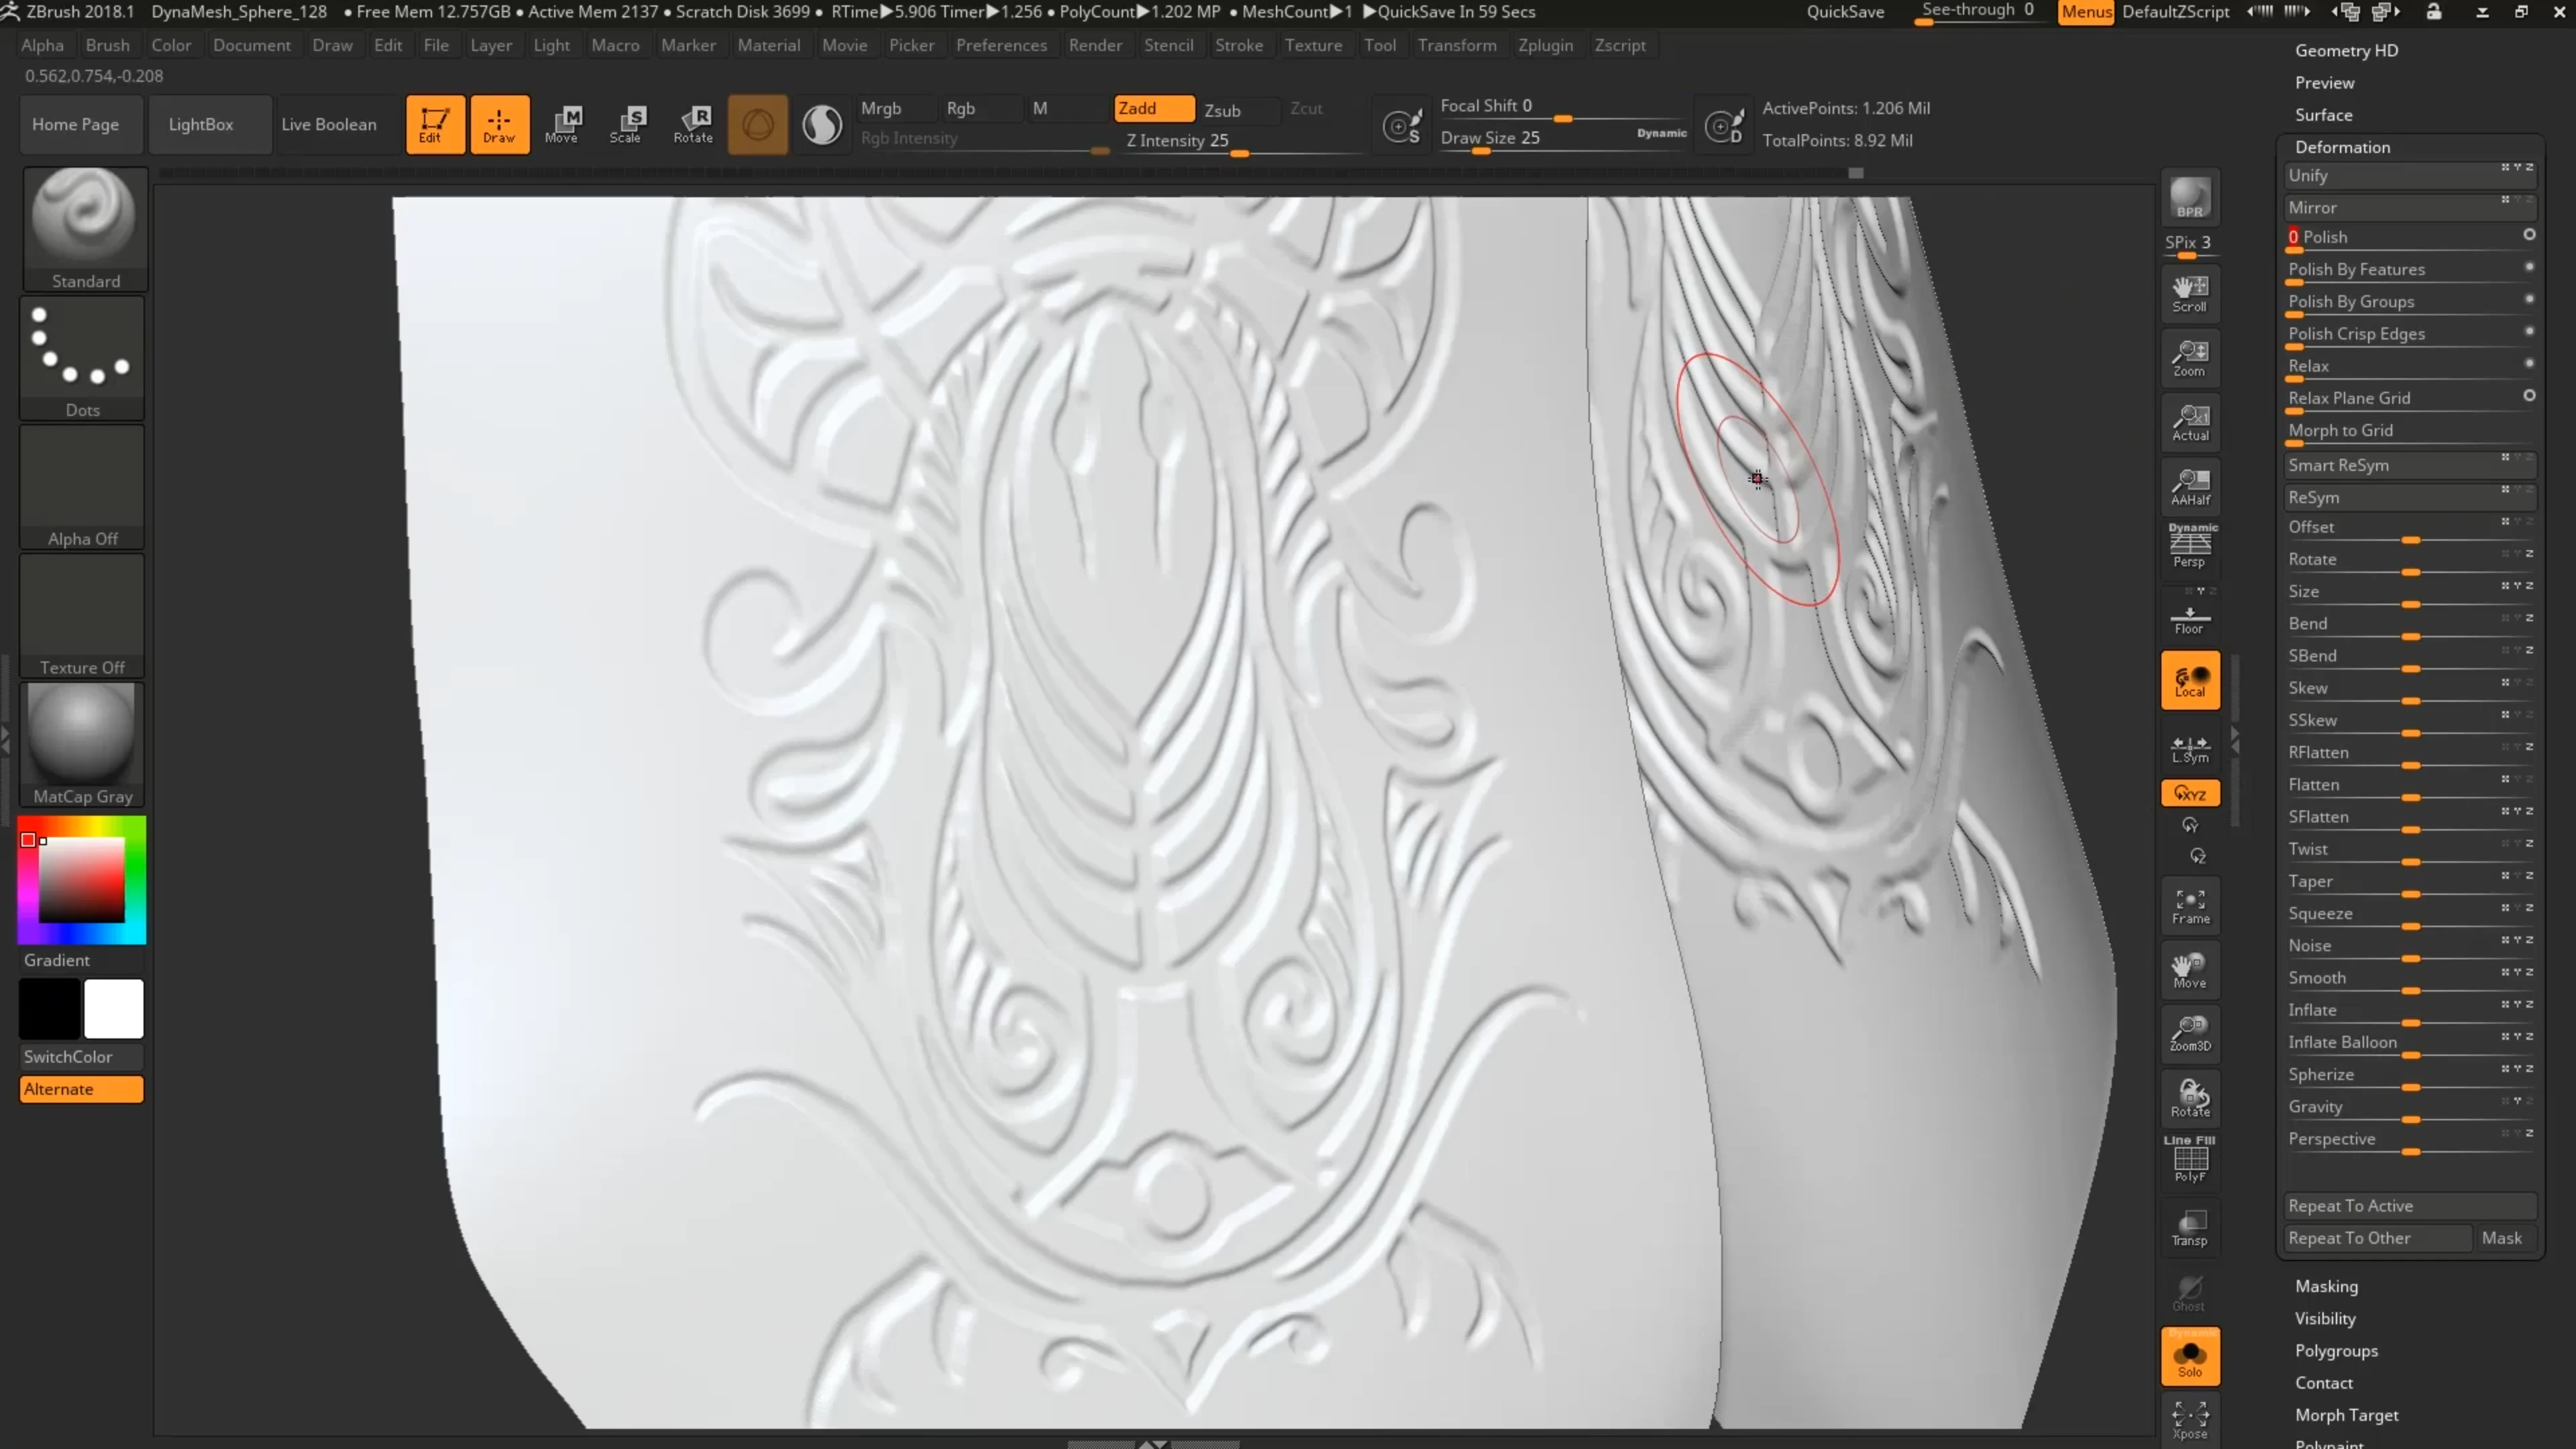
Video 09 – Marking the Tension Points & Drapery:
In this video, we’ll explore a simple method to help us place the different folds.
Video 10 – Sculpting The Poncho:
At this point, we’ll begin the sculpting process and learn a few tricks to create the main folds.
Video 11 – Sculpting The Cape:
With the cape, we’ll introduce a custom brush and how to use it to create drapery.
Video 12 – Sculpting The Gown:
The focus of this video will be a simple but effective technique to add damage to the cloth.
Video 13 – Sculpting Leather Plates:
Here we take a small break from making folds and we’ll learn a neat trick to add details.
Video 14 – Sculpting Baggy Pants:
In this video, we’ll put the theory to the test and add folds to the ‘baggy’ pants of the character.
Video 15 – Sculpting The arms bands:
In this video, we’ll concentrate on the tubes around the arm and compression folds.
Video 16 – Sculpting Leg Wraps & Scarf:
The focus of this video is a technique to produce the scarf as well as detailing the wraps.
Video 17 – Sculpting Bulky Scarf:
The last step of the sculpting process is to set up the bulky scarf and add the folds.
Polishing and detailing:
In this module, we are going to focus on the detailing and polishing of the clothing objects.
Polishing and detailing:
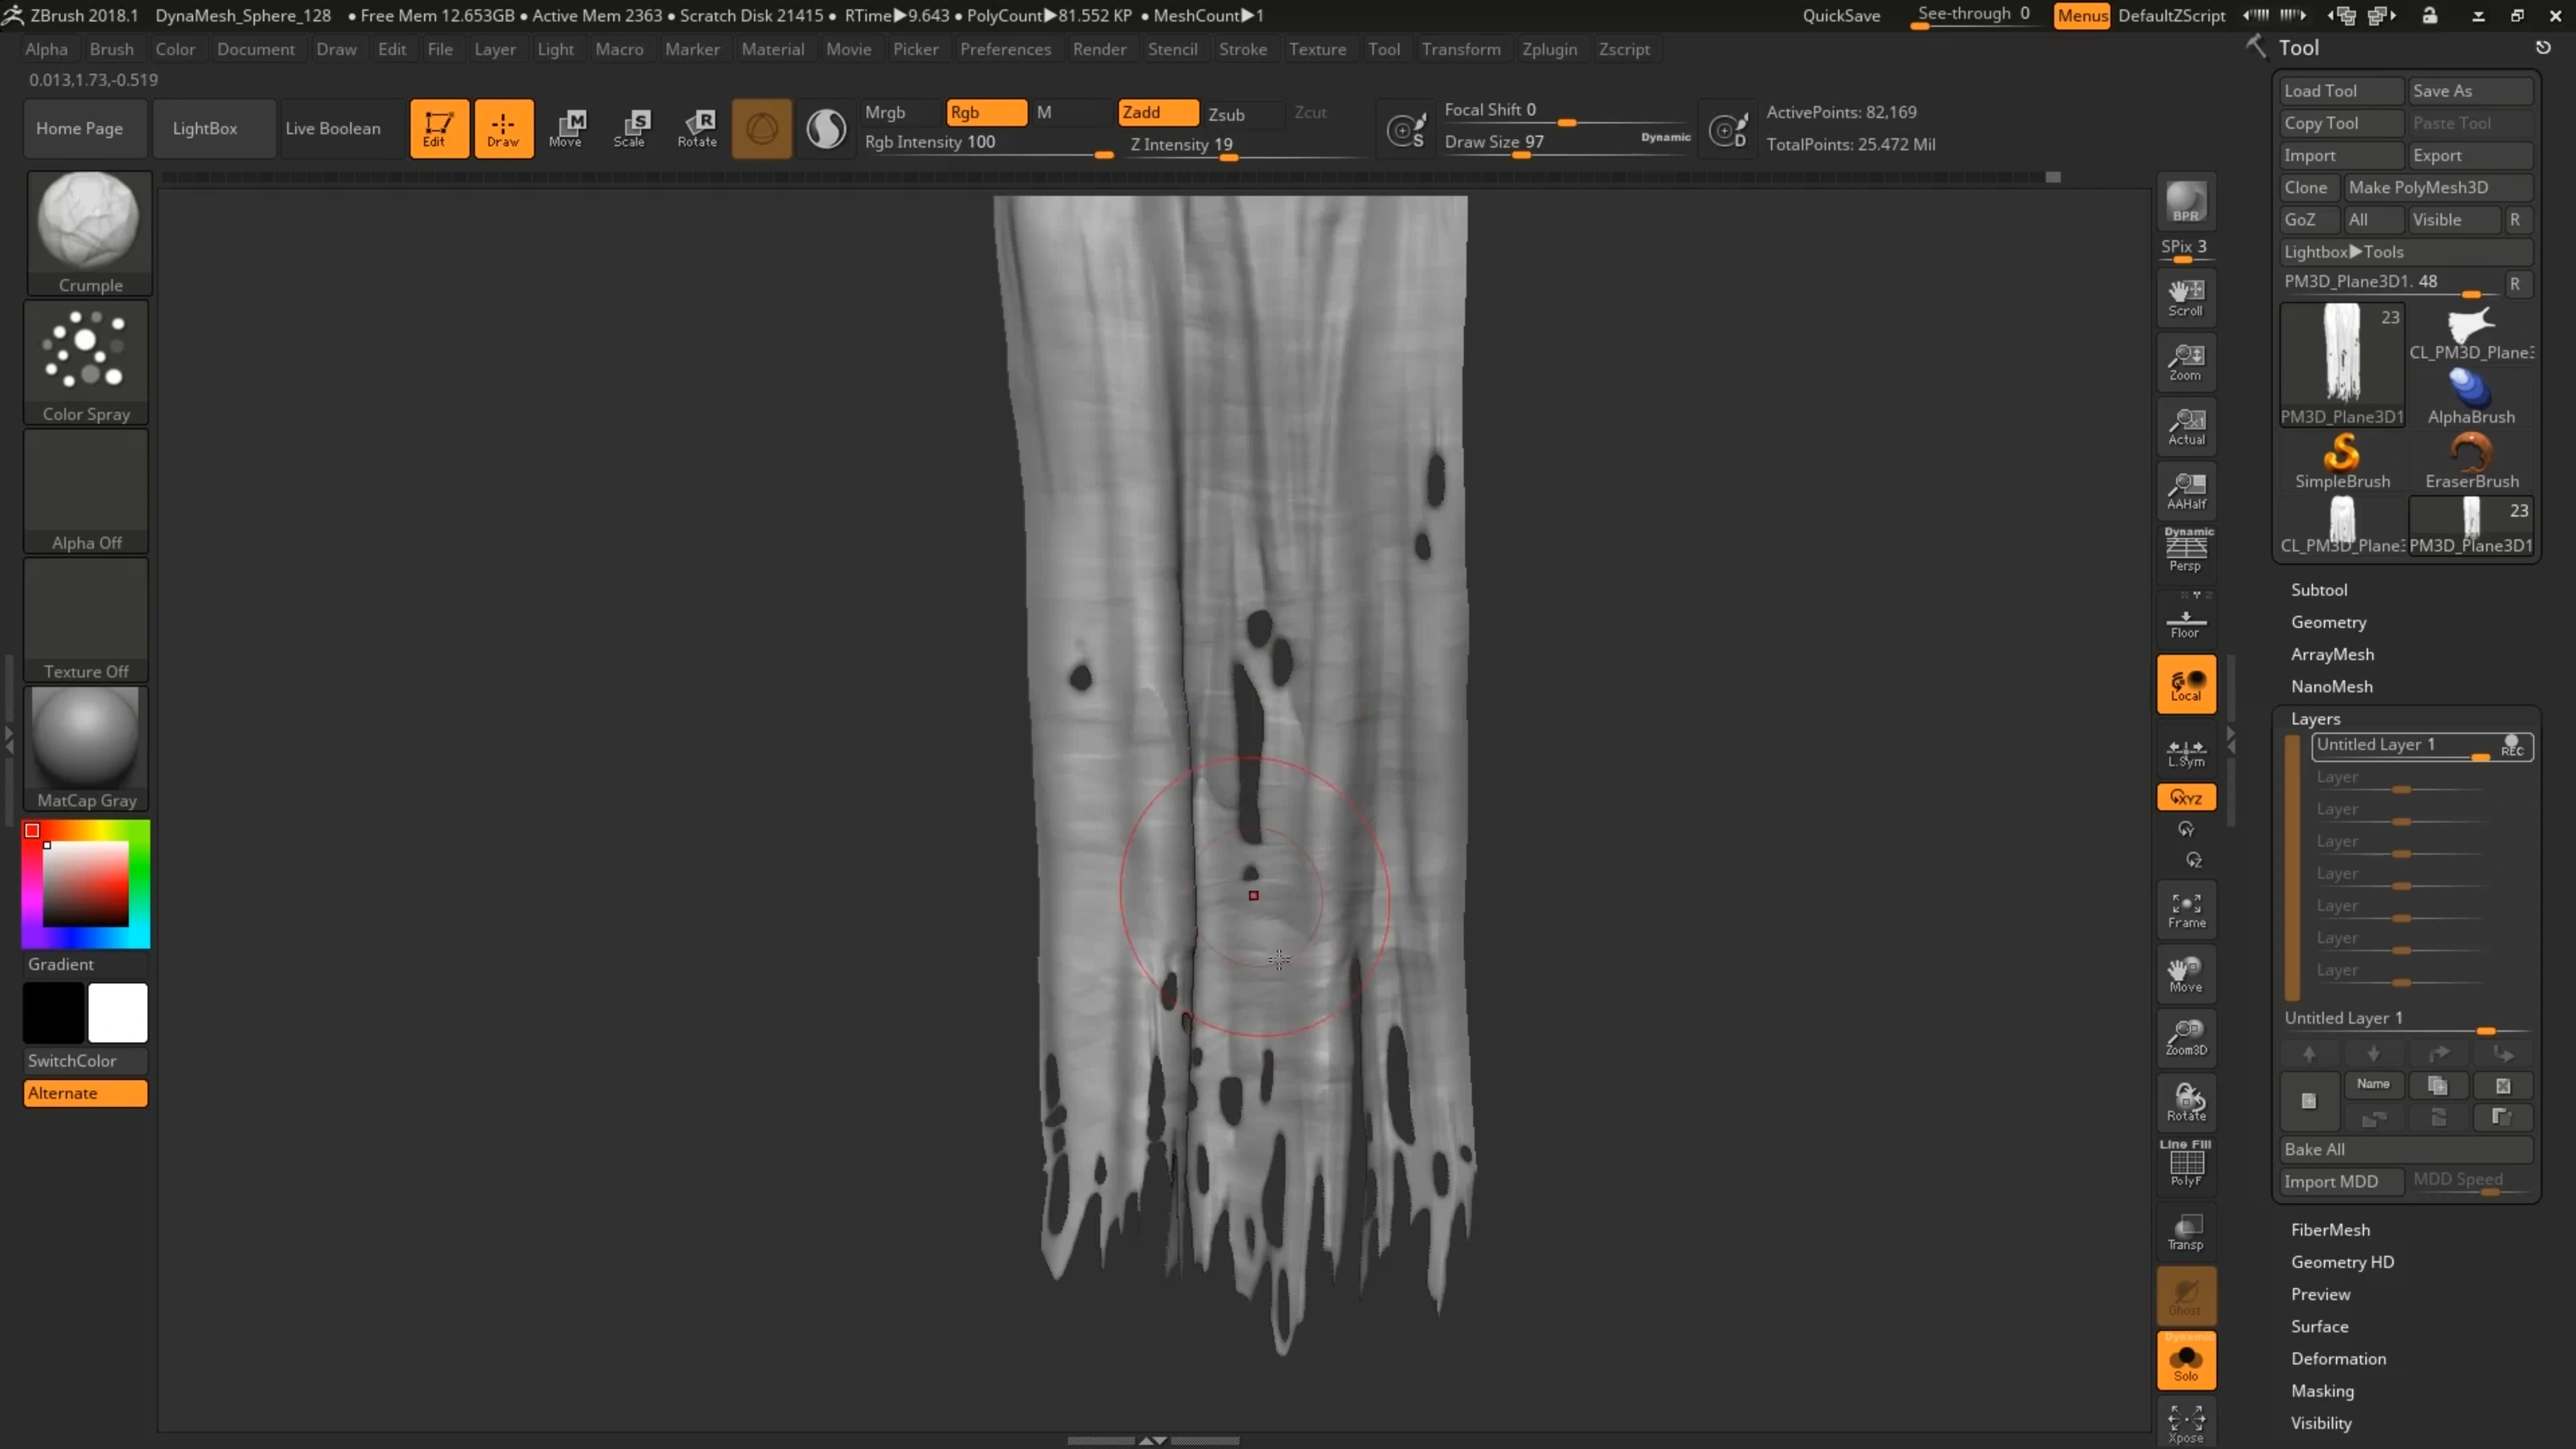
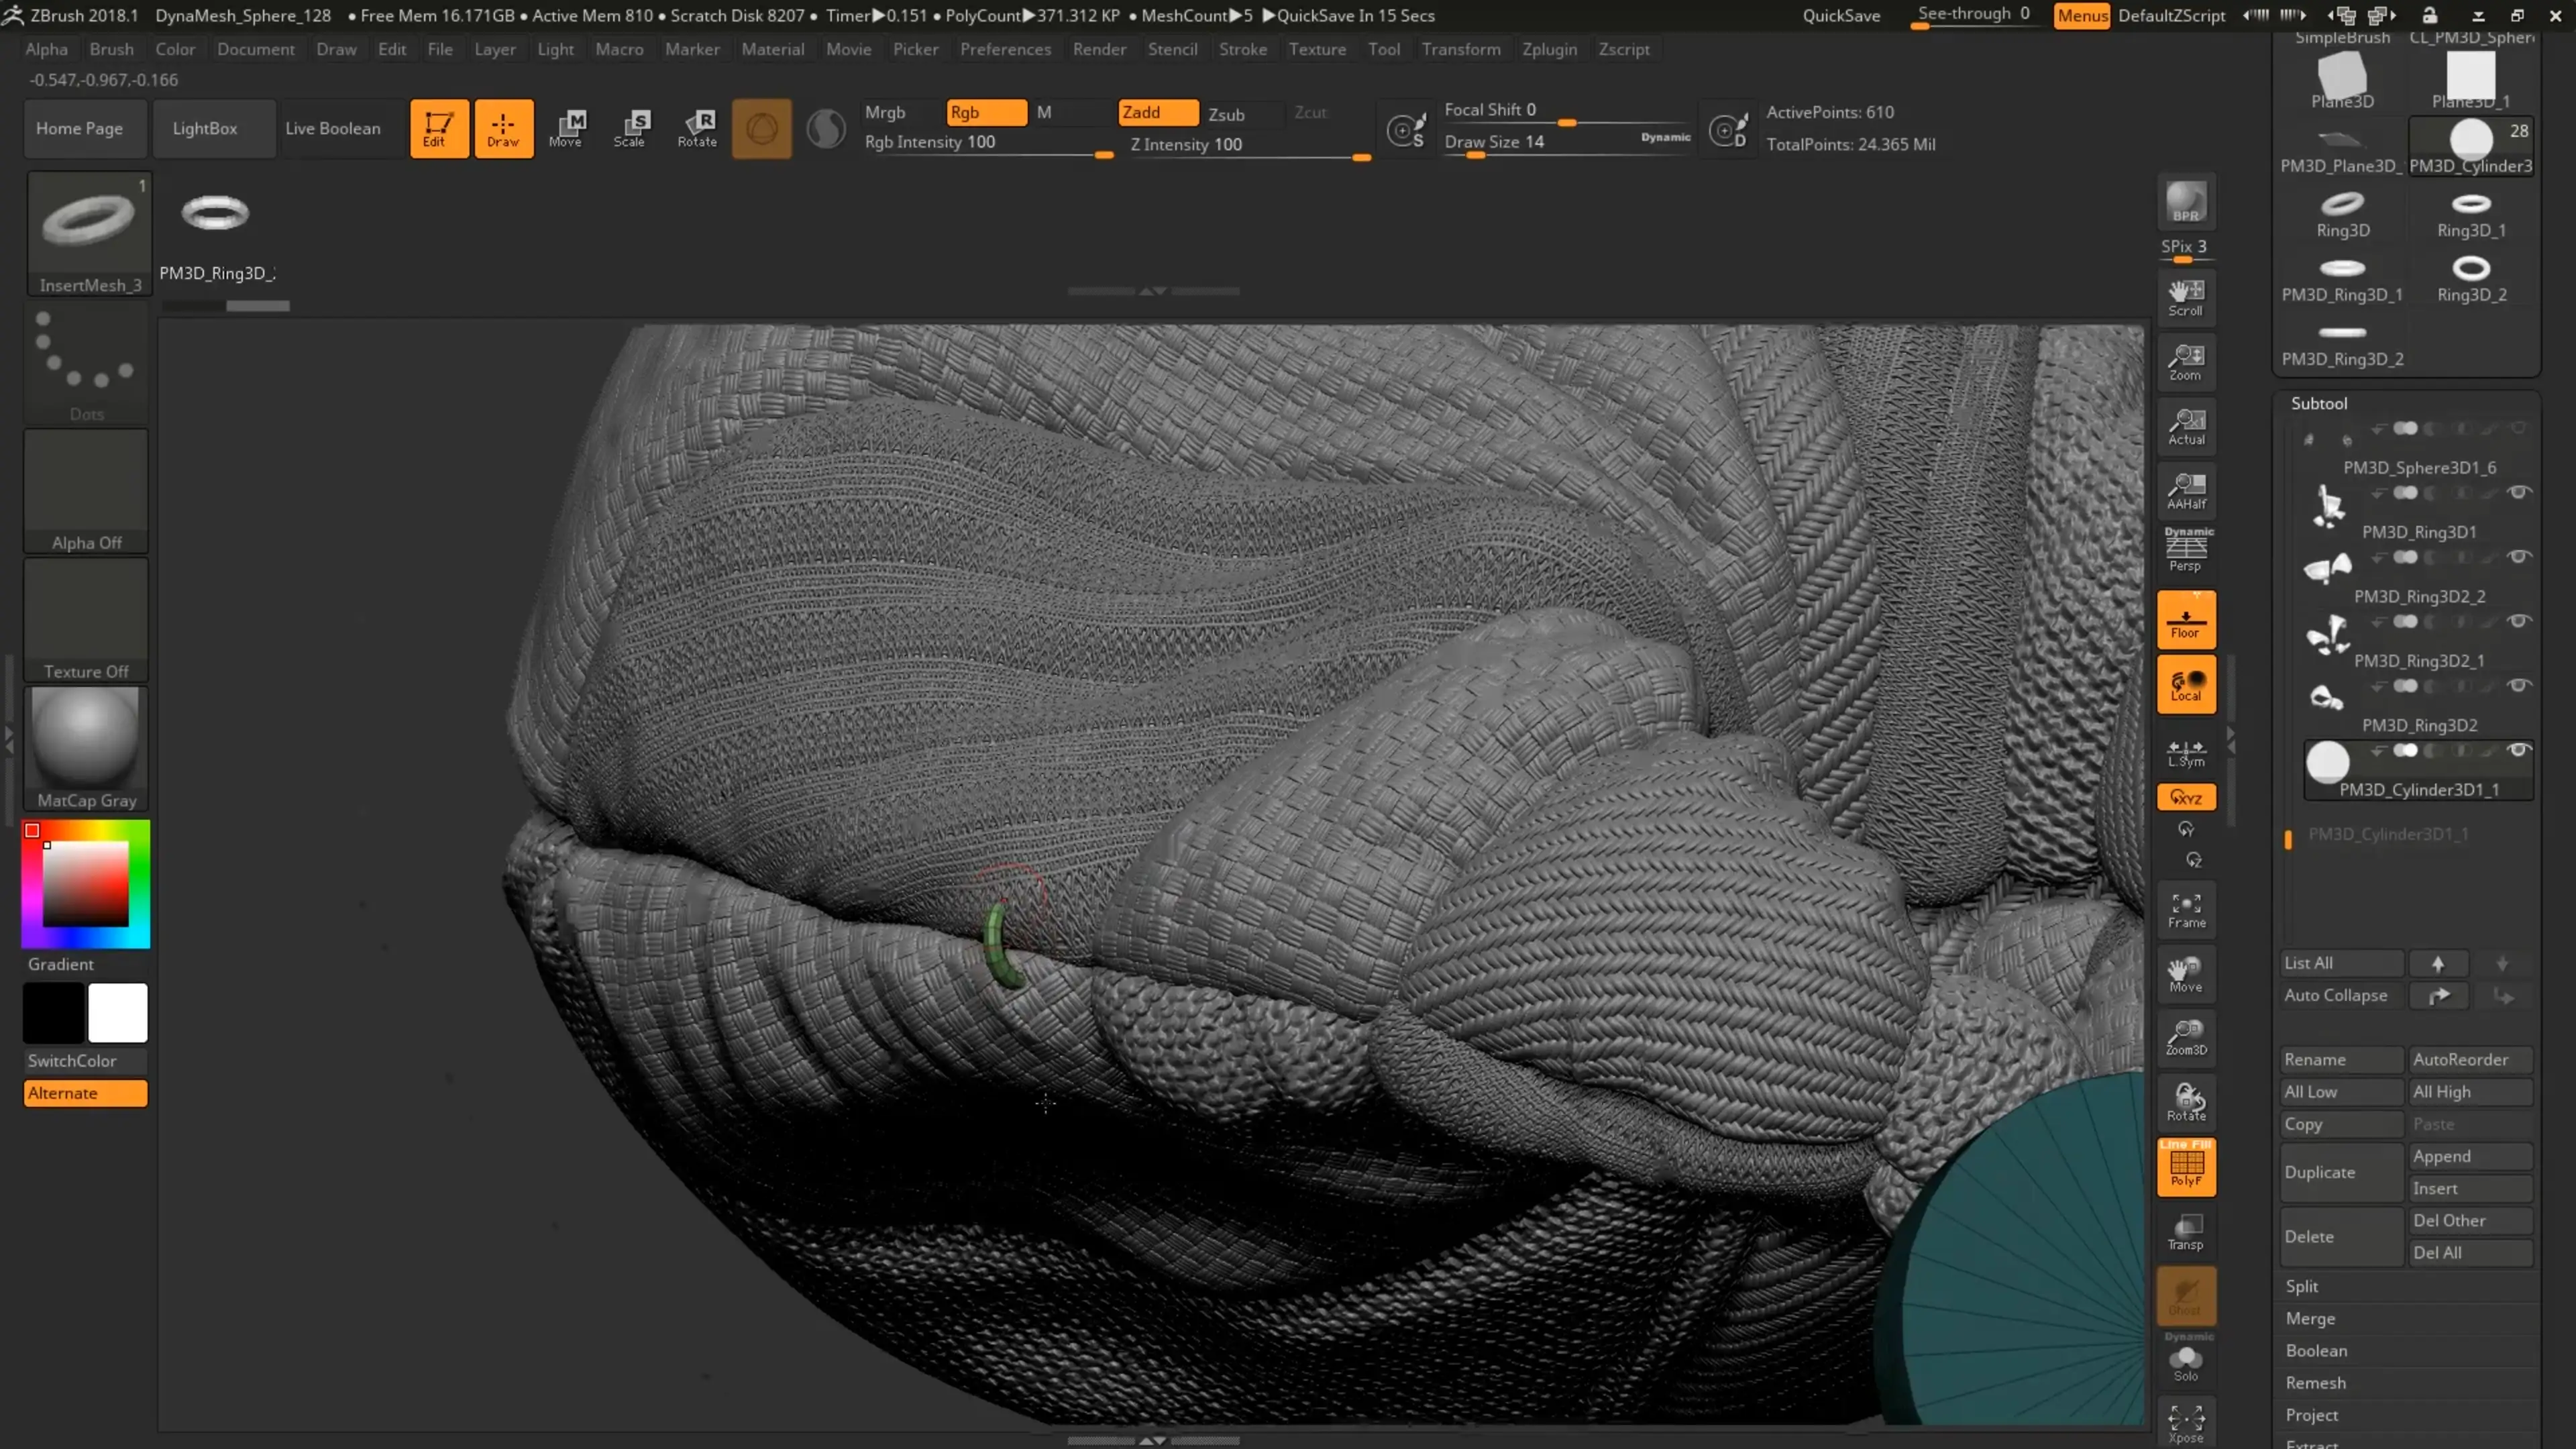
Video 18 – Detailing The Poncho:
In this video, we’ll introduce the workflow for detailing clothes and we’ll create our first brush.
Video 19 – Detailing The Cape:
With this video, we’ll learn about another crucial technique to add intricate details to clothes.
Video 20 – Detailing The Gown:
While detailing these pieces, we’ll work with yet another detailing technique with more control.
Video 21 – Detailing Leather Plates:
In this video, we’ll concentrate on another important element of clothes, the stitches.
Video 22 – Detailing Baggy Pants:
We’ll use this piece to reinforce and integrate some of the techniques previously discussed.
Video 23 – Detailing The arms bands:
In this video, we’ll take advantage of another powerful feature in ZBrush to add details.
Video 24 – Detailing Bulky Scarf:
In this video, we’ll do a recap of some techniques and introduce one more trick for details.
Video 25 – Course wrap-up:
This video will walk you through the last steps of completing the sculpting of the character.
Video 26 – Bonus Material:
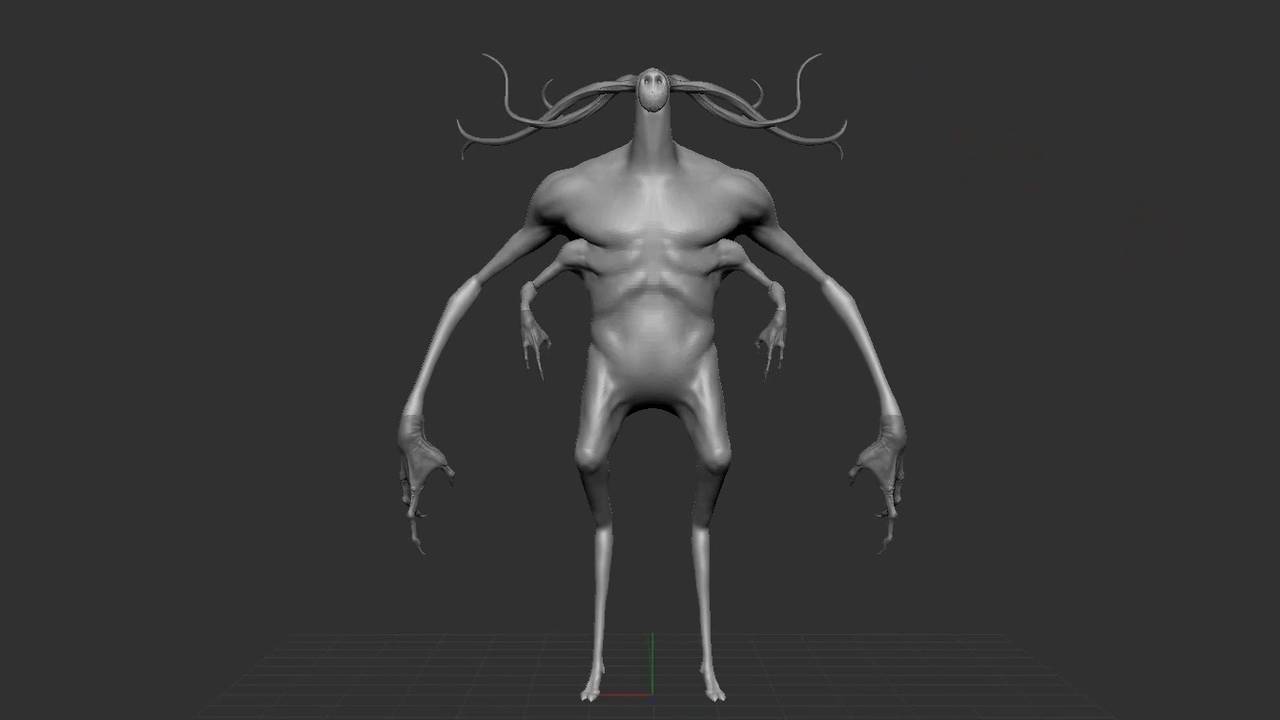
A time-lapse of the entire process of the armature, body, hands, mask and horns of the character
Bonus Material
This is a bonus lesson covering the process of sculpting the body and mask of the creature in a time-lapse.
Bonus Material
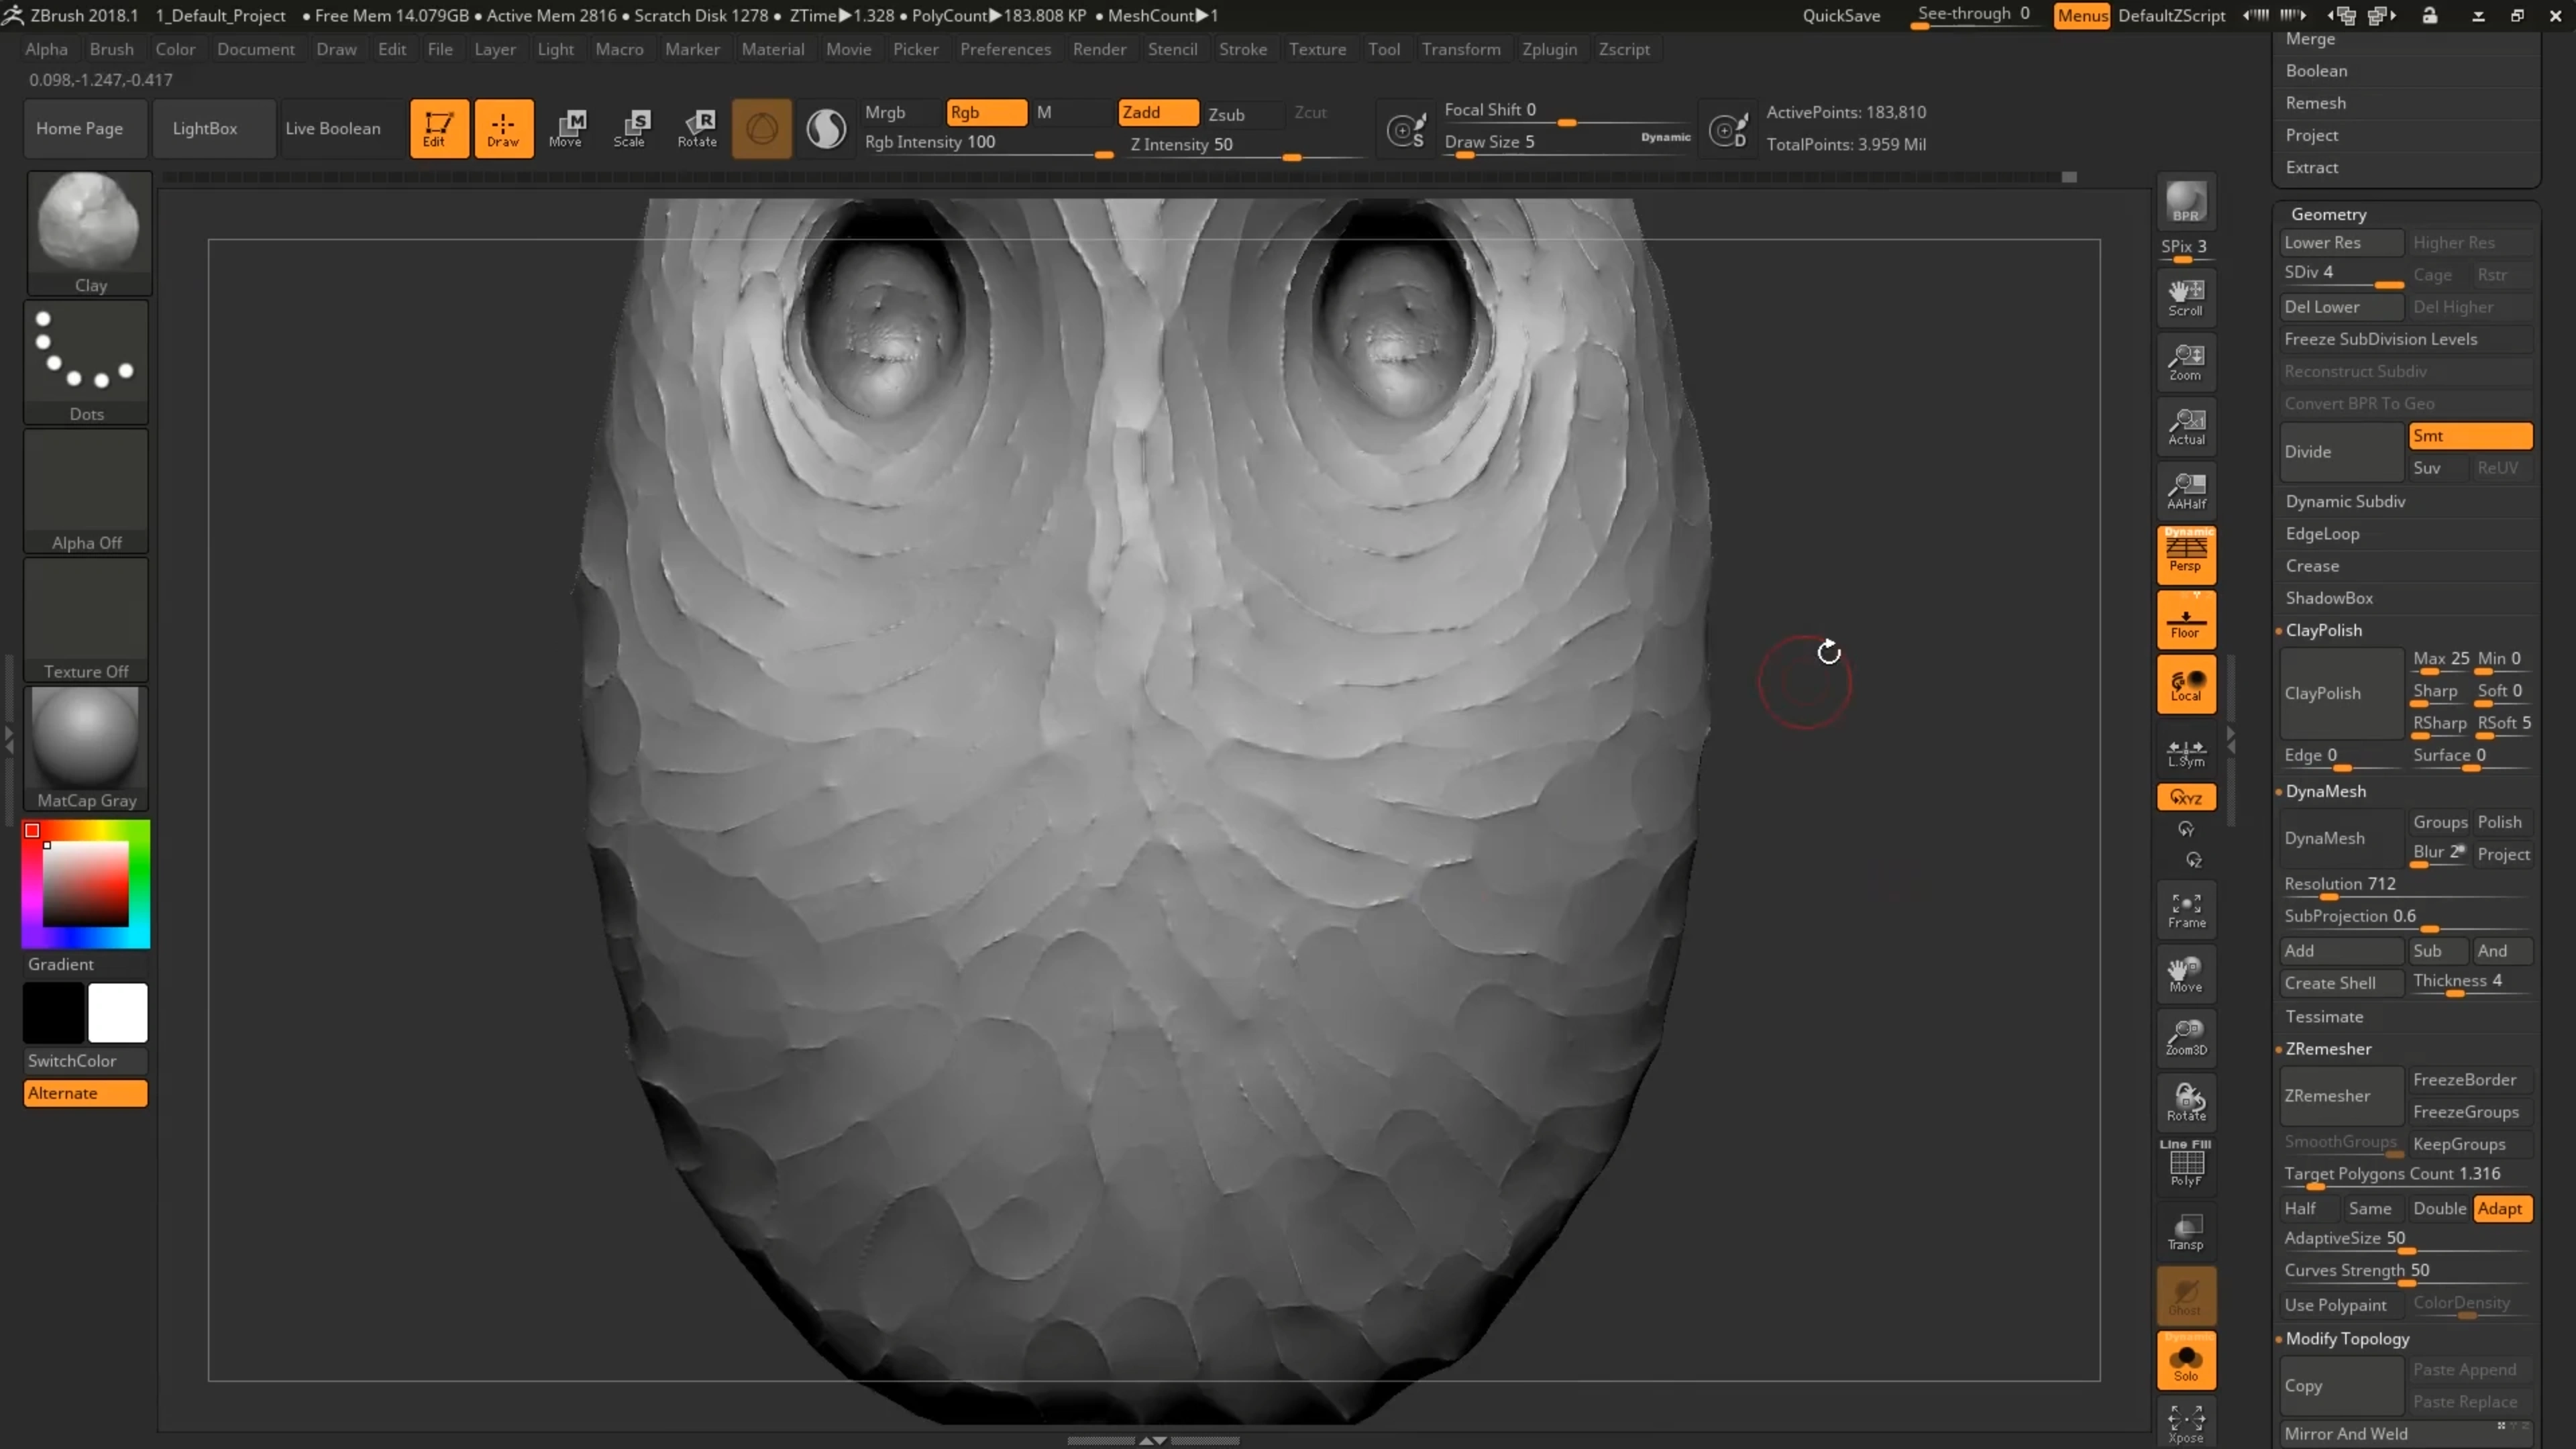
This is a bonus lesson covering the process of sculpting the body and mask of the creature in a time-lapse
Why This Course Is Different
Why this course?
01
.png)
What's the structure?
A four-part structure that runs theory, blocking, sculpting, then detailing. Every step of the process also comes as a separate ZTool, so you can open the file at any stage and work from there.
02
.png)
What's covered?
The creature's base mesh is included, so you start on the clothing straight away. The whole course stays on fabric rather than splitting attention across the body underneath.
03
.png)
What's the goal?
You come out understanding how fabric behaves and why folds fall the way they do, able to build base meshes for clothing and take fabric from block to finished detail.
Is this for me?
Things to keep in mind
This course is about how fabric behaves, which is why it holds up regardless of which ZBrush you're running. You'll be sculpting folds by hand and understanding what makes them read as cloth, rather than leaning on a simulation to decide for you.
Worth knowing: it was recorded in ZBrush 2018.1, so you'll want 2018.1 or newer to open the resources and exercise files, and it doesn't cover the Dynamics palette that arrived in 2021. The sculpting knowledge applies either way, and it's what tells you whether a simulated result is any good.
Get access today!
Everything included
Follow the whole build from theory to the final detail, then take the same workflows to your own characters.
.png)
Ready When You Are
Alright, let's do this!
Fabric does the same things whether it's a cloak, a sleeve or a hood. It hangs, it compresses, it catches where it's pinned. Once you can see that in front of you, sculpting it stops being guesswork. That's what these lessons are about, built on one character so every technique has somewhere to land, with every stage as a file you can open and work from.