



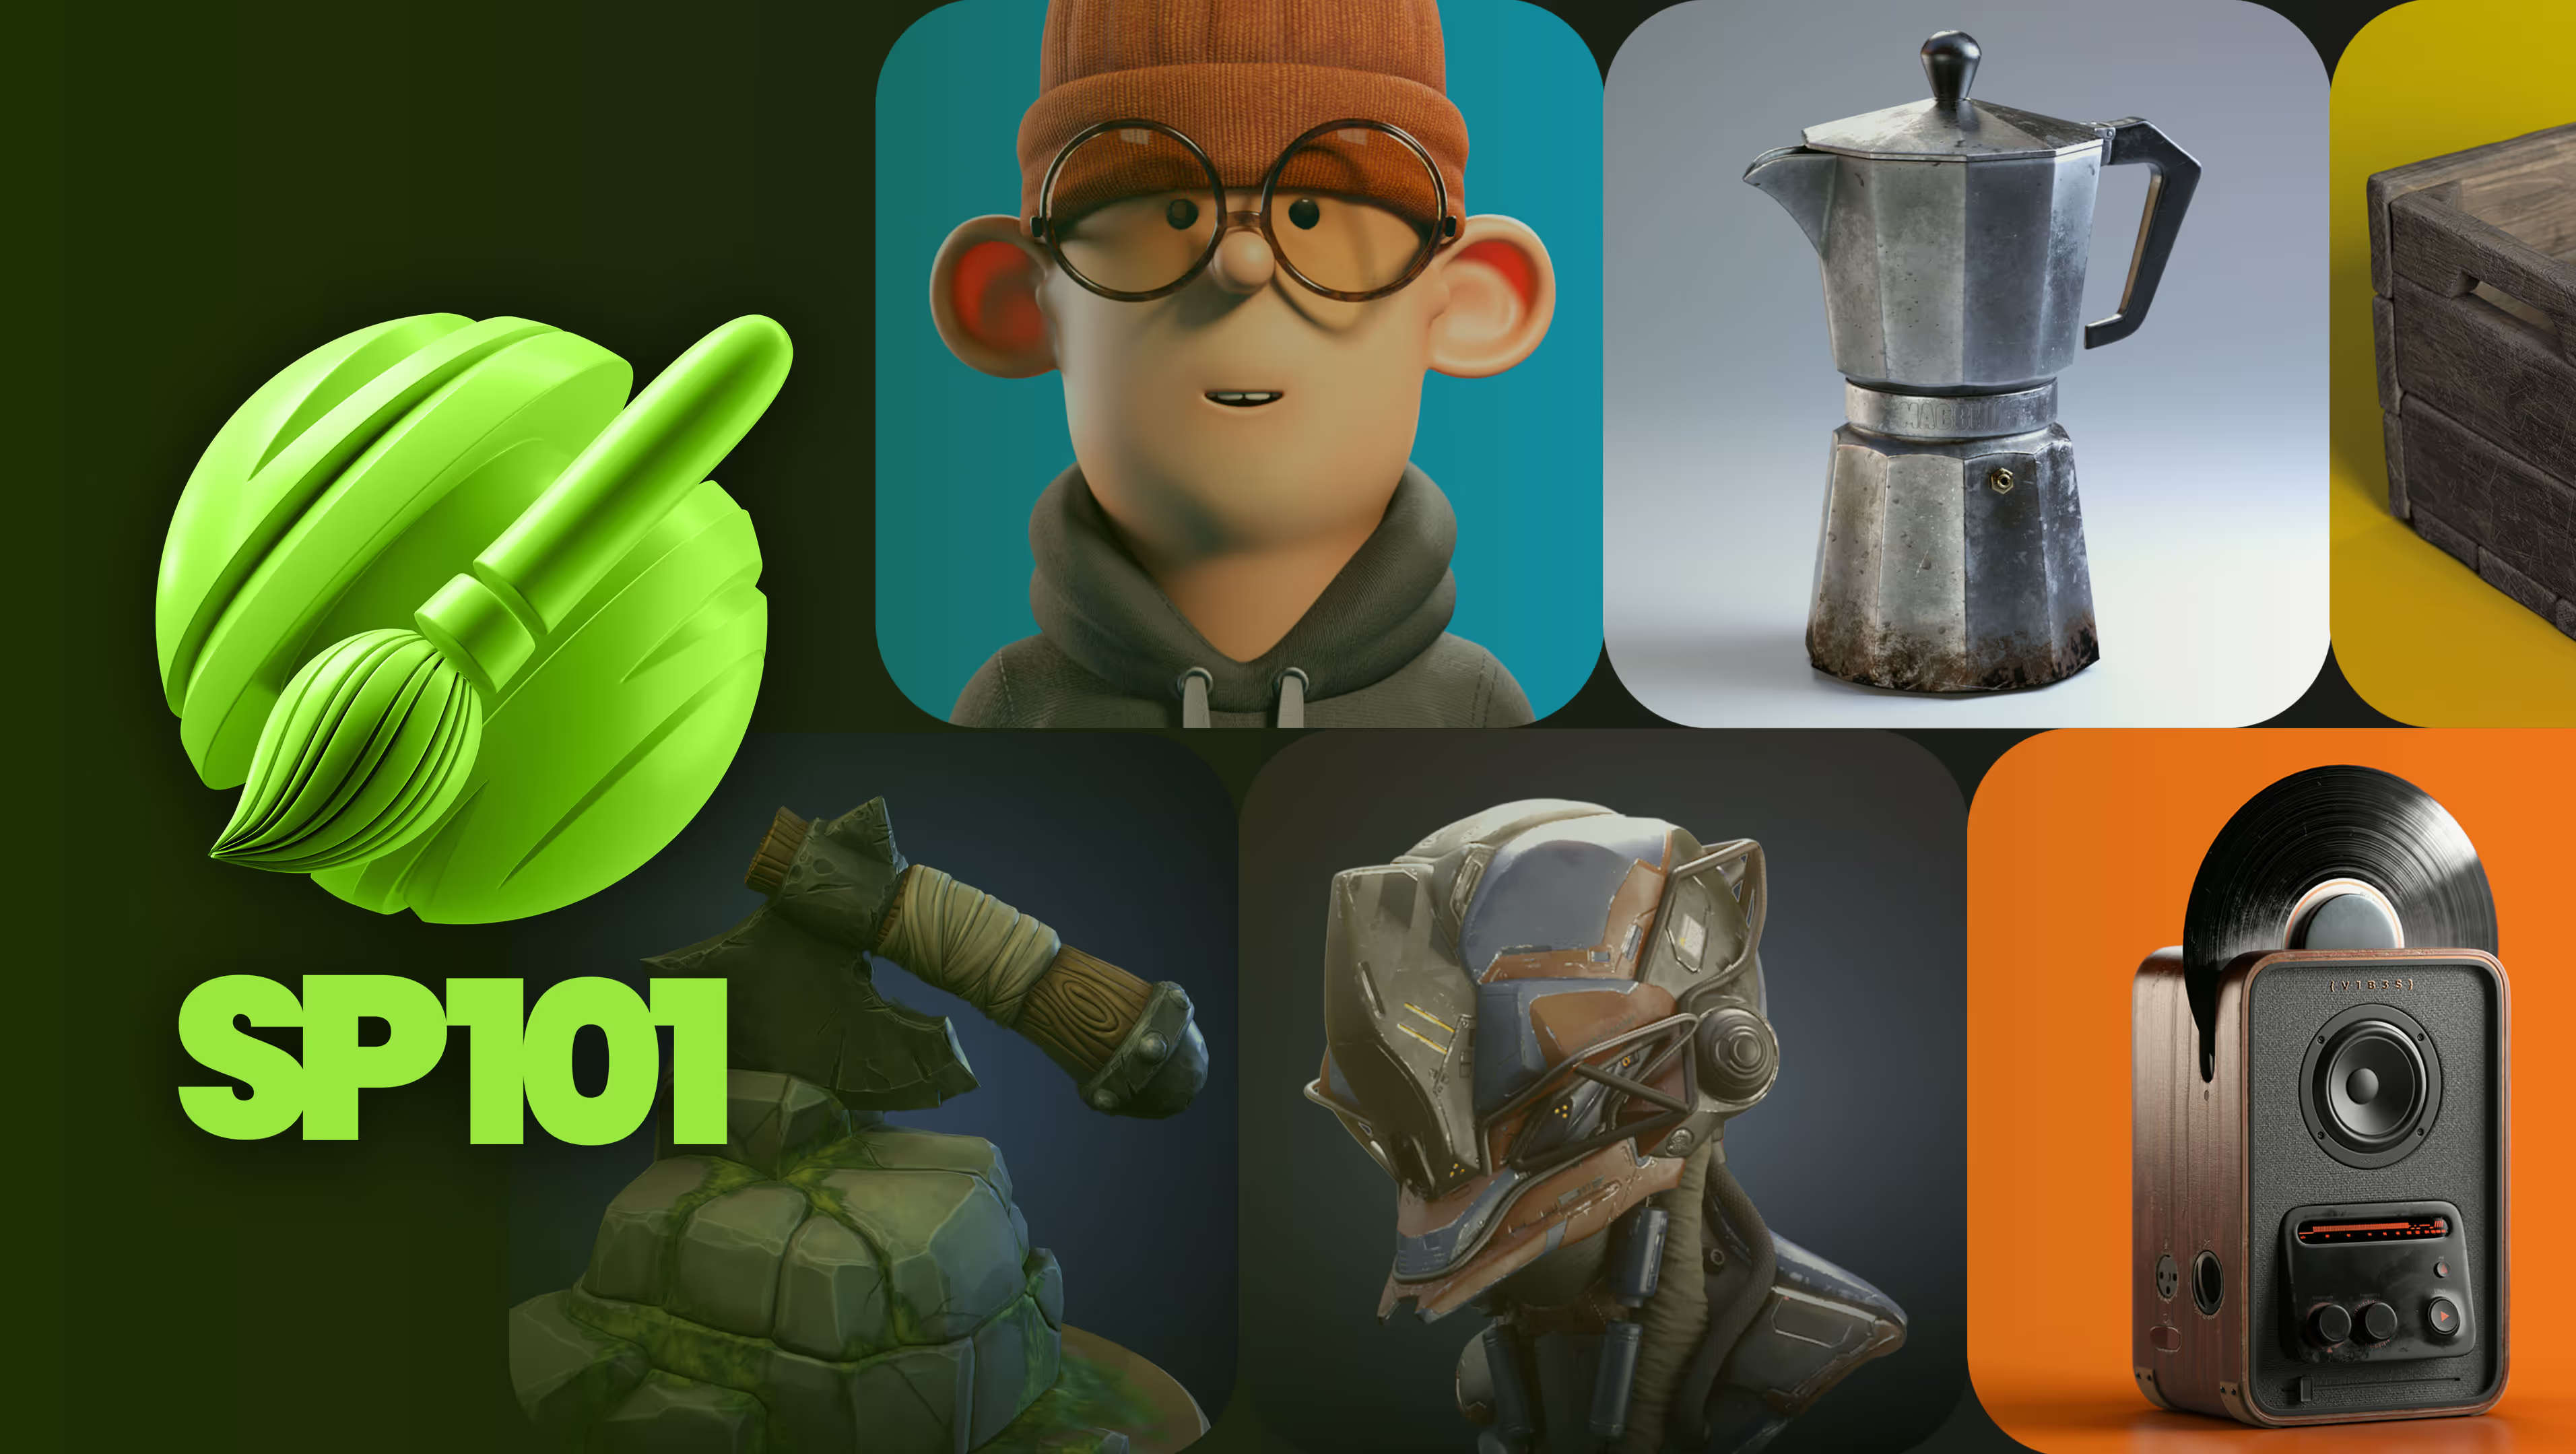
SP101: The Complete Beginner's Guide to Substance 3D Painter!
Texturing doesn't have to be the part you dread
Stop guessing your way through Substance. SP101 is the structured, project-based course that teaches you a real system for taking any asset from grey mesh to finished render.








Built for where you are
Sound Familiar?
😵💫
"Painter feels like a labyrinth... I don't even know where to start."
📚
"I've watched 50 tutorials and still can't repeat it on my own asset."
🧩
"I can model and sculpt, but my renders still look flat and grey."

Your Instructor
My name is Pablo Muñoz Gómez, and I'll be your instructor throughout SP101. This course is the result of years of teaching and refining a clear, project-based method that helps you understand texturing properly... not just which buttons to press, but the process behind the results. Whether you're going for stylized or realistic work, SP101 gives you the structure and confidence to get real results from Substance 3D Painter from day one
Course Modules
What exactly is in this course?
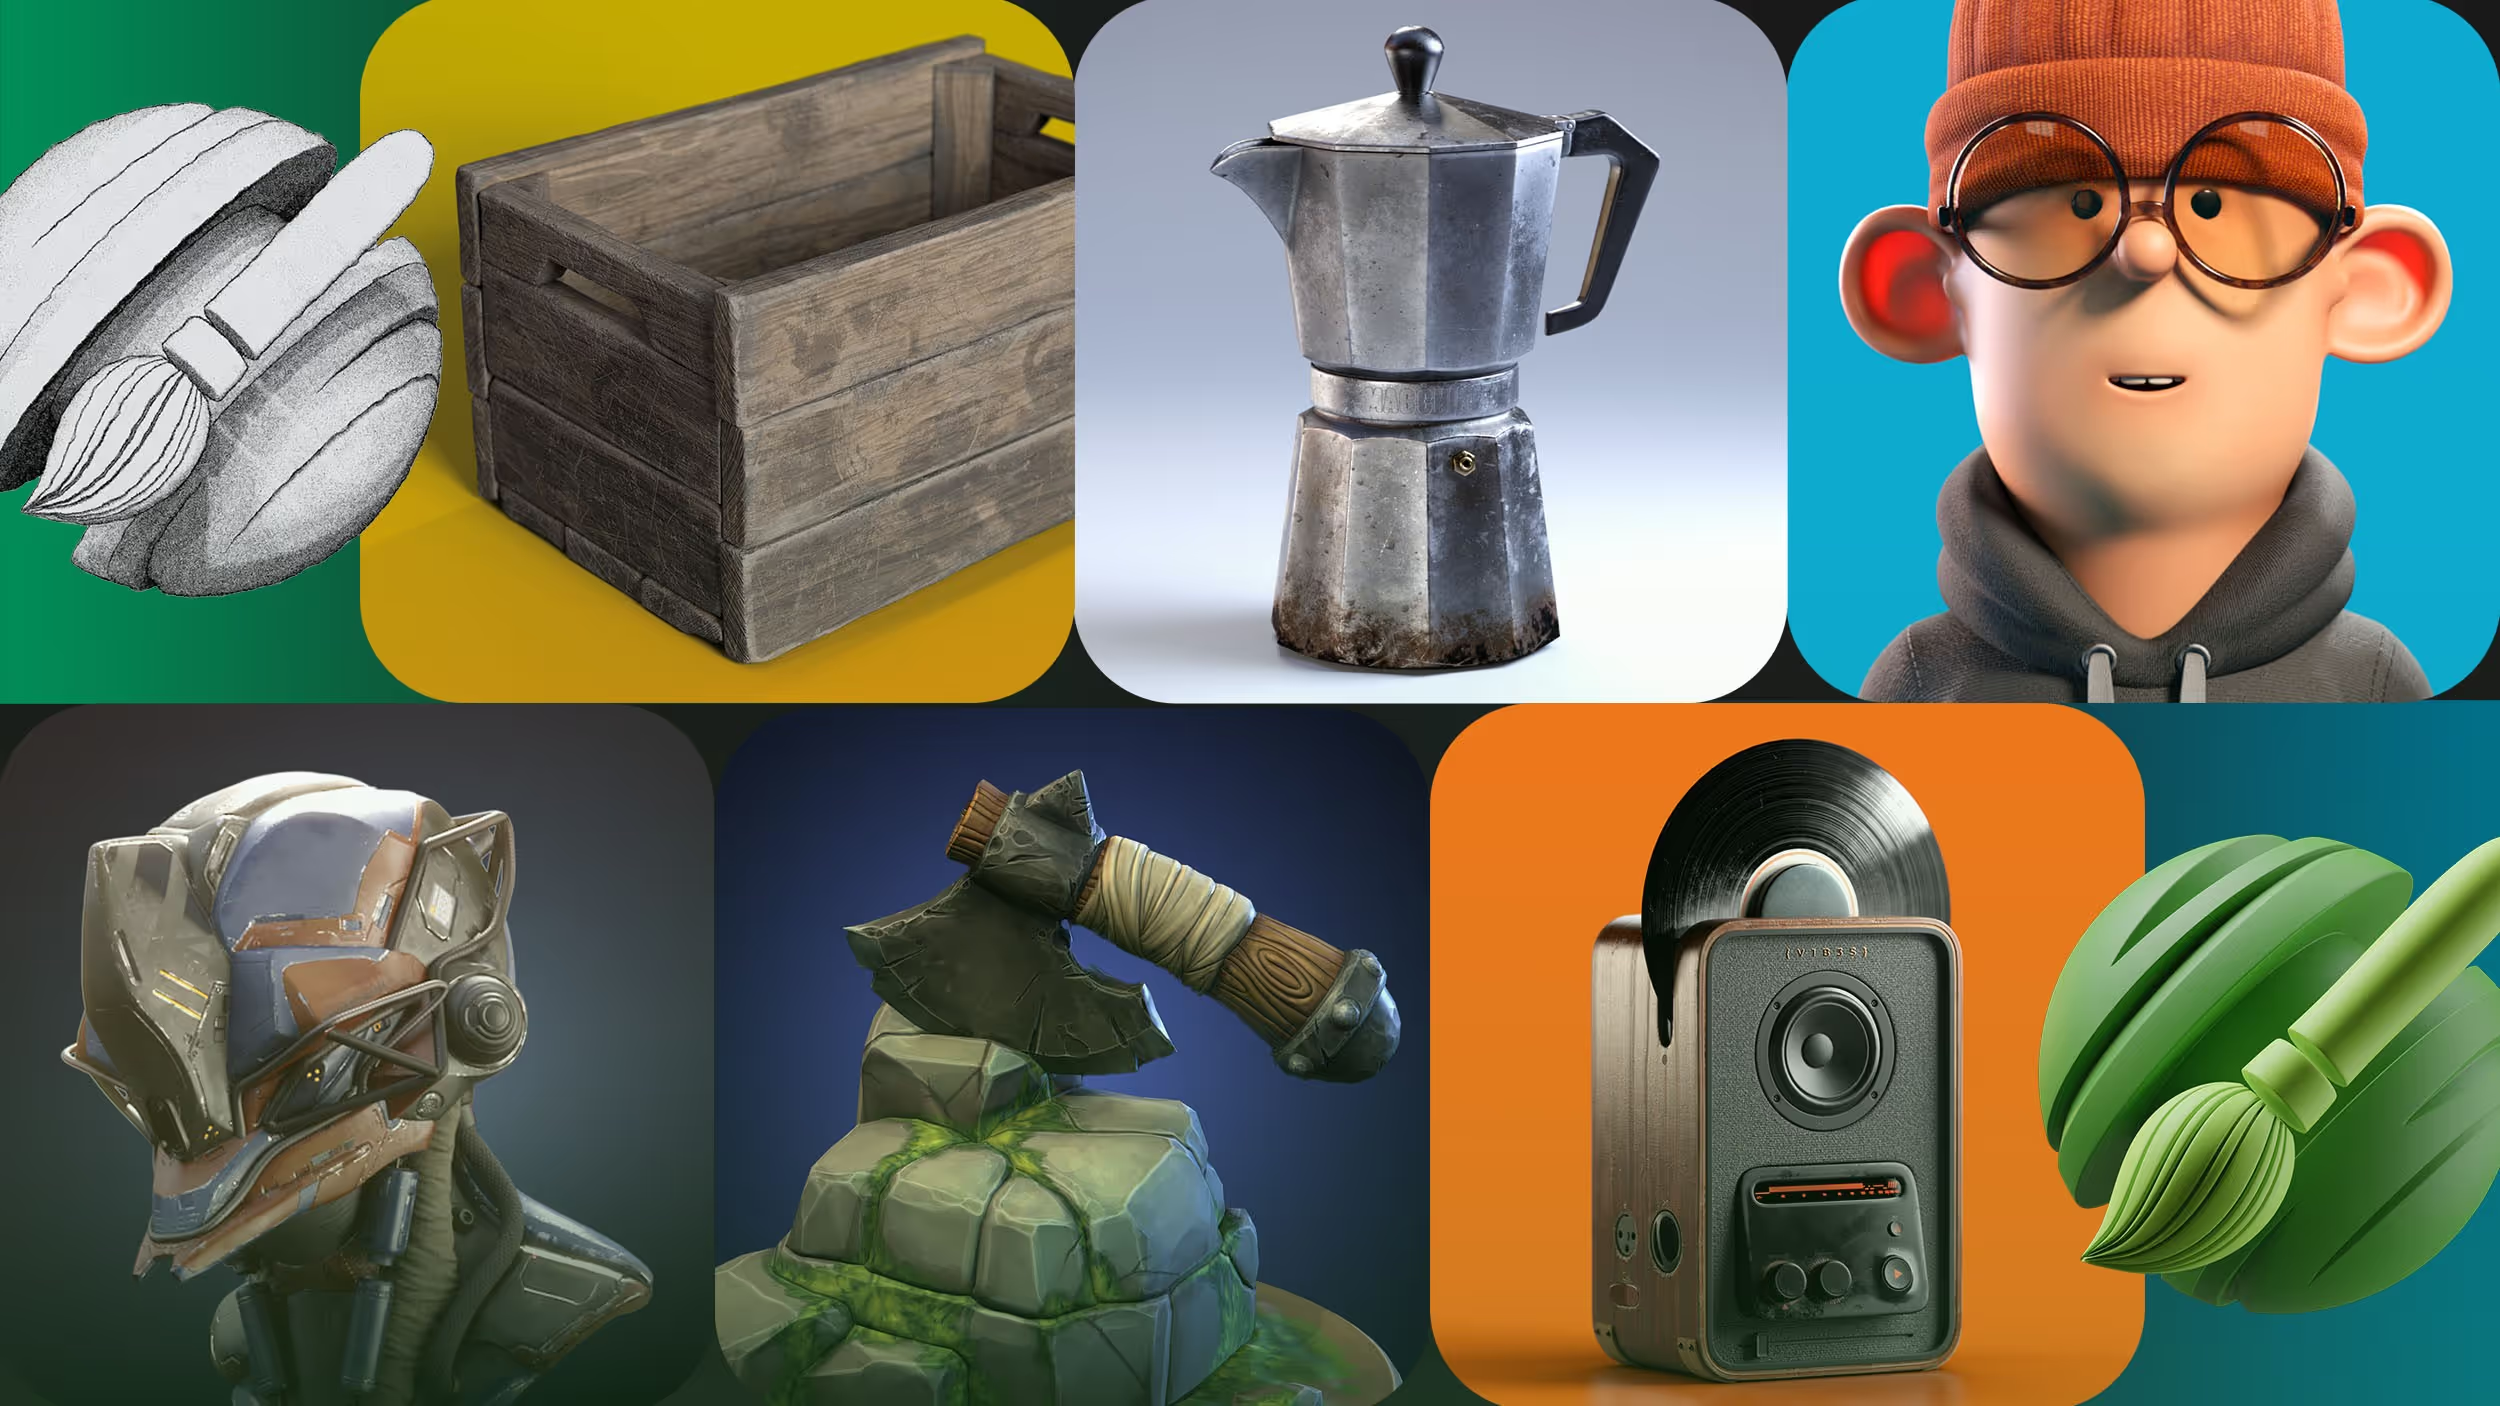
SP101 is divided into five core modules and a final bonus module, each designed to build your skills progressively while keeping things practical, fun, and project-based. You'll texture everything from stylised props to realistic objects, building your skills project by project. By the end you'll have a portfolio's worth of finished work and a solid, repeatable workflow you can use on anything you make want to make next!
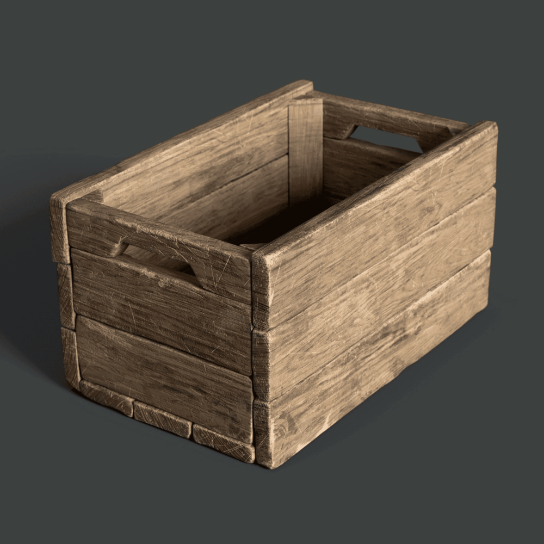
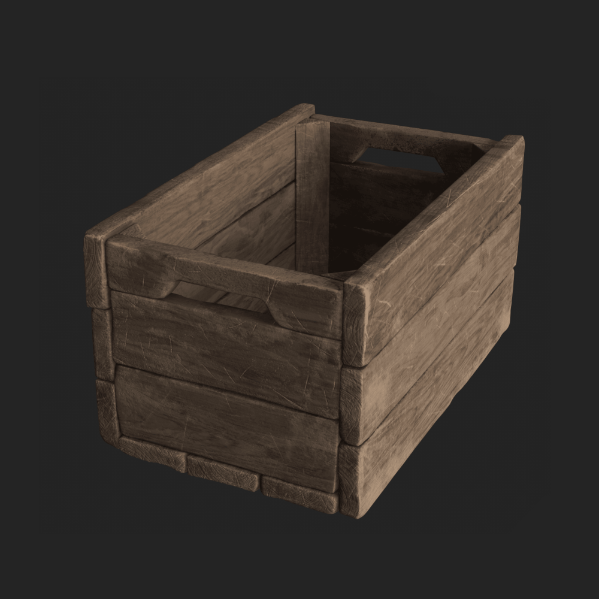
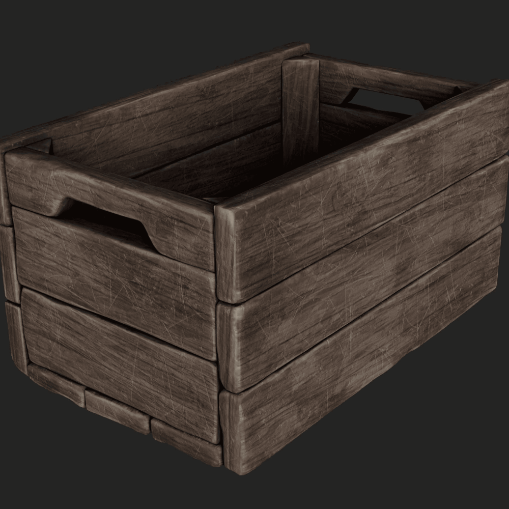
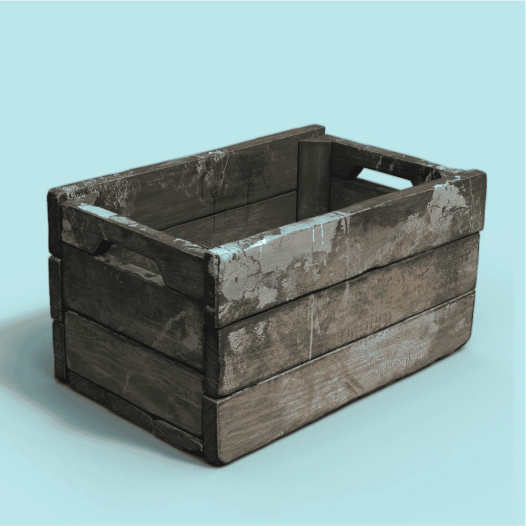
🪵 The Wooden Box
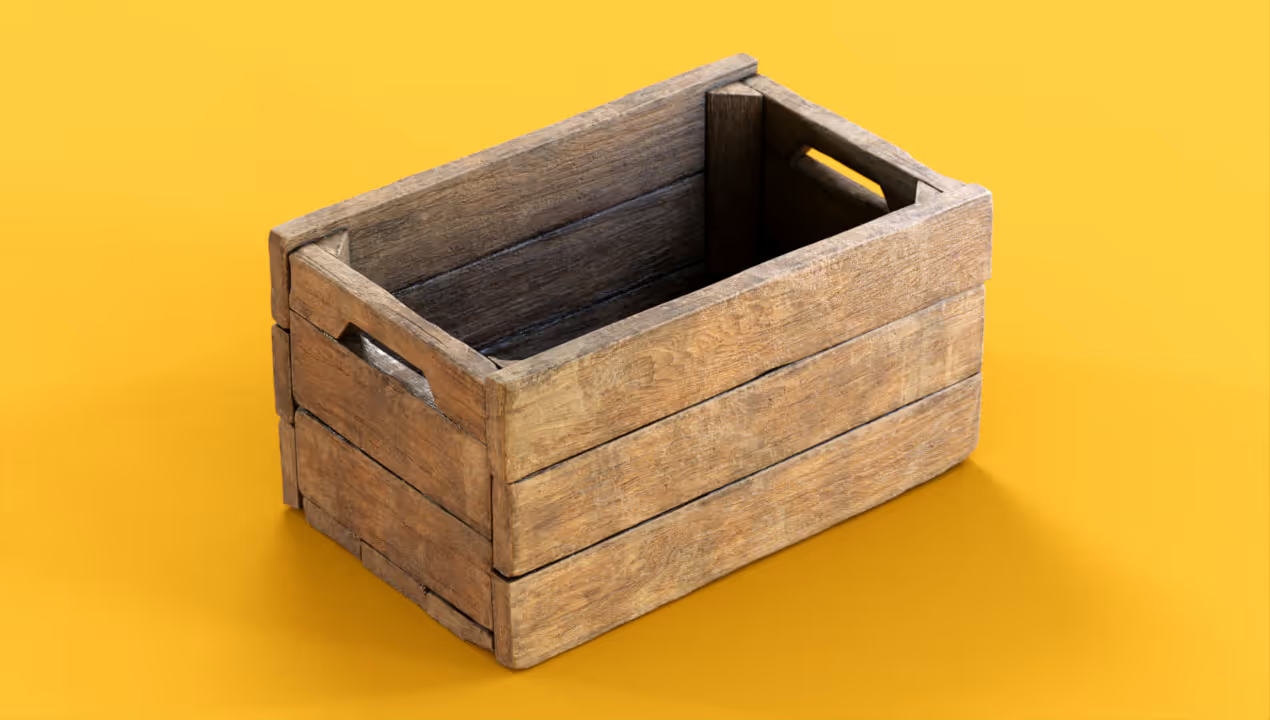
Create your first full project in Substance Painter by building a custom wood material. Learn essential tools, masking, layering, and rendering... plus save your own smart material for future use!
🪵 The Wooden Box
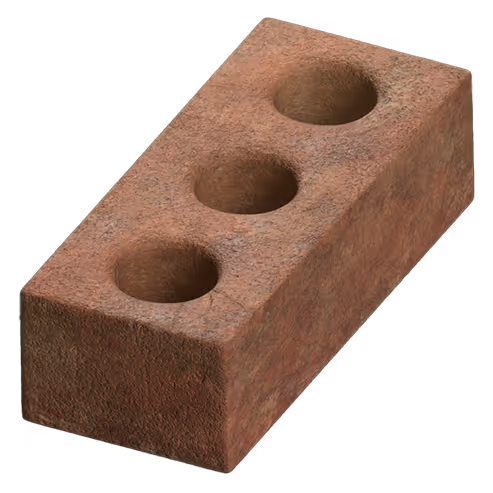
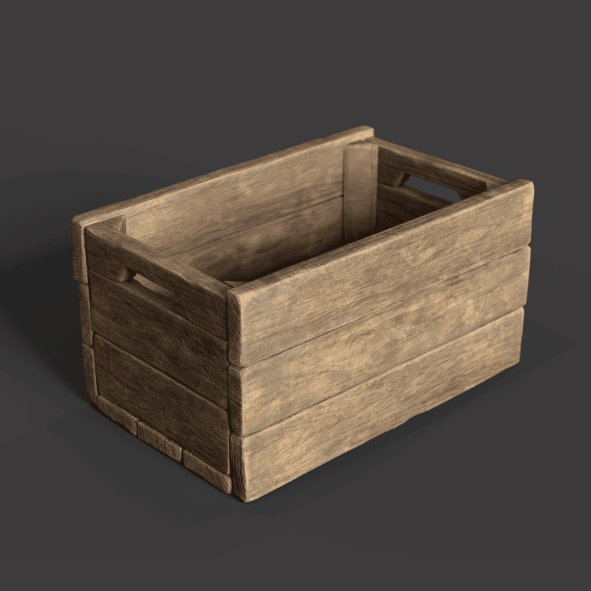
Module 1 is where everything starts. You'll get properly comfortable inside Substance 3D Painter, then learn the concepts most beginners never quite grasp: baking and mesh maps, how Painter reads your model, the difference between smart and parametric materials, and why good UVs matter. These are the foundations that make everything else click.
.png)
Then you build. You'll create a wood material using the library to learn the workflow, then again completely from scratch so you understand every decision, turn it into your own reusable smart material, and present it with Painter's tools. The box is simple on purpose. The point isn't the box, it's the repeatable workflow you can apply to anything you make next.
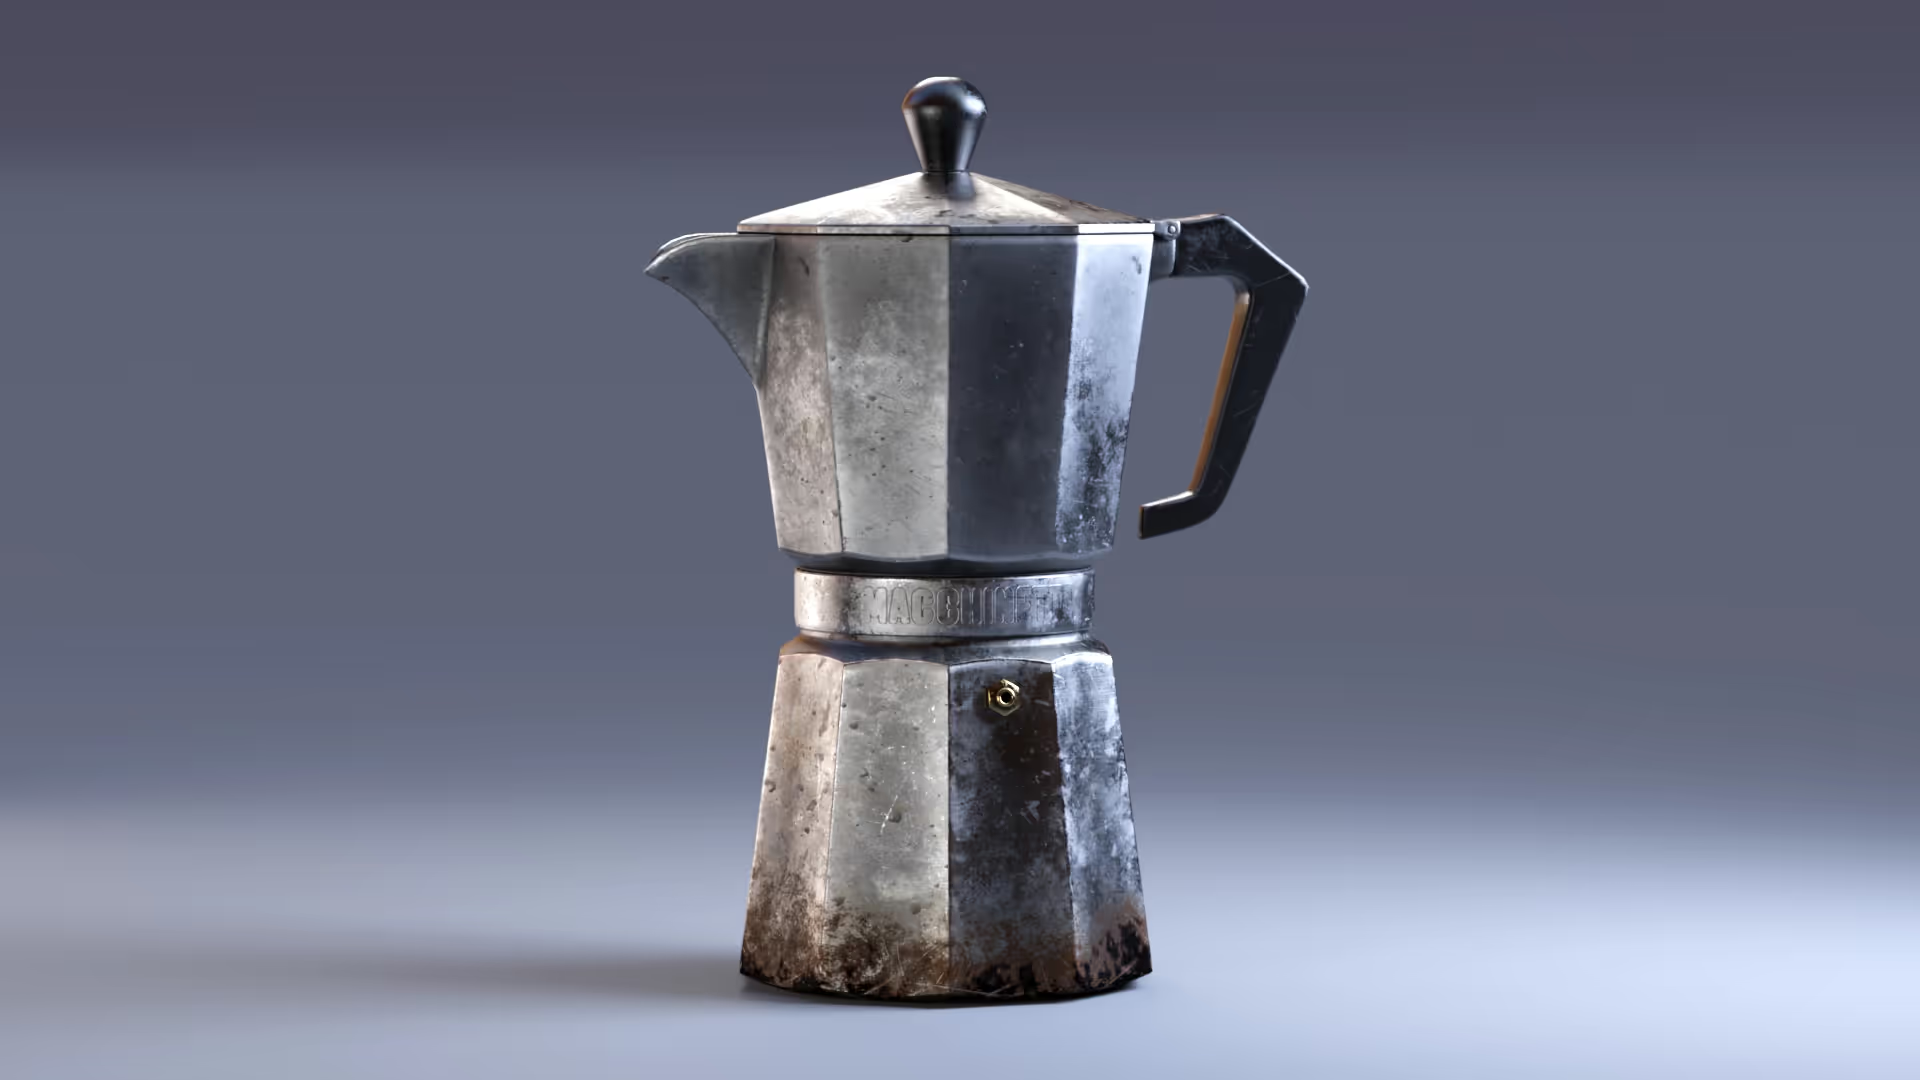
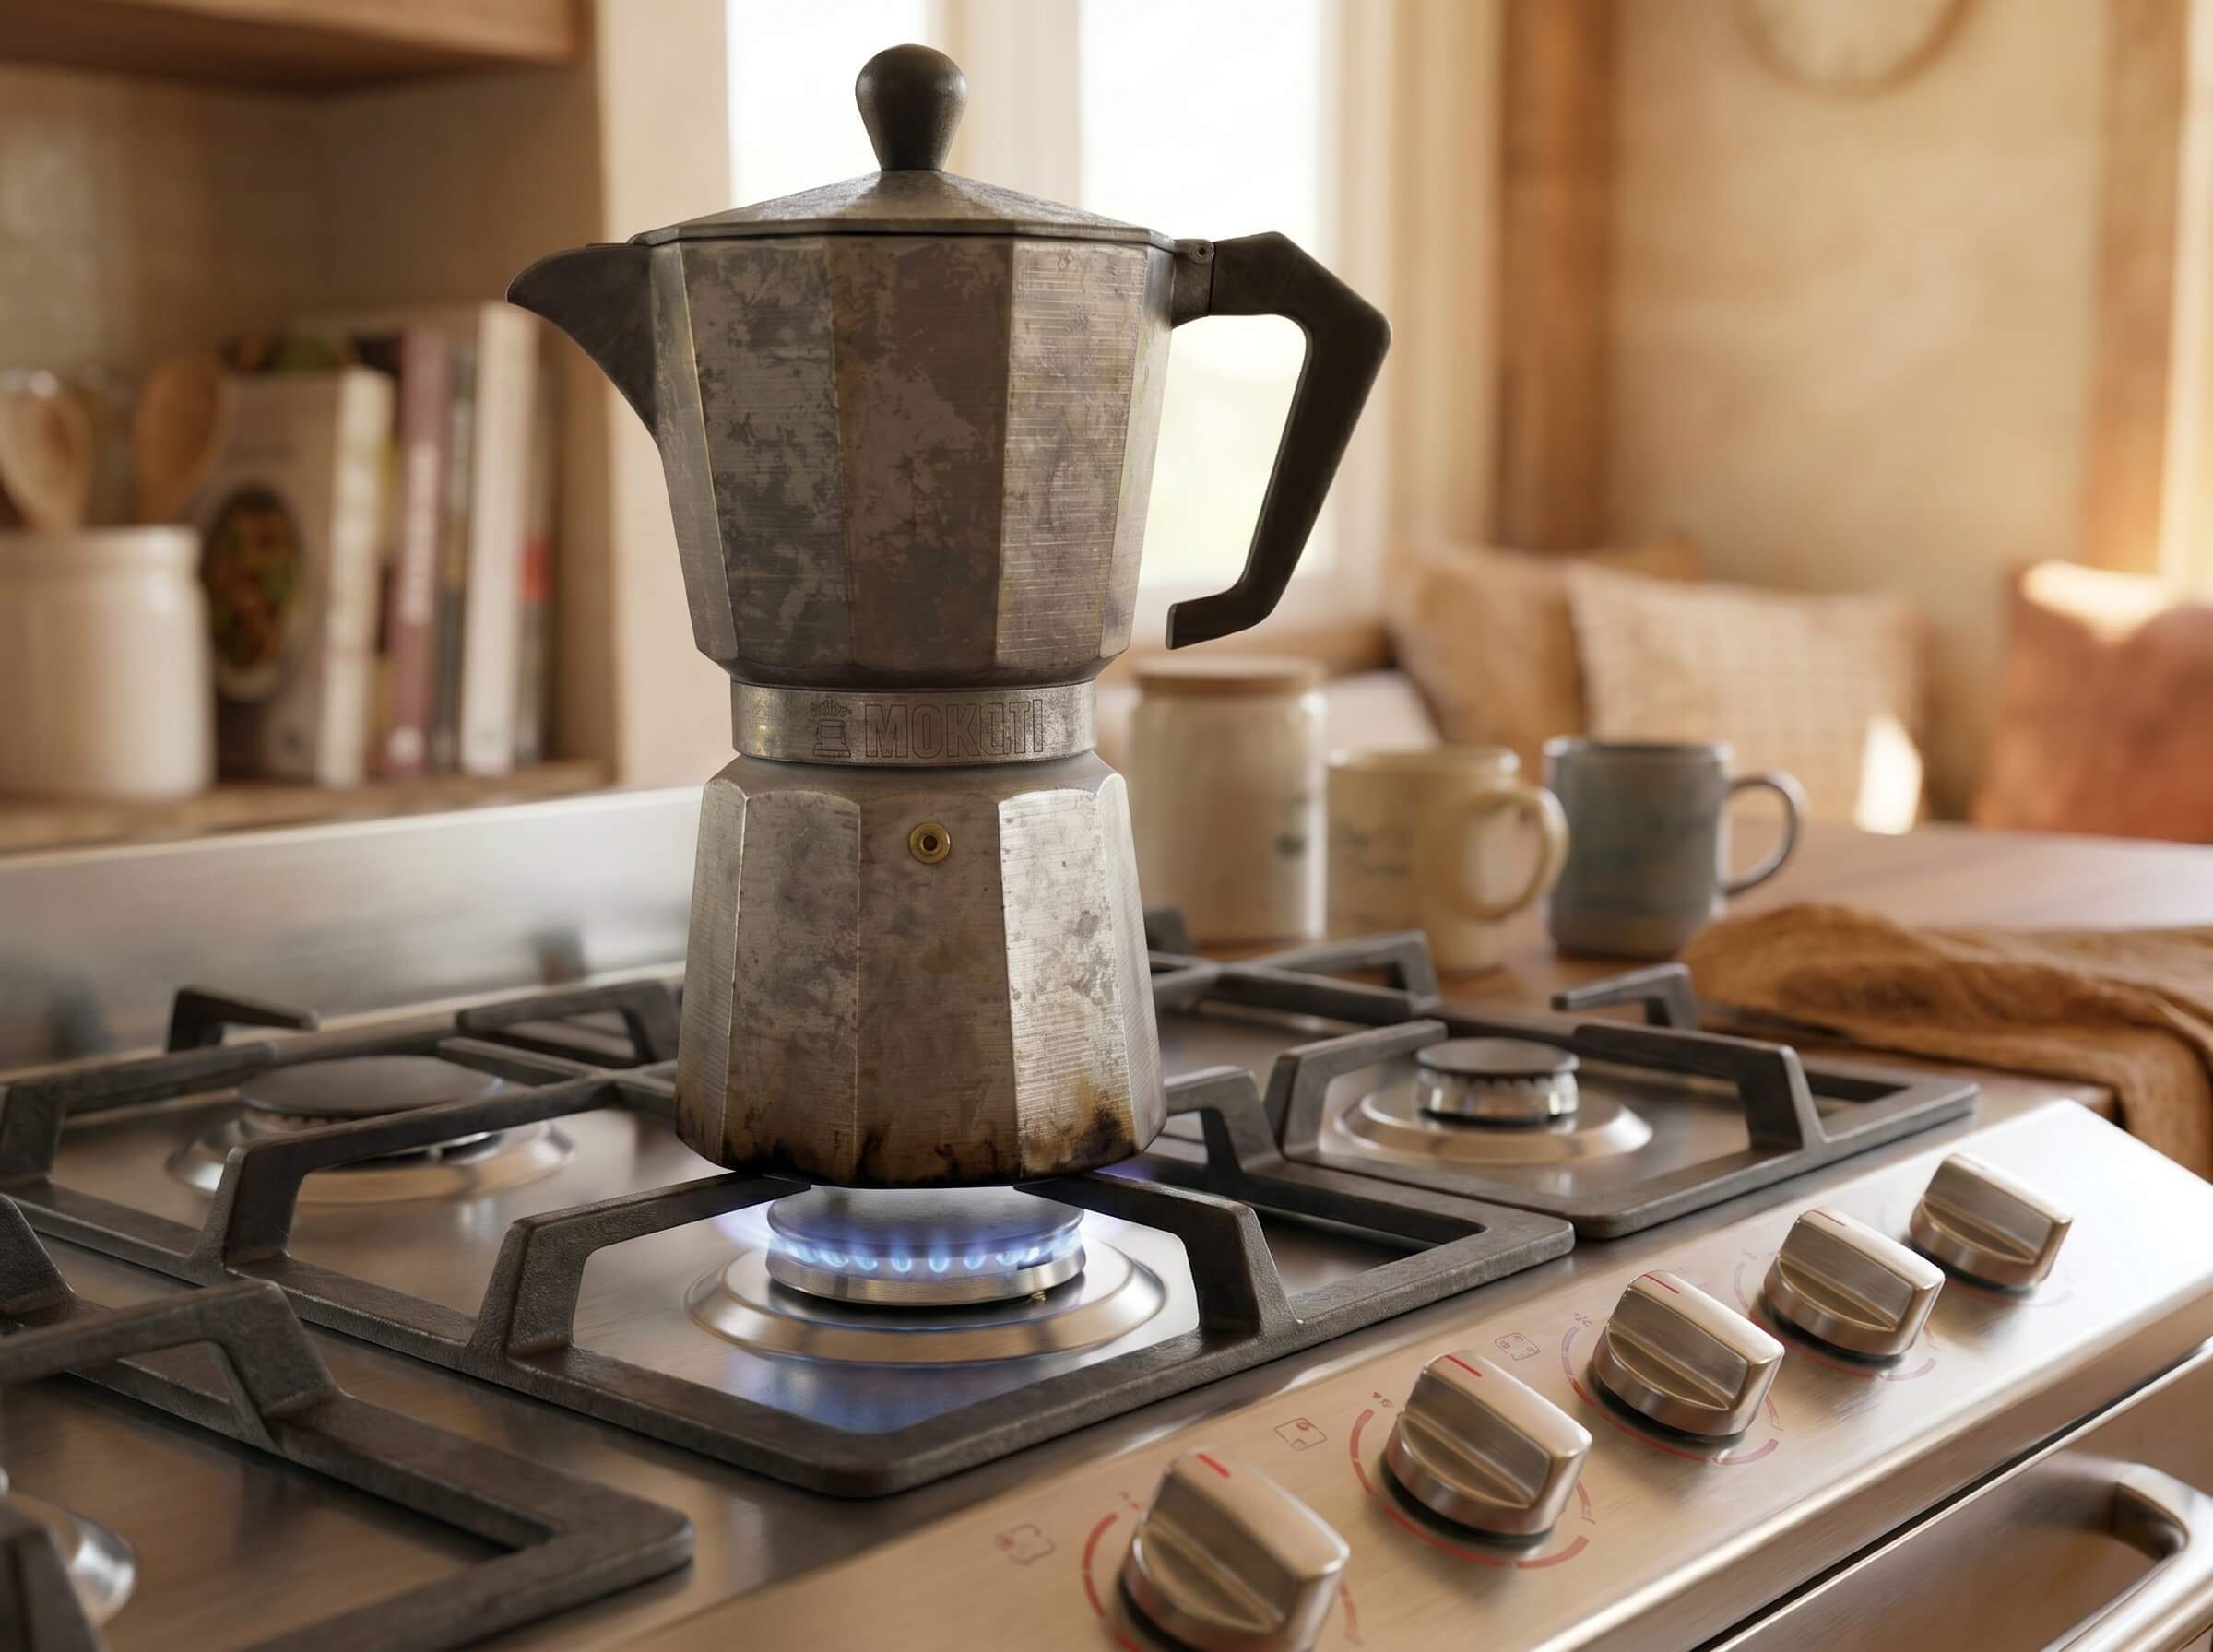
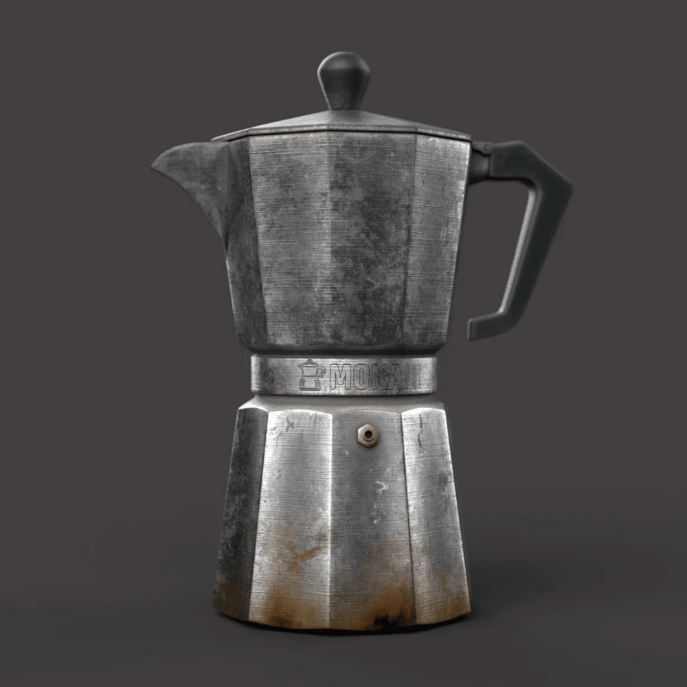
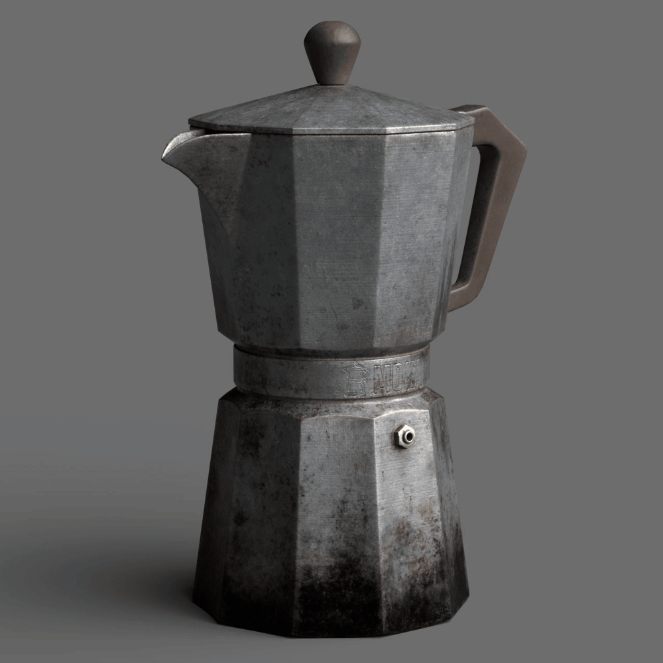
☕ The Moka Pot & Realistic Textures
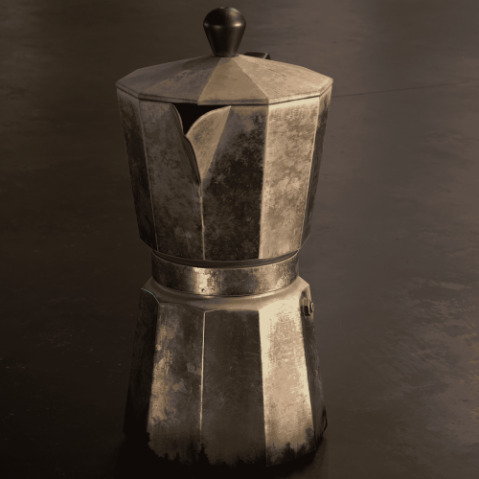
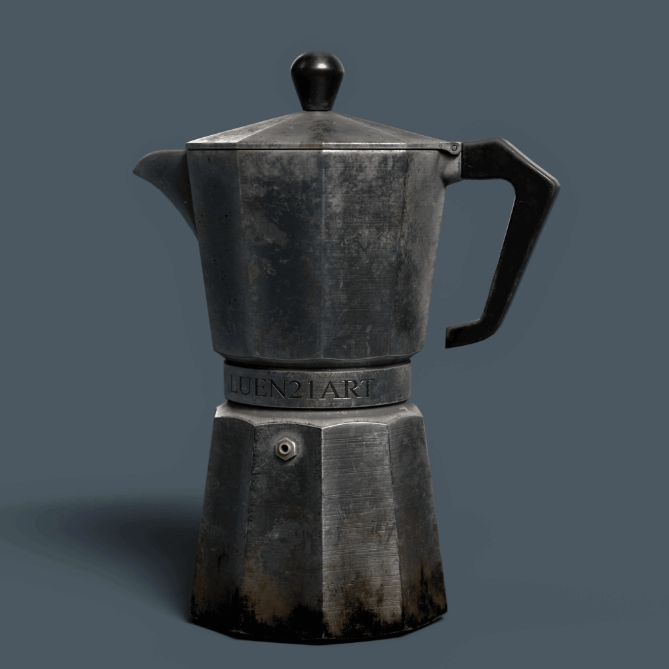
Learn clean baking workflows and build realistic materials for the Moka Pot using masks, filters, and subtle details. Finish it off with a polished render in iRay.
☕ The Moka Pot & Realistic Textures
The Moka Pot is where things get real. You're moving into polished, realistic surfaces, and it starts with baking done properly: single objects, meshes made of multiple pieces, and the exploded-bake method to avoid artifacts. These are the exact scenarios you'll hit on your own models, and getting them right is what makes everything afterward look clean.
.png)
Then you texture. You'll build realistic base metal from scratch, add separate plastic and brass materials, and layer in the subtle details that sell realism: brushed metal, anisotropic highlights, and worn, aged surfaces. You'll finish with wear and tear, while learning the most important lesson in realistic texturing: subtlety, and staying true to your reference. By the end you'll have a realistic metal workflow you can take into your own props and hard-surface work.
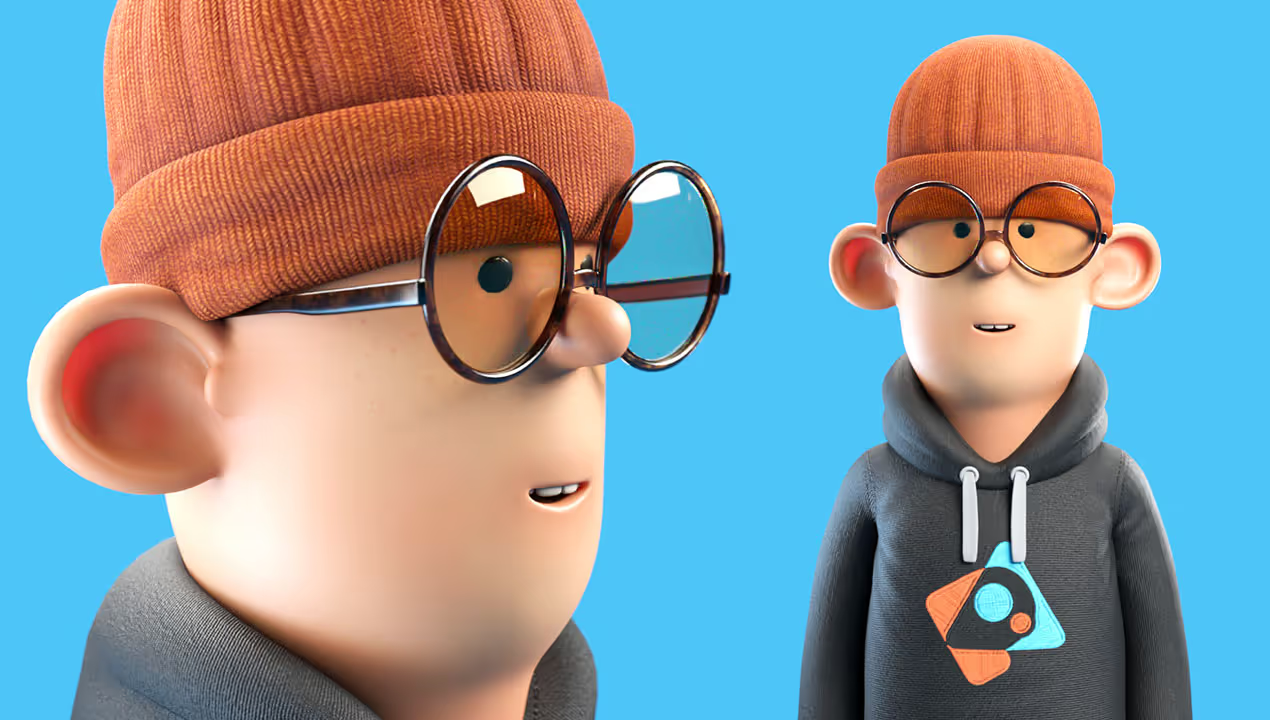
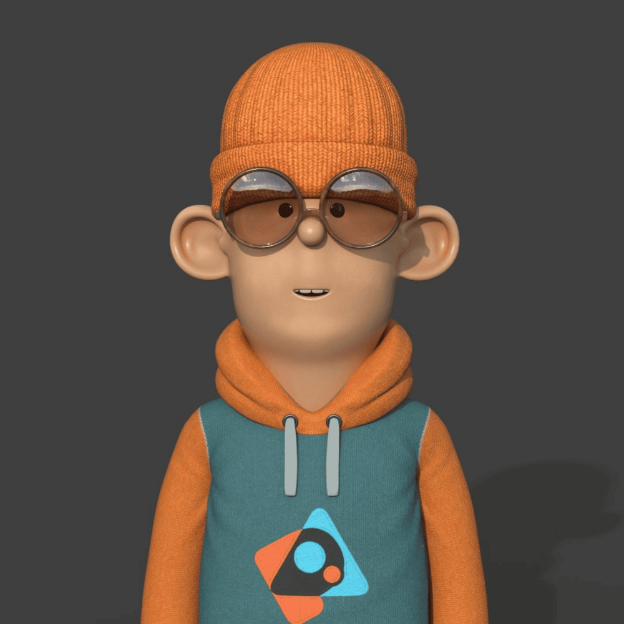
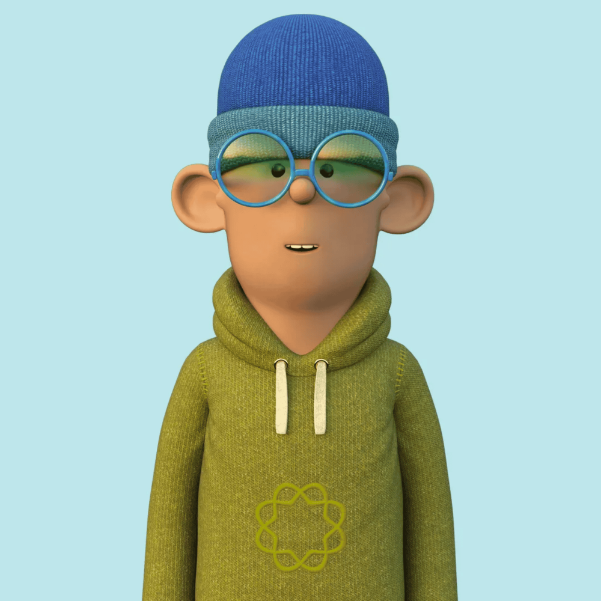
🧝♂️ Stylised Character & Organic Materials
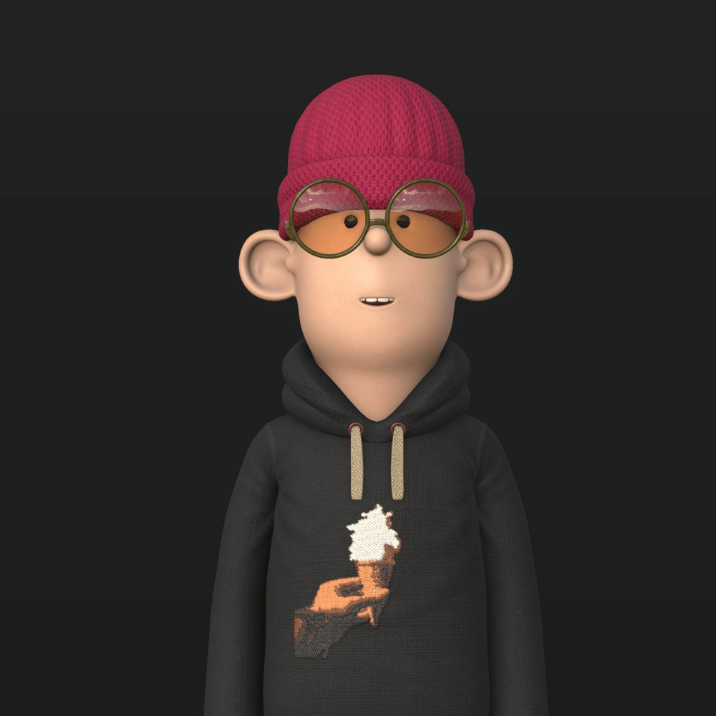
Refine your texturing skills with a stylised character project. Learn multi-texture workflows, subtle material detailing, advanced masks, and custom patches for final polish.
🧝♂️ Stylised Character & Organic Materials
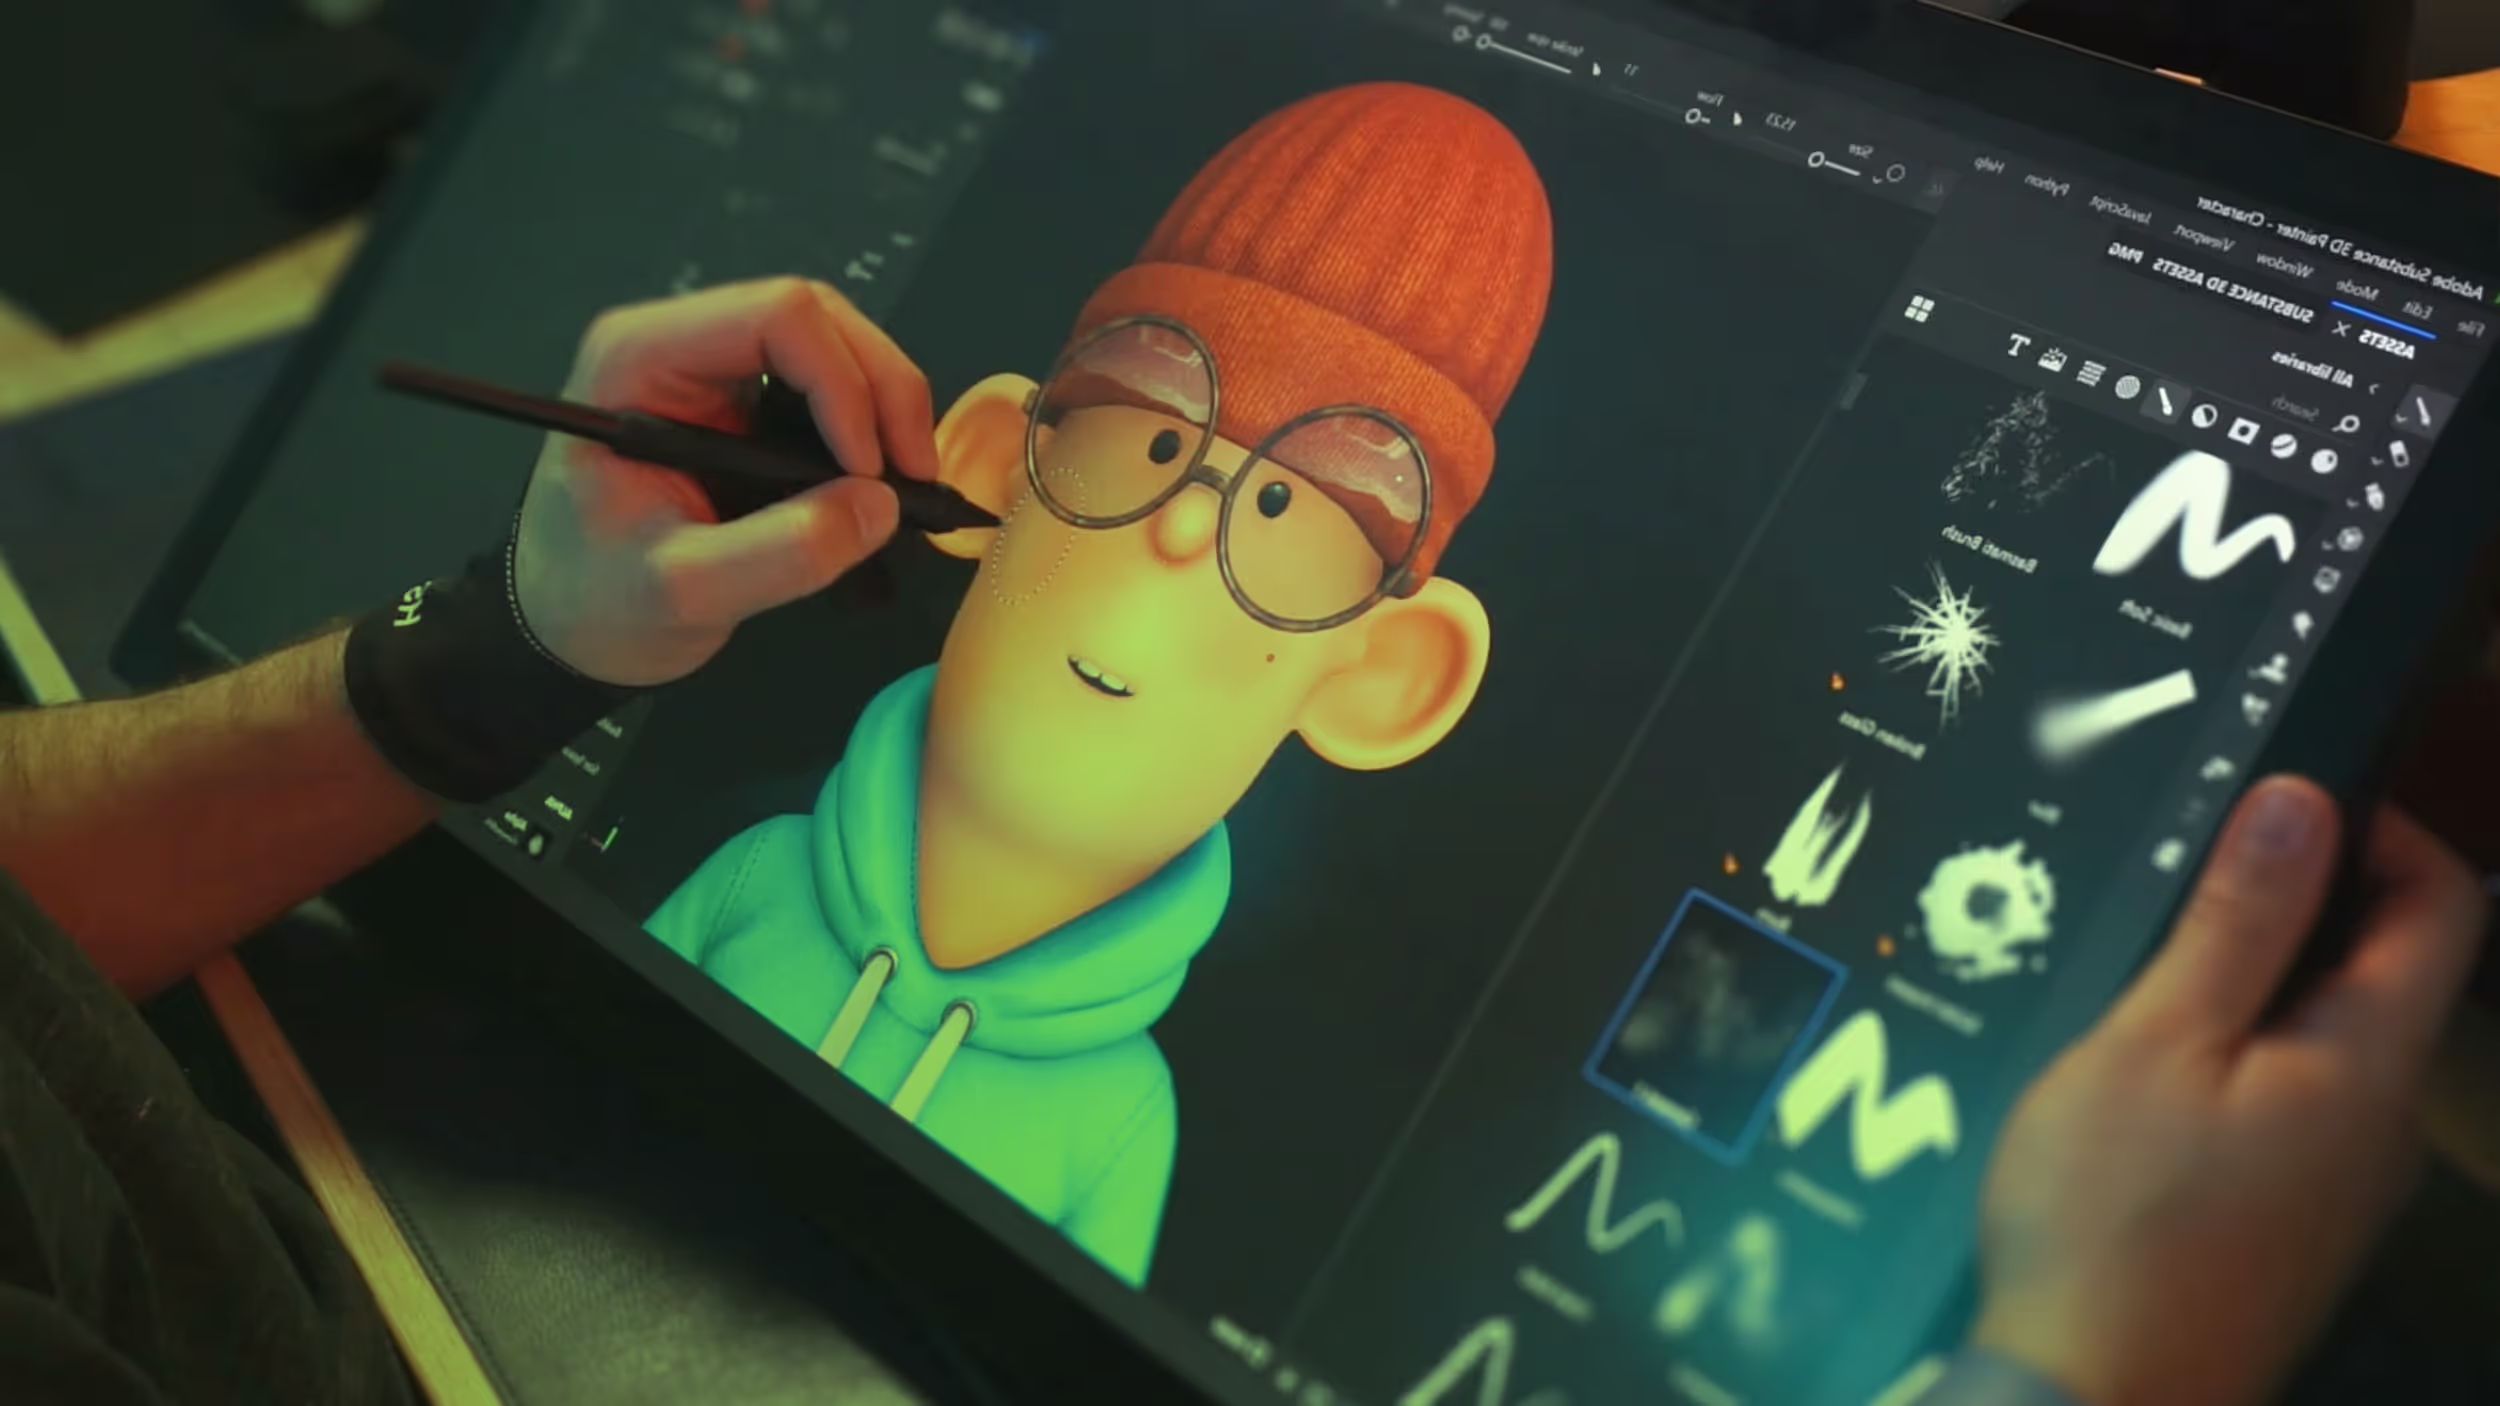
The stylized character is where it gets genuinely fun. You're texturing a full character, skin, fabric, a hat, and glasses, and reaching for tools most beginners never touch. The highlight is custom channels: subsurface scattering and translucency, the effects that make skin feel alive, give ears that warm glow when light passes through, and add believable tint to glasses.
.png)
From there you'll build up the subtleties, colour variation in the skin, ambient occlusion for depth, and HSL adjustments to fine-tune your palette, then finish with two bonus lessons on creating your own embroidery patches, both in Adobe 3D Sampler and entirely inside Painter. By the end you'll have a finished character and a set of advanced techniques that carry straight into your own character and creature work.
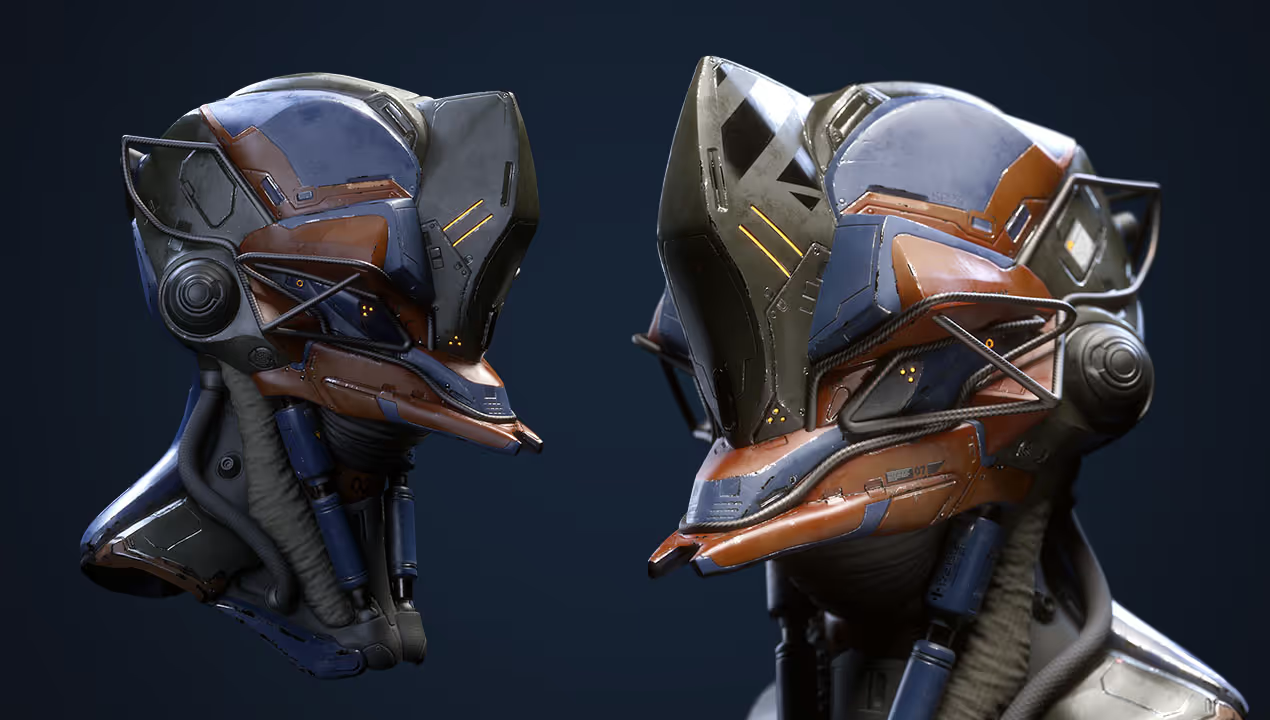
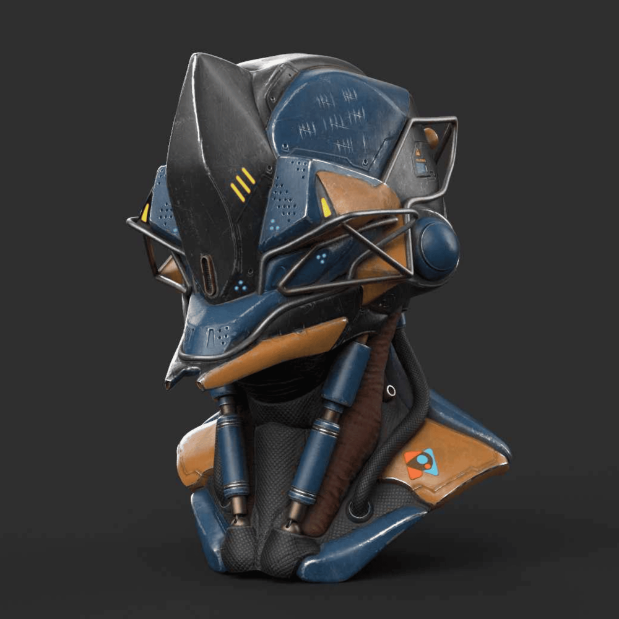
🤖 Robot & Hard Surface Textures
Learn smart baking workflows, anchor points, and reusable materials while texturing a stylised robot. Add details with masks, decals, and custom paint for a polished, consistent result.
🤖 Robot & Hard Surface Textures
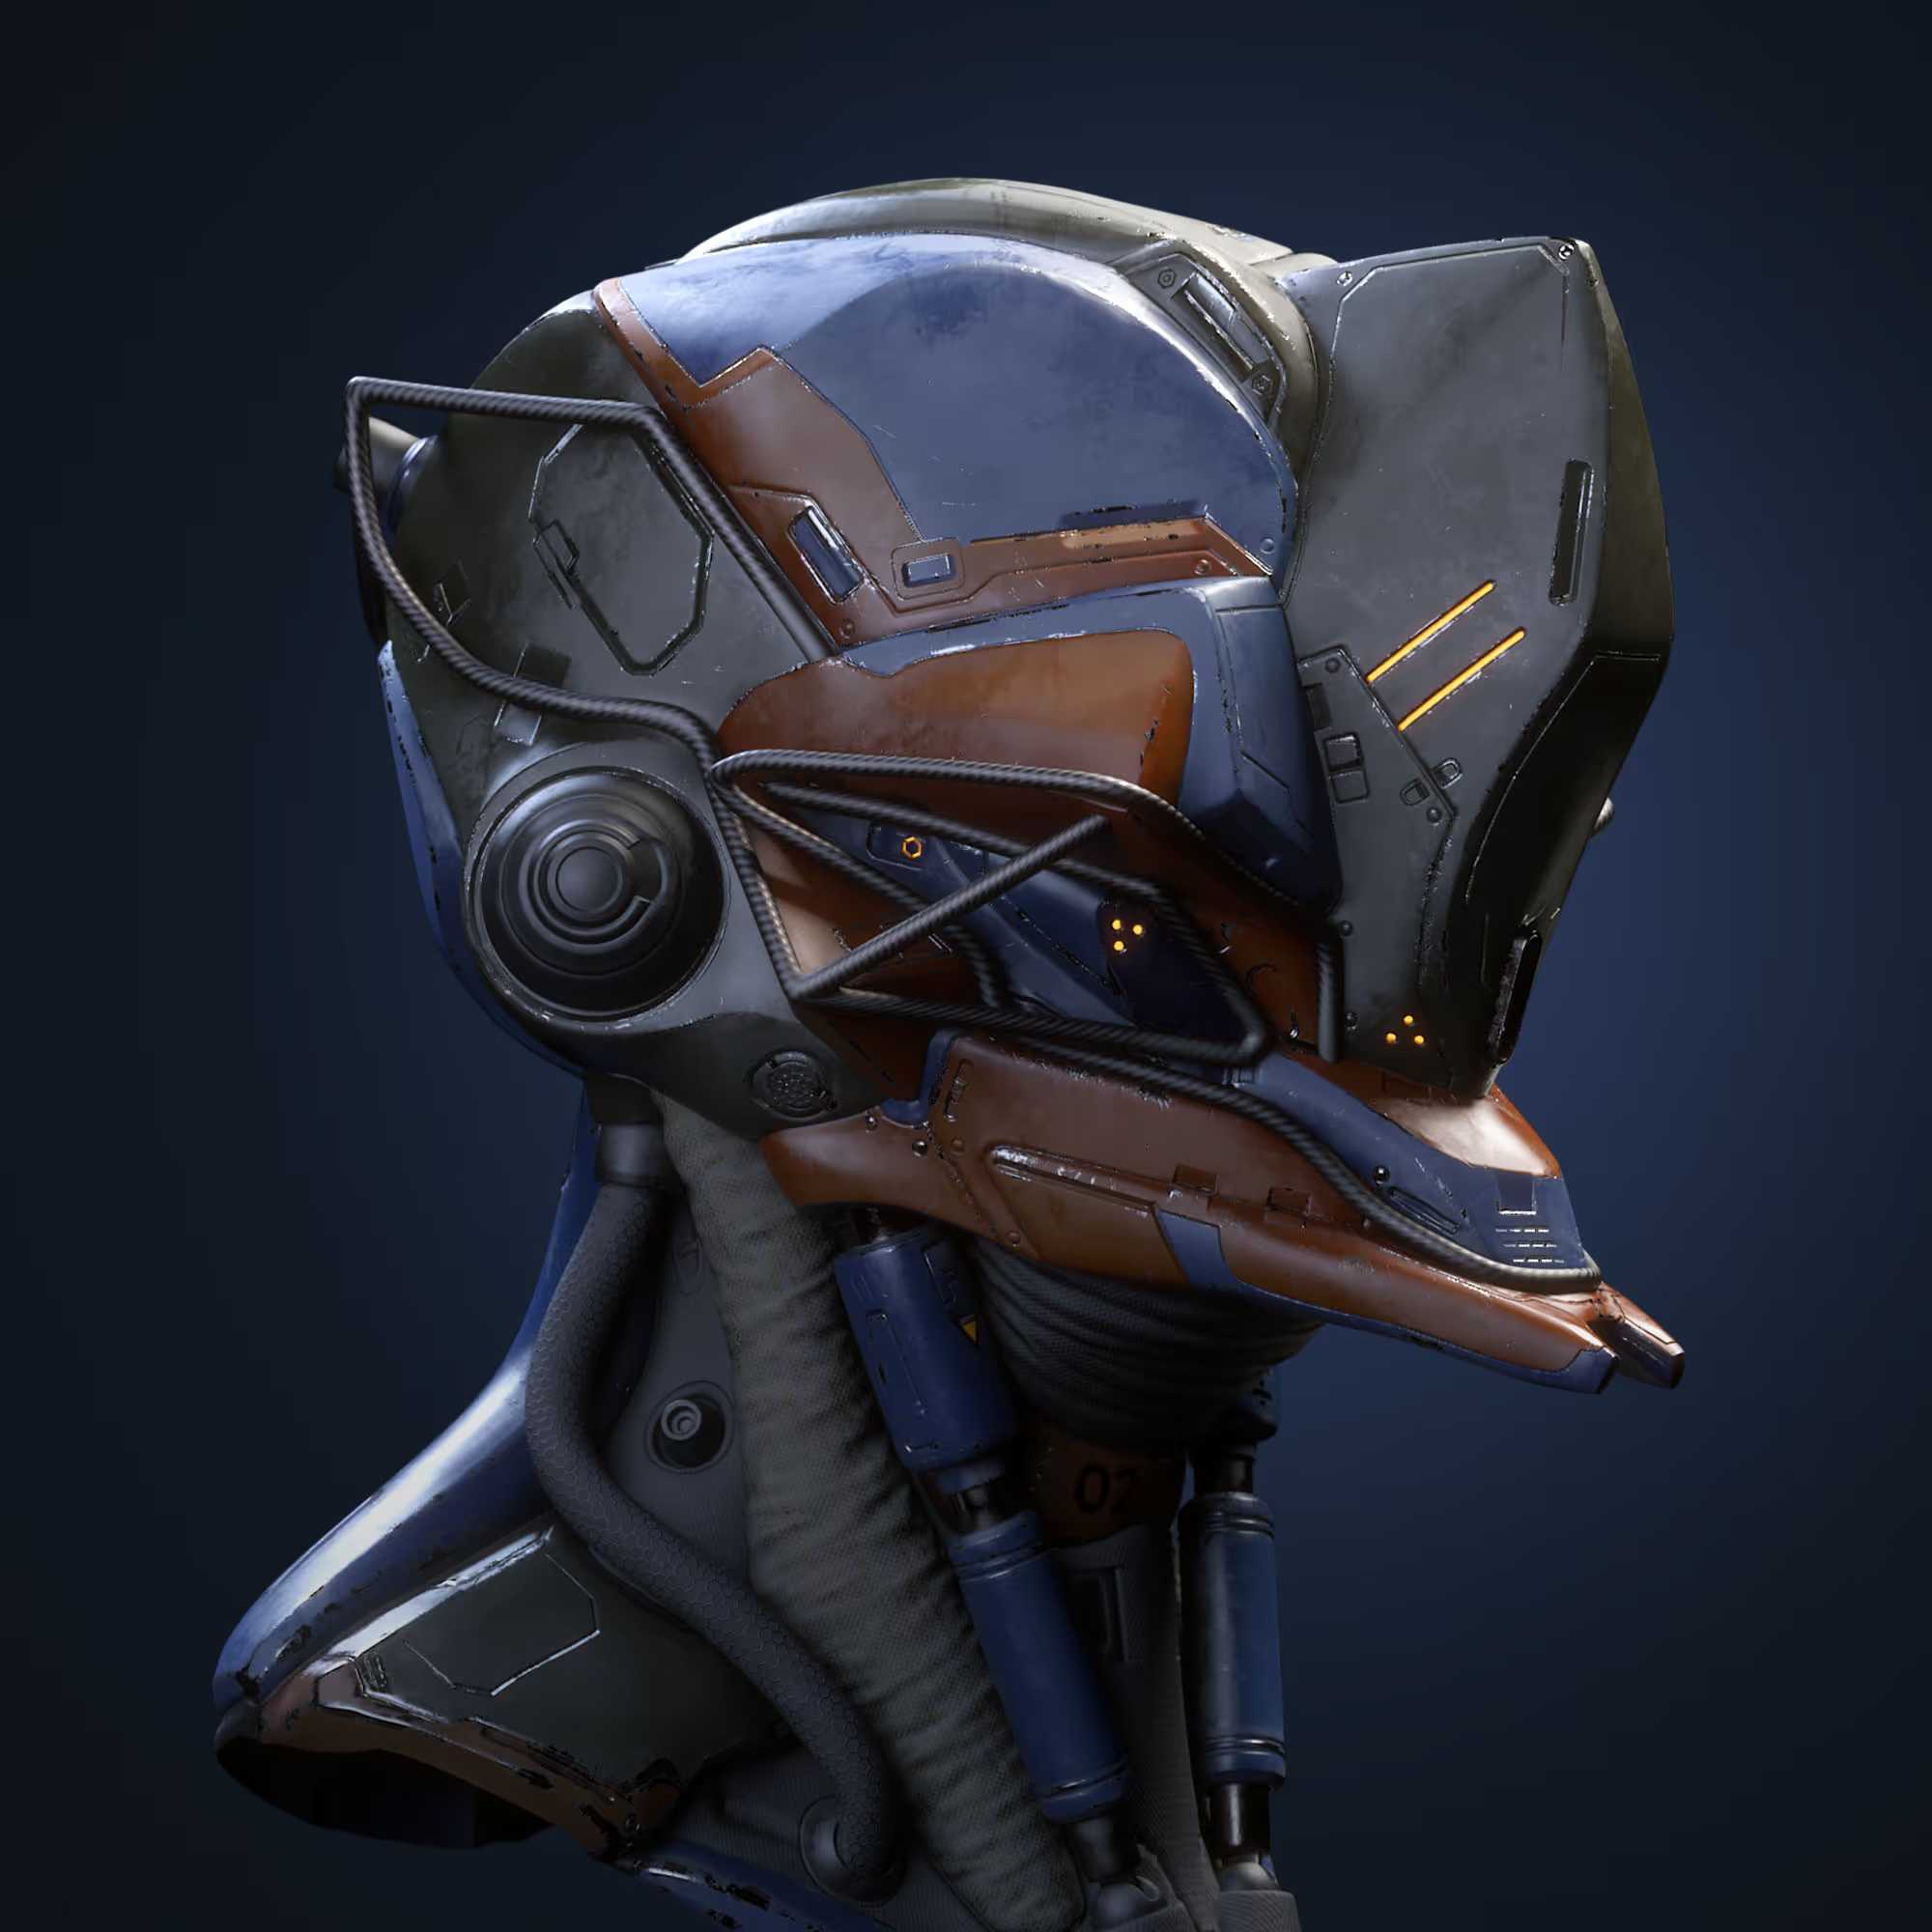
The robot is where hard-surface texturing opens up, and where you'll be surprised how much detail you can add without touching a modeling tool. The base model is deliberately simple. Almost everything you see, the panels, the wear, the intricate sci-fi detailing, is created entirely in Painter, starting with baking normal details and setting up your core painted and bare metal materials.
.png)
Then the techniques that make this module powerful: blending materials with ID maps for precise control, building colour variation, creating your own smart materials and masks to reuse across the body, and going deep on anchor points to stack normal and height detail that integrates cleanly. It sounds advanced, and it is, but it's covered from scratch. By the end you'll have a hard-surface workflow you can take into your own props, weapons, vehicles, and mechanical work.
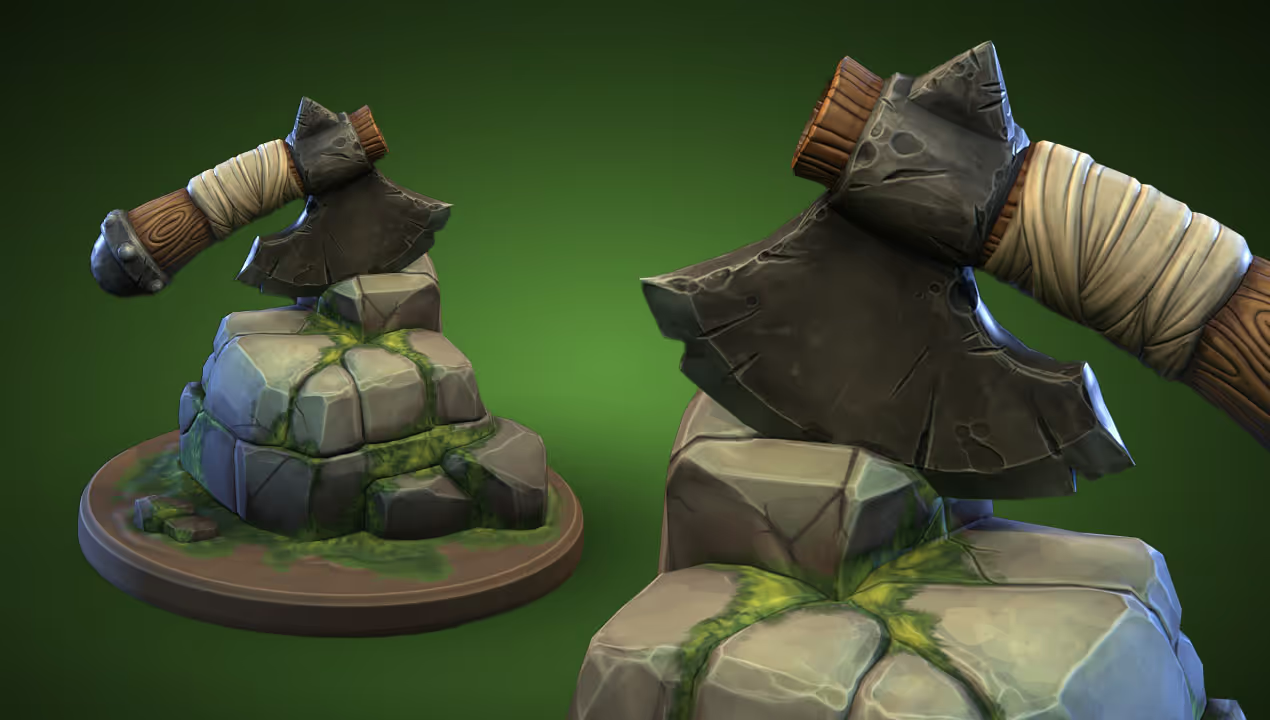
🧝 Stylised Hand-Painted Textures
Create hand-painted stylised textures using simple brushes, masks, and custom strokes. Learn to build reusable materials and push detail with lighting, filters, and manual control.
🧝 Stylised Hand-Painted Textures
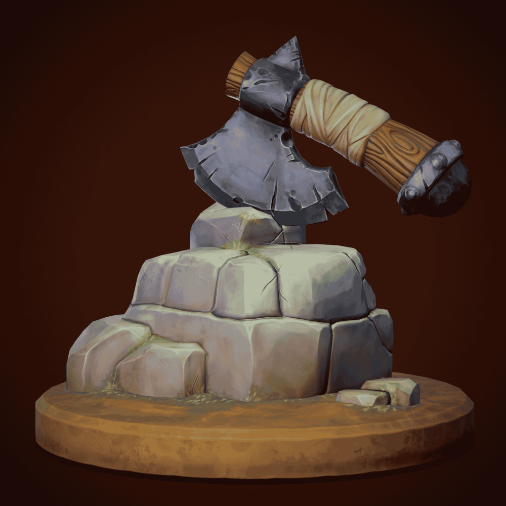
Axecalibur, an axe set in a rock, shifts the course into stylized, hand-painted texturing. It looks completely different from the realistic projects, but that's the point: the same principles you've learned apply just as well to a painterly look. You'll start by building a reusable stylized base material and repurposing your smart materials into the other surfaces.
.png)
Then it gets hands-on. You'll push the stylization with manual painting, learning to build up hand-painted detail with intention and control your brushwork, hand-paint organic surfaces like the rock, and refine everything with baked lighting and layer instances. A bonus lesson covers Painter's stylization filters, with one caveat you'll appreciate: you learn to do it by hand first, so the filters enhance your work rather than do it for you. By the end you'll have a hand-painting workflow you can apply to any style you want.

🚀 Exporting Textures & Rendering
Learn how to export textures for real projects, set up renders in tools like Marmoset and Stager, and apply your skills in a final test project with full creative control.
🚀 Exporting Textures & Rendering
The final module is where your textures leave Painter and become finished, presentable work. You'll learn to export your maps properly and understand what each one actually does, create your own custom export presets, then render your work in Adobe 3D Stager and export for specific renderers like Blender, Unreal, or Marmoset. Whatever you already use, you'll know how to get your textures there and rendered.
.png)
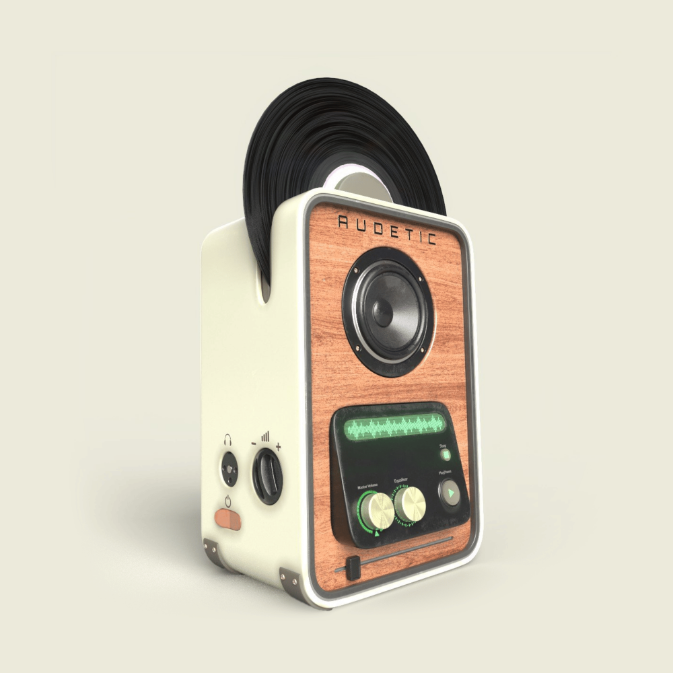
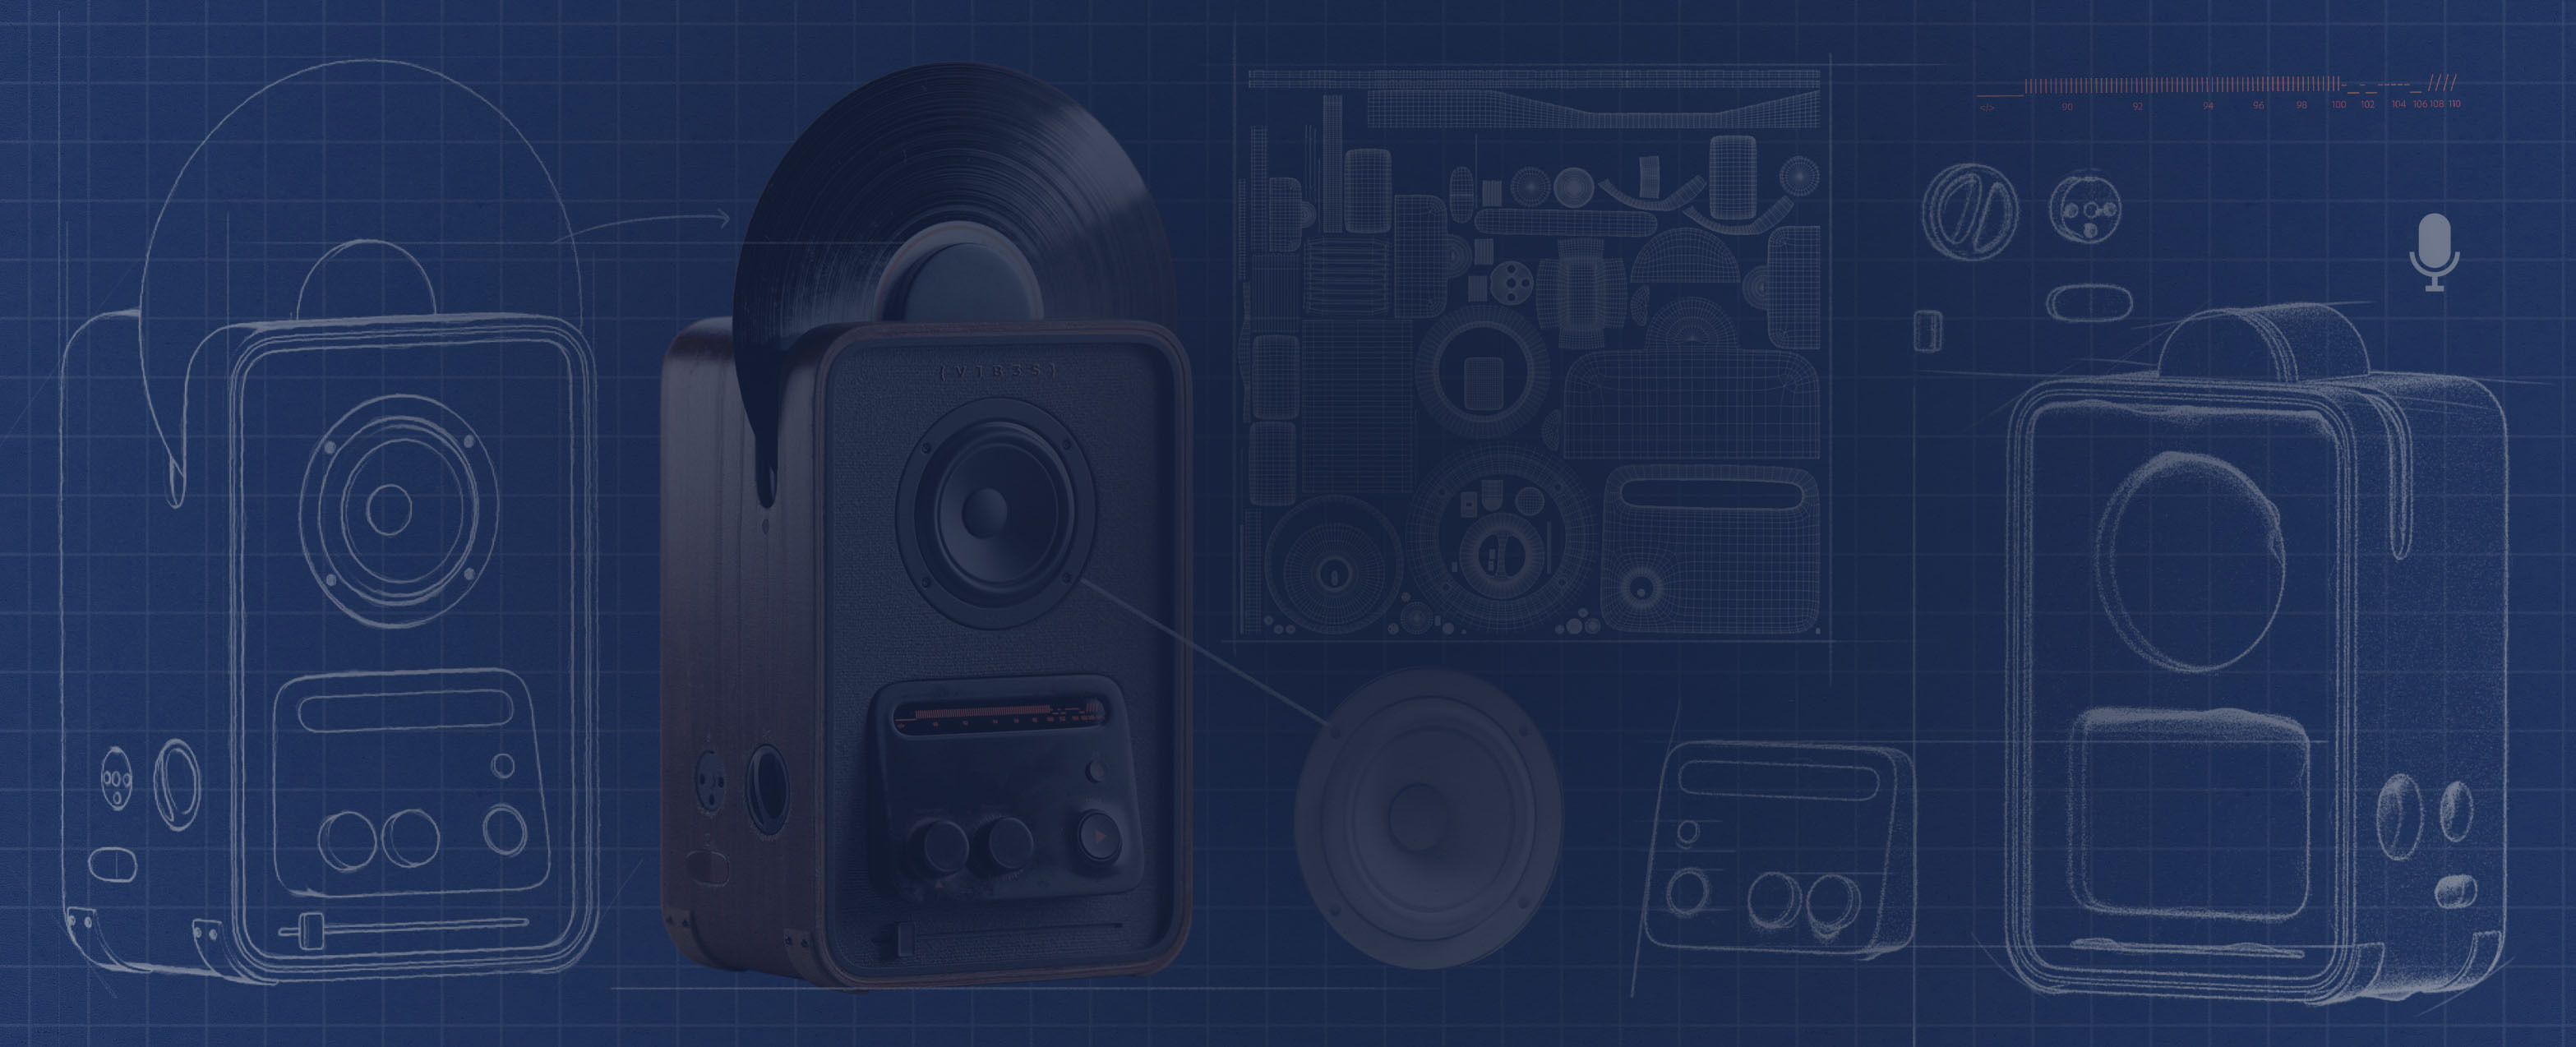
Then the course ends with a challenge. You'll get a final project, a speaker, fully set up but with no step-by-step walkthrough. It's yours to texture from start to finish using everything you've built up. It's the moment the skills become genuinely your own, and you walk away with a complete pipeline from blank mesh to a rendered, portfolio-ready image.
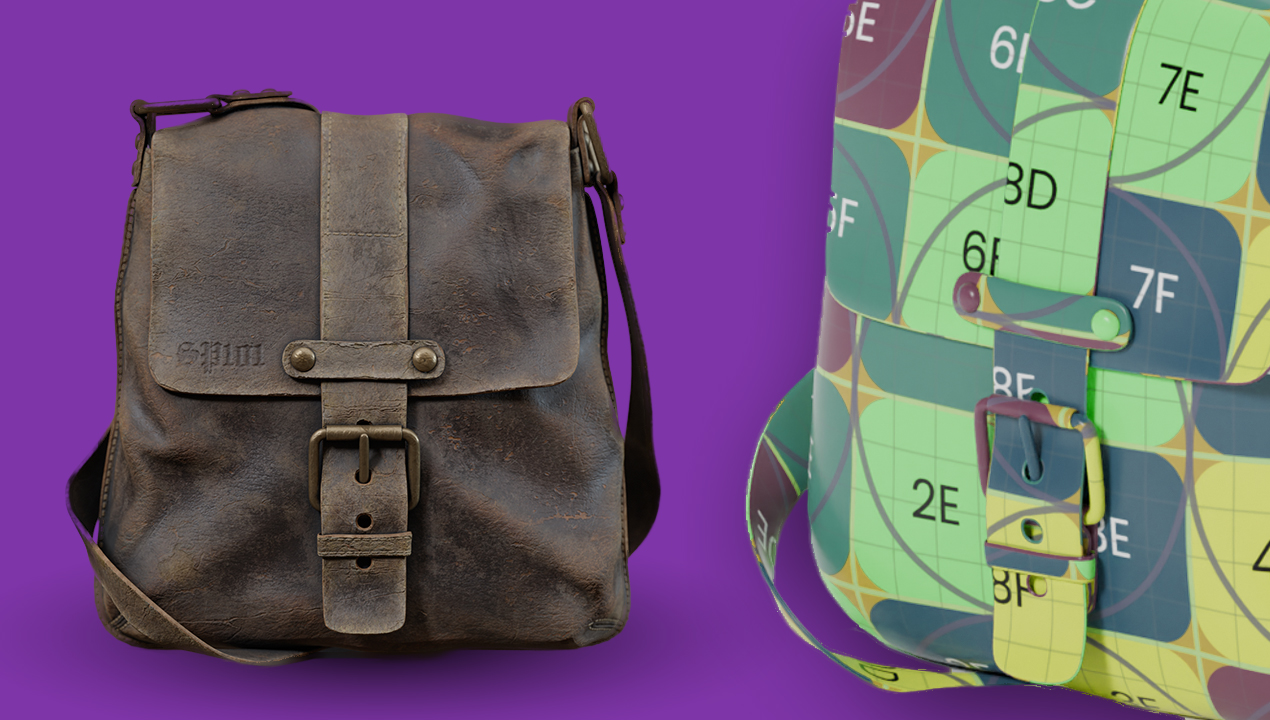
🗺️ UV'ss
Learn a clean, production ready UV workflow for your models without overcomplicating the process. This module focuses on efficient seams cutting, UV packing, and setting things up properly for Substance 3D Painter… so your textures behave predictably.
🗺️ UV'ss
This bonus module covers the one technical skill that quietly makes everything else easier: UVs. It's the most technical part of the course and the only module where you won't texture anything. Here's the honest part: it's optional, since Painter can generate automatic UVs that usually work. But once you understand what UVs are and how to lay them out properly, your texturing becomes faster, cleaner, and far less frustrating.
.png)
You'll start with the core concepts and a simple workflow on basic shapes, then unwrap a real asset three ways: in Blender, in RizomUV (the dedicated tool Pablo recommends), and in ZBrush with UV Master, even connecting ZBrush and RizomUV for a smooth pipeline. Best of all, you don't need to be an expert in any of these tools. Everything is explained from the ground up, so you come away with UVs that make every project you texture afterward easier.
Why This Course Is Different
How is SP101 different?
SP101 isn't just another tutorial series. It's a carefully designed, project-based system that teaches you the core principles of texturing using Substance 3D Painter, from understanding maps and layers to building custom materials and rendering finished results.
Each lesson is structured to balance theory with hands-on practice, so you’re not just watching... you’re building real skills while working on actual projects.
01
Learn by doing step-by-step
Follow a clear path of hands-on projects that build your skills from the ground up. No guesswork, no filler, just real work that gets you results.
02
Built on real workflows
Go beyond tools and buttons. Learn to think through a full texturing workflow from start to finish, so you can repeat it on your own work without getting stuck.
03

Designed to make sense
Every step is explained in context, so you actually understand how Substance 3D Painter works, not just how to copy what's on screen. Real understanding you keep.
Student work
Work made by our students
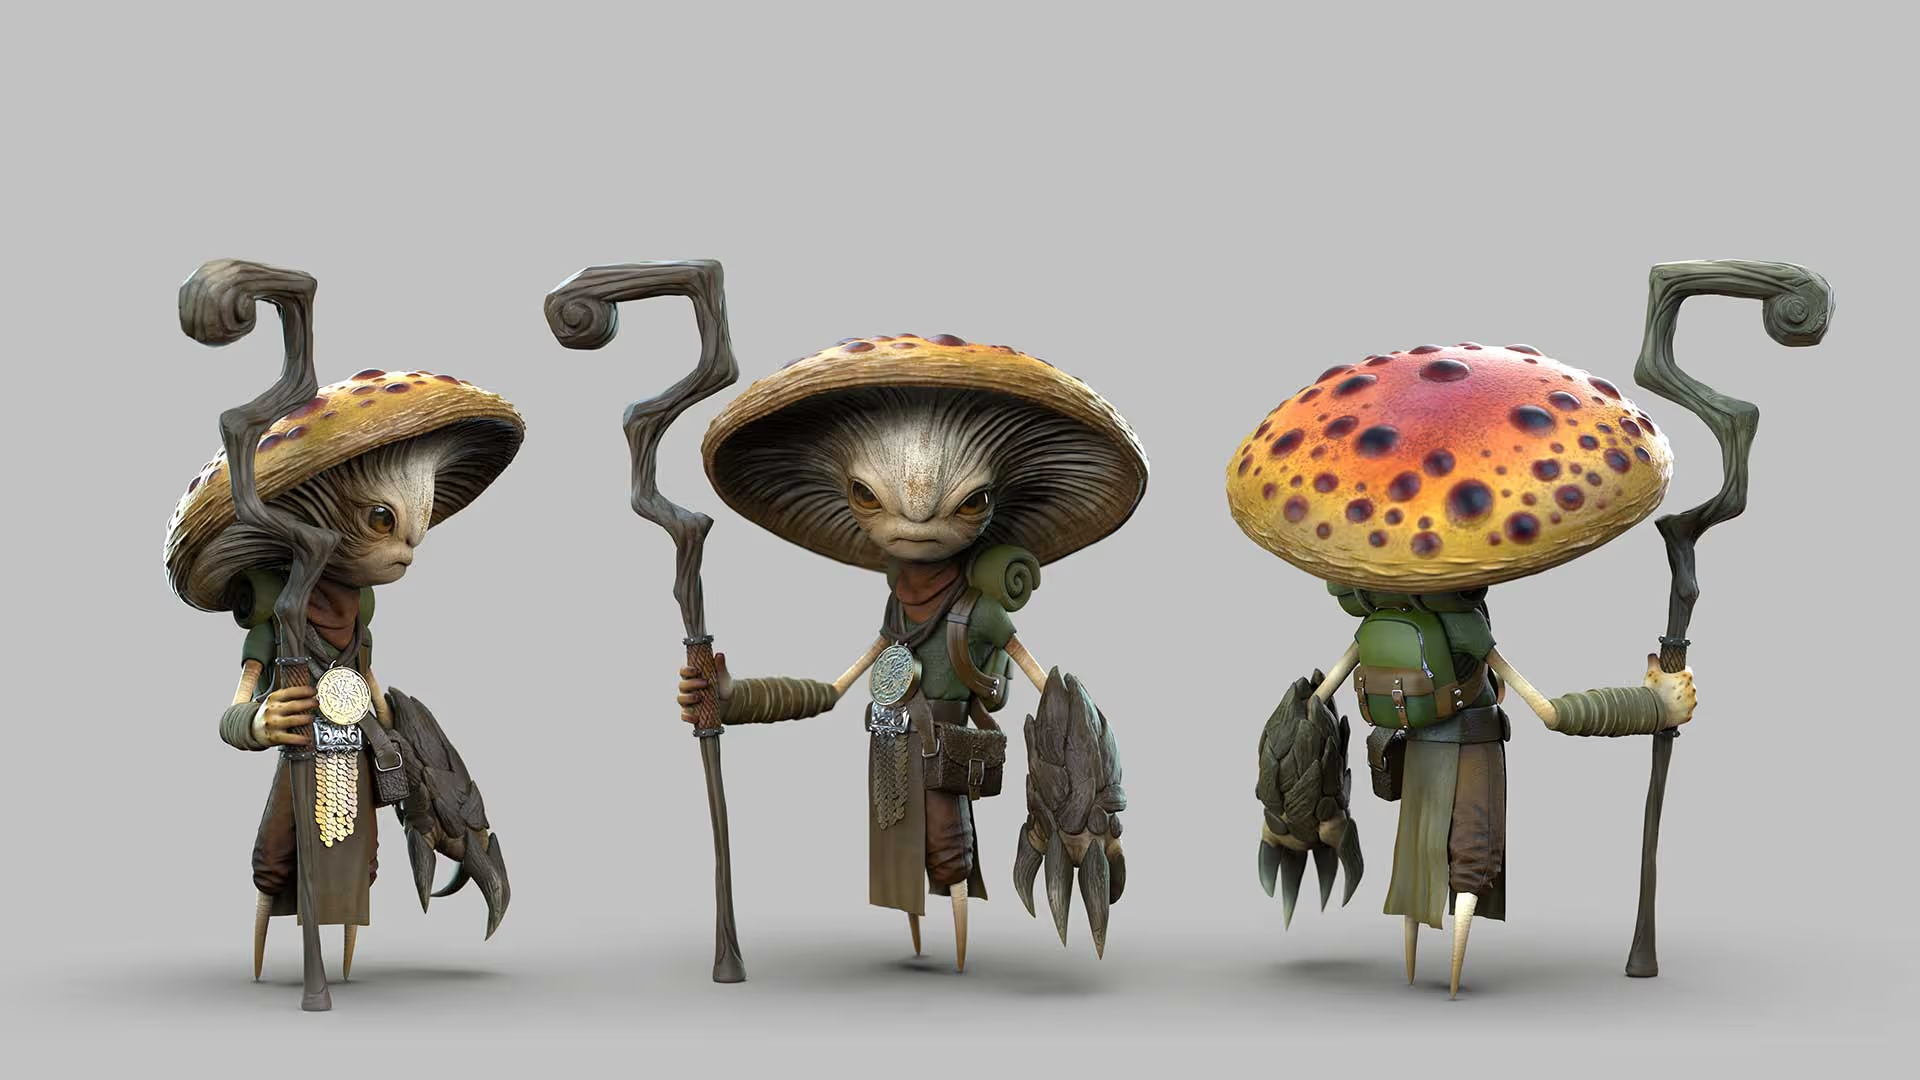
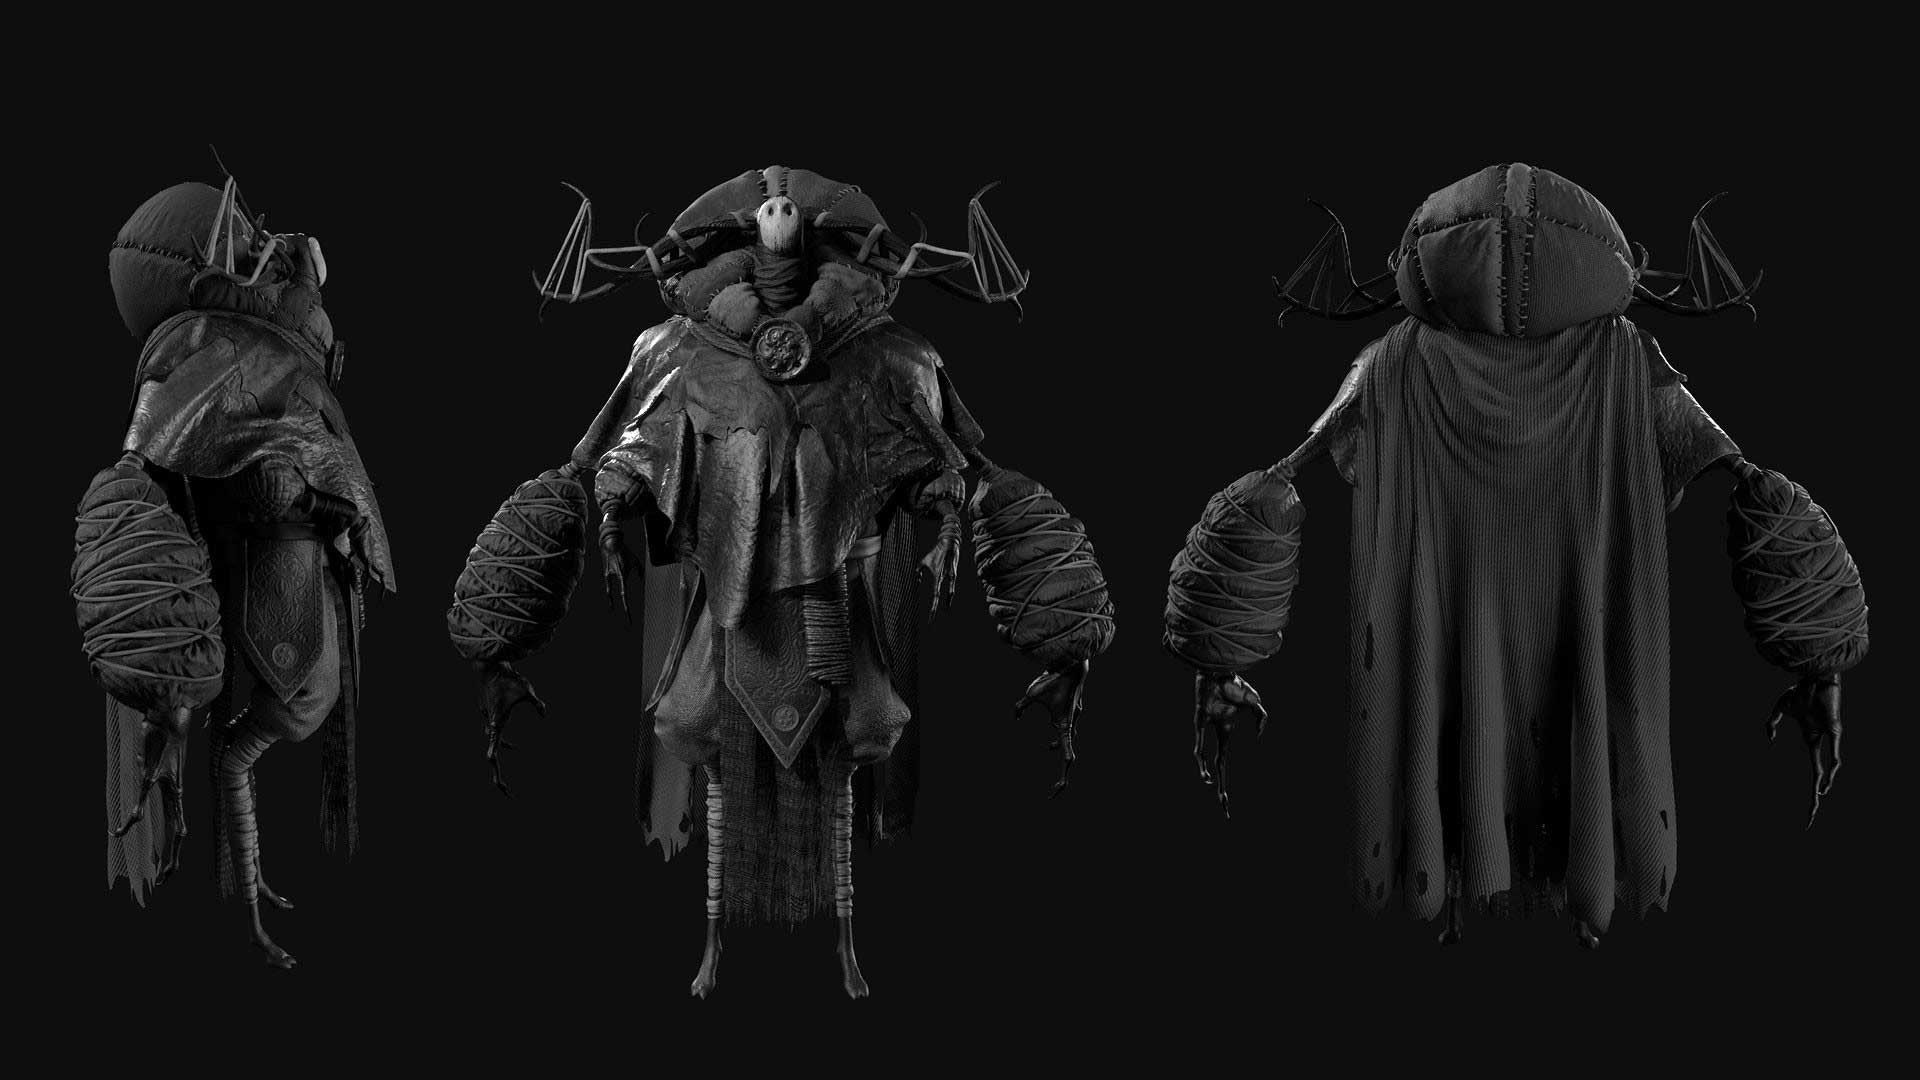
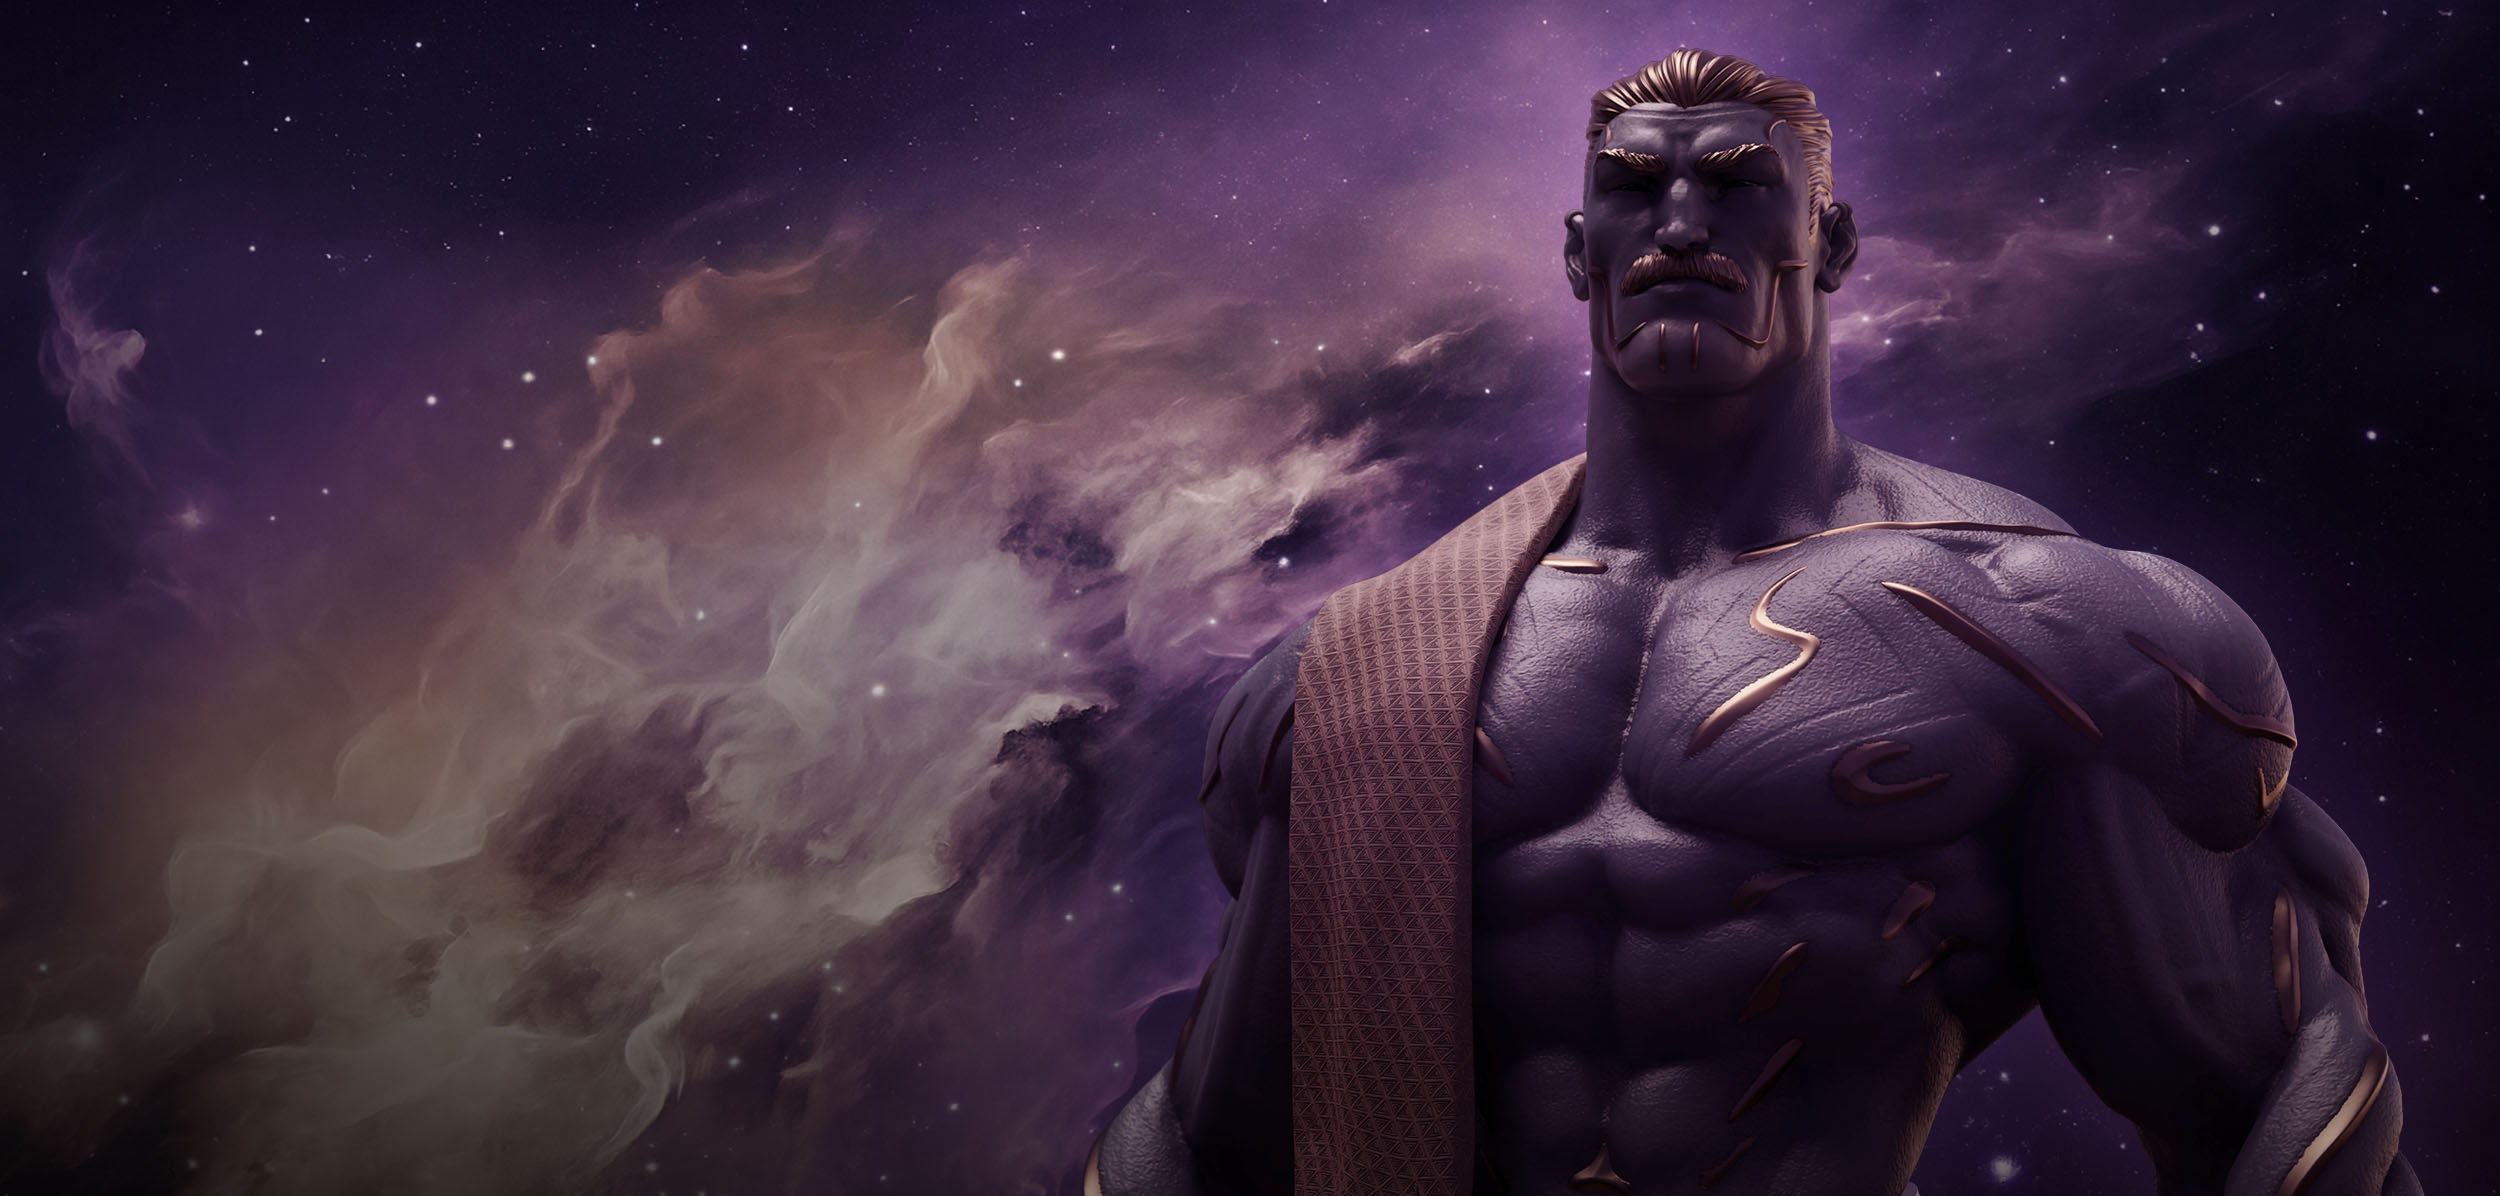
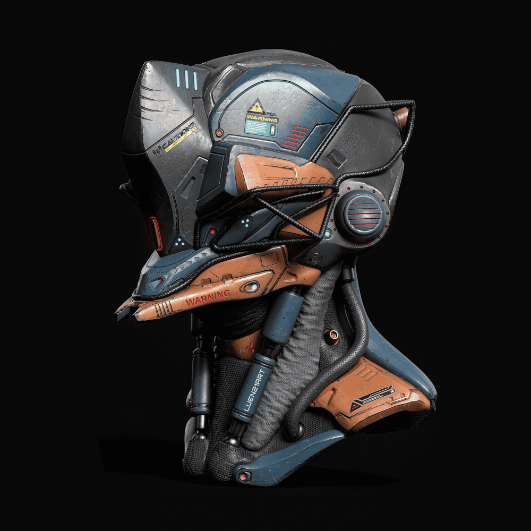
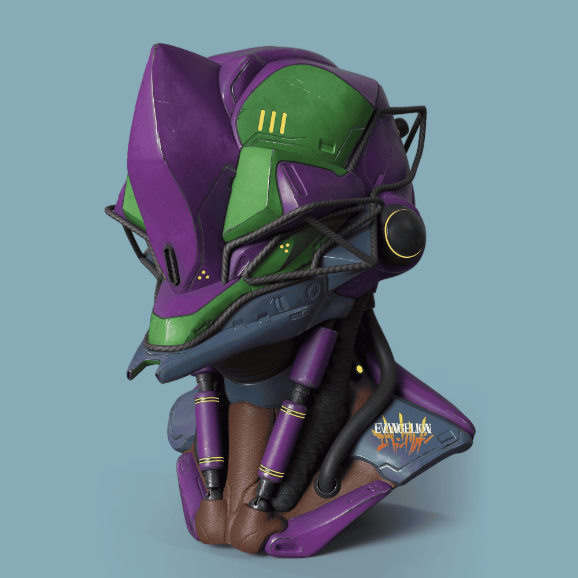
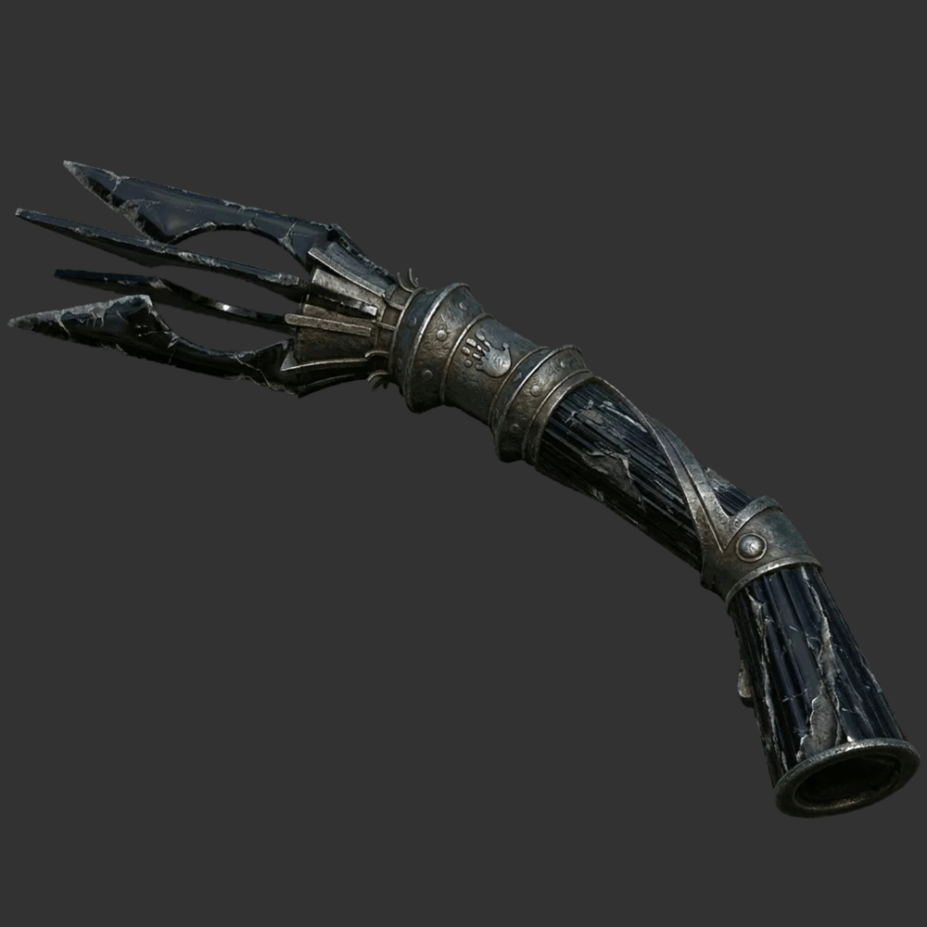
These are students who followed the course project all the way to a finished render. Same asset, real results. Proof that the process works when you actually run it start to finish.
.png)
.png)
.png)
.png)
.png)
.png)
.png)
.png)
.png)
.png)
.png)
.png)
.png)
.png)
.png)
.png)
Is this for me?
Texturing is where your work comes alive!
It's the difference between a flat grey model and a finished piece that looks like it belongs in a game or a film. But getting there can feel like a wall, and a lot of artists quietly avoid it or get stuck halfway. If that sounds familiar, SP101 is for you.
It was made specifically for artists who want solid texturing skills without drowning in technical jargon or stitching together random YouTube tutorials. Whether you're just starting out or you finally want to understand Substance 3D Painter properly, this gives you the clarity and confidence to move forward.
This course is a great fit if:
✅ You've never opened Substance 3D Painter before
✅ You've tried it but didn't get the results you wanted
✅ You know how to model or sculpt, but texturing feels like the missing piece
✅ You want a clean, structured process that actually makes sense
✅ You're building a portfolio for games, animation, or stylized concept work
No other 3D tools required. Everything is explained clearly, and all project files are included so you can follow along and keep them afterward. If a few of those points sounded like you, SP101 was built for exactly where you are right now.

What Students Say
In their own words


Get access today!
Two ways to enrol
Core is always available, so you can start today. The Live tier adds group sessions with me when a cohort is running. Either way, you get the complete course.
Core
Core + Live
"What if I've tried other courses and still got lost?"
SP101 is structured differently. Instead of walking you through one specific result to copy, each module teaches the logic underneath: why materials behave the way they do, how the layer system actually works, what baking is really doing to your maps. Once that clicks, you're not following steps anymore. You're making decisions, and that understanding is what makes it transferable to your own projects.
Questions
Things people usually ask
Yes, every lesson has subtitles. The player also has a search that reads the full transcript, so you can type a keyword or a phrase and it takes you straight to the moment it was mentioned. That one's worth remembering for later, when you've finished the course and want to check a specific thing without scrubbing through a lesson looking for it.
You should, and I make plenty of them myself. The difference is what you're left with afterwards. A tutorial shows you how to make one specific thing. Every lesson here is planned to pack in as much as it can while balancing the theory with the practice, and the workflows are built so they don't depend on what's being sculpted… here the workflows are built so they don't depend on what's being sculpted, which means the character in the videos is the vehicle, not the point. You finish able to approach your own projects, not just able to repeat this one.
It depends which option you buy.
Core has no start date. You get access the moment you buy it, go at your own pace, and keep it for life.
Core + Live is the same course on the same terms, plus live sessions that run on set dates when a cohort opens. Those dates are published before the cohort goes on sale, so you'll know them before you buy.
Core on its own does not include the live sessions.
Yes! You’ll get access to the SP101 private group in the Pablander Academy community, where you can ask questions, share your progress, and connect with other artists taking the course. It’s a great space to stay motivated and get help when you need it.
Yes, all the models, resources, and example files are included. Everything you need to follow along with the lessons is provided inside the course.
Yes! Once you join, you’ll have lifetime access to the course and any future updates. Go at your own pace, revisit lessons anytime, and never worry about losing access. Also you’ll be joining the private SP101 community to share your ideas, progress and solve any potential issues!
All you need is Substance 3D Painter (any recent version). I’ll also show some optional tools like PureRef, Marmoset Toolbag, Blender and Substance 3D Stager for rendering but these are not required to complete the course.
No. I use a few different tools to support and demonstrate certain ideas, you don’t need to use or understand them to follow along. Substance 3D Painter is the only tool you’ll need to complete the course.
Not at all. The course includes both stylized and realistic projects. The goal is to teach you a clear texturing workflow that you can apply to any type of 3D work: games, film, concept art, or personal projects.
Nope! SP101 was designed for absolute beginners. You don’t need to know anything about Substance 3D Painter or even texturing in general. Everything is explained from the ground up.
Ready When You Are
This is where it gets easier!
Everything you need to texture with confidence is in here, structured, explained, and yours to keep for good. Start today, learn at your own pace, and finally build the skills to take any asset from grey mesh to a polished, professional finish.