First you need to have something on your canvas, it could be a cube… it doesn’t matter. However, just to speed up the process I went for a cylindrical tube, then I dynamesh it and marked some sections with the Dam_Standard brush and finally define the sketch a bit better for the ‘body of my creature’:
Nothing exciting at this point, I know… BUT this is just my version of a slighly simpler geometry. I could easily just skip the sketching and start with the cylinder of the first step. Now, here comes the cool part of this process.
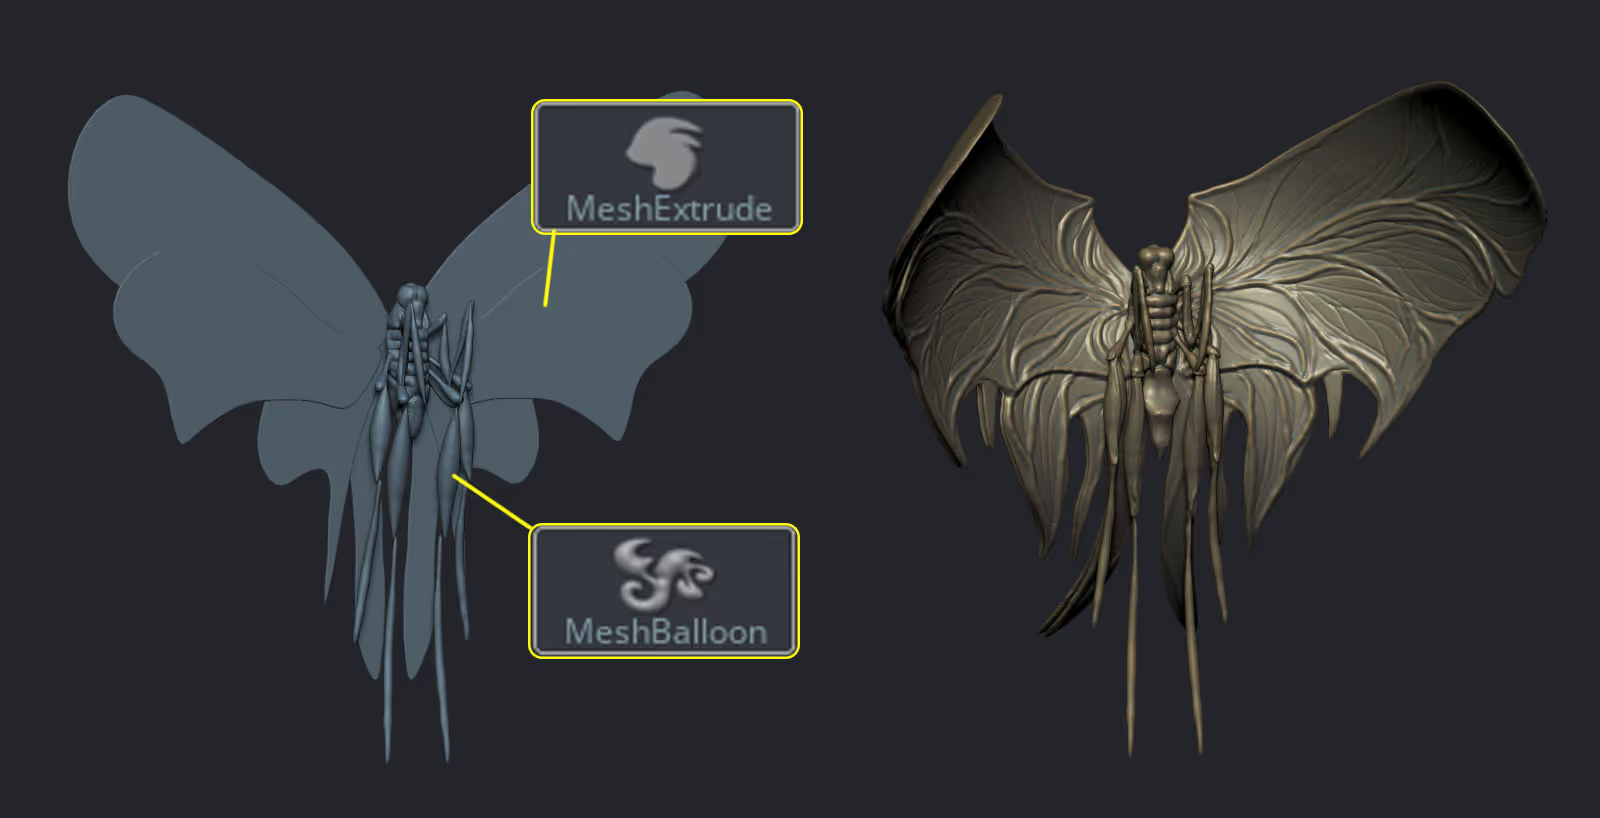
From the brush palette (press B on your keyboard), Select the ‘MeshExtrude’ brush. This is a brush that gets attached to your ‘Ctrl’ key so you’ll need to press Ctrl to use it and it will replace your masking brush for now.

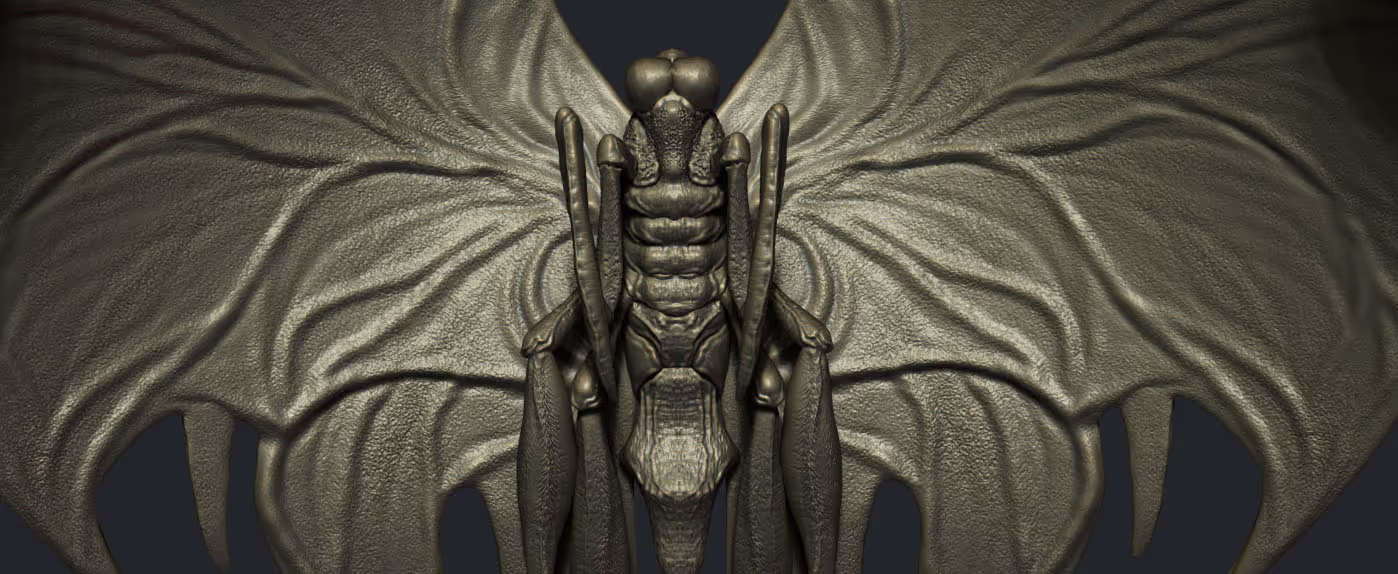
You can now, enable symmetry, hold Ctrl and click and drag some shapes to blockout the wings of your creature. This part is super fun and you can undo as many times as you need to while you figure our a cool design:
Alright, cool, we now have the base for the wings… now let’s make some quick meshes for the legs.
From the brush Palette again, switch to the ‘MeshBaloon’ brush which is also a brush that will go into your Ctrl key for now:
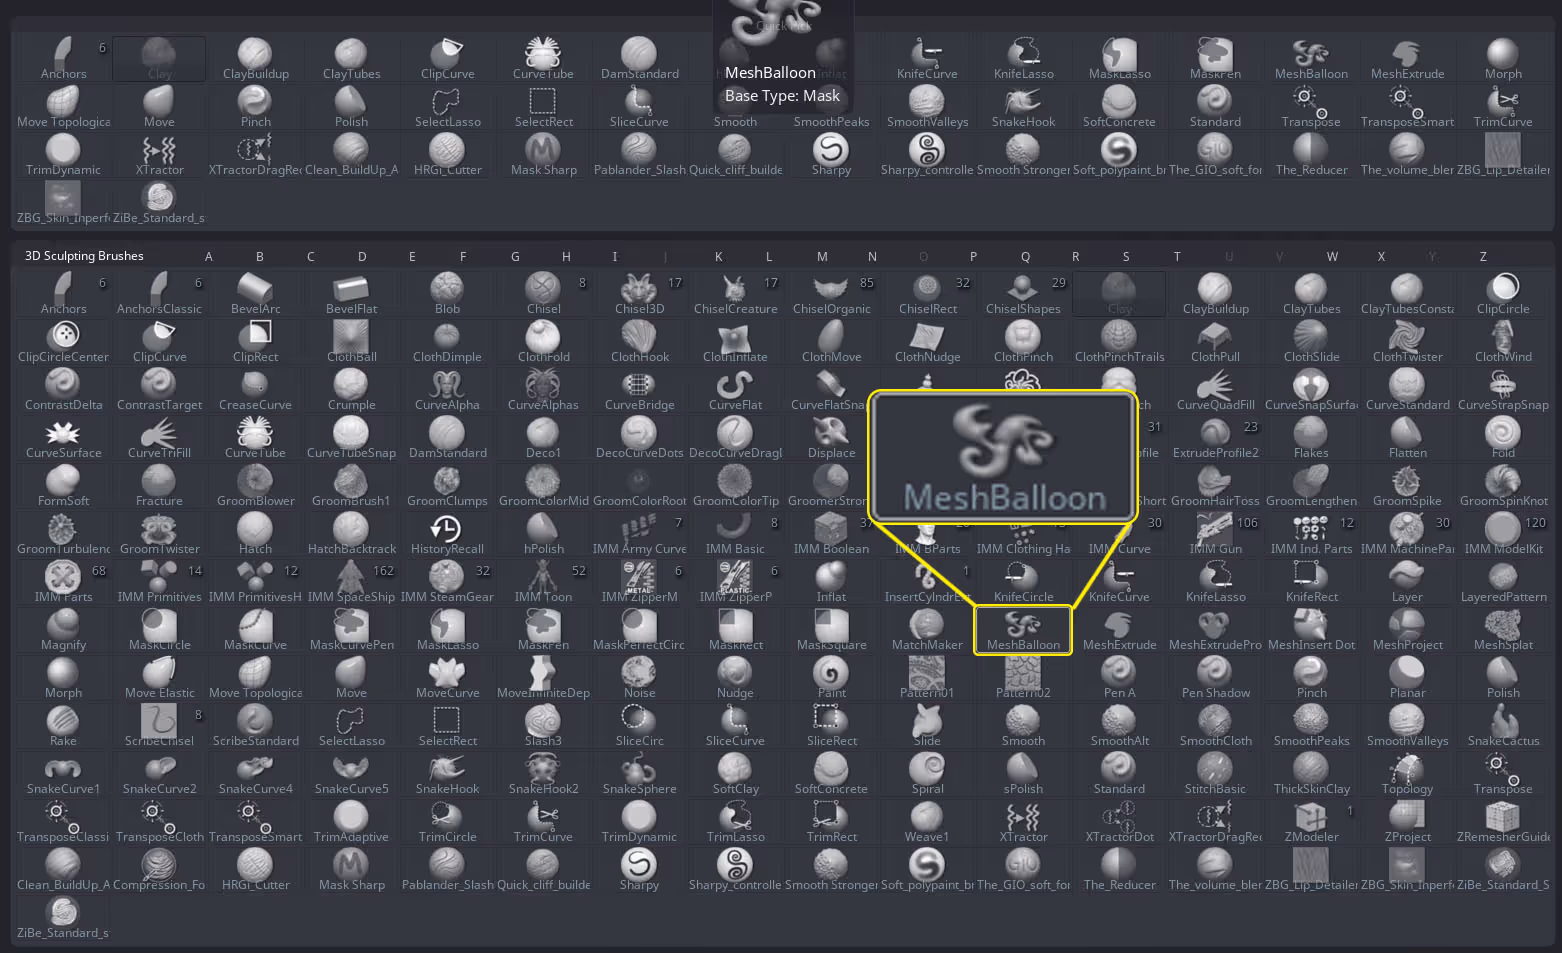
This brush does exactly the same thing as the MeshExtrude brush but instead of created ‘flat geometry’ based on the masked area, the MeshBaloon, allows to create more organic rounded shapes also based on the masked area. So I just masked three sections to create a set of legs:
I duplicated some parts of the legs and built the rest of the legs from the same pieces I created with the MeshBaloon just because it was easier to maintain some kind of consistency.
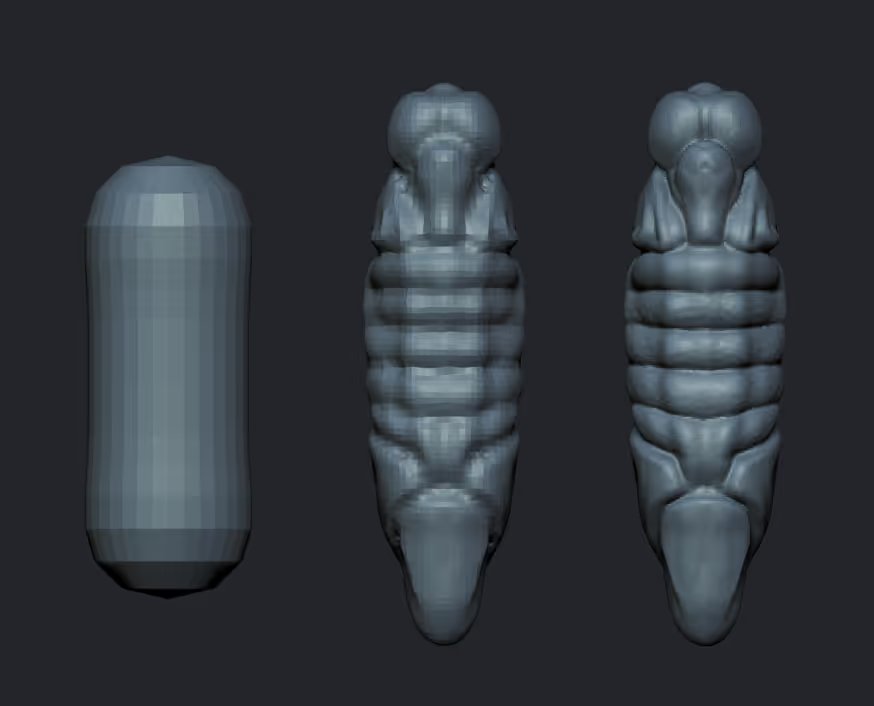
Now we have a quick blockout for our weird flying creature but I have one more trick to share with you so that you can go from the ‘boring’ flatter shape to a more dynamic pose you can use for your details (on the image below the one on the right).
The technique is also very simple. All you need to do is masked out your wings (or have them in a separate subtool) then bring the Gizmo 3D and simply adjust the ‘focal shift’. Changing the focal shift on the Gizmo 3D changes the area of influence, allowing you to do a soft deformation like this:
You can adjust the focal shift and play around with the position of the gizmo to adjust the curvature of the wings but it works really well for all sort of organic shapes like this.


.webp)

.webp)