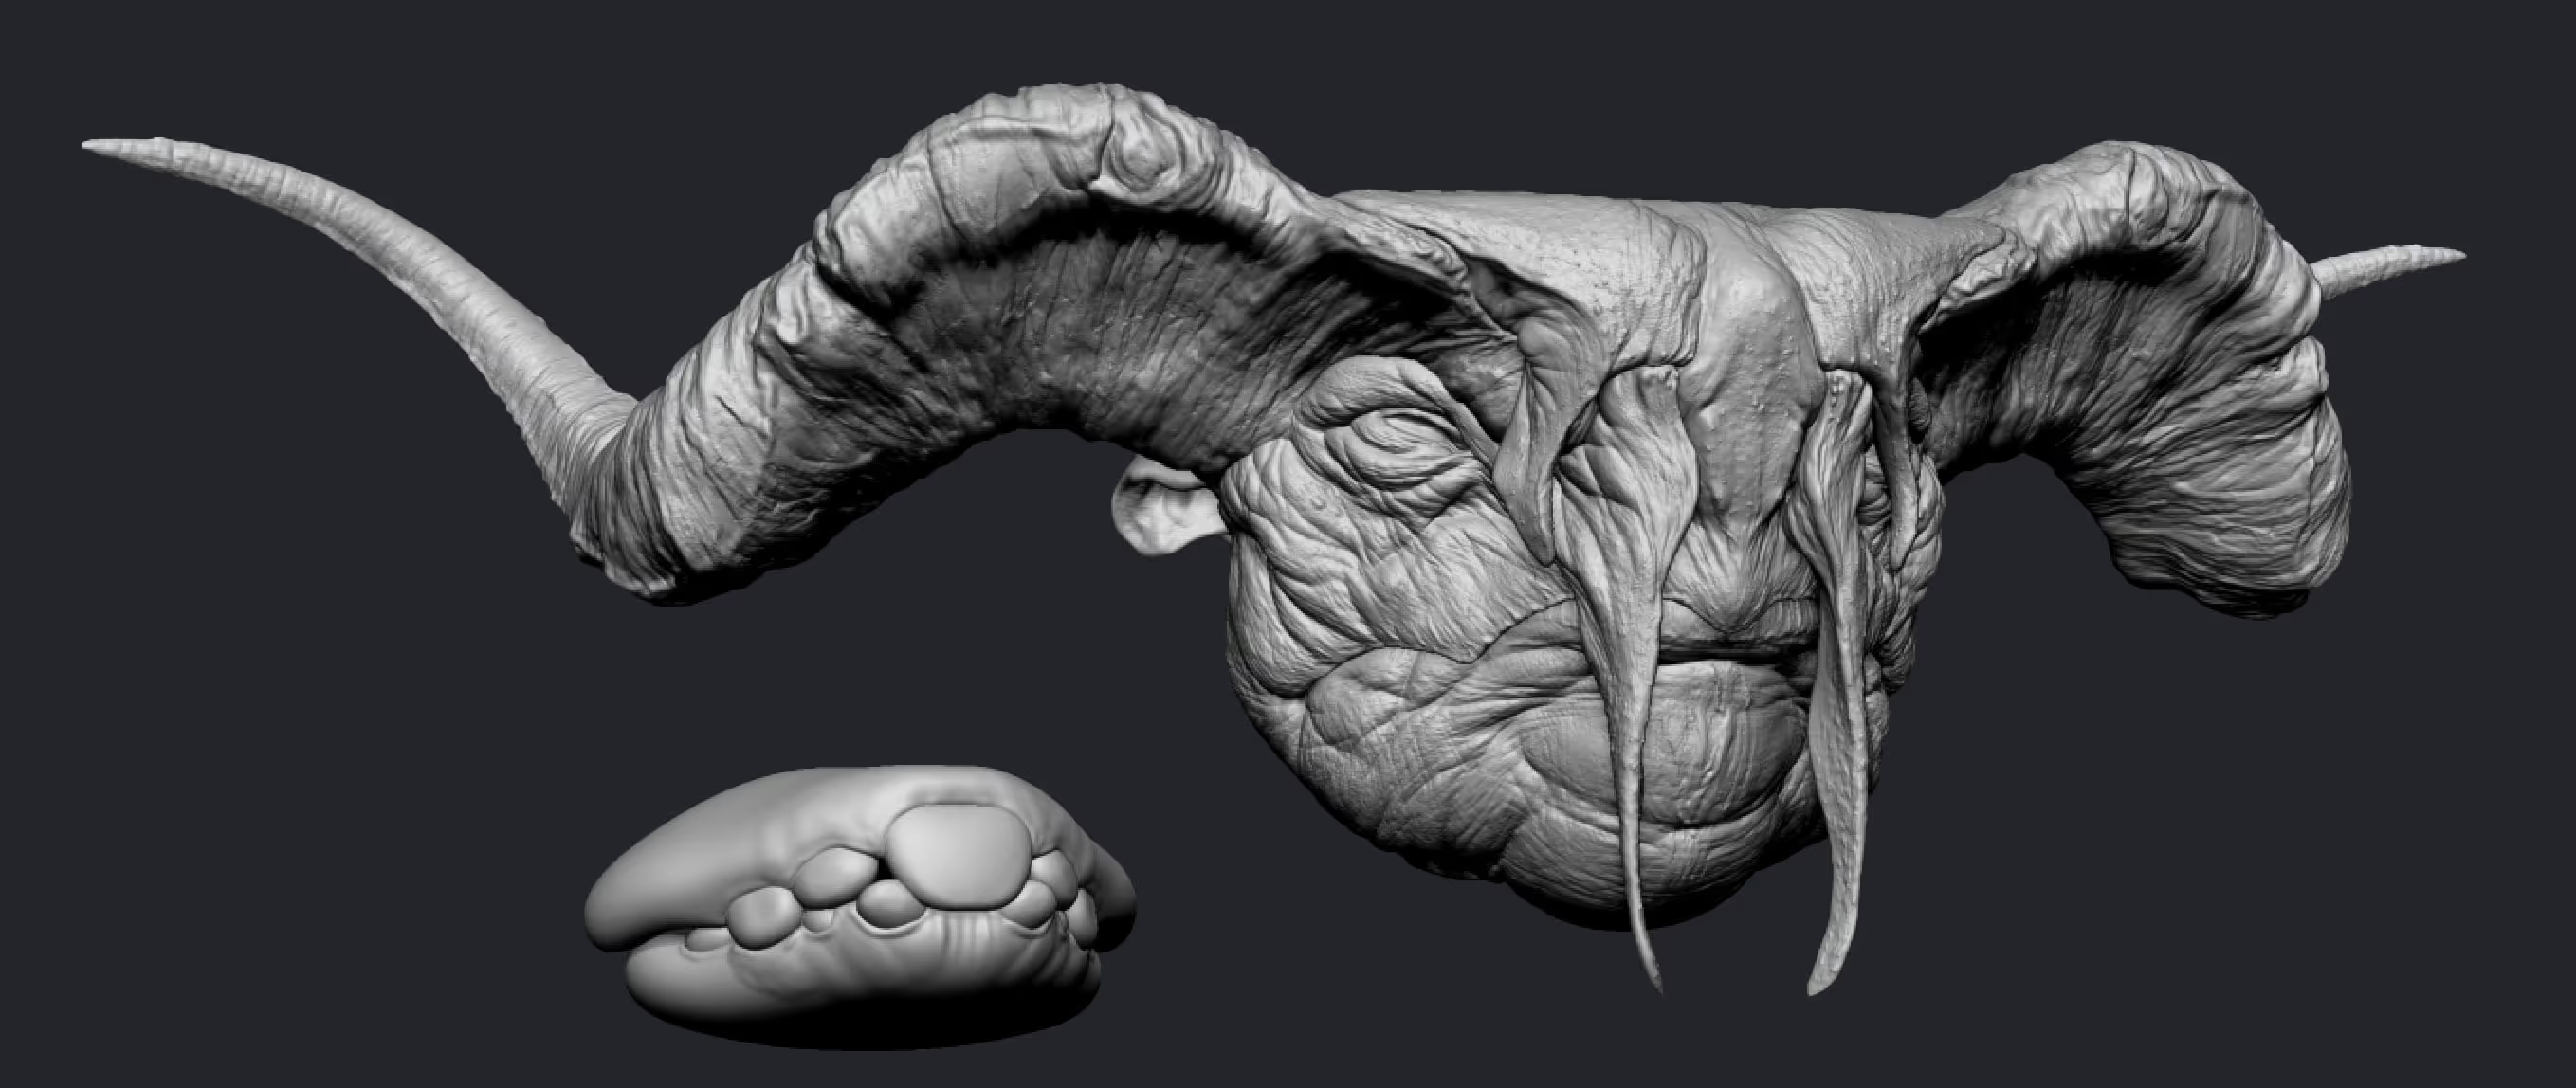
![2025-04-03-16-50-47.gif [optimize output image]](https://cdn.prod.website-files.com/66724d67c7a3aed4762456d2/684bb52ad46c3de62669a6ac_ezgif-43235d4ebe35ce.gif)
The idea is super simple: use sculpting layers to adjust the expression. However the obstacle with the layers is that they work linearly and you’ll need to toggle them on or off individually so if you have multiple subtools involved in the expression (in my case the teeth and gums are separate from the head and eyes), then you’ll need to adjust the layer on each subtool.
![003 (1).jpg [jpg-to-webp output image]](https://cdn.prod.website-files.com/66724d67c7a3aed4762456d2/684bb9b85f57e0d9db1f3383_ezgif-43865684bae8cc.avif)
The second step is to bring the timeline from the Movie Palette by clicking on the ‘show’ switch if you don’t see it at the top of you UI. Having this timeline there will allow you to click anywhere to setup a keyframe with whatever layer you have selected and in any subtool.
![004 (1).jpg [jpg-to-webp output image]](https://cdn.prod.website-files.com/66724d67c7a3aed4762456d2/684bb9b85f57e0d9db1f3389_ezgif-4279aee8772157.avif)
So click on the layer you sculpted the first pass of the expression (open/closed mouth). I like to start ‘backwards’ so saving the ‘end state’ first and the go back… I set the sculpting layer to 1 (open mouth) and clicked a few frames ahead in the timeline. The I set the layer to 0 (closed mouth) and clicked at the beginning of the timeline:
![005.jpg [jpg-to-webp output image]](https://cdn.prod.website-files.com/66724d67c7a3aed4762456d2/684bb9b85f57e0d9db1f3386_ezgif-4fe3aec10a278f.avif)
That’s all you need. Now you can click on the timeline slider (that small blue line) and drag it back and forth to see how the expression is working. You can now repeat the process for the other subtools and add the keyframes so that when you move the timeline, all subtools with layers and keyframes are moving at the same time.
Now here is a extra tip… when you want to recreate an expression or even a simple opening and closeing of the mouth, there are multiple muscles involved and shifting of the fat deposits so you can create an additional layer(s) to sculpt the changes. I created a new layer as an example to adjust some wrinkles and pulling of the skin:
![sss-2.gif [gif-to-webp output image]](https://cdn.prod.website-files.com/66724d67c7a3aed4762456d2/684bb9b75f57e0d9db1f332a_ezgif-4a80164e8f71bb.avif)
So this subtle shift really helps to enhance the open vs closed state of the mouth. The cool thing is that using the timeline I can offset the influence of this adjustment layer so it is not starting and ending at the same time as the other layers so the result is a lot more organic:
![ssss.gif [gif-to-webp output image]](https://cdn.prod.website-files.com/66724d67c7a3aed4762456d2/684bb9b85f57e0d9db1f33d9_ezgif-4aa8babadf6050.avif)
To do this extra layer you can follow the same process but clicking on different parts of the timeline based on what make sense to you:
![006.jpg [jpg-to-webp output image]](https://cdn.prod.website-files.com/66724d67c7a3aed4762456d2/684bb9b85f57e0d9db1f3380_ezgif-4cc48a5813c2bf.avif)
That’s it for now!


.webp)

