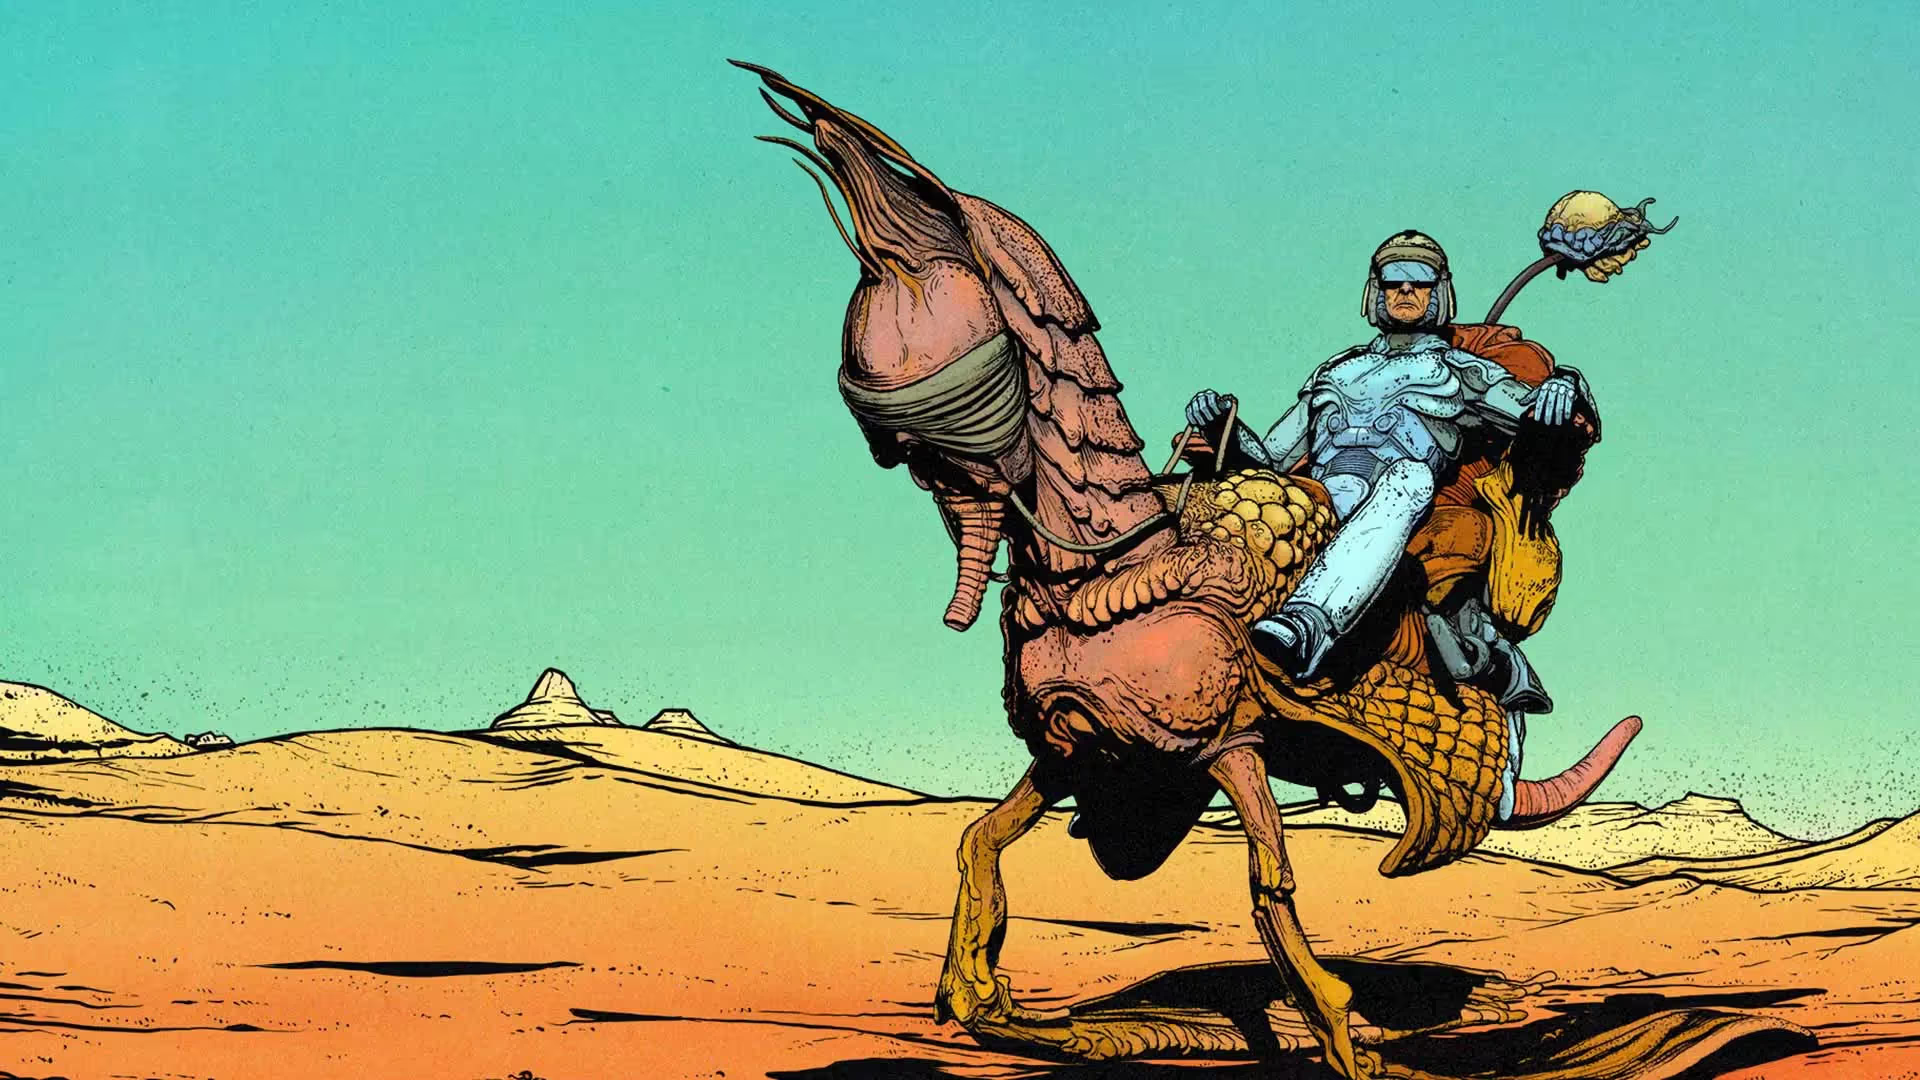
Alright, first thing—open up Lightbox in the new ZBrush version and head to the ‘Projects’ tab. You’ll find a folder called ‘Pro Projects’, and that’s where The Cartographer lives…
![001 (1).jpg [jpg-to-webp output image]](https://cdn.prod.website-files.com/66724d67c7a3aed4762456d2/684bc5071733ad73d4a3b9e5_ezgif-147b97c771c775.avif)
Open up the folder, and you’ll see a nice thumbnail of the concept. Just double-click it to load the project. Once it’s open, you’ll get a little pop-up with some notes I wrote for you—just a heads-up that this project comes packed with a bunch of things you can tweak and customize to make it your own:
![002 (1).png [png-to-webp output image]](https://cdn.prod.website-files.com/66724d67c7a3aed4762456d2/684bc5071733ad73d4a3ba04_ezgif-11024e98864883.avif)
First, double the size of the document, then click the AAHalf button to make everything look nice and sharp. Once that’s done, hit the BPR Render button (or just press Shift + R) to see the full effect of the project—complete with the comic-style render in action:
![003 (2).jpg [jpg-to-webp output image]](https://cdn.prod.website-files.com/66724d67c7a3aed4762456d2/684bc5071733ad73d4a3b9fb_ezgif-1b5d4dc799eccb.avif)
Now, here comes the fun part… I’ve set up 12 BPR filters for you. These filters enhance the look of the render, and what I recommend is turning them all off first—then toggle them on one by one to see what each one does.
For example, try enabling F3 to get a stronger outline, or turn off F7 to reduce the ‘noise texture overlay’. You can also go to F1, click on the Back Color, and swap it out—maybe try a sepia tone to give it a more retro comic vibe.
![004 (2).jpg [jpg-to-webp output image]](https://cdn.prod.website-files.com/66724d67c7a3aed4762456d2/684bc5071733ad73d4a3b9fe_ezgif-13af6d1c6a995c.avif)
The project also includes a slightly updated version of my Pablander Super Comic material. You can open the Material palette, and under the Modifiers subpalette, turn ON S3 and S4 to get harsher shadows and a thicker outline. Don’t forget to hit render again to see the full effect in action!
![005 (1).jpg [jpg-to-webp output image]](https://cdn.prod.website-files.com/66724d67c7a3aed4762456d2/684bc5071733ad73d4a3b9eb_ezgif-19fb9a74fb1773.avif)
There are also a few ‘hidden’ extras packed into the project… I’ve included 5 custom brushes:
- 1 IMM brush with hard surface concept pieces you can use for quick kitbashing
- My personal Pablander_slash brush—great for general sculpting and especially handy for comic-style sculpts, since it helps carve out sharp, defined crevices
- And 3 hatching brushes to add hand-drawn-style effects with Polypaint
To access the brushes, just head to the Brush folder in Lightbox and open the Pro Project section in there.
![06.jpg [jpg-to-webp output image]](https://cdn.prod.website-files.com/66724d67c7a3aed4762456d2/684bc5071733ad73d4a3b9ee_ezgif-1045c06d5d846e.avif)
Just like the brushes, I’ve also included 4 custom tileable textures, which you’ll find in the Pro Projects folder under Textures in Lightbox. These are the same textures you can tweak and swap out for things like the F7 BPR filter—perfect for adding noise or a subtle overlay texture to your render.
![007.jpg [jpg-to-webp output image]](https://cdn.prod.website-files.com/66724d67c7a3aed4762456d2/684bc5071733ad73d4a3b9e8_ezgif-12afc8fa473f02.avif)
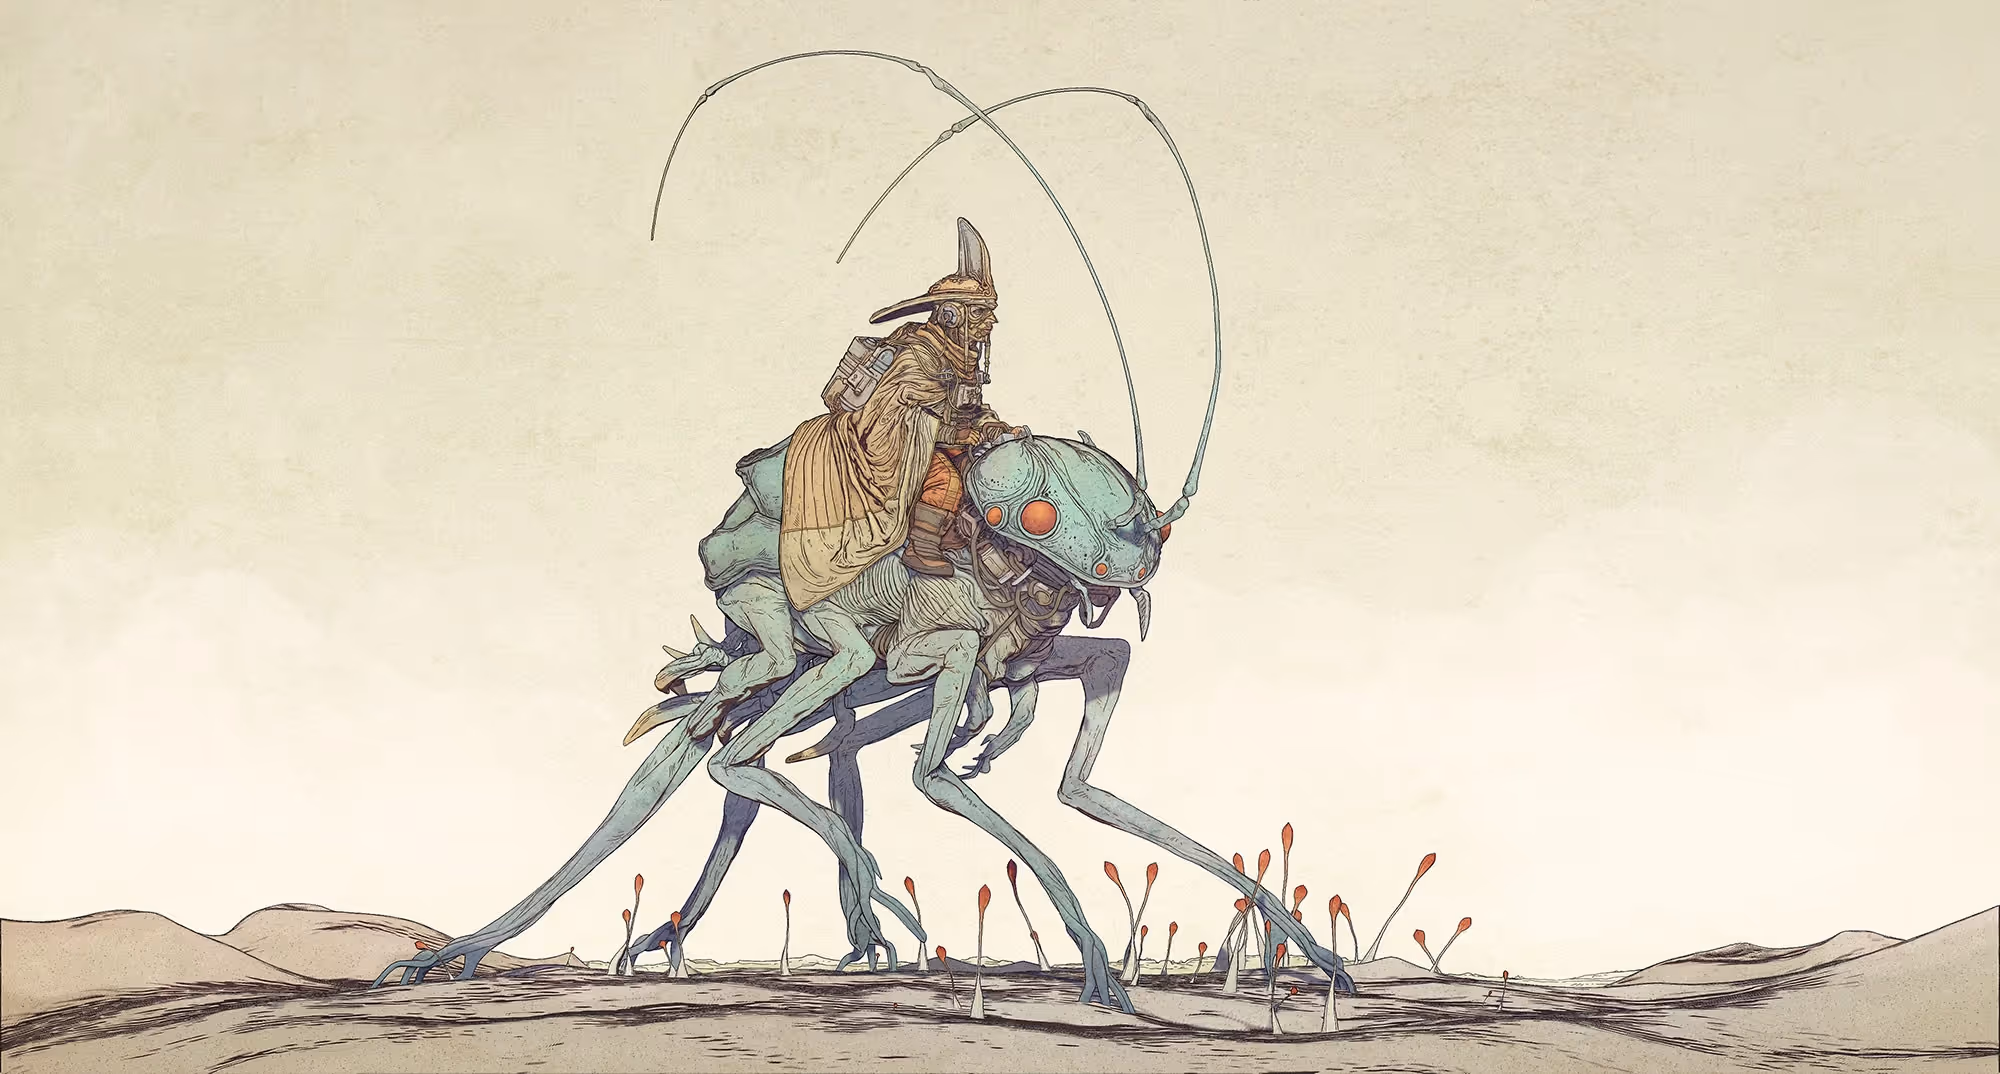
But the real trick here is that I’ve set everything up for you—so all you need to do is load up your own concept and you’ll be able to create this type of render with your own ideas.
For example, here’s a quick WIP of the character we’re currently working on with the new TEM students (having a lot of fun, by the way!). All I did was load the ZTL, turn off Polypaint (just to show you that it works with or without it), and then tweak a few of the filter settings to get this more ‘sketchy’ look:
![008.jpg [optijpeg output image]](https://cdn.prod.website-files.com/66724d67c7a3aed4762456d2/684bc5071733ad73d4a3b9f8_ezgif-1d429e76d13d23.avif)
And that is about it!


.webp)

.webp)