So, here are the basics… I’ve created a very simple blockout of a Mystical staff using a long cylinder and a couple of spheres. Then, it comes the STEP #1: Add a flat plane as your ‘drawing surface’ and with the CurveTube brush add some tubes with symmetry to start with the ‘ornaments’.
![001.jpg [jpg-to-webp output image]](https://cdn.prod.website-files.com/66724d67c7a3aed4762456d2/684ba45c3e7b255fe0b2883f_ezgif-79bdee22ae7c10.avif)
STEP #2 is where the magic happens and the ‘hidden trick’… go to the Brush palette and open up the Modifiers subpalette. The first slider in the CurveTubes brush should be a value of 20 by default and this slider actually determins the curve profile (number of sides along the tube).
So you can just change this to any other number like 3 for example and you’ll have a very sharp profile curve with a tube of only 3 sides! - I’m sure you know where I’m going with this…
![002.jpg [jpg-to-webp output image]](https://cdn.prod.website-files.com/66724d67c7a3aed4762456d2/684ba7ca3c3877a9a29da715_ezgif-7b71f3712901dd.avif)
STEP #3 is simply the adjustment of your brand new ‘ornament brush’. From the Stroke palette, open up the section for the Curve Modifiers. In this section you can turn on the ‘size’ switch and play with the curve to adjust the tapering effect towards the beginning and end of the curve!
![003.jpg [jpg-to-webp output image]](https://cdn.prod.website-files.com/66724d67c7a3aed4762456d2/684ba7c93c3877a9a29da6ff_ezgif-7db3481de82273.avif)
That’s pretty much all there is to it… 3 simple tweaks to the curve to get a nice and sharp ornament brush. Of course you can save this for latter use and add it to your toolkit.
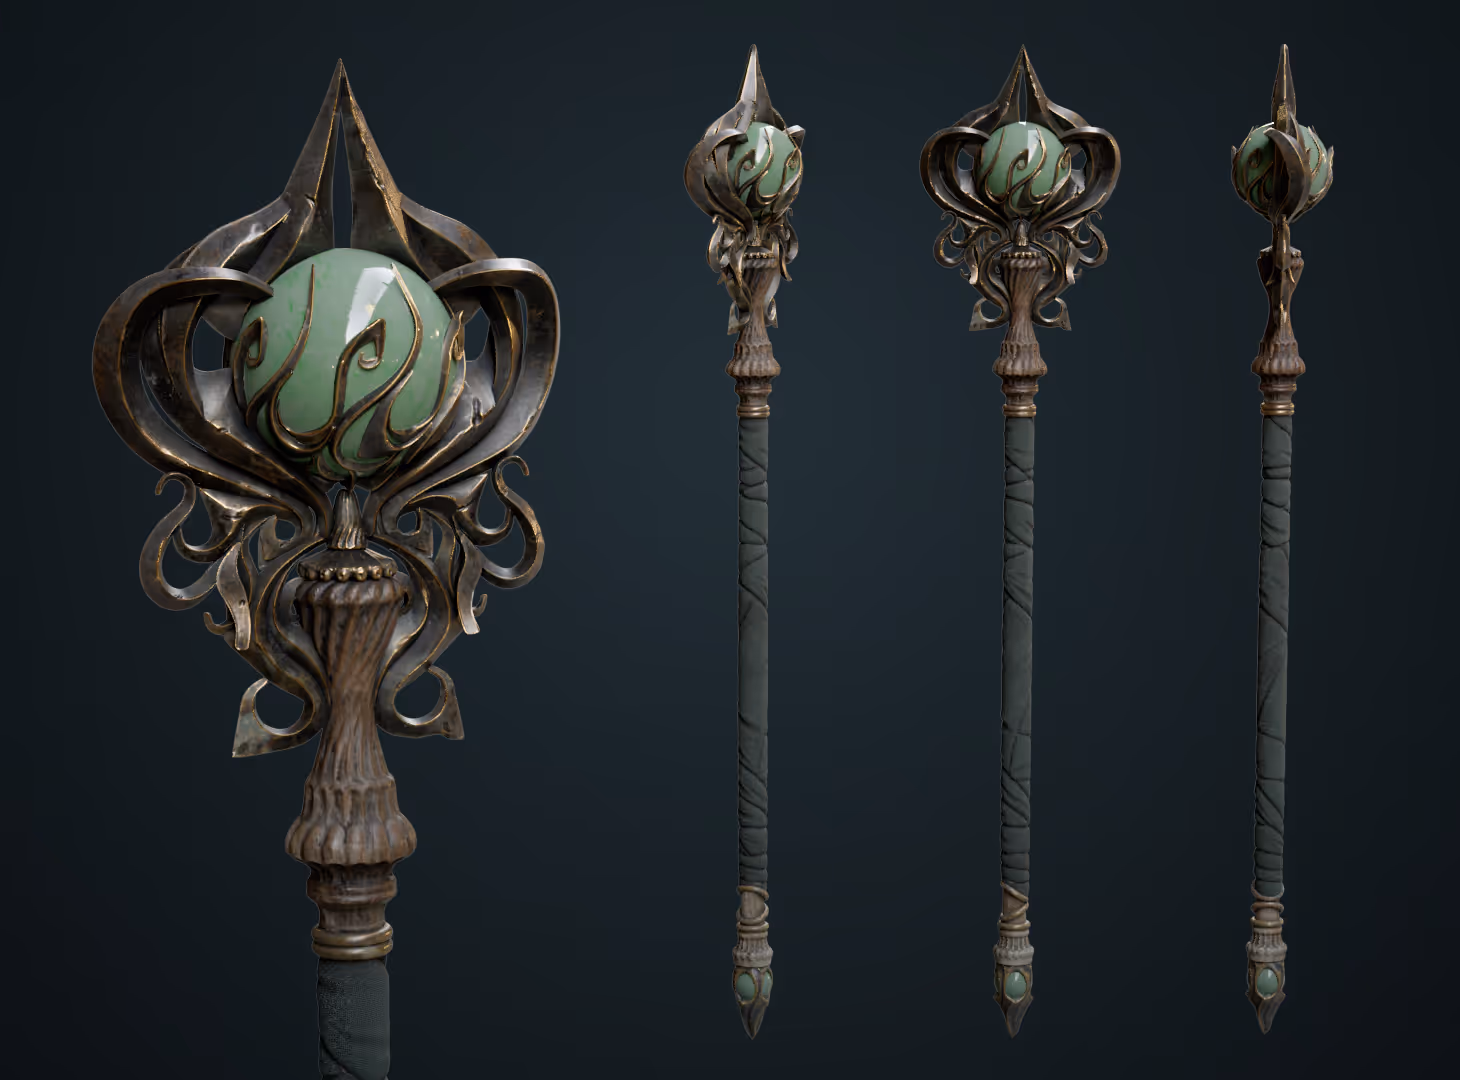
I use this brush to crate this pattern on the ‘mystical staff’ and then use the Move Topological to adjust the placement and overlaps of this ‘ornaments’ to produce the final asset:
![004.jpg [jpg-to-webp output image]](https://cdn.prod.website-files.com/66724d67c7a3aed4762456d2/684ba7ca3c3877a9a29da718_ezgif-7b70556f002e1b.avif)
That’s all for today!


.webp)

.webp)