The process is simple… You just need to export the displacement / height map from 3D Painter, import it into ZBrush and apply it to the mesh. There is not much else to do, but here are the steps breaking down for you:
STEP 1.
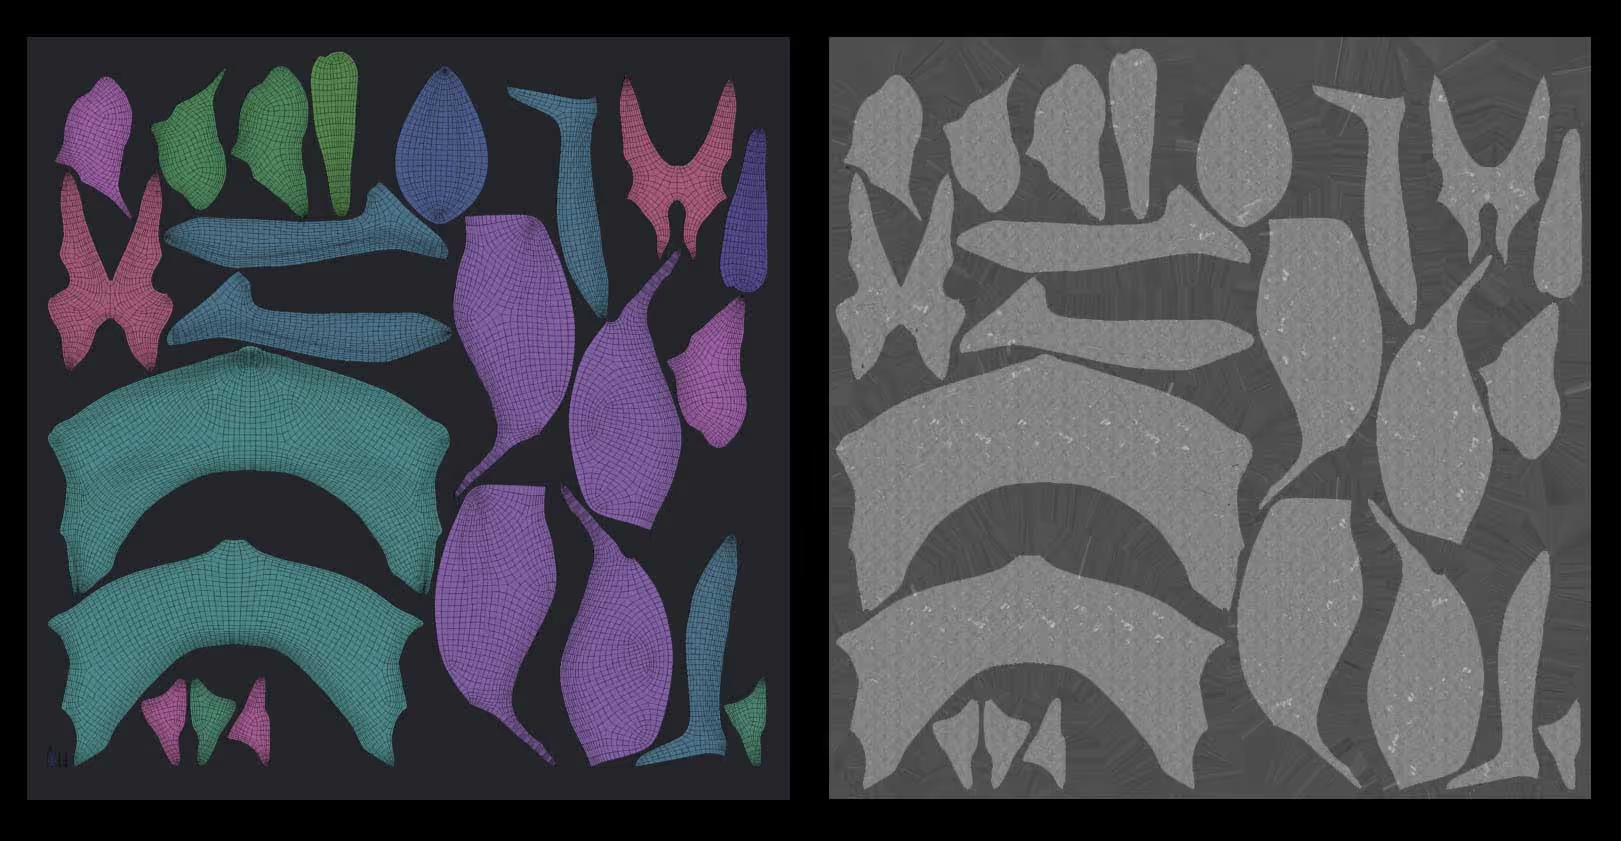
First of all, you need UVs but if you are already into 3D Painter, I’ll assume you have that part covered.
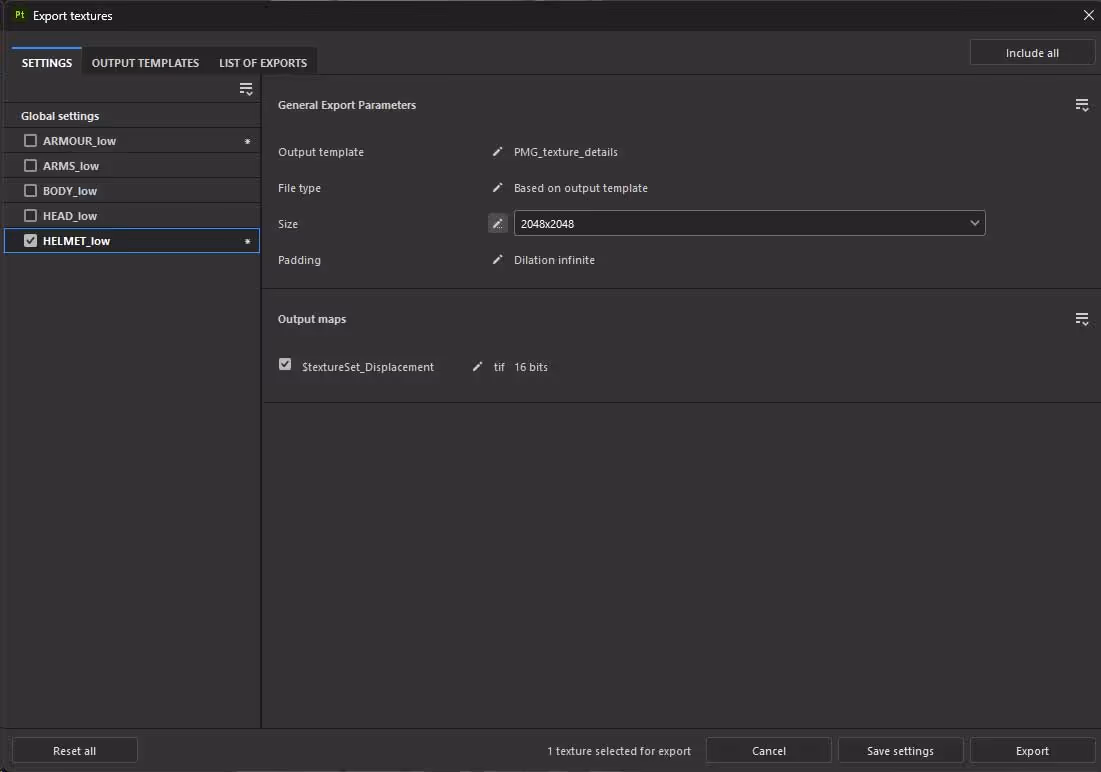
After you finish all your texturing in 3D Painter (including normal and height details), export the height or displacement map in high res. Avoid PNG or JPEG formats, is better to use TIFF so you don’t get stepping and pixelation in ZBrush.
STEP 2.
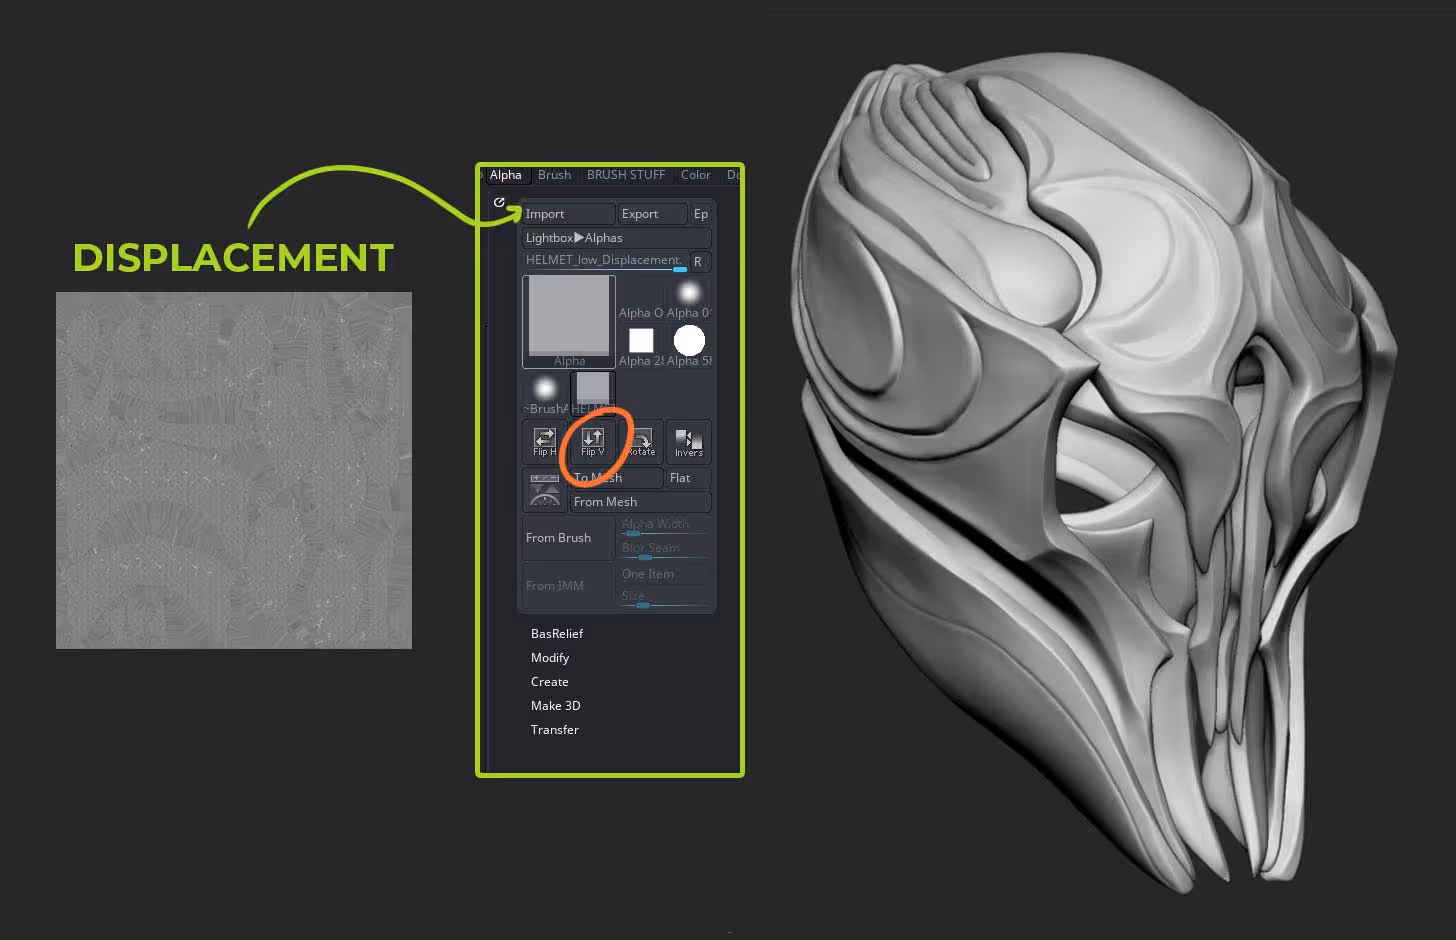
Load the Displacement map into ZBrush from the alpha Palette and Flip vertical to make sure it matches the UV layout you have in ZBrush. In order to enable Displacement in ZBrush you need to have a textures visible so choose something like Texture 28 that comes with ZBrush
STEP 3.
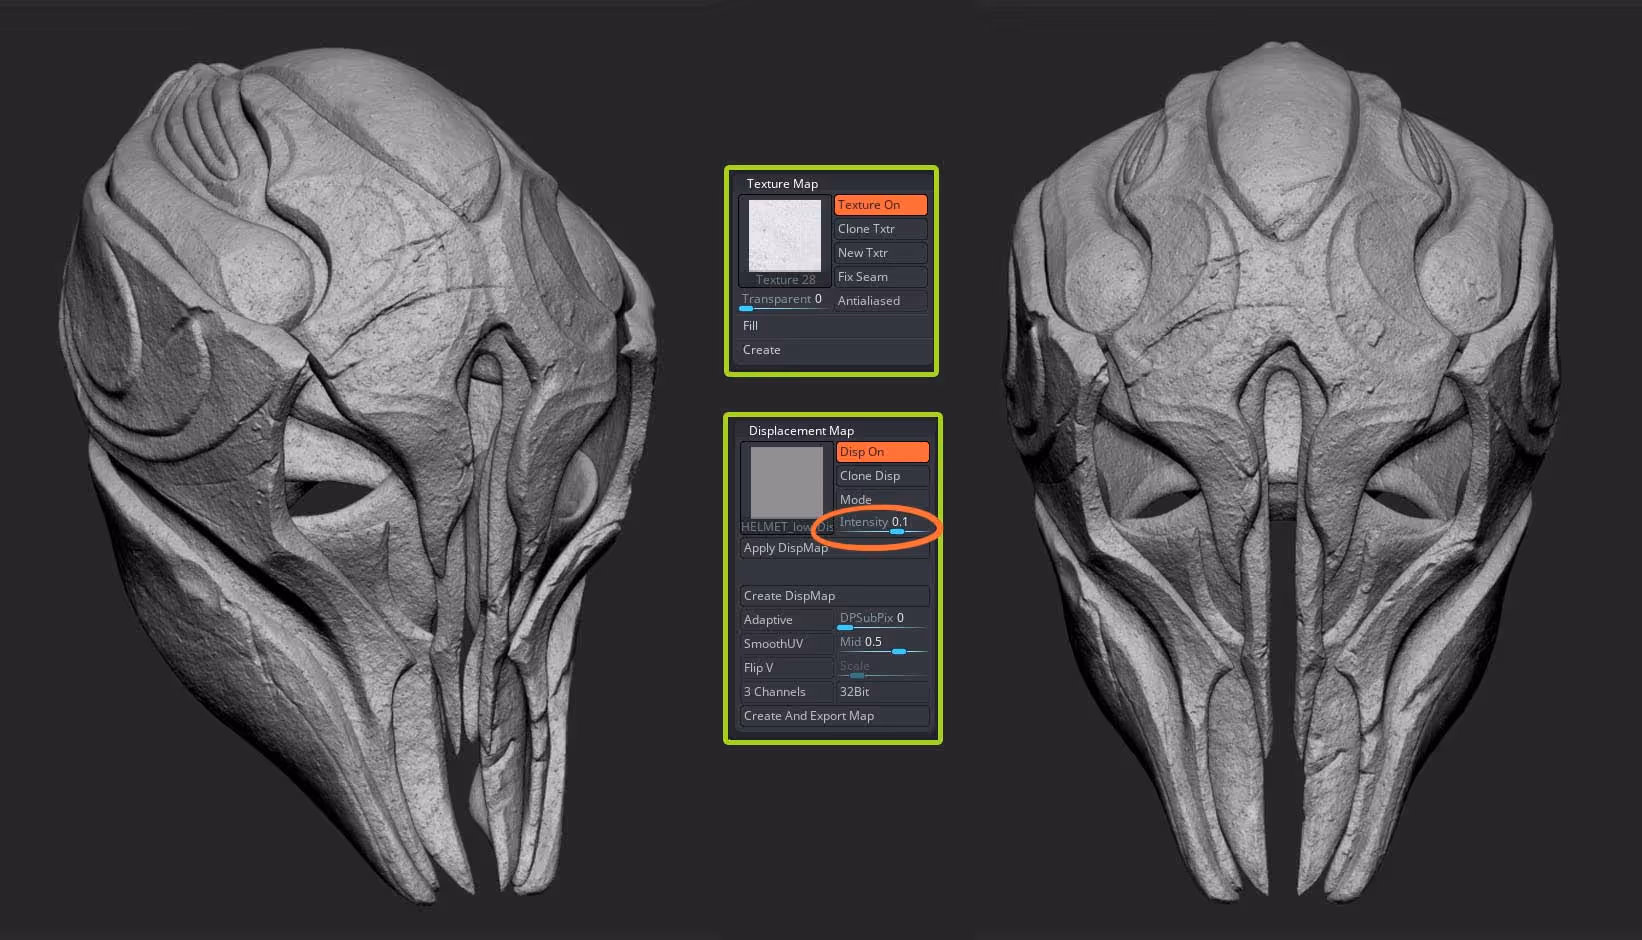
Now you can enable displacement and play with the ‘Intensity value’ to adjust the strenght of the displacement. Once you are happy with this value, you can go ahead and click the ‘apply DispMap’ switch to transfer all the details into the mesh (make sure you have it in the highest subdivision level).
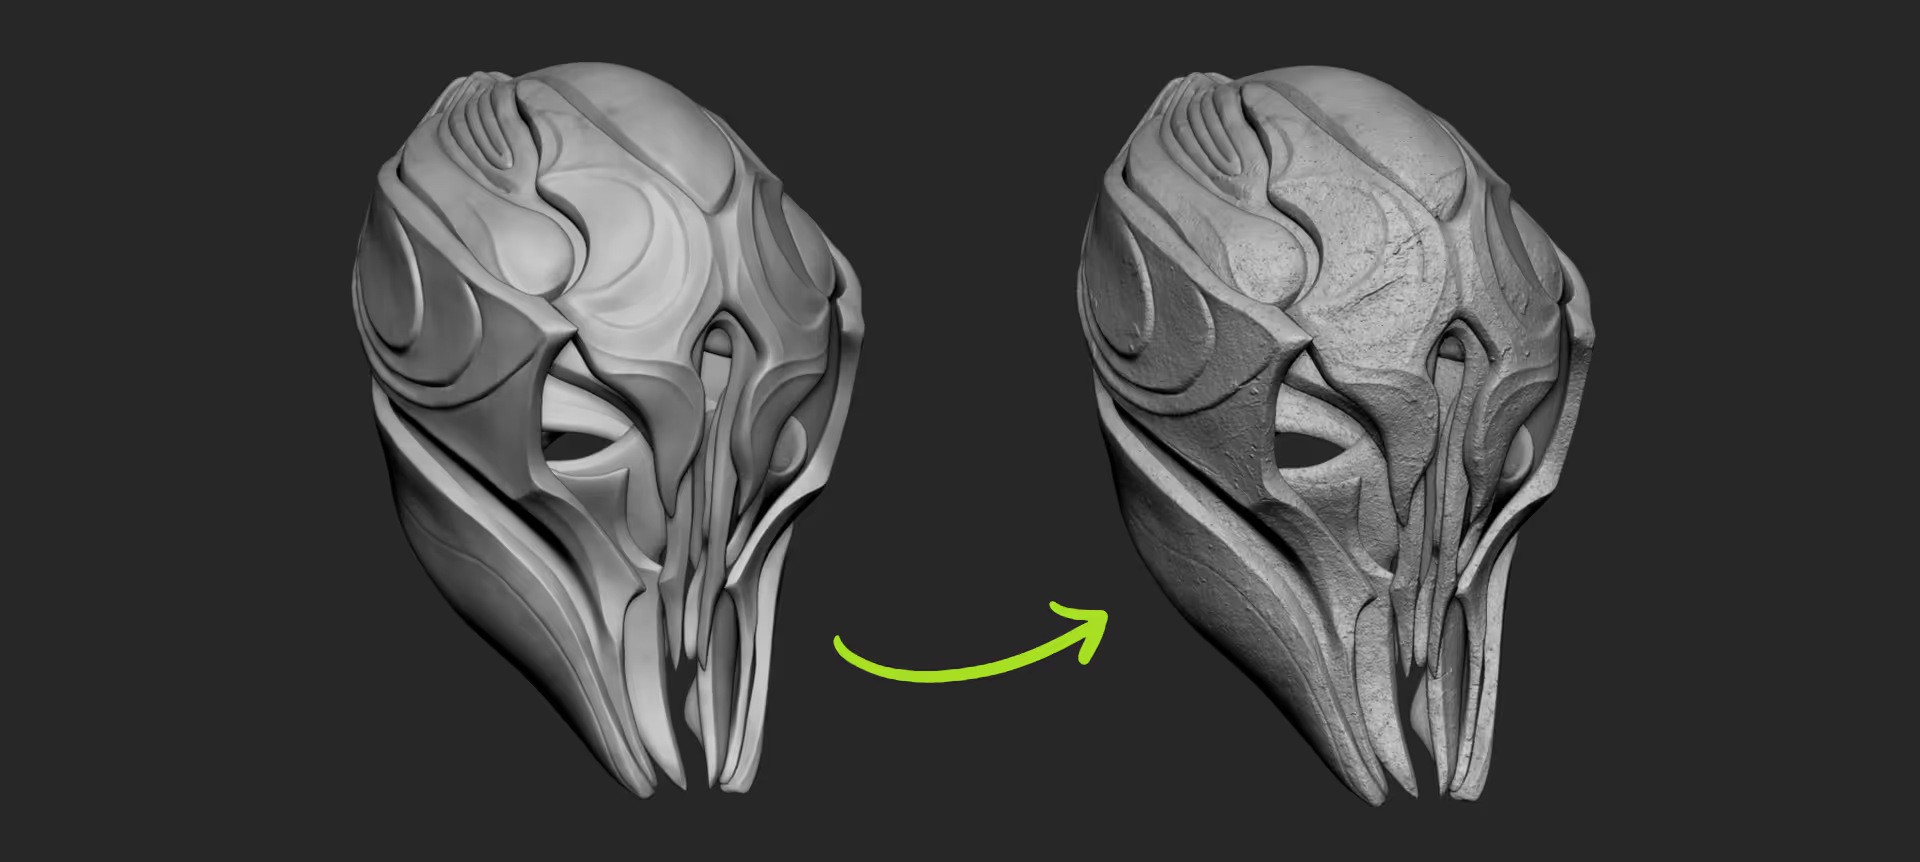
That’s it, very very simple but you can take advantage of all the cool non-destructive workflows from 3D Painter and bring in all the details back into ZBrush so you can setup the mesh for 3D Printing with all the extra high-frequency details done in Painter!
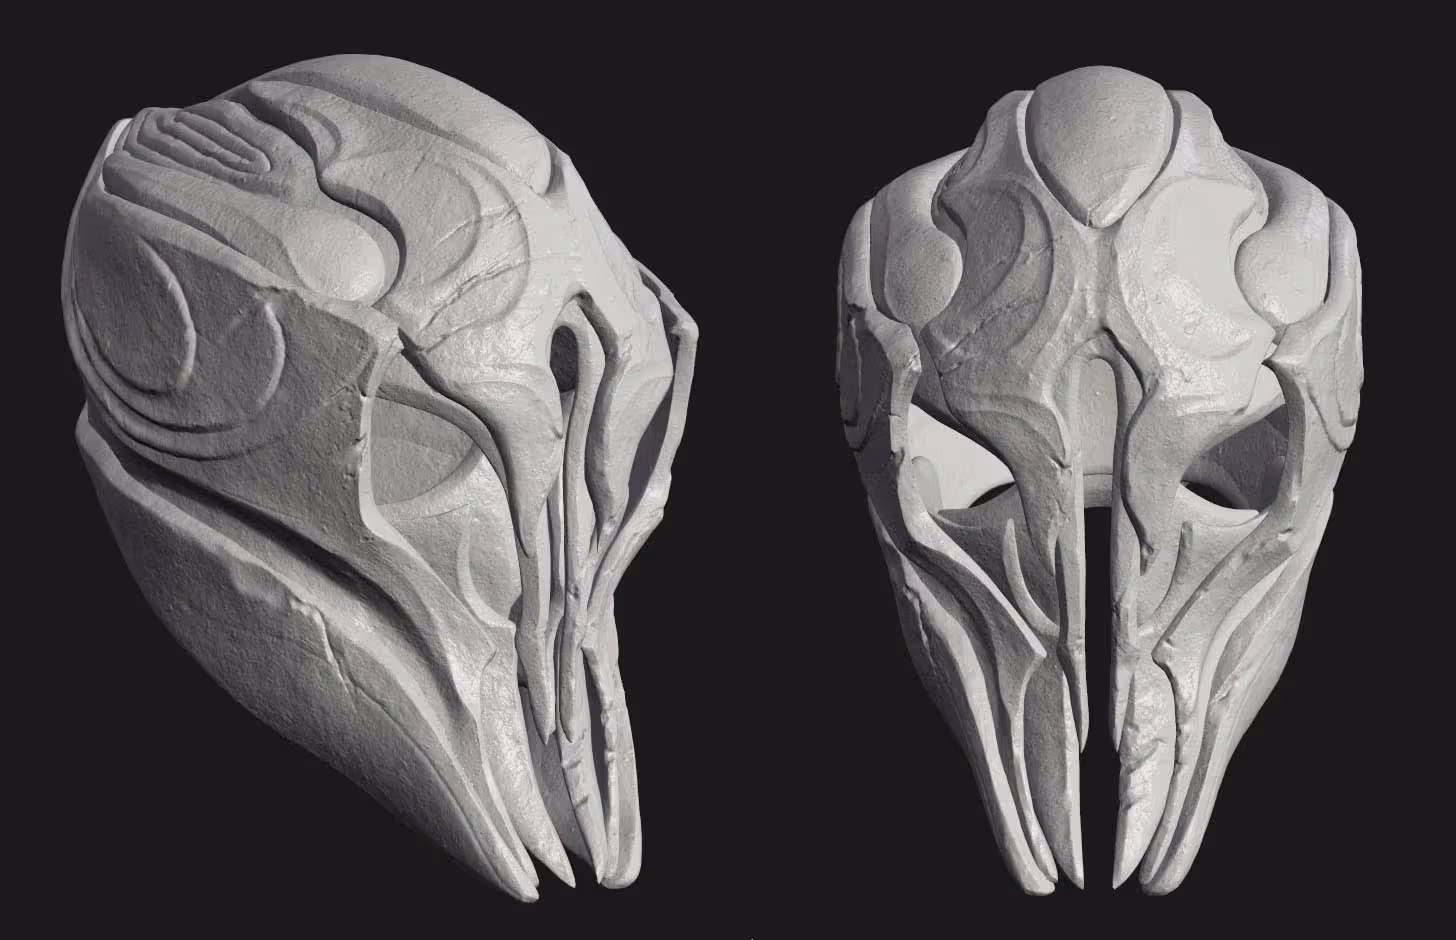
Here’s a summary of the process with the helmet:


.webp)

.webp)