I got a question recently about animation in ZBrush so I thought I show you a neat way of working around the limitation of ZBrush (regarding animation). Here is a quick example using a 'bouncing ball' with stretch and squash... very basic animation concepts:
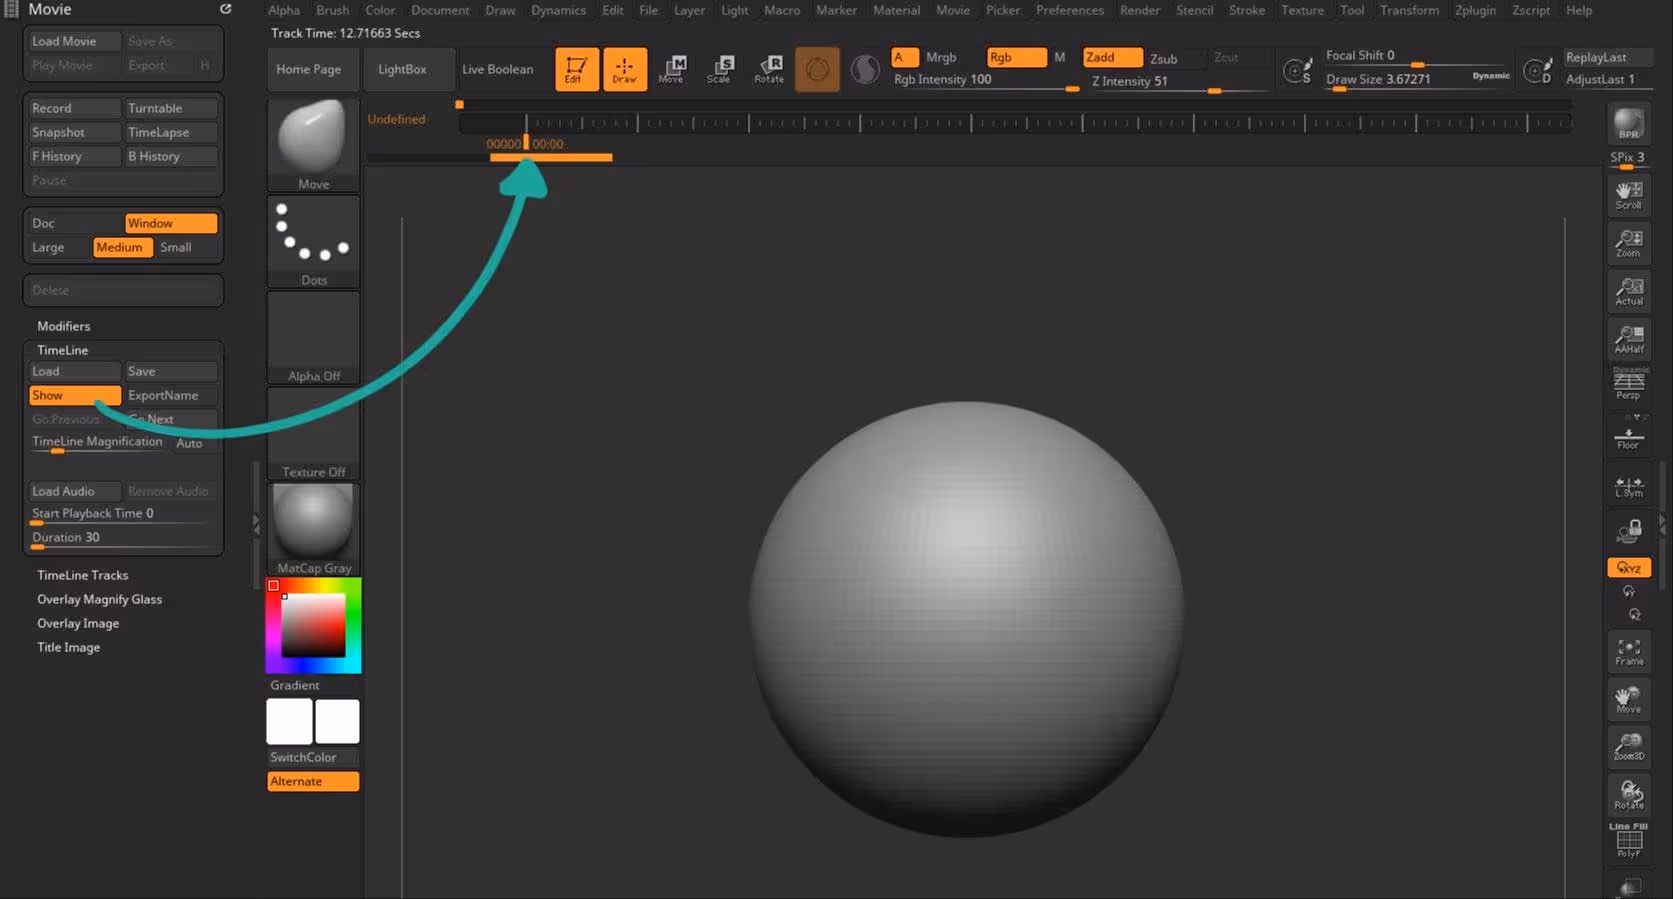
This is how it works: First, make sure you have the timeline visible... this is where you are going to set up your keyframes for the animation. so go to the Movie Palette> Timeline > Show.
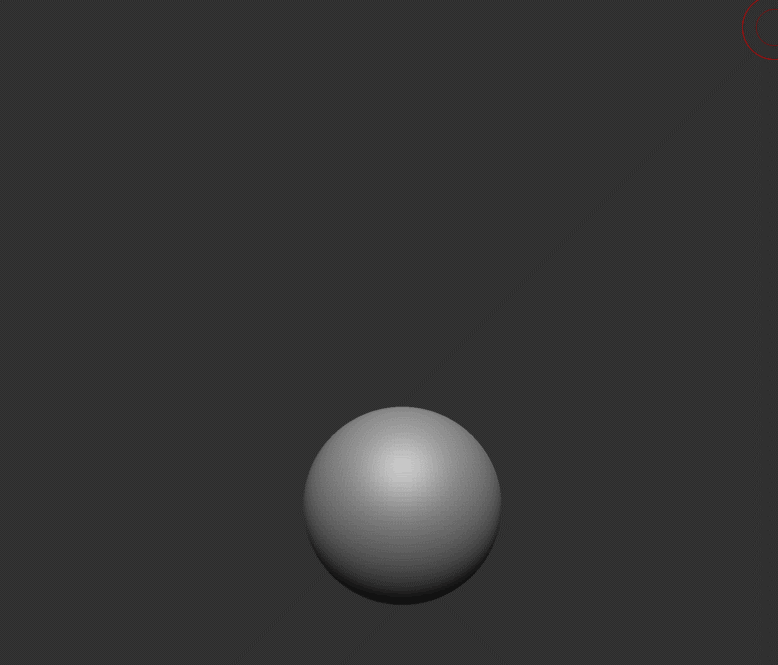
Then just for fun so you can see how this feature works, click on the timeline once to create a keyframe, zoom in with the camera a bit click on another point further along the timeline to set another keyframe and then go back (zoom out) to add another keyframe. You'll get something like this when you scroll through the timeline:
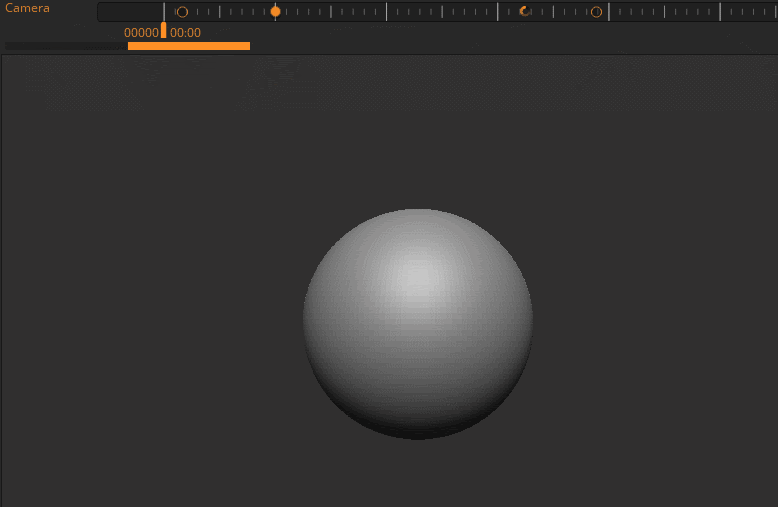
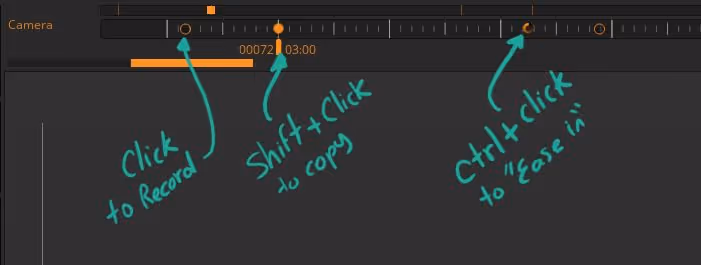
You notice I also have an extra dot in my timeline that looks like a 'loading icon' This is a keyframe that allows you to 'ease in' into the next one. So, in case you are new to the timeline in ZBrush here are some of the basics:
- Click anywhere to record the current state
- Shift + Click to copy the highlighted keyframe
- Ctrl + Click over an existing keyframe to make it an 'ease in/out' keyframe
- Click + Drag to move keyframes along the timeline
- Click + Drag to canvas to remove keyframes
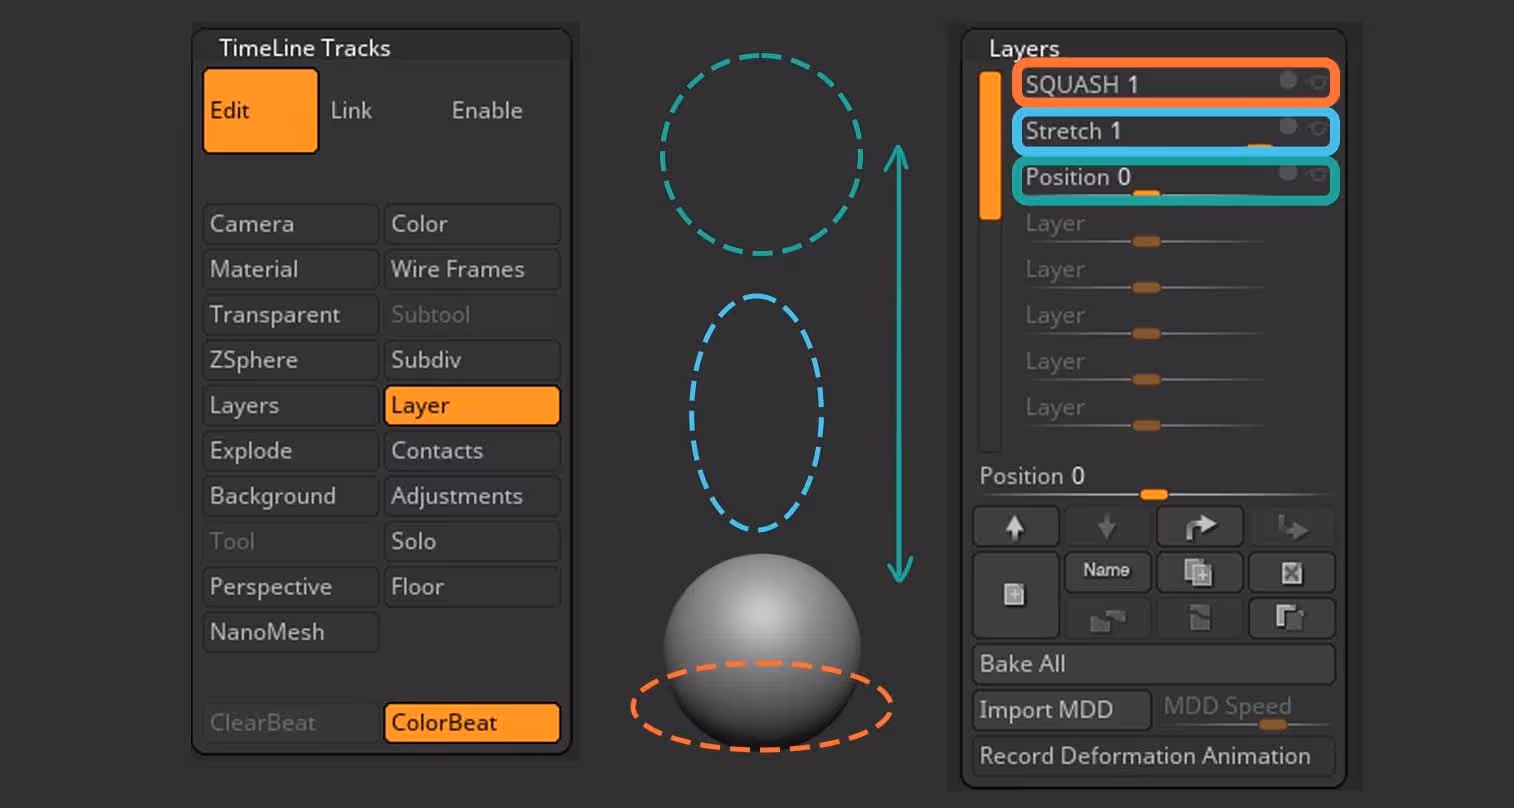
Now, here is the trick that is somehow 'hidden' or not very well known. If you expand the 'TimeLine Tracks' subpalette, you should have the 'Camera' switch enabled by default so when you click on the timeline it automatically animates the camera, BUT... you can animate different 'tracks' or properties, my favourite is the 'Layer' one because it allows you to animate multiple layers in the timeline so you get a lot of control over a transition, not just the linear 0 > 1 that you get with a single layer.
So, for the example of my bouncing ball, I selected Layer in the TimeLine tracks, then created 3 sculpting layers on a simple sphere:
- The first layer is for the SQUASH so I simply recorded the squashing of the sphere using the Gismo 3D.
- The second one is my STRETCH, so I followed the same principle but pulled the shape into an elongated sphere
- And my third layer is the POSITION, for this layer I recorded the placement of the sphere. Using the Gizmo I just move the sphere up
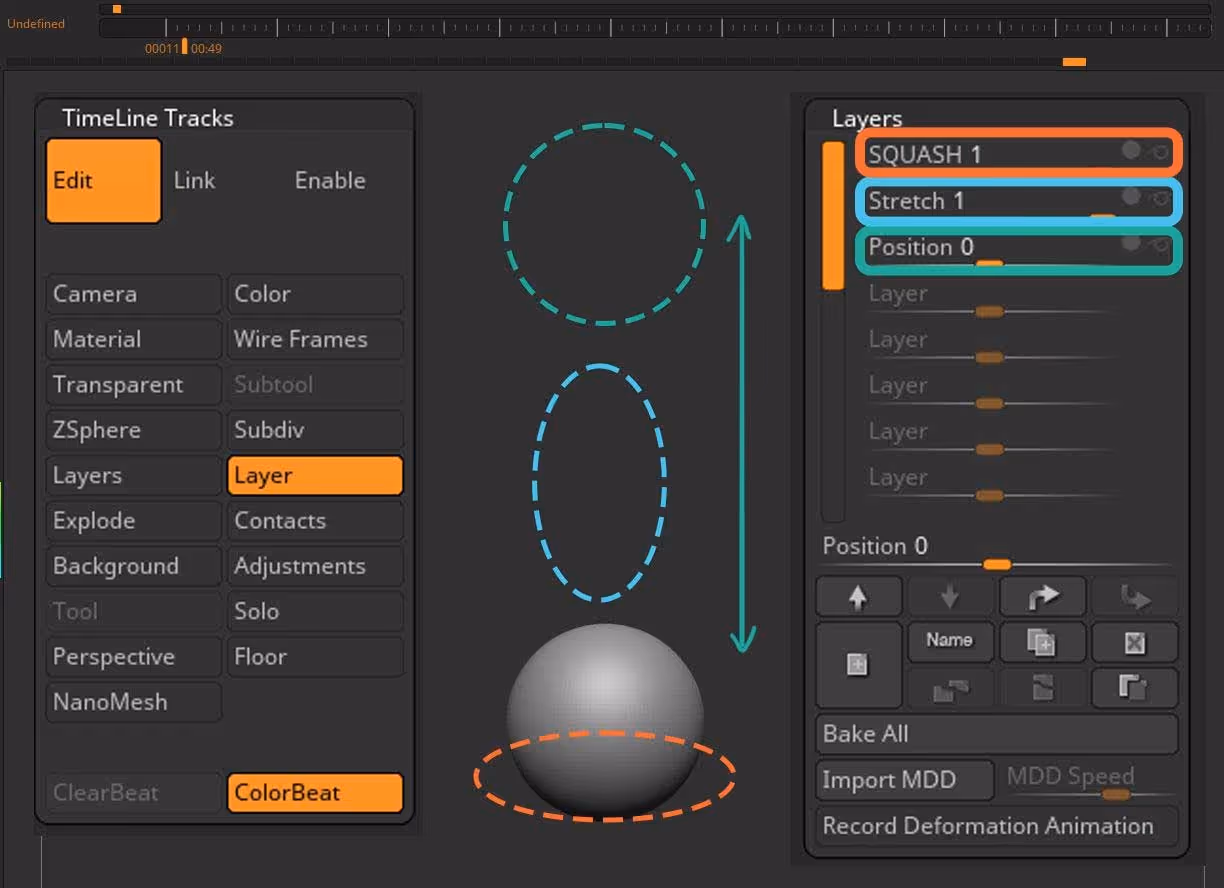
that's the basics of this tip. You can now click on each layer to select it and you'll see the name of your selected layer at the left side of the animation timeline.
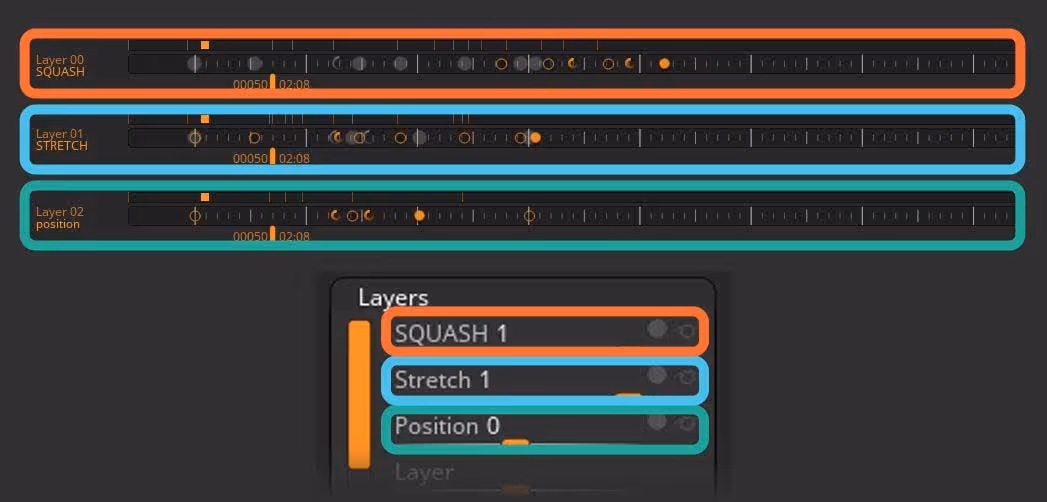
I started from the bottom up... so I created a keyframe with the position at '0', moved the timeline a bit then set the position layer to '1' and the third keyframe further in the timeline set to '0' again.
I followed the same principle with the STRETCH and the SQUASH layers and as a final pass added some 'ease in/out' keyframes to smooth out the animation!
I know it's not 100% animation the way that you might be familiar with, so... sorry if I got you overly excited haha -Nevertheless, I think this workaround is still pretty powerful AND it is incredibly useful especially for showcasing character motions or expressions ;)


.webp)

.webp)