Published
January 12, 2023

Complex Polypaint Texture with history recall brush

In this tutorial, I’m going to cover the use of the History Recall Brush (normally a sculpting brush) to create complex textures for your characters and creatures. I’m going to show you how easy is to customise a brush to paint interesting textures and to re-use the first pass on a texture to build complexity with colour adjustments.

Complex Polypaint Texture with history recall brushComplex Polypaint Texture with history recall brush
Complex Polypaint Texture with history recall brush
Play Icon
Complex Polypaint Texture with history recall brush
Play Icon
Complex Polypaint Texture with history recall brush
Play Icon
Complex Polypaint Texture with history recall brush
Play Icon
Complex Polypaint Texture with history recall brush
Play Icon
Complex Polypaint Texture with history recall brush
Play Icon
Complex Polypaint Texture with history recall brush
Play Icon
Complex Polypaint Texture with history recall brush
Play Icon
Complex Polypaint Texture with history recall brush
Play Icon
Complex Polypaint Texture with history recall brush
Play Icon
Complex Polypaint Texture with history recall brush
Play Icon
Complex Polypaint Texture with history recall brush
Play Icon
Complex Polypaint Texture with history recall brush
Play Icon
Complex Polypaint Texture with history recall brush
Play Icon
Complex Polypaint Texture with history recall brush
Play Icon
Complex Polypaint Texture with history recall brush
Play Icon

A similar workflow for texture files

If you already have textures for your sculpture, there is a similar workflow that you can use to enhance the texture map using Photoshop, smart objects and masks. Here is a brief summary of what you can do...

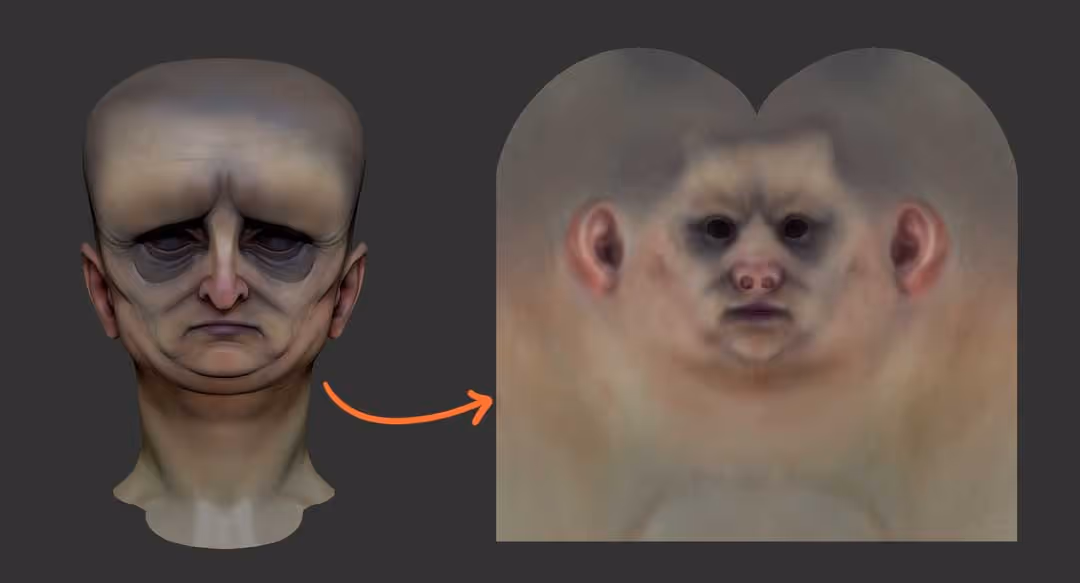
Let's assume you already have UVs and that you created the textures in software like Substance 3D Painter. Maybe you have something that looks a bit like this:

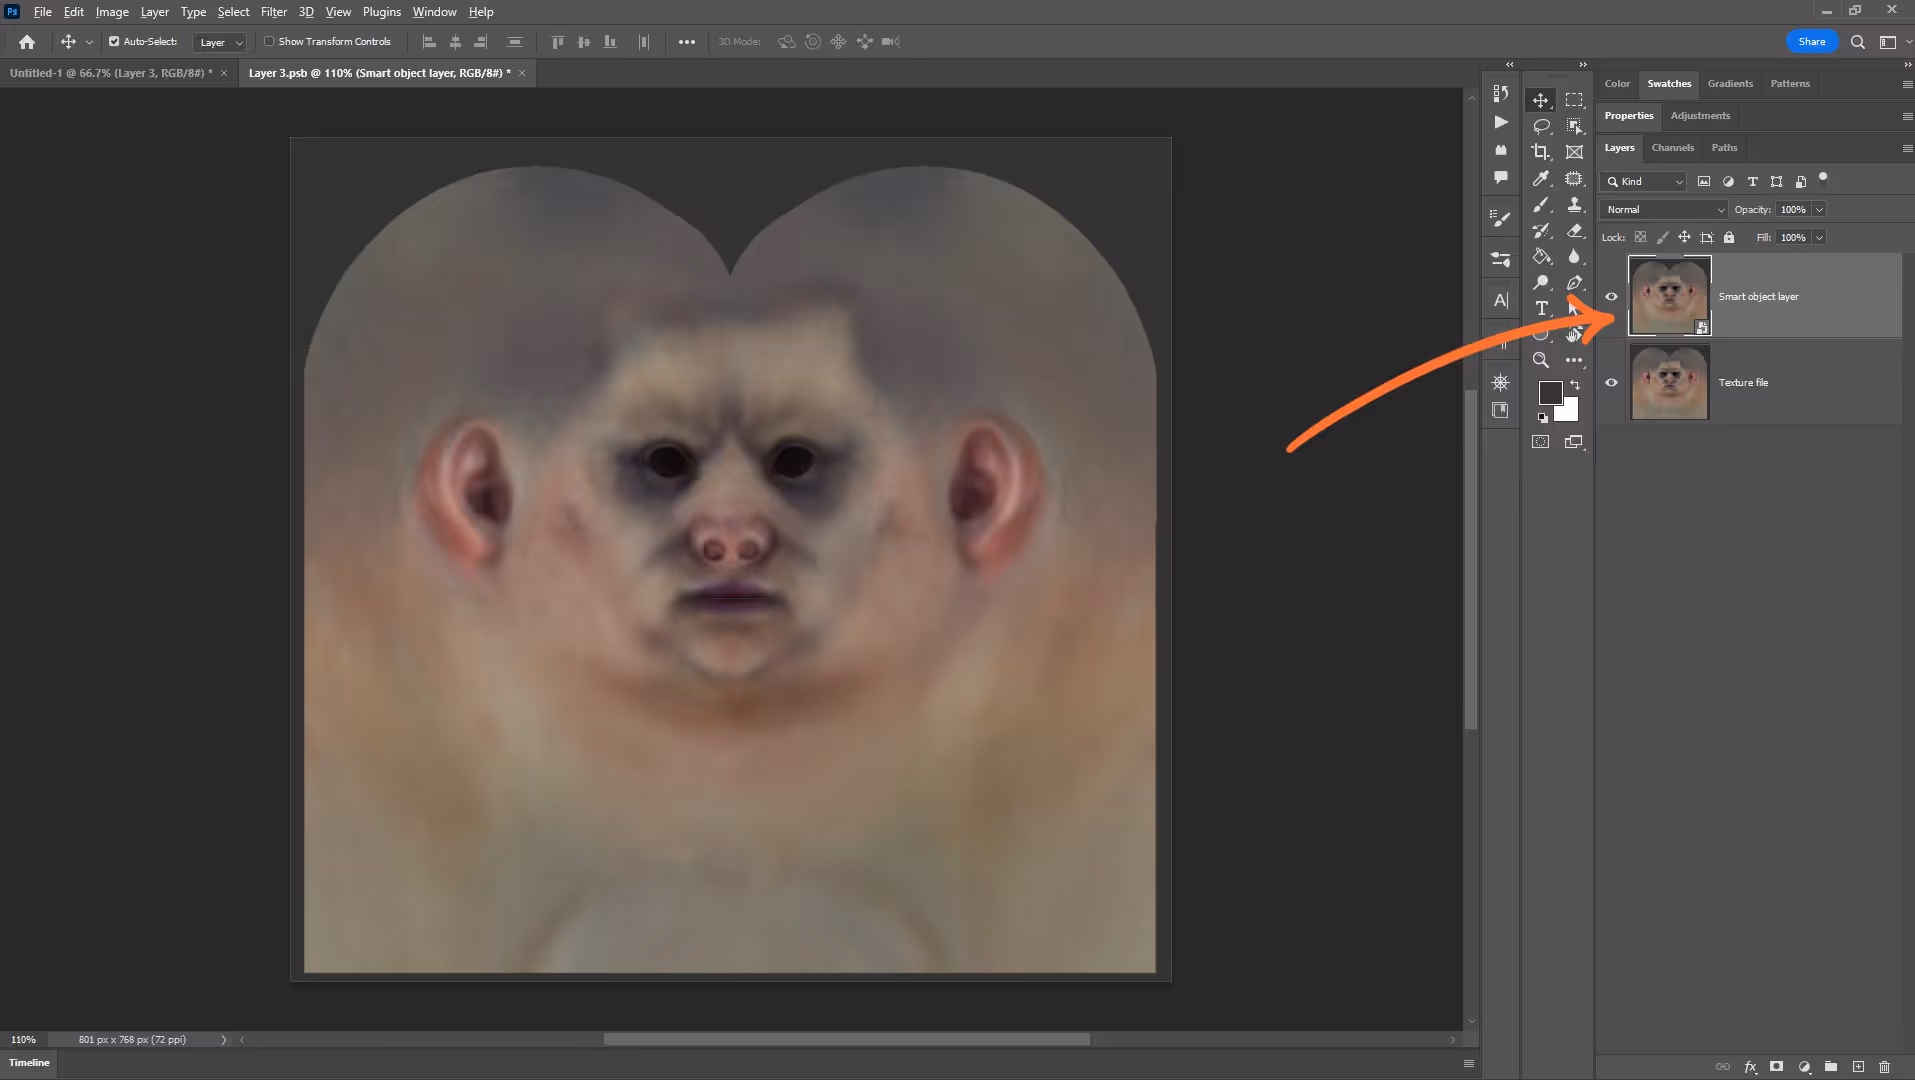
You can open your texture file in Photoshop, duplicate the layer and convert it into a smart object (right click > Convert to smart object).

You'll end up with a duplicated layer that has a small 'layer with a square ' symbol at the bottom right.

‍Now that your layer is a smart object you can add things like 'hue and saturation or 'colour balance' from the effects icon and these will be 'smart filters' meaning you can turn them on or off and can also double-click them to edit them.

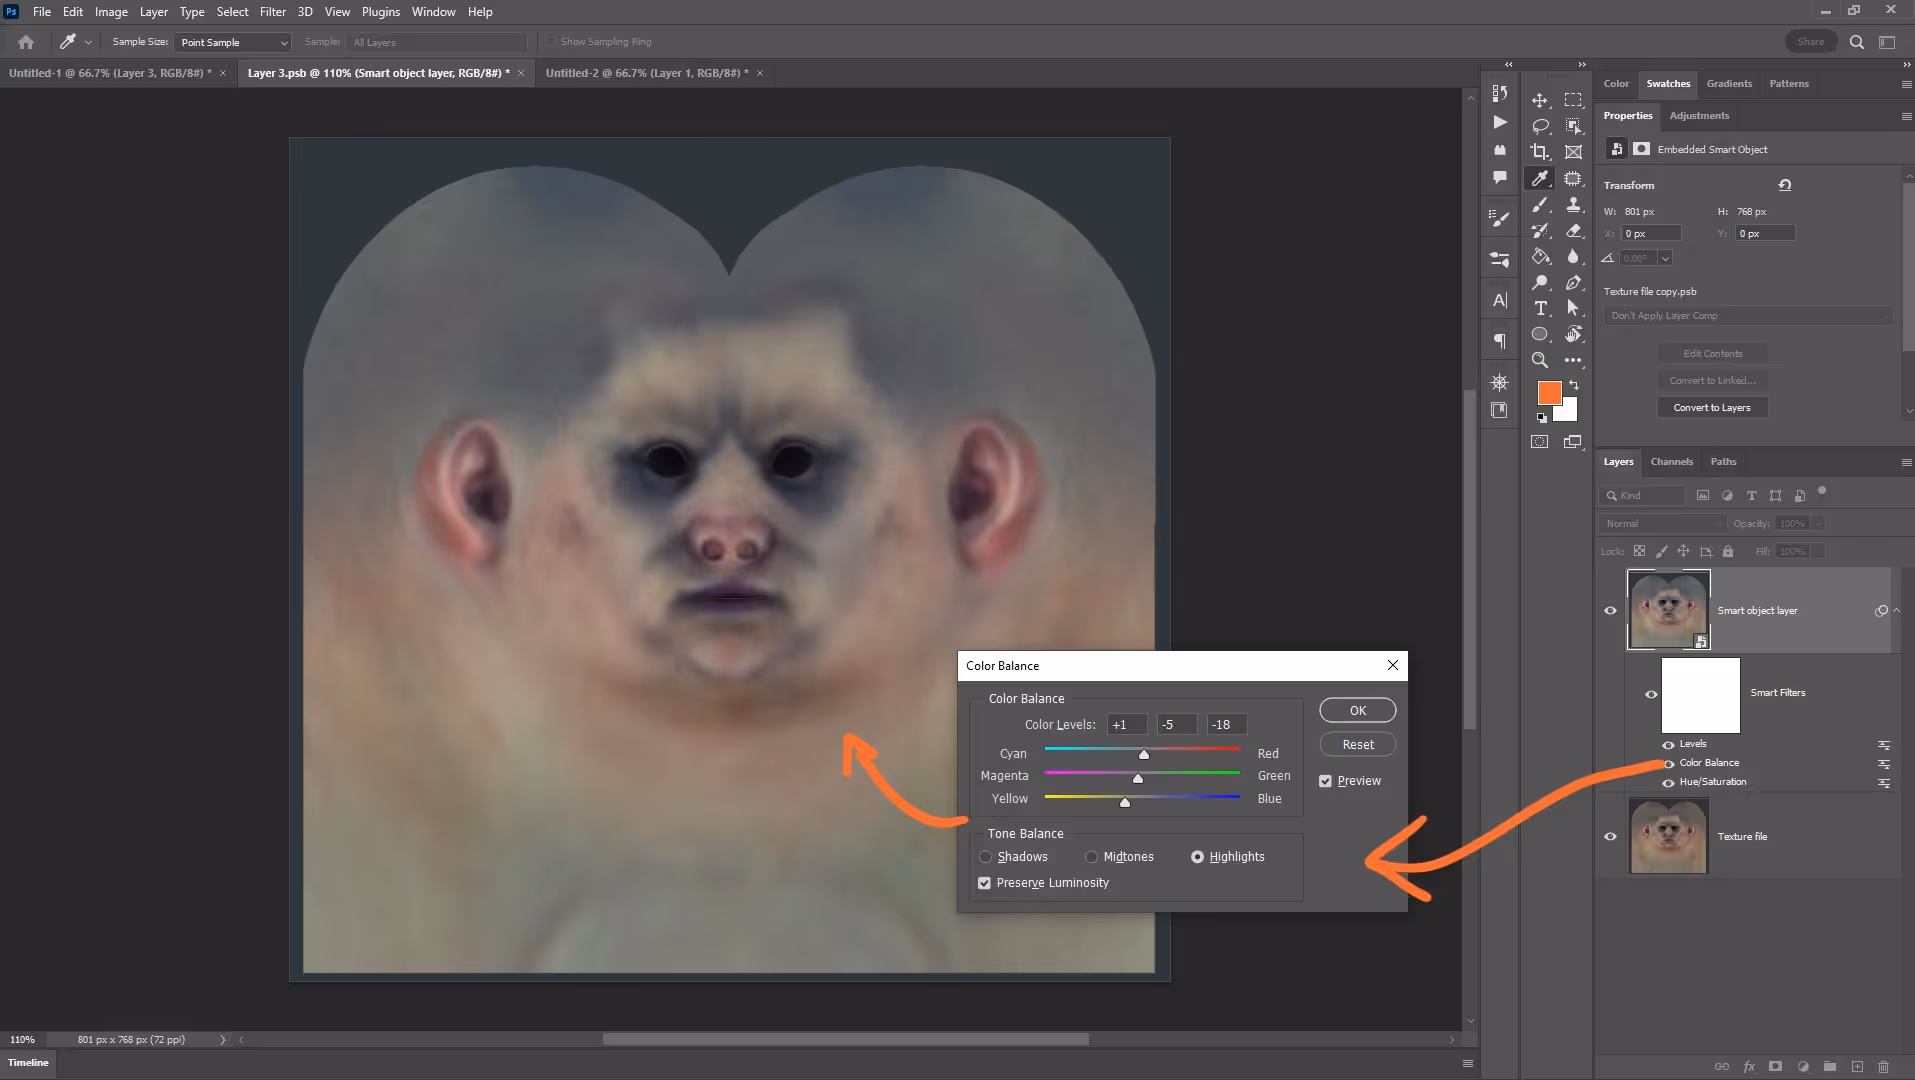
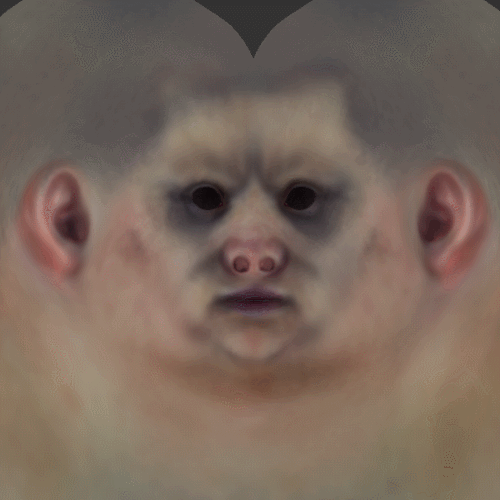
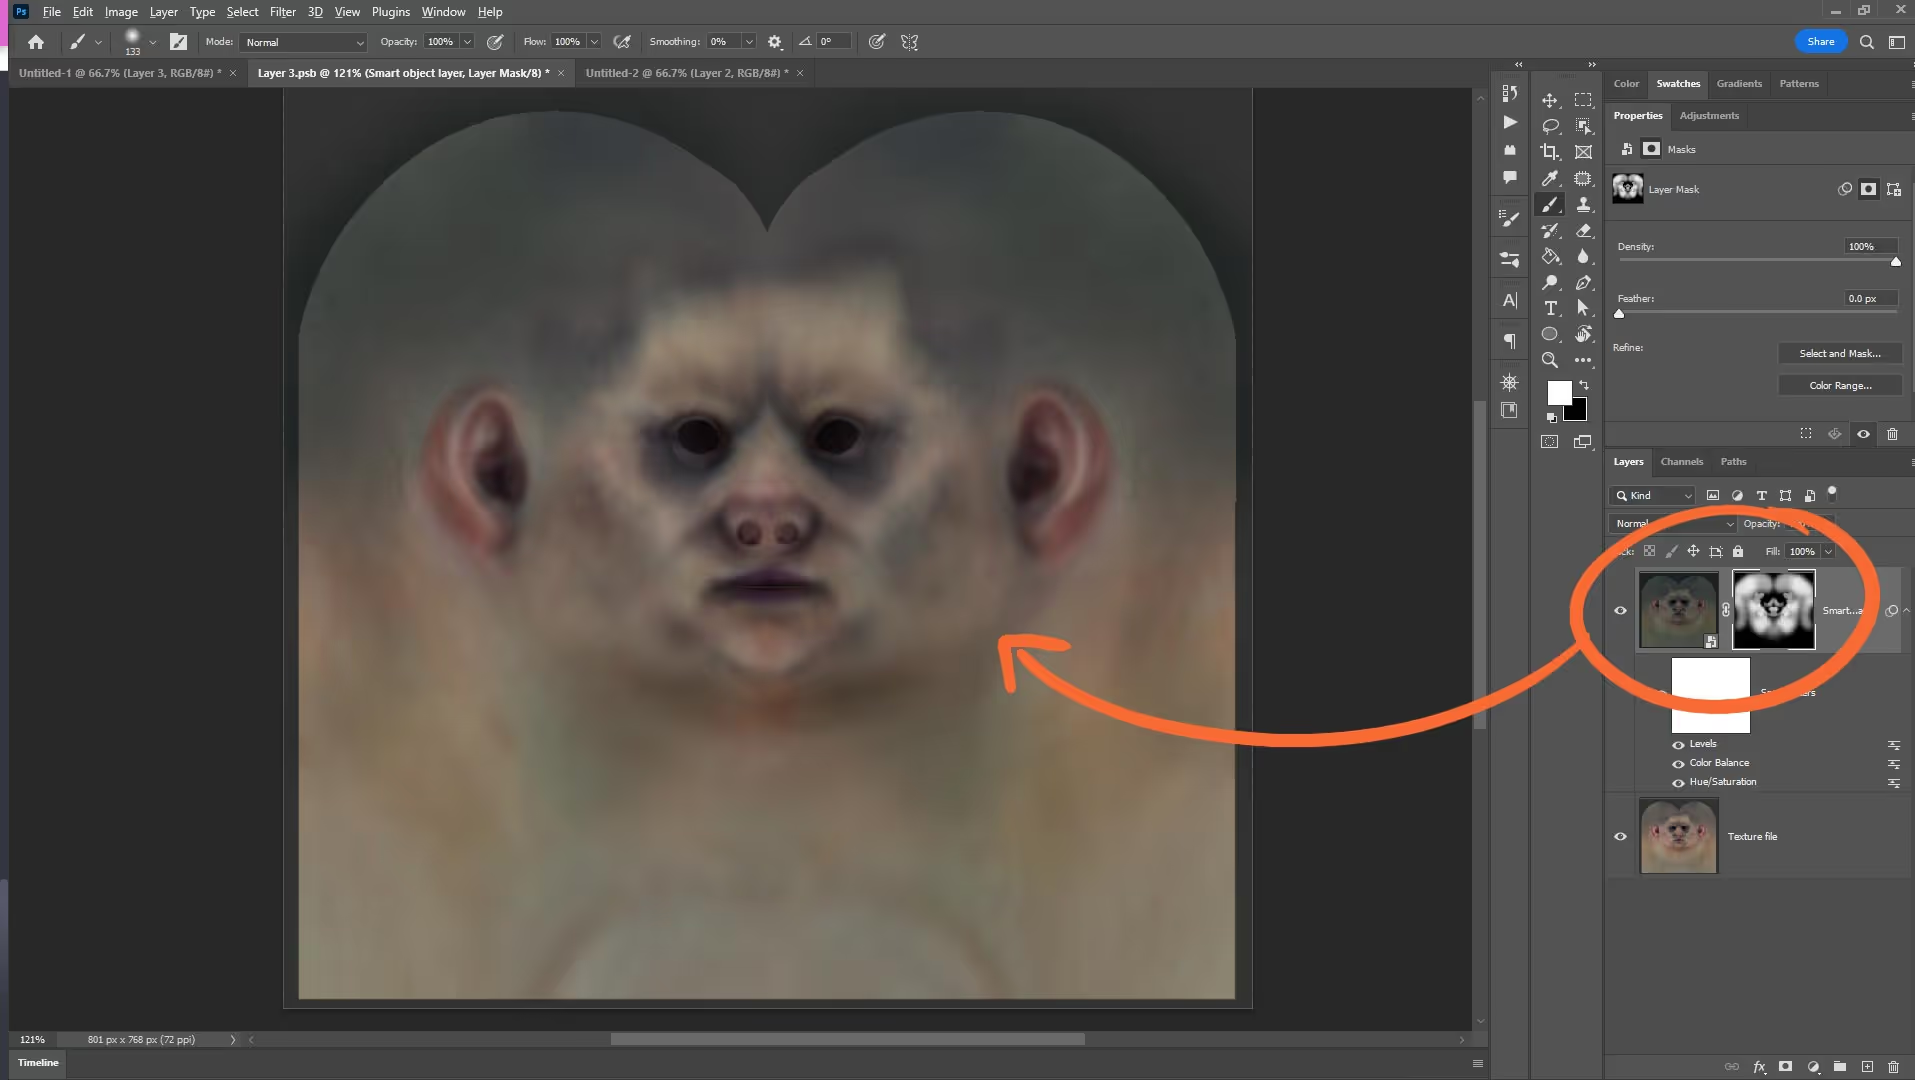
After some tweaking of the texture colours, contrast and saturation, you can create a Black Mask for it to hide it completely and then use a custom brush to paint with white colour over the mask to reveal the tweaked colours:

‍‍

As you can see it is a pretty simple thing to do and like the technique in ZBrush with the History Recall Brush, is also a very effective way to add complexity to your texture work!

AFFILIATE DISCLOSURE: This tutorial may contain affiliate links which means if you decide to make a purchase through a link, I may earn a small commission at no additional cost to you.
Related Resource

Get resource