

How to Easily Mirror Subdivided Objects in ZBrush Without Losing Detail
I’m recapping a handy tip from one of my recent videos about a hurdle many ZBrush users face: how to mirror objects that have subdivision levels without ending up with a total mess. If you’ve ever tried to mirror a subdivided mesh in ZBrush and got weird glitches or lost all your fine details, you’re not alone. It’s a common stumbling block, and the process isn’t as straightforward as it might seem but it’s simple if you understand what is going on in the background.
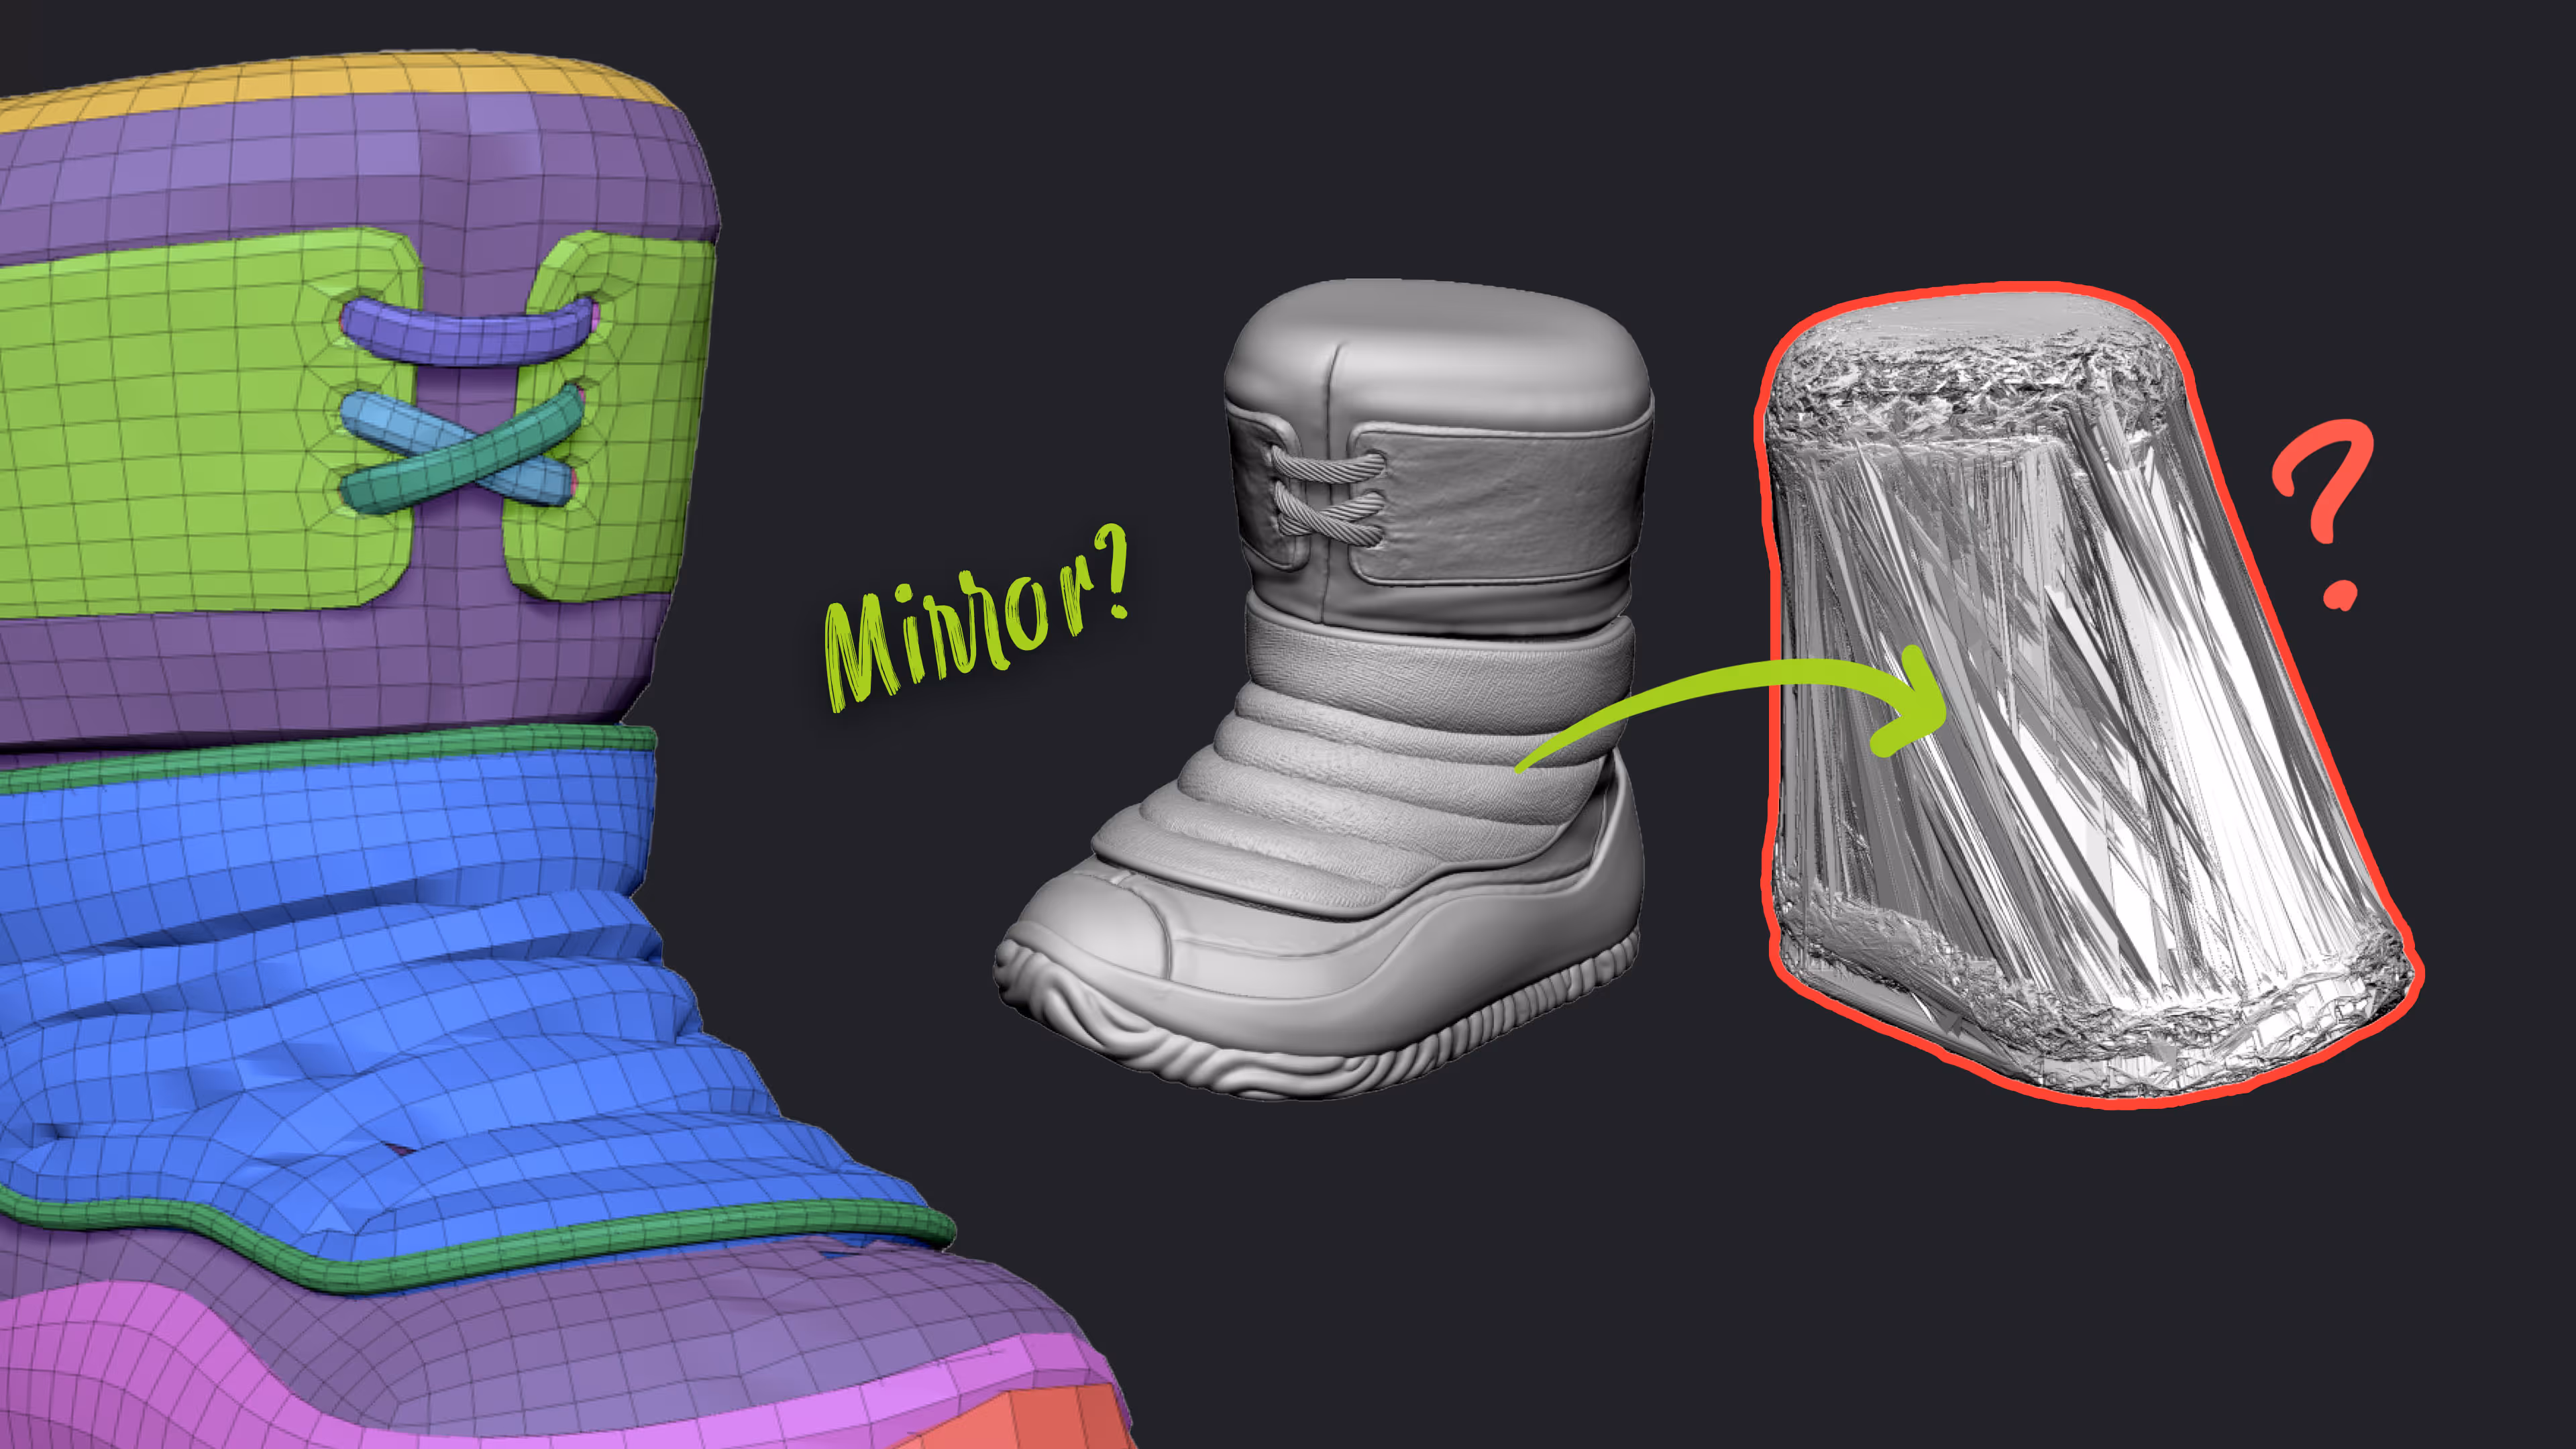
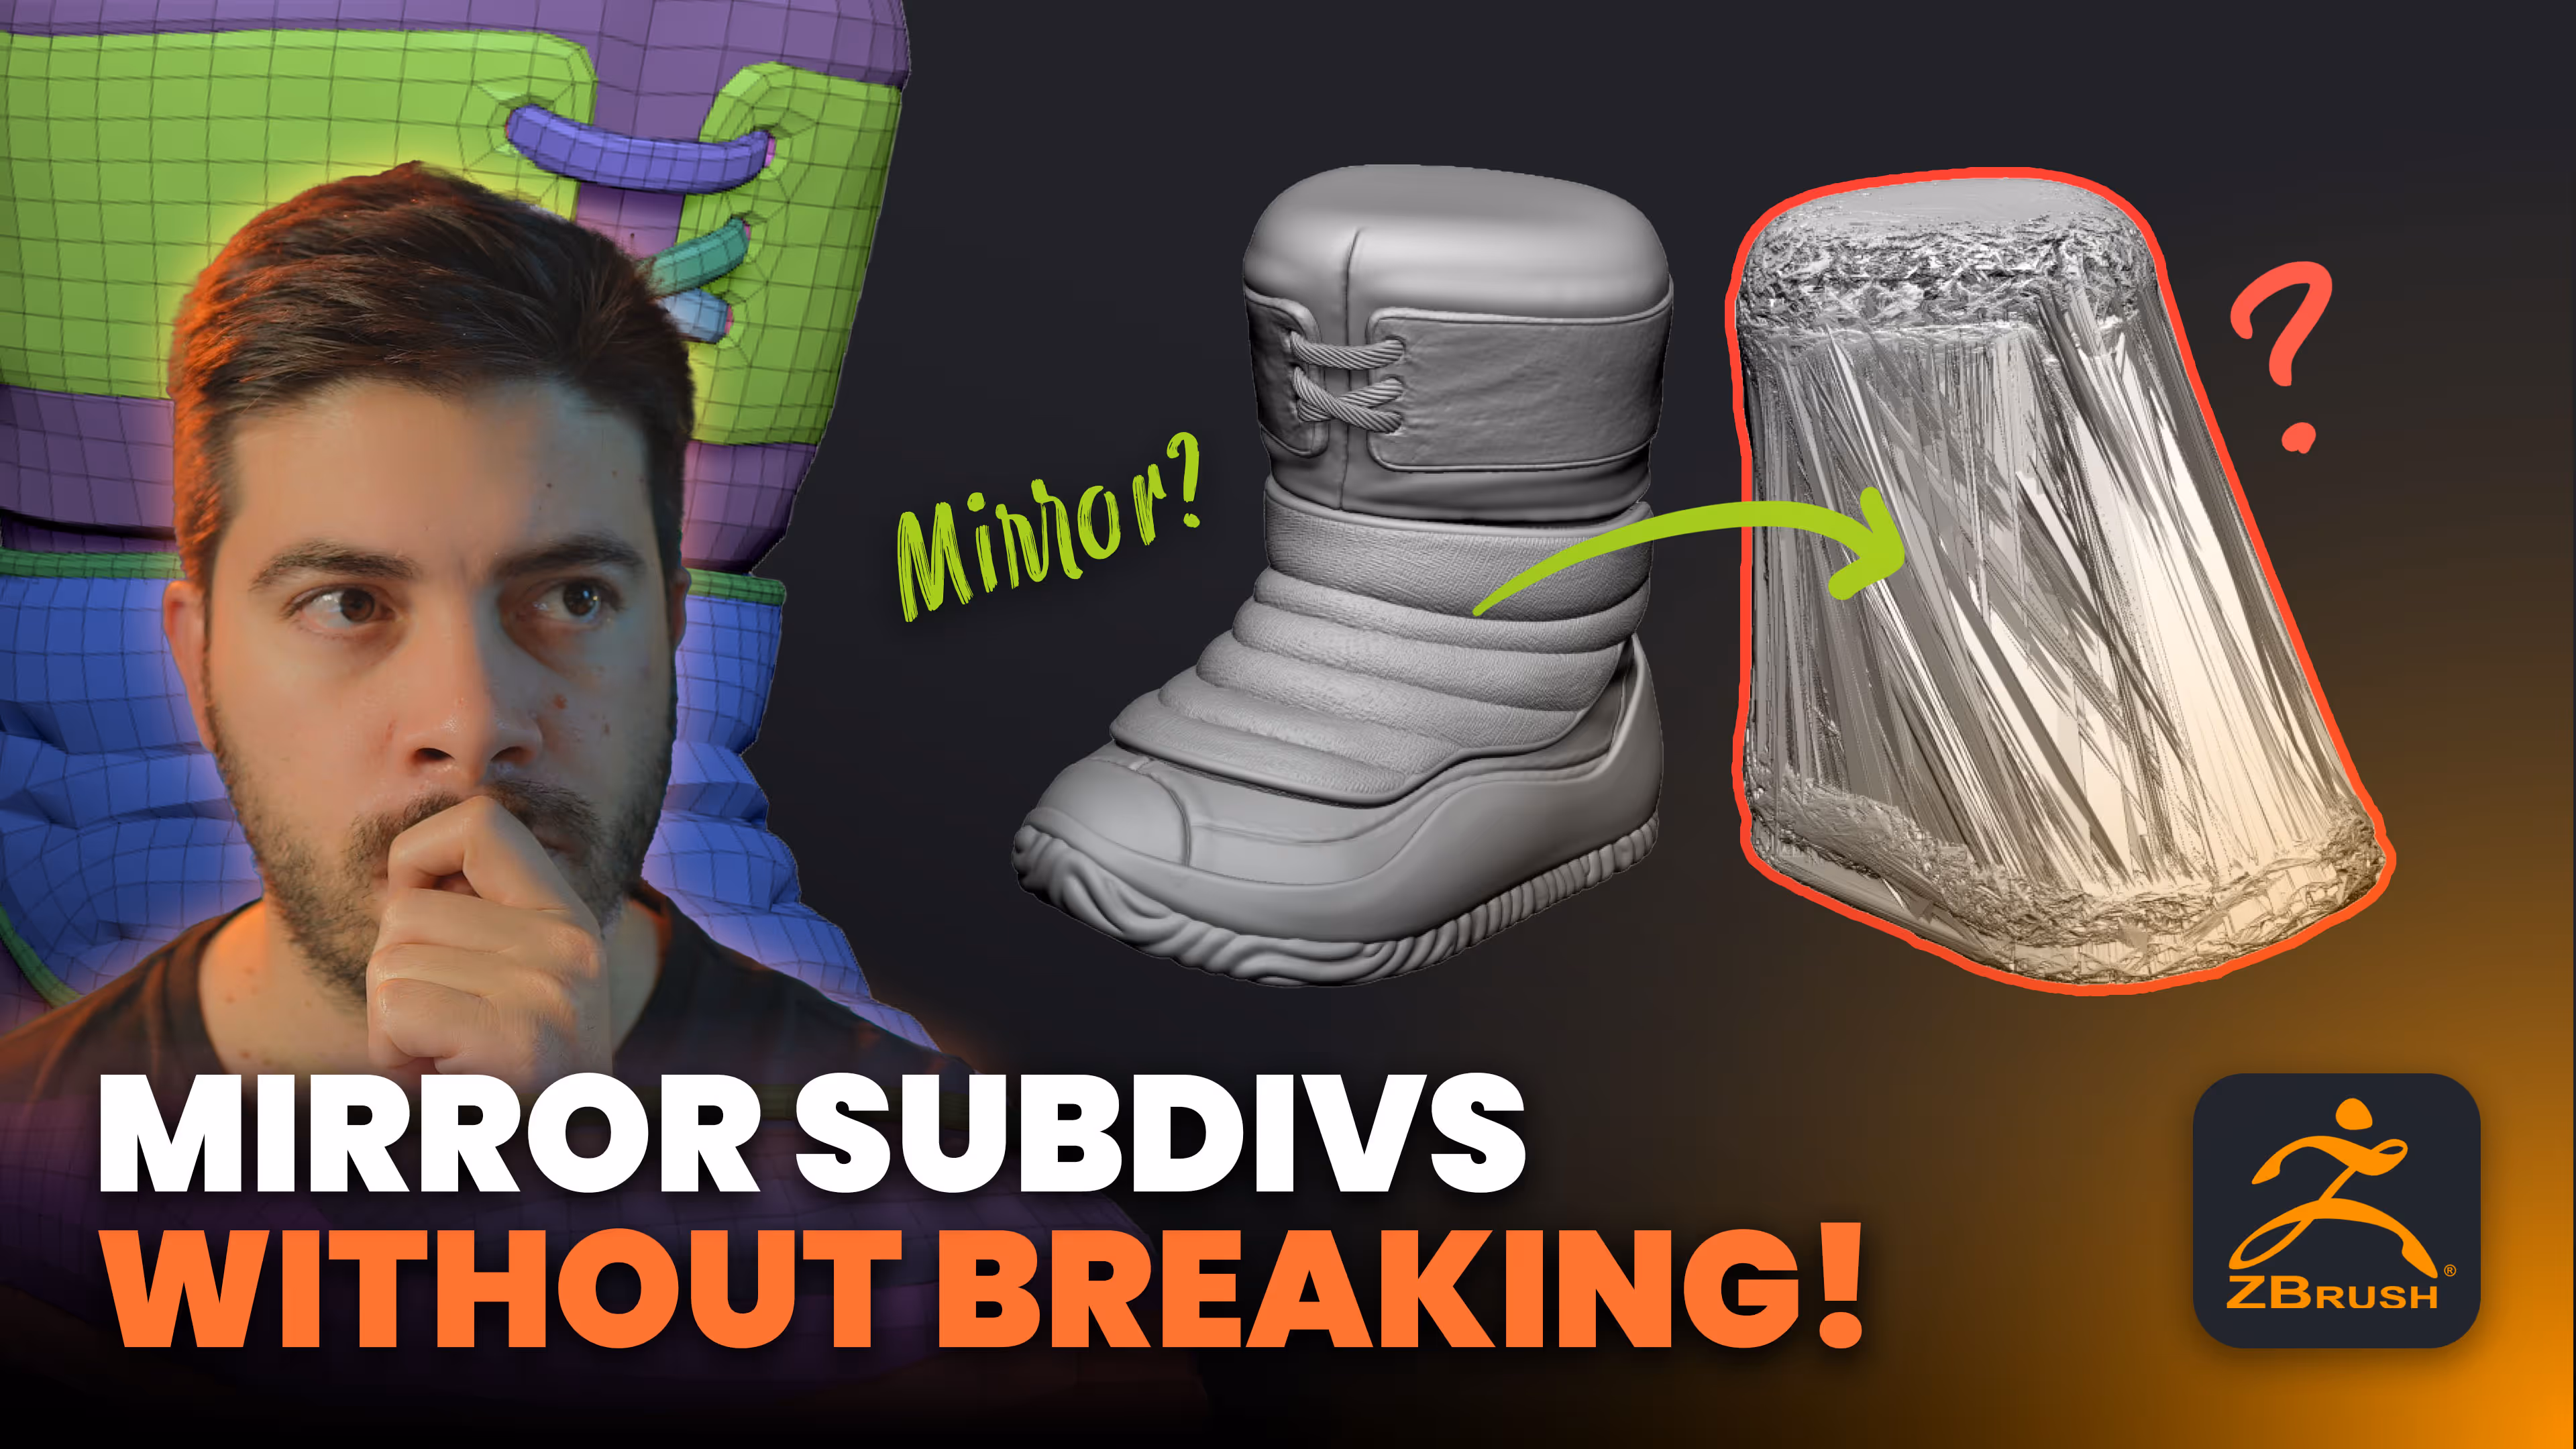
Why Mirroring Subdivided Objects in ZBrush Can Be Tricky
When you’re working in ZBrush, mirroring a simple mesh without subdivision levels is usually straightforward. But once you add subdivision level, which are crucial for adding high resolution details, things get complicated.
Here’s the basic issue: ZBrush’s standard Mirror and Weld function doesn’t work on meshes that have multiple subdivision levels. If you try, you’ll get an error message saying this operation can’t be applied to a mesh with subdivision levels. So what do you do?
.avif)
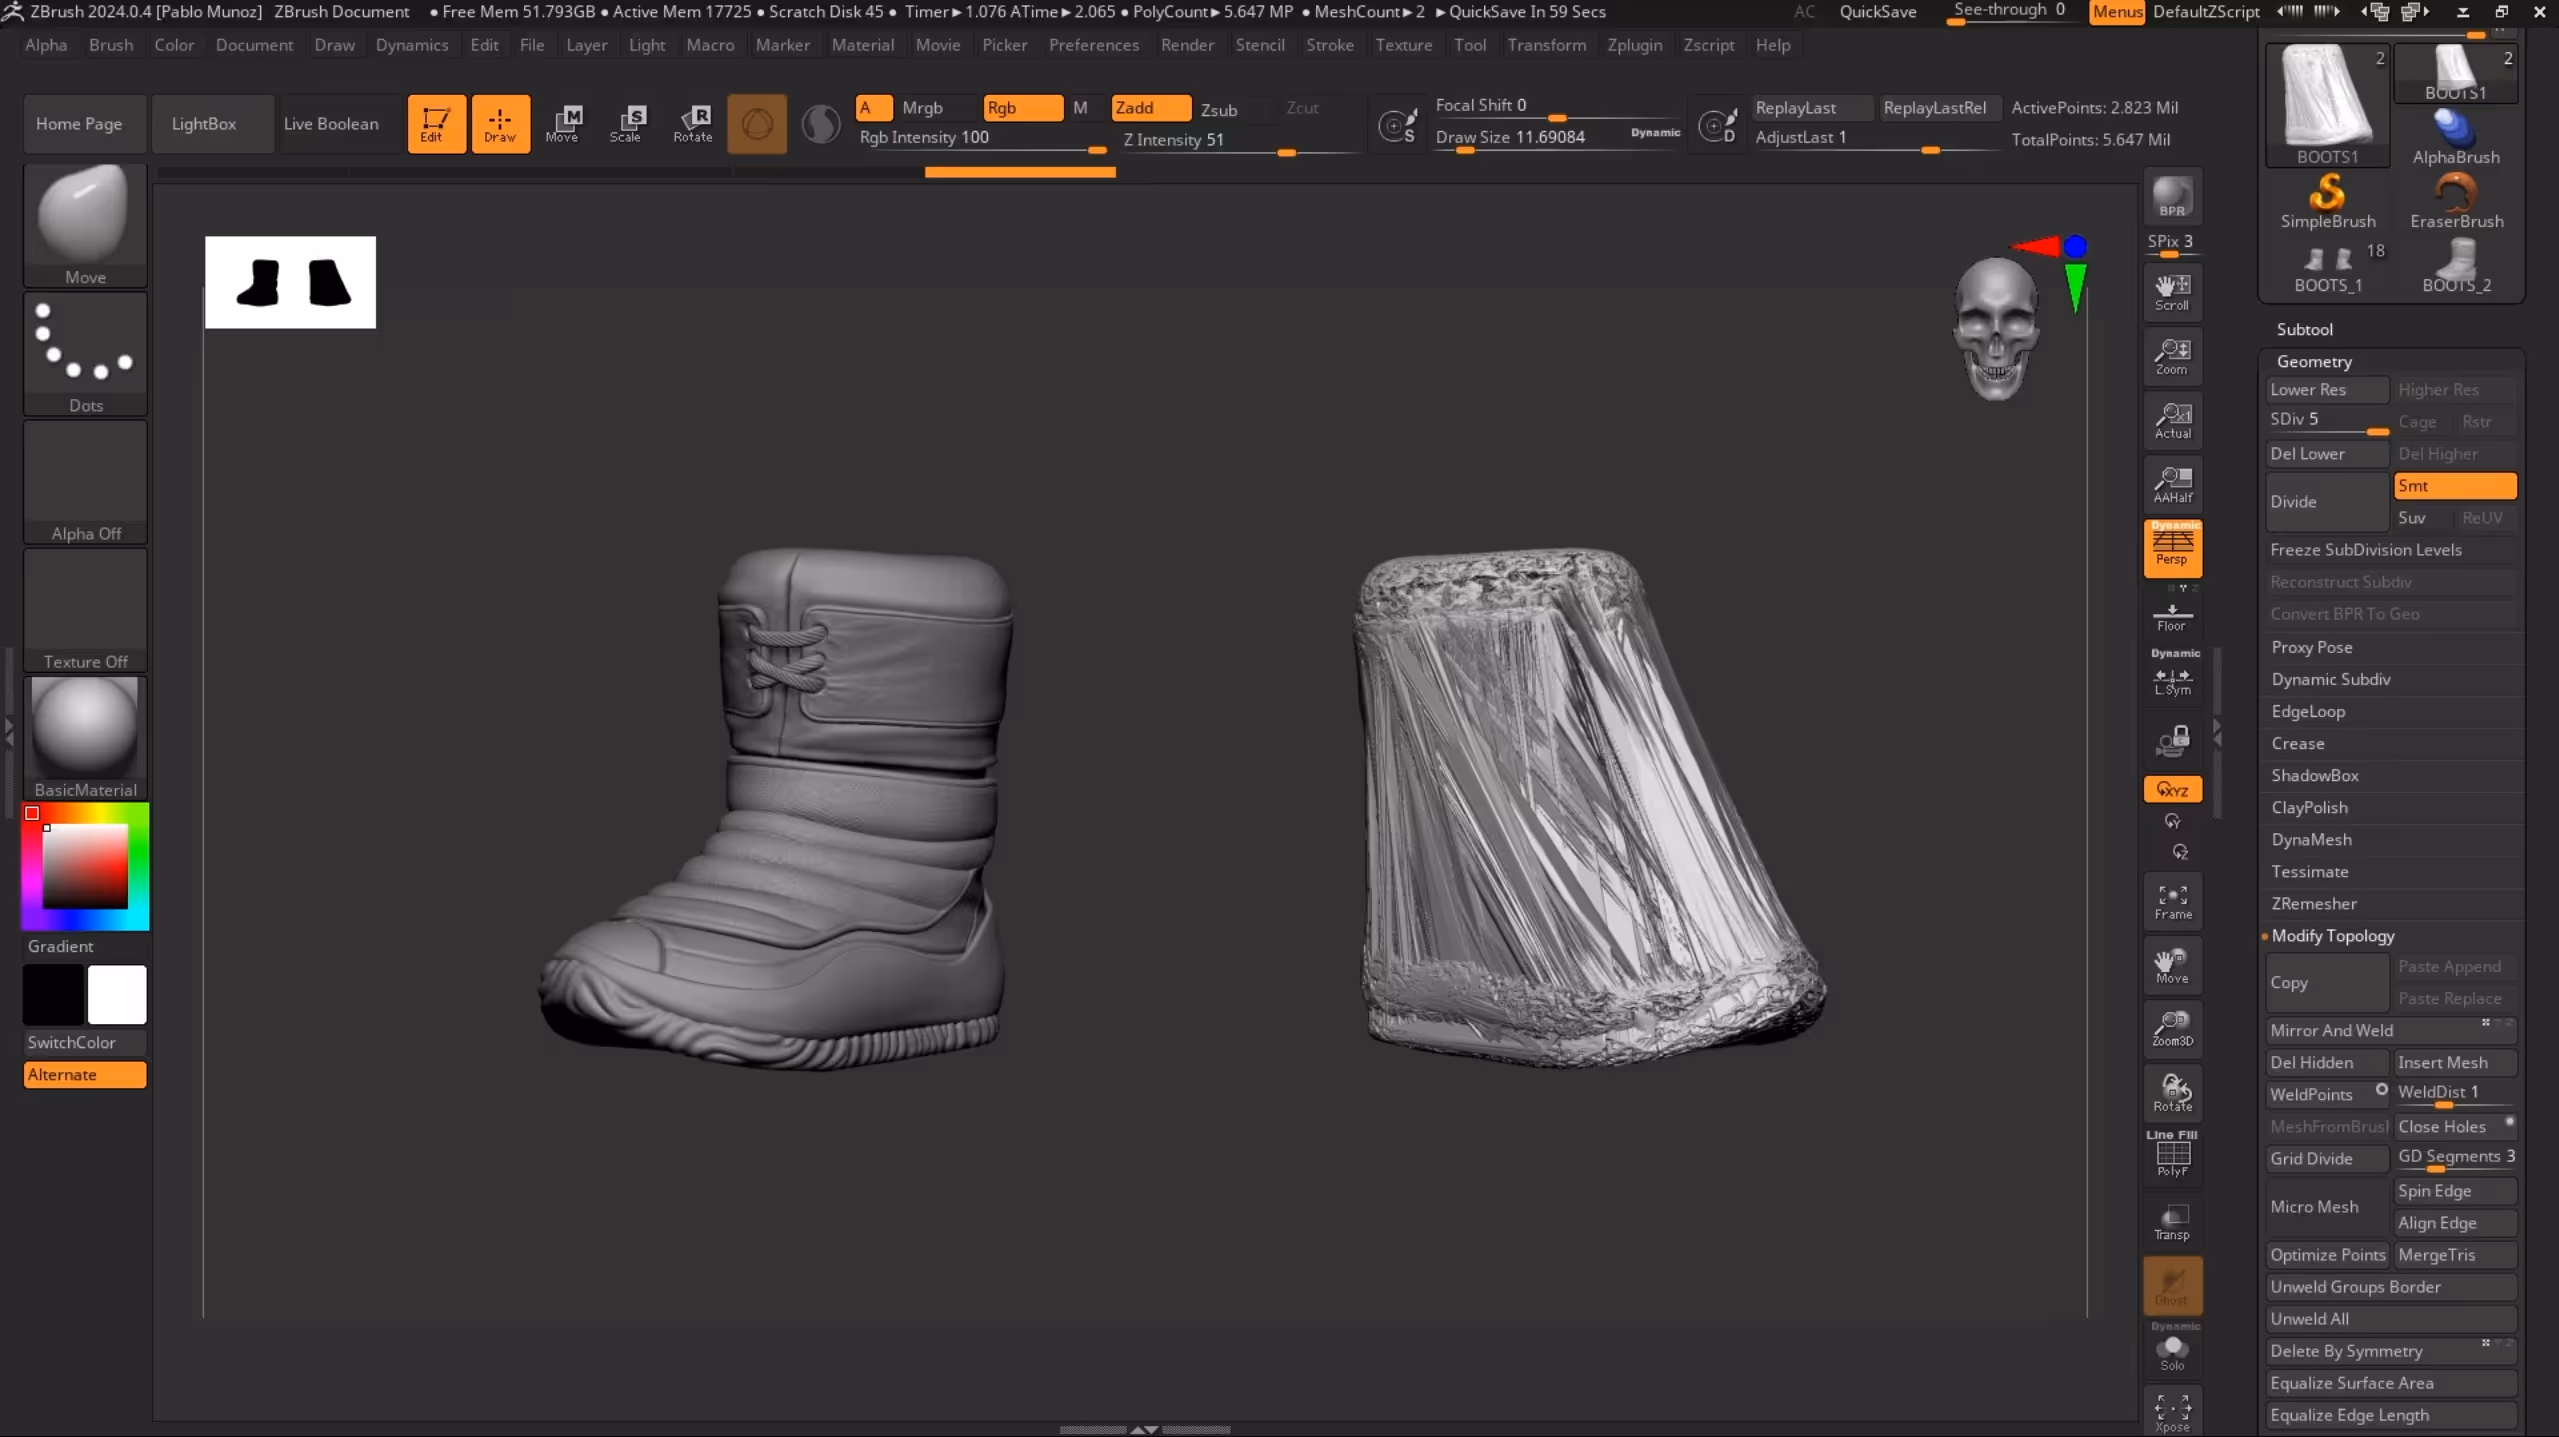
You might try to duplicate the subtool, freeze the subdivision levels, mirror it and reconstruct the subdivision levels expecting this to work. Unfortunately, this method causes ZBrush to flip the normals and not map the details correctly, resulting in a chaotic mess where your fine sculpted details get distorted. Something like the example below:
This is frustrating, especially if you’ve spent hours sculpting details on one side and want a clean mirrored version on the other.
The Intuitive but Failing Attempts
Let’s look at what often happens when you try to mirror subdivided objects the “intuitive” way:
- Mirror and Weld from the Geometry Palette: This tries to flip and weld the mesh but throws an error if subdivision levels exist.
- Duplicating the Subtool and Using Deformation’s Mirror: This mirrors the mesh but the same issues persists, the object can’t be mirrored as it has subdivision levels .
- Freezing Subdivision Levels: Using the Freeze Subdivision Levels option in Geometry temporarily removes subdivisions so you can mirror, but when you unfreeze, the details come back all broken and distorted.
All these methods either don’t allow you to mirror the subtool or don’t preserve your hard-earned details, and that’s why many artists get stuck.
.avif)
The Simple, One-Click Solution: Using SubTool Master
Luckily, there’s a simple fix that comes with ZBrush out of the box — the SubTool Master plugin. This handy tool has a mirror function that handles subdivided meshes correctly.
Here’s how to use it:
- Open the ZPlugin palette and find SubTool Master.
- Click the Mirror button.
- You’ll see an option to either duplicate and merge or duplicate and append as a new subtool. Choose the one that fits your workflow (I usually go for duplicating and appending).
- Click OK, and ZBrush will create a mirrored copy of your object with all the subdivision levels intact.
This is a one-click operation and works great most of the time. It preserves your topology, your subdivision levels, and all your sculpted details on the mirrored mesh.
What to Do If SubTool Master Doesn’t Give Perfect Results
Sometimes, even SubTool Master can be a bit fiddly. You might notice missing details or subdivision levels not coming through perfectly. In those cases, it helps to understand the manual process behind the scenes, so you can fix or customize the workflow.
The Manual Process for Mirroring Subdivided Objects
If you want to take control, here’s the step-by-step manual way to mirror subdivided objects without losing details:
- Duplicate your subtool: Always work on a copy to avoid losing your original.
- Delete lower subdivision levels: Go to the Geometry palette and click Delete Lower. This leaves you with only the highest subdivision level, which contains all the details.
- Mirror the mesh: Use the Deformation palette’s Mirror button to flip the mesh along the desired axis.
- Reconstruct subdivision levels: Go back to the Geometry palette and click Reconstruct Subdiv repeatedly to rebuild lower subdivision levels. This restores the subdivision hierarchy without losing details.
.avif)
Following this process, you end up with a perfectly mirrored mesh that retains all the sculpted details and has subdivision levels rebuilt, ready for further work.
Creating a Custom Macro for One-Click Mirroring
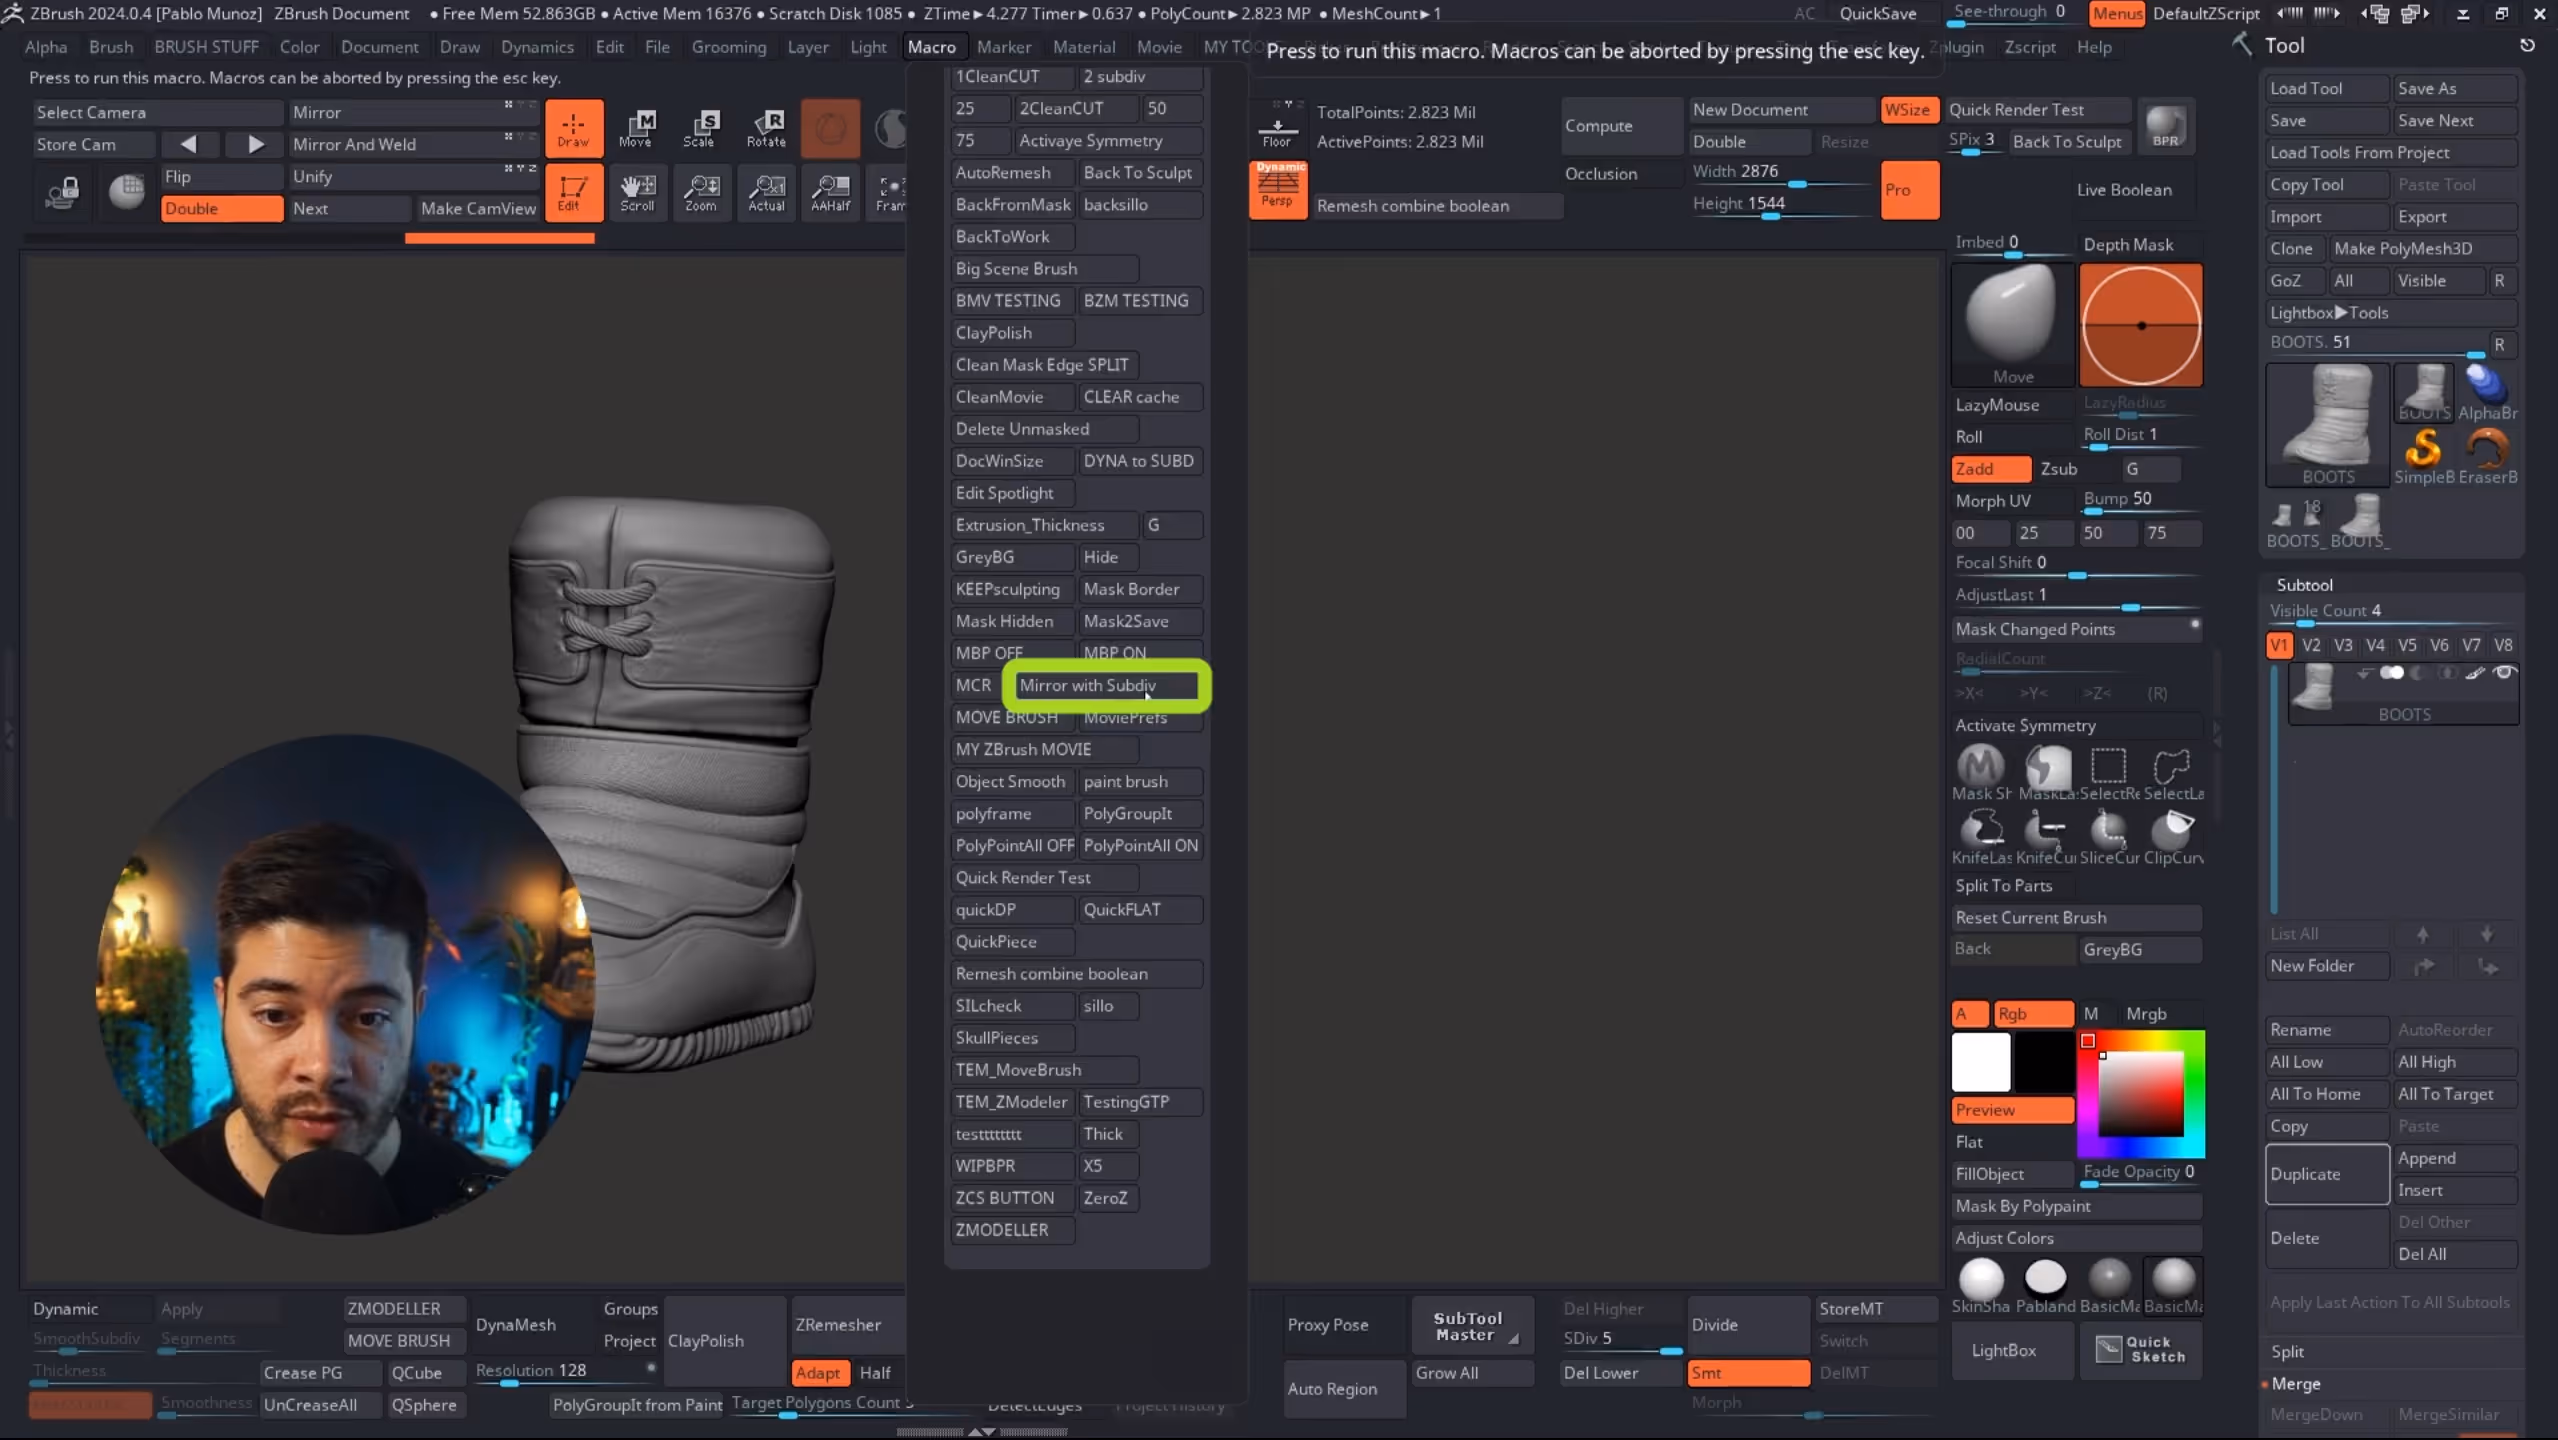
Now here’s where things get really cool. Once you understand the manual process, you can automate it with a macro. Basically recording all these steps into a single button you can click anytime.
Here’s why this is awesome:
- Speed: Instead of manually deleting subdivisions, mirroring, and reconstructing every time, one button does it all.
- Consistency: The macro does exactly the same thing every time, reducing errors.
- Customization: You can tweak the macro to fit your exact workflow.
In my custom UI, I have a button called Mirror with Subdiv that duplicates the selected subtool, deletes the lower subdivisions, mirrors the highest subdivision, and then reconstructs the subdivision levels - all in one click.
This saves me tons of time and keeps my workflow smooth.
Tips for Customizing Your ZBrush UI for Better Workflow
Speaking of custom UI, having a tailored interface in ZBrush can seriously boost your productivity. I organize mine with the tools I use most, including my mirror macro, so everything I need is just a click away.
Here’s a quick rundown on customizing your UI:
- Go to Preferences > Config and enable Customize.
- Hold Ctrl + Alt and click-drag any button or palette into your custom UI.
- Once you’re happy, go back to Preferences > Config and hit Store Config to save your layout.
This way, you can add your mirror macro button that you created or any other frequently used tool, like SubTool Master’s mirror, for quick access. Having your most used tools at your fingertips makes a big difference.
Why Understanding These Processes Matters
It might seem like a small thing. Just mirroring a mesh but knowing what’s going on behind the scenes in ZBrush helps you avoid headaches and unlocks new possibilities.
Whether you use the SubTool Master plugin, do the manual method, or create your own macros, understanding the subdivision system and how mirroring affects the normals and details of the subtool you are trying to mirror will give you more control over your work.
And if you’re also working with tools like Adobe Substance 3D Modeler for texturing or further refinement, having a clean, well-mirrored mesh from ZBrush makes the entire pipeline smoother and more predictable.
Summary: Mirror Subdivided Objects in ZBrush Without Losing Details
- The default Mirror and Weld tool won’t work on subdivided meshes.
- Duplicating, Freezing Subdivisions, Mirroring and Reconstructing Subdivision Levels directly causes detail and normal issues.
- SubTool Master plugin offers a simple one-click mirror that preserves subdivisions and details.
- If SubTool Master doesn’t work perfectly, use the manual method: delete lower subdivisions, mirror, then reconstruct subdivisions.
- Create a macro to automate the manual process and speed up your workflow.
- Customize your ZBrush UI to keep your mirror tools handy.
Hopefully, this guide helps you understand the process behind mirroring subdivided objects in ZBrush without losing your sculpting details. It’s a small trick that can really make a big difference in your 3D workflow.
If you want to level up even more, check out my other tutorials and UI customization tips to keep your creative flow smooth and fun.


.webp)

