
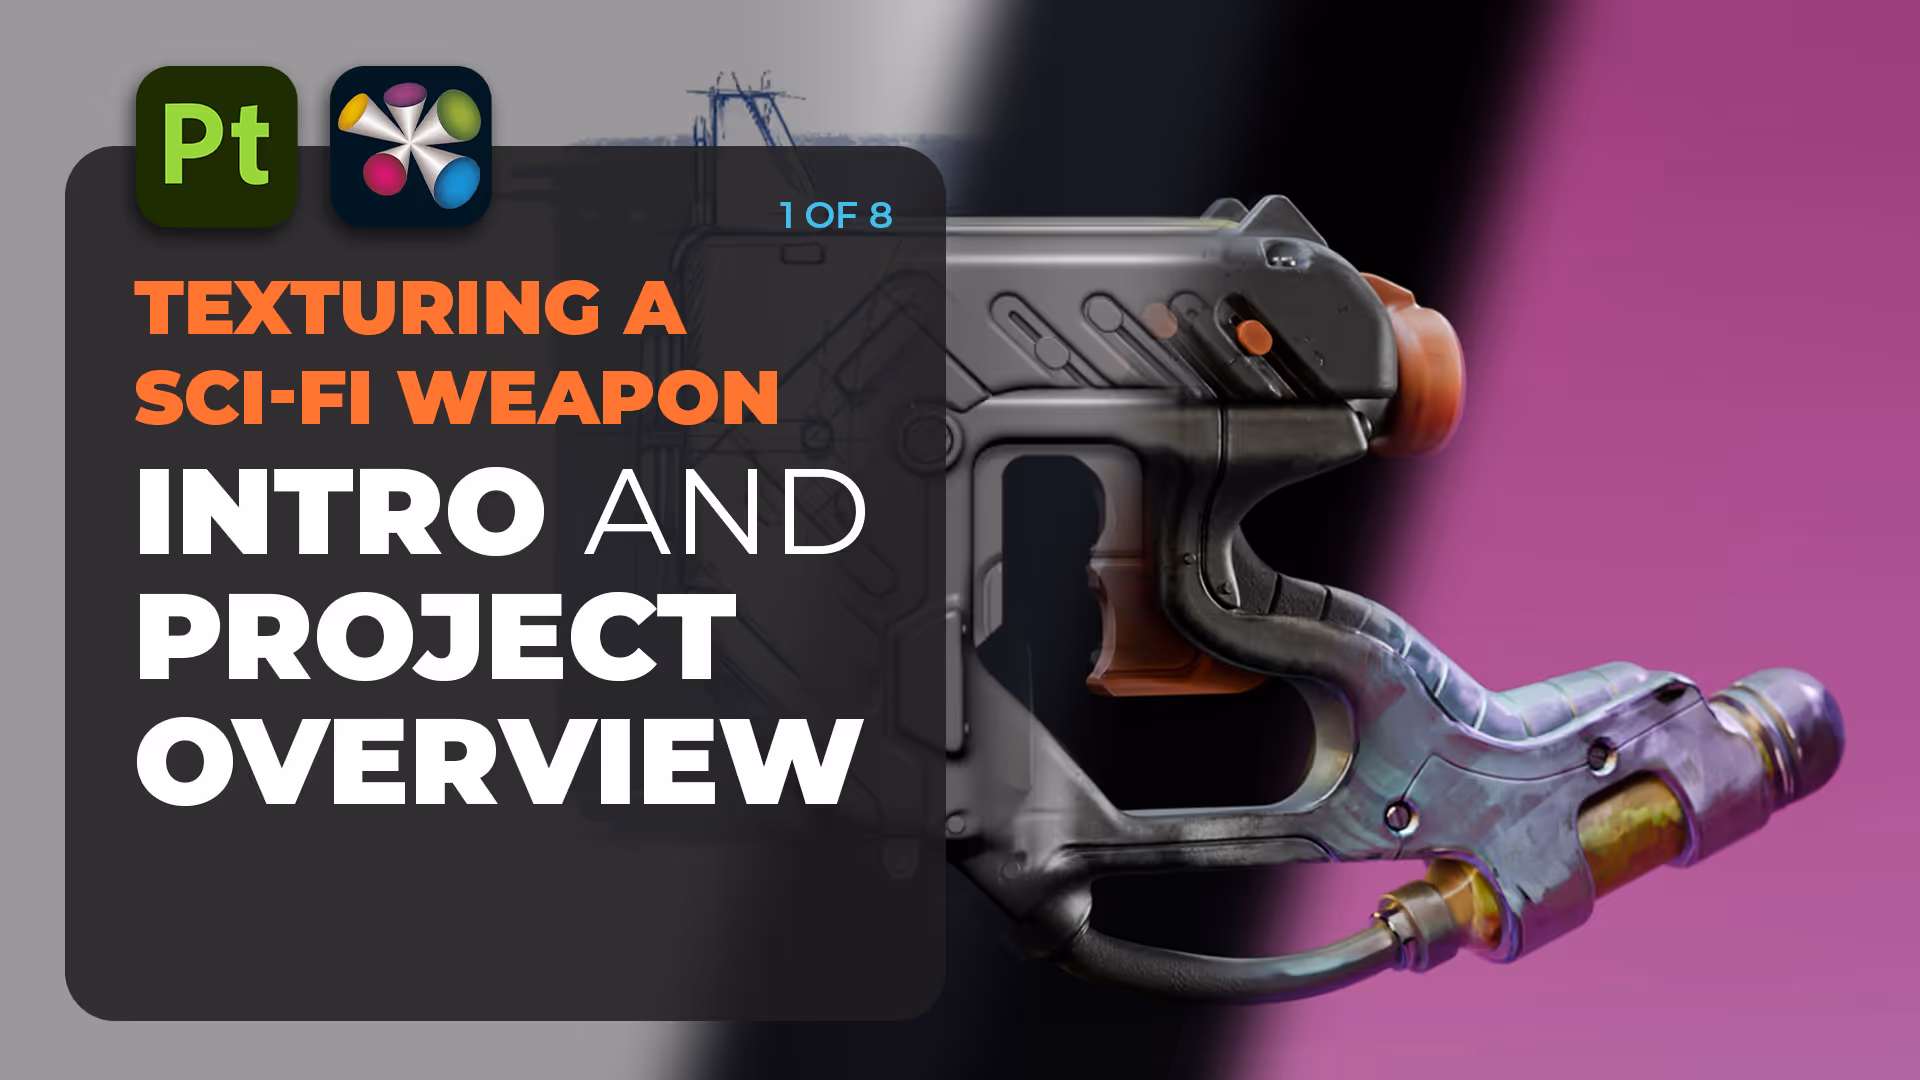

Texturing a Sci-fi Weapon: A Streamlined Workflow
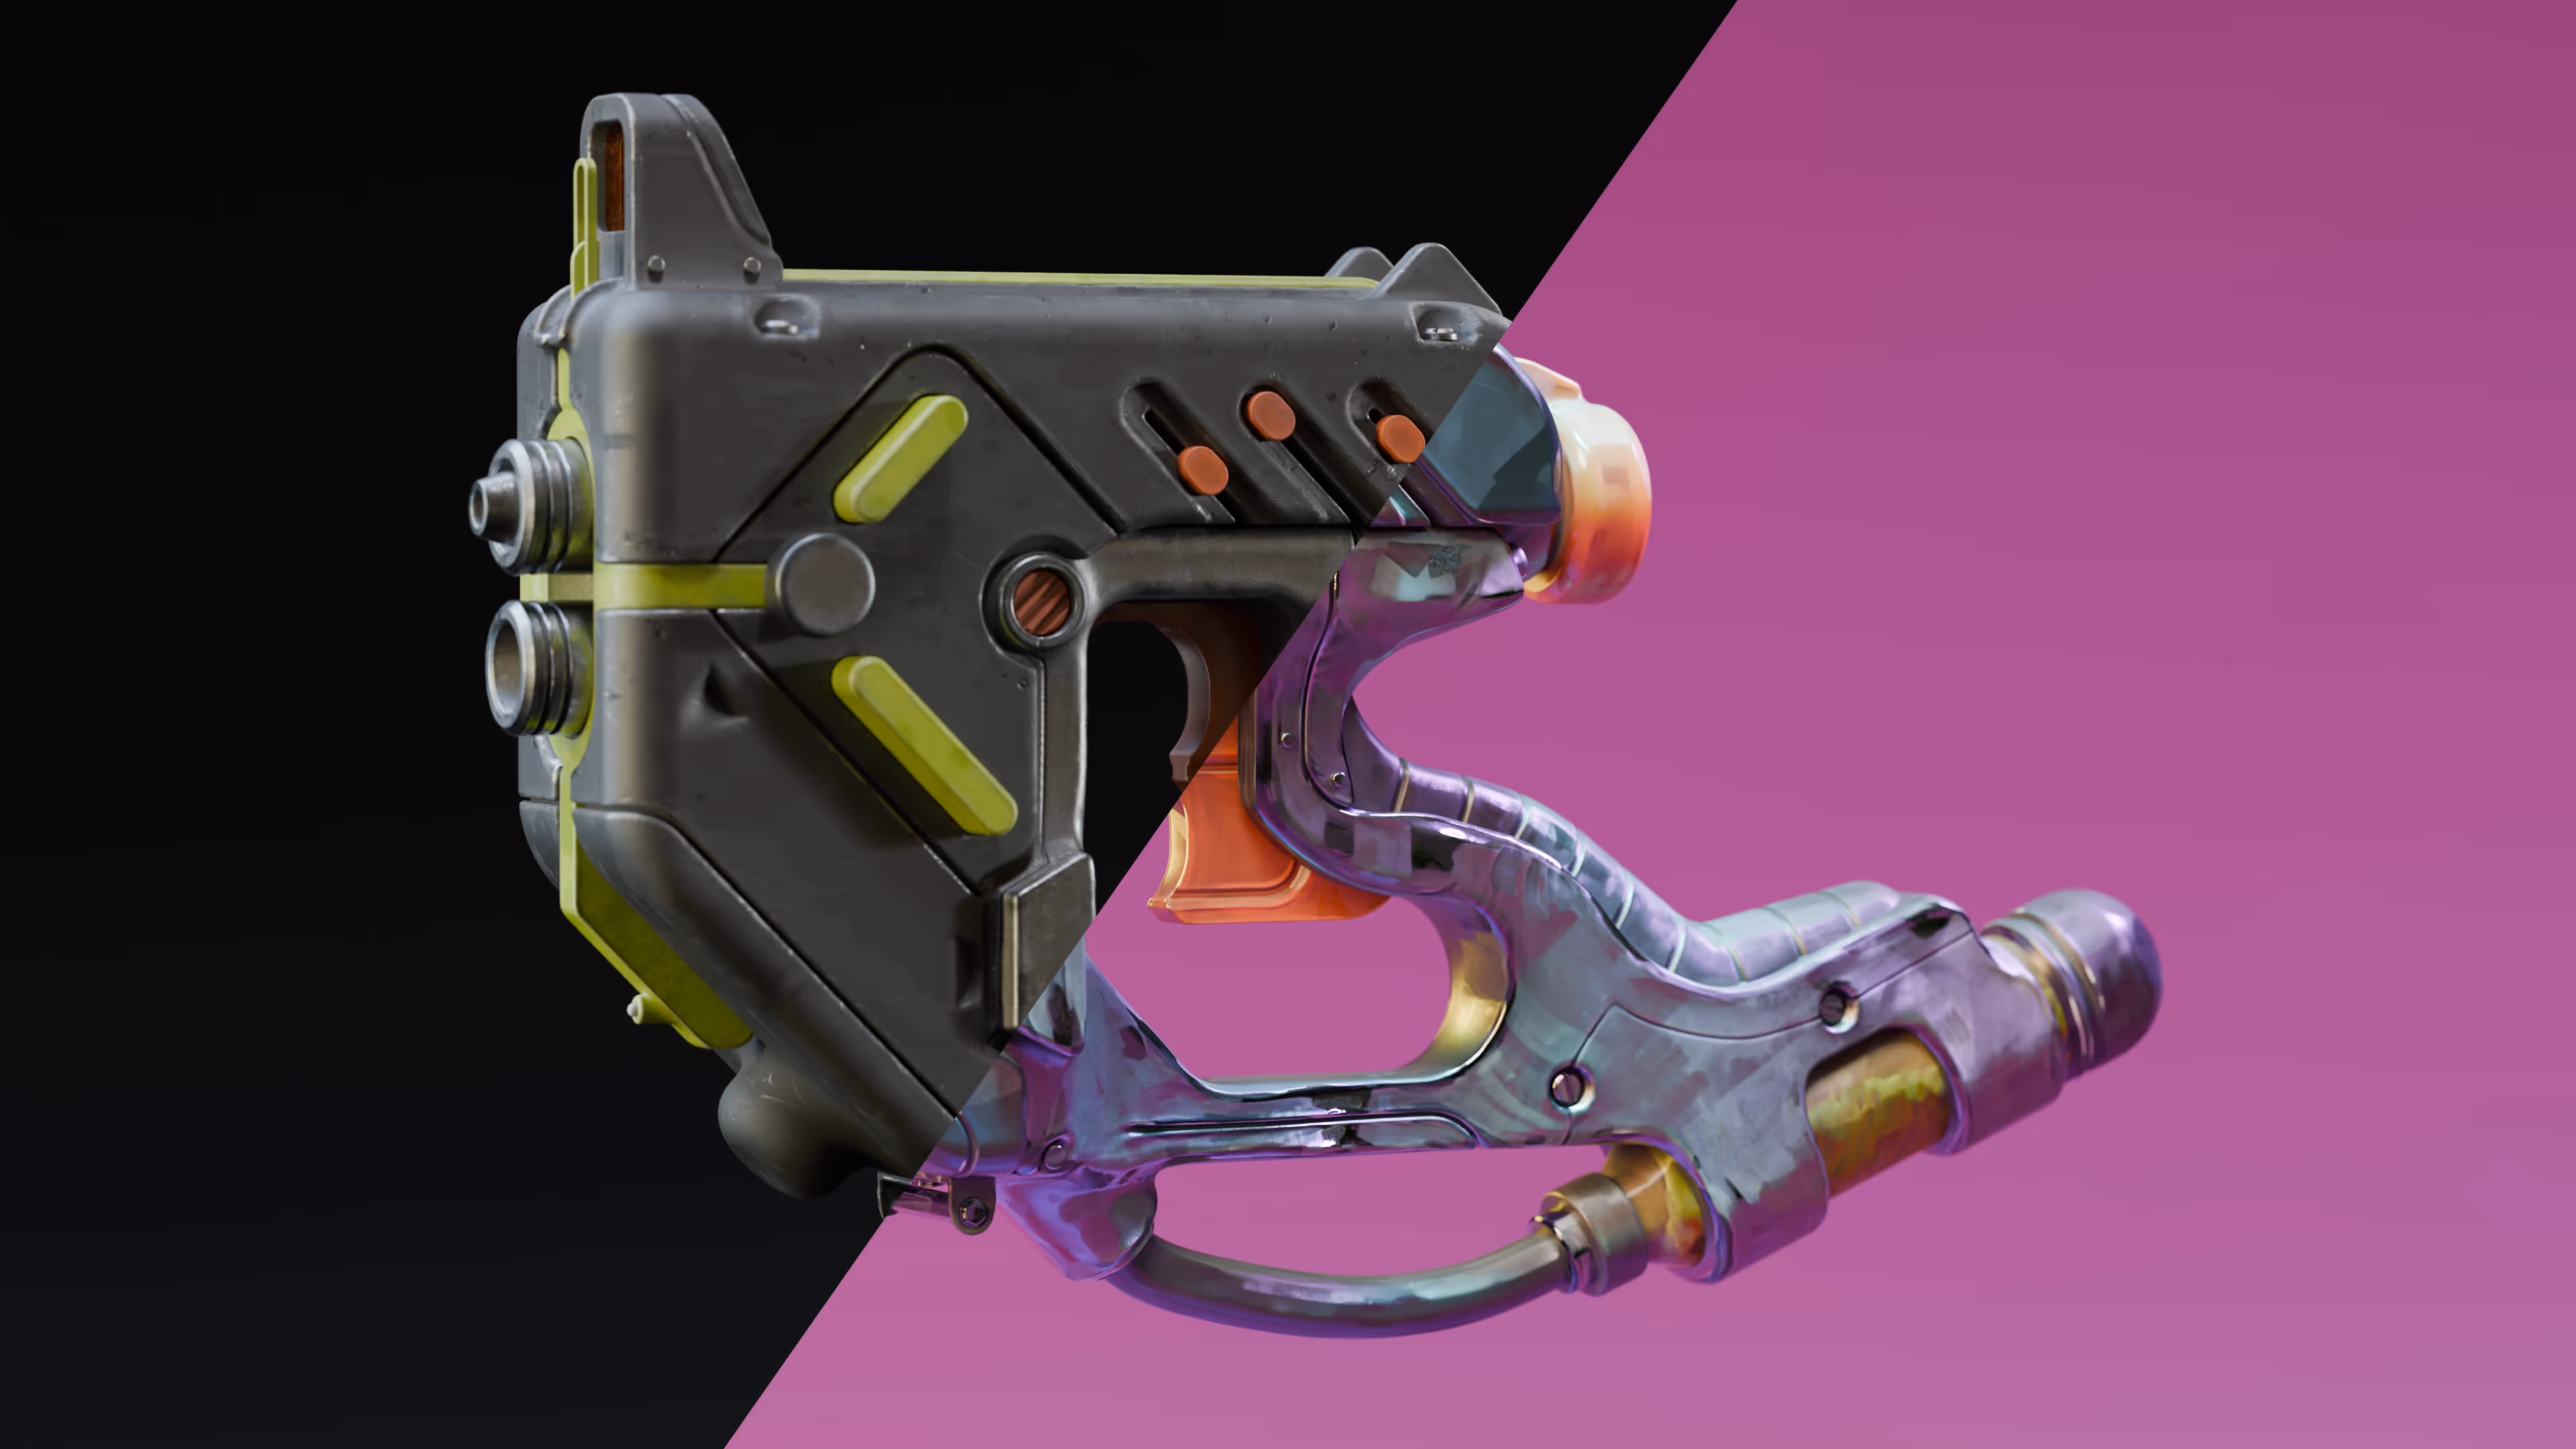
Welcome to a deep dive into the texturing and rendering process for a sci-fi weapon! In this breakdown, I’ll walk you through my approach to building a stylised blaster gun from concept to final render. The goal? Keep things efficient, organised, and repeatable, whether you're polishing up a portfolio piece or working on a game asset.
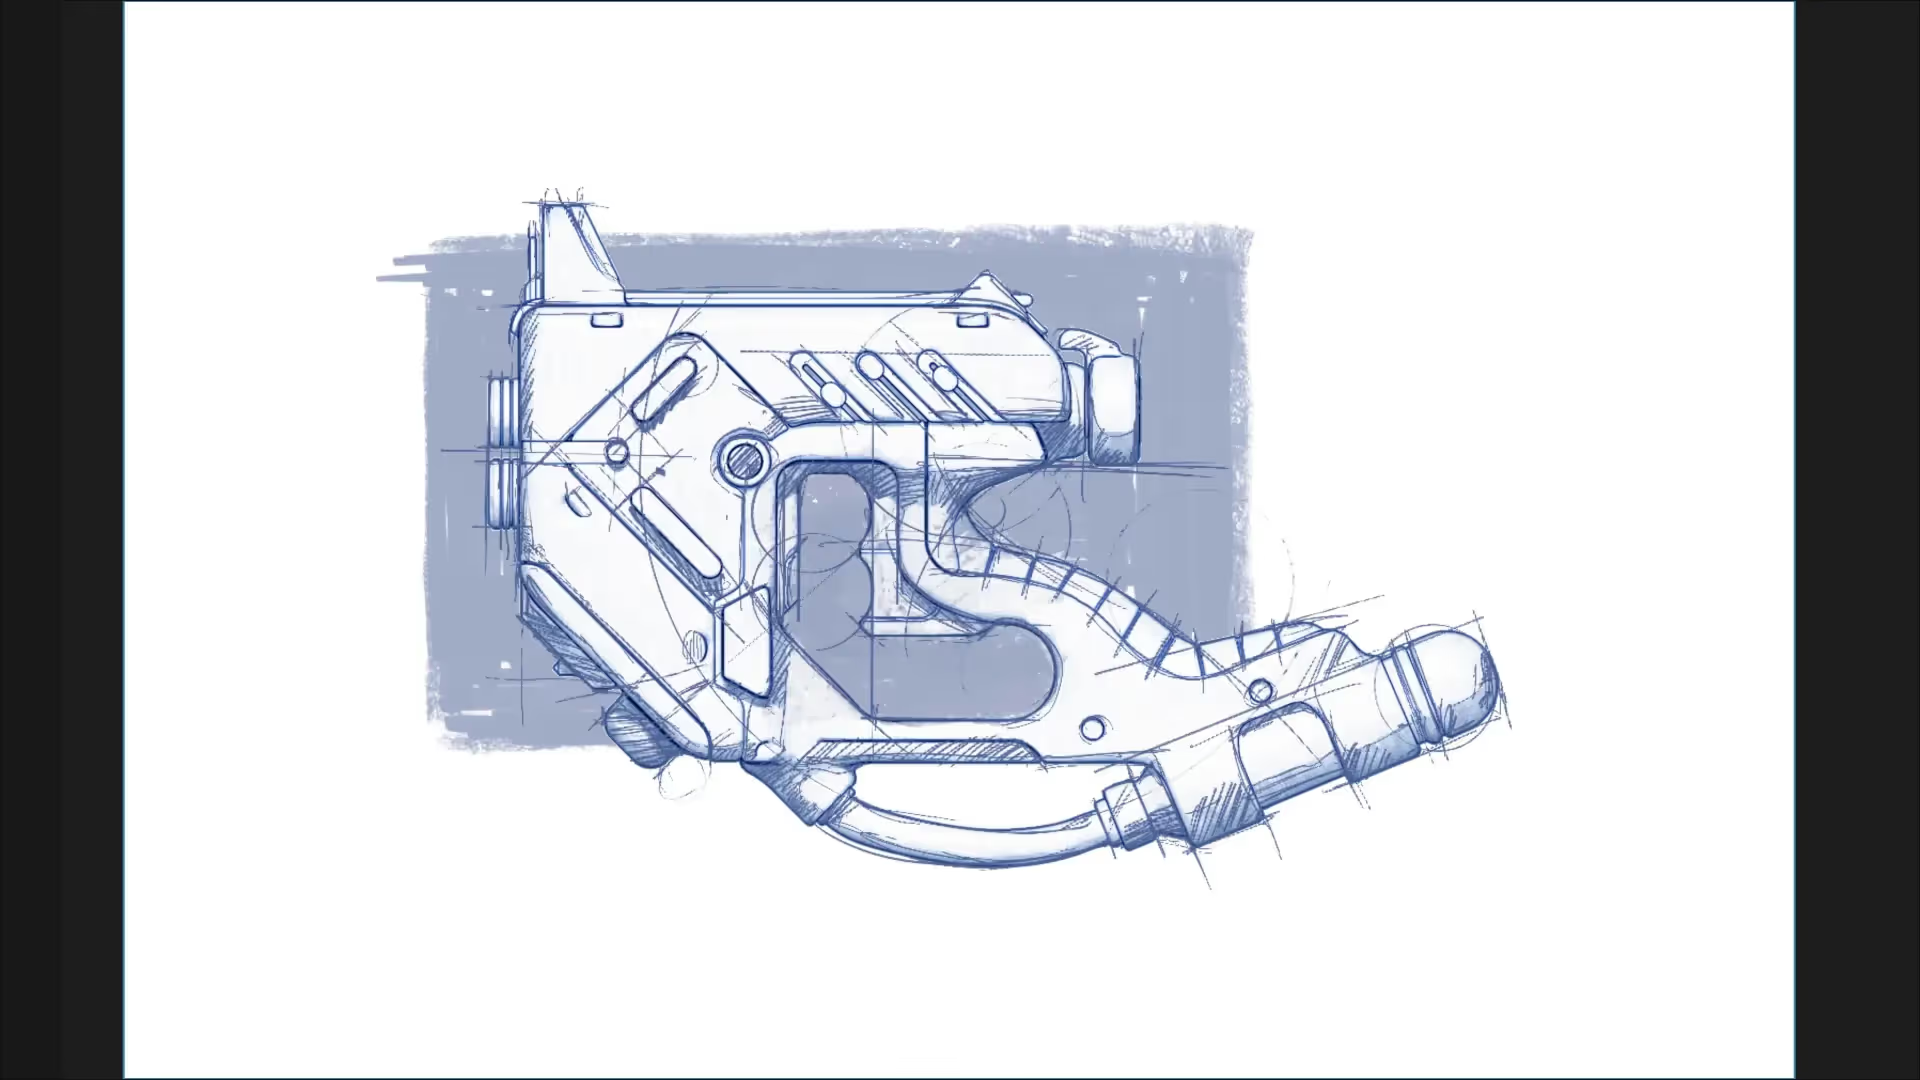
From Sketch to 3D Blockout
Everything starts with a rough concept sketch. Once I nail the overall shape and function of the design, I bring it into ZBrush to sculpt and block out the main forms. After that, it’s straight into UVs and texture baking using the exploded mesh method to avoid baking issues.
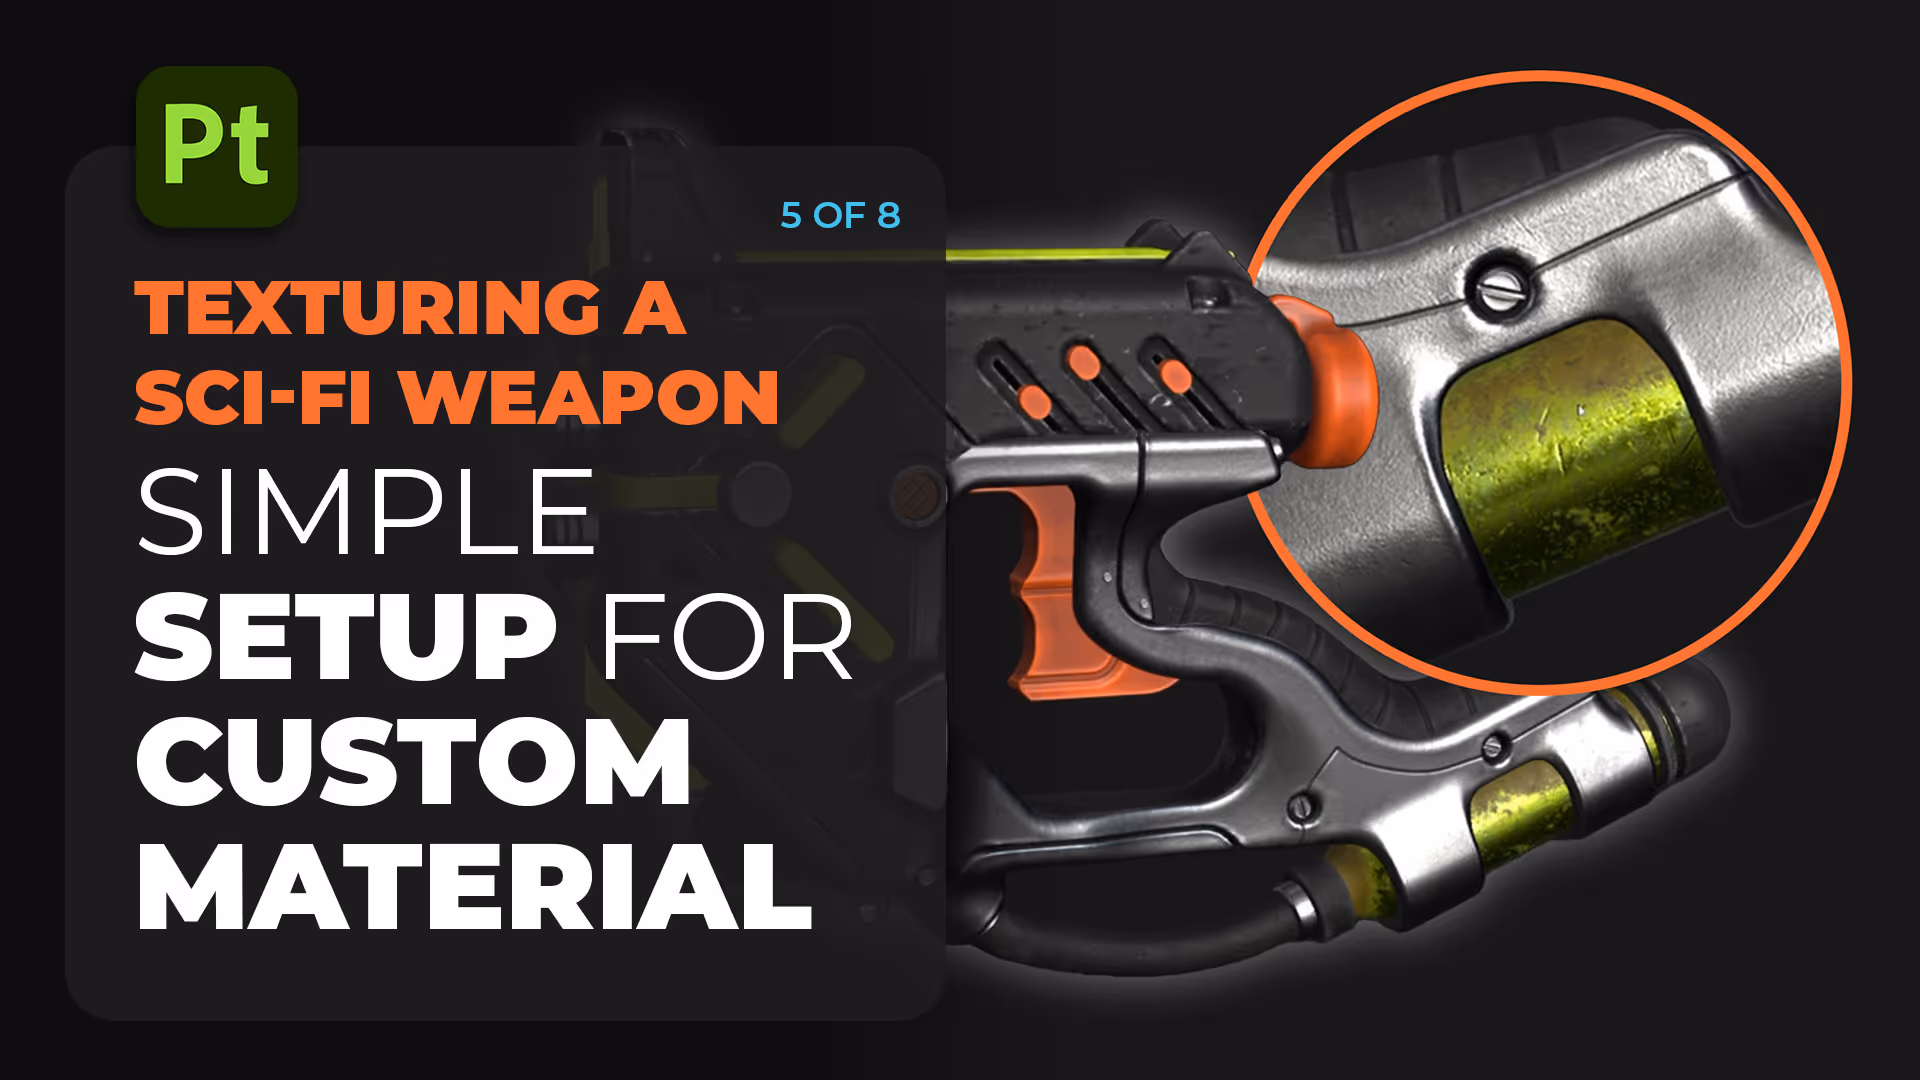
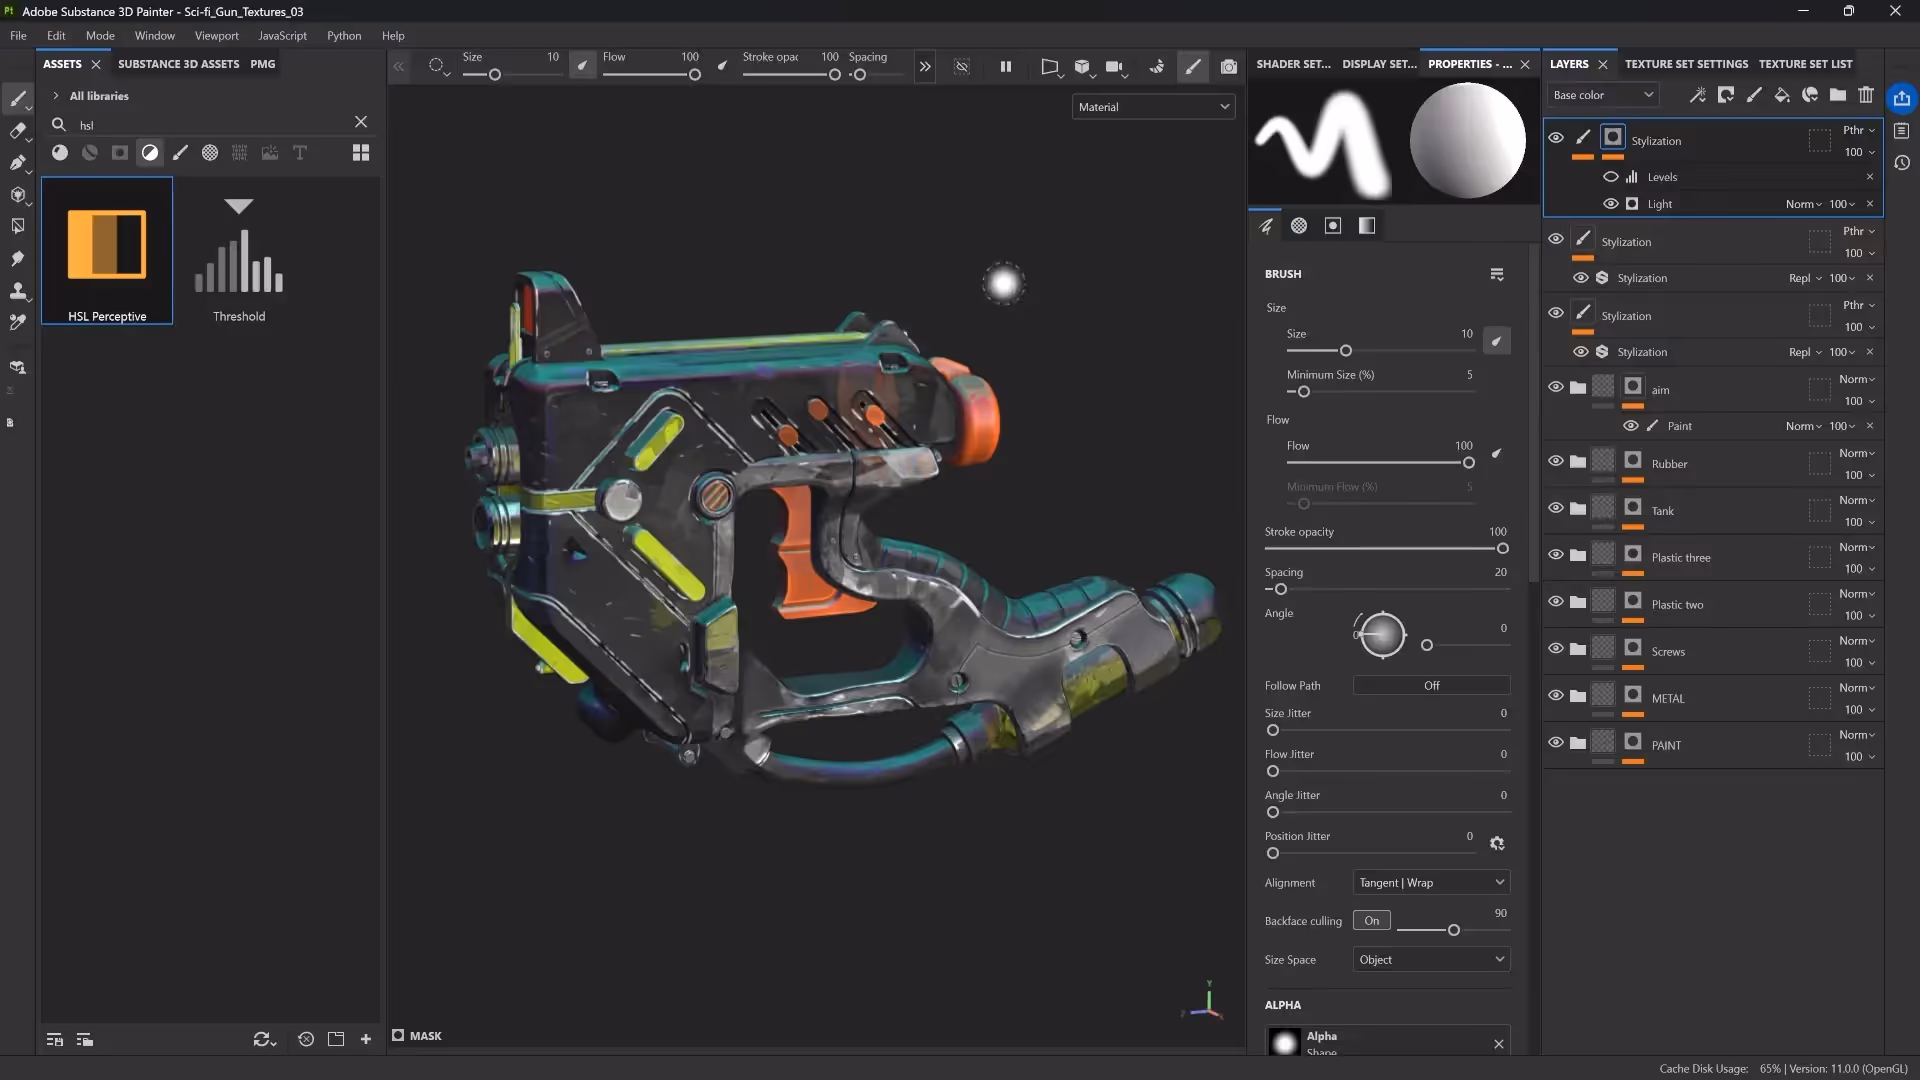
Texturing in Substance 3D Painter
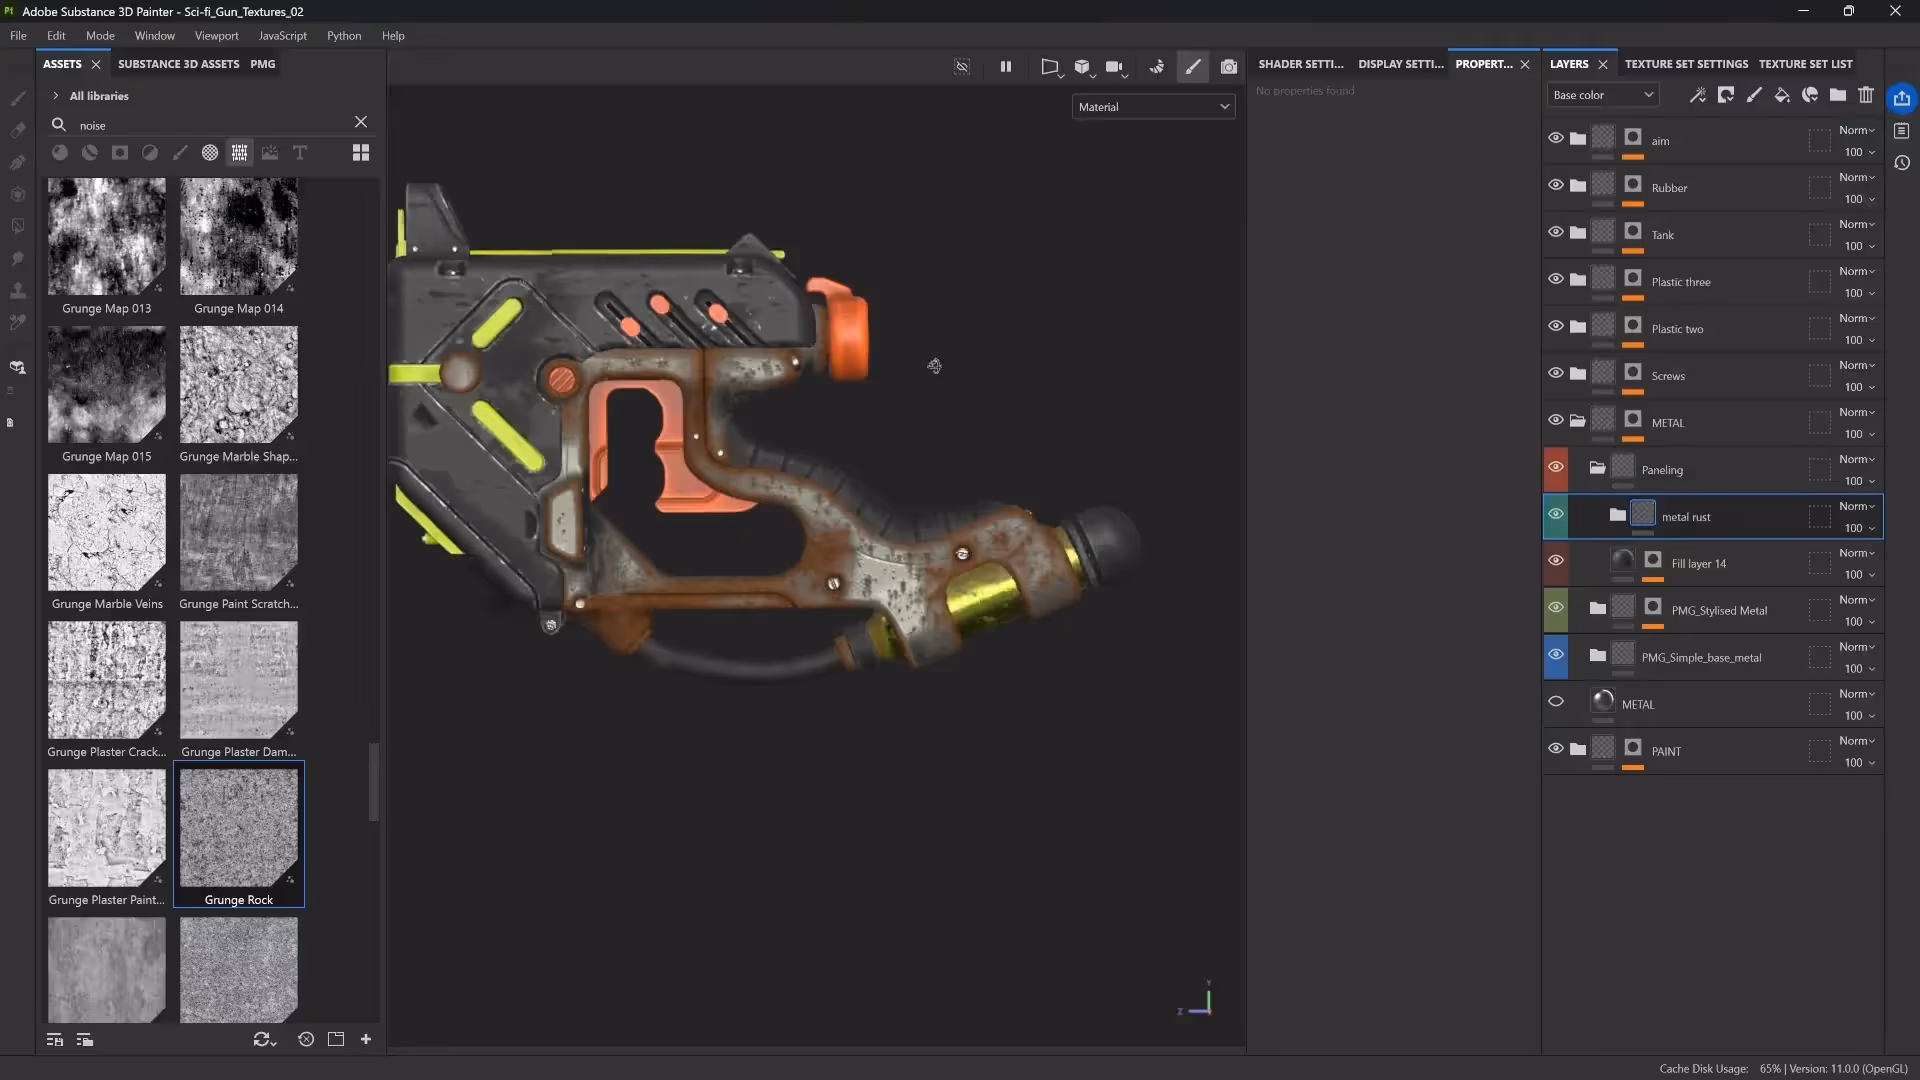
Organisation First
The best way to texture efficiently is to stay organised. I always start by breaking the model down into folders based on materials: paint, metal, rubber, etc. Inside each folder, I assign a base material, then stack layers for wear, dirt, and surface variation.
Masking Made Easy
Black masks and polygon fill are your best friends. By separating your model into mesh islands or using custom ID maps (more on that in a bit), you can assign materials quickly without tedious painting.
Smart Material Tricks
Each folder acts as a smart material that you can reuse across projects. Inside these folders, you can stack generators, filters, and grunge maps to add procedural wear and tear. If you want to switch a metal to plastic? Just swap the material—the mask stays intact.

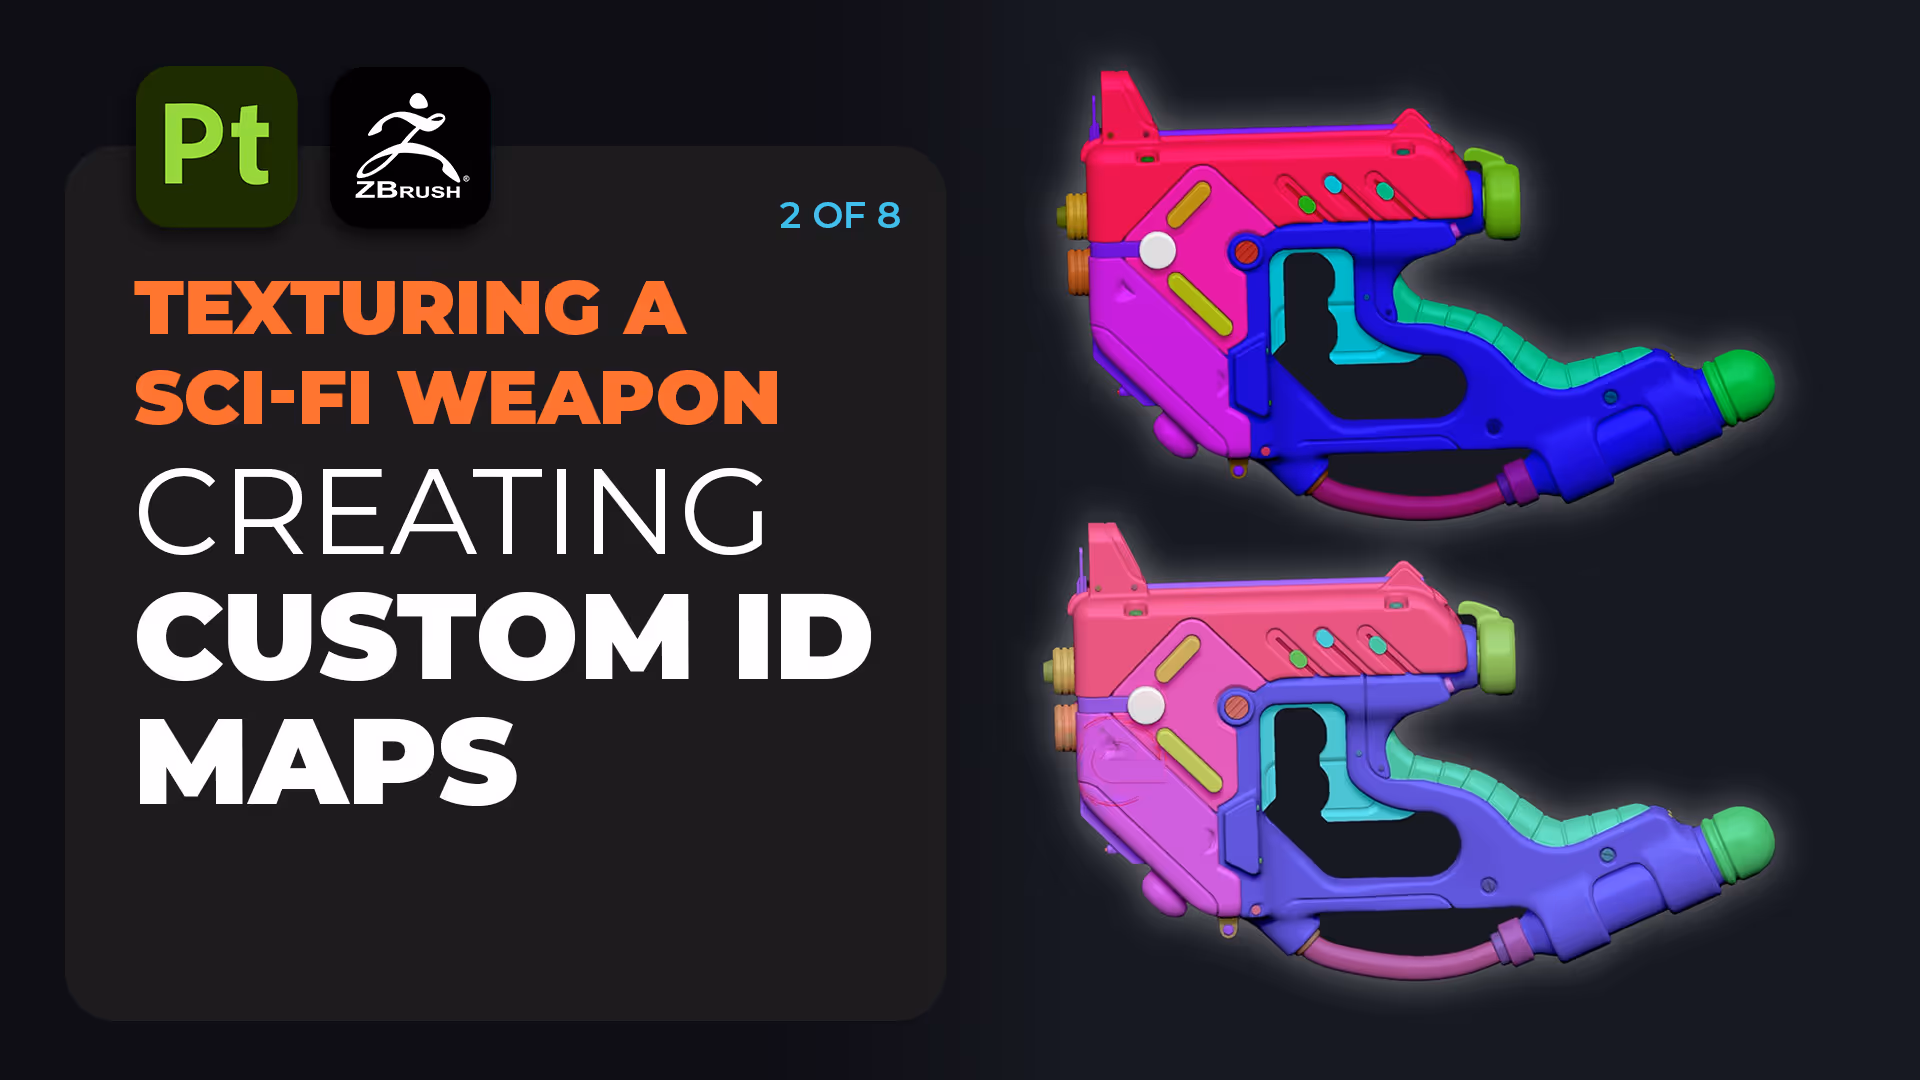
Custom ID Maps from ZBrush
To speed up masking in Painter, I use custom ID maps. In ZBrush, I assign polygroups using Auto Groups, then convert them to polypaint using "Polypaint from Polygroups."
That polypaint becomes the base for an ID map texture. After exporting it (don’t forget to flip vertically!), I load it into Substance Painter and use the color selection tool to quickly isolate parts of the model by colour.

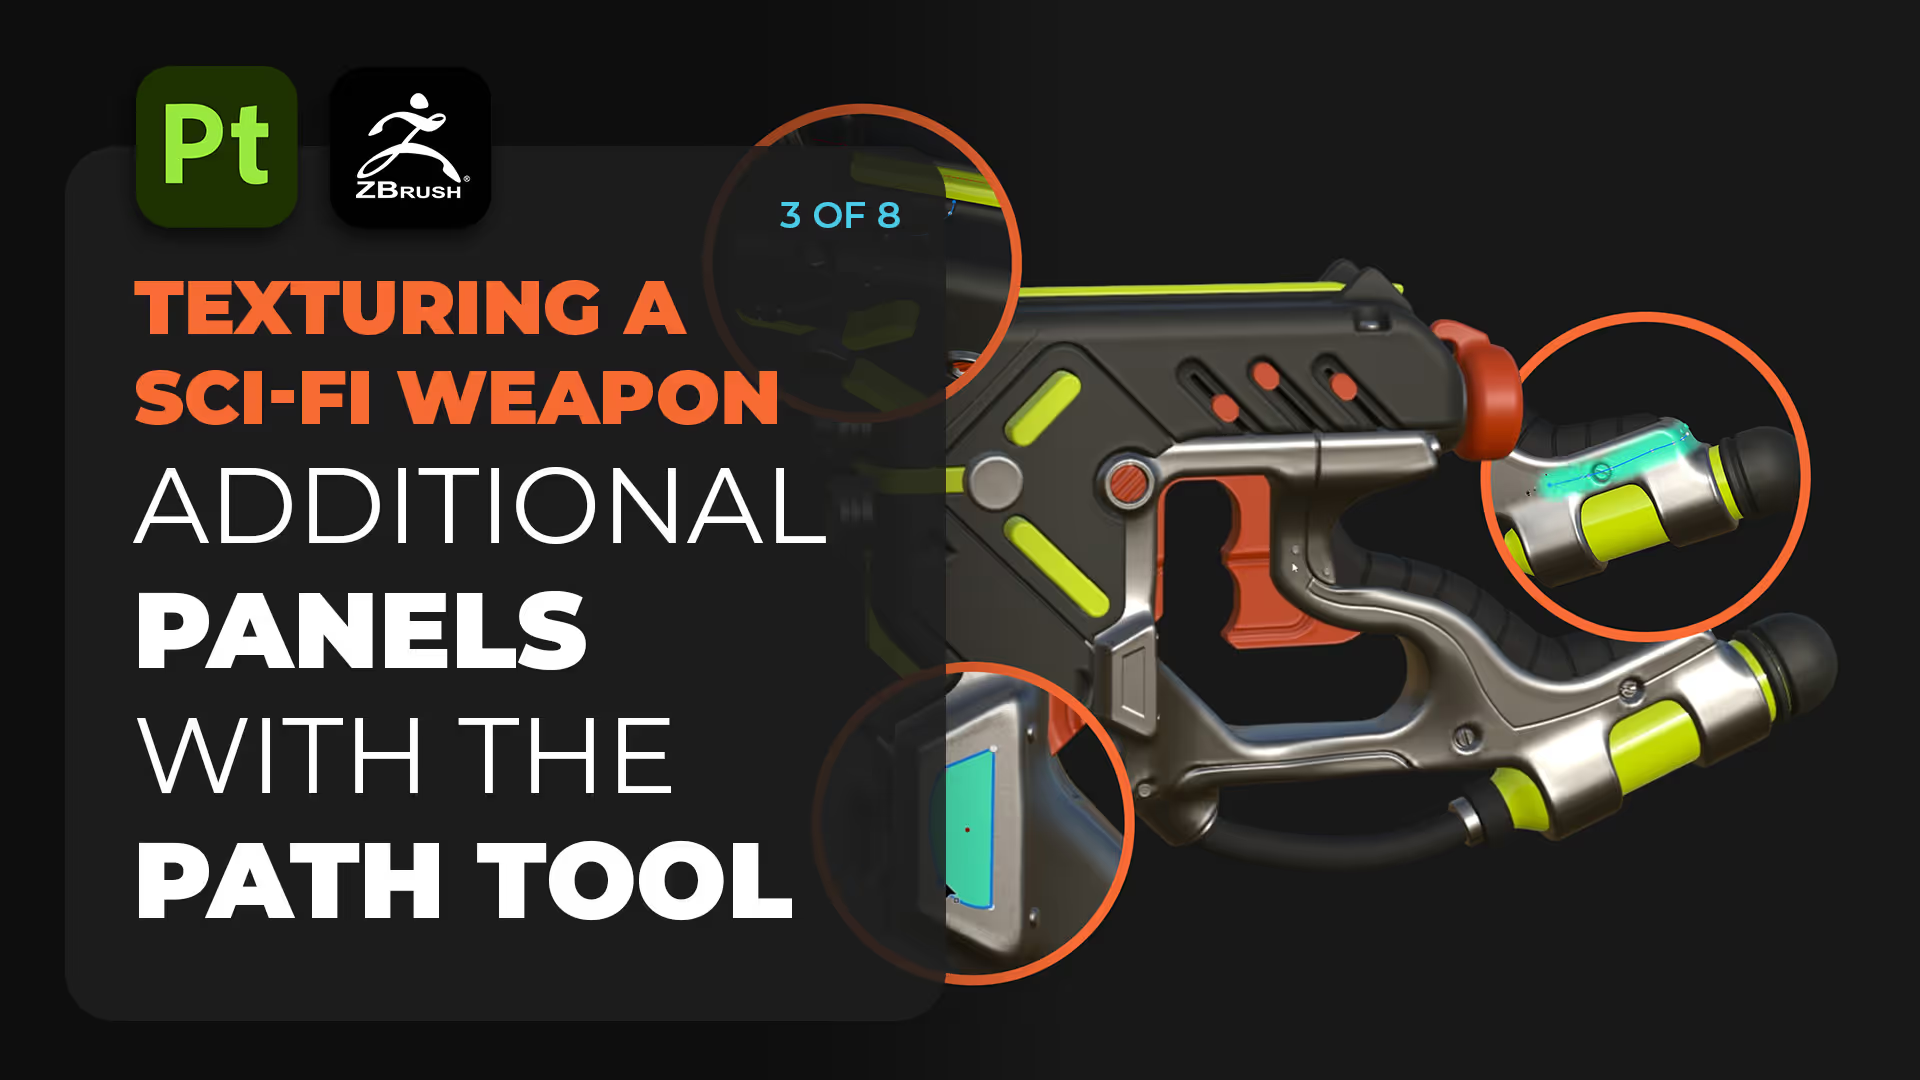
Creating Panels with Height Info
Sometimes sculpting every panel in ZBrush isn’t practical. Instead, I use Painter's path tool to draw clean panel lines directly in the height channel.
- Create a fill layer with height enabled
- Add a black mask and draw your paths
- Adjust brush size and spacing to get crisp edges
- Add blur filters for a more natural transition if needed
This approach is great for keeping polycount low while still getting that hard-surface detail look.
.avif)
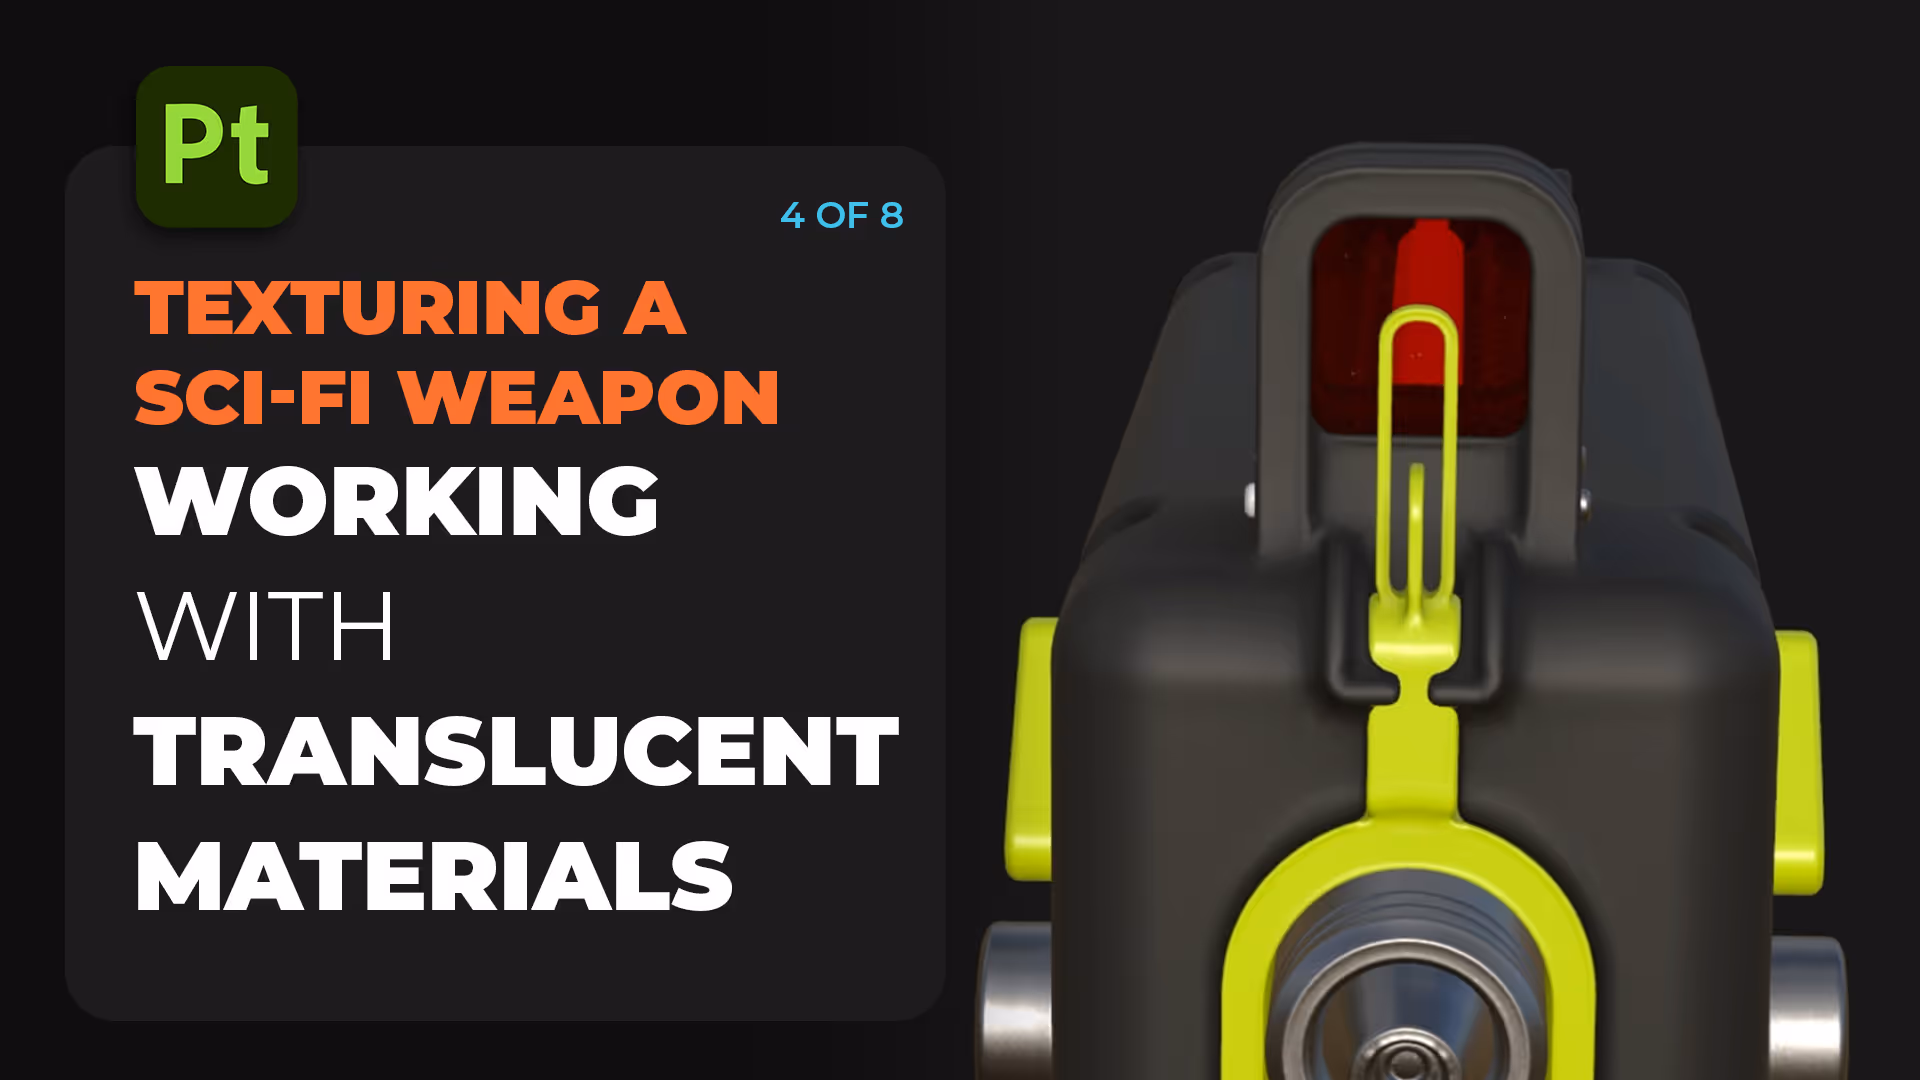
Translucent Materials in Painter
To get realistic glass or plastic, I set up a new folder, mask the area, and enable the Translucency and Absorption Color channels.
- Add micro-scratches with a grunge texture
- Use high roughness and subtle height values for realism
- Tweak absorption colour for that tinted look (blue, red, etc.)
Make sure to activate translucency in the shader settings—it won't work otherwise.
Rust vs Metal: Simple Blending
To blend clean metal with rust:
- Create folders for each (metal / rust)
- Mask the rust folder and use generators like Dripping Rust or Curvature to control where it appears
- Add roughness and height variation layers for detail
This setup gives you complete control and keeps everything editable.
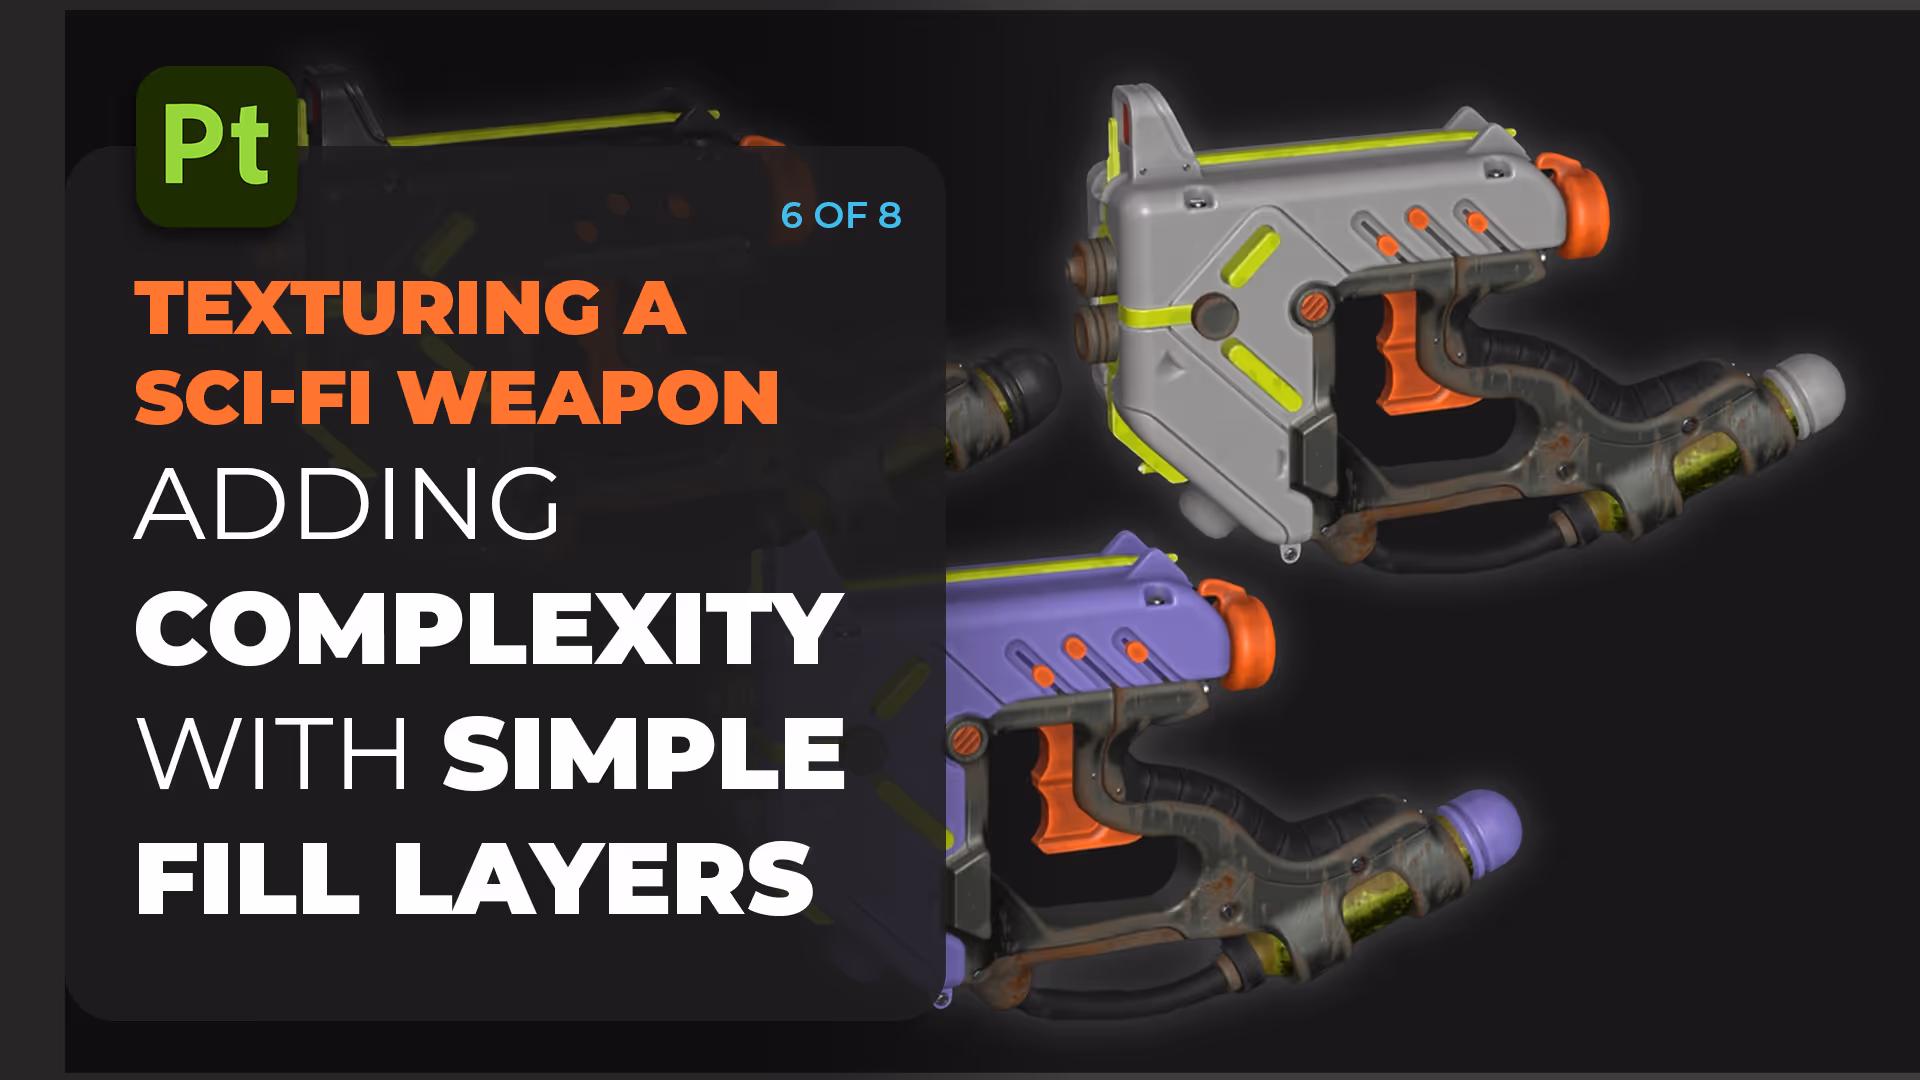
Building Complexity with Simple Layers
Don't overcomplicate materials. A good-looking plastic, for example, can be made from:
- A solid base layer
- A couple of masked colour variations
- Edge wear using a generator
- Subtle height noise
Stacking simple layers gives you more flexibility than trying to tweak a bloated smart material.

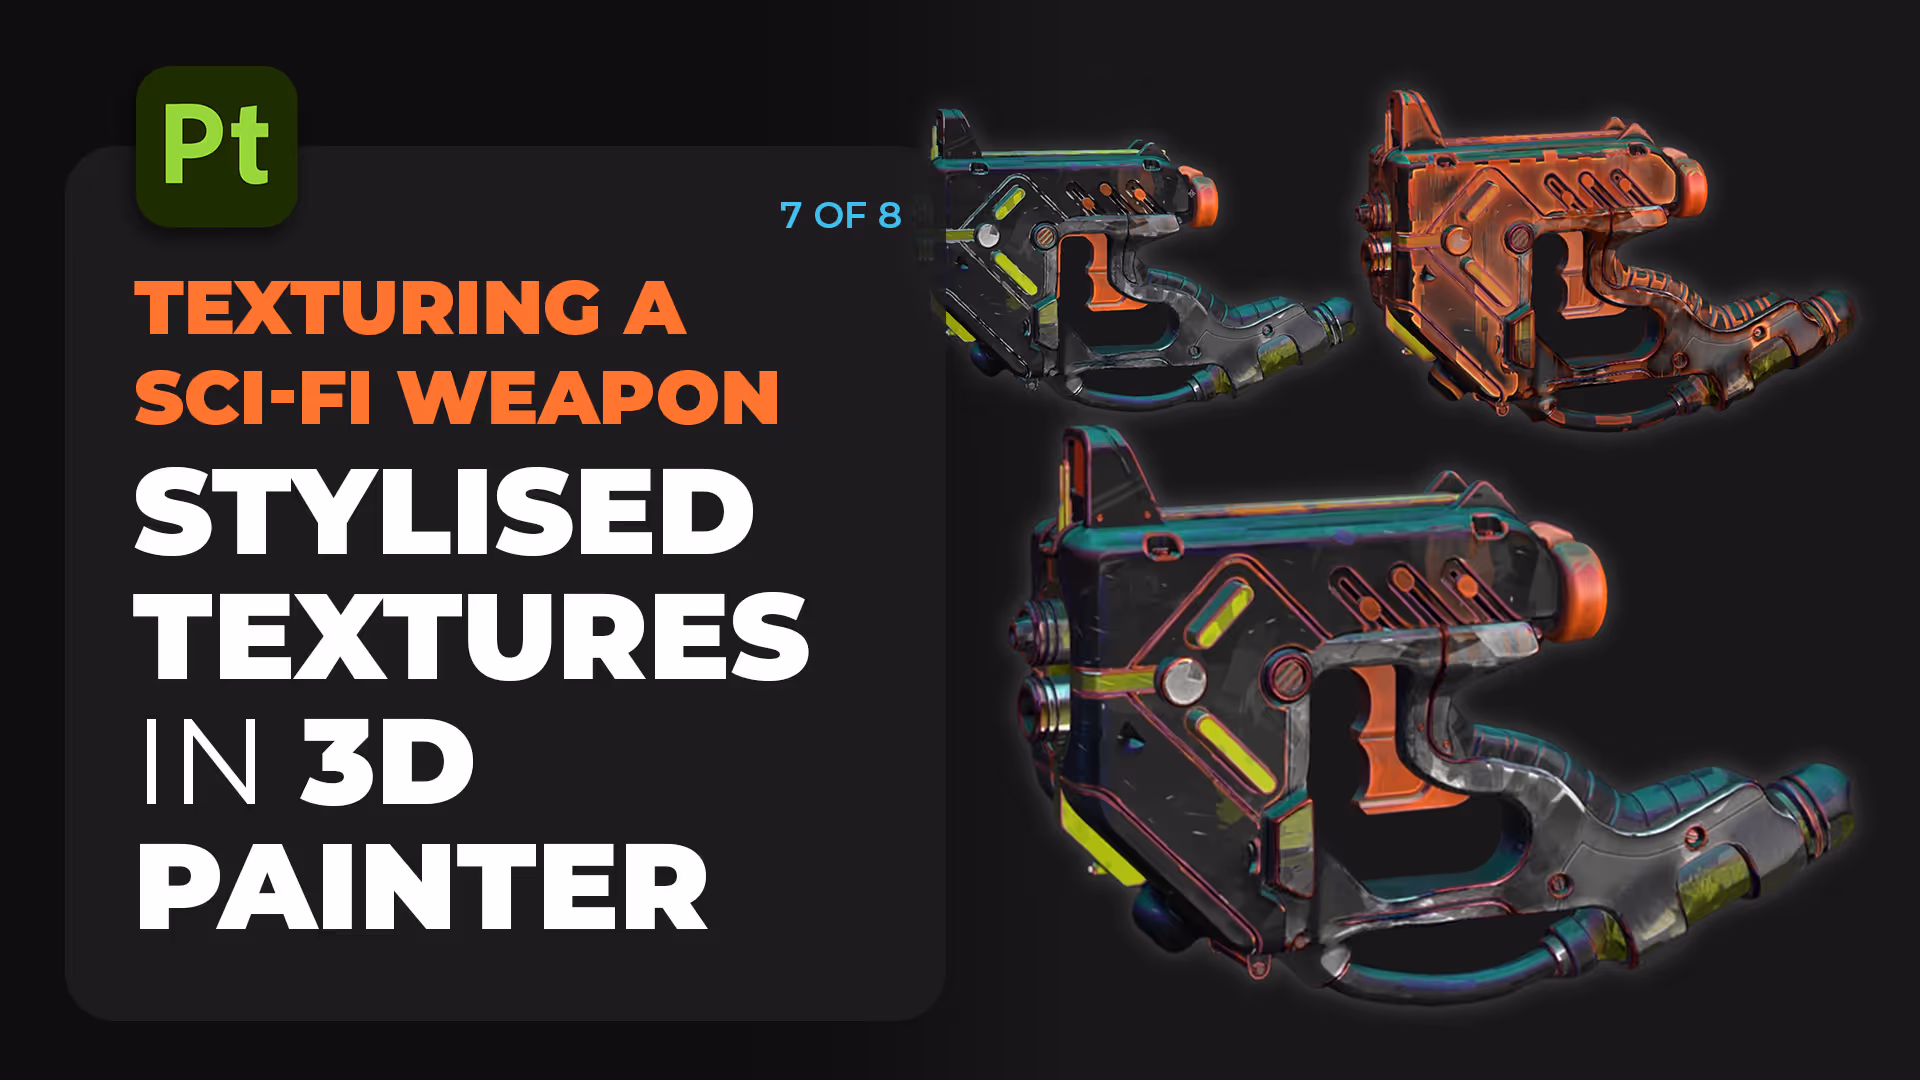
Stylised Textures: Painterly Effects
Want to push things into a more stylised look? Substance Painter has stylisation filters like "Painterly" and "Neon" that you can layer on top of your texture stack.
- Use masks and generators (like Curvature) to control where these effects apply
- Stack multiple stylisation effects and fine-tune their intensity
- Add HSL adjustments to shift the final colour tones
It’s an easy way to make your asset stand out, especially for artstation-style renders or game-ready concepts.
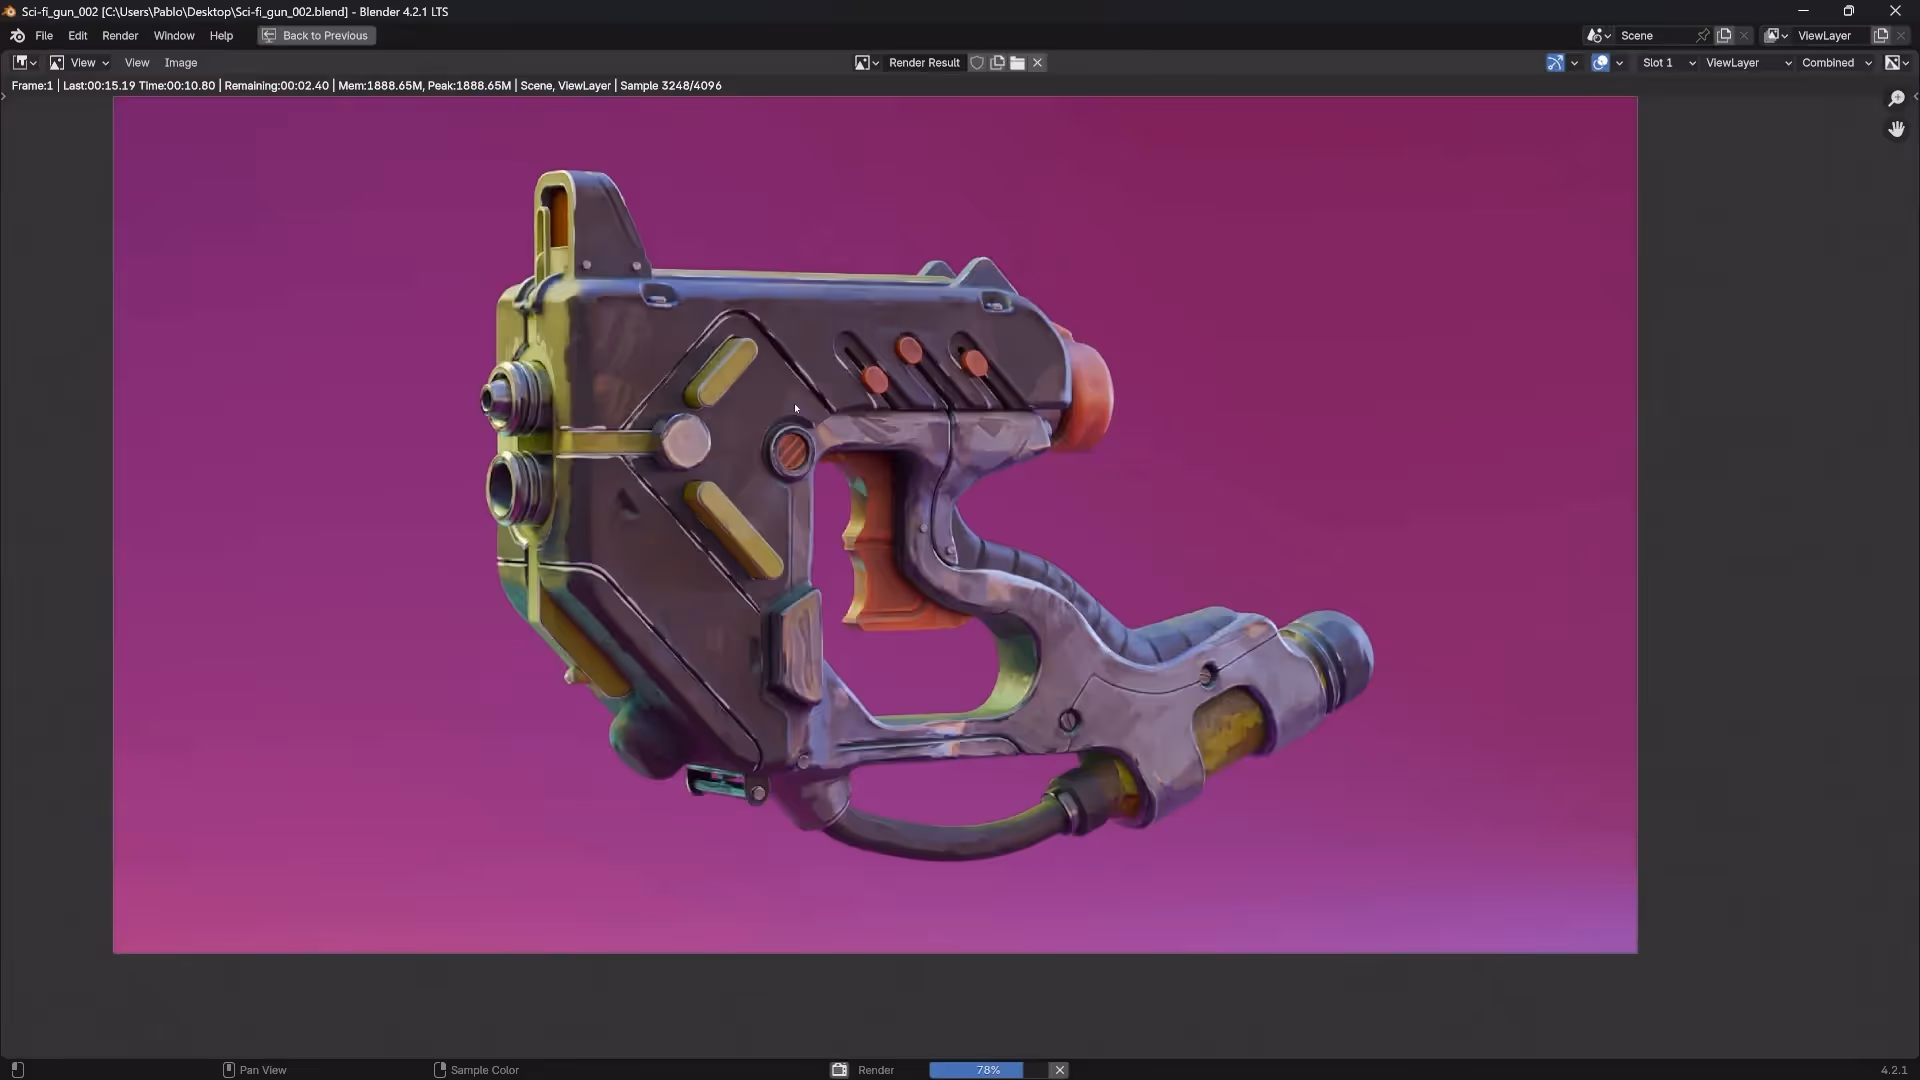
Final Renders in Blender
I finish everything off in Blender using the Cycles renderer.
- Use simple lighting setups to highlight materials
- Apply both realistic and stylised texture sets
- Export 4K textures from Painter for the best detail
Wrap-Up
This workflow is all about flexibility and speed. Once the base setup is done, iterating becomes quick and fun. Whether you're aiming for realistic weathered props or stylised game assets, this process gives you the tools to texture confidently.
Stay tuned—next we’ll dive into more advanced material layering and creating wear based on curvature, ambient occlusion, and baked lighting.

In this tutorial, I’ll show you the final step to set up the ZBrush concept of an alien gun for rendering in Keyshot. To illustrate the simple workflow, I’ll use a ‘Sci-fi box’ but the exact same process can be applied to more complex objects. The first 3 parts of this series are #ZBrushLive streams sessions
Check it out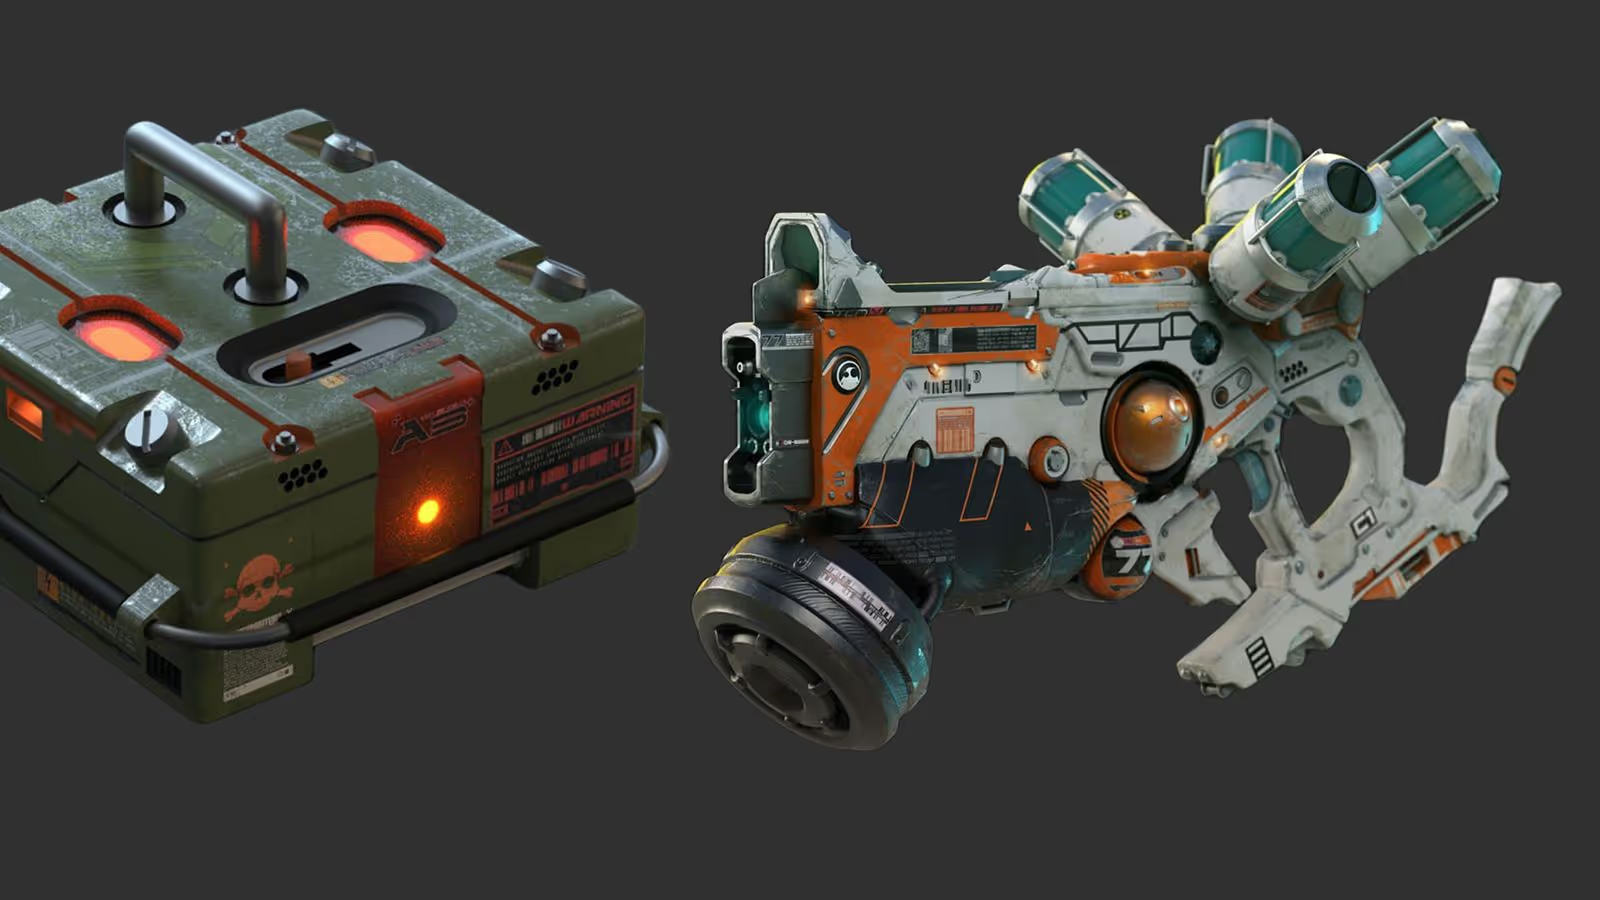


.webp)

