


Multiply the brushes in the pack!
One of the cool things about most brushes in ZBrush is that you can simply invert the effect of the brushes and get something completly different!
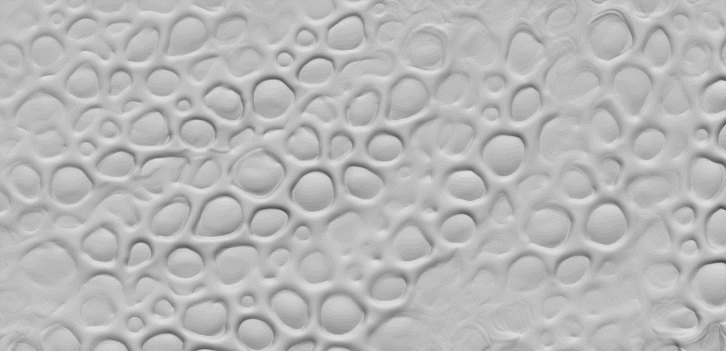
If you like to experiment, try using one of the brushes of the Insect Detailng Pack while holding the 'Alt' modifier to invert the effect. Once you apply the 'inverted' effect of the brush, you can also polish the surface with an alternative to the 'smooth peaks' brush called the 'smooth valleys' brush ;)
If you work with layers you would also be able to have control over the overall intensity of the pattern on your mesh. You could even add each brushes effect in separate layers and then use the sliders to blend them together for a more organic and realistic effect.And of course, saving a morph target is alwasy a great idea so you can come back and 'restore' certain areas of the mesh.
More control with detailing masks
Another awesome way of having control over the details you apply to the mesh is to use masking and other sculpting brushes. You can select any of the brushes from the insect pack and turn off the Zadd / ZSub and enable the RGB switches. Use a white colour to fill your mesh and then choose a black colour to paint the effect of the brush without affecting the volume.
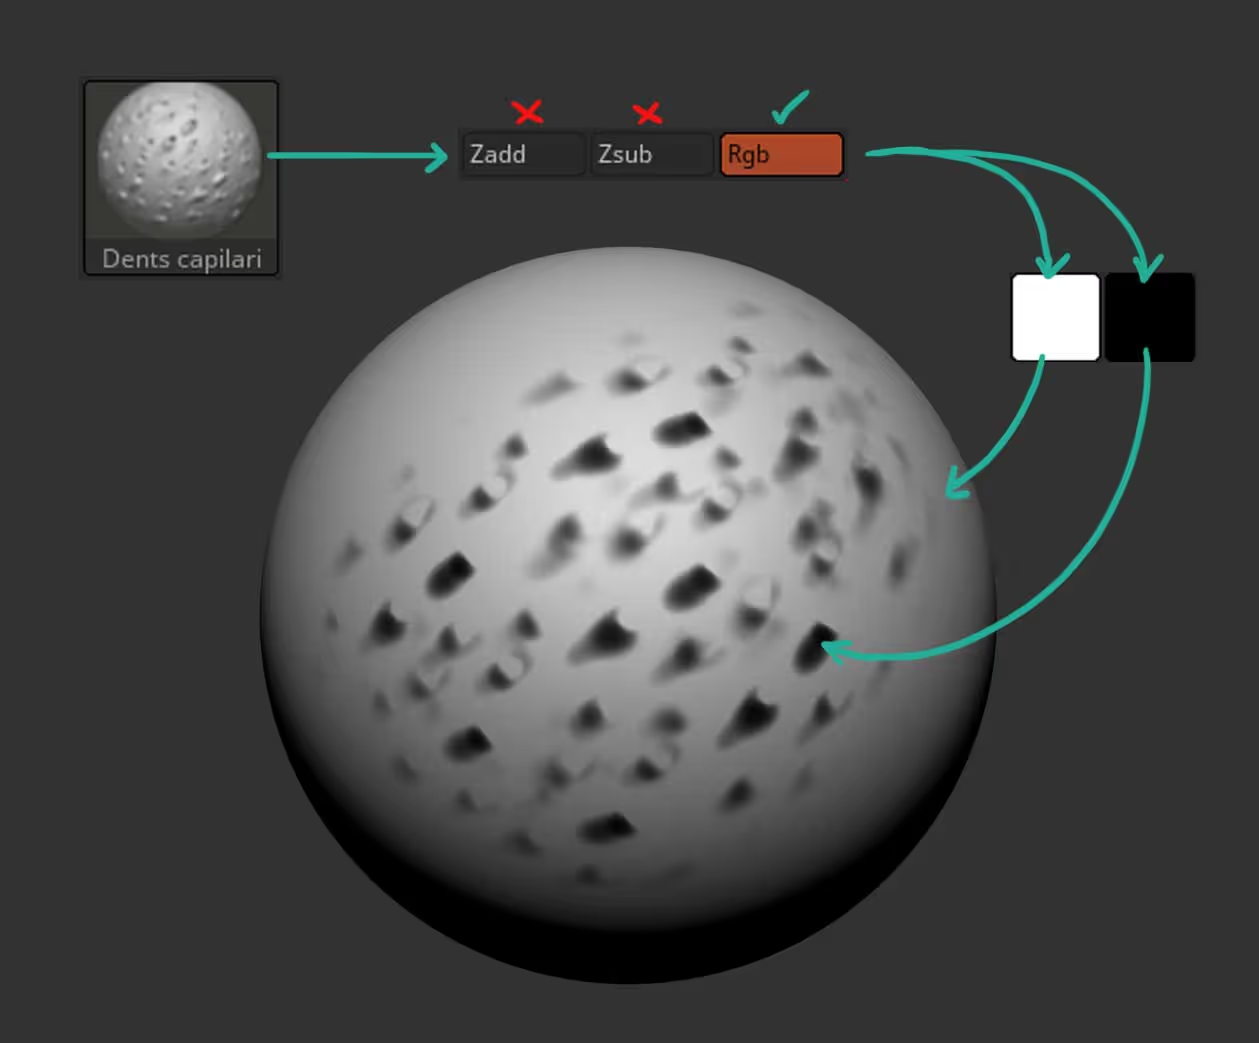
Once you have a black and white polypaint, you can generate a mask using the 'mask by intensity' button from the masking palette.
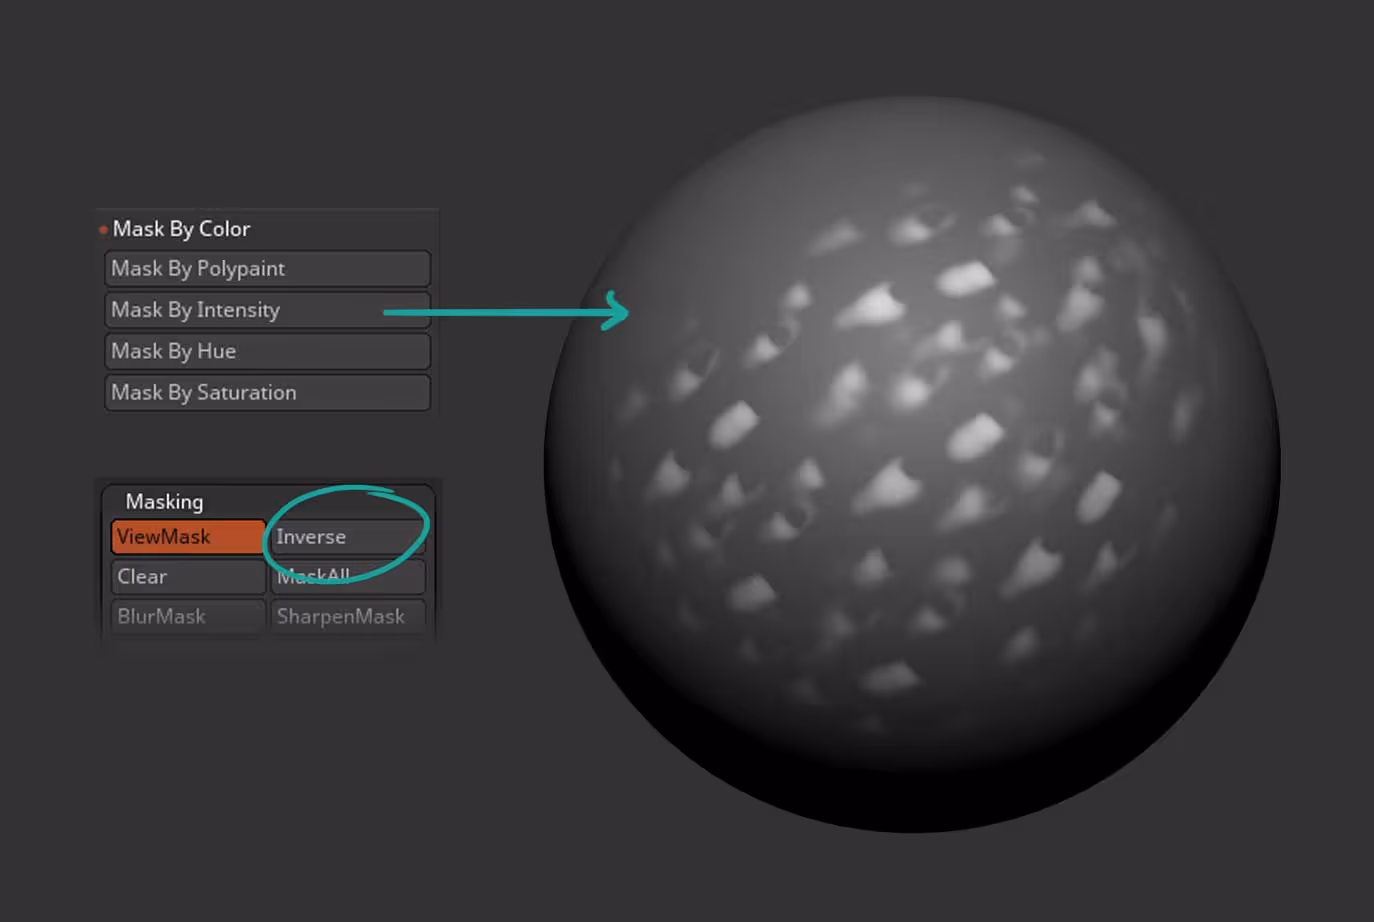
Then you can simply invert the mask, hide it, and then use something like the inflate brushe or even the move brushes to push the details out!

Insect primitive shapes basemesh
This is the basic blockout I created for the insect head out of primitive shapes and insert brushes. I briefly cover the process of how I created this step of the process but because the focus of this tutorial is on the detailing process and showcasing the brushes, I thought I share the base as a ZTool and FBX file so you can follow along if you want to!
Check it out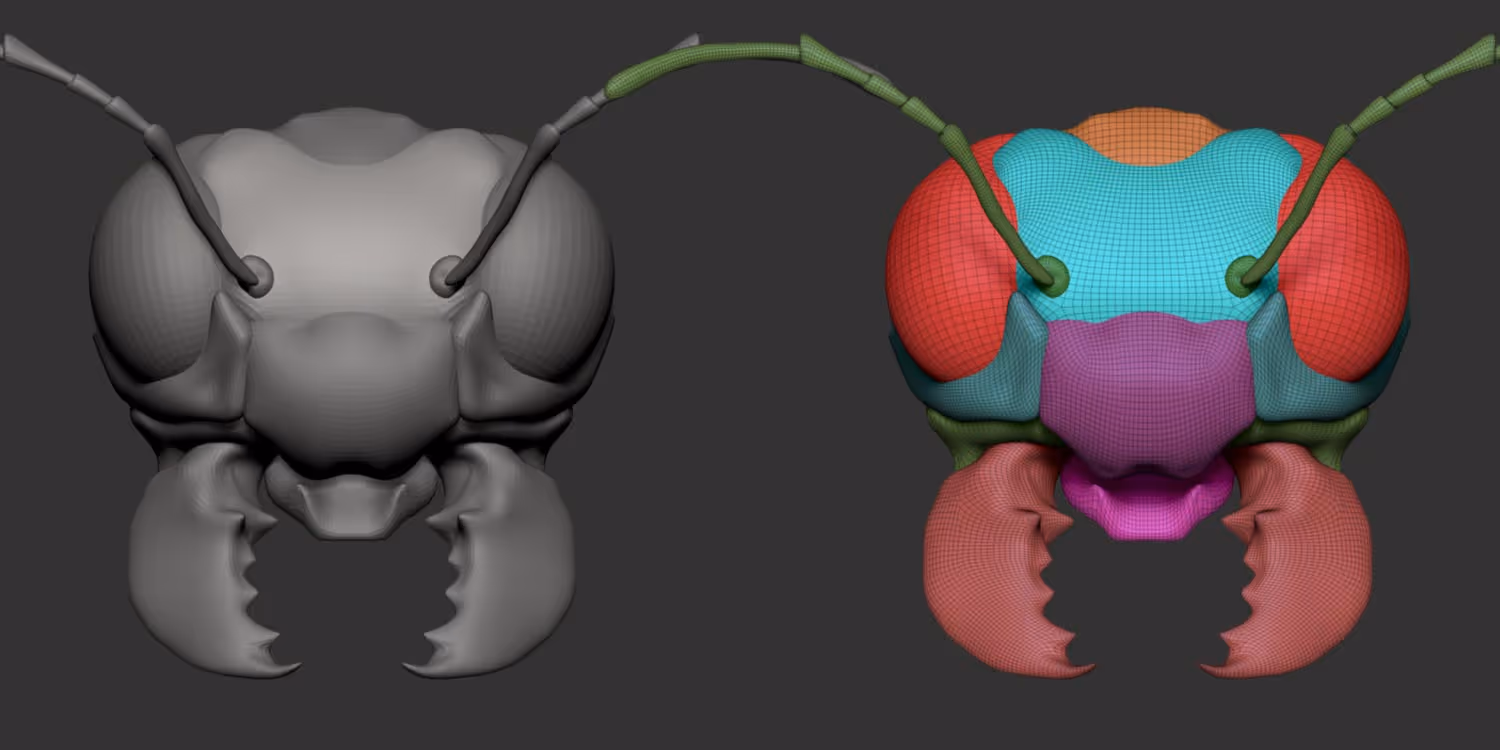


.webp)

