

This tutorial is the third part of the ZBrush ‘Double Action’ series. In this video, we’ll talk about the attributes from the Stroke palette and a practical use for the ‘DA’ brushes. We also go over the use of a tileable alpha to drive the effect of the brushes to have an additional level of control.
More control for your “Double Action” Brushes
In this tutorial, I’ll show you two modifiers that are very intuitive, easy to tweak and can vastly modify the behaviour of your brushes. Assuming that you have already watched the PART 1 and PART 2 of these “double action” brushes series, the main focus of this guide will on a couple of attributes within the ZBrush stroke palette.
If you remember, the brushes from PART 2, were mainly ‘skin’ brushes to add bumps, pores, and scars. For this new tutorial, I created a series of brushes specifically to sculpt and/or detail rocks. However, I’ll show you the technique and what the modifiers do, so you can create a wide range of brushes for different purposes.
Here is one of the ‘Cliff maker’ brush in action:

Here is another one that builds larger shapes, but with some high-frequency details:

Here is another example of a brush that creates interesting patterns by simply changing the direction of how it is applied:

And finally, here is a simple but useful brush to add details without altering the main volumes:

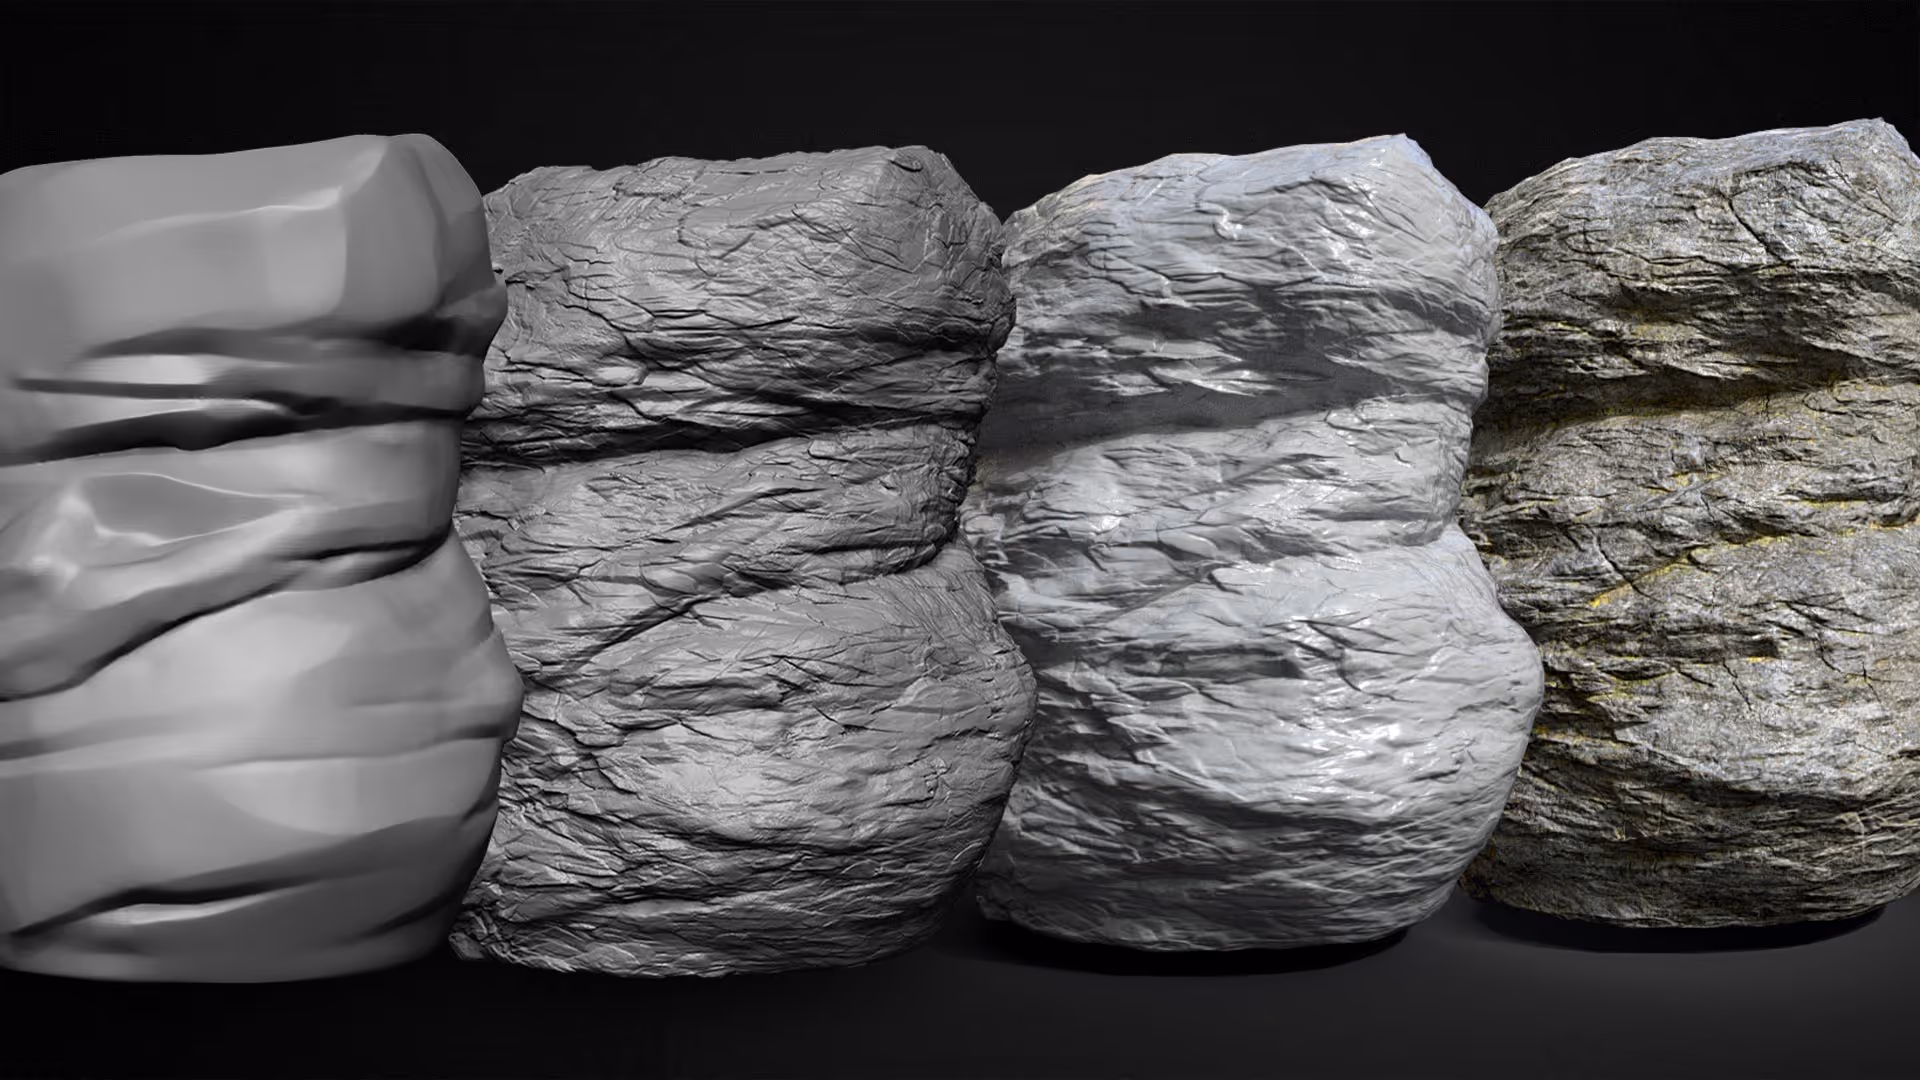
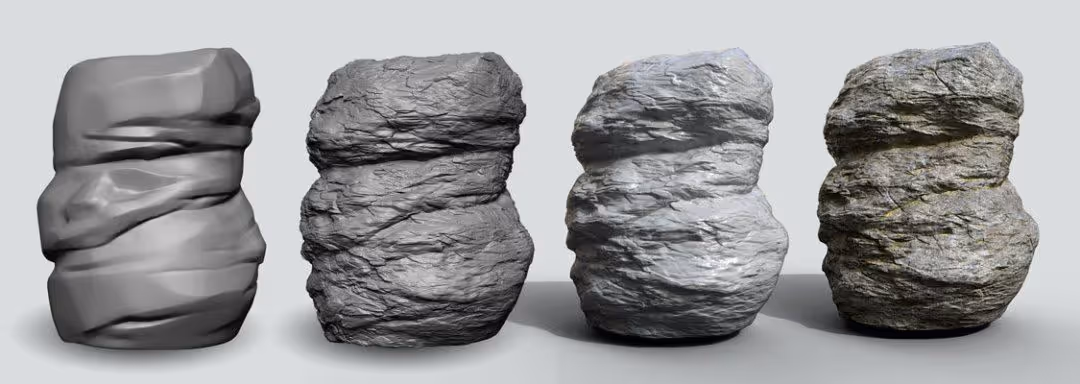
Example of the ‘DA’ rock brushes
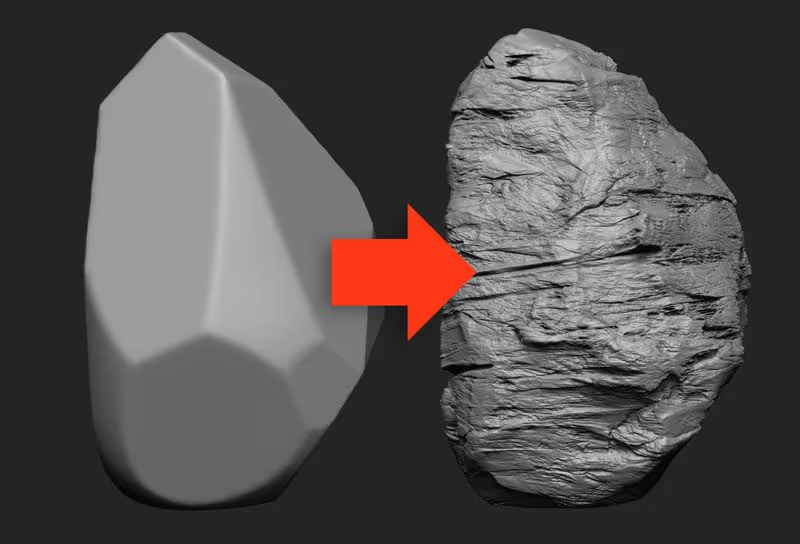
With this technique, you can build a set of custom brushes that will let you sketch out ideas in ZBrush very quickly. For instance, here is the process of a super simple rock created in minutes, with these “double action” rock brushes:
With this technique, you can build a set of custom brushes that will let you sketch out ideas in ZBrush very quickly. For instance, here is the process of a super simple rock created in minutes, with these “double action” rock brushes:
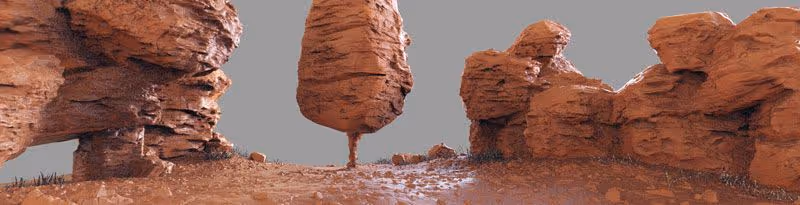
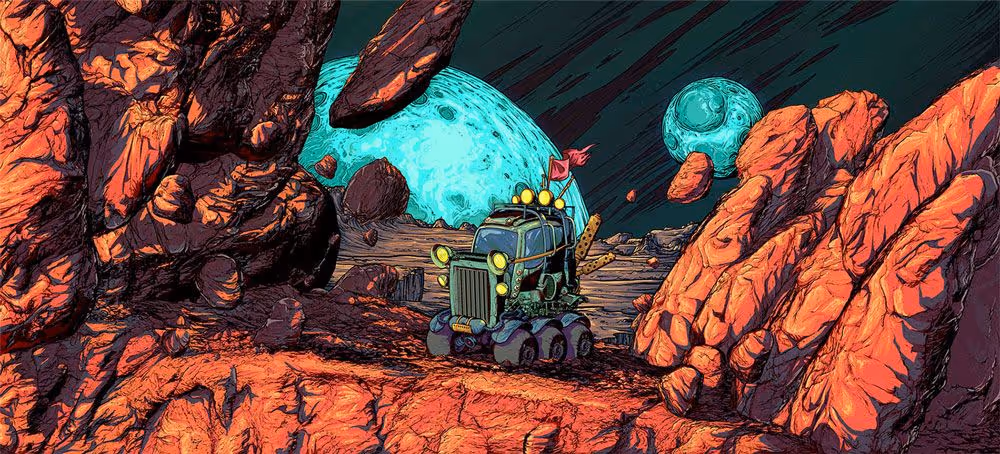
And here is another image showing a more practical use for this brushes. The entire environment for this illustration was created using these type of brushes and rendered using the ZBrush Comic Style Technique.
ZBrush Double Action Brushes – Simple Rocks PACK
This is the third pack in the ZBrush “double action” brushes series. It has 9 custom brushes to add details to your models, mainly to create and details to rock formations. There is also a polish brush and a couple of brushes to create small pebbles.

ROCKS Advance Brushes Pack
If you are looking more a more advanced set of brushes, take a look at the ZBrush Advanced Brushes Pack – ROCKS. The pack contains a large library of costum broshes for specific purposes.
Check it out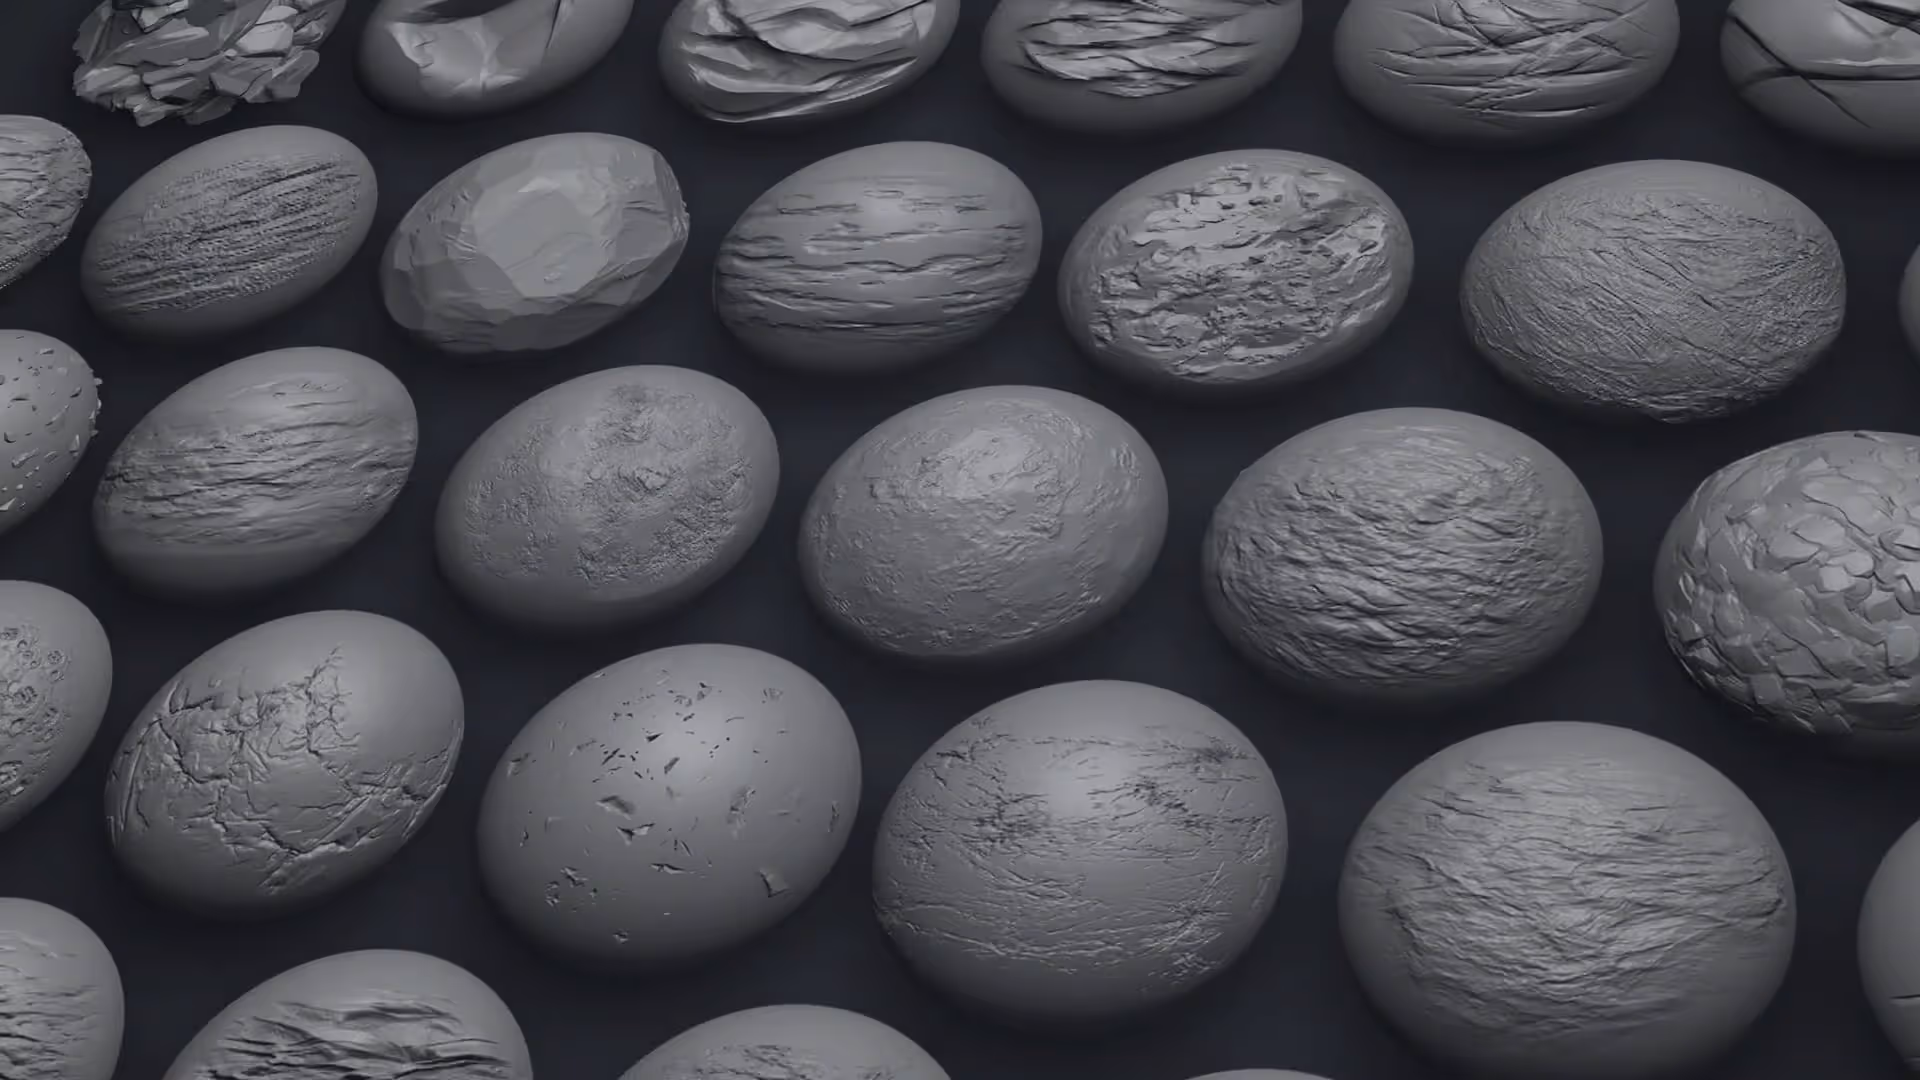


.webp)

