


This is a two-part tutorial where I’ll walk you through the basic principles of the ZModeler brush and the creation of a simple scene using nothing but this tool. Try to stay away from any pre-conceived ideas of what a box-modeling tool should do. ZModeler is really powerful but it works in its own way… so give it time and learn the basics
Demystifying ZModeler
The Zmodeler brush is one of the most powerful tools inside ZBrush. It serves many purposes and it can be used to complement a wide variety of process like NanoMesh, to add thickness to a plane, masking specific polygons, quickly assign polygroups to certain areas, and lots more.
If you have experience with other ‘Box-Modeling’ tools or you come from a different 3D software, the way ZModeler works, might confuse you at first. However, once you understand the basic concepts you’ll realize the potential of this ‘brush’ and over time you’ll be able to work really fast with this single tool to create very complex objects.
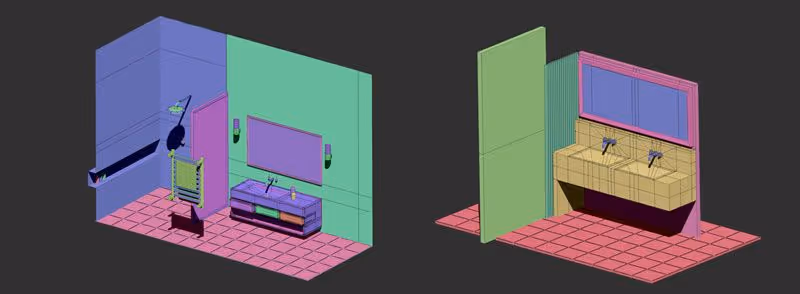
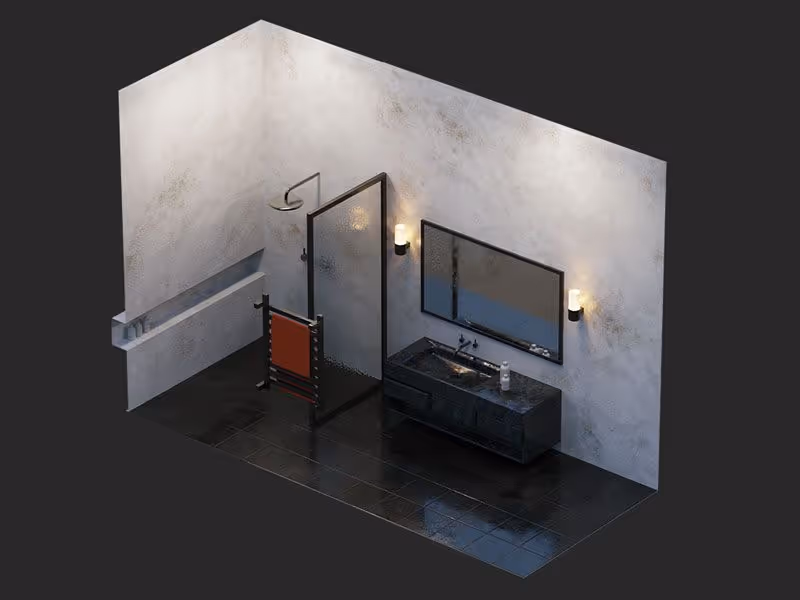
Below, are a couple of examples of how very simple objects created with the ZModeler (including the one from this tutorial):
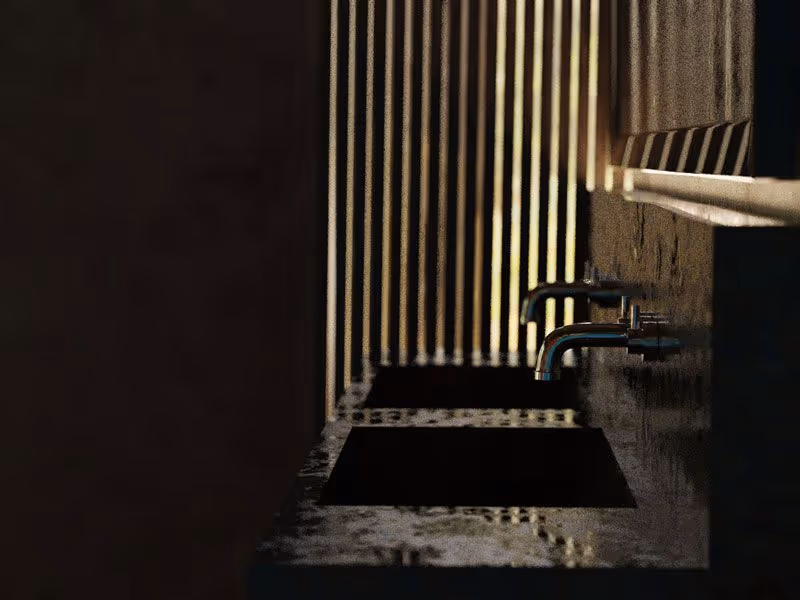
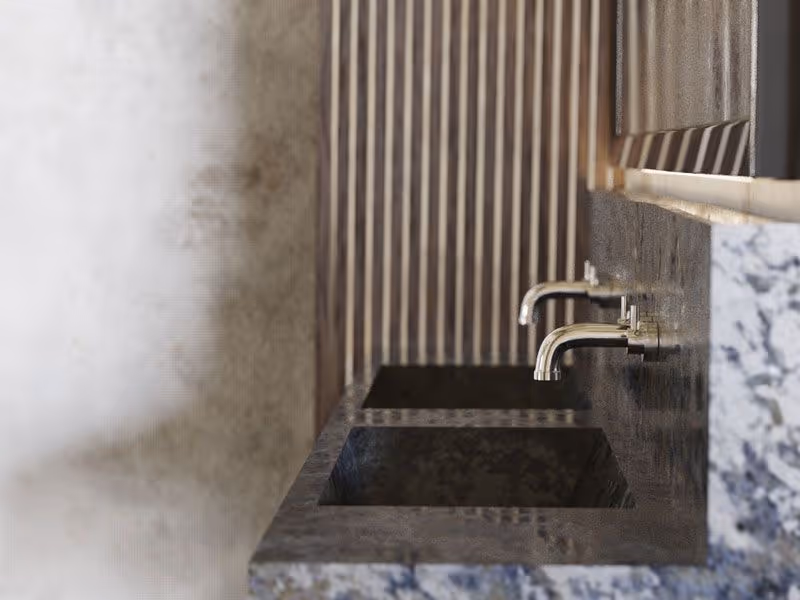
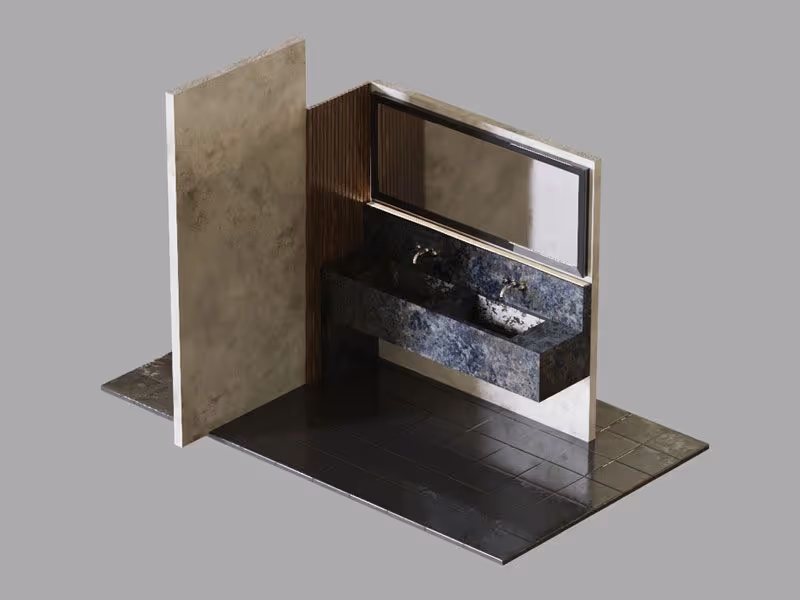
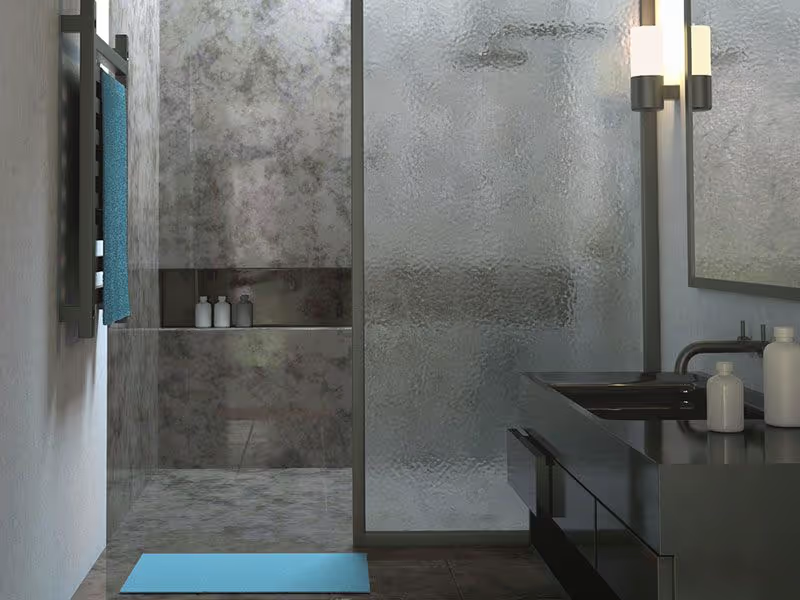
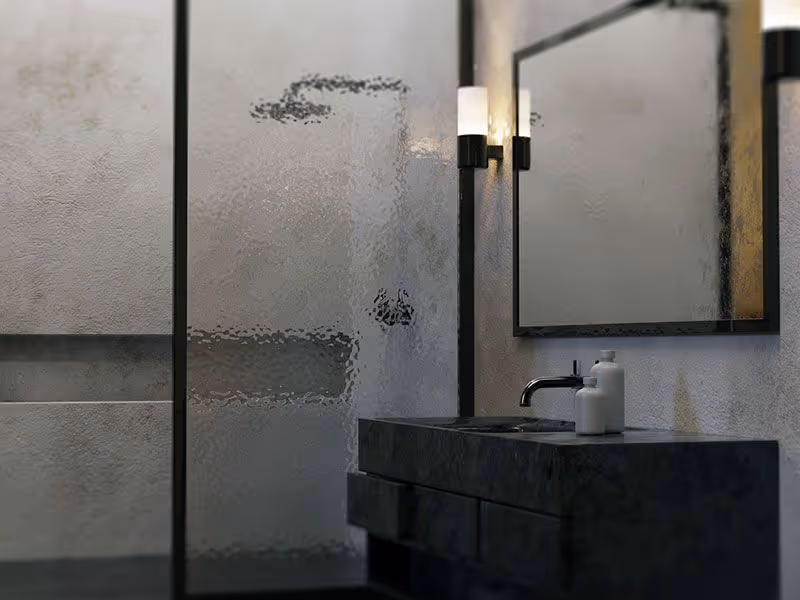
Once you have the model ready, you can render them in a separate application like Keyshot using more complex materials to produce an interesting/realistic image. Below are a fuew examples of the above models rendered in Keyshot (the model is exactly the same).

Scene and IMM brush with parts
The resources from this tutorial include: The final scene of the Bathroom as a ZBrush tool, An IMM brush with all the parts so you can create (or reconfigure) your own scene (you can download it from the IMM brushes in the resources).
Check it out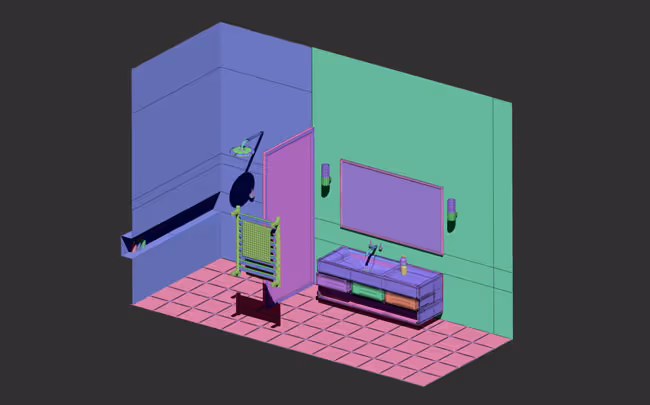


.webp)

