


In this tutorial series, I’ll walk you through the process of creating a Sci-fi sitch from scratch. In the process, I’ll share some theory and workflows to approach the modeling in ZBrush using the Live Booleans (from ZBrush 4R7 onwards). The tutorials also includes some quick tips for rendering in Keyshot towards the end of the video series
Get started with the Boolean system!
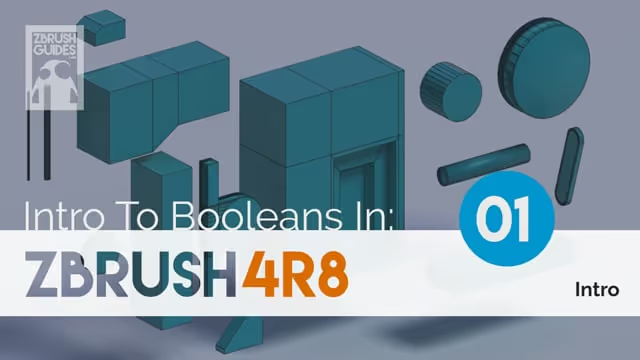
In this video tutorial series, we’ll take a look at some of the tools, features and possible workflows to work with the boolean system in ZBrush 4R8.
The Live boolean system is one of the main features debuting in ZBrush 4R8, and it is a fantastic tool that simplifies the creation of complex objects. It is definitely a game changer in the Hard Surface modeling space and overall a great addition to the set of ZBrush features that keep closing the gap between ‘technicalities’ and artistic freedom.
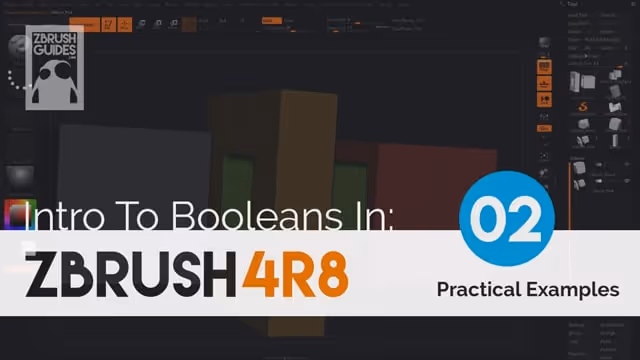
There are, however, a few things that are good to know before you get started. This tutorial series aims to explain the concept and process of working with boolean in a very simple way so that you can use this tool in any project with confidence. If you are already familiar with how booleans in ZBrush work, you can skip the first and the second video, which is an introduction to the concept and practical examples of the boolean operations.
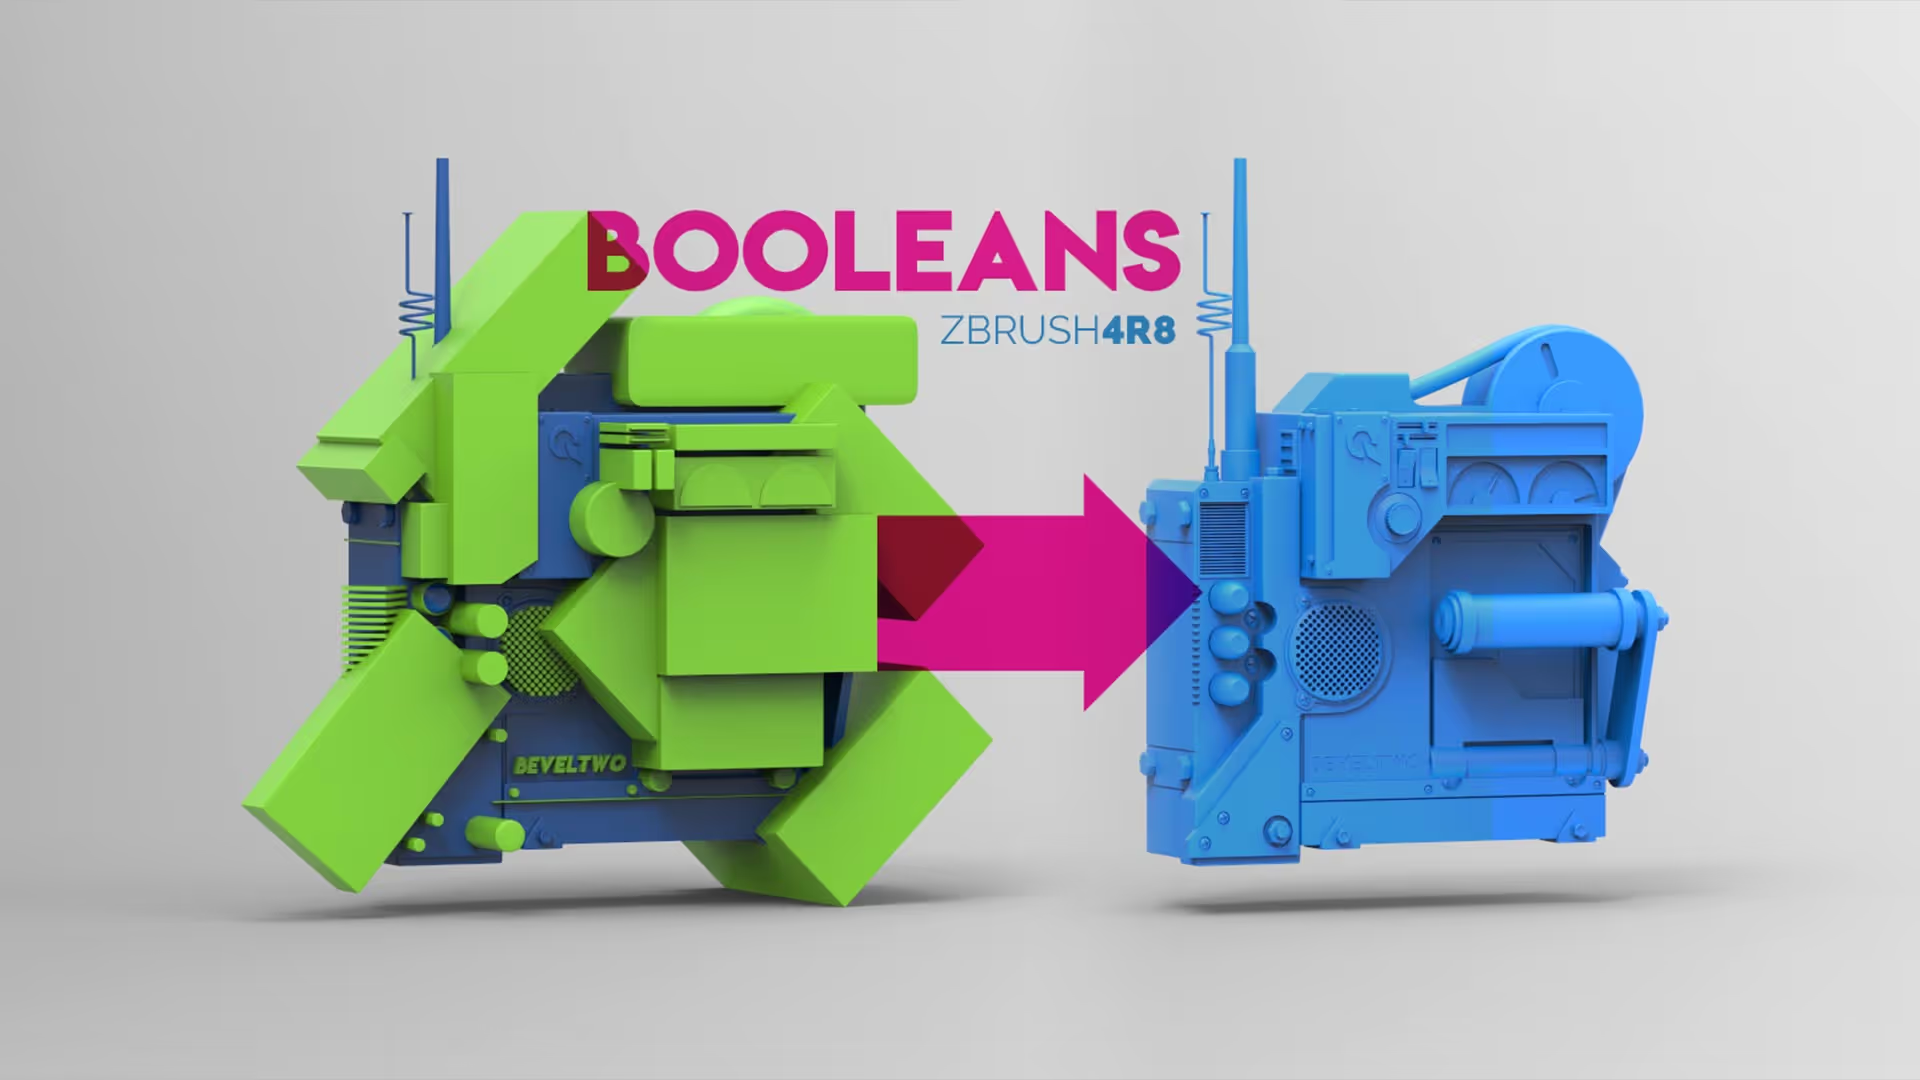
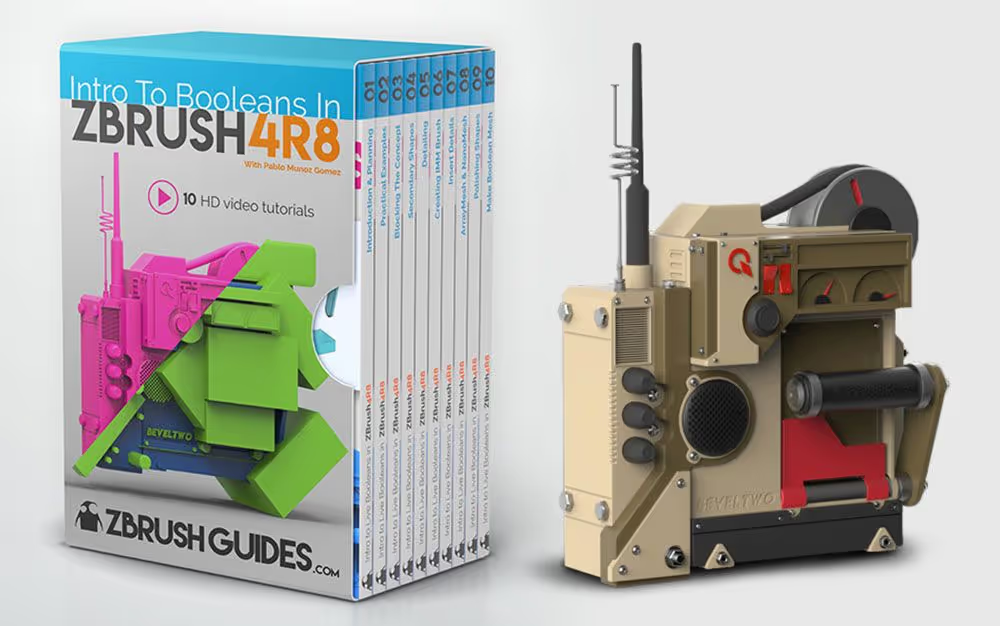
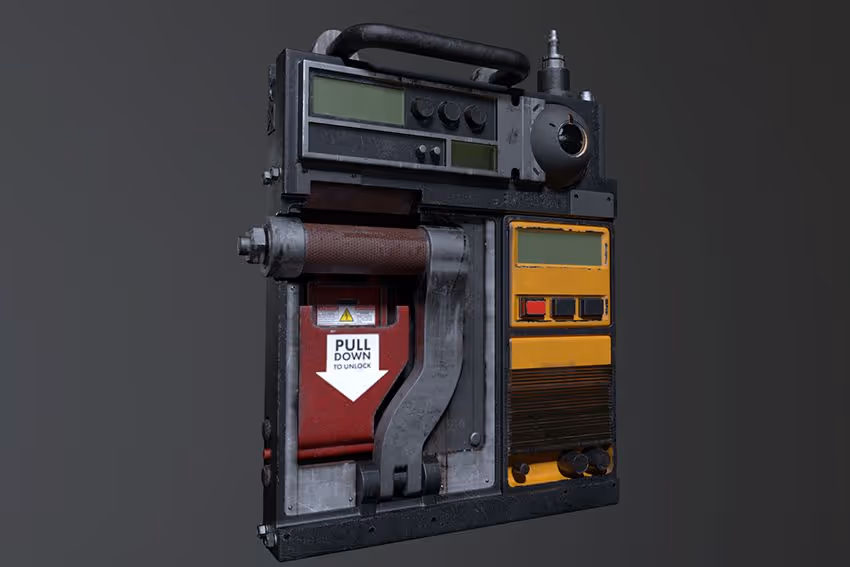
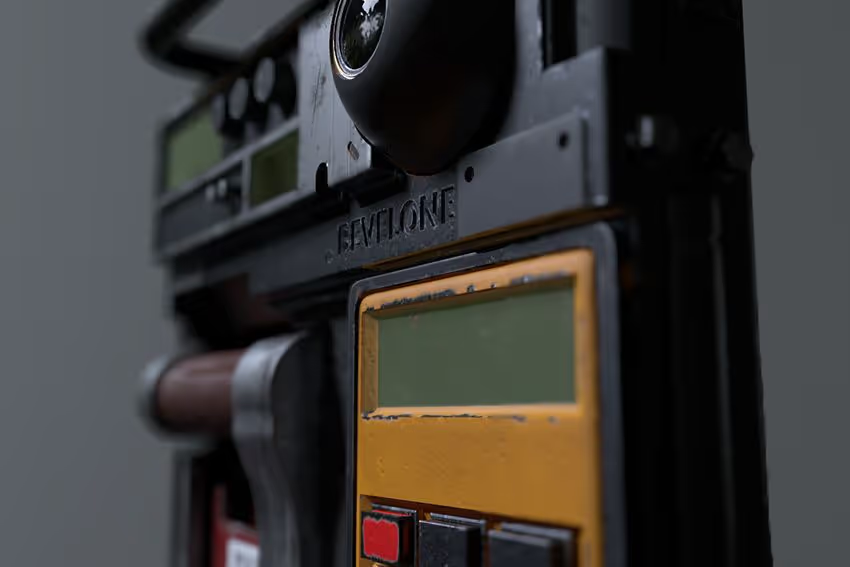
Here is an example of the model you’ll end up with when you complete the series if you follow along.
The tutorials series focuses on modeling with boolean only, however, I share some tips towards the end on how to render with Keyshot.
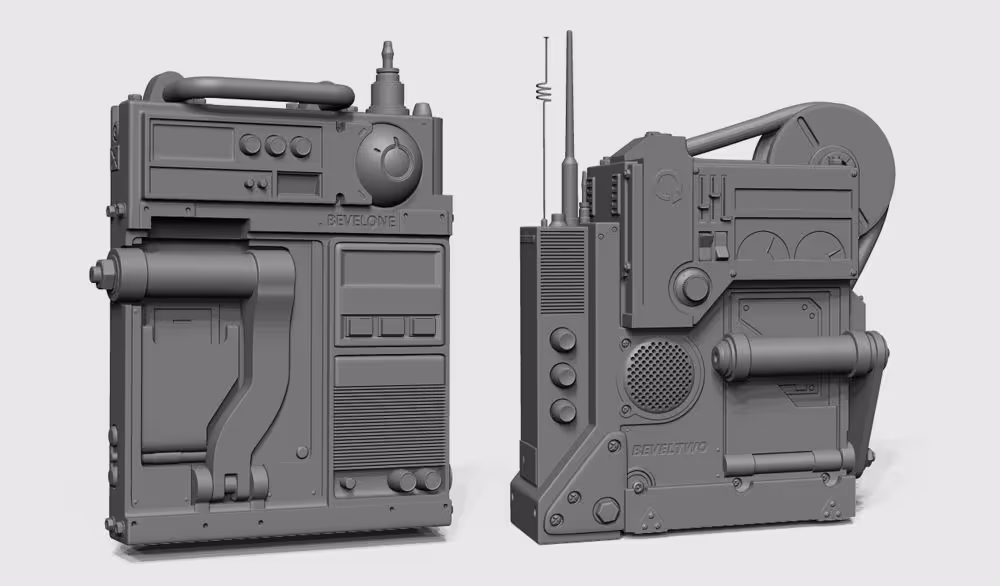
These are a couple of test objects I did while planning this series that you might want to use as reference:
This series was recorded with ZBrush 4R8 (P2), and if you want to follow along, you need to have this version as the Live Booleans system is not available in previous versions of ZBrush
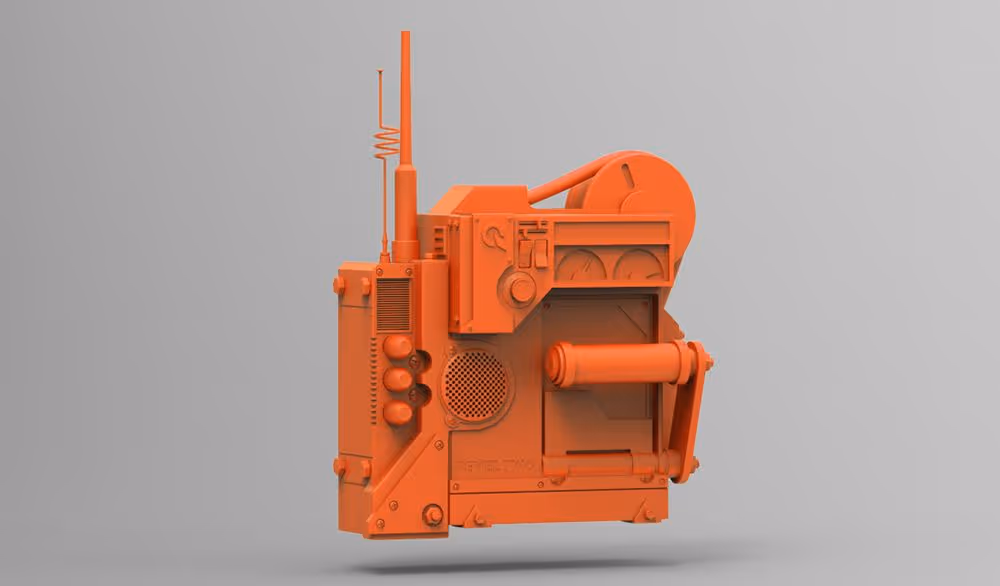
Alternative renders
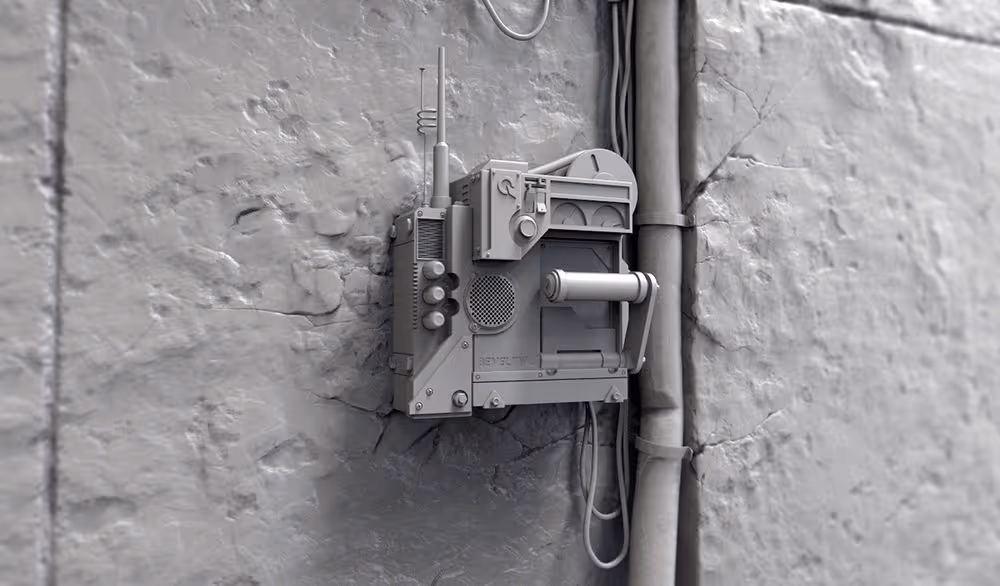
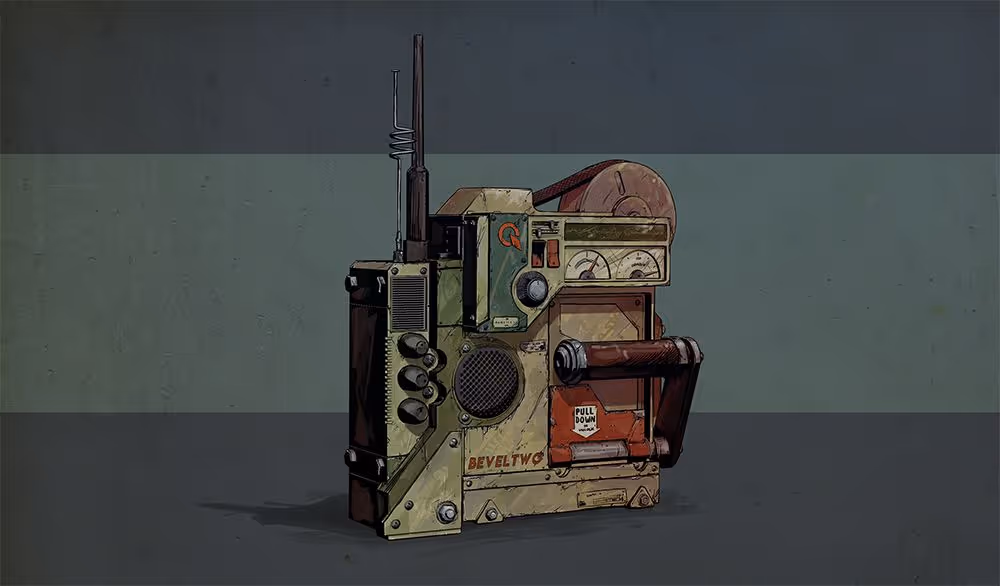
Below are some alternative renders of the final model from this intro series. For the first image, I added a simple geometry to create the wall, cables, and tube. The surface details of the wall were sculpted using a couple of custom brushes from the ZBrush Advanced Brushes Pack – ROCKS. For the second image, I used a comic material from the ZBrush Comic Style Render tutorial to render out the outline and then added some textures and color in Photoshop.
Other stuff created using BOOLEANS:
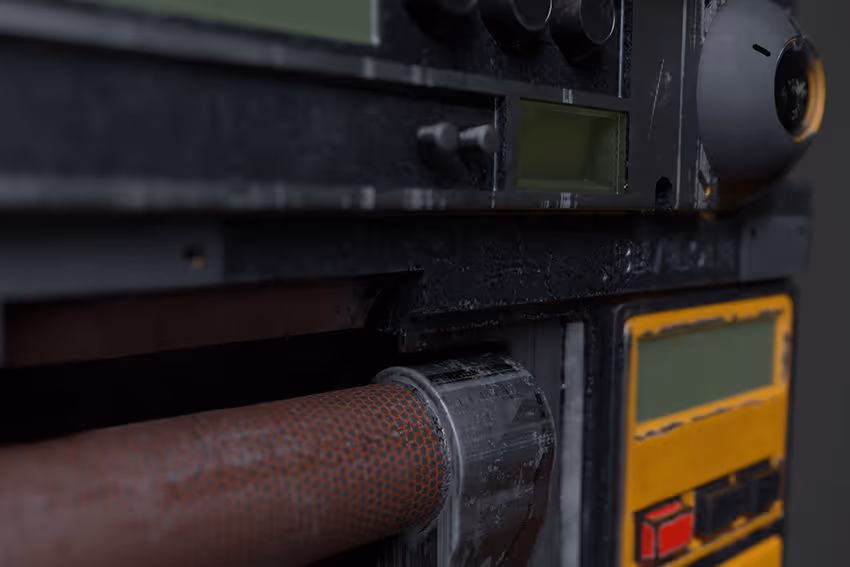
These are just a series of images created with the same process described in the tutorial series, but with a little more work on the textures and rendering side of things:


Final model and IMM brush!
With this Intro series, I’m sharing the basic insert IMM brush with the dials and switches and I’m also including the final model before running the ‘Make Boolean Mesh’ process and the resulting mesh with all the polygroups already assigned.
Check it out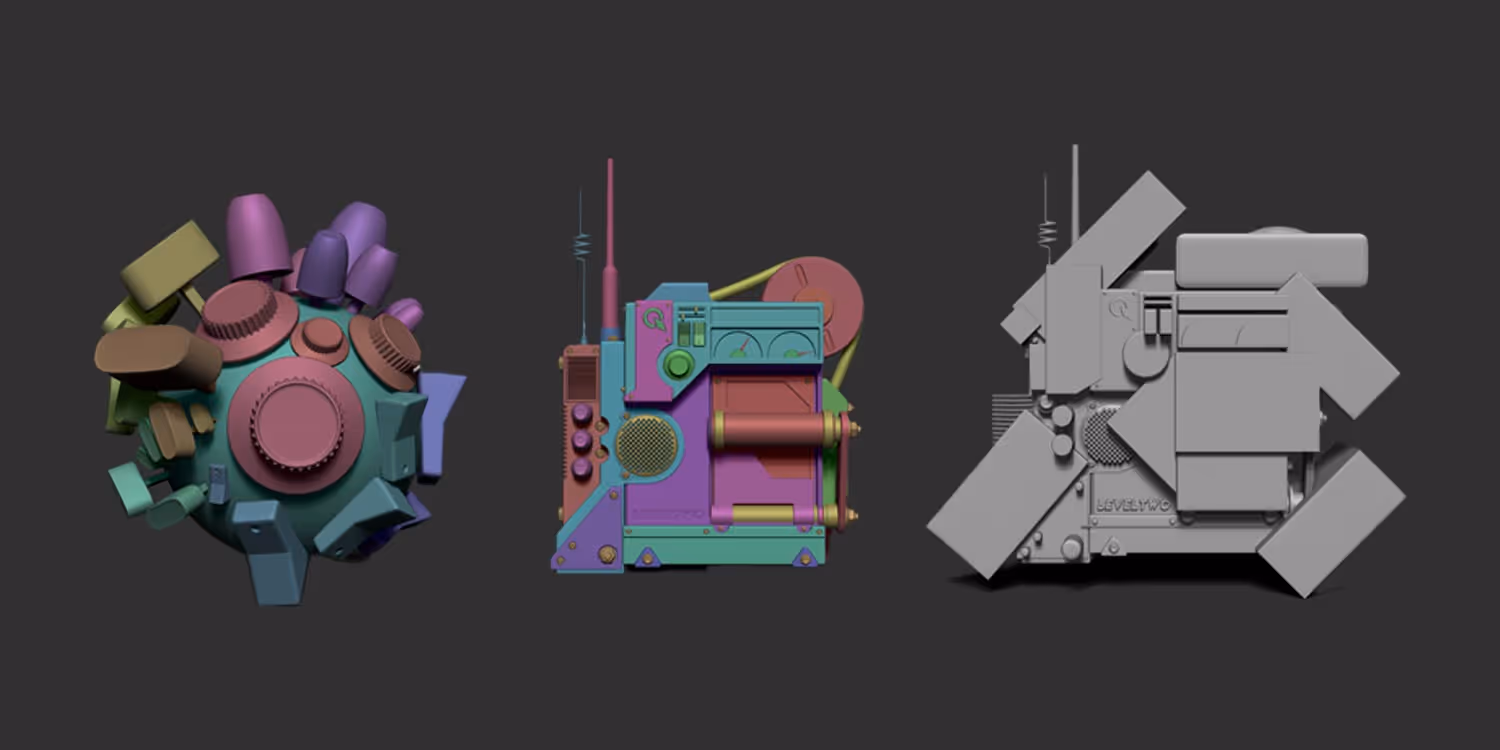


.webp)

