.jpg)


Why this brush matters
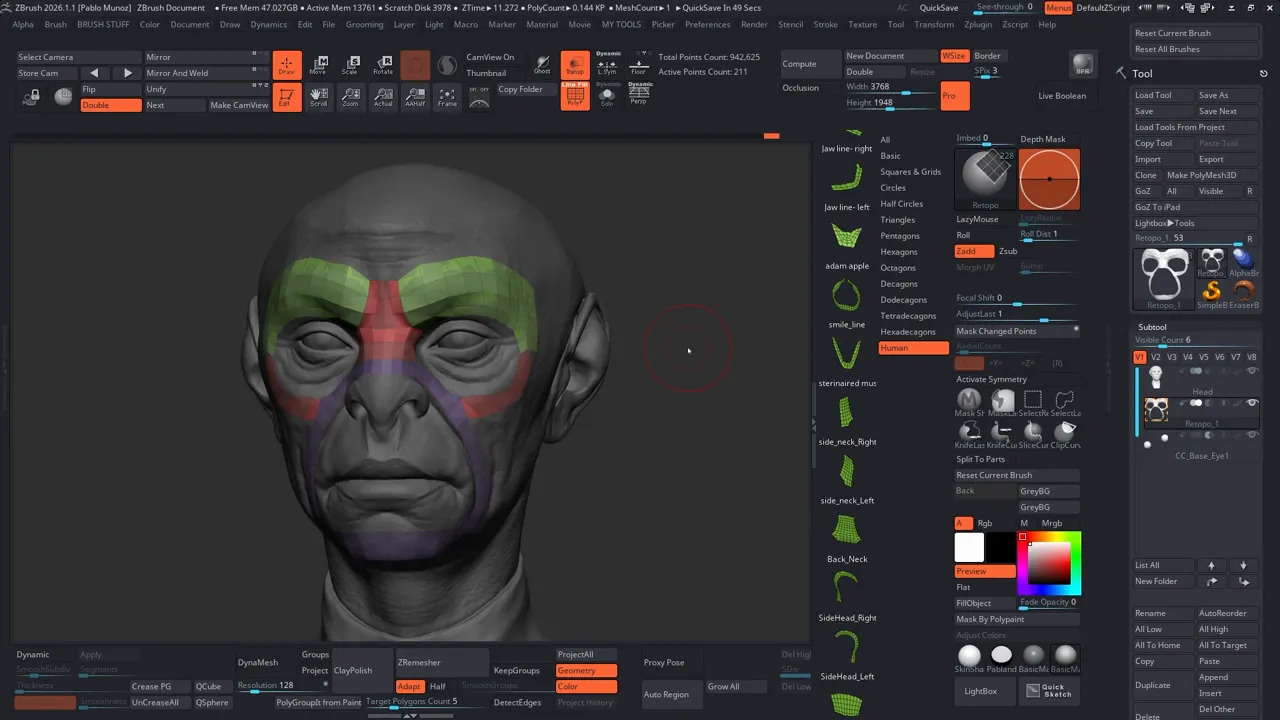
Retopology in ZBrush has always been possible, but it was fragmented across a handful of tools. The Retopology brush consolidates workflow: drop virtual points on your sculpt, connect them into quads with the spacebar, and use a few modifiers to extrude, move, smooth, and snap. That means cleaner base meshes for projection, better subdivision control, and a faster manual approach when automatic retopology don’t give me what I want.
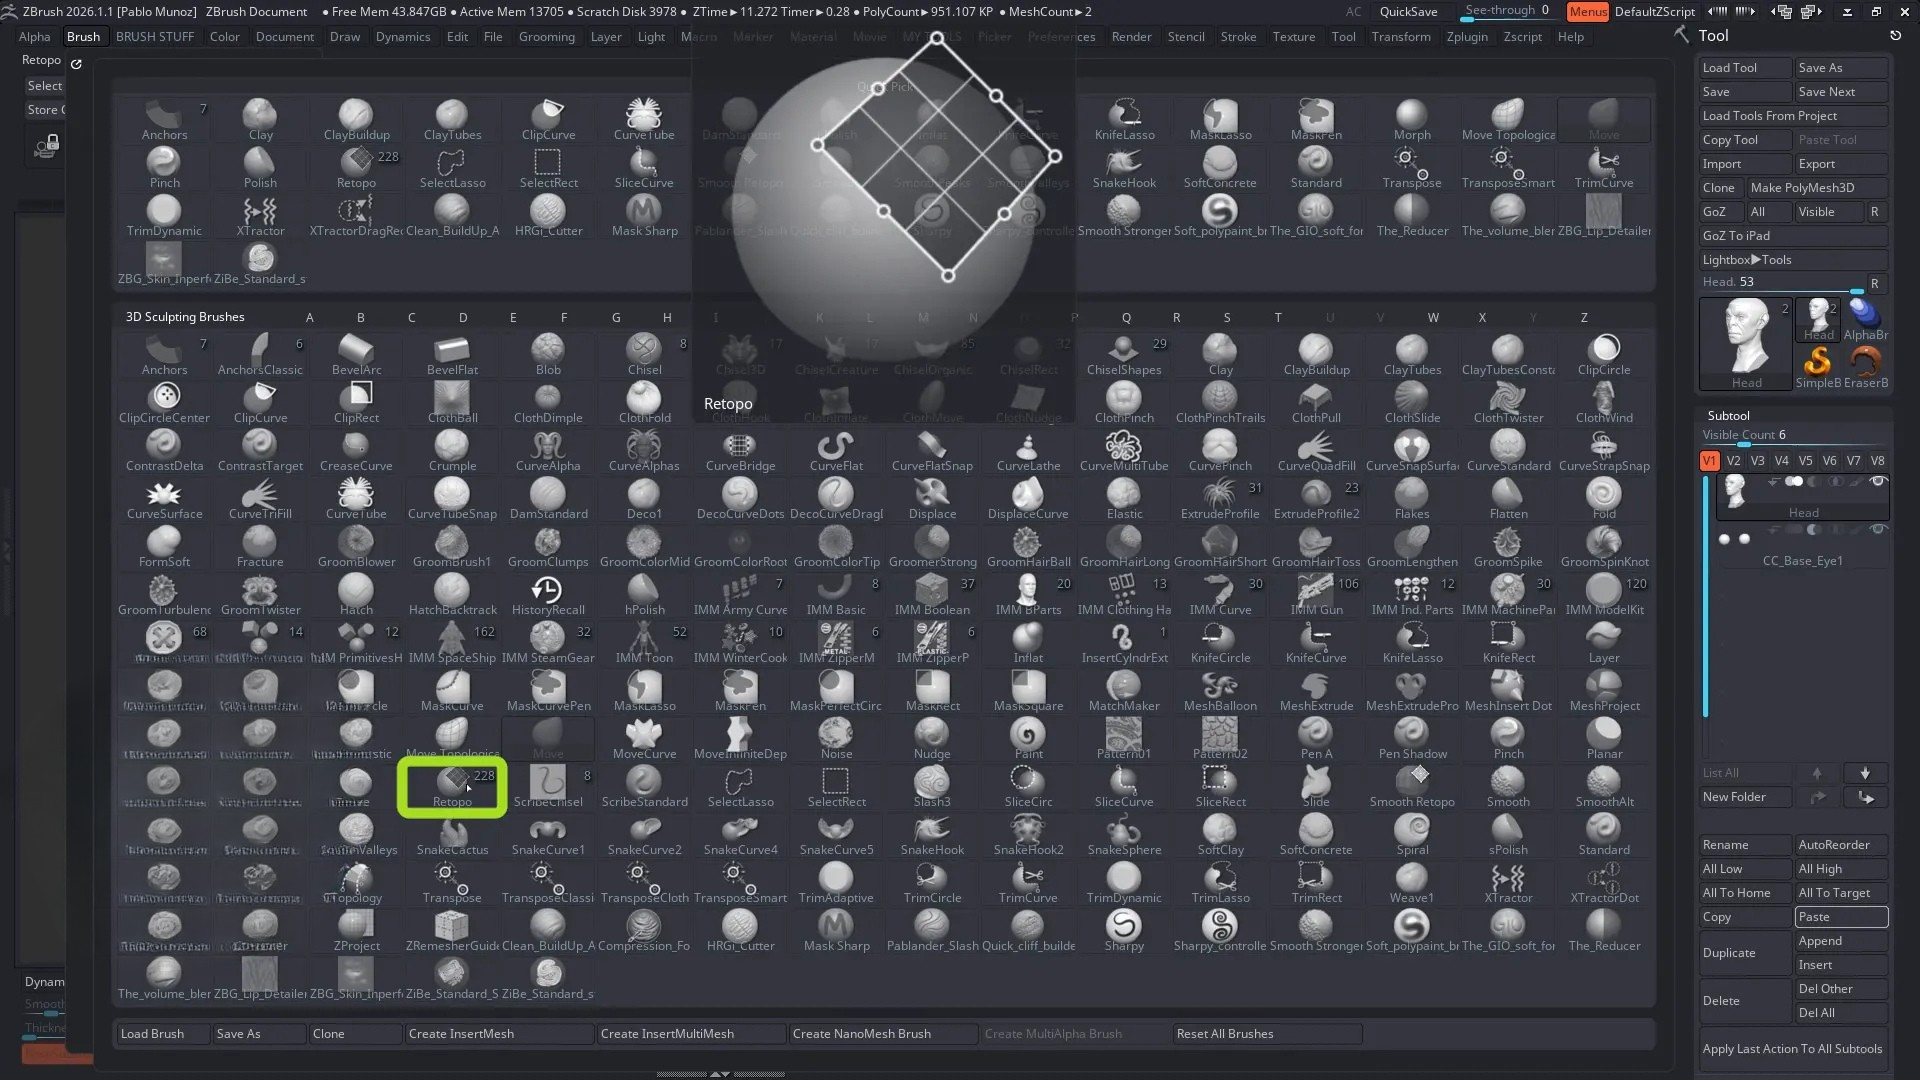
Where to find the Retopo brush
Open the Brush palette and select the Retopology brush (shortcut: B > R > E). It ships with presets and patches for common human parts and loops that you can drop into your mesh for a fast starting point.
Quick setup tips
To maximize your workspace, enter full-screen view by collapsing trays and pressing Tab. For IMM brush placement, go to Preferences → Interface → IMM Viewer to position the brush thumbnail on your preferred side of the UI. Always work on a copy: when you click your sculpt with the Retopo brush, you’ll be prompted to create a new retopology and select Yes to generate a new, lightweight retopo subtool that projects onto any visible geometry.
Two important notes:
- Brush size matters: if the spacebar cursor isn’t large enough to connect four points, either zoom out or right-click to access Draw Size and increase it. Spacebar and Draw Size are tightly linked for this brush.
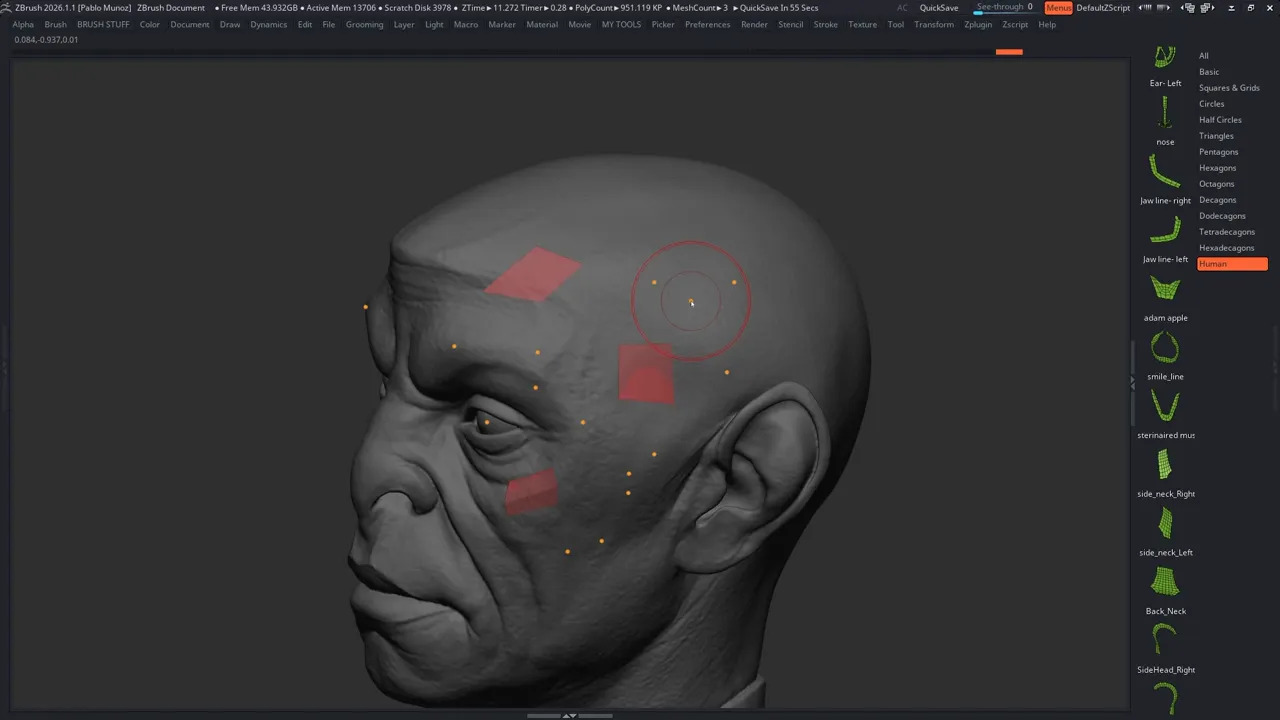
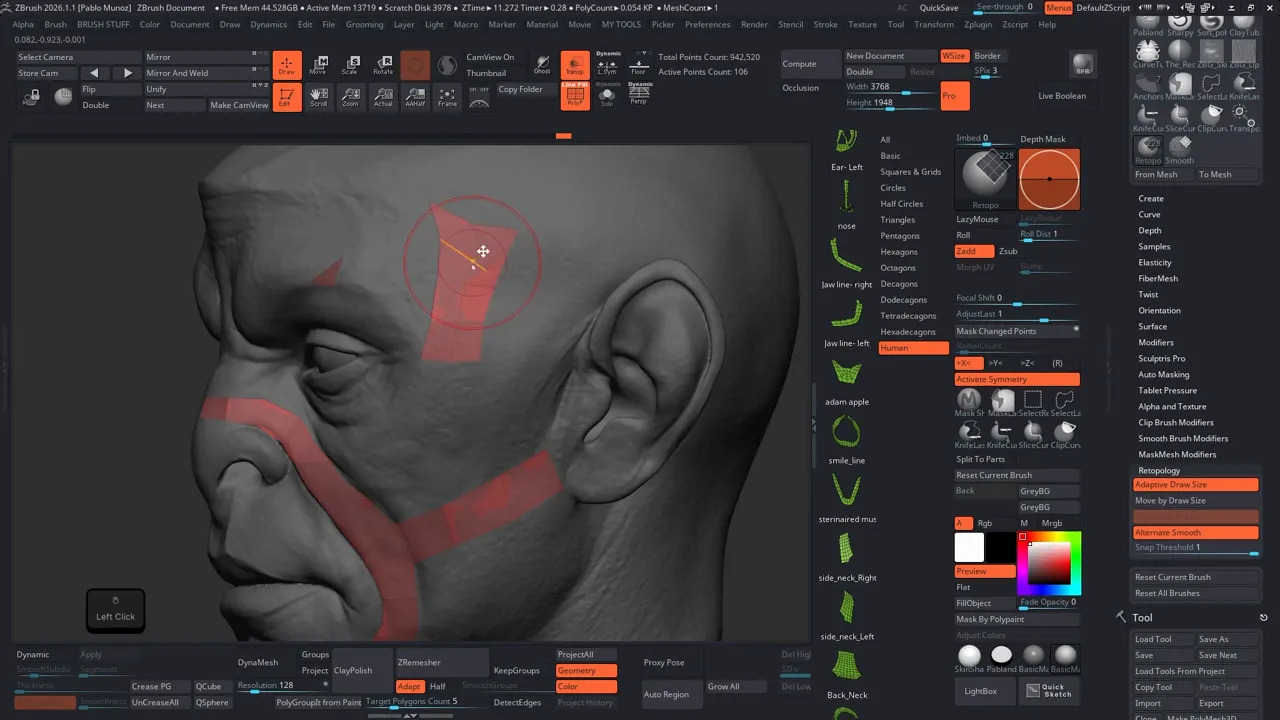
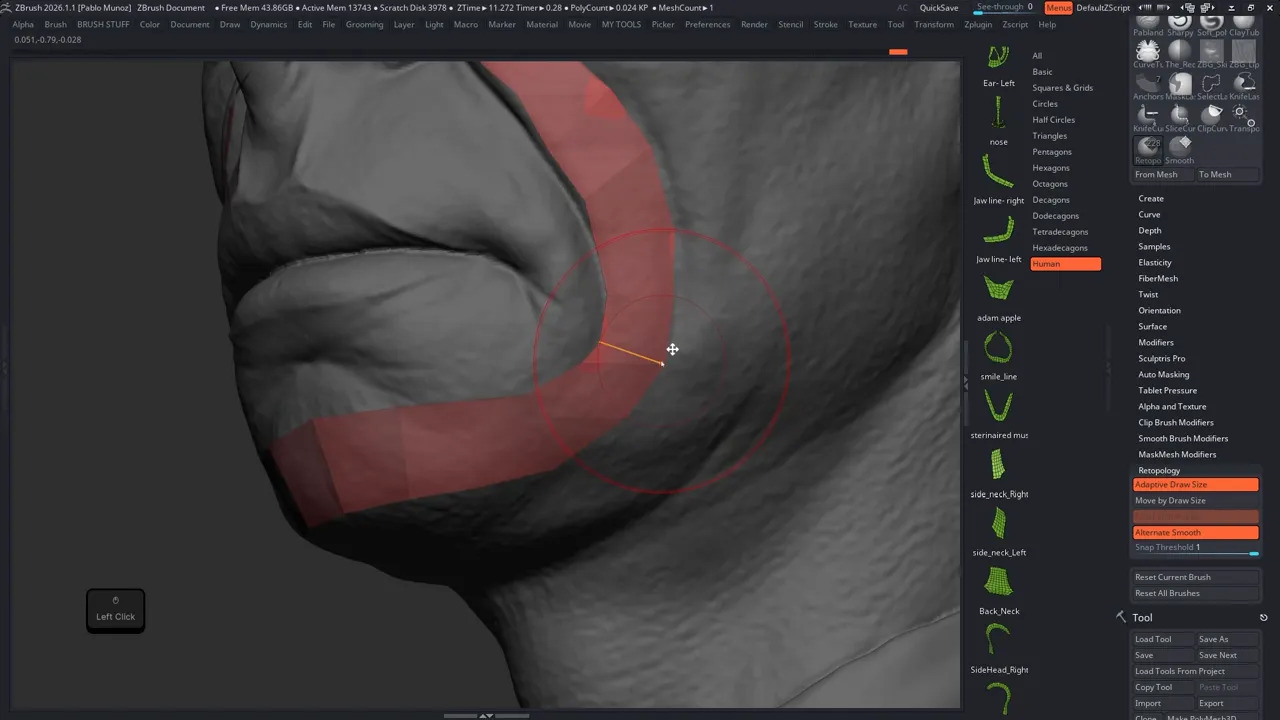
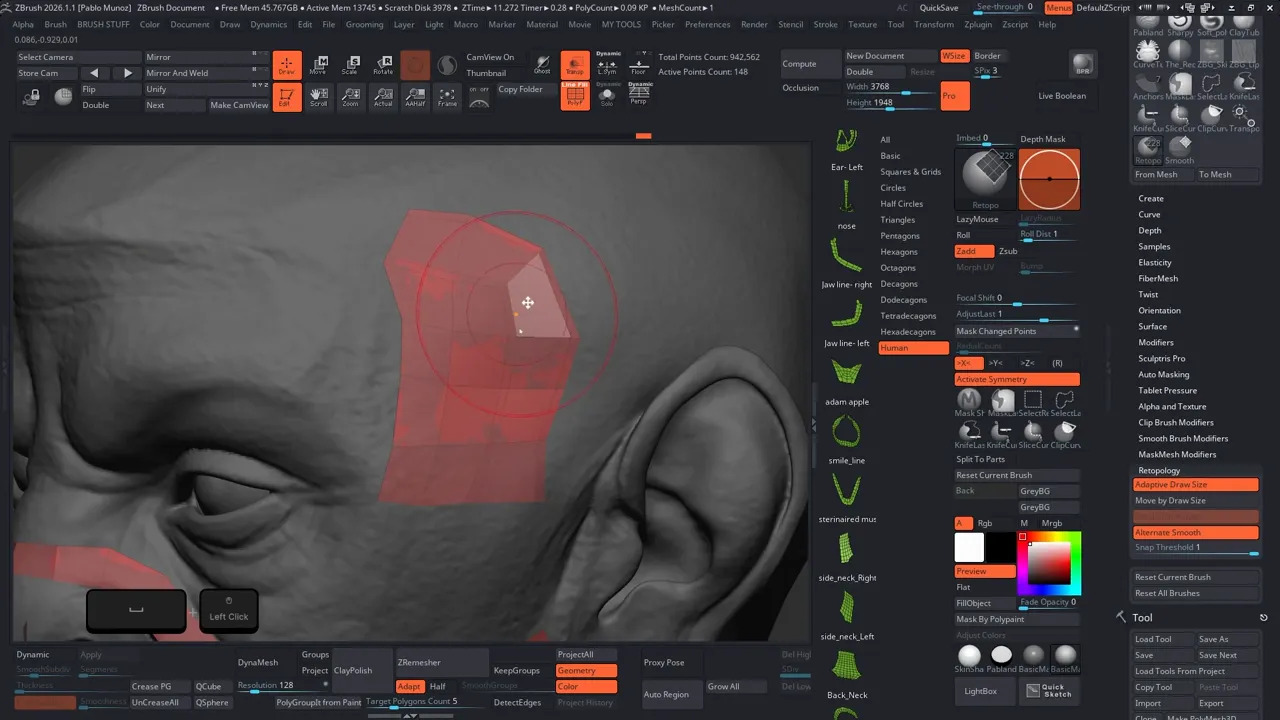
- Work by loops: place your loop points first so the mesh flow is obvious, then fill in the patches. I usually set loops along muscle insertions or natural anatomical flows, then connect them.
Modifiers and what they do
The Retopo brush uses several familiar modifiers worth memorizing. Holding Spacebar toggles polygon creation and insert edge loop mode, and dragging while holding it creates consistent loops. Using Alt in point or edge mode switches to extrusion behavior, allowing you to quickly extrude edges or points to build new quads. Holding Ctrl while click-dragging removes accidental points, similar to erasing a mask. Pressing Shift activates the built-in Smooth Retopology brush so you can even out uneven areas without leaving the Retopo brush, and pressing X toggles symmetry for faster mirrored retopology.
Move by draw size
There’s a setting in the Retopology brush options called Move by draw size. When enabled, moving one point pulls others within your brush radius. I keep this handy in my UI and toggle it depending on whether I want to nudge a single vertex or a whole chain.
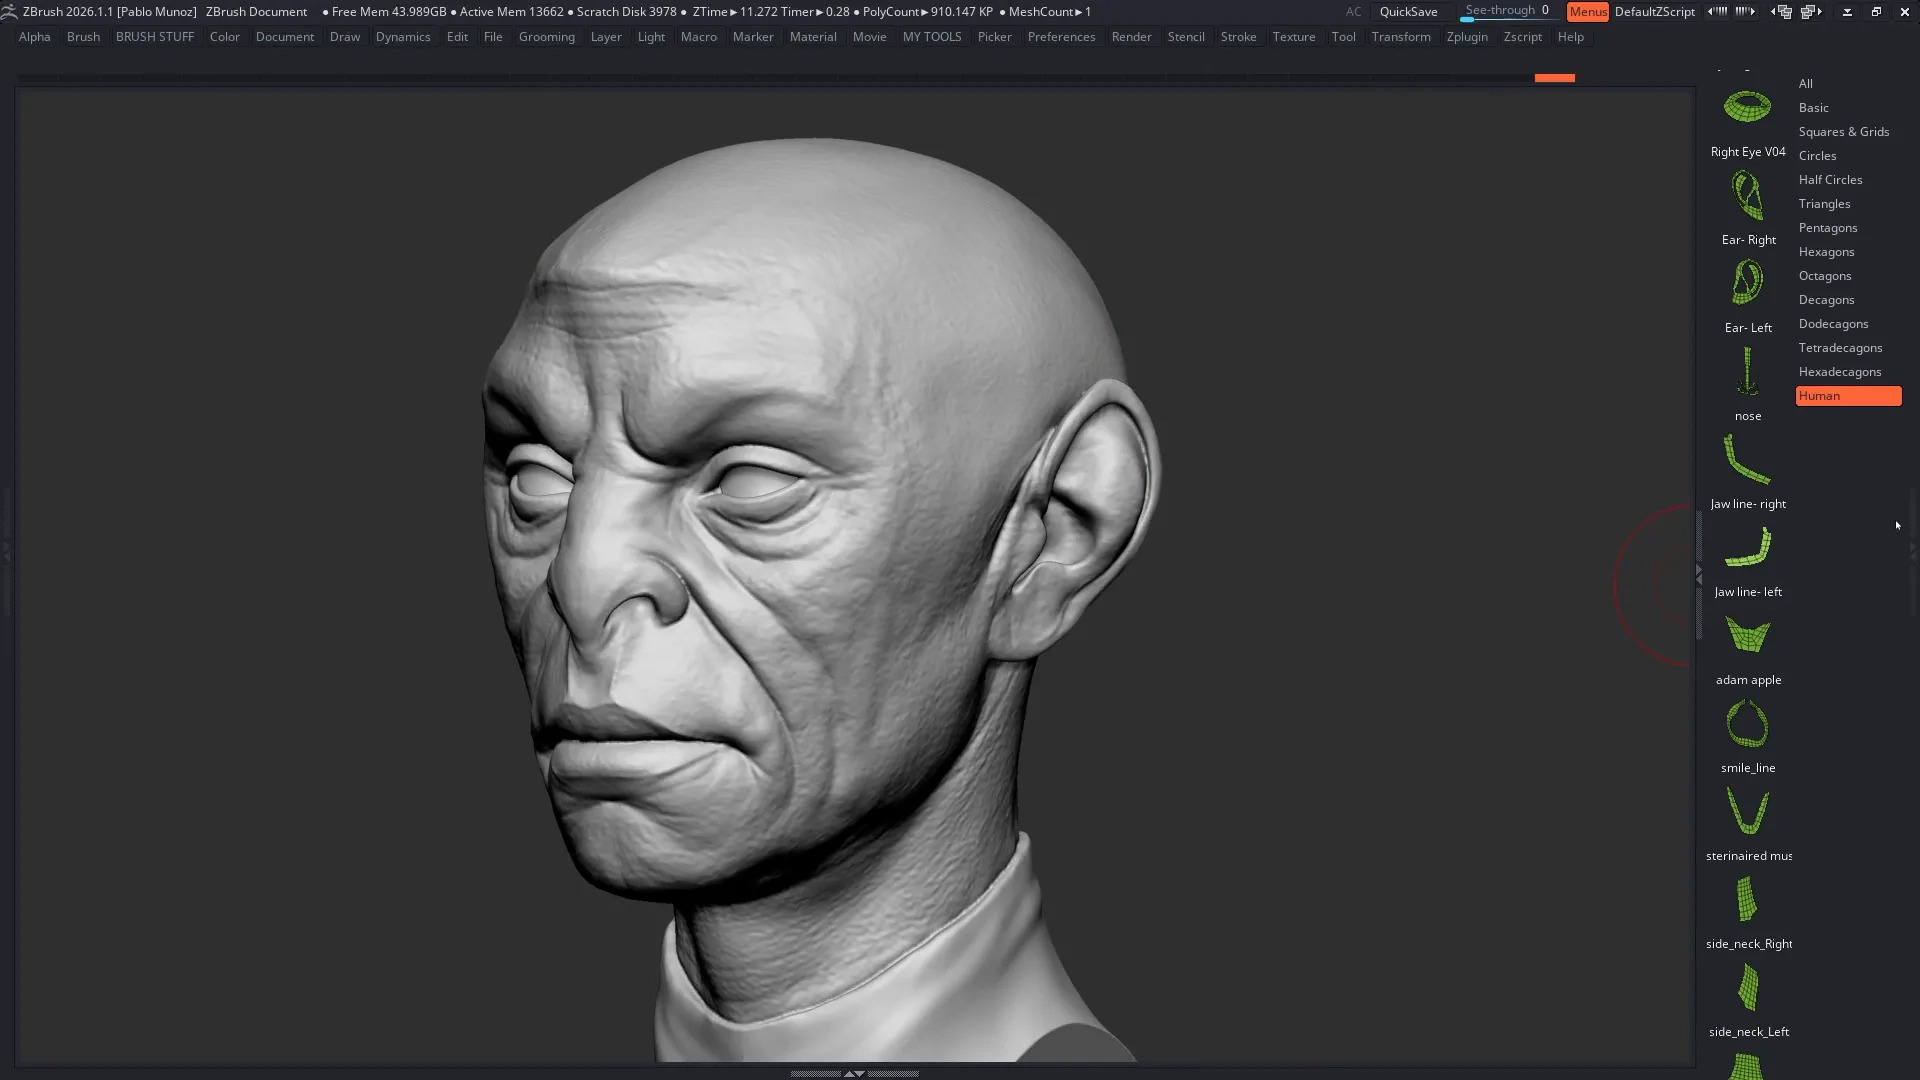
Smart patches and presets
Retopo comes with patch presets for common anatomy such as eyes, ears, brows, and noses, making them excellent time-savers. Click once to place a pivot point where you want the patch to project, then hold Alt and drag to scale and rotate the patch around that pivot. The preview is interactive and supports symmetry. Click outside the patch to accept it, and use the Spacebar and move tools to blend it smoothly into the surrounding topology.
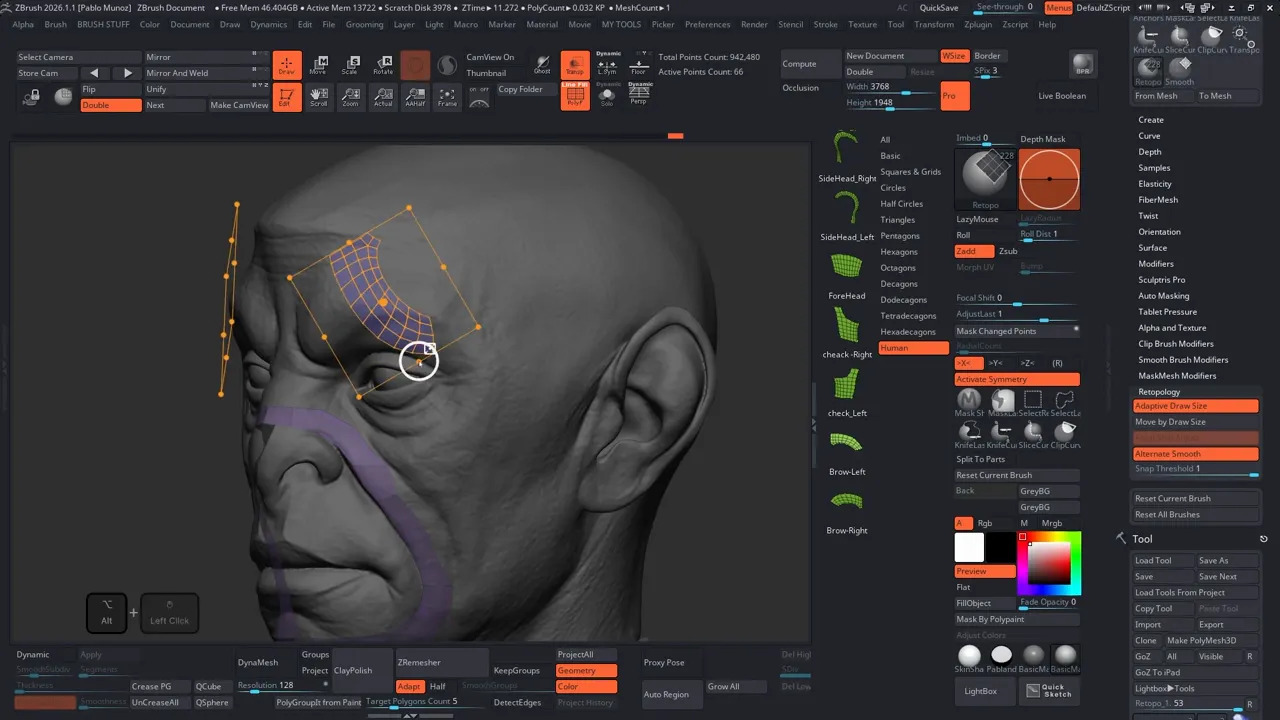
My approach is to add a patch as a starting block, then use the patch edges to guide manual sculpting and loop placement. The patch is virtual until you accept it, so you can reposition, skew, or resize before committing.
Fast loops, multi-loop insertion, and cleanup
Inserting multiple loops is easy: press Spacebar, click to create an edge loop, then release Spacebar and drag left-right to add or remove parallel loops. This is far faster than inserting loops one at a time.
To delete an edge loop, hold Alt and drag across the loop region. A red line indicates what will be removed. This is the fastest cleanup method once you spot density that’s unnecessary.
Integration with other ZBrush tools
Retopology integrates smoothly with the rest of ZBrush’s ecosystem. After creating a retopo mesh, you can use Polygroups → Auto Groups to separate disconnected patches, enter Solo mode to hide unwanted parts and remove stray pieces via Geometry → Modify Topology → Delete Hidden, and restore symmetry with Mirror and Weld after asymmetrical edits. Finally, use Spacebar to clean up the center line.
How to save time
Start by placing loops first, as defining clean flow early reduces cleanup later. Adjust the snap threshold in the brush settings to control how close points need to be before snapping together. Use Alt + drag to quickly lay down long patches of points that conform to the surface volume. And don’t fear triangles — topology is a tool, not a rulebook. Triangles are perfectly acceptable when they improve deformation or simplify geometry for your pipeline.
Common mistakes and how to avoid them
Avoid retopologizing a dense mesh directly; instead, create a new retopo subtool rather than editing the high-resolution sculpt. If the Spacebar cursor is too small to close a polygon, zoom out or increase the Draw Size via right-click. If moving one point affects many surrounding points, toggle Move by Draw Size off in the brush options.
Final thoughts
The Retopology brush is a flexible manual retopology system that accelerates the parts I used to dread. It takes a few sessions to internalize spacebar-driven creation, Alt extrudes, and draw-size movement, but once those habits are in place, I can build clean base meshes quickly and maintain control over loop flow and deformation areas.
If you want a practical workflow: set loops first, use patches for repetitive zones, smooth and refine with Shift, and keep Move by draw size accessible so you can toggle between macro and micro adjustments.
Give it time, and the brush will change how you approach retopology.

From Concept to Render: Sci-Fi Character Pipeline
Character Creator 5 greatly improves the process for quick character iteration and customization adding powerful new tools. This tutorial series guides you through a simplified workflow for creating a SciFi character from start to finish!
Check it out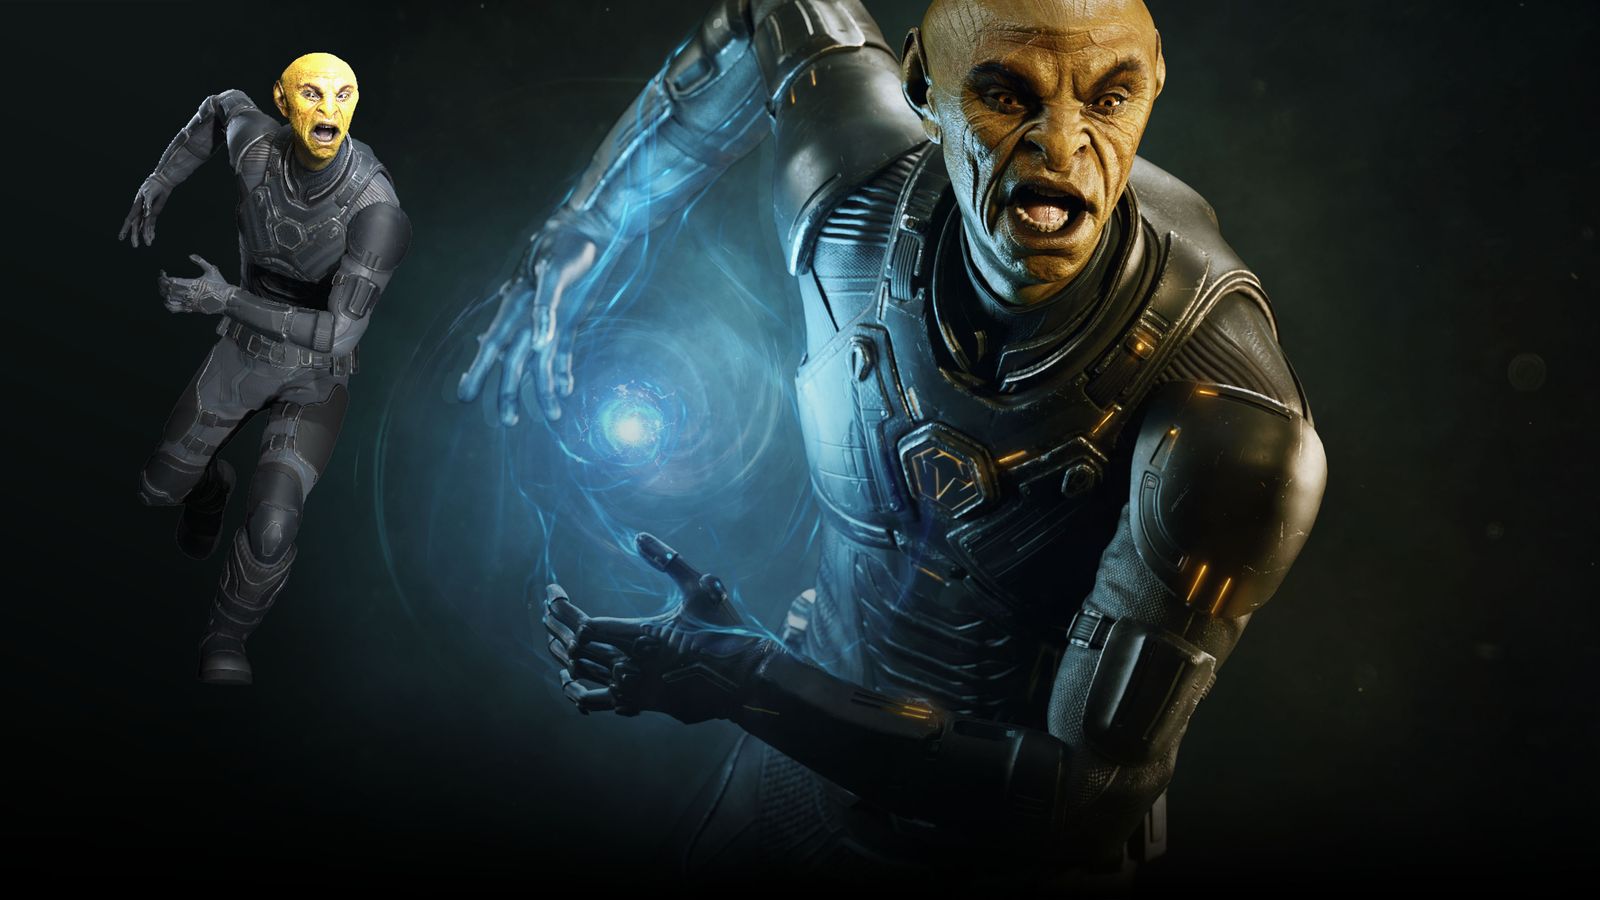


.webp)

