


Understanding ZBrush
When I first started using ZBrush, I wasn’t confused because it was complicated… I was confused because it didn’t behave like any other 3D software I’d used before. Nothing felt intuitive. The interface was dense, the canvas behaved oddly, and half the time I wasn’t even sure if I was working in 2D or 3D.
What eventually clicked wasn’t a shortcut, a brush, or a hidden setting. It was understanding that ZBrush operates on its own internal logic. Once you stop forcing it to behave like Maya or Blender and instead learn how it expects you to work, the software fades into the background.
That’s when sculpting becomes the focus…. and a lot of fun!
Remove Friction Before You Sculpt
Before I sculpt anything, I remove friction.
ZBrush is ‘visually noisy’... Too many UI elements slow down decision-making. I like to customise the interface so only the tools I actually use are visible. We can start with Edit, Draw, Move, Scale, and Rotate. Everything else gets stripped out using Customize > Enable Customize > then Alt+Click and drag out into the canvas
This isn’t about aesthetics. It’s about reducing the cognitive load.
Every unused button is a distraction.
.png)
One of the first conceptual hurdles in ZBrush is the 2.5D canvas. ZBrush isn’t just a 3D viewport; it’s also a painting surface. If you draw a primitive and can’t rotate it, you’re not sculpting… you’re painting pixols (not a spelling error… Pixols with ‘O’ not pixels) onto the document.
The rule is simple:
Draw once. Press T immediately.
If the canvas gets polluted with accidental strokes, Ctrl + N resets it. That’s it.
Navigation is non-negotiable. If camera movement feels awkward, sculpting becomes exhausting. so this is the first thing I suggest you get right… personally, I rely entirely on right-click navigation:
- Right-click drag to rotate
- Alt + right-click to pan
- Ctrl + right-click to zoom
Once navigation becomes unconscious, your attention stays on form instead of mechanics.
Start With Structure, Not Detail
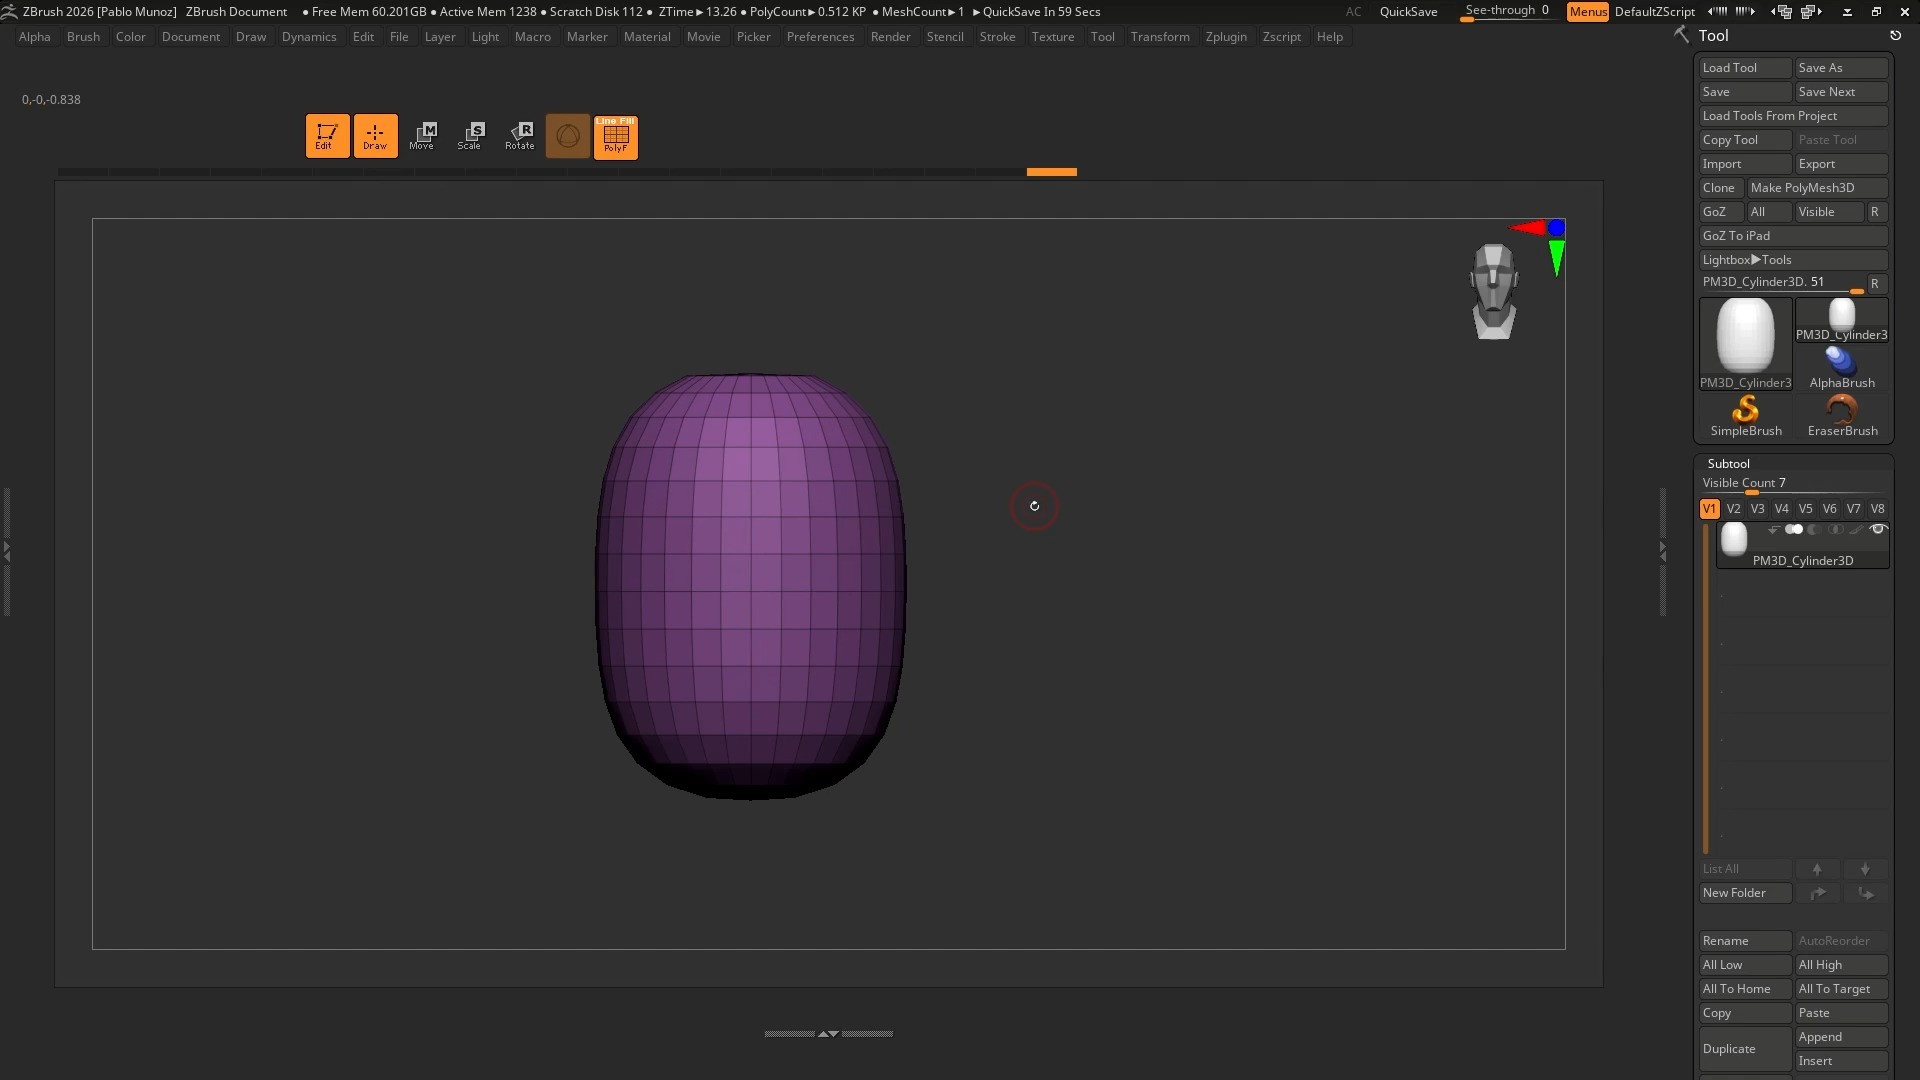
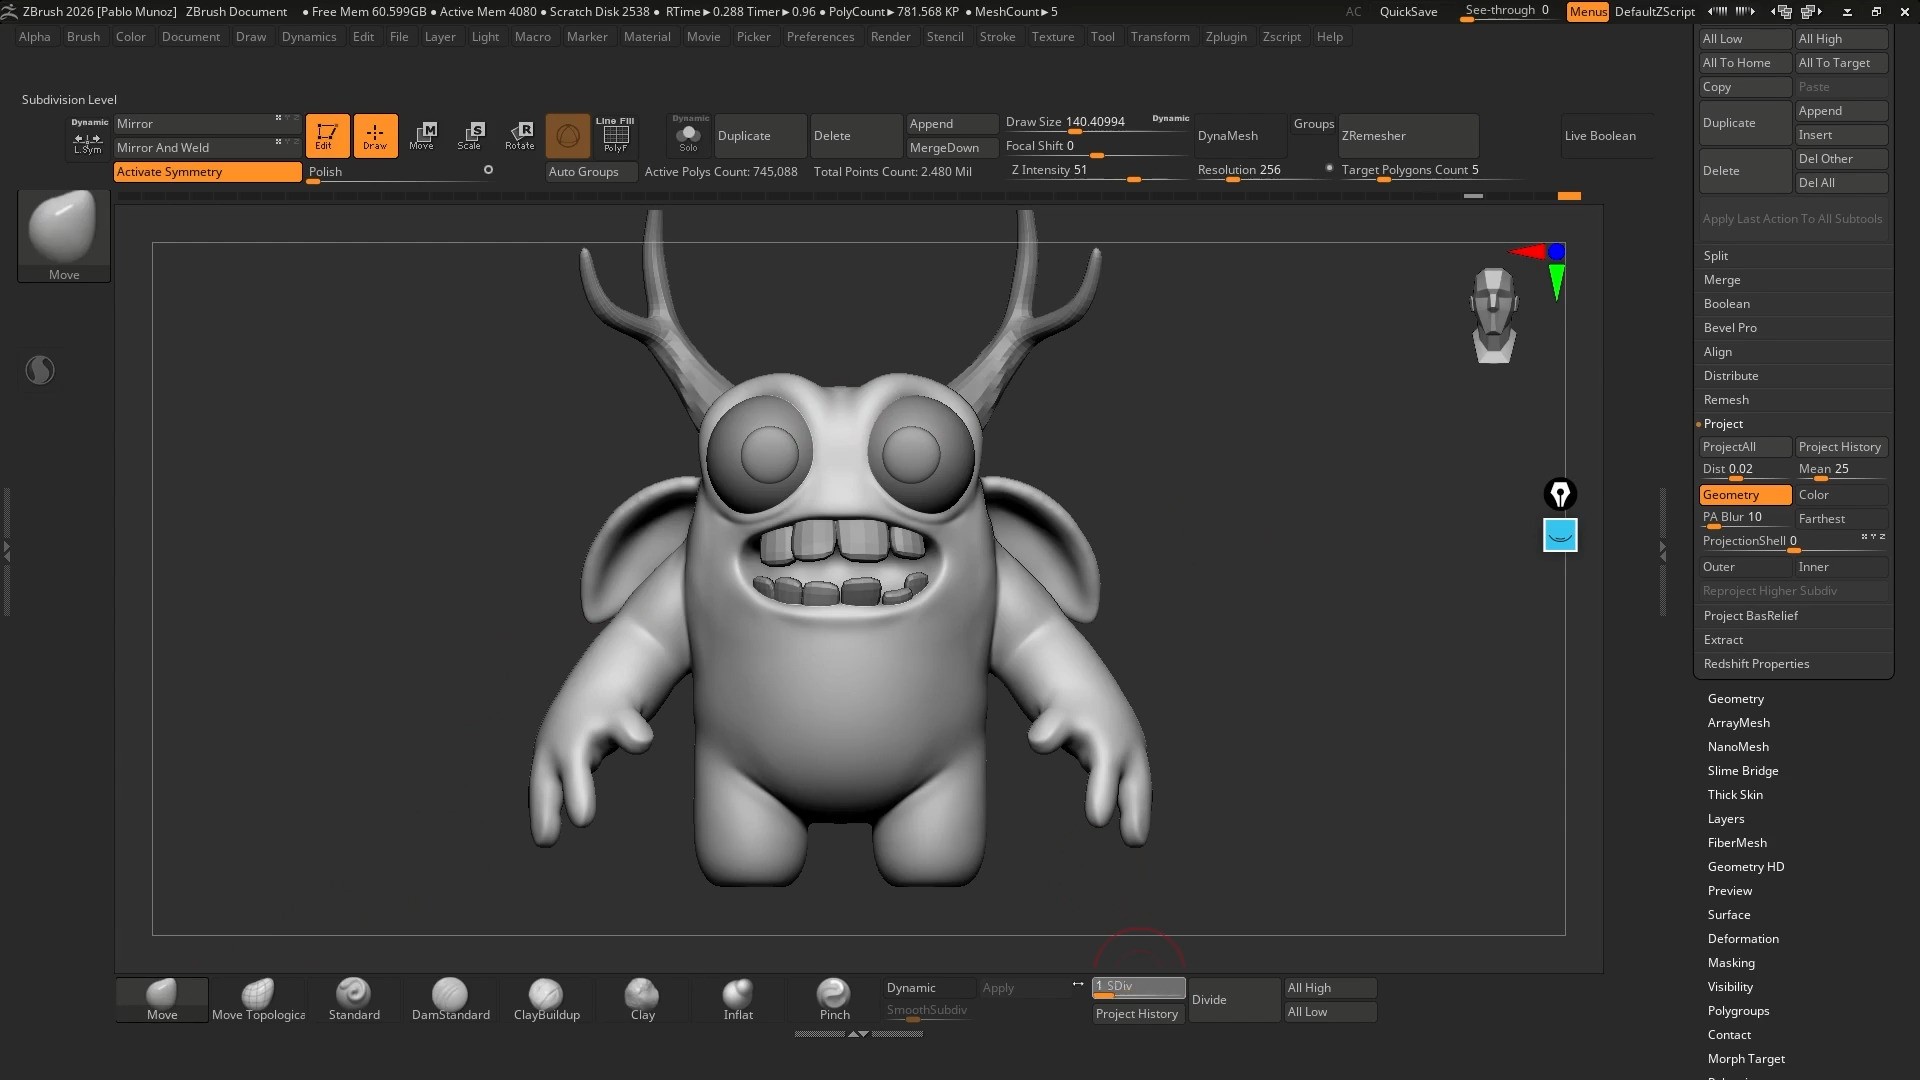
In ZBrush there are many ways of doing the same thing but instead of just jump into sculpting, In most cases, I start with structure, using primitives and the Gizmo. Primitives give you clean starting points… something no brush stroke can replicate easily.
Before doing anything else, every primitive gets converted using Make PolyMesh3D. Until you do this, you’re not working with editable geometry.
The Gizmo isn’t just a transform tool. It’s a ‘shaping system’. Using its Deformers, you could bend, taper, and twist forms while preserving clean volume. This lets you explore proportion and gesture without committing to destructive edits.
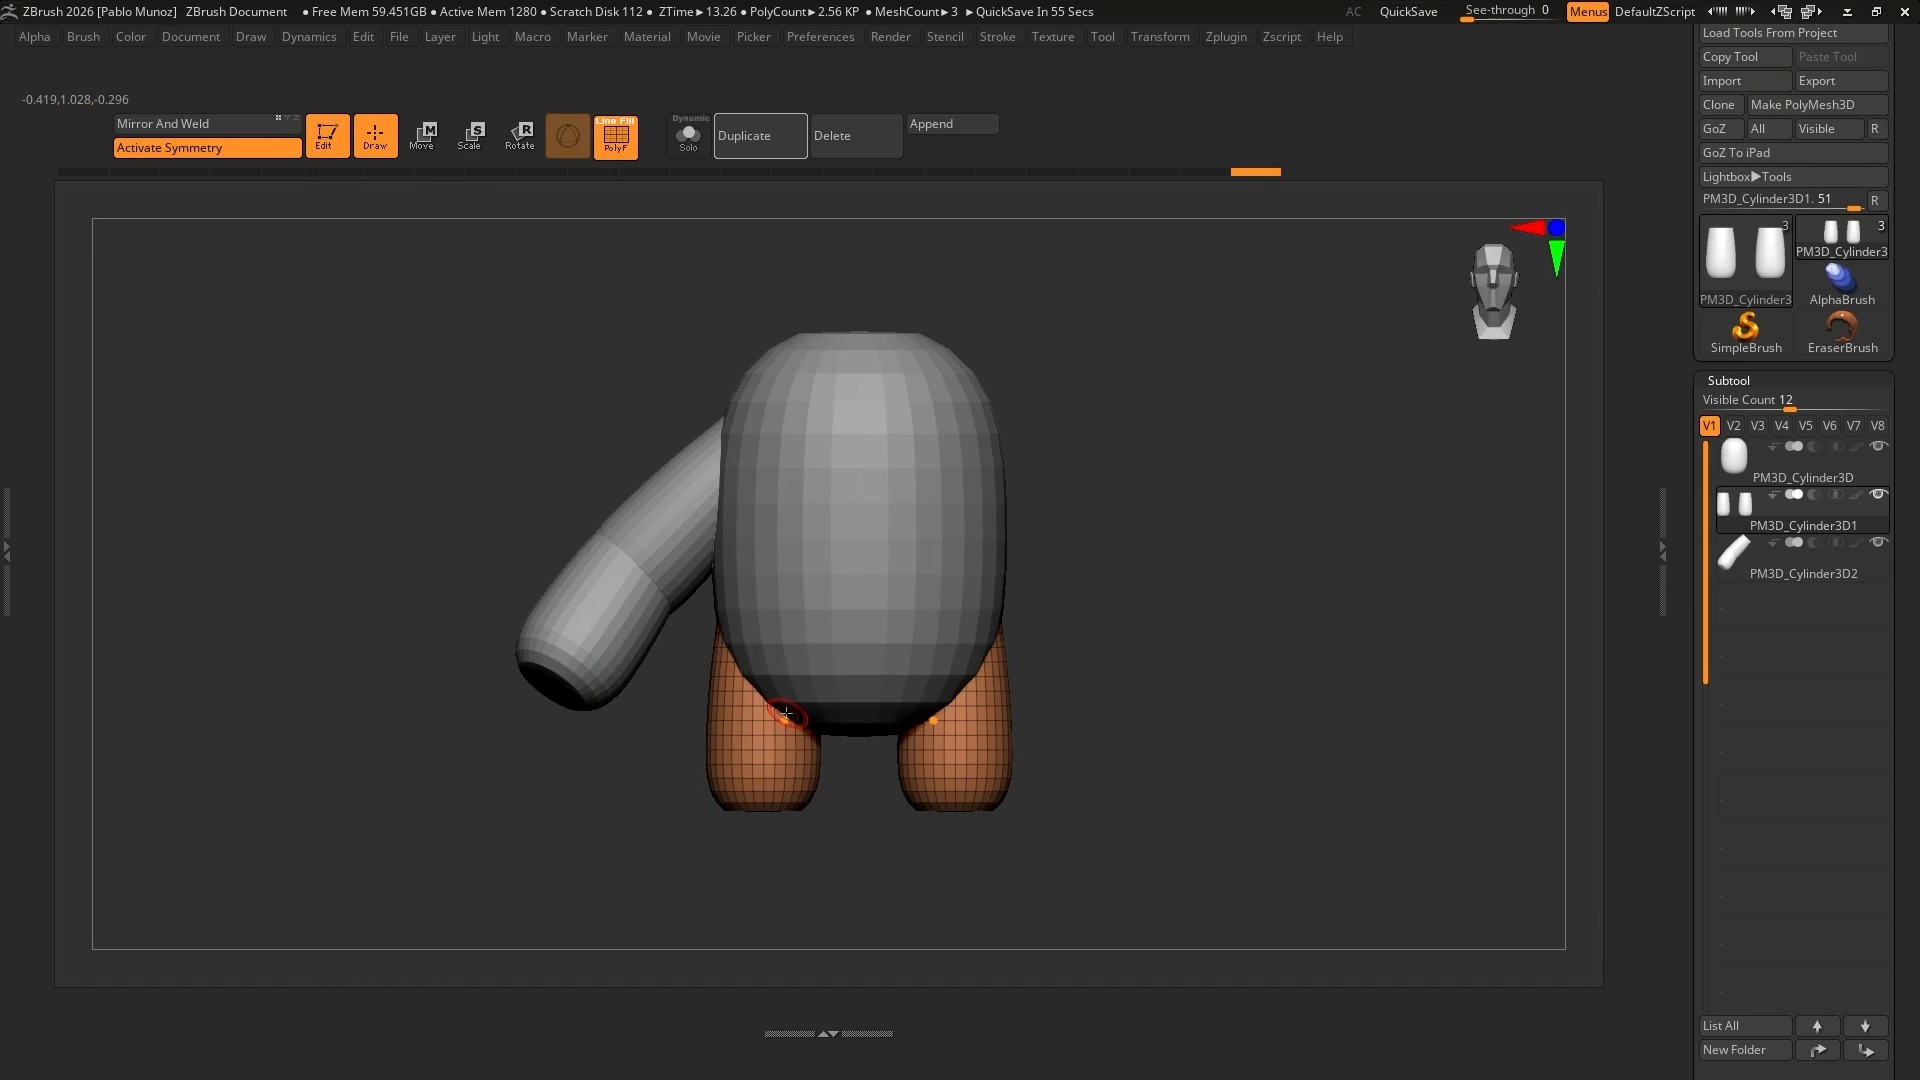
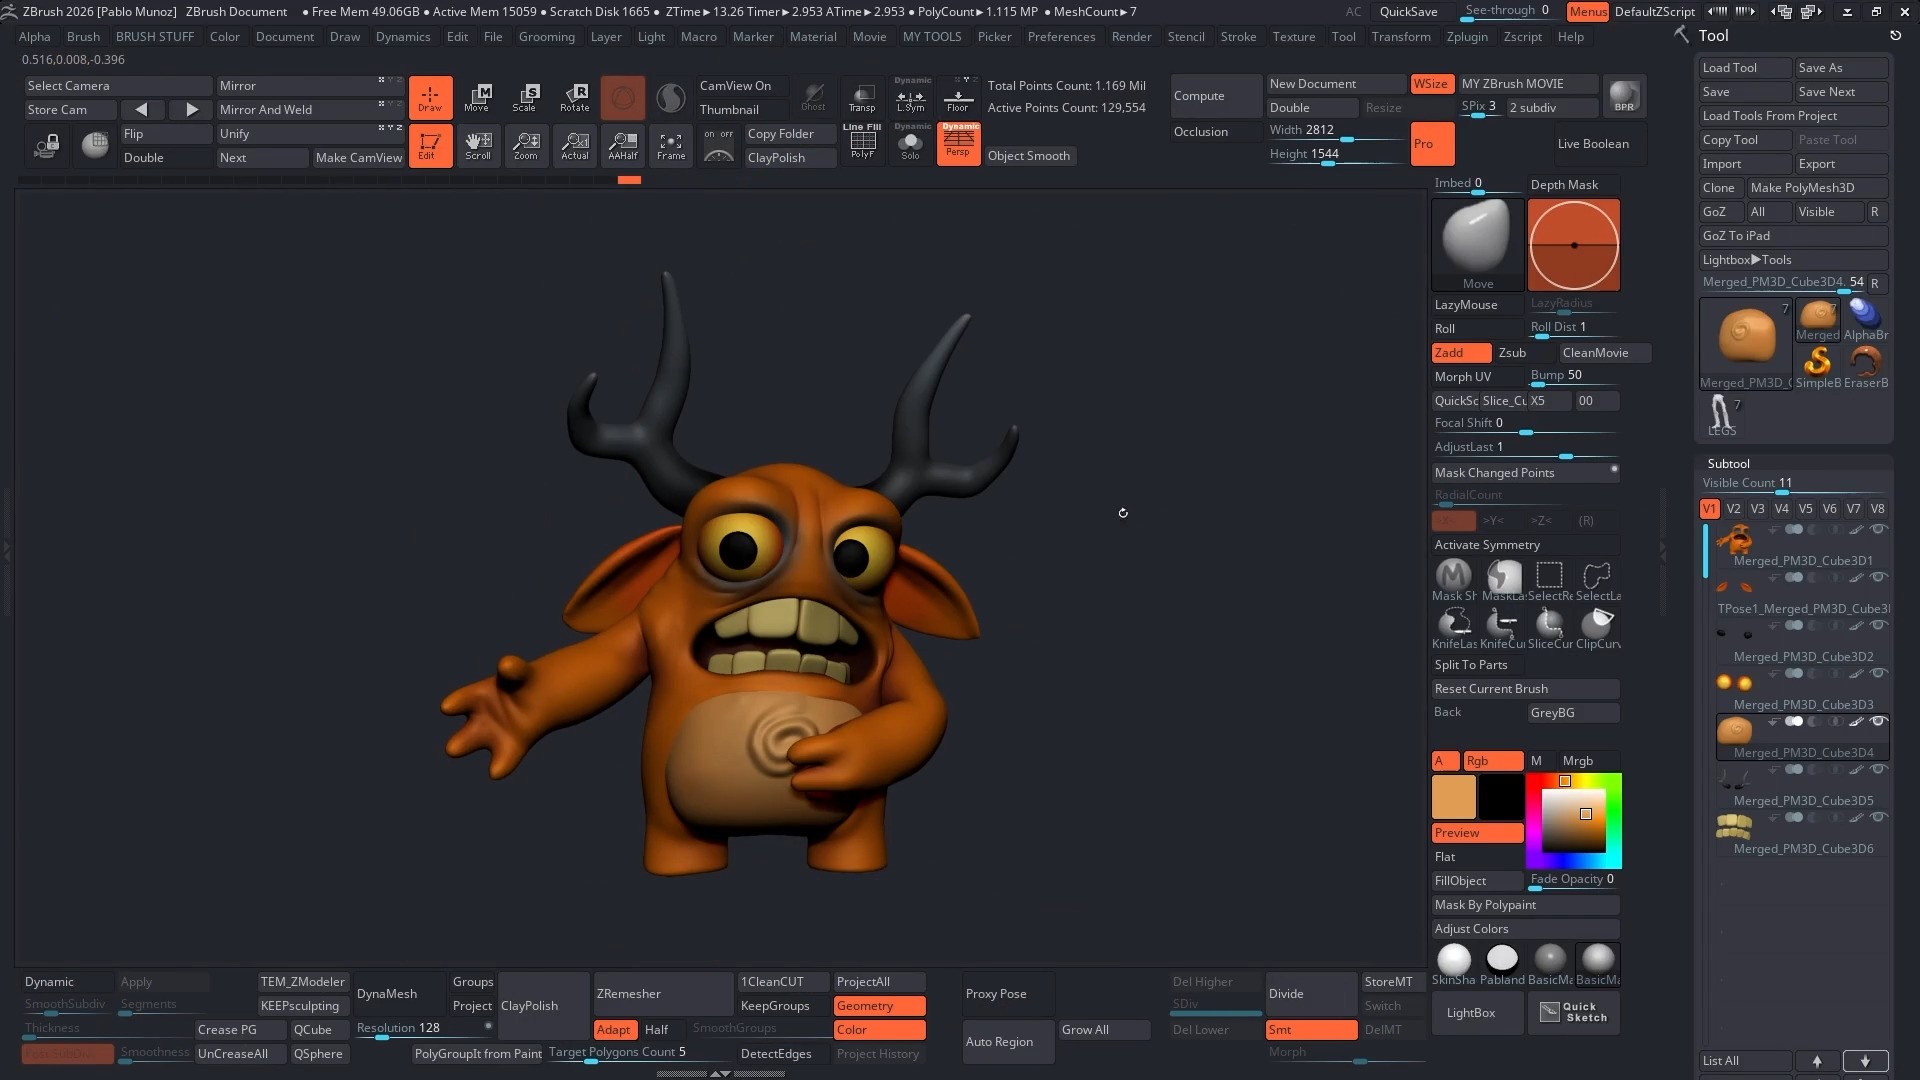
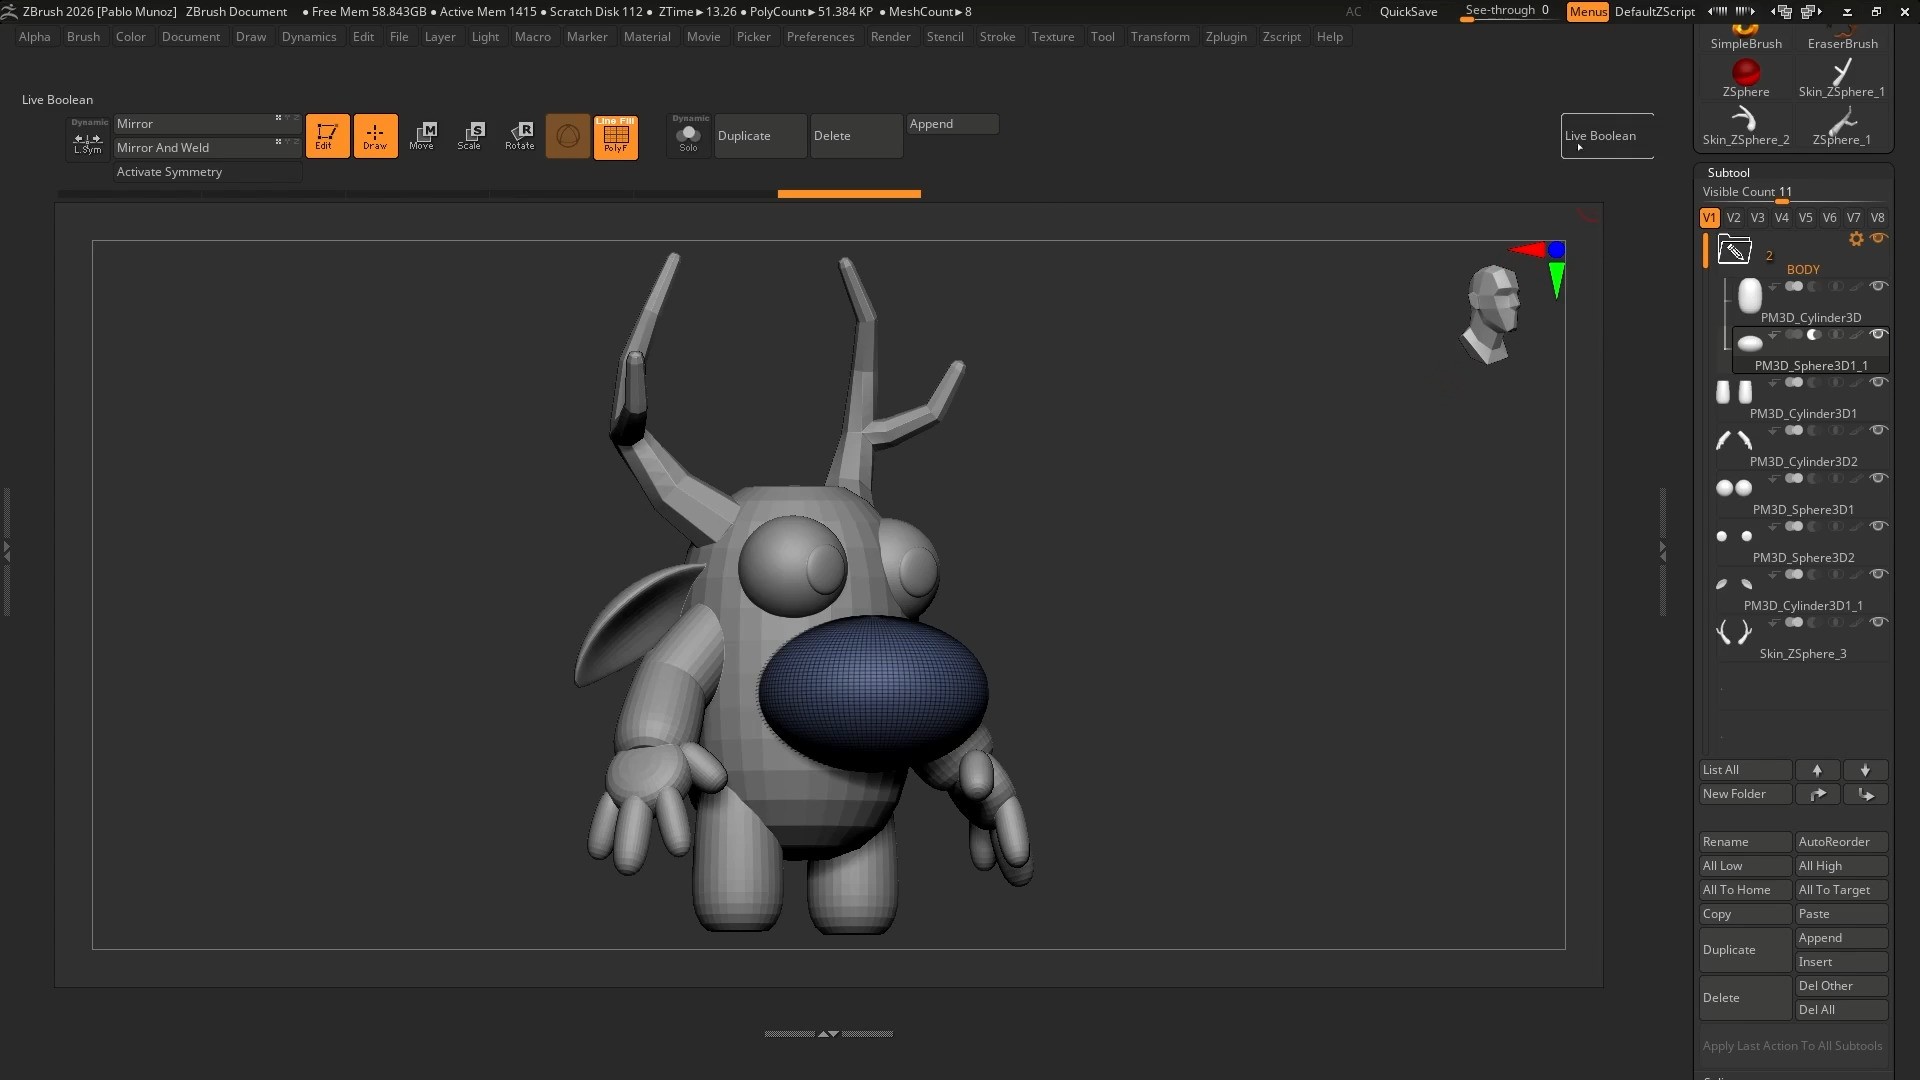
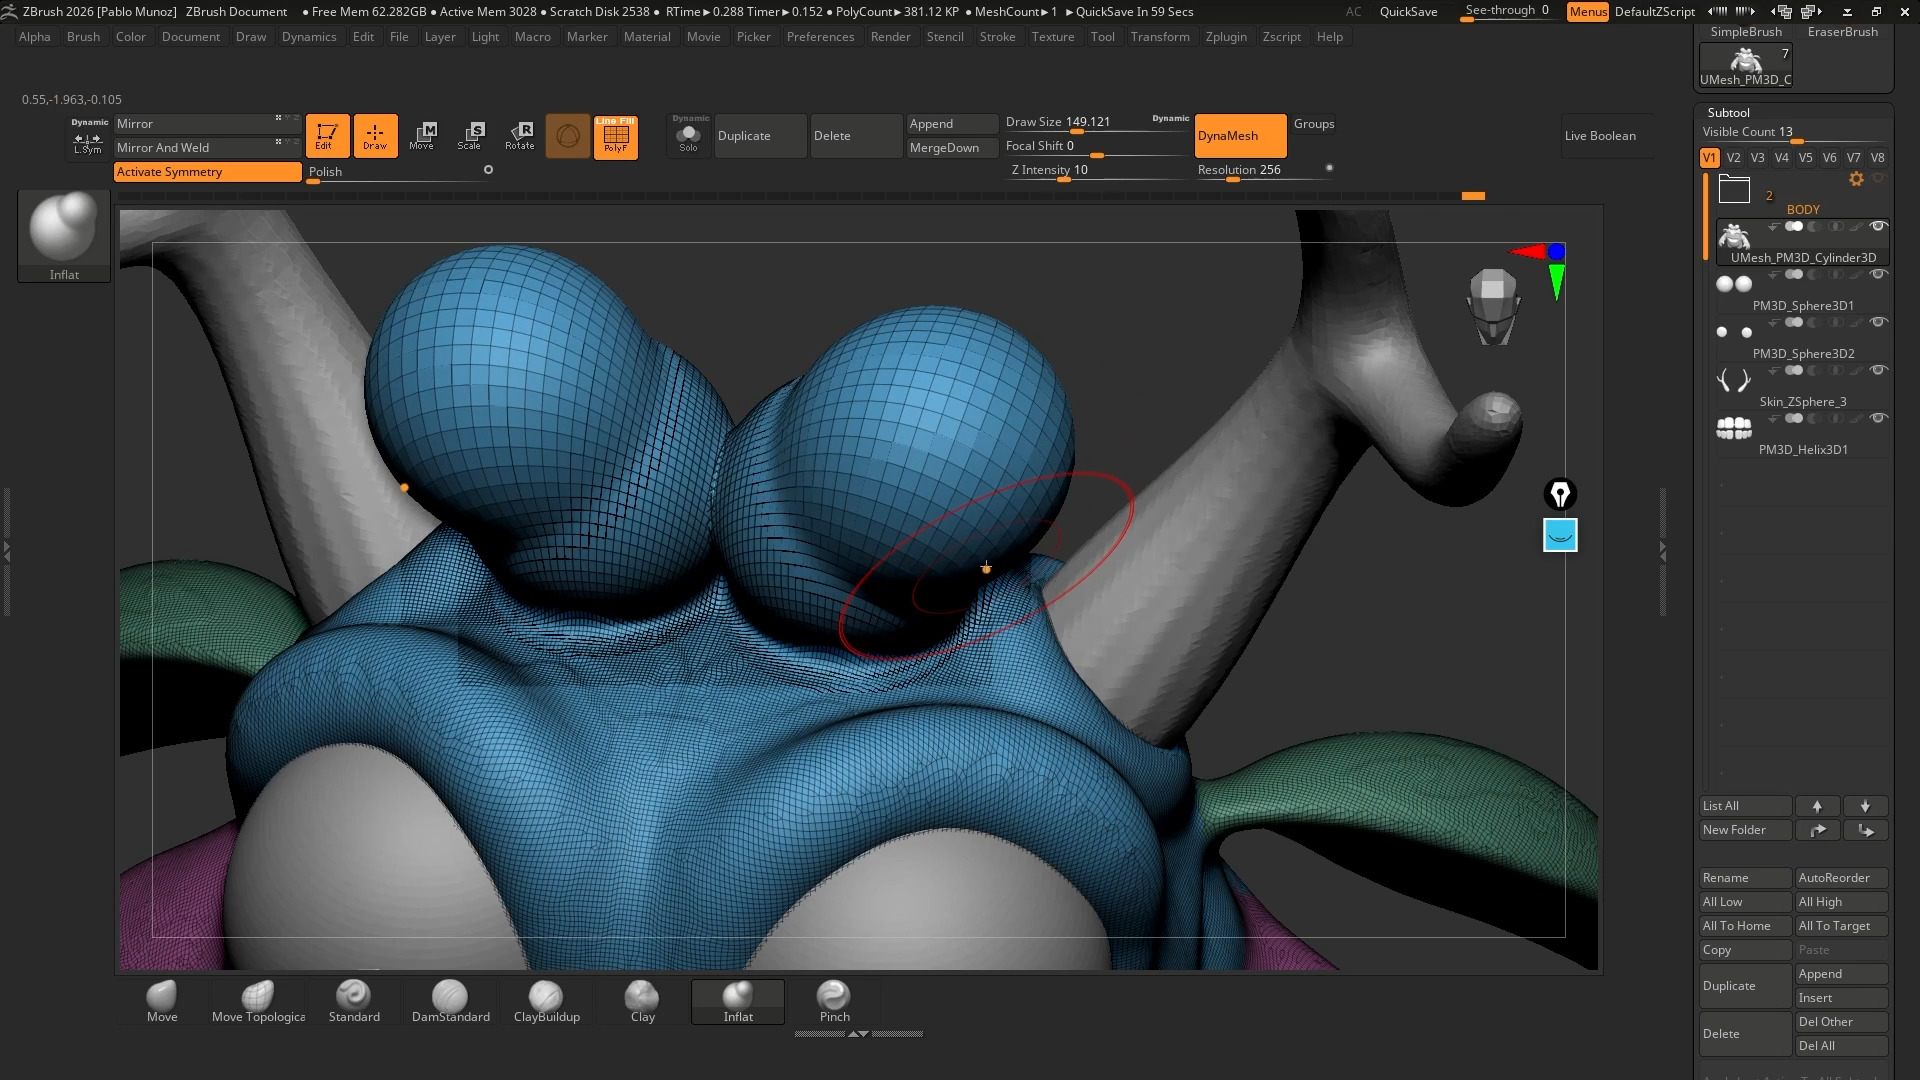
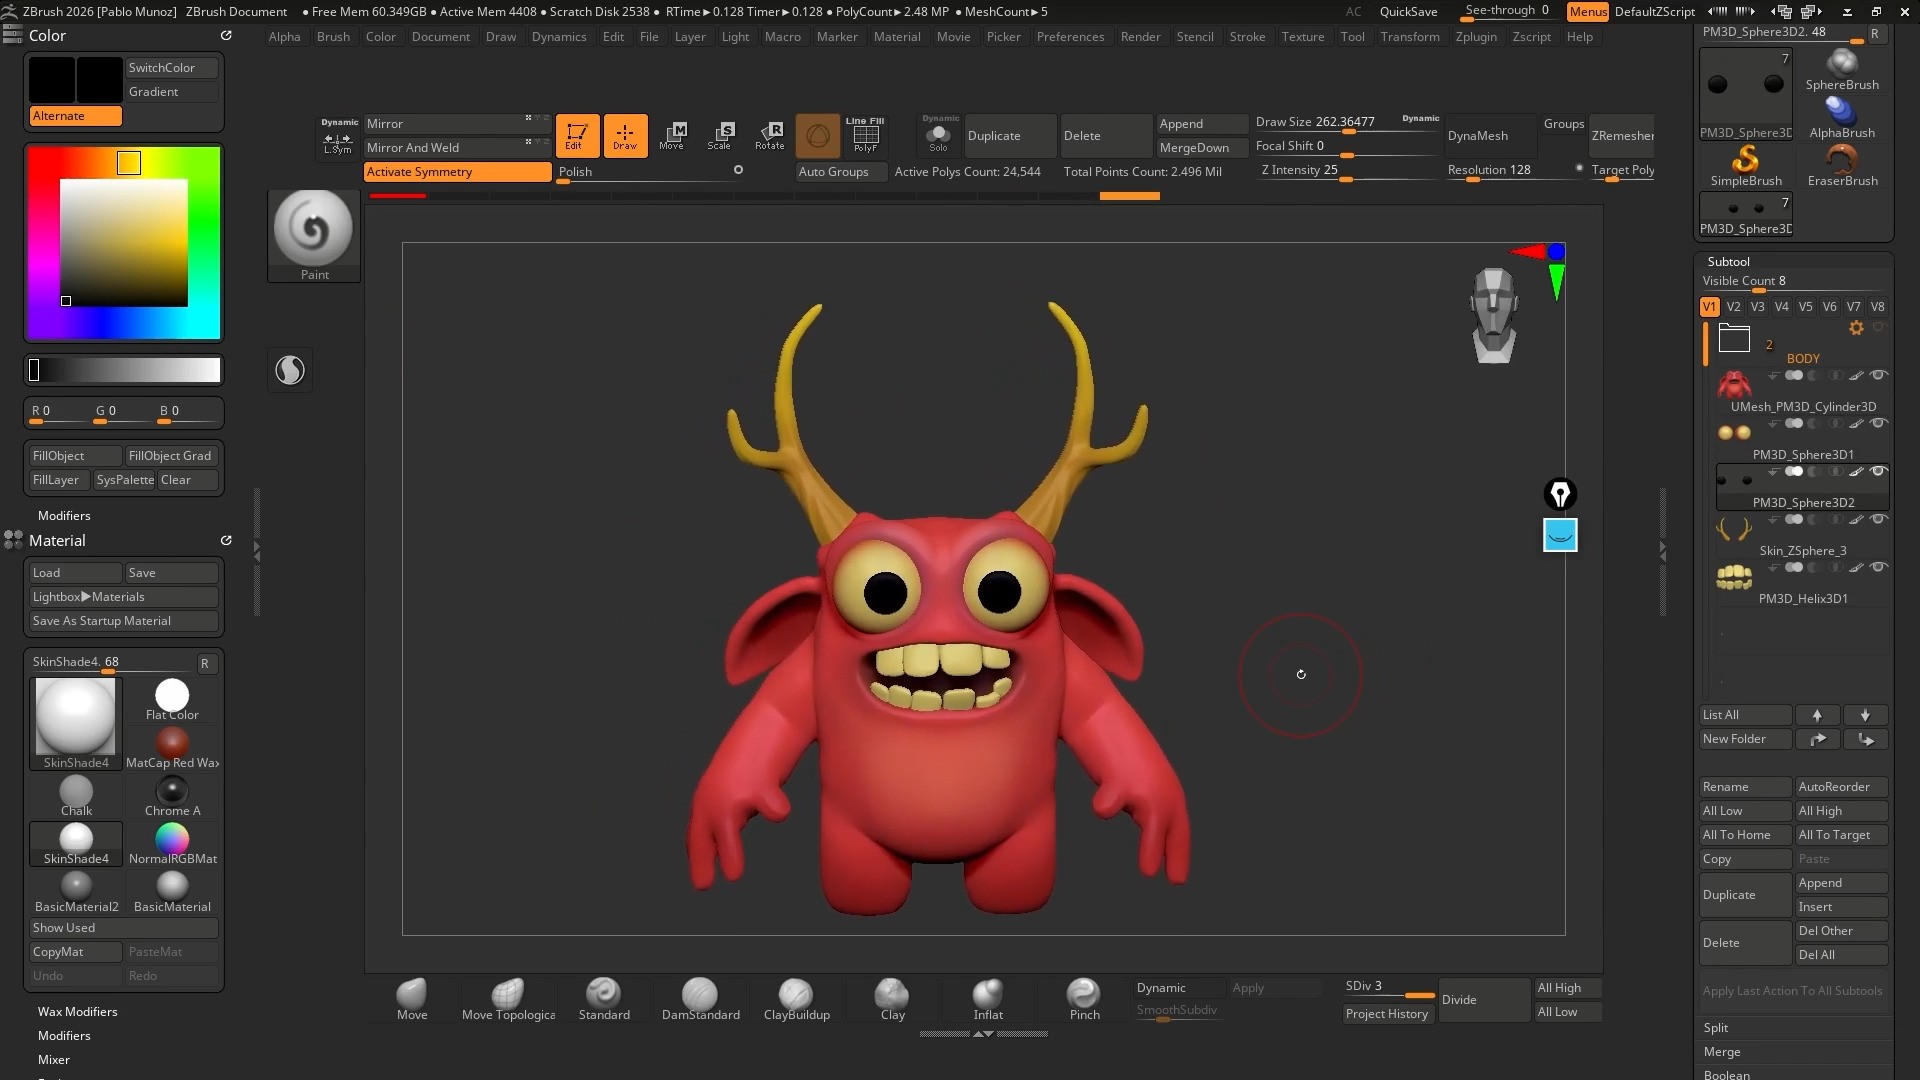
SubTools are treated as separate components, not a single blob. A character is more like an action figure than a statue when you are working. Head, torso, limbs, accessories… all independent pieces.
This keeps proportions flexible and prevents early over-commitment. I use Solo mode constantly to isolate focus and avoid visual overload (I’ve assigned the letter ‘S’ to mine).
Build Complexity bit by bit
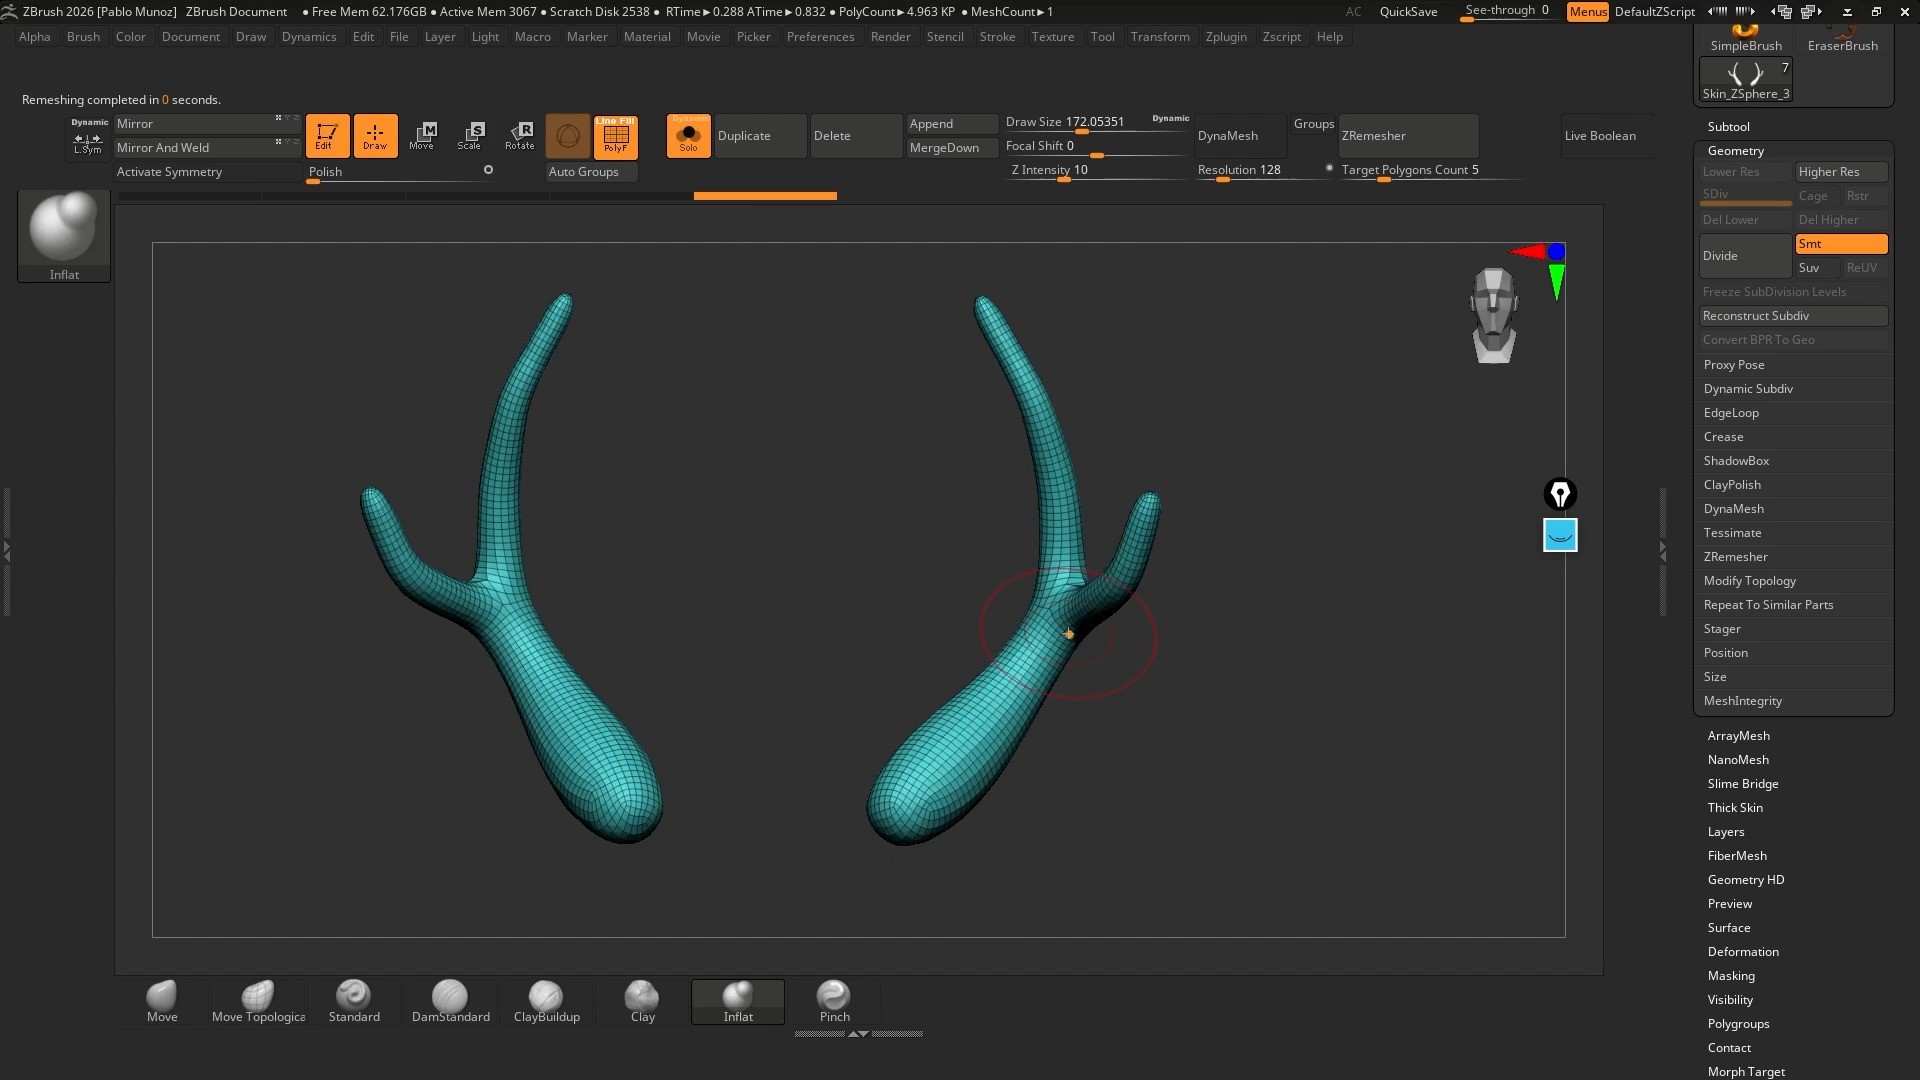
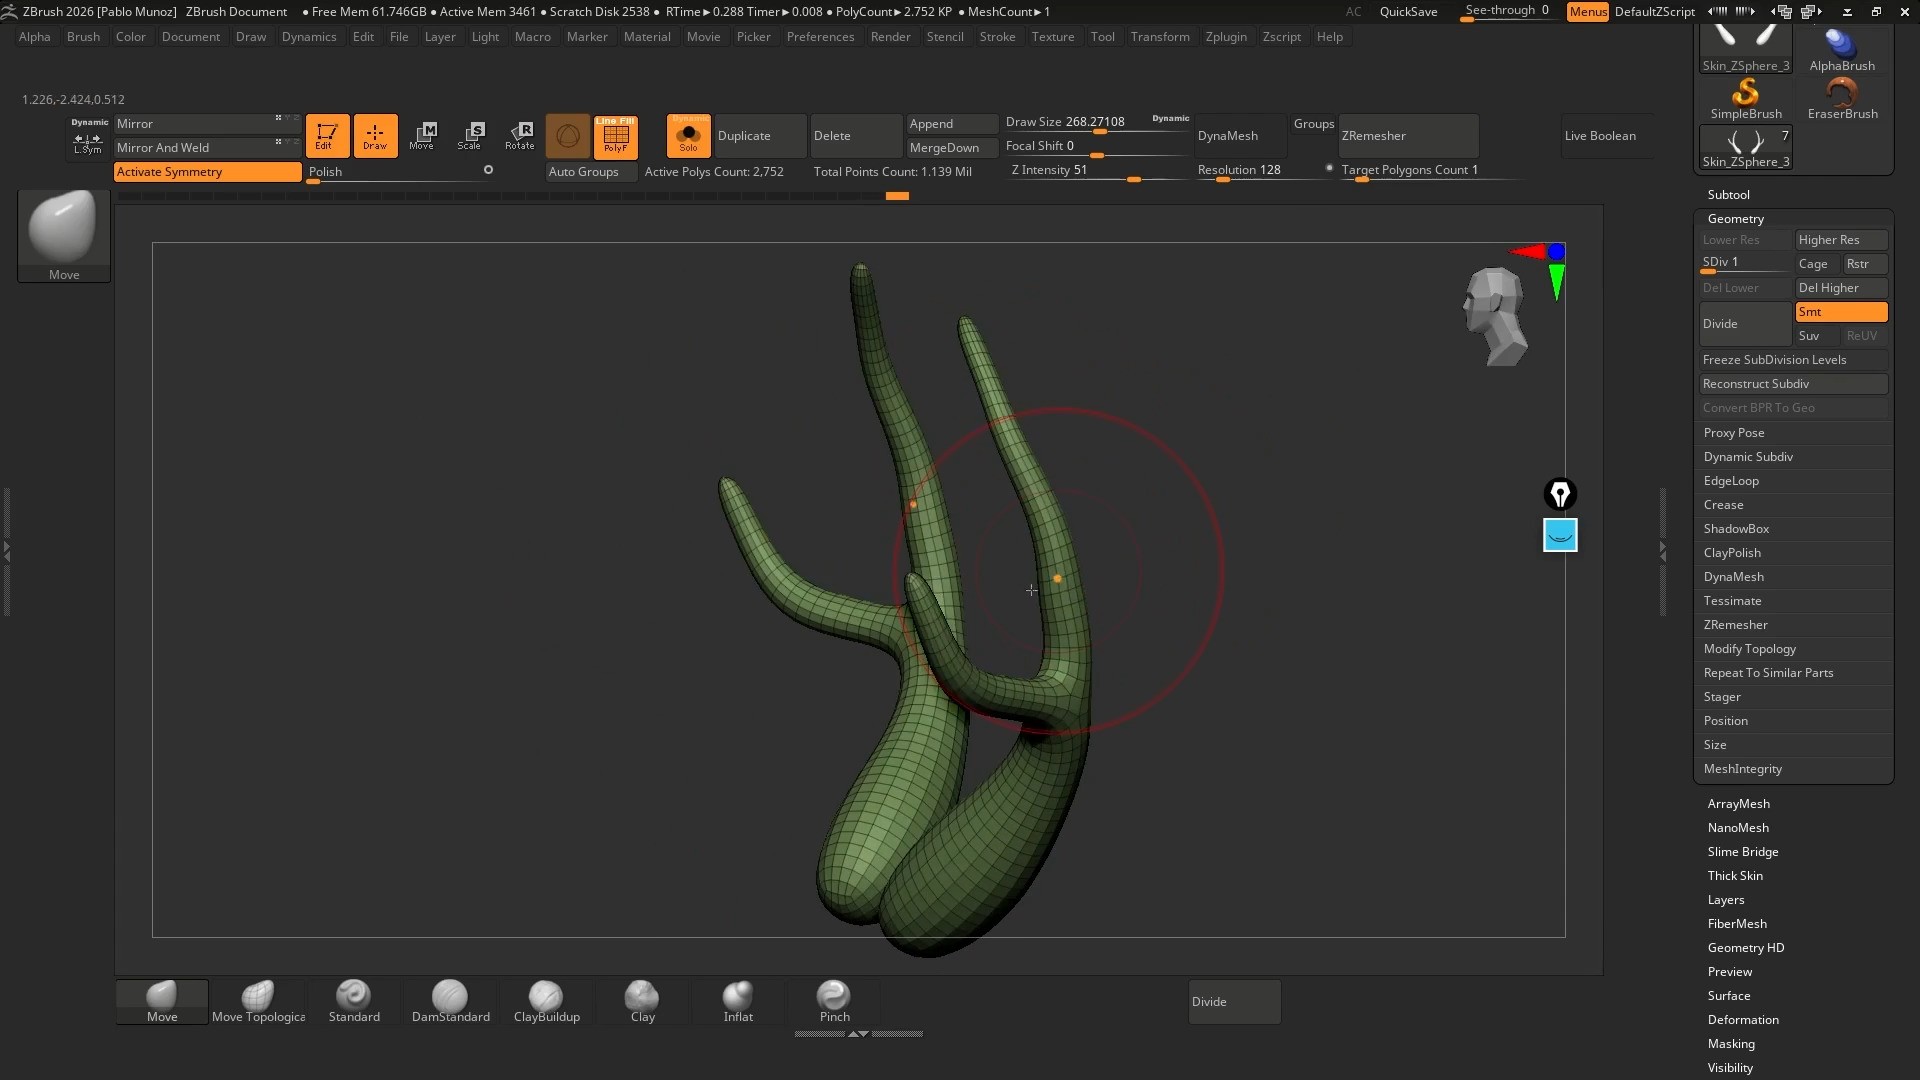
For complex branching forms like horns, antlers, or tentacles, you can use ZSpheres to define structure first: flow, rhythm, and balance… without surface noise. Once the armature feels right, you can convert it to an Adaptive Skin and only then start sculpting.
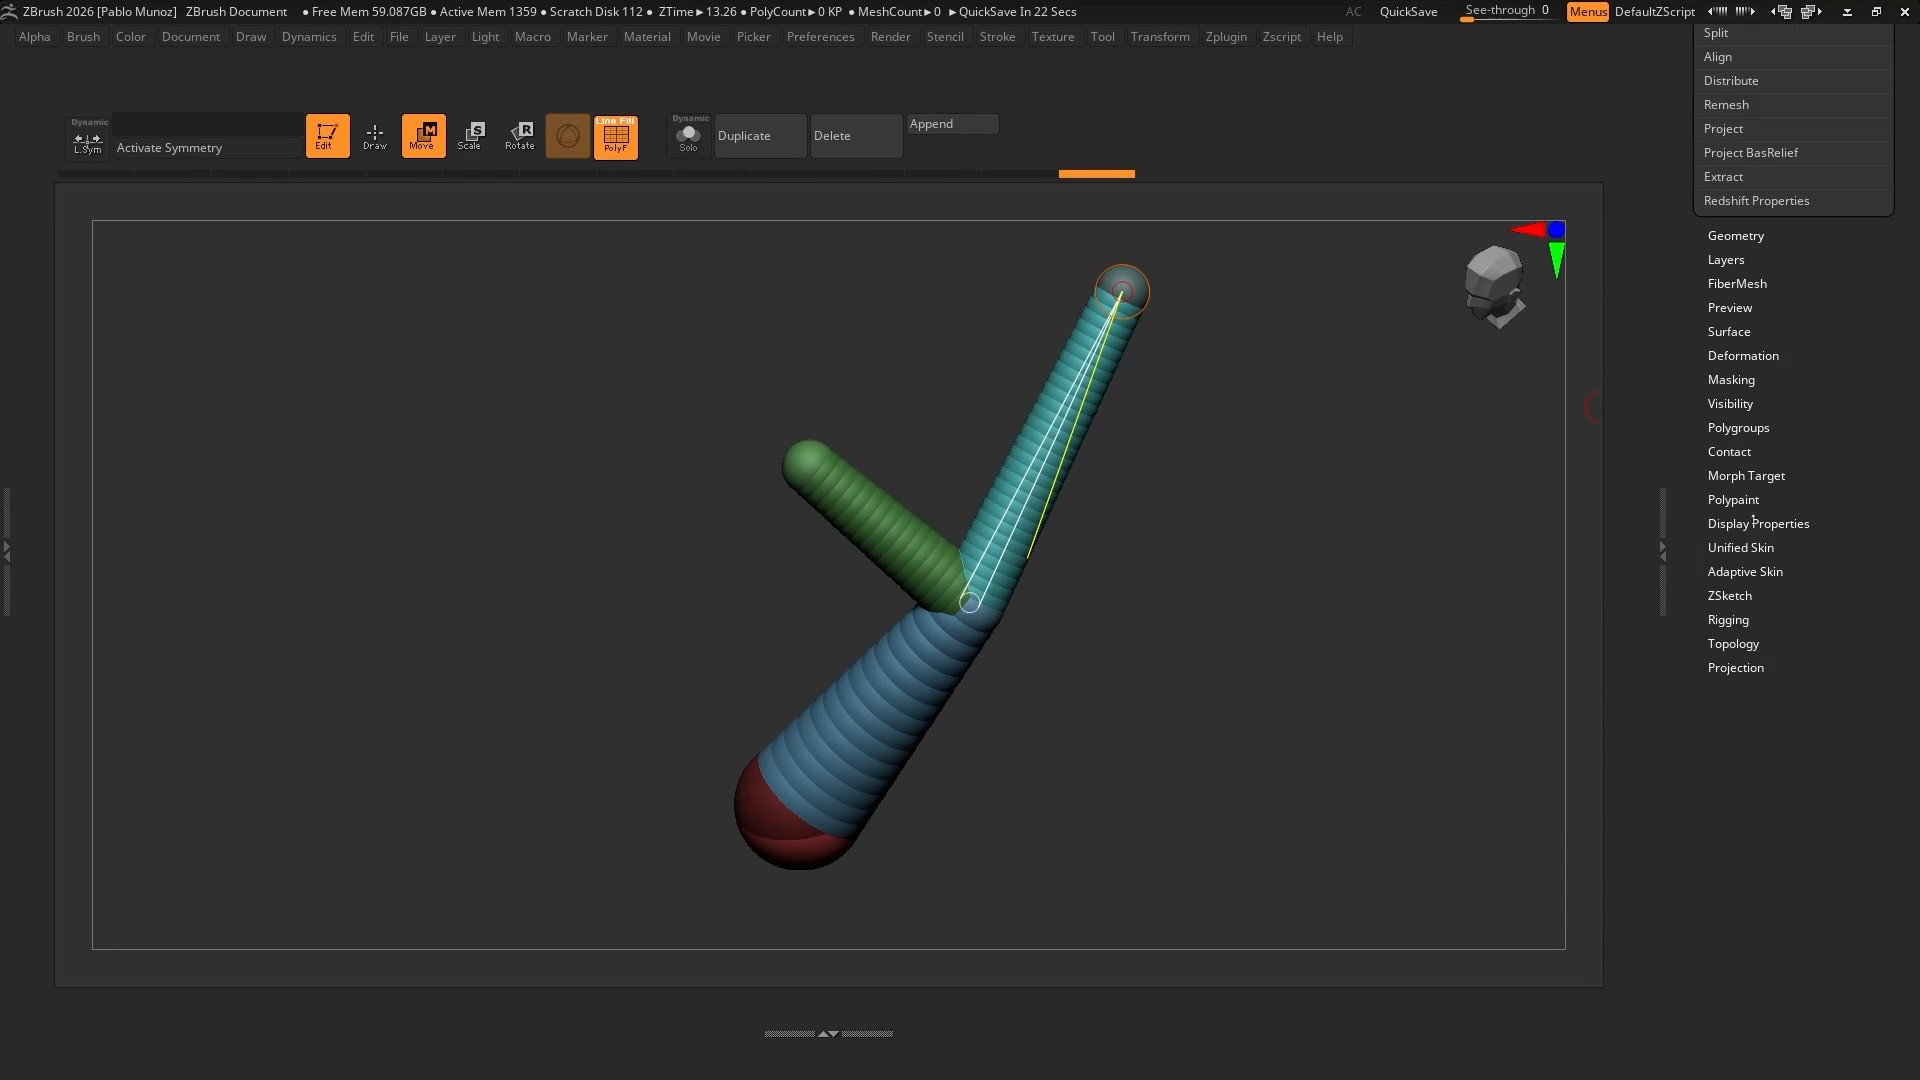
When dealing with intersections or negative space, manual carving (like sculpting material away), is inefficient and imprecise. Live Booleans solve this by letting you define volume relationships instead of guessing cuts.
You can place a SubTool, set it to Subtract, and preview the result live. Nothing is destructive until you commit, which encourages experimentation.
This shifts the thinking from “how do I carve this?” to “how should these forms relate in space?”
Fewer Brushes, More Intent
ZBrush has an overwhelming brush library, but most brushes solve the same problems in different ways. I limit myself to a small set because consistency improves control (specially in the early stages).
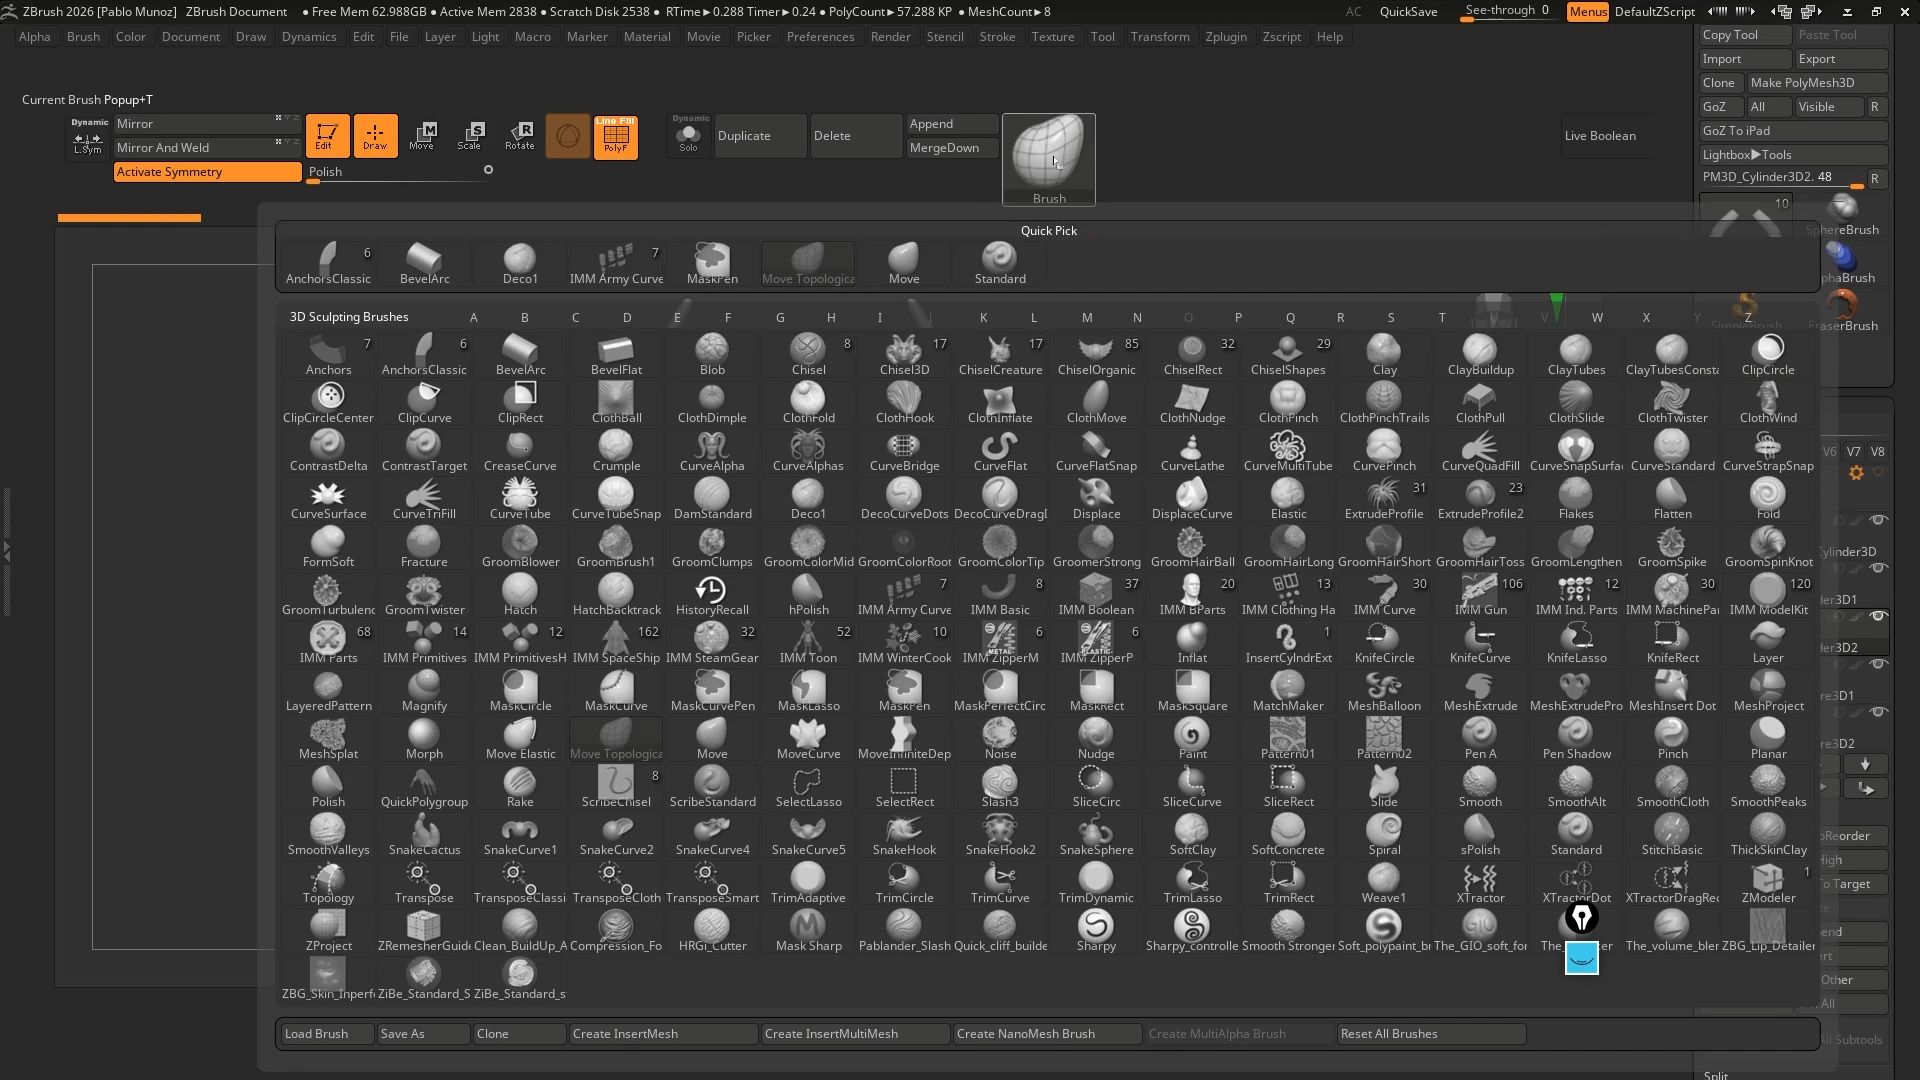
- Standard Brush for controlled volume like wrinkles and folds
- Clay or Clay Buildup to gradually build organic volume
- Dam Standard for cuts and plane separation (or marks the mesh)
- Move or Move Topological for silhouette and proportion
- Inflate for thickness and tension
Knowing when to use a brush matters more than knowing how many brushes exist.
Dynamesh as a Sketching Medium
Dynamesh isn’t a modelling solution. It’s a sketching system.
Its job is to let you push and pull without worrying about topology. You can totally stay with Dynamesh and create a polished final sculpt with it, but the strength of Dynamesh is in the exploration and iteration.
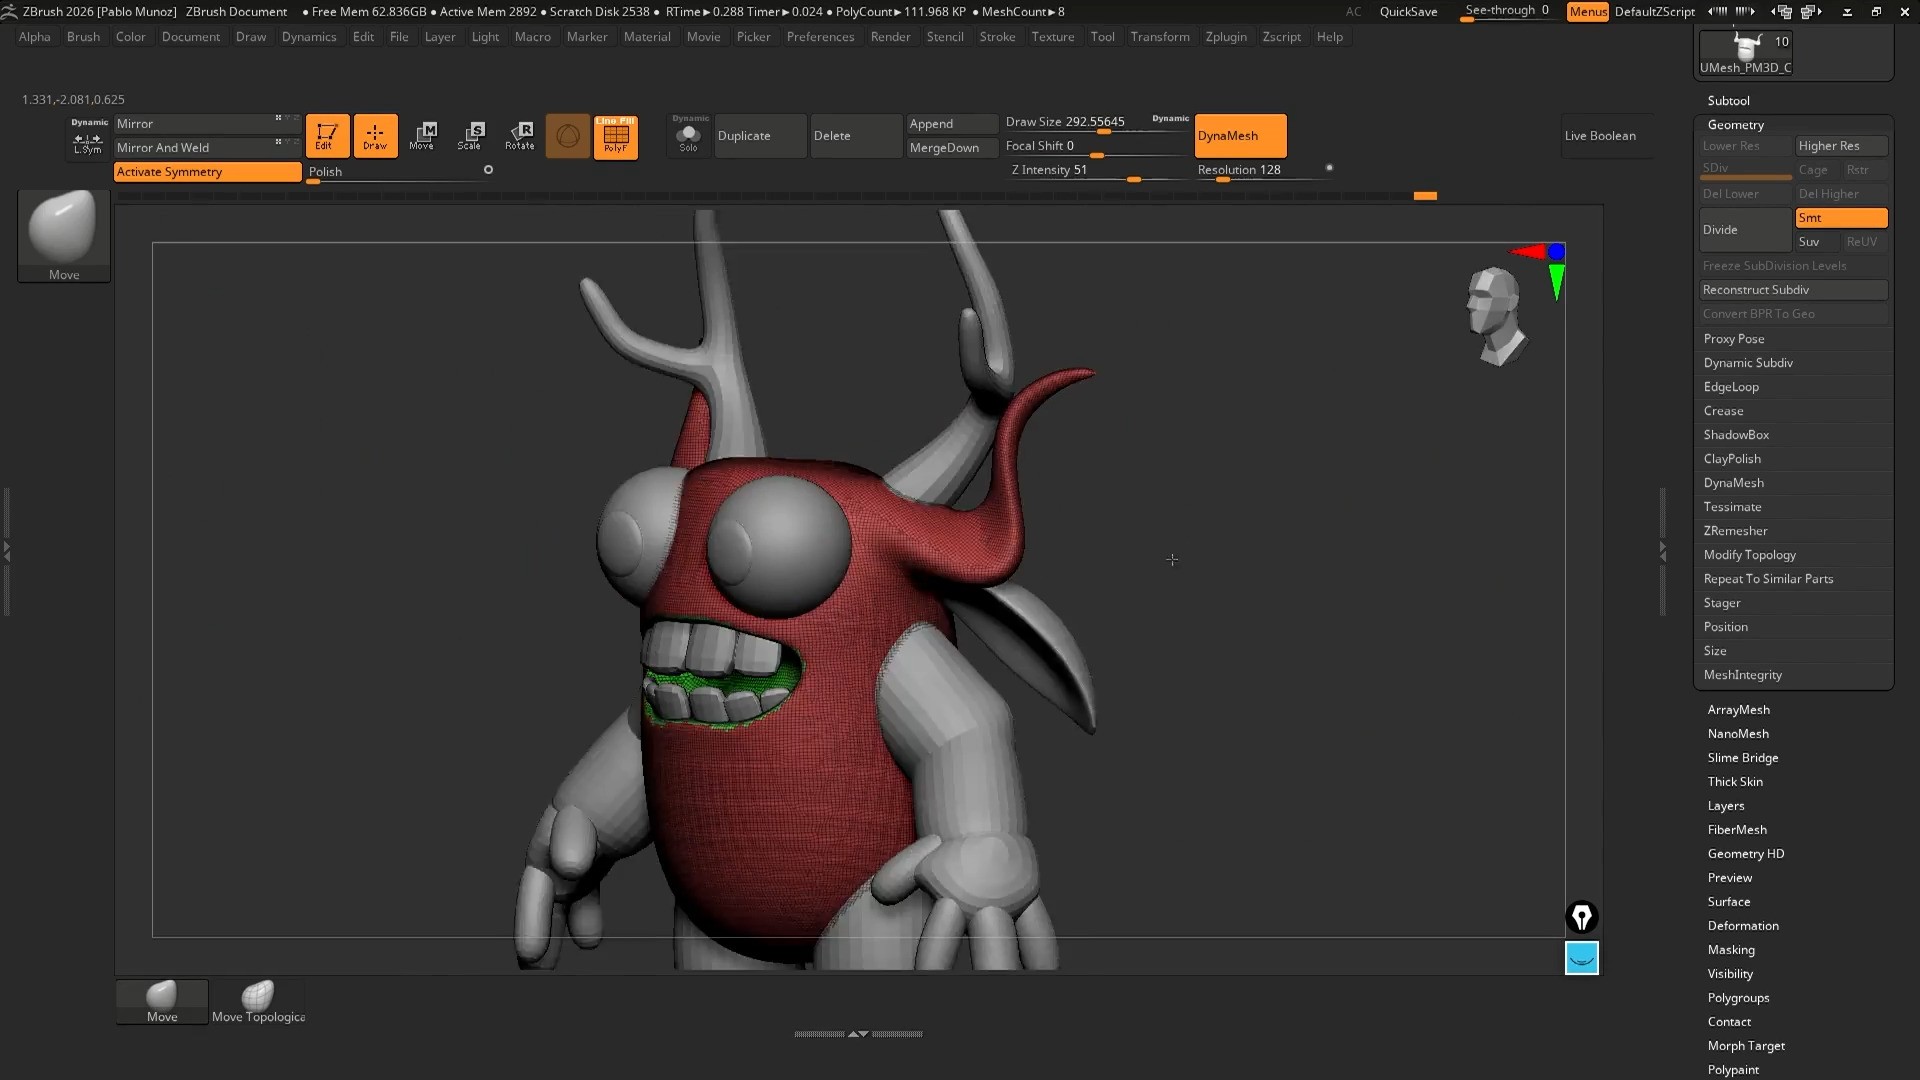
As you sculpt, polygons stretch... Re-Dynameshing (Ctrl + drag on empty canvas) recreate polygons evenly based on the volume, considering any changes, giving you ‘fresh clay’.
Dynamesh also has some tricks
- Any active mask blocks updates (so if you want to redynamesh, clear the mask first)
- Polygroups control merge behaviour (if you have groups ON, it won’t combine the meshes).
By assigning different Polygroups, you can preserve sharp intersections instead of letting everything melt together. This gives you control when dealing with things like the fingers.
Sculpt in Passes, Not Details
Sculpting isn’t linear, it’s iterative. My rhythm is always Add/subtract → Smooth → Refine.
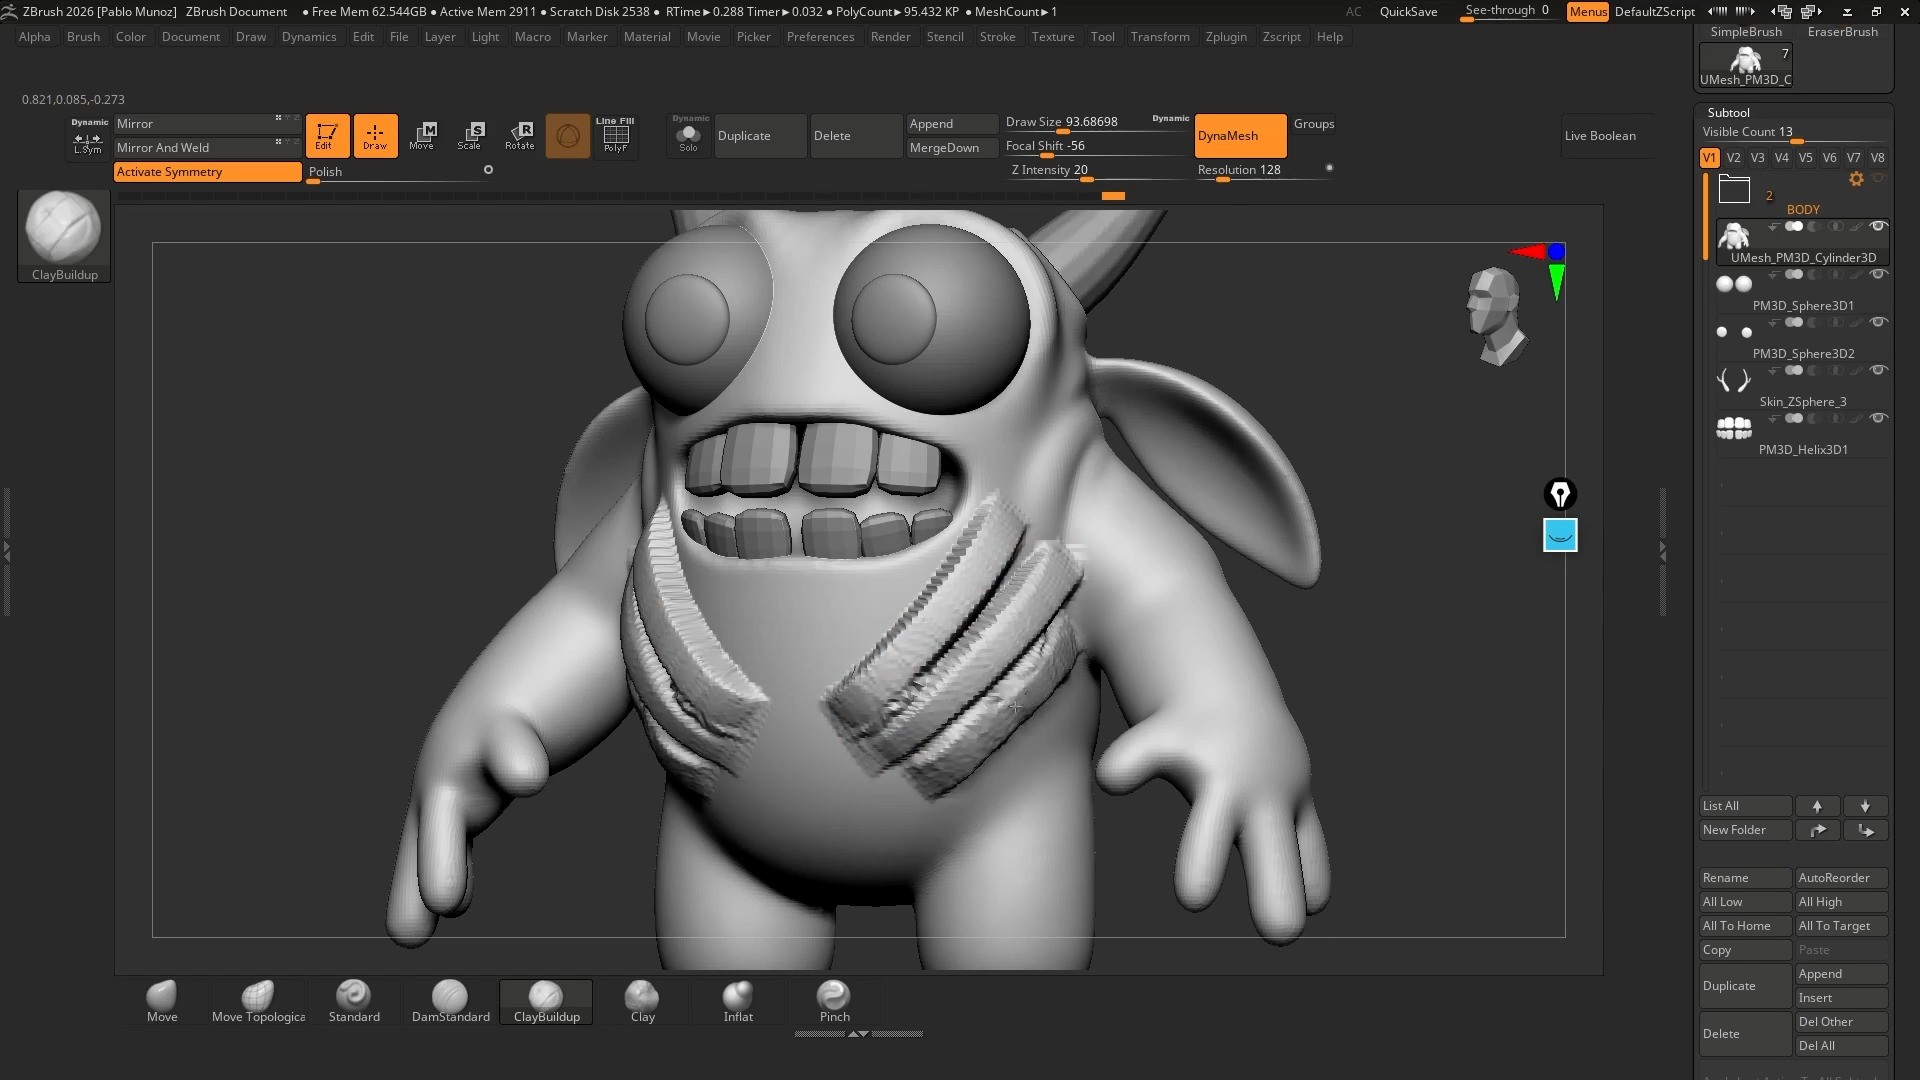
You can add volume aggressively, smooth to integrate it, then refine to maintain clarity in the form. This prevents surface noise from accumulating too early. Beginners often over-detail before the underlying structure works and the truth is… no amount of detail can fix weak forms and proportions.
Modifiers matter. Many brushes have inverted behaviors (Alt-click), which doubles their usefulness. I treat Pinch as a precision tool, not a default only sharpening edges that truly need it. If topology collapses, Dynamesh resets the surface without losing intent.
Transition From Sketch to Structure
the Keys Modifiers are important (like ‘Alt’ and ‘Ctrl’). Many brushes have inverted behaviours using Alt, which effectively doubles their usefulness. For Example you can use the Inflate brush, you tighten and area or a space between to forms but you can also ‘deflate’ sections
If topology collapses, Dynamesh resets the surface without losing the intent.
The cool thing is that you can then move into ZRemesher to recreate clean quad-based topology for your Dynamesh sketch
I aim for a modest polygon count (around 5–10k) and let ZRemesher do its job. This gives me a clean base and allows me to use Subdivision Levels, which are essential for controlled sculpting.
Each level has a purpose:
- Low levels for proportion
- Mid levels for secondary forms
- High levels for refinement
Jumping too high too early locks mistakes into the surface. Subdivision levels aren’t just resolution… they’re control that allows you to manipulate form and proportions while keeping the surface details intact.
Preserving Detail Without Compromise
To transfer detail from a messy sculpt to clean topology, you can use Project History.
Store a ‘History State’ pressing Ctrl + Left Clin on a undo point of your detailed Dynamesh sculpt, then ZRemesh the model, subdivide it, and project the stored details back using ‘Project History’.
This gives me a clean mesh with the character of the original sketch intact.
On a side note… For localised micro-detail, I occasionally enable Sculptris Pro to add resolution only where needed. This keeps file sizes manageable and surfaces sharp. Just keep in mind that Sculptris Pro will generate only triangles where the added detail is.
Conclusion
I am pretty confident with ZBrush now but I didn’t get faster by learning every feature in it..
I got faster by removing uncertainty and creating reliable workflows.
This same framework applies whether I’m doing a quick concept sculpt or a production asset. The real advantage isn’t technical… it’s mental. When you trust the workflow, you stop second-guessing.
Dynamesh for exploration.ZRemesher for clean structure.Projection to recover details with subdivision and refinement.
Don’t try to absorb everything at once. Master one stage until it becomes boring… Seriously! Then move on. If you didn’t give the navigation exercise enough time, go back and stay there until it is too boring because it is too easy ;)
ZBrush won’t change the core of how it works, but your understanding of how it works will.

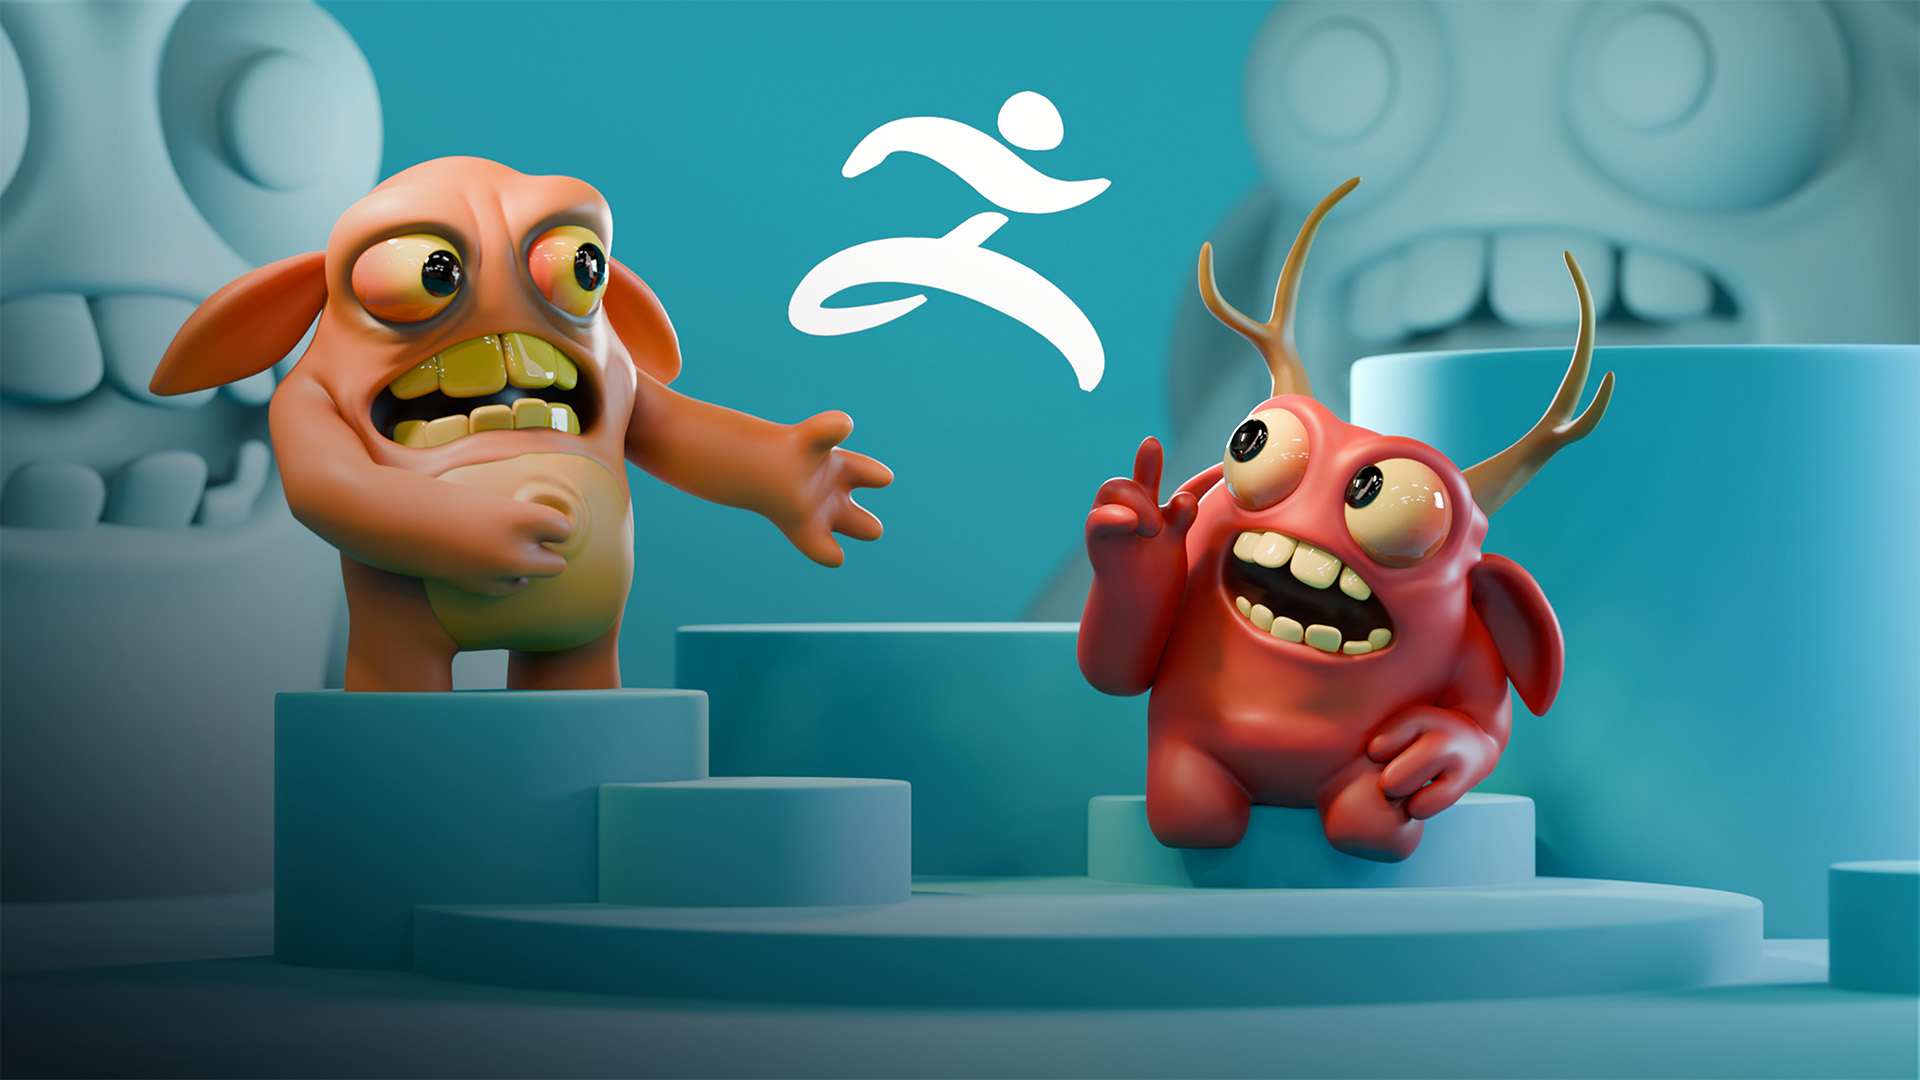
The Ultimate ZBrush Guide
An effective step-by-step guide to learning ZBrush for absolute beginners!
Check it out


.webp)

