Creating the assets
Today’s tip is really cool and I think it might be a nice topic for a longer tutorial but the steps to get an awesome result are actually really simple. I used ZBrush and Substance 3D Painter to create the assets and then Blender to put everything together.
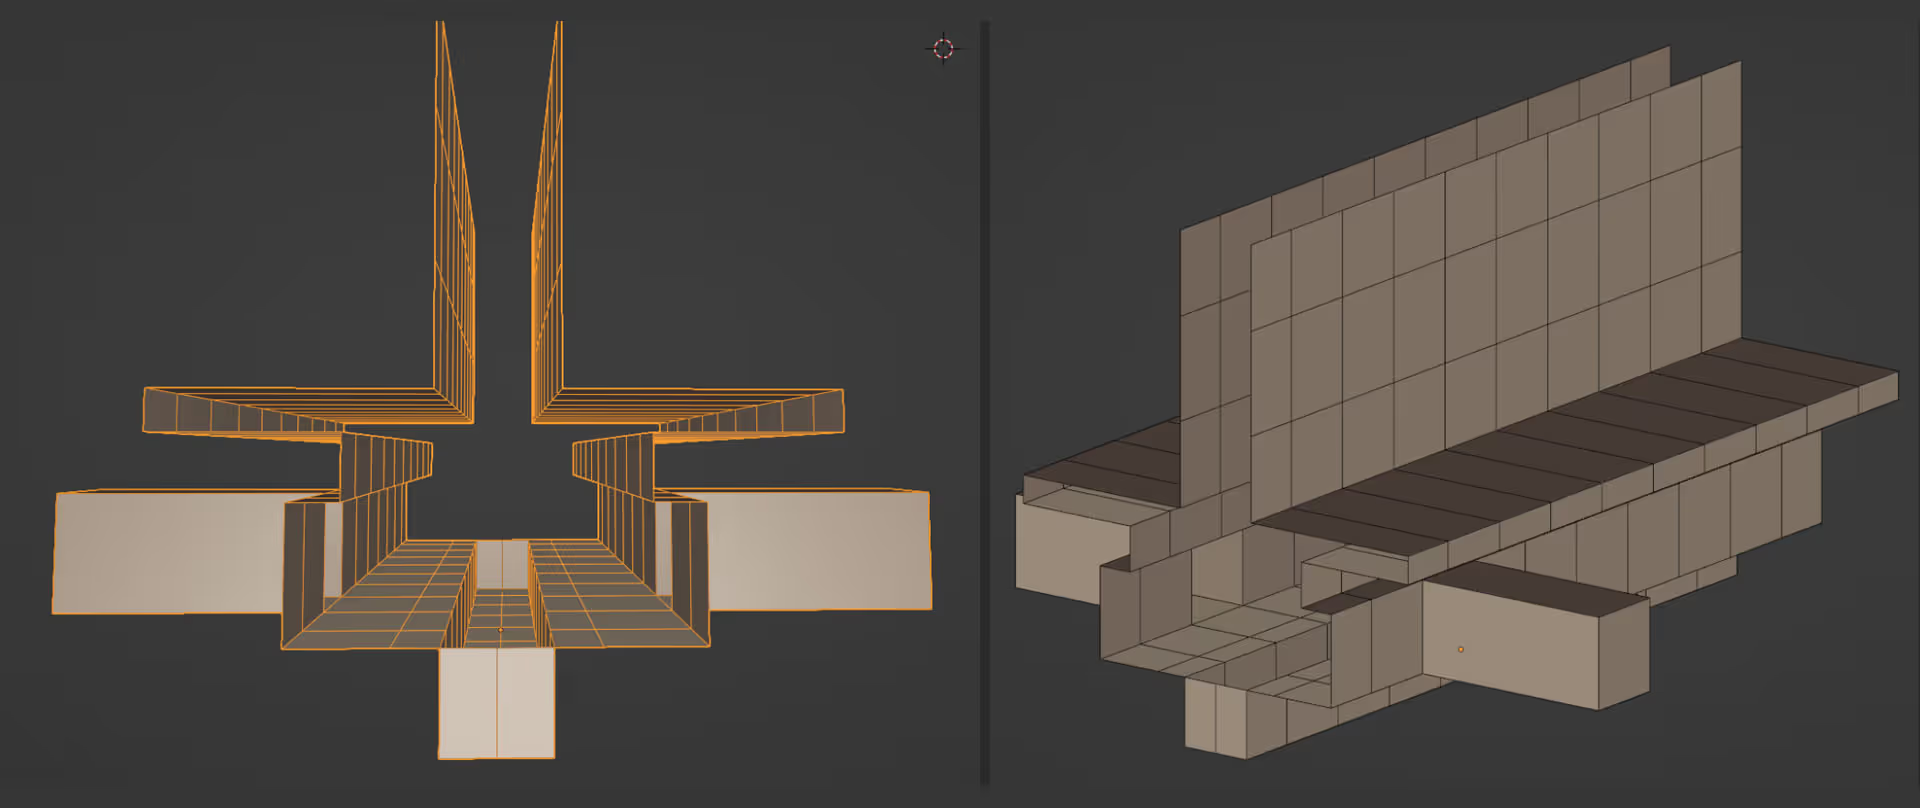
The idea is to create a few very simple assets to populate some planes in 3D to create visual interest in the render… so I started with a QCube in ZBrush and with the ZModeler extruded and moved some faces to create 7 different pieces. The simpler and ‘flatter’ the better for this trick:
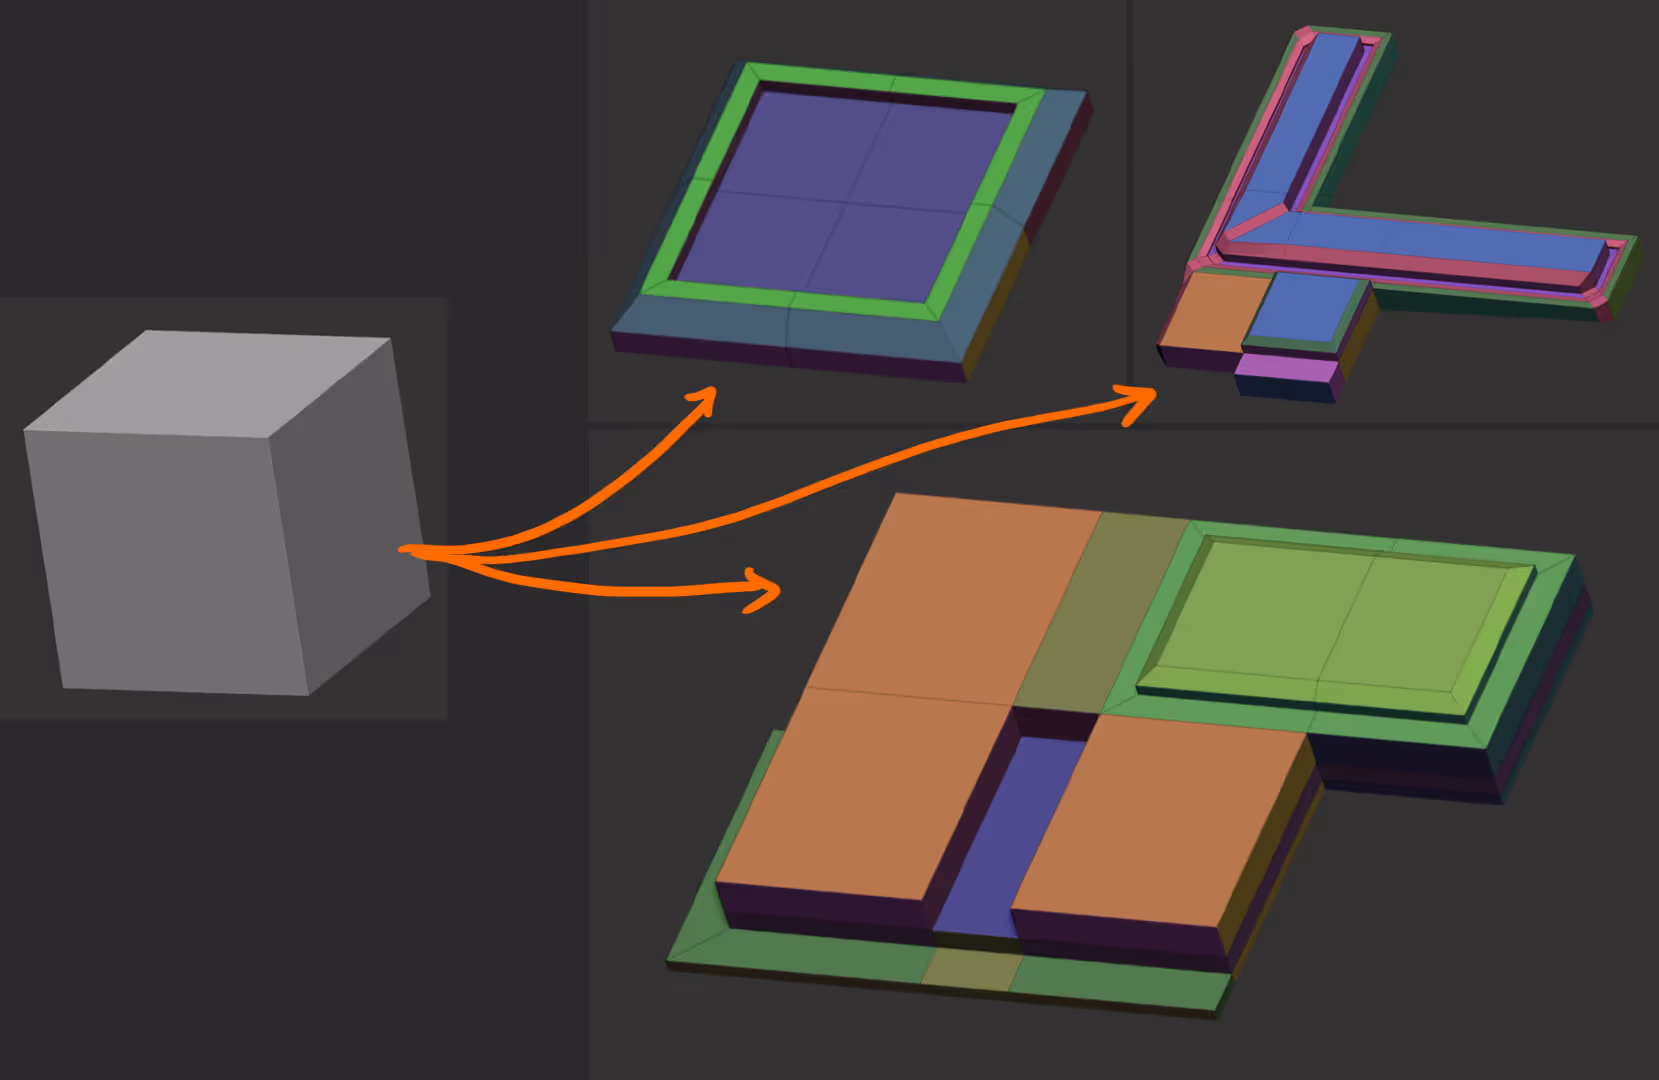
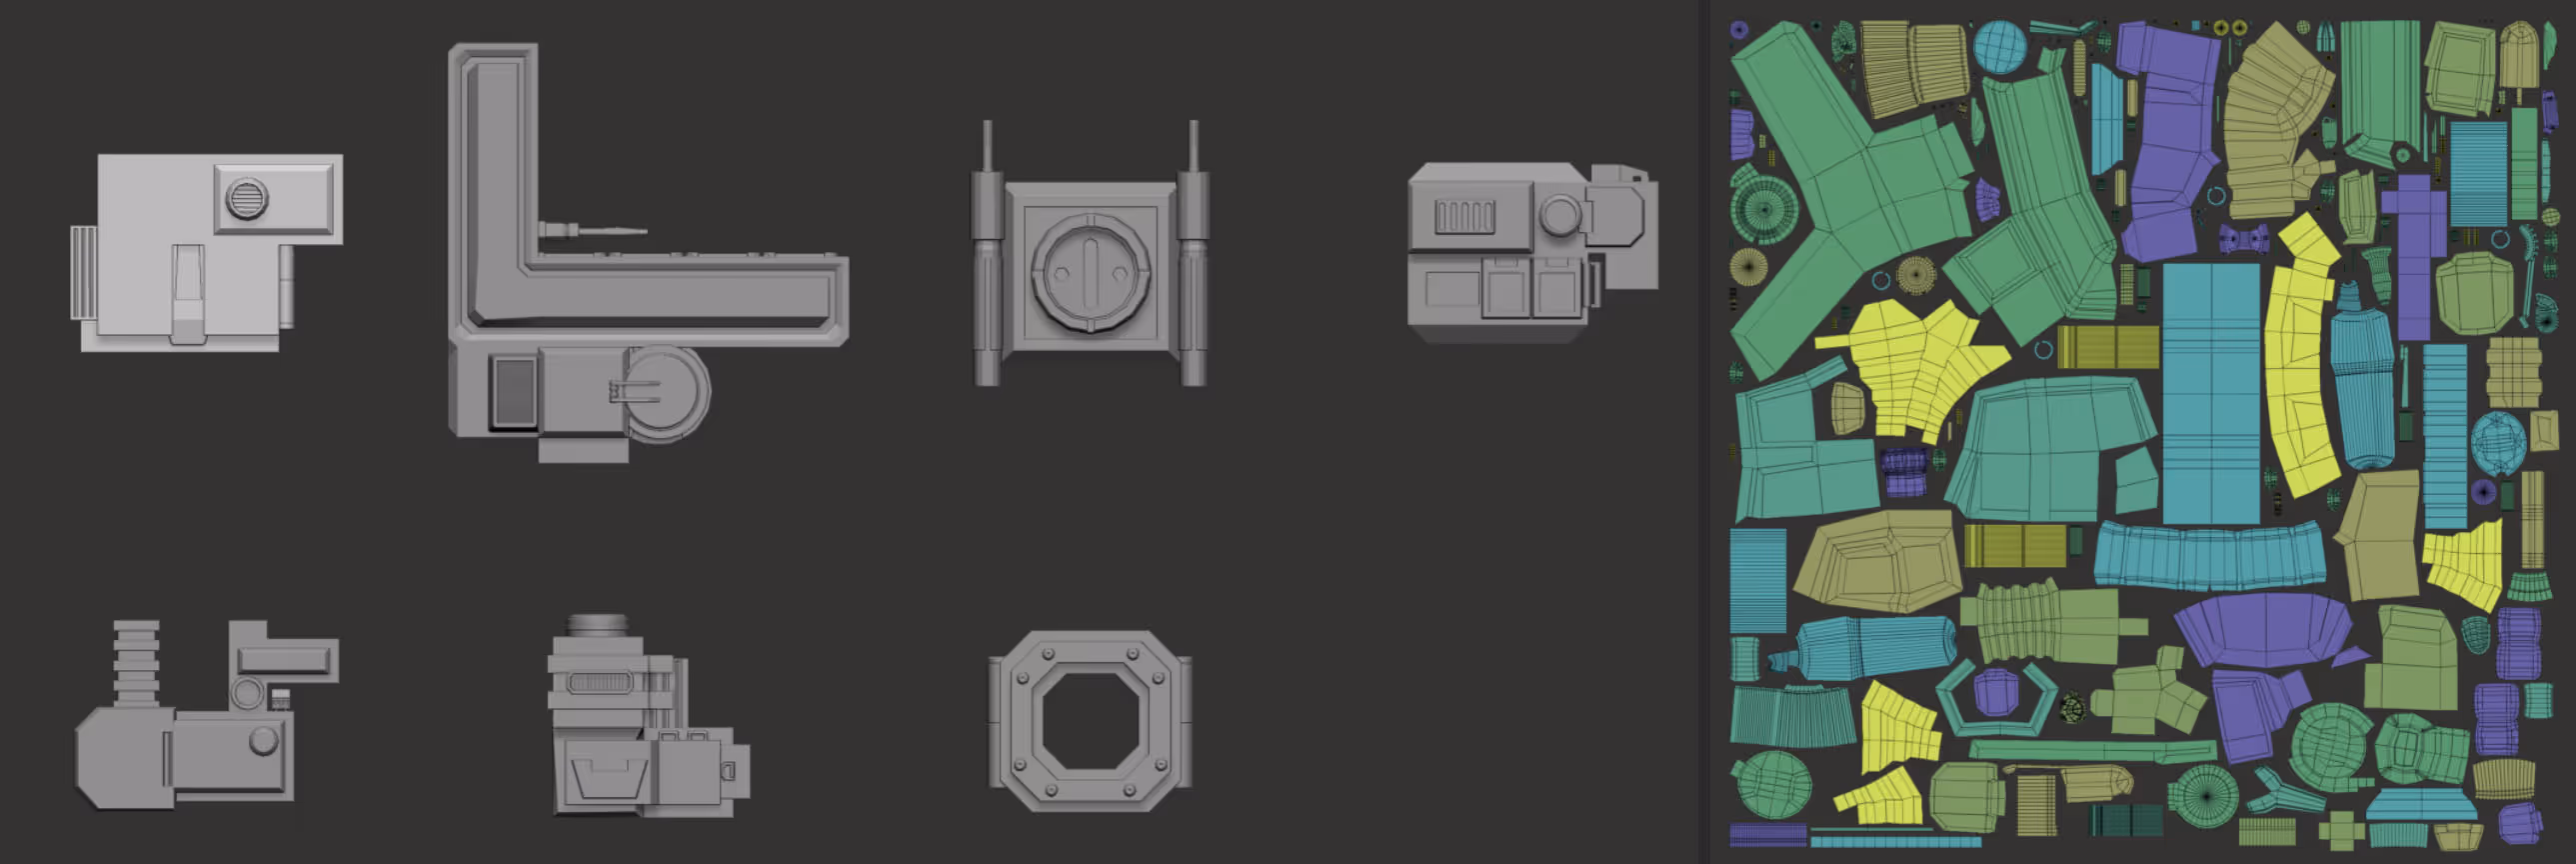
As youy cans e they are nothiing too complicated, but once you create the simple base with the ZModeler, you can then use the IMM brushes to add extra details and additional panels to the abstract objects. The IMM Model kit that comes with ZBrush is a pretty cool starting point to add extra details.
Once you finish with you assets, you can go ahead and create UVs for them and for the most part the UV Master does a nice job but you can skip this step and just let 3D Painter generate the UVS for you.
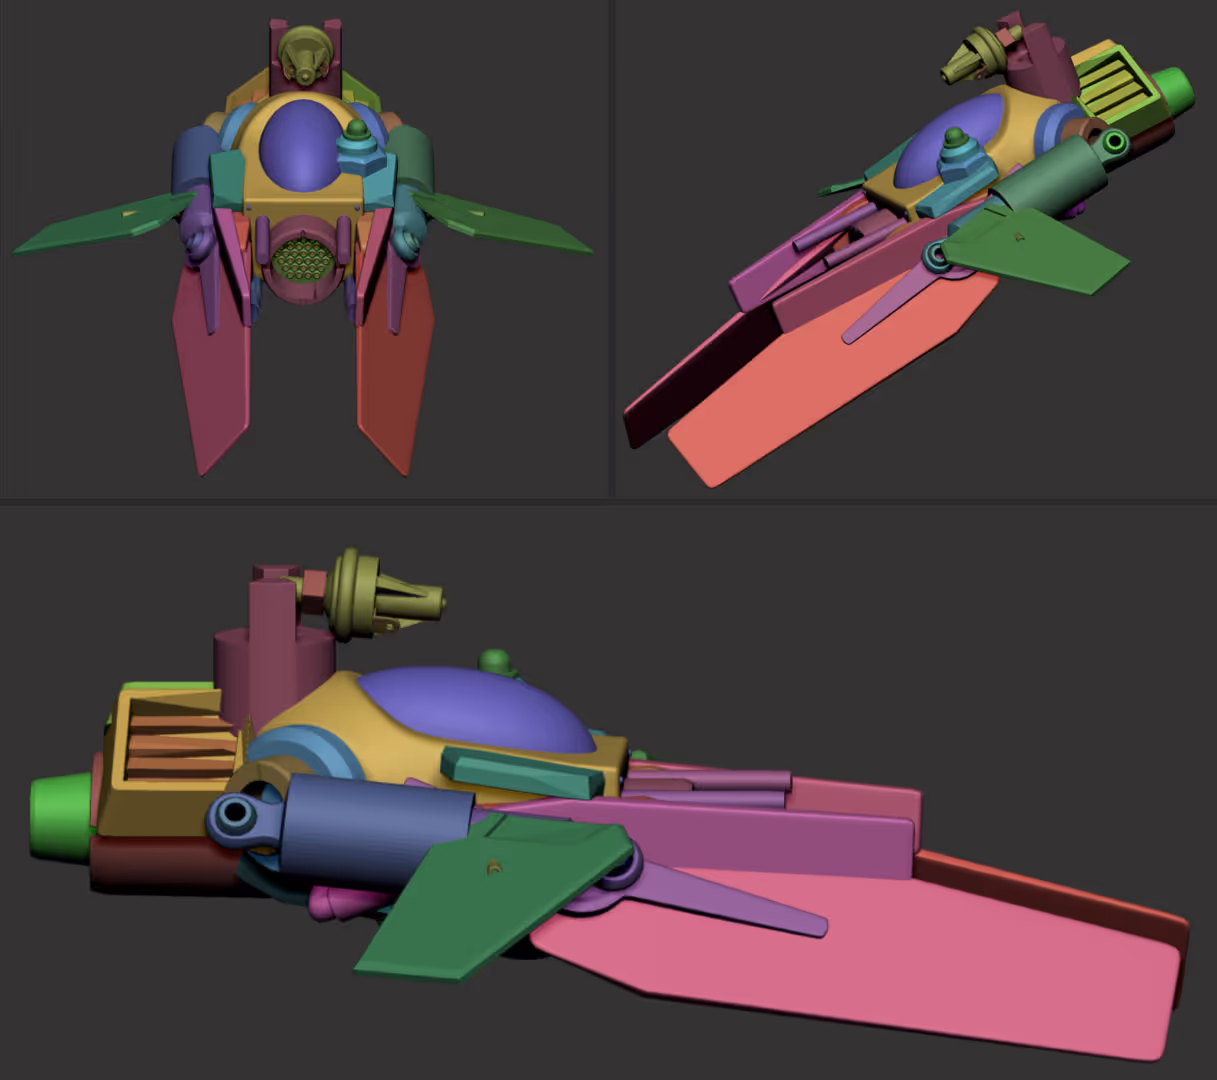
I also create a pretty rough 3D sketch for a ‘speeder’ vehicle using a bunch of IMM objects… again nothing to fancy here, this will be an object that will be very tiny in the final render so I didn’t spent to much time on it:
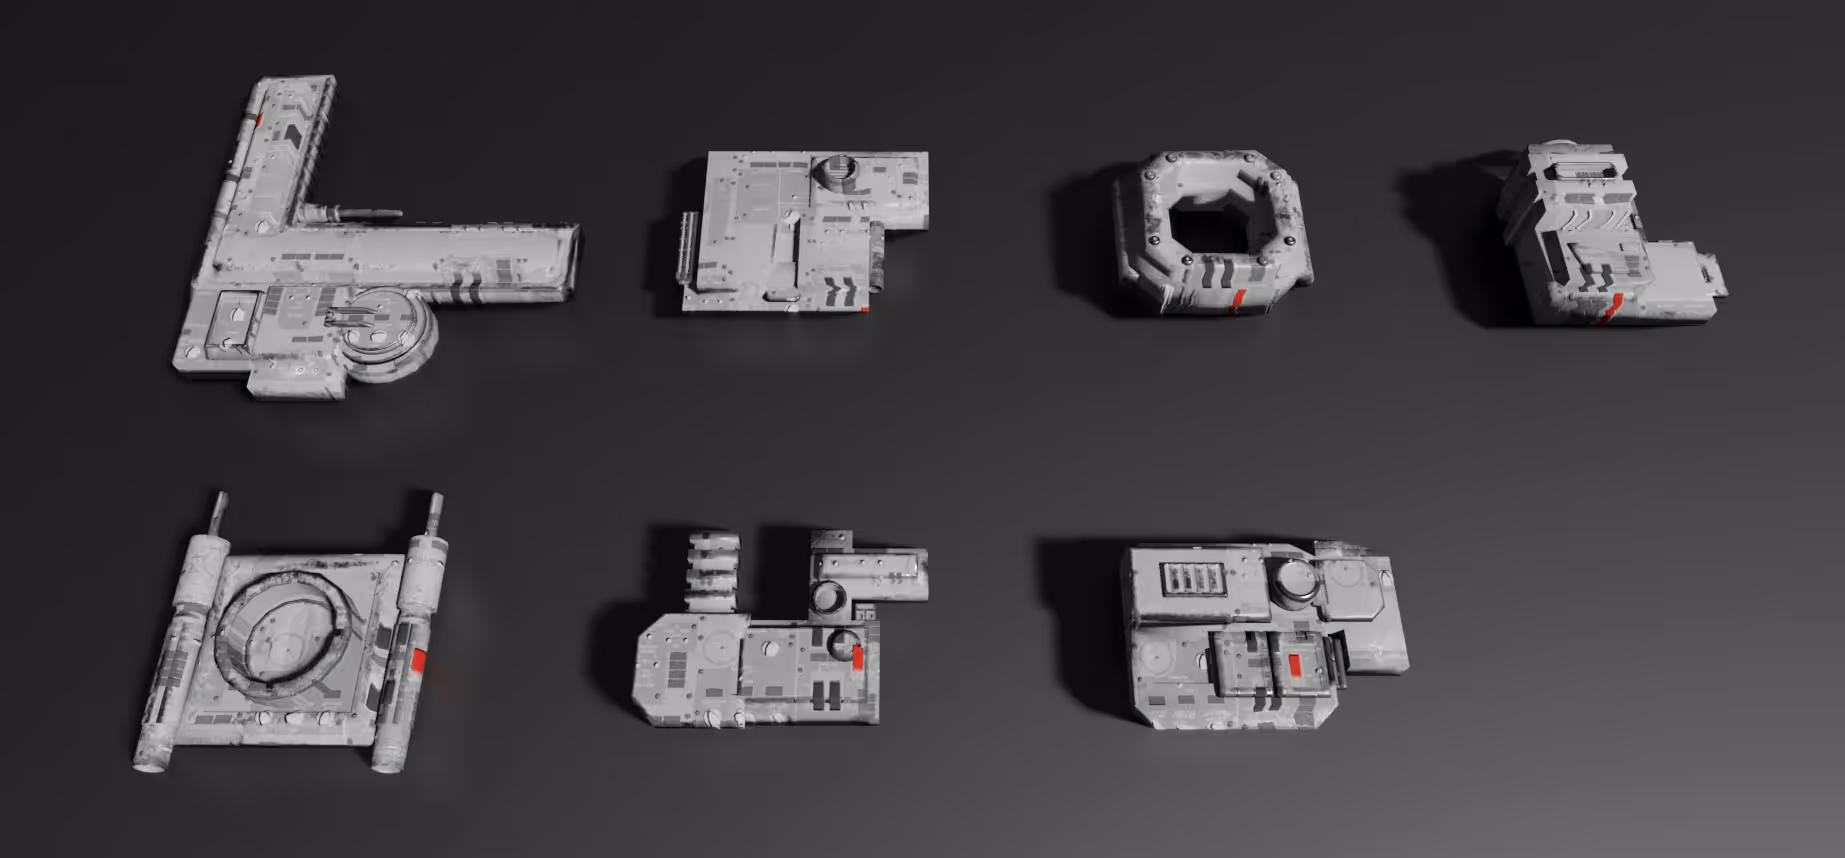
The texturing is also very simple… so simple in fact that I only had three layers: 1 for the base metal, 2 for the white paint on top with scratches and a third one with some extra sci-fi details and a very tiny hint of colour.
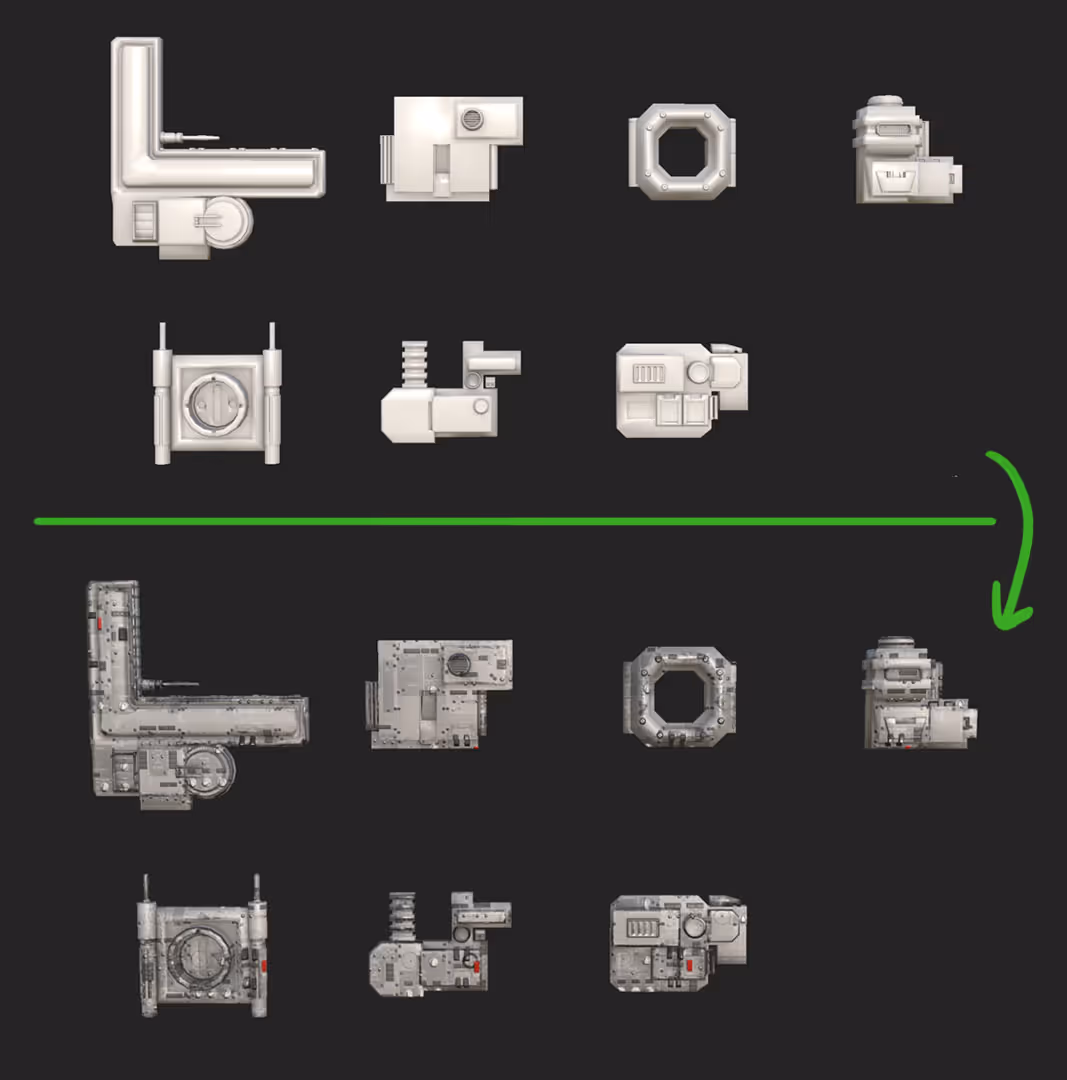
After exporting the textures, here is how the indivisual pieces look with the materials and lighting already in blende eevee:
Putting the scene together
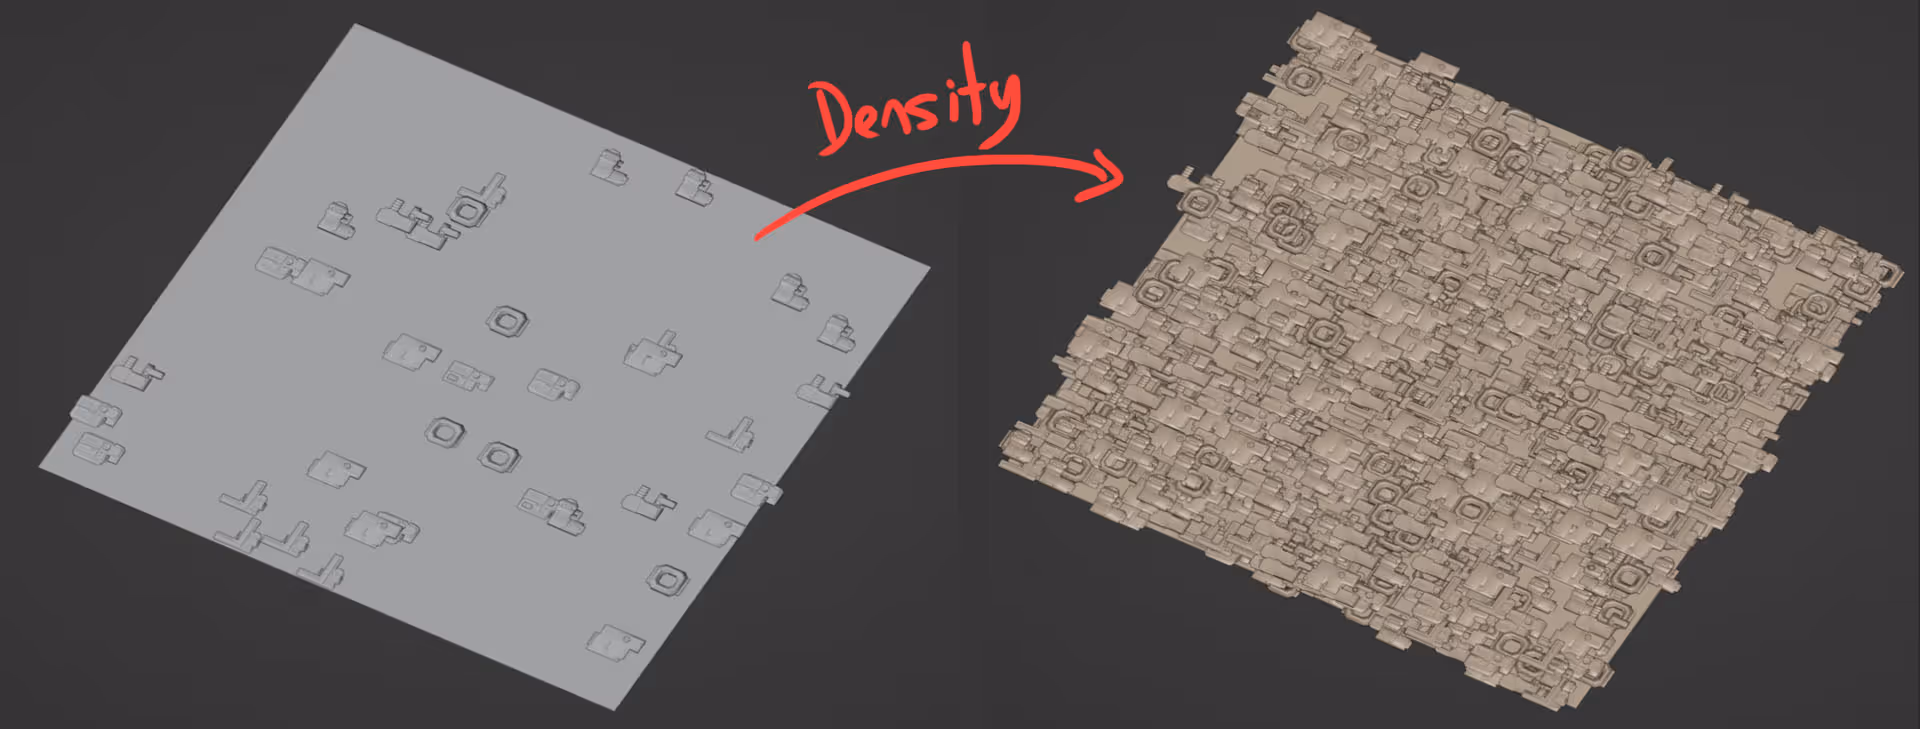
Once you have your assets in blender you can use a very handy FREE addon called BagaPie to distribute all your assets across a plane or any other object. The addon is super easy to use, all you have to do is select all your assets and then click the plane or object you want to use as the placement and create the ‘scatter’. Here is the result on a simple plane (increasing the density):
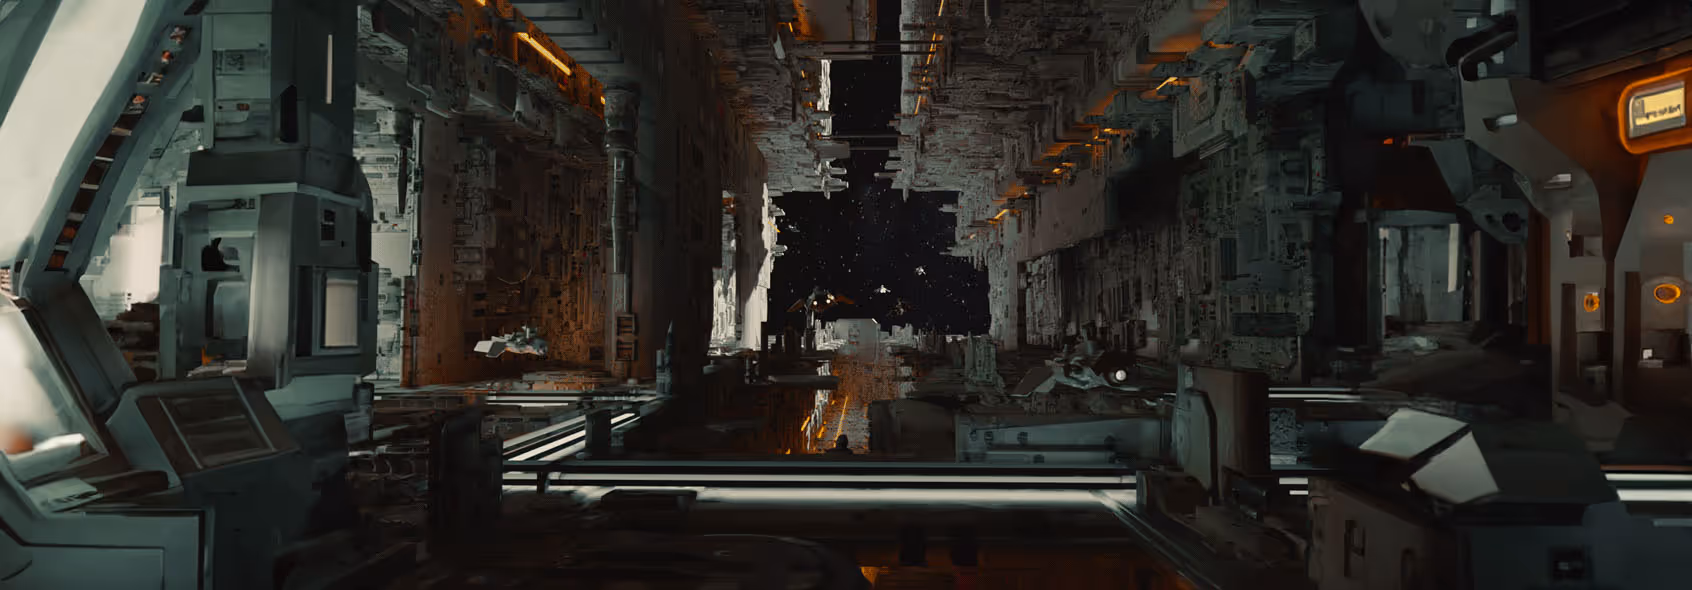
So following the same principle, I modeled a corridor but keeping it very basic and use the BagaPie plugin to scatter all my assets over the corridor planes to create the base of the sci-fi environment really quickly…
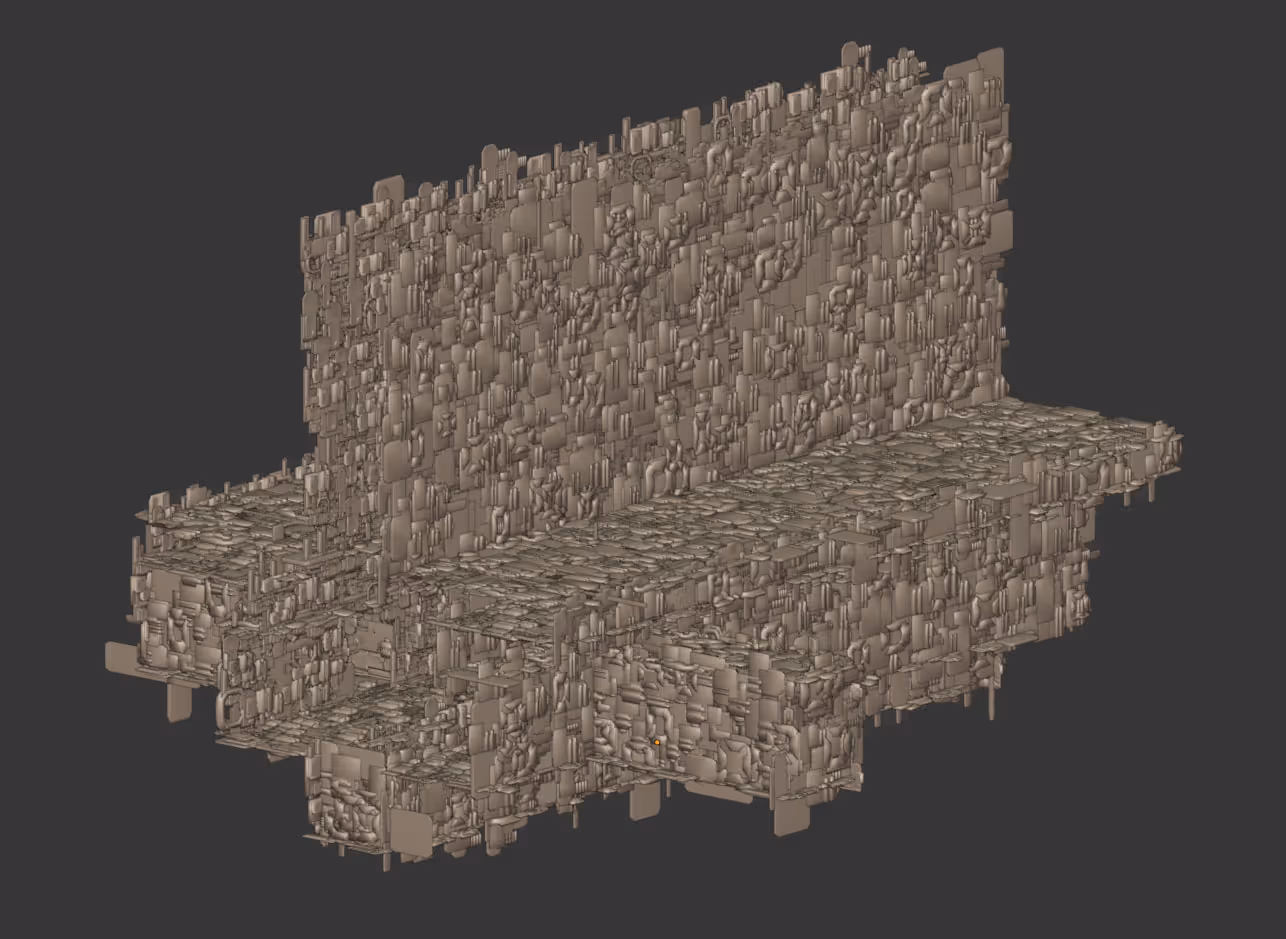
This is how the corridor looks like from the inside after distributing all the assets around the mesh:
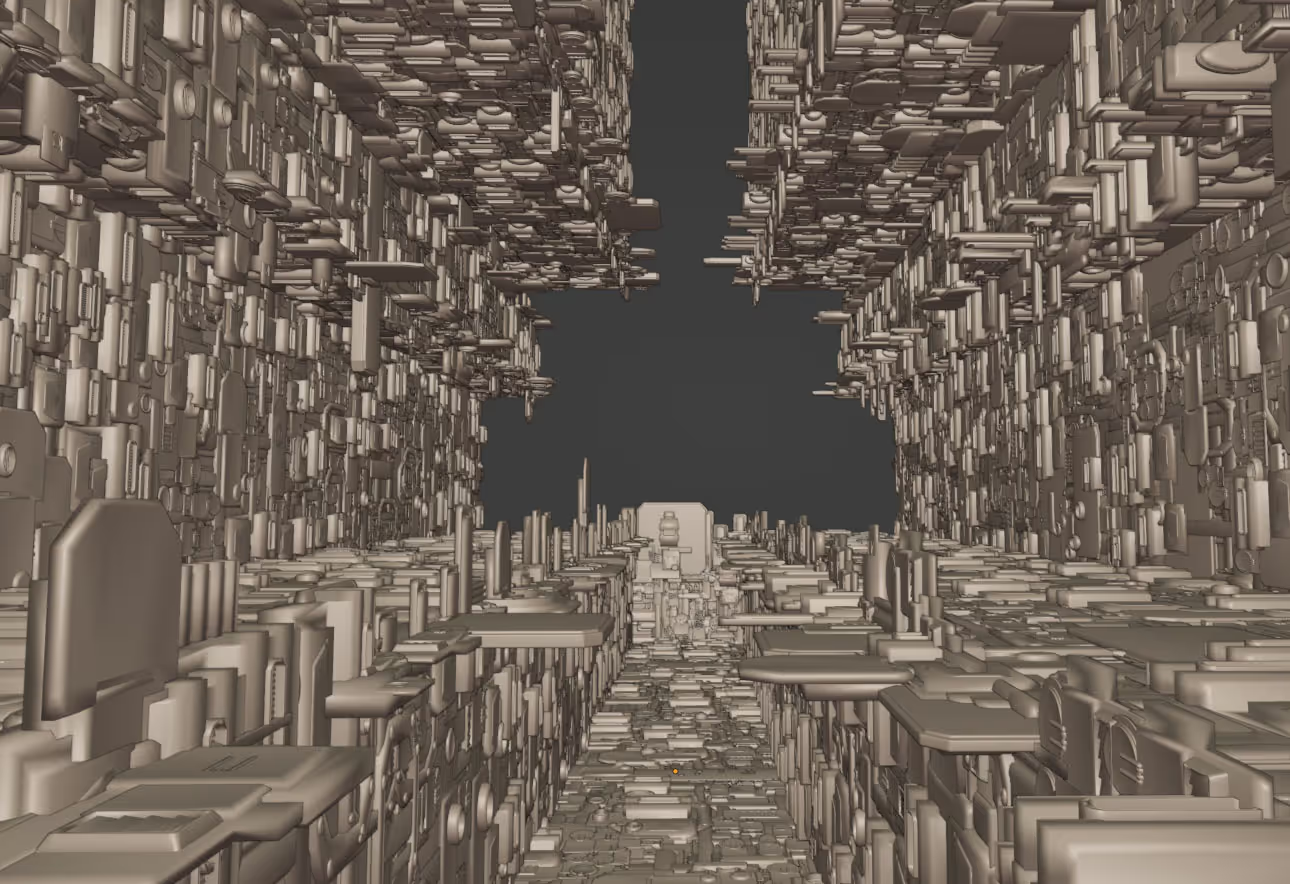
And here is the same show but with the textures enabled
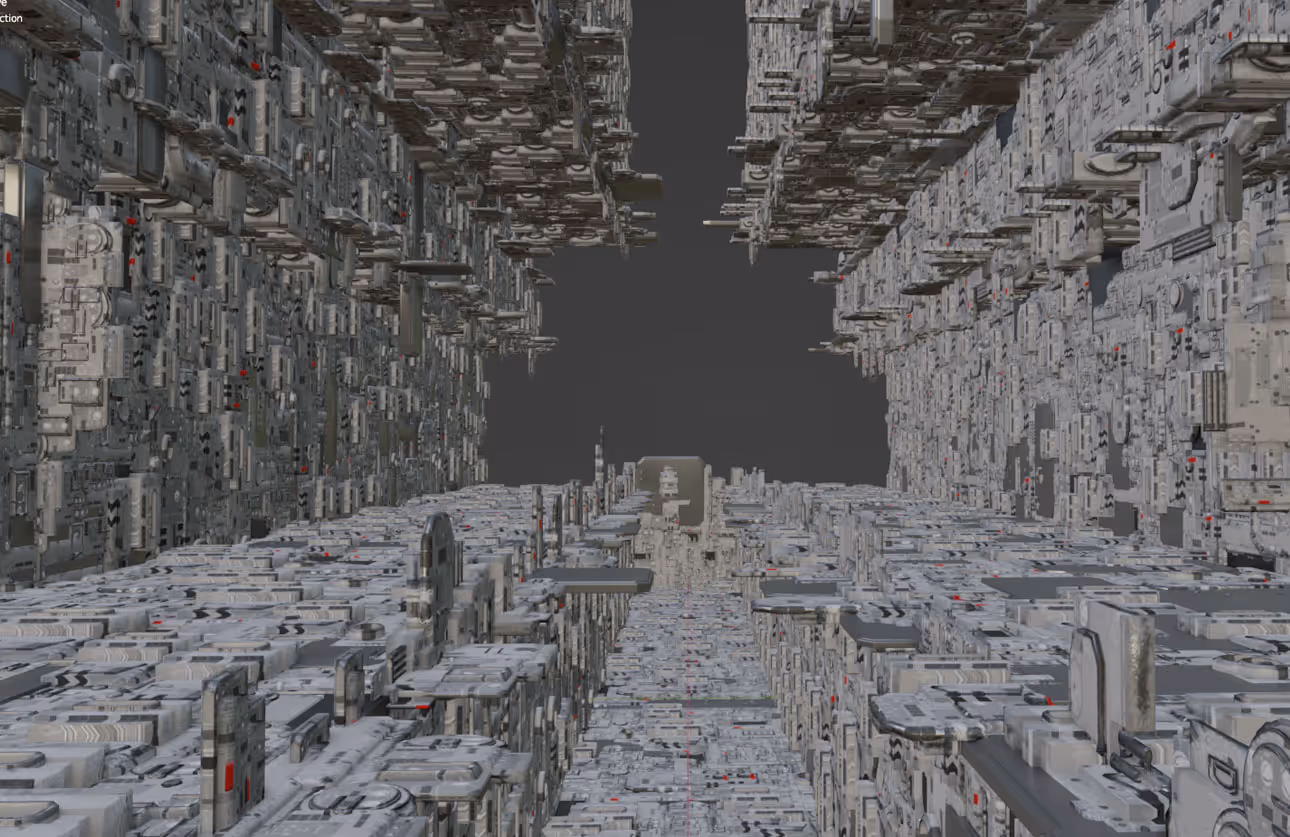
As you can see you can generate a lot of complexity with a very simple workflow and of course you can continue to refine the composition and framing of the camera with some more manually placed assets around the environment.
Adjusting the composition
So after I have the base which provides me with most of the composition, I used the same set of assets but a differnt scales to place some additional pieces that helps to guide the eye around the ‘noise’ of the image a bit better.
Also the lighting place a big role so I kept it simple and use a main lightsource from ‘the sun’ coming from the back and some out of shot cold light from the left corridor. The rest are tine planes with a warm light places along the environment to add enphasis to some areas.
And to wrap it up, I thought I give the new AI tools in photoshop a go and they are pretty impressive… I wouldd’t rely to heavily on them but for extending out the image, it works great. I extended the images to create the wider shot with this prompt: ‘Sci-fi interior of a spaceship’:


.webp)

.webp)