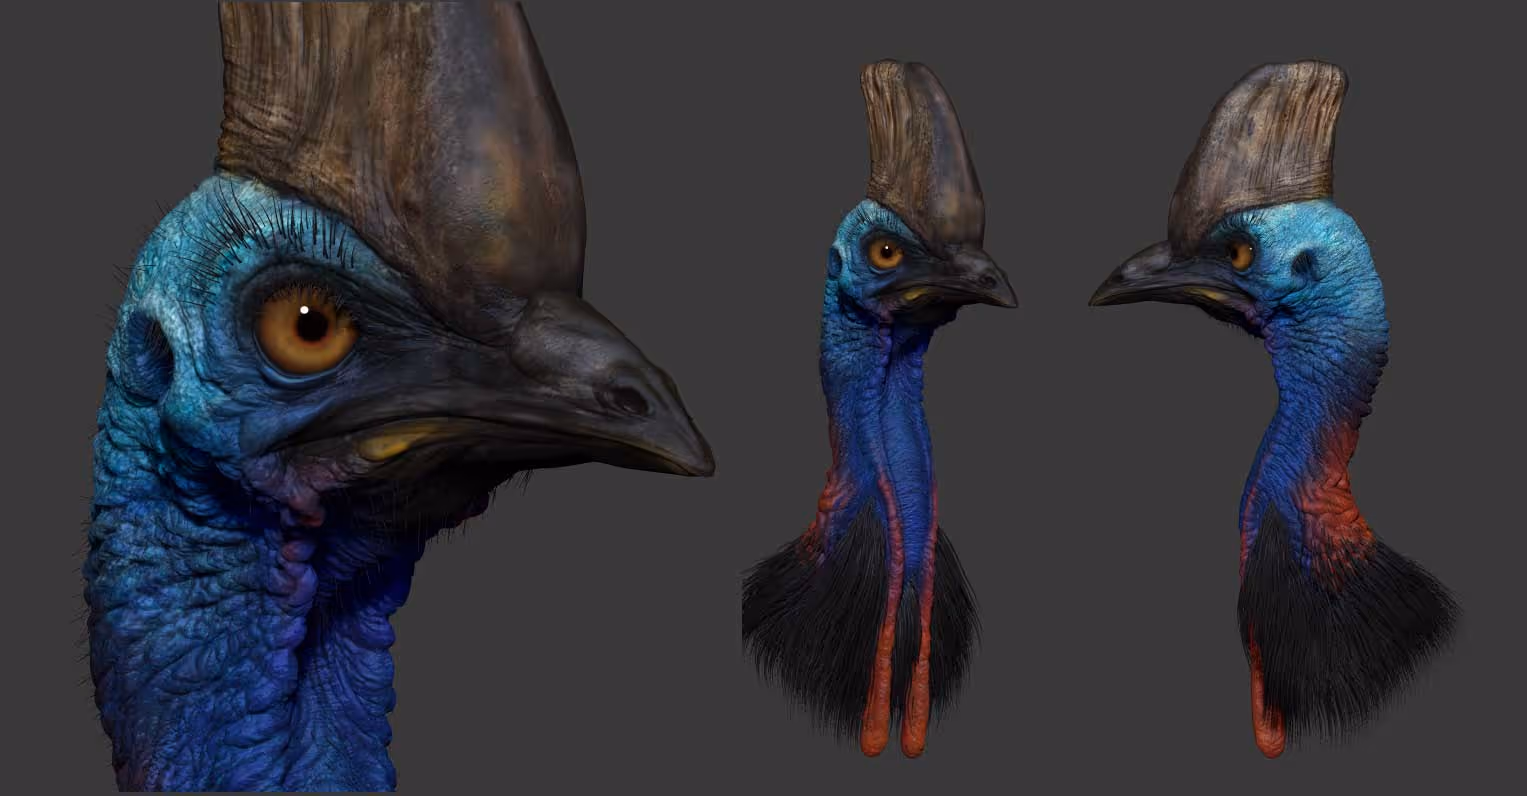
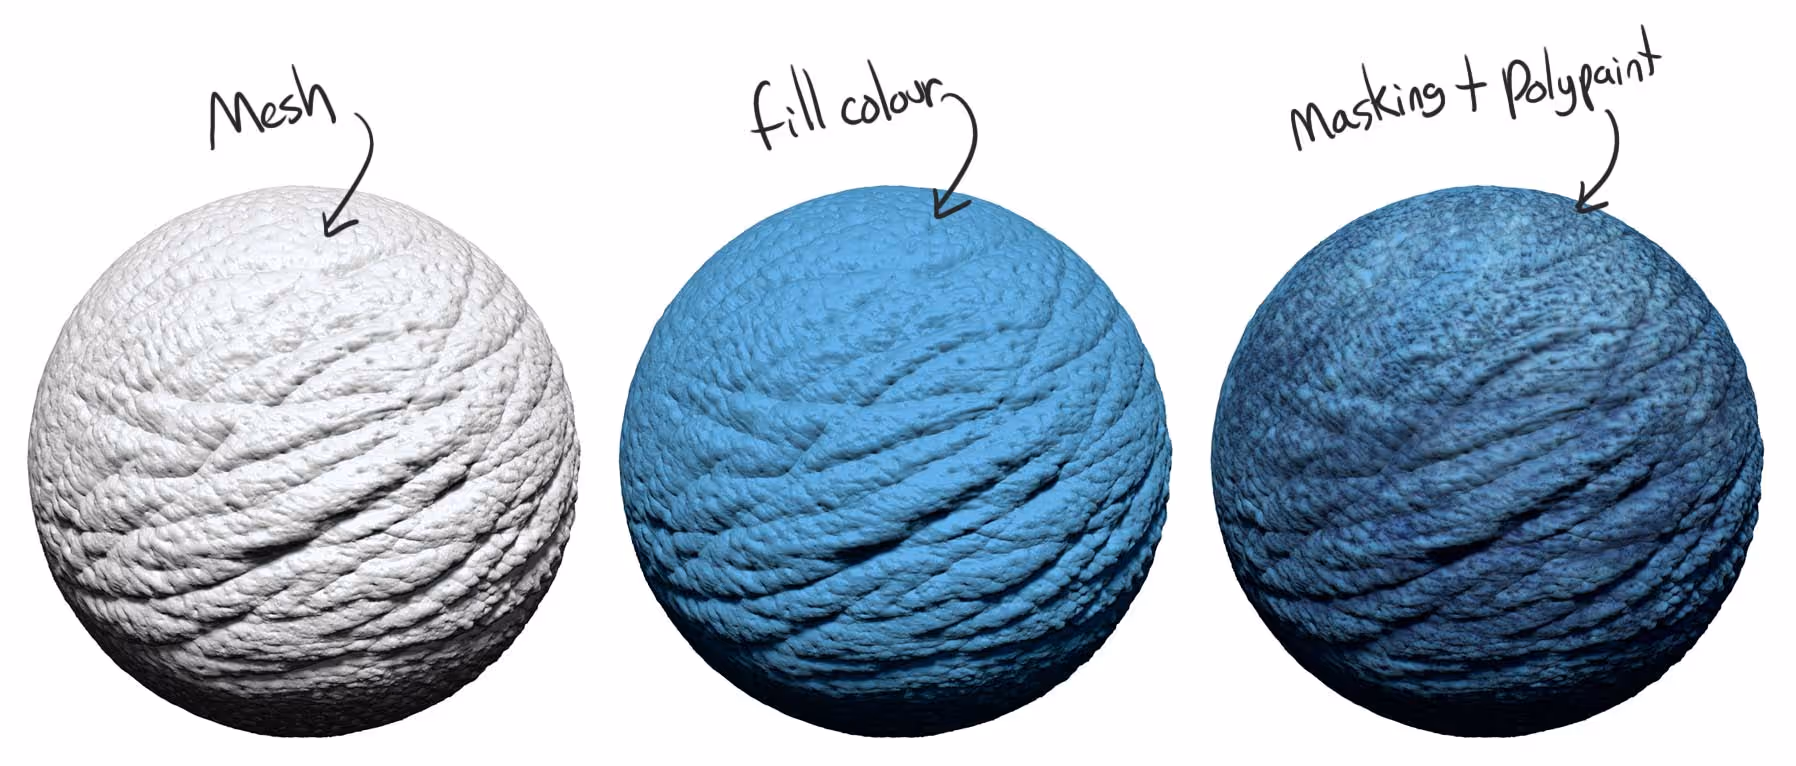
The tip consists of customizing and adjusting your masking options. The general process looks something like this... Mesh > Fill base colour > masking and paint:
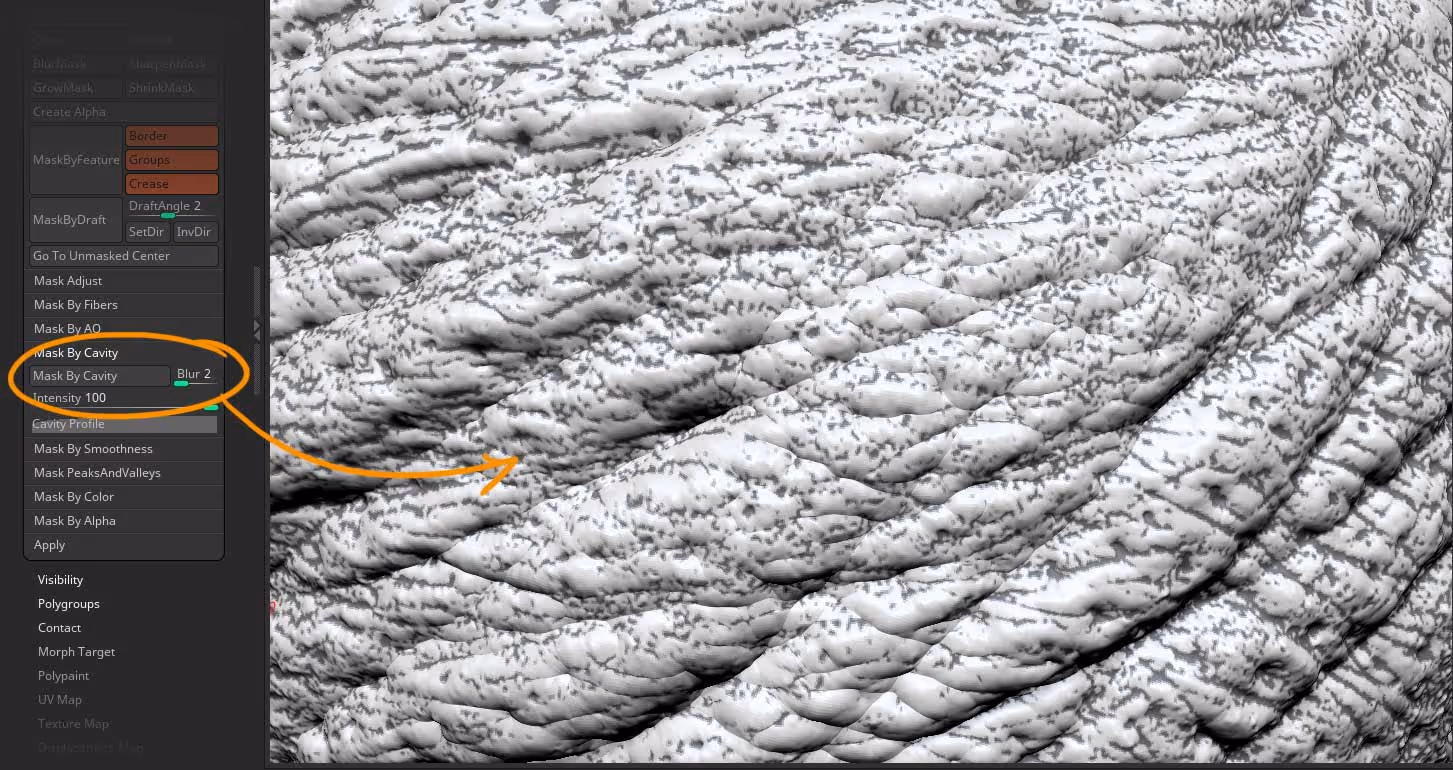
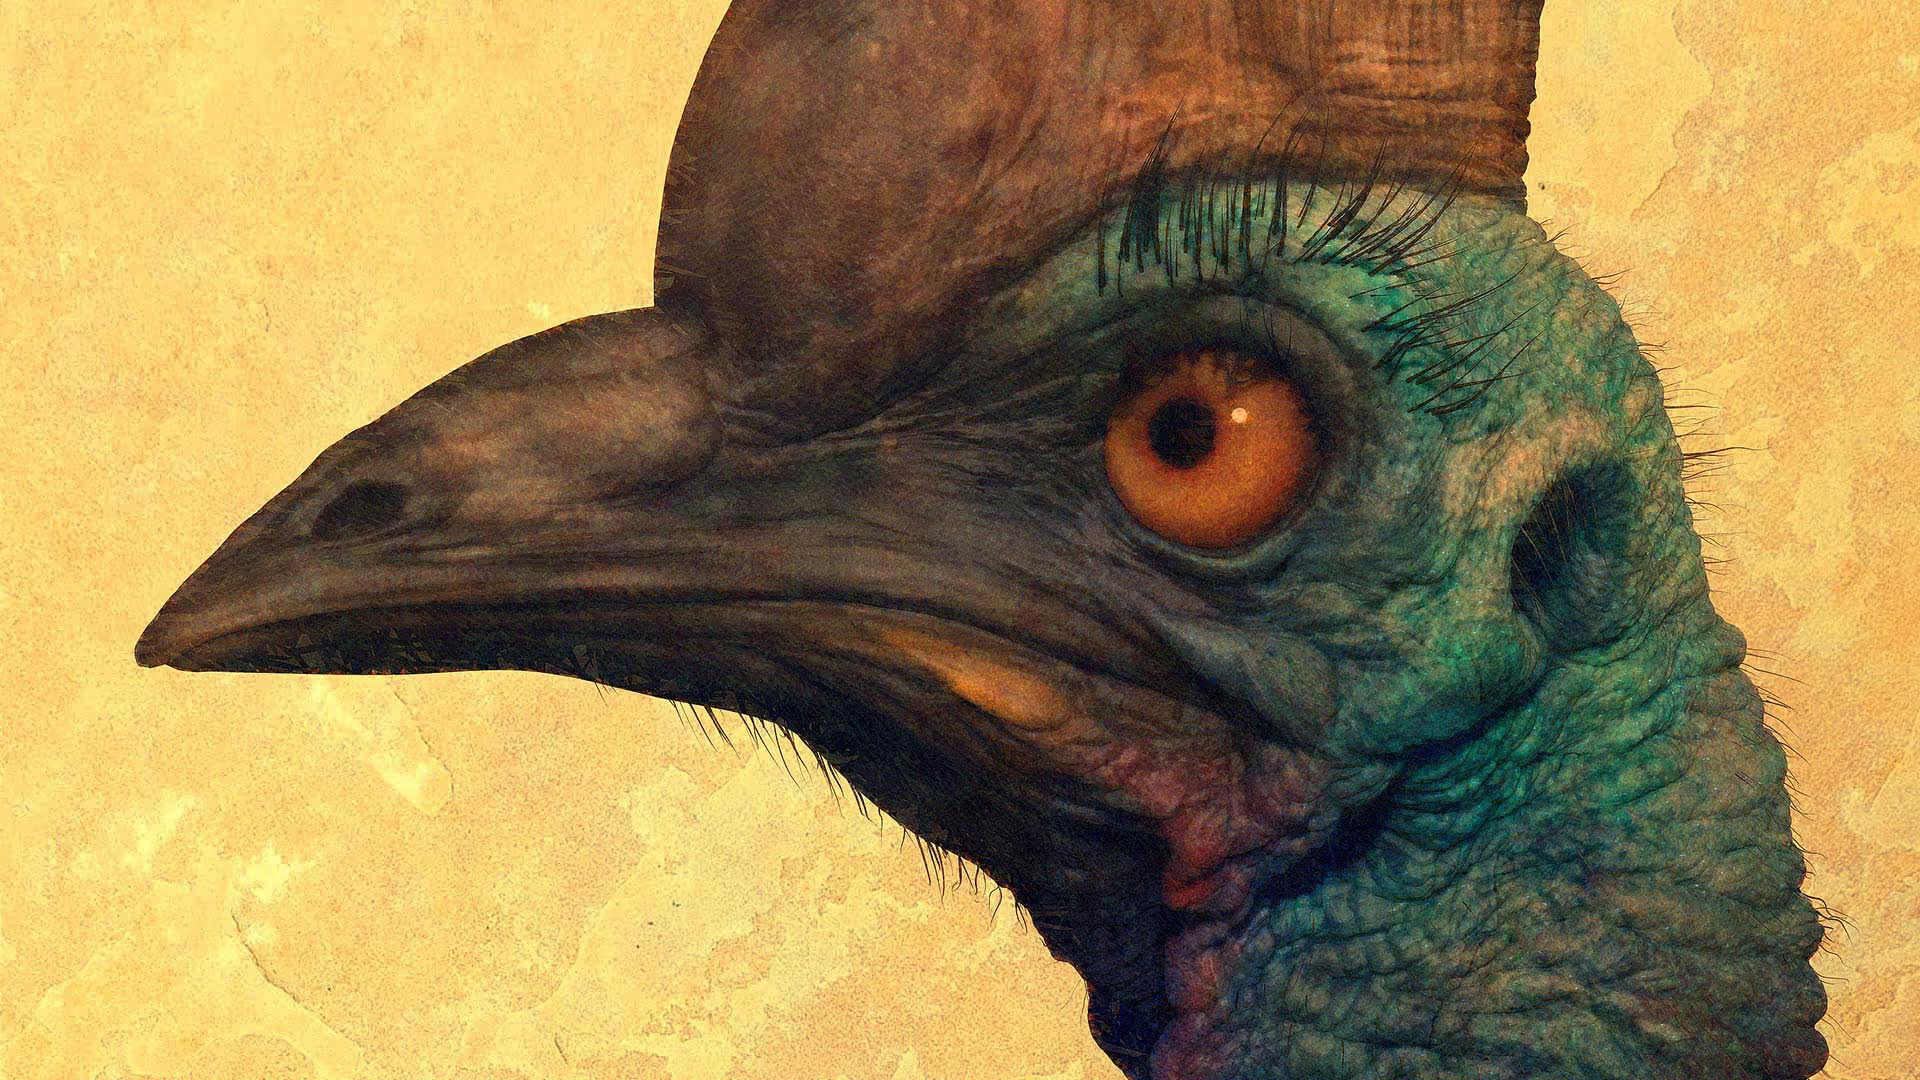
So, when you have your highly detailed sculpture, you can use the masking options within the Mask subpalette to quickly generate some variation. For instance, something that I use quite a bit is the 'Mask by Cavity' where ZBrush is going to analyze the surface and automatically mask any deep crevices (a one-click operation):
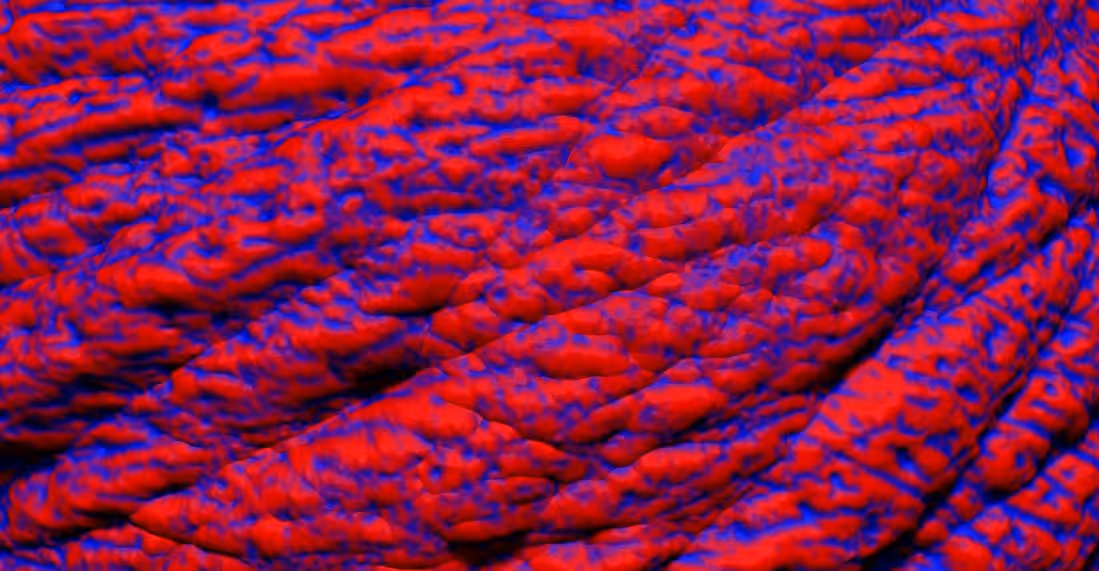
This is an awesome feature, but the trick is in how to customize this masking process... There is a section in this Masking subpalette conveniently called 'Adjust' which allows you to further tweak the mask you generated. You can sharpen, blur, or invert the mask with a lot more control using the curve profile:
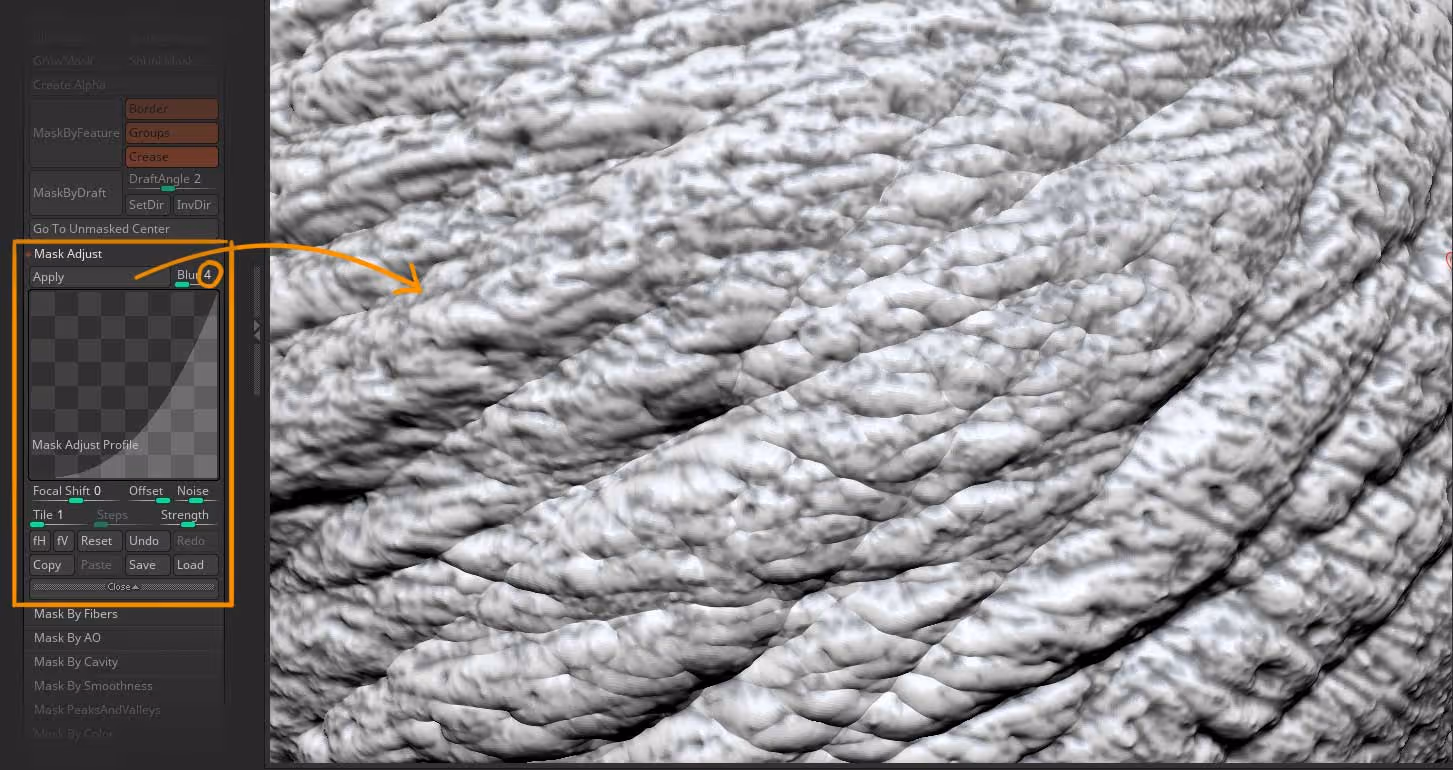
The image above is the same mask but tweaked a bit so the transition from mask to unmasked areas is more blurred and therefore when you apply the new colour, the transition will be softer ;)
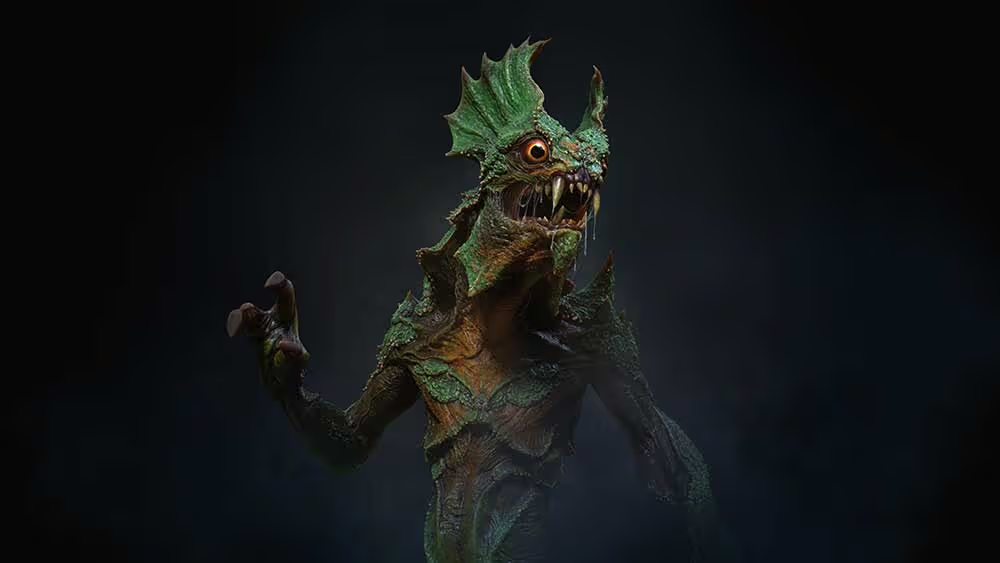
What's great about this 'Adjust' section is that it works based on the mask you have already generated, so you can use it with any other masking feature and even repeat the action (hitting the 'Adjust' button a few times). Here is an example using the 'PeaksAndValleys' masking option:
This is a very powerful way to generate colour variation in your texture using polypaint!


.webp)

.webp)