
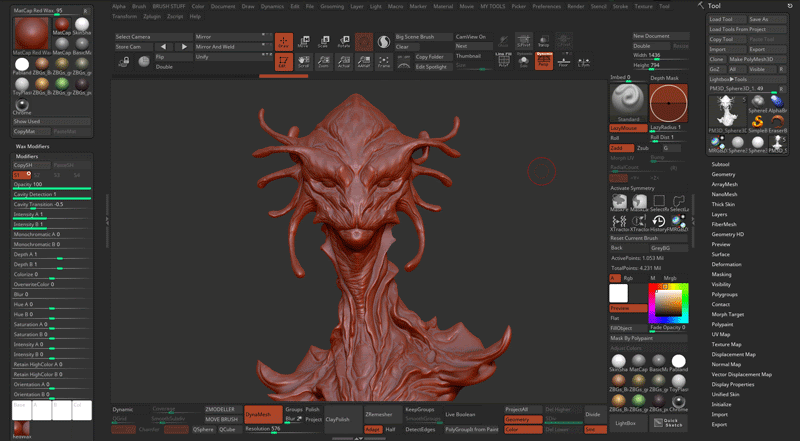
In ZBrush, you can just select any MatCap material and from the modifiers of the material palette you can replace the image with a new one and the material will be updated immediately.
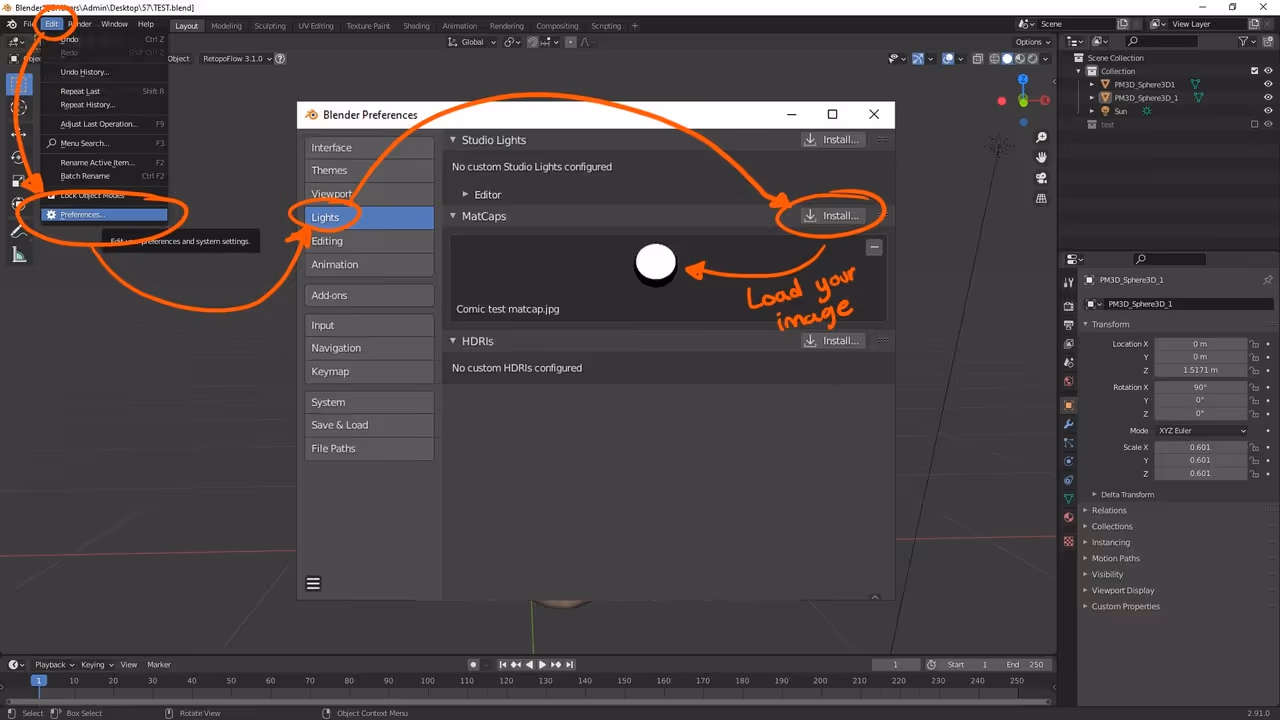
Now, in Blender 2.9 you can actually load your own custom MatCaps which is super cool, but until recently I thought it was just a 'visual' thing while you were working on your scene/objects.
In Blender, you can just go to the Edit > Preferences > Lights, and you'll see a button to 'install', this basically allows you to load your own MatCaps based on the exact same images you can load into ZBrush for a Comic style MatCap
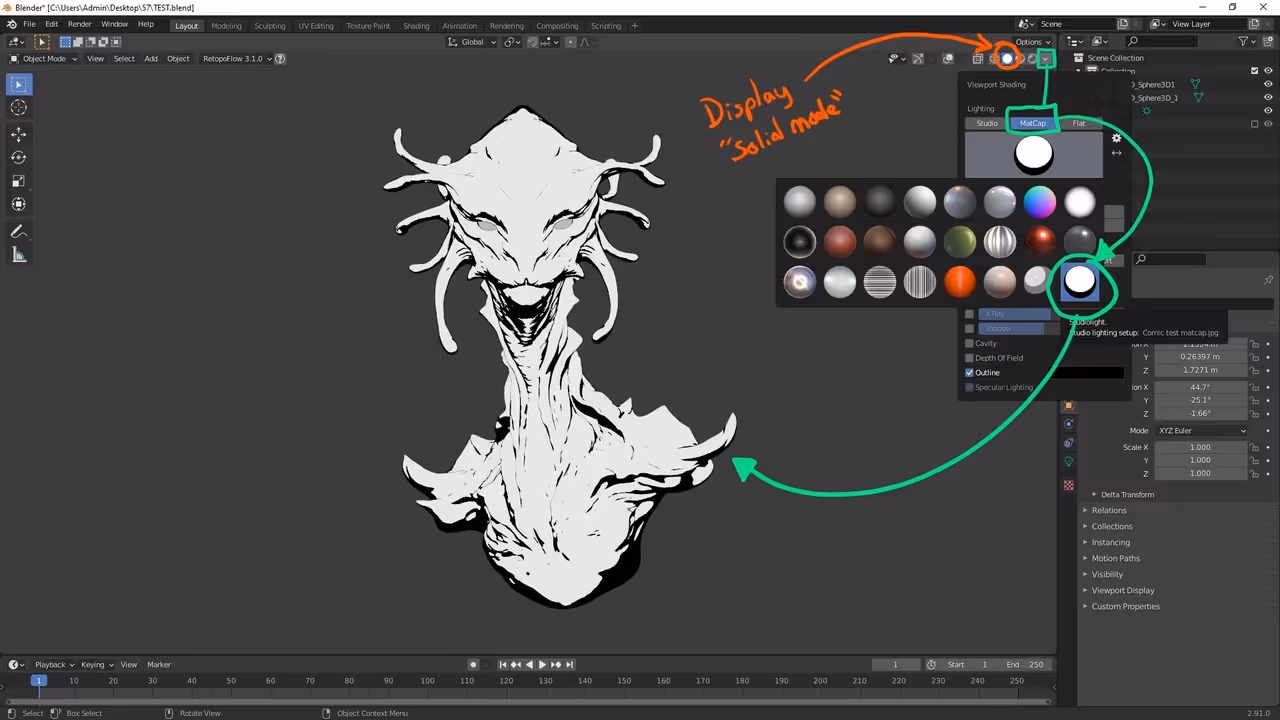
once you install your custom images, you can click on the shading drop-down, select MatCap as the lighting and then click the thumbnail sphere to choose from the previously loaded images.
pretty cool hey? now, the issue is that in Blender, this is just a 'preview' to work with, so once you render, the MatCap effect is gone, and the render will show the actual material of the object... So, here is what I've found:
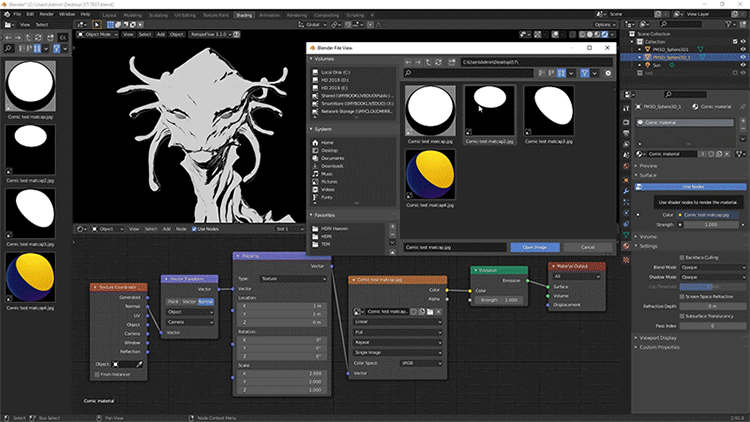
You can use the MatCap images to create an actual material that Blender Eevee (or cycles) can read well for a render... All you have to do is create a new 'Emission' shader (so it looks 'flat'), plug an image texture node in the colour (where the matcap will be) and set up the 'mapping' of that image like this (if you don't know much about Blender, in the node editor you can hold 'Shift + A' to bring up a menu where you can search the names of the nodes in the image below):
Texture Coordinate set to Normal plugged into the Vector from a Vector Transform node. The Vector Transform node, set to Normal, first dropdown to Object and the second one to Camera... then you plug that vector transform node into the Vector of the Mapping node and set the type to Texture...
The last important thing is to tweak is the 'projection' of that matcap texture to work with the camera so change the location in the Mapping mode to be 1 m for both the 'X' and the 'Y' and set the scale to 2.000 in the 'X' and the 'Y' as well.

I know It 'sounds' convoluted, but just follow the setup in the image above and you got yourself a MatCap comic material for blender.... once you have it set up, you can simply load different matcaps in the image texture node and test different effects:
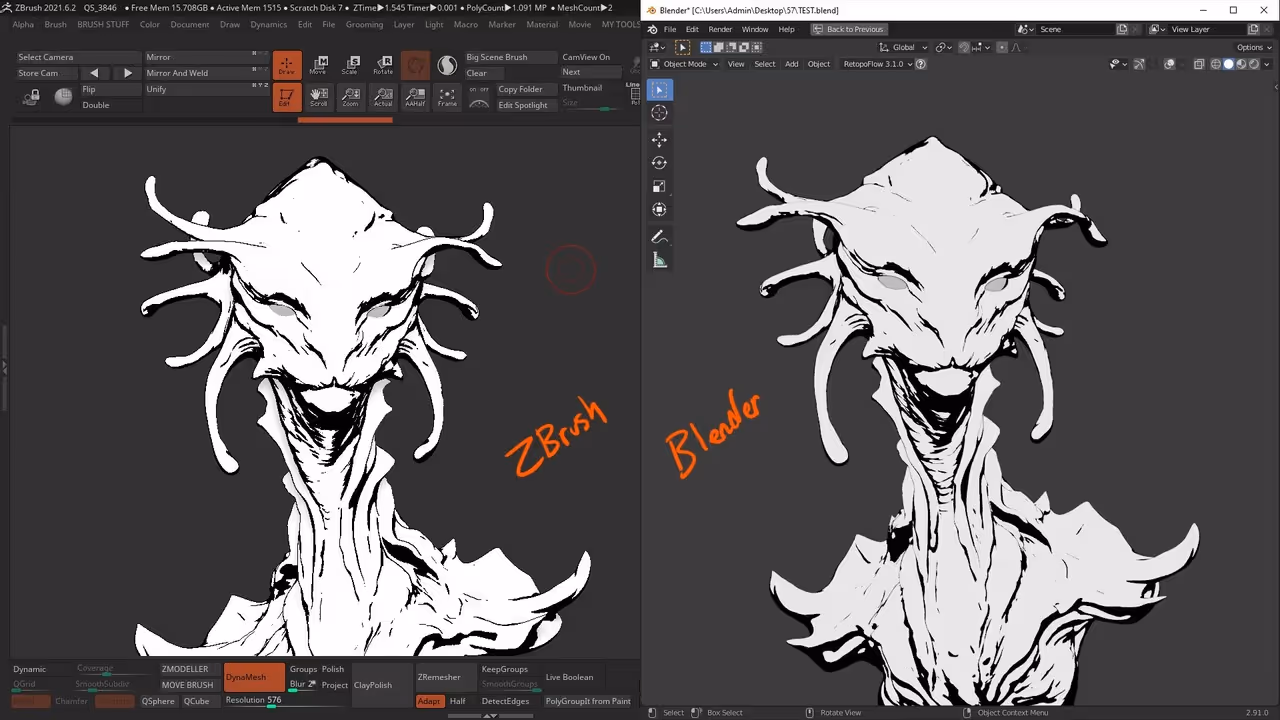
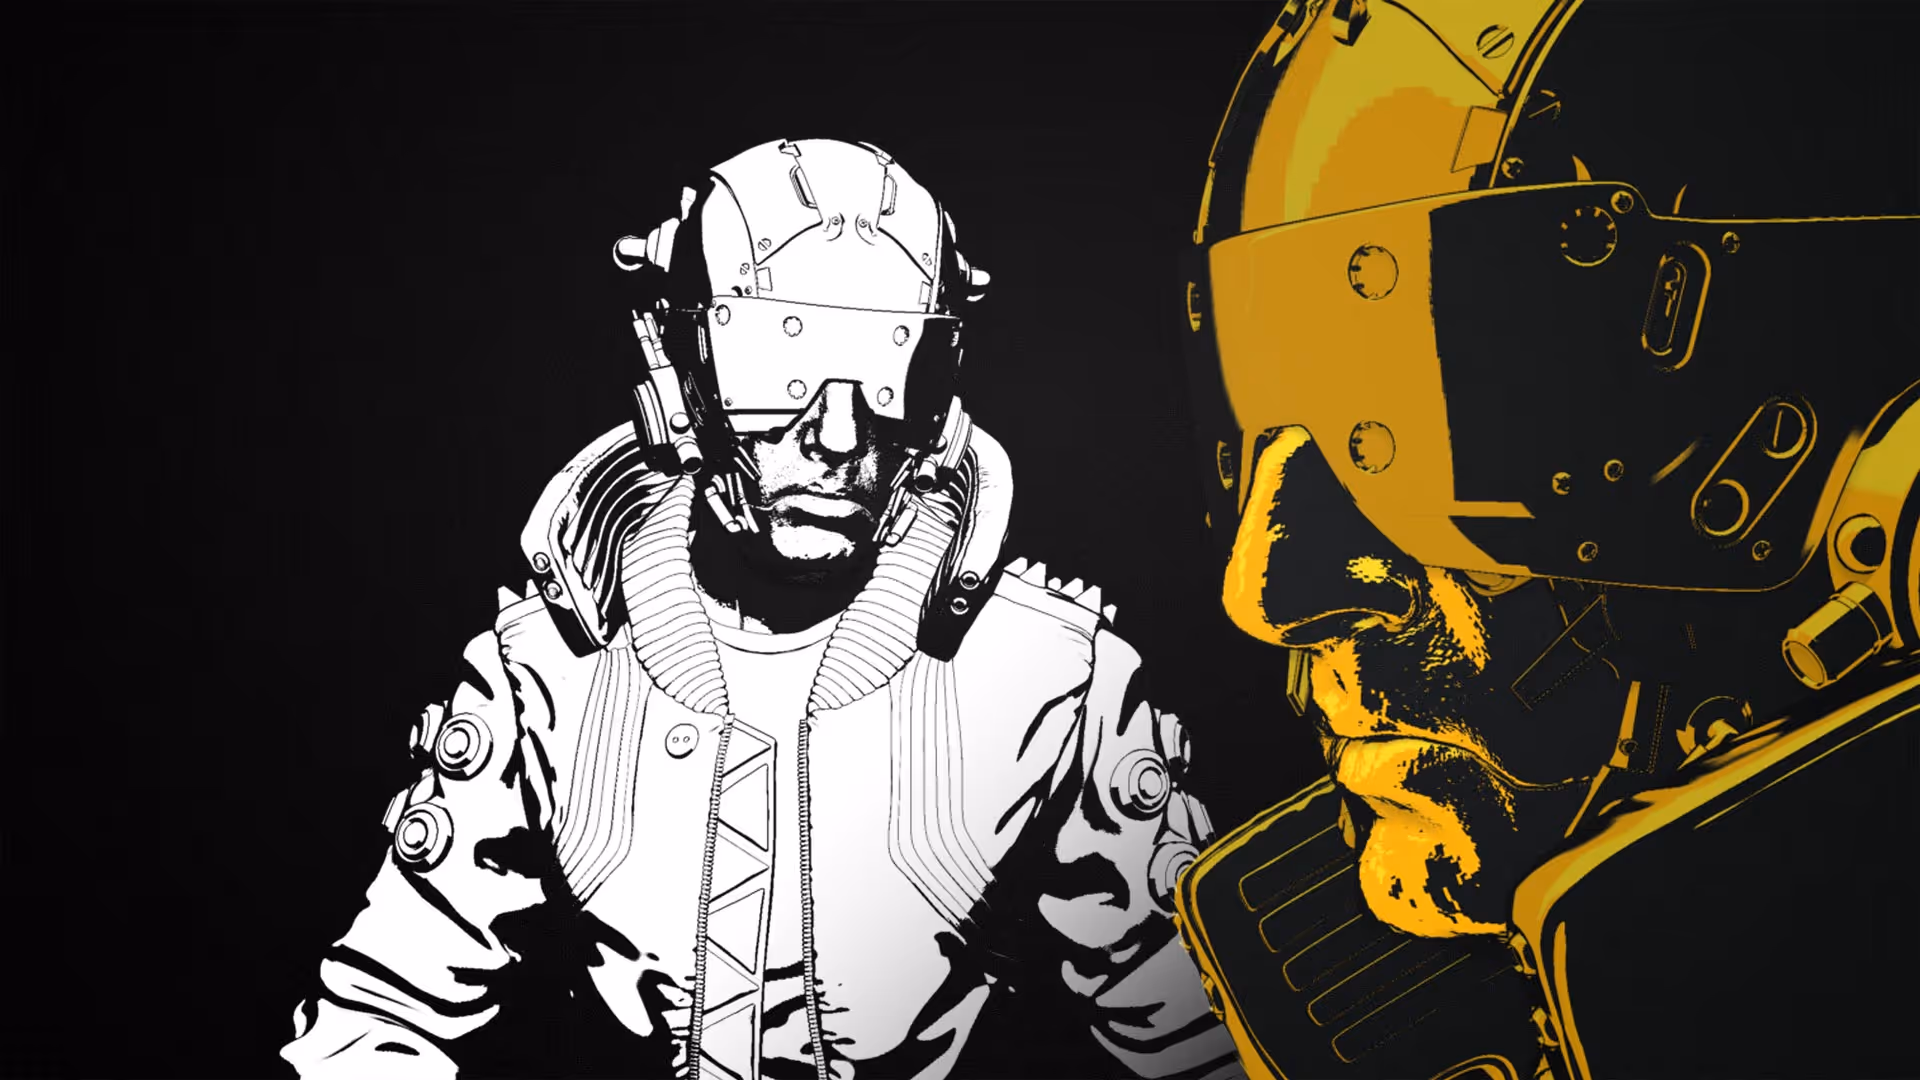
That's it... you can now render it out and do anything else you need to do to finish the image.


.webp)

.webp)