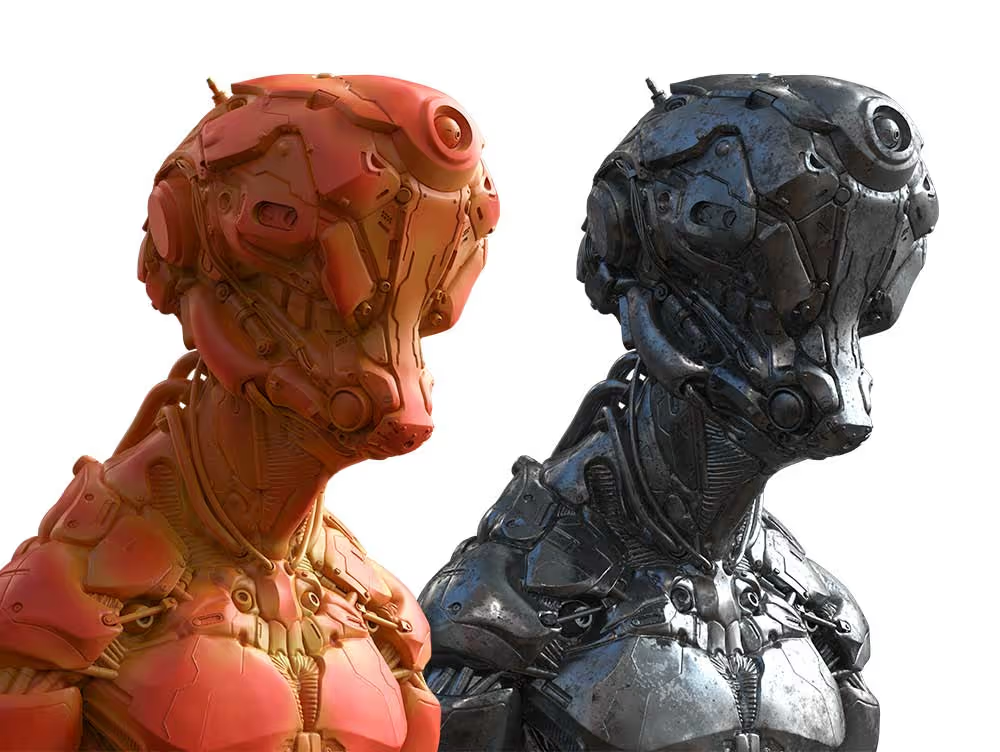
Make sure the material passes match
The only thing you want to keep an eye on when using this method of compositing, is that both render passes match. In other words, make sure the camera is exactly the same and the lighting as well... That way when you set one on top of the other, all the shadows, highlights and reflections will match too!
For the two renders I used Keyshot but like I said you can use any software you want. Also, keep in mind that there are no UVs in this model ;)
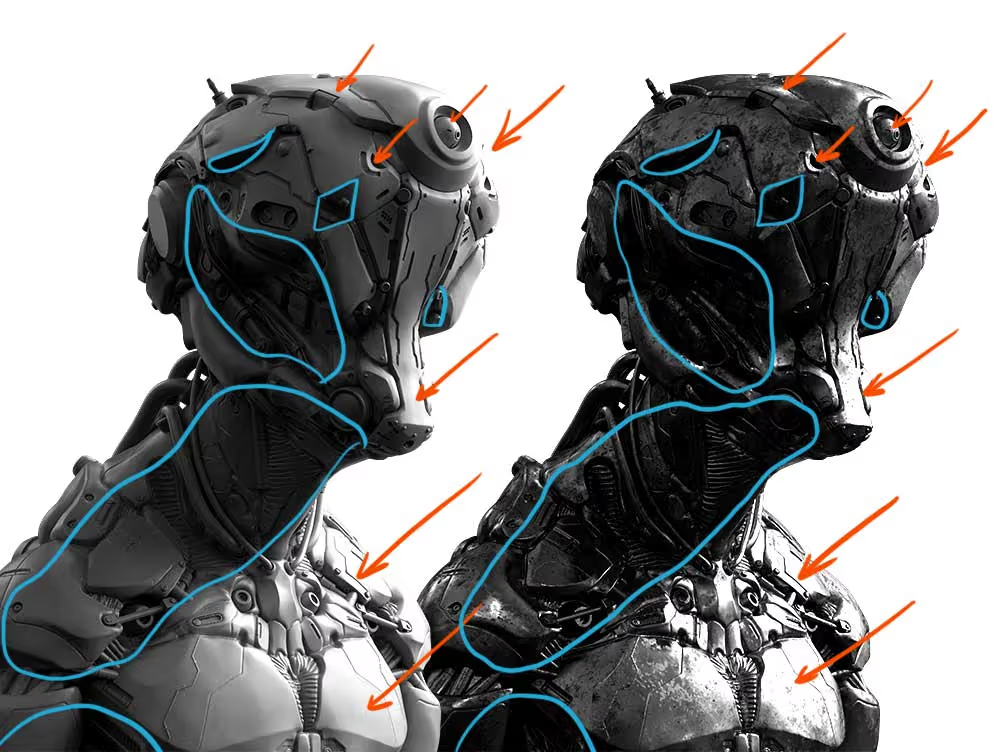
Manually blending passes with masks
The real 'trick' of this technique is just around the use of masks in Photoshop and the non-destructive workflow.
You can create a mask on for the layer on top, and use any Photoshop brush to paint with black (or white) on the mask to reveal the layer underneath... in my case the metal. This creates a convincing effect of scratched paint with metal underneath since the both passes are matching.
You can refine this effect with different brushes and even create your own brushes in Photoshop... we are simply painting with black and white colours.
The best think about this workflow is that you can simply duplicate the layer on top and add a new mask if you want to change or explore something different without altering the original pass!

Keep in mind that this ONE layer... you can do many passes with a bunch of materials like rubber, gold, copper, plastic, etc. and combine them all in the same way.
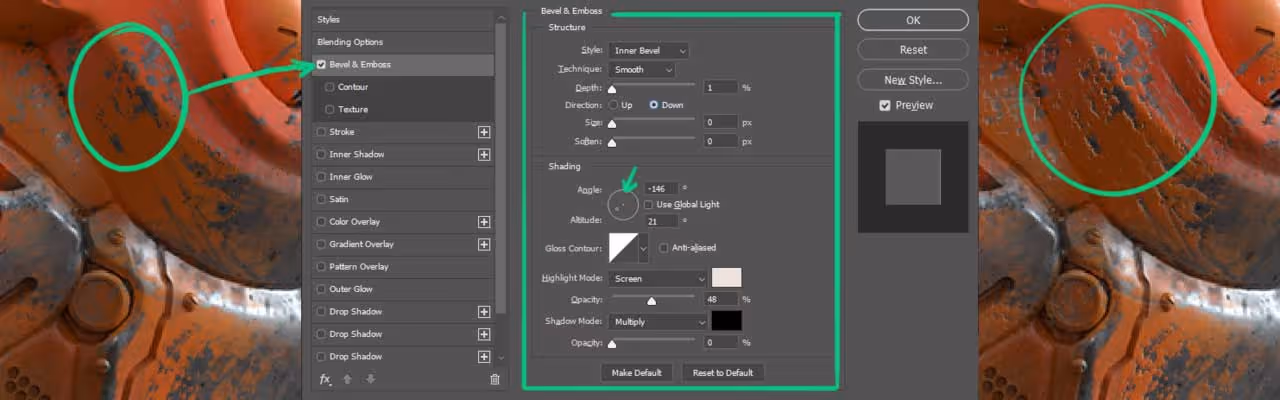
Also for things like scratches, you can add another layer of realism with a simple 'Bevel and Emboss' effect (from the layer style button). In the settings of the effect you can tweak the 'thickness' and setup the light so that it roughly matches the render key light:


.webp)

.webp)