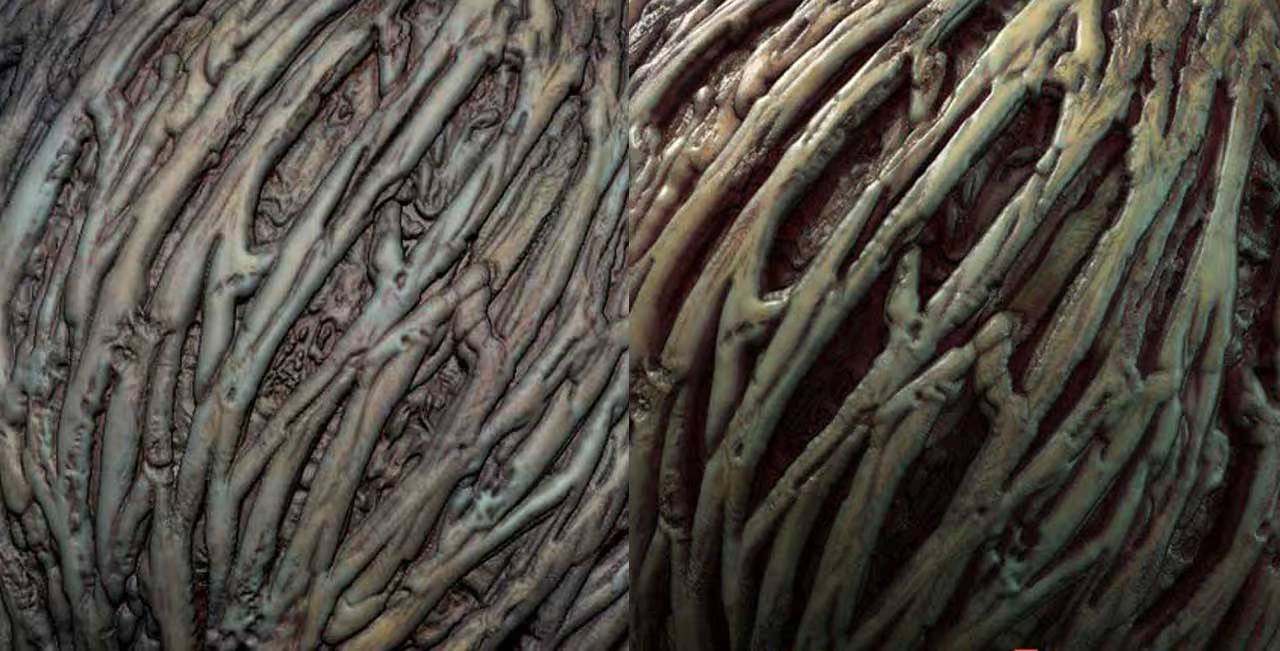
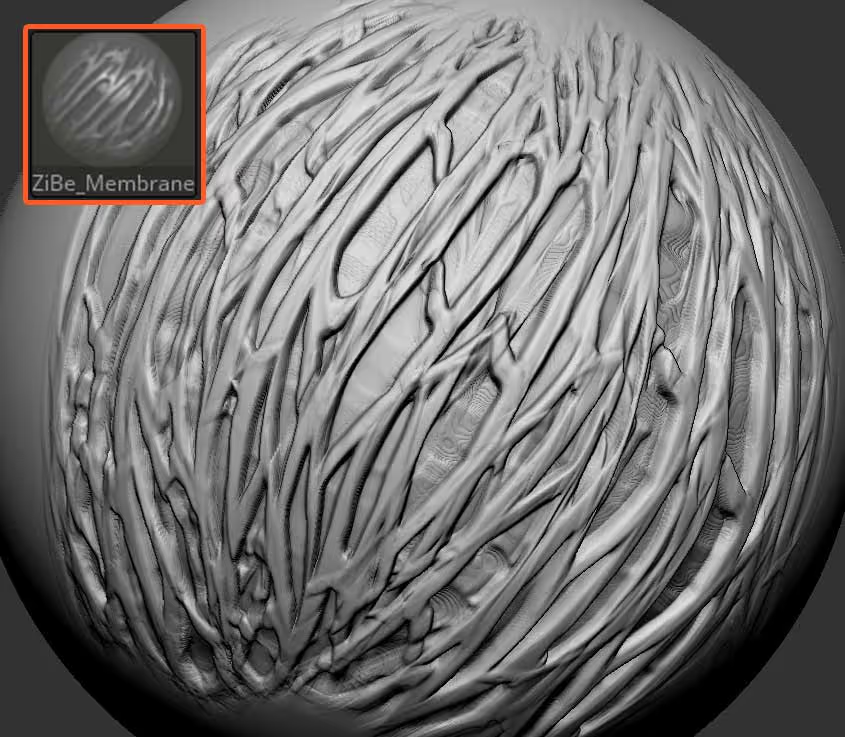
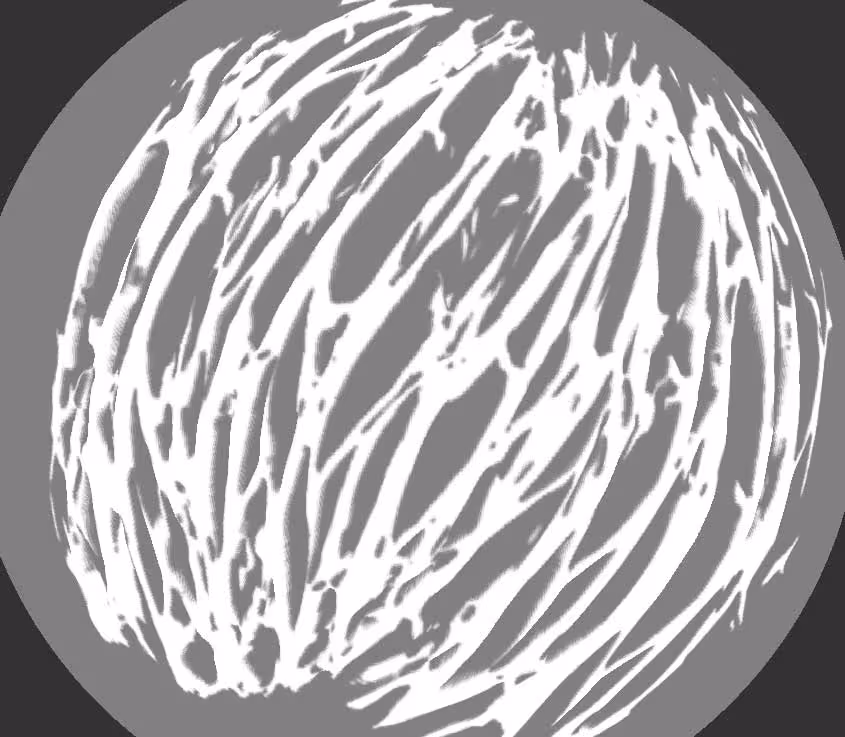
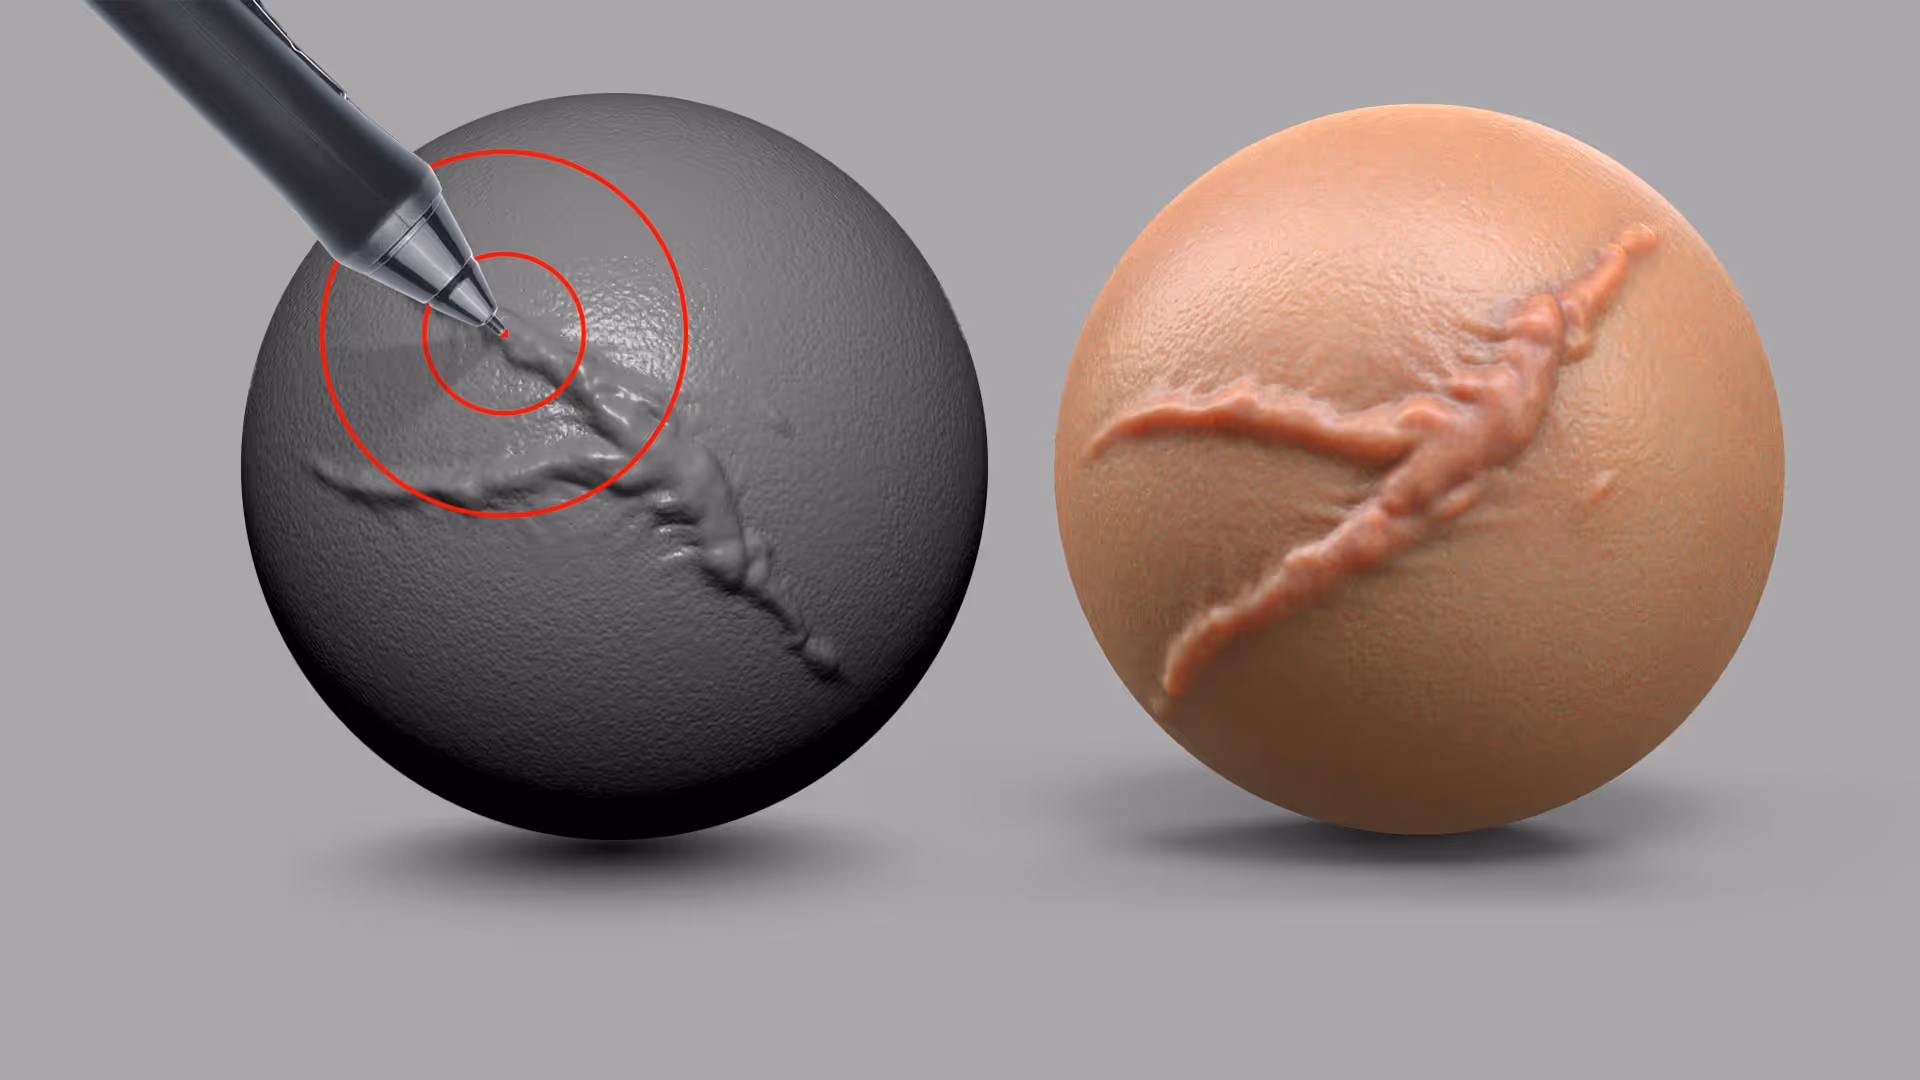
One of my favourite brushes from the 'Giger & Beksinski' pack, is the 'ZiBe_Membrane' because it helps you discover really weird and intricate patterns with a couple of strokes. Here is the effect of the brush over the sphere (this is actually a single stroke motion):
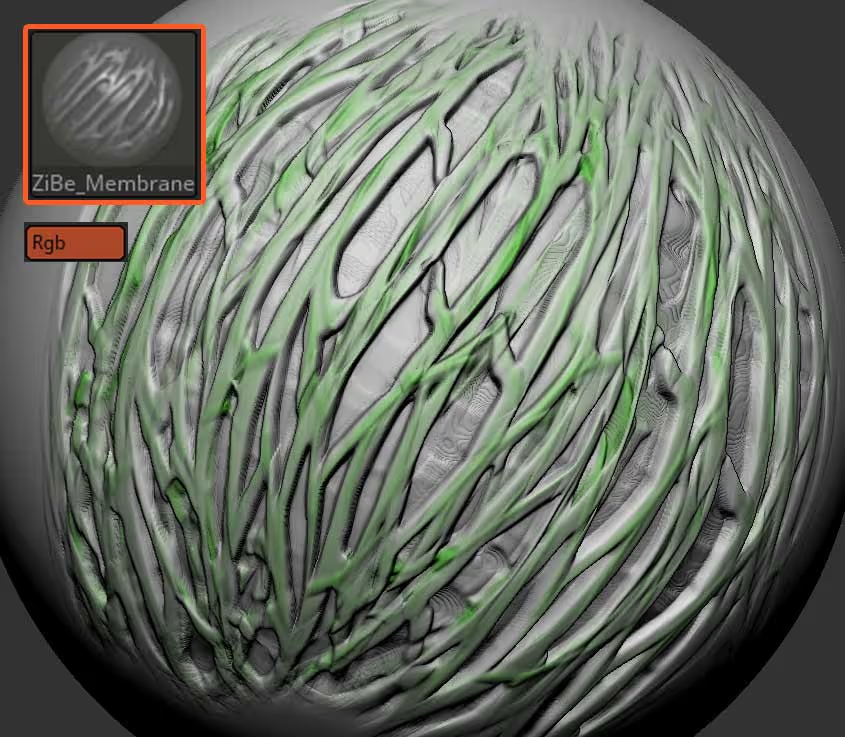
The 'key' for the workflow that I'm going to show you is to use Polypaint! - You can turn any of the brushes from the new pack into a polypaint brush by enabling the 'RGB' switch. In this case, we want to have the 'RGB' and the 'Zadd' switches on so that you can affect the volume of the surface at the same time that you add the colour.
You can use any colour you want, I'd suggest something very bright or with a lot of contrast. In this case, I just selected a green colour to add the details with a bit of polypaint:
The next step is to use the polypaint we got from the added details and create a mask from it. From the Masking palette, you can use the 'Mask by Polygroup' feature to essentially isolate a specific hue to create a mask.
From the 'Mask by polygroup' window, all you have to do is click and drag from the first colour swatch and select the polypaint colour. Then you can play around with the tolerance slider next to the swatch to refine the 'reach' of the mask:
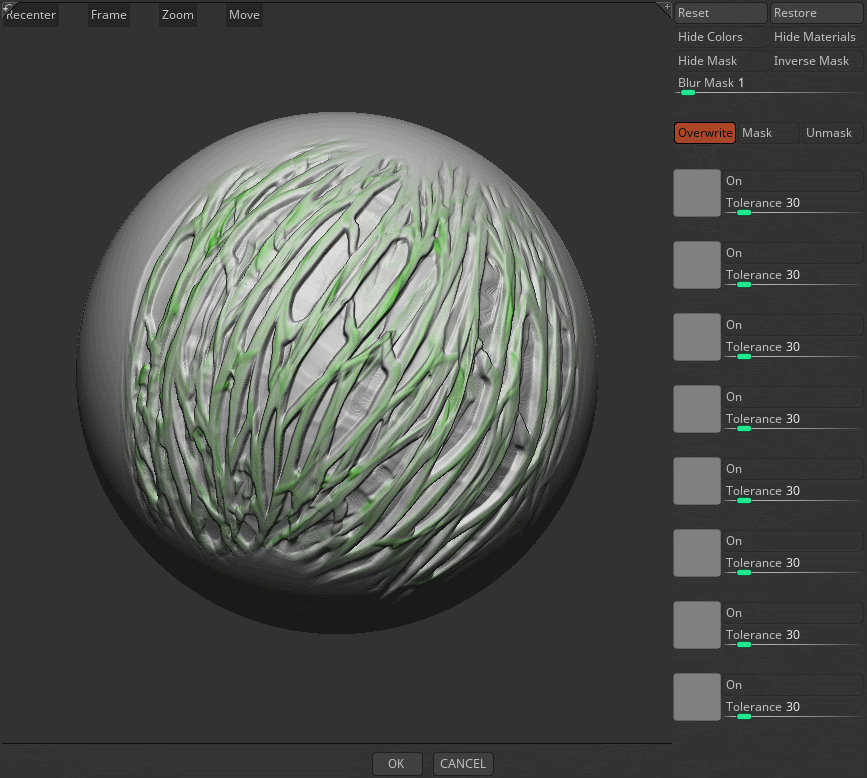
Once you are happy with the mask, click ok and you'll end up with a mask that roughly matches the recently added details to the surface:
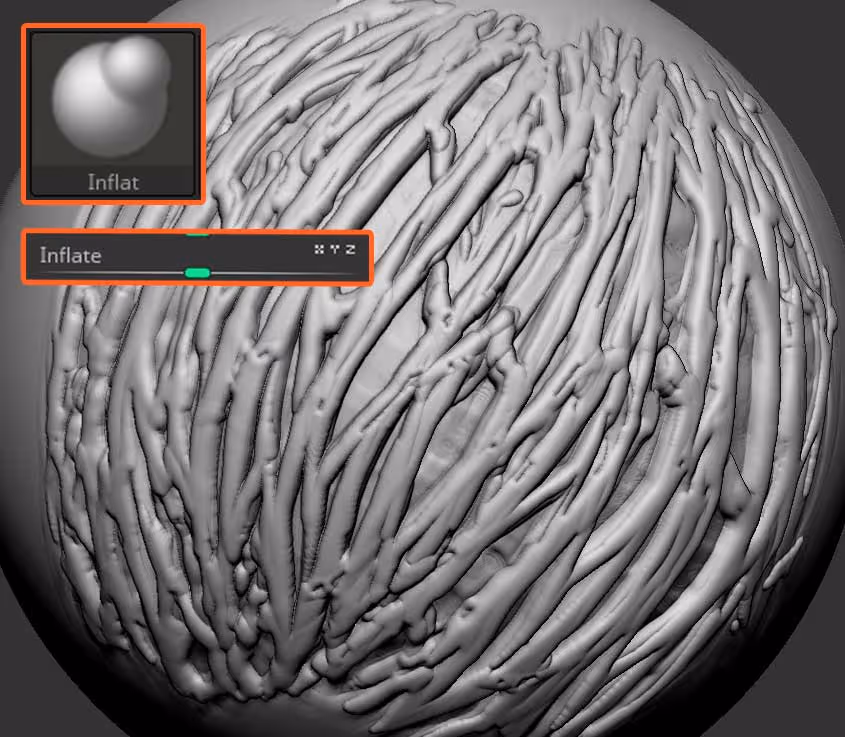
Now, here is the fun part... using the inflate brush or the inflate slider from the Deformation subpalette, you can push the volumes of just the details (thanks to the mask we did before) and make this weird membrane patter look really cool:
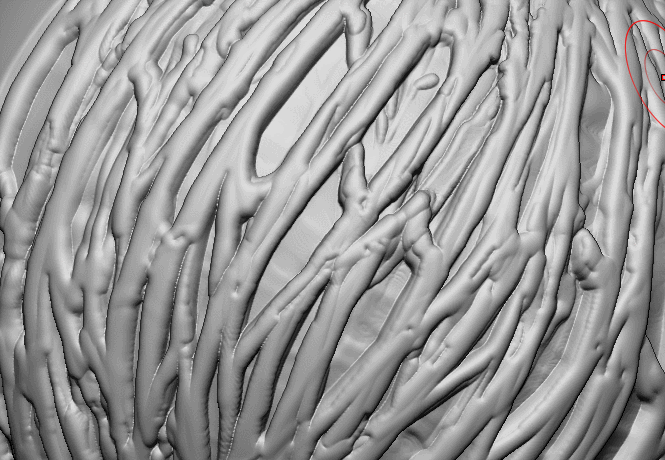
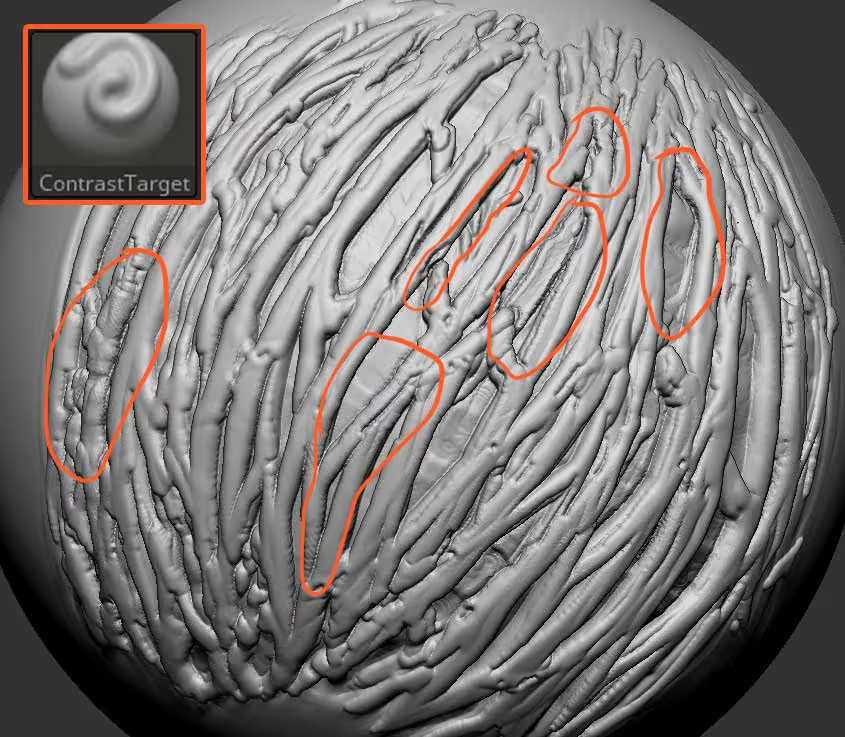
Another great thing you can do after you use the inflate slider or brush, is to smooth things out with the Smooth peaks brush (this brush works great with all of the brushes from the pack). Also, if you want, you can sharpen the details in certain areas to add contrast using an awesome brush that comes with ZBrush called 'ContrastTarget' This brush will target the 'deep' crevices and areas so you can maintain the smoothness of the 'high' points of the details:
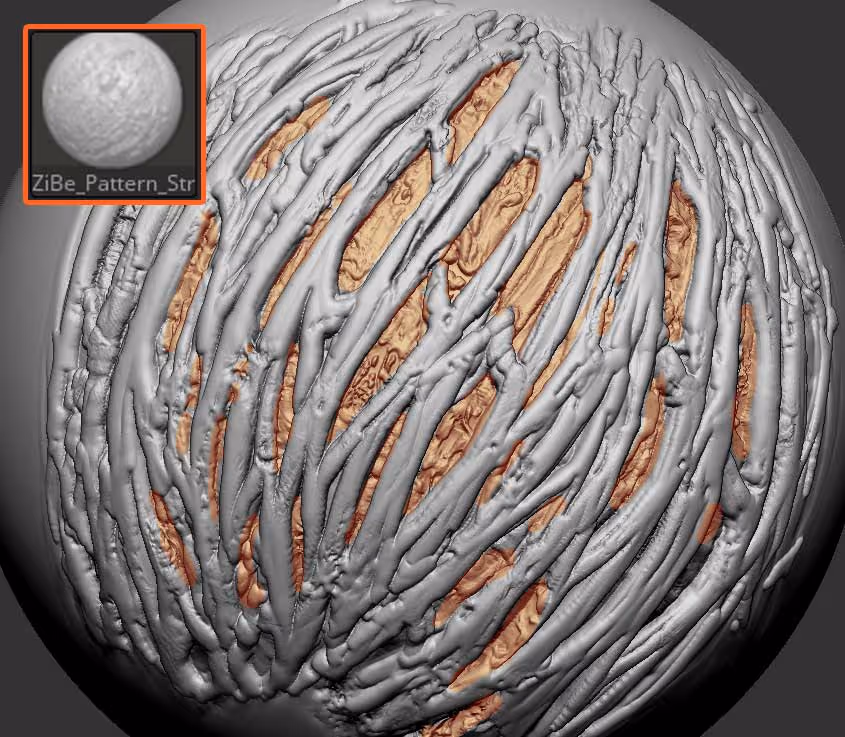
Finally, to refine things a bit more and add further details, you can combine the effect of the first brush, with another one like the ZiBe_Pattern_Strong... in this example I use this other brush to add detail variation in the 'gaps' created by the first brush:
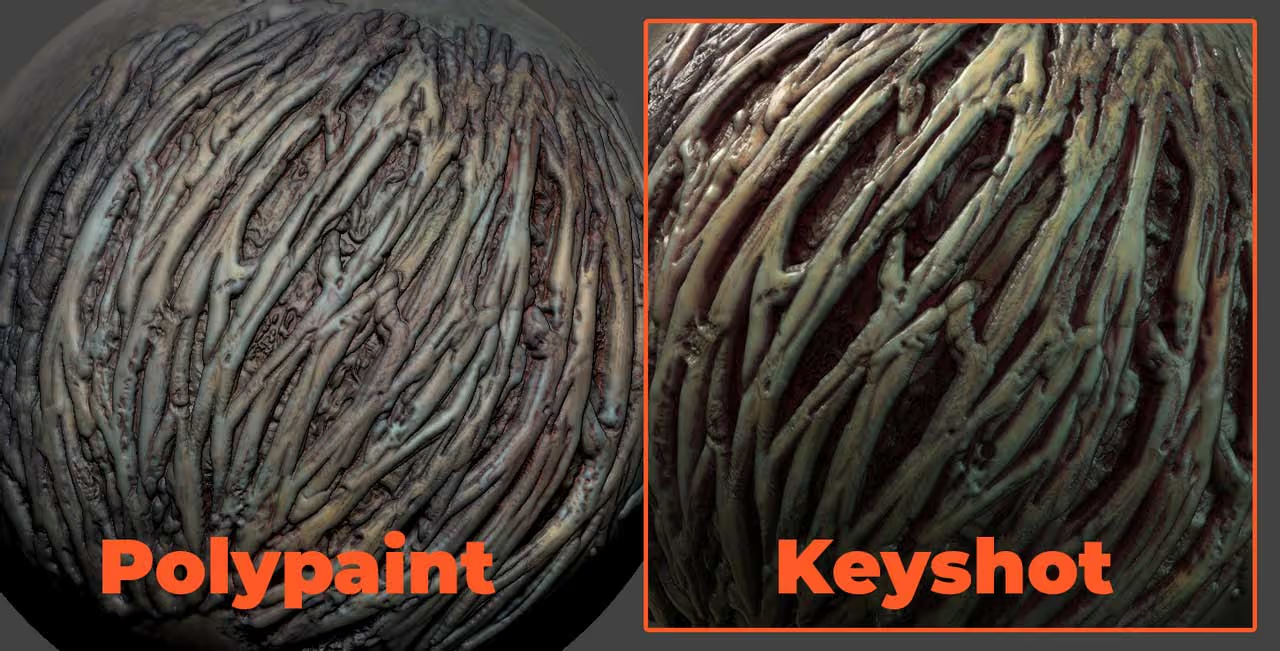
That's it... to complete the effect you can do a quick polypaint pass and send it to render!
And keep in mind that in this workflow I only used the effect of two brushes but you can use lots more and create a very complex surface... just make sure you keep an eye on the balance between the details and smoother areas.


.webp)

.webp)