There isn’t much set up for this trip other than selecting a ZSphere and enabling radial symmetry (Transform > Activate Symmetry). You can choose the number of instances you want from the RadialCount slider and set the axis you want.
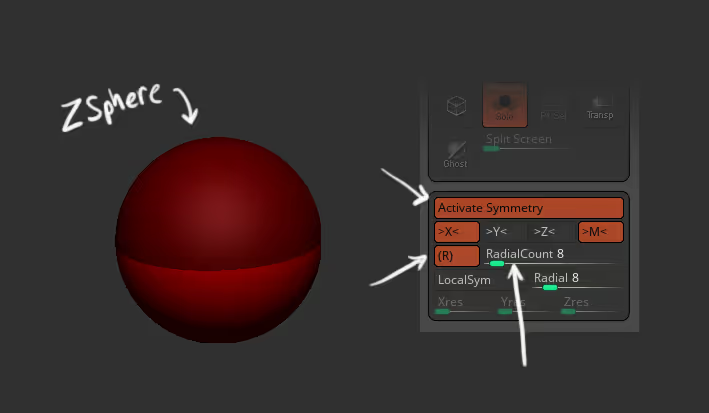
Once you are all set up, click and drag to create your first ‘array’ of ZSpheres and continue from there... is as easy as it sounds. For this example, I’m building some kind of bracelet:
once you finish with your ZSPhere radial pattern, you can go to the Adaptive Skin and create a clean low-poly base mesh by turning the Dynamesh resolution to 0 and defining the subdivision amount:

obviously, in this case (probably in most cases), we don’t need the inner portion of the mesh, so you can use the Ctrl+Shift keys to hid those polygroups and delete them (Del hidden).
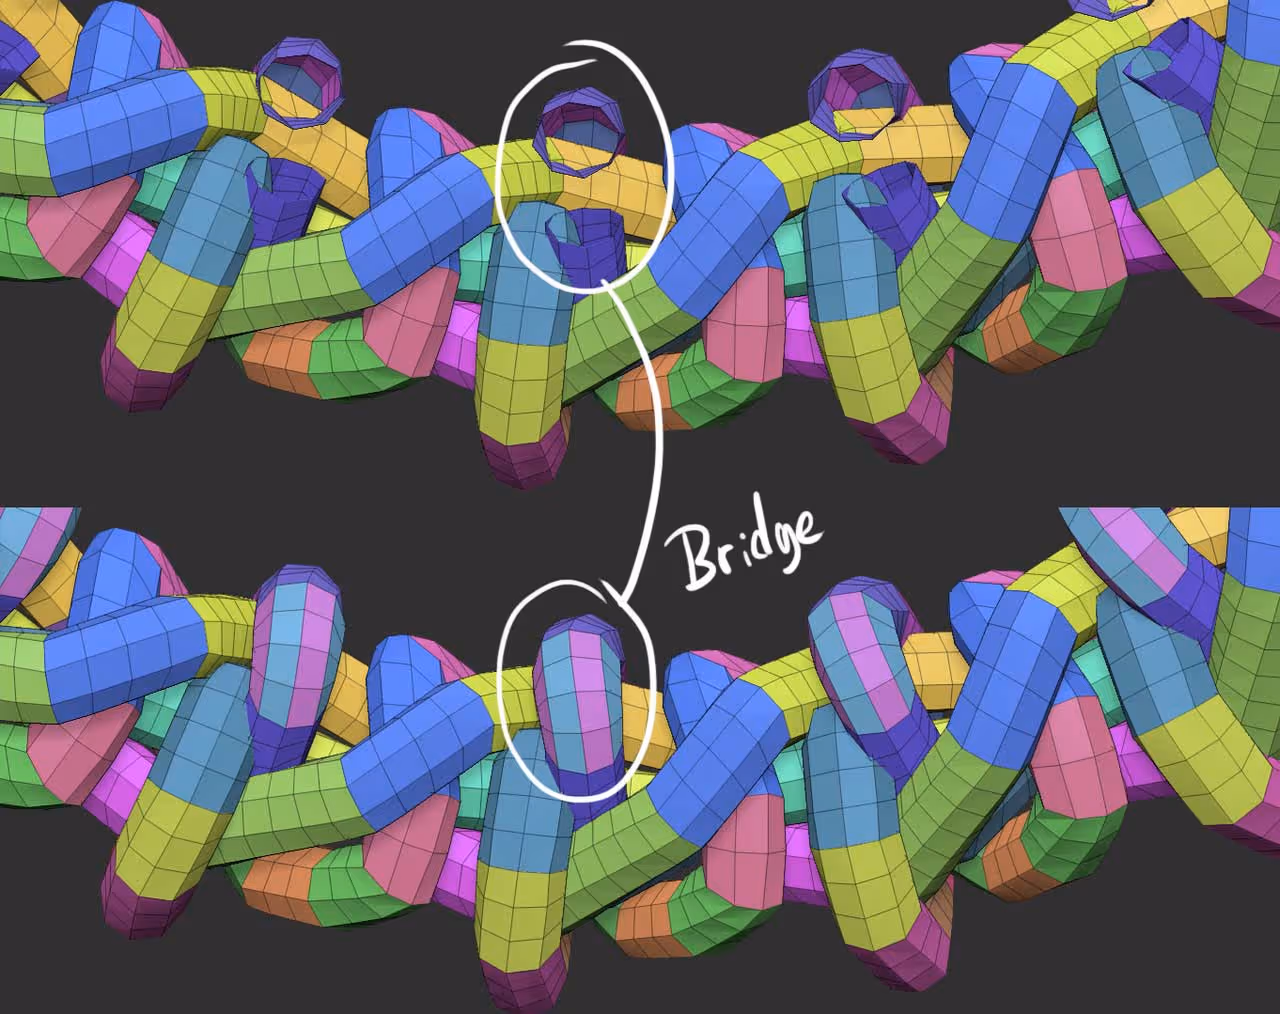
If you want to close the gaps so that the bracelet closes the loop of polygons, you can switch to the ZModeler brush, hover over an Edge, right-click (or space bar) and select Bridge two wholes. The cool thing is that this brush also works with Radial Symmetry so you only have to do it one of the ‘gaps’ and that’s it:
The rest is up to you, you can polish this as you want since the resulting object is a pretty clean base mesh you can use Dynamic subdivision and the Move Topology Brush to adjust anything you want:
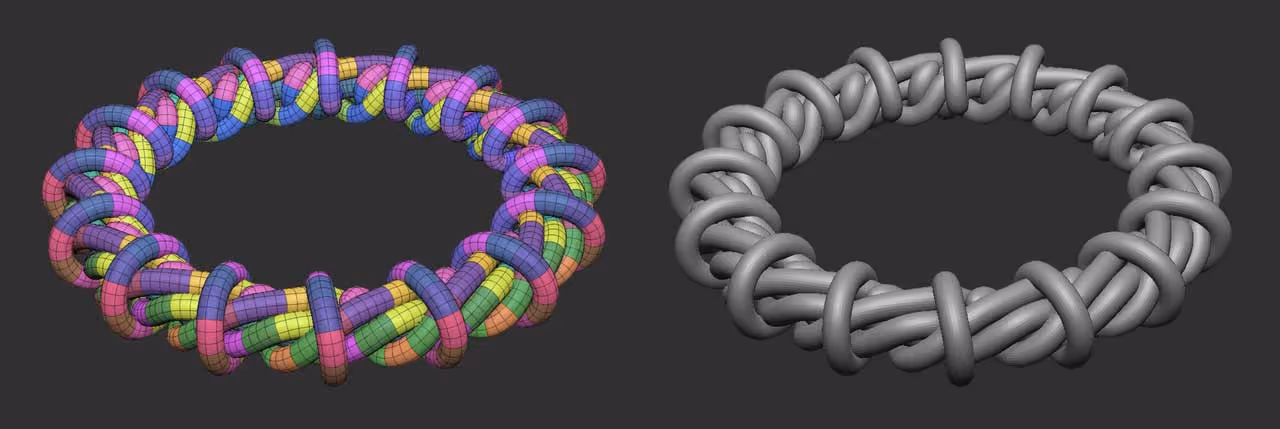
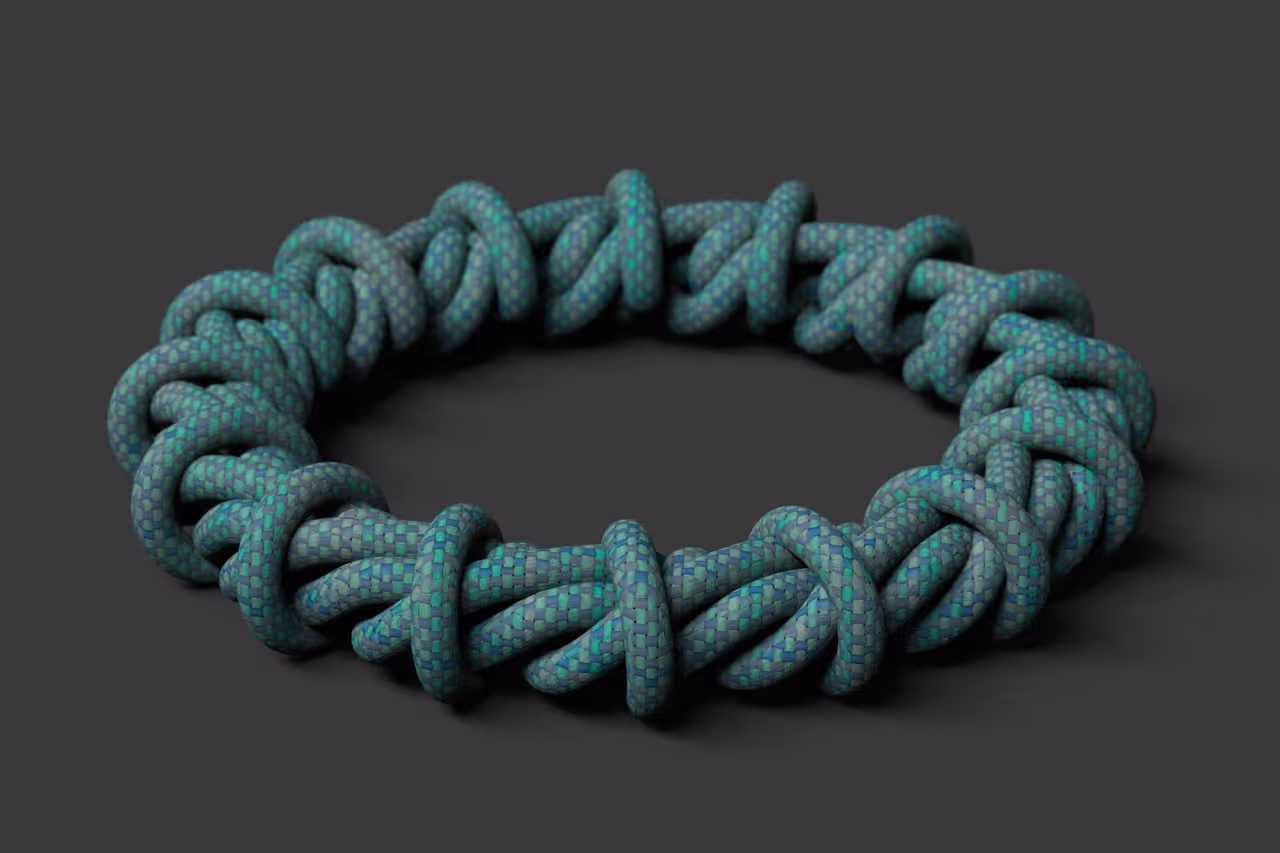
I took this mesh and sent it to keyshot for a quick render and this is what I got:


.webp)

.webp)