Use a single ZSphere or a ZSphere chain to affect another mesh. What's really cool is that you don't have to convert the ZSpheres to geometry to see the effect with the 'Live Booleans'. This means that you can place your chain of ZSpheres, enable the 'subtract' function and still edit the placement, size and rotation of the chain while you interactively see the effect on the mesh (by the way, the booleans options are within the selected subtool next to the visibility and polypaint icons).
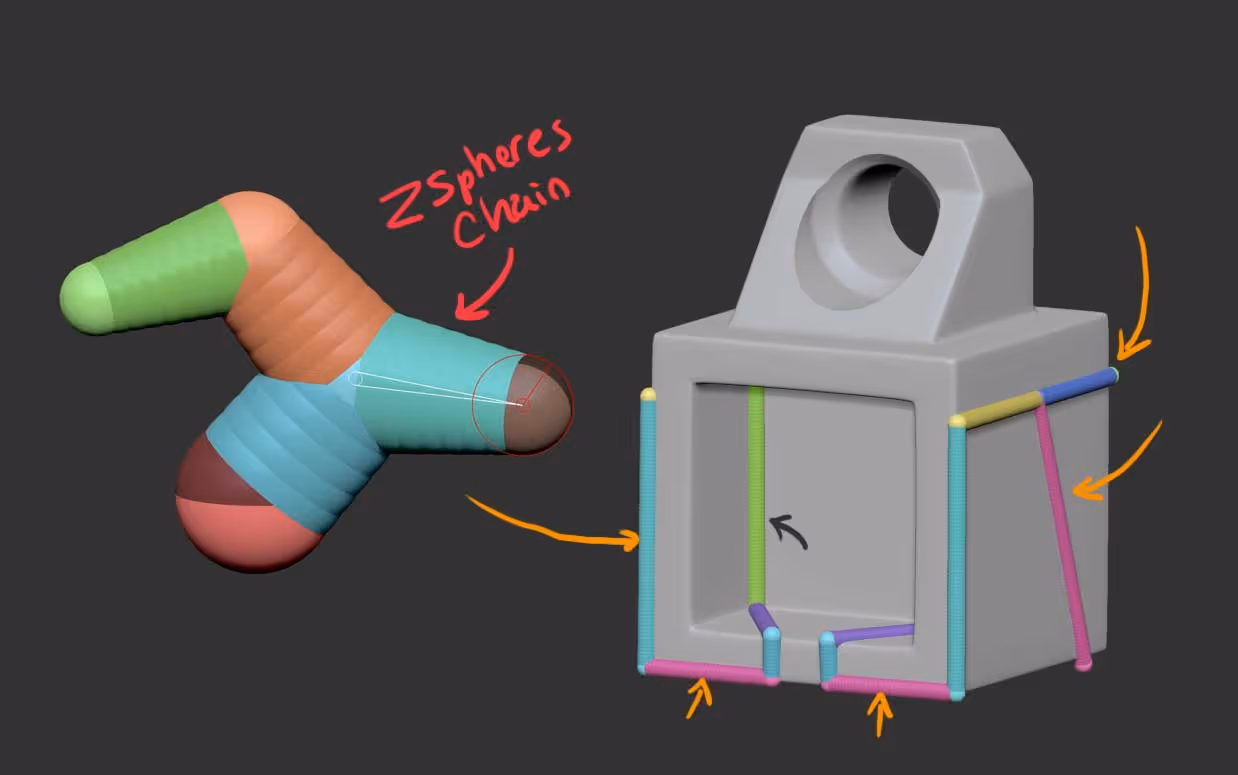
In this example below, I simply added a ZSphere at the back of the mesh in the middle and created a few more to determine some panel 'cuts'.
TIP: If you click to create a new ZSphere and then press and hold the 'Shift' Key, the size of the new ZSphere will be the same as the previous one. This is how you can create a consistent thickness on the ZSpheres chain.
Then the process of producing the boolean is pretty much the same thing... you just need to convert the ZSpheres to an 'Adaptive Skin' (Tool palette > Adaptive Skin > Make Adaptive Skin), and use it to subtract the area you want.
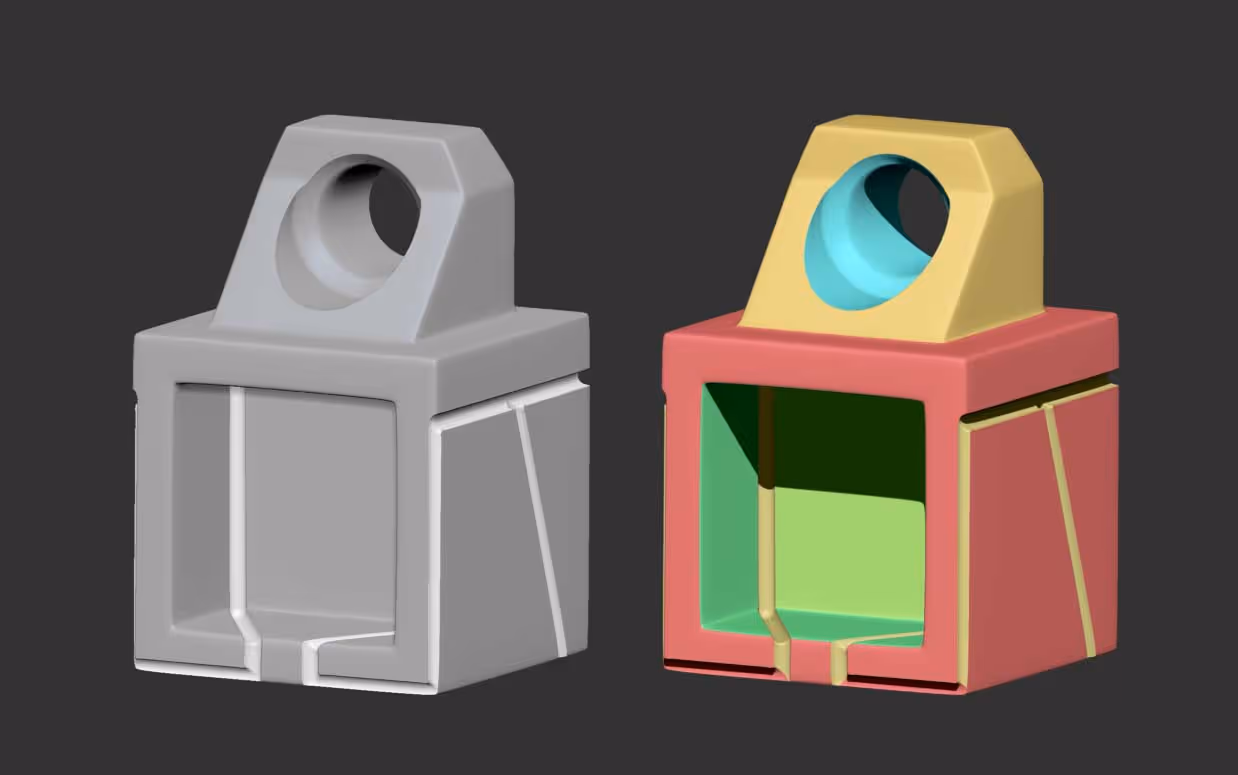
I found this workflow to be super useful to have control over the placement of the 'panel lines' using the ZSpheres before committing to process the boolean. Also, after you 'boolean the mesh', the resulting object will carry the polygroups of the ZSpheres so you can quickly group things and make it easier to produce ID maps or assign materials in other software.
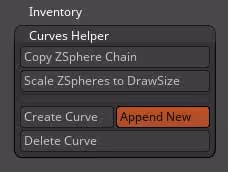
Another cool tip that fits right into this workflow, is to convert the ZSpheres chain to a curve. With the latest big update of ZBrush (2021.5), there is a new section at the bottom of the Stroke palette called 'Curves Helper' (this used to be a plugin), that allows you to create a curve from the ZSpheres chain.
This tool is really handy if you want to create your 'panel cuts' with some additional indentation or some extra details that can be done using the curve brushes (or a custom one).
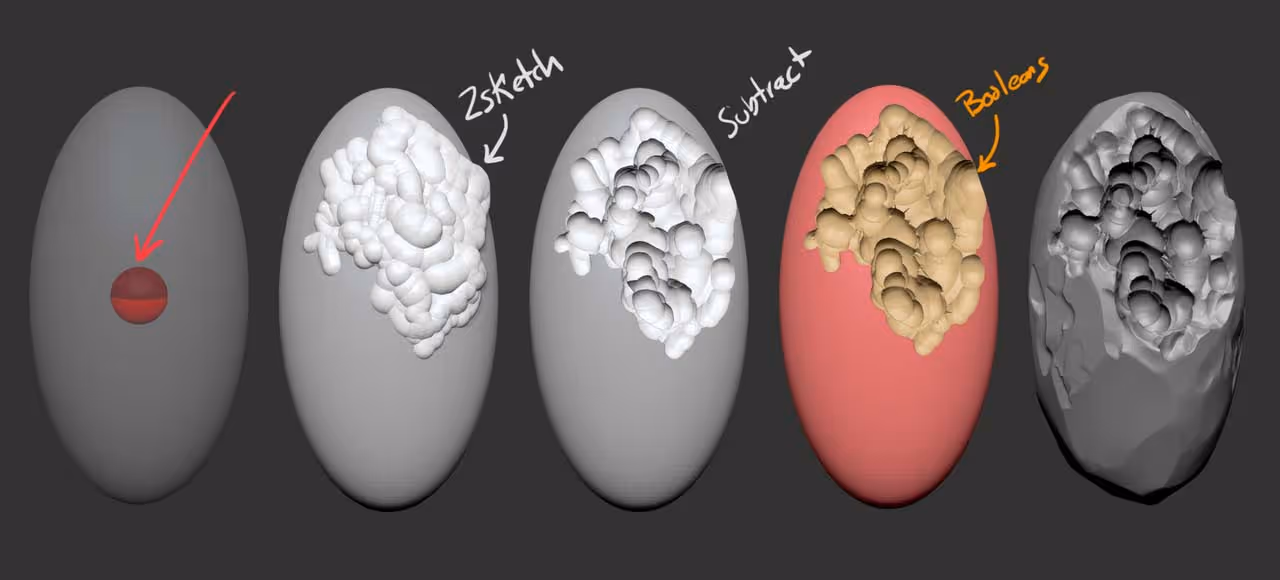
Alright, now that we covered the basics of the workflow, here is another example of how awesome is to experiment with this features in ZBrush...
- I took a sphere and stretched it with with the gizmo 3d.
- Added a new ZSphere inside the sphere and set it to subtract
- Then with the ZSphere selected, I enabled the ZSketch feature (under the ZSketch subpelette) and started drawing the 'blobs;
- I then turned the 'blob' into a 'unify skin', brought it into my tool and subtracted.
- To wrap this test object up, I 'Dynameshed' the whole thing and use the trim brushes to polish some areas and smooth brushes to clean some of the sharp edges.
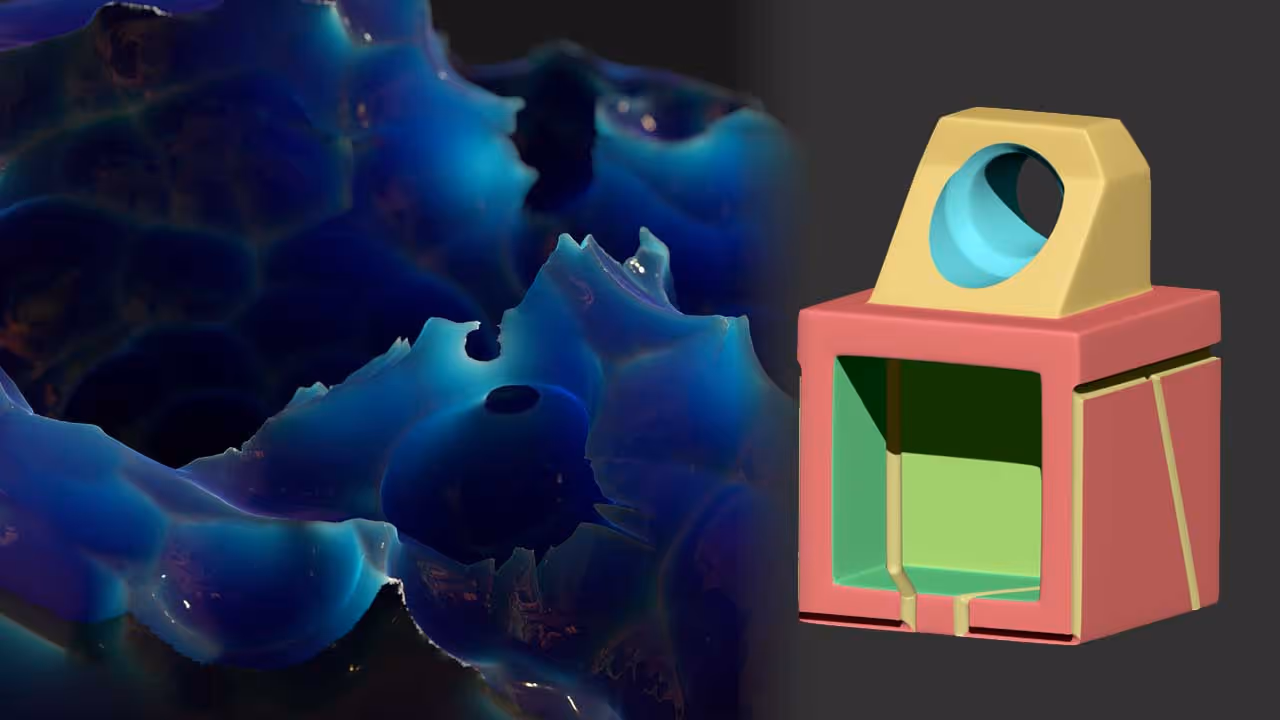
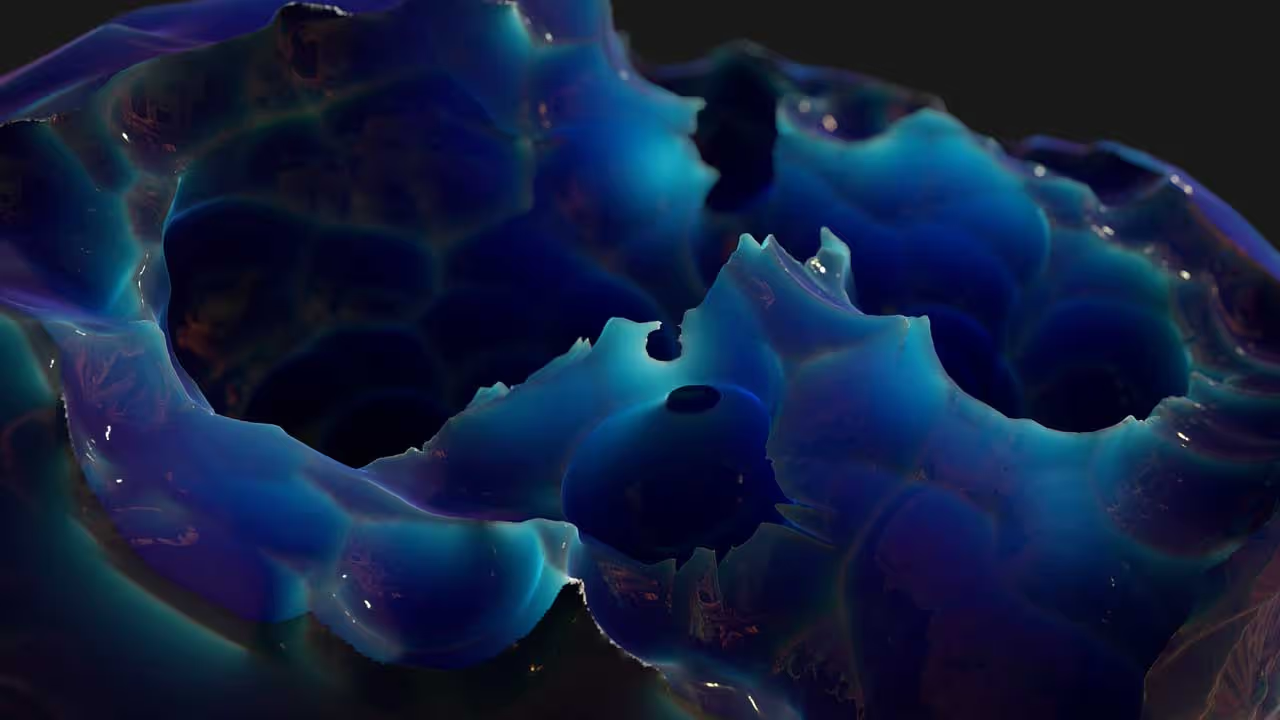
And just for fun I brought the sketchy object into Marmoset Toolbag 4 and did a quick render closeup with a translucent-specular material to make it look like some sort of Crystal.
That's it! I hope that you find these tips useful. They might not have a 'day-to-day' use, but is good to know about the possibilities ;)


.webp)

.webp)