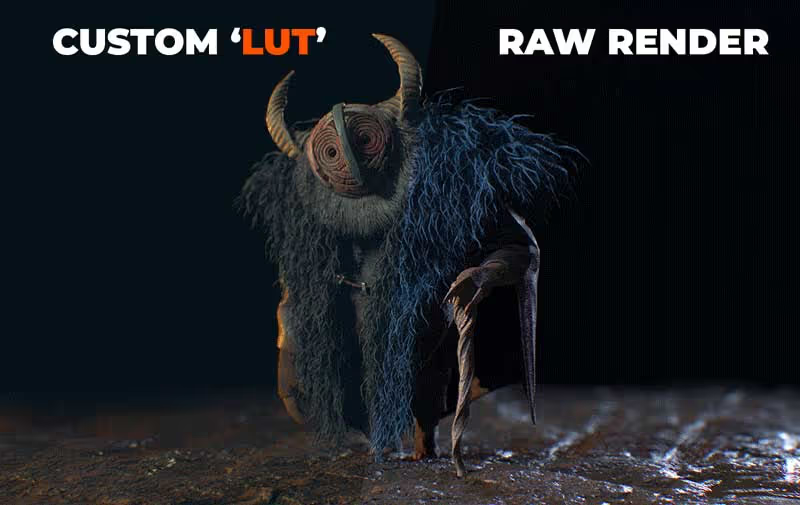
In case you are not familiar with LUTs, they are LookUp Tables (LUT). and they are basically a bunch of math equations that you can load into Photoshop (or other software) to change the 'look and feel' of your image.
'Math equations' make it sound complicated, but it's not at all... you can very easily create your own LUTs and use them across different projects. All you have to do is load an image into photoshop (ideally a render you want to tweak), and start creating Adjustment layers to develop the look you want for your artwork:

This is how my adjustment layers look like for the effects of the image above:

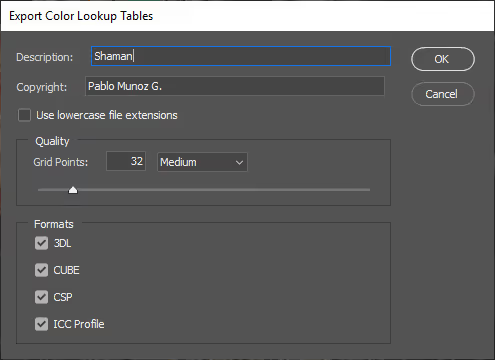
Once you are happy with your effects, you can save that 'look' into a Lookup Table that you can reuse in other projects. To save a custom LUT in photoshop, just go to File > Export > Color Lookup Tables... Give it a name and fill in the 'copyright' if you want and that's it:
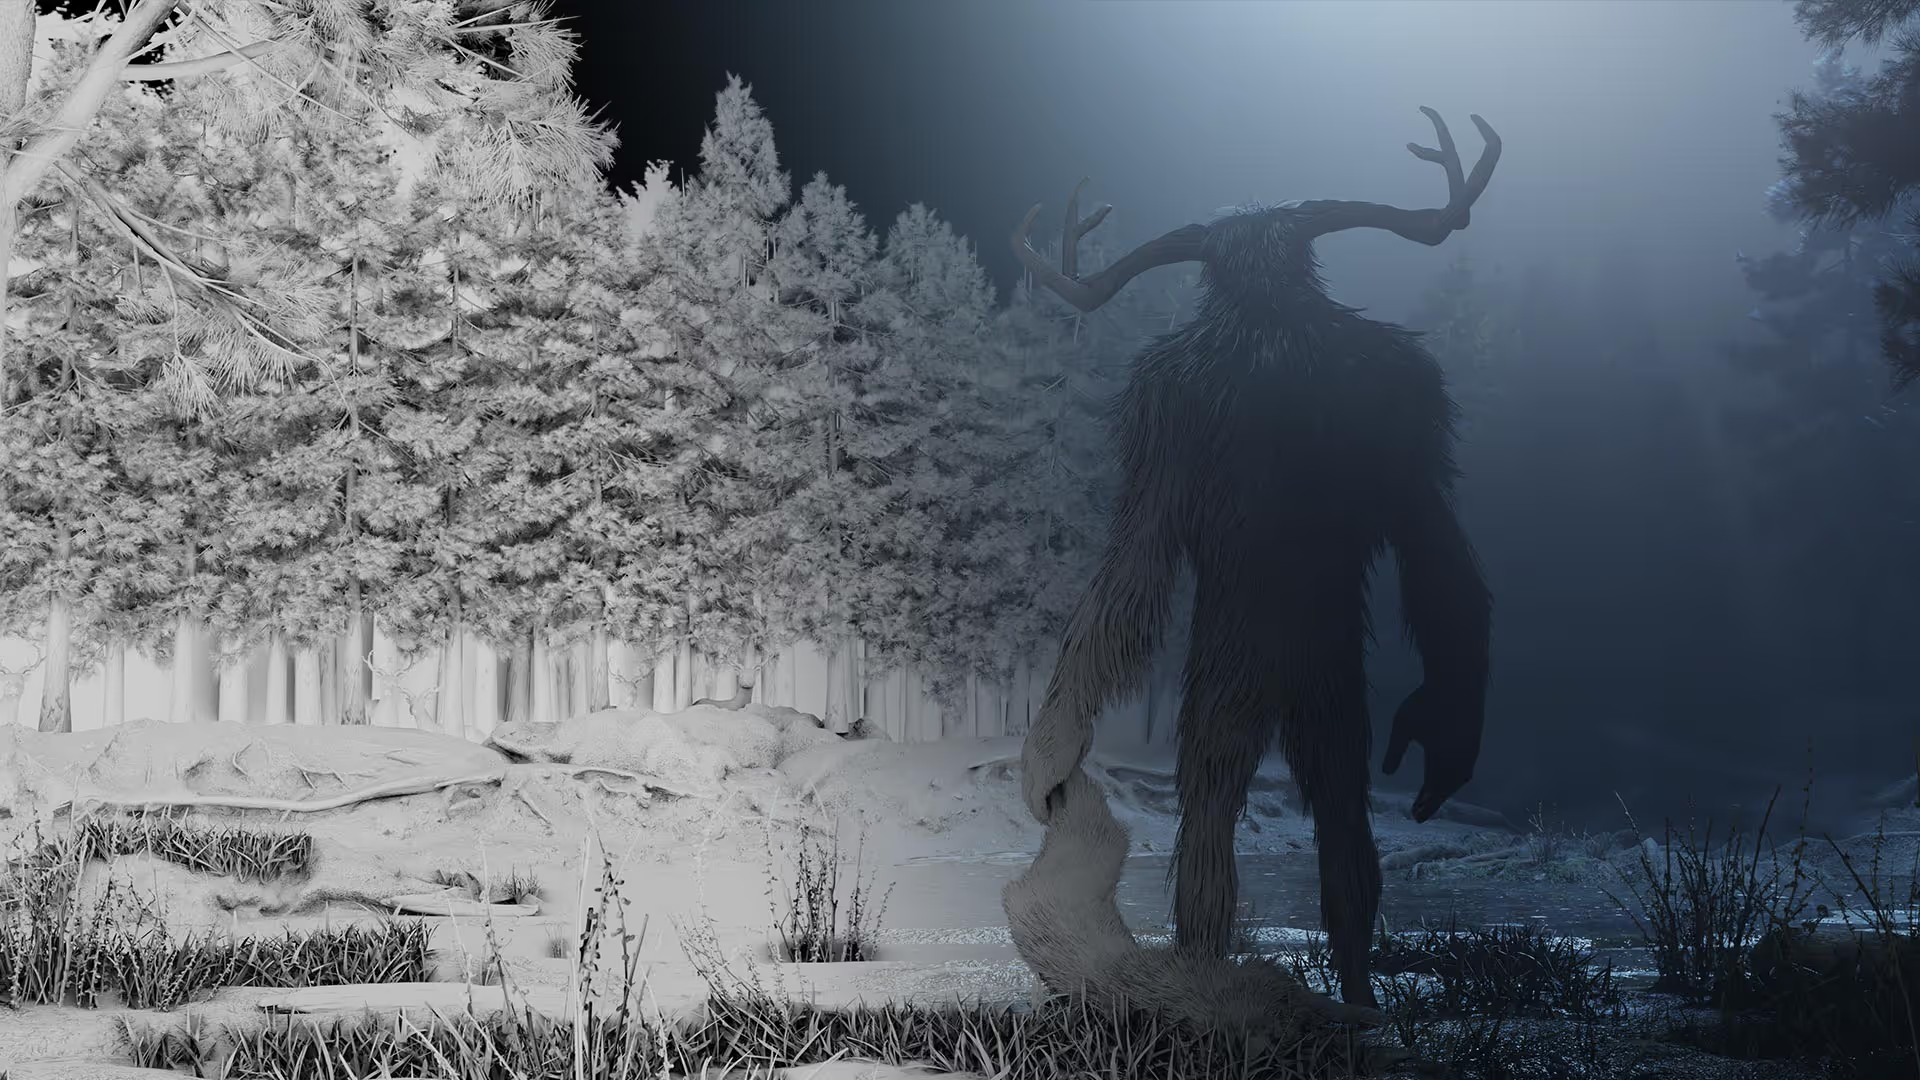
Once you save your LUT, you can load it up from the "Color Lookup..." adjustment layer and test it on any other image you want.
That's it! I hope you have fun trying out different LUTs. You can even combine various LUTs and use the blending modes and opacity to further refine the look of your image.
I made a couple of LUTs for you in case you want to test them out, here is the link to download them (it's a ZIP file so you need to uncompress them first)


.webp)

.webp)