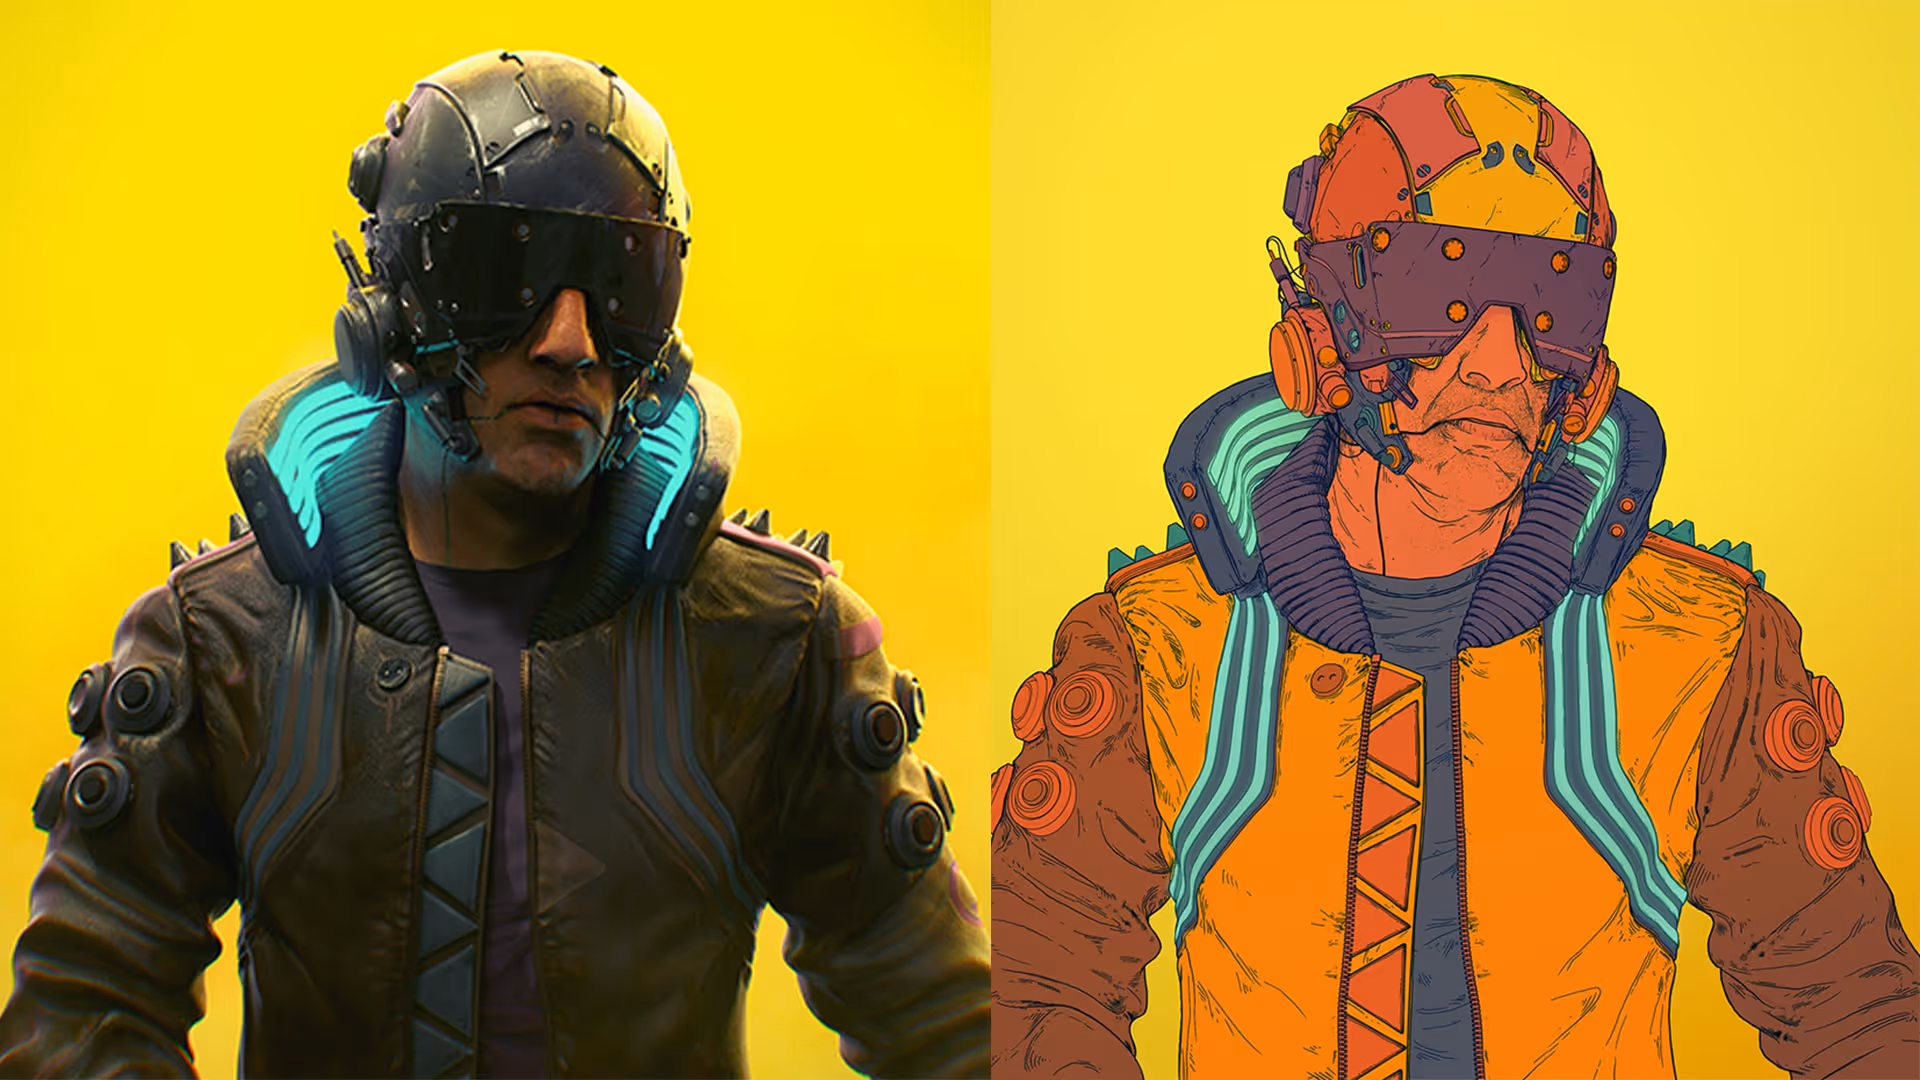
So here is the tip... once you have your ZBrush model ready, make sure you spend some time cleaning up or assigning Polygroups to differentiate the various subtools and parts in your model.

Once you have established a good set of polygroups, you can easily convert the colours of the polygroups to Polypaint and generate an ID or Clown render pass for your compositing process.
Just make sure that before you render, you set the material to Flat Material to get a clean and shadeless pass

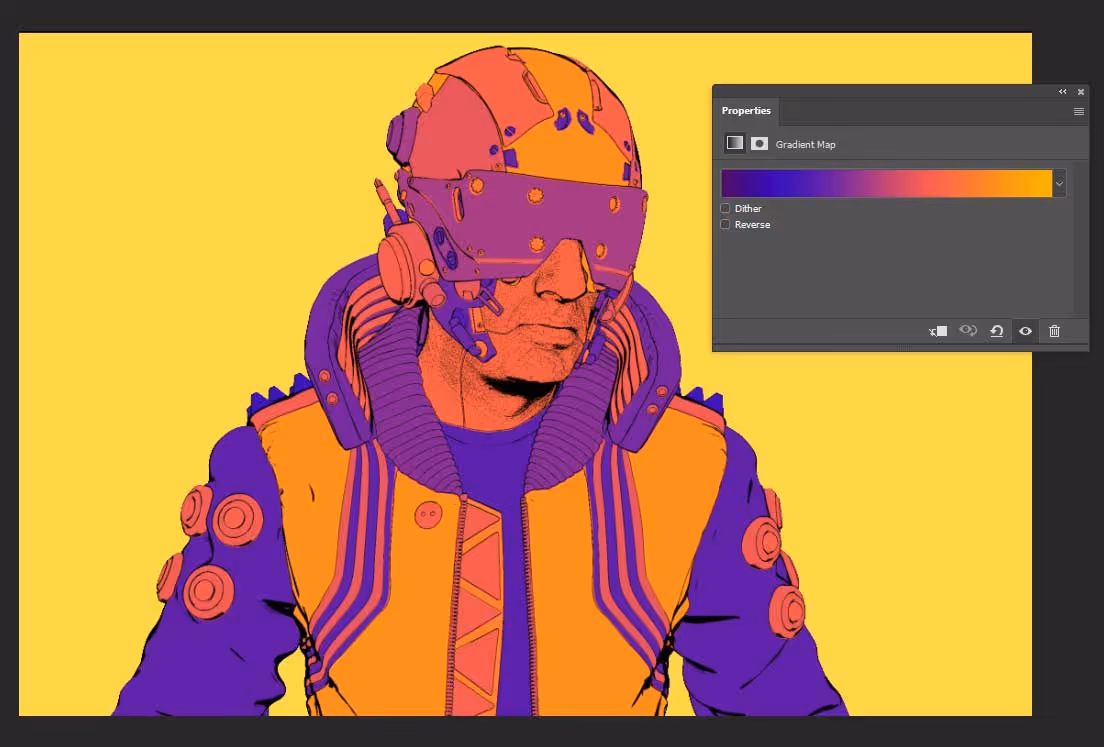
Obviously, the ID or Clown pass in compositing is super useful to generate quick mask on the fly, but it can also be a great way to explore colour palettes when you add a gradient map on top of this layer.
Gradient Maps in Photoshop can be added from the 'Adjustment layer icon' in the layer panel and you can create your own or use presets.
This process is really cool because the Gradient Map is basically interpreting those colours from the polypaint as different brightness so it will assign the colours in the gradient-based on the intensity of the colours in the ID pass.
Here is the final gradient that I used for the base layer of the composition and the one that helped me set the colours of the composition:
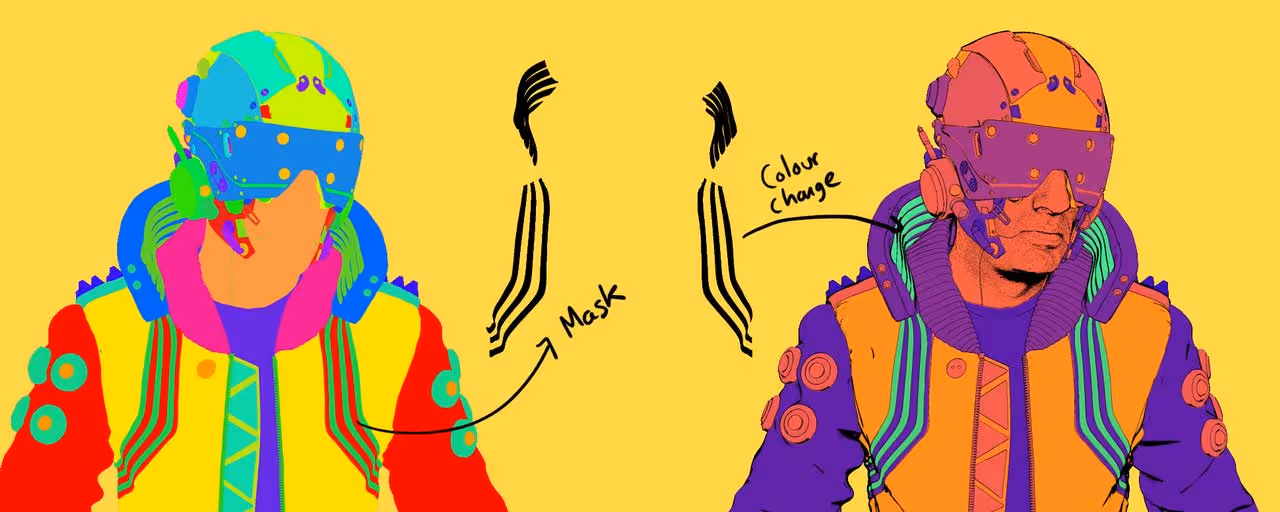
That's it! pretty simple, right? the cool thing about this is that the effect is just in a layer so you can also use blending modes or come back and change. After you setup your palette and you are happy with the colours, you can still use the original ID pass to select a piece of the render, create a mask, and assign a different colour:


.webp)

.webp)