I was having a ridiculous (but fun) chat with a friend of mine the other day about what would happen if we had to simplify different areas of our life.. nothing to do with ZBrush or 3D, we were throwing at each other questions like: from all the kitchen appliances, if you can only keep one which one would it be?... choose!
I went for the coffee maker straight away... he chose the dishwasher.
After the silly conversation, I started thinking (more in the context of our industry)... what would be the one thing about my workflow that I would keep if I have to choose only one. I struggled for a bit, but I think I made up my mind: I'd say Selection tools... If you have control over your selections that's all you need, you can easily create masks, hide portions, apply effects to certain areas, etc.
Also, a selection tool doesn't have to be the 'selectLasso' in ZBrush, for instance, it could be a simple Depth pass from the BPR render that lets you select portions of a model based on a grayscale value.
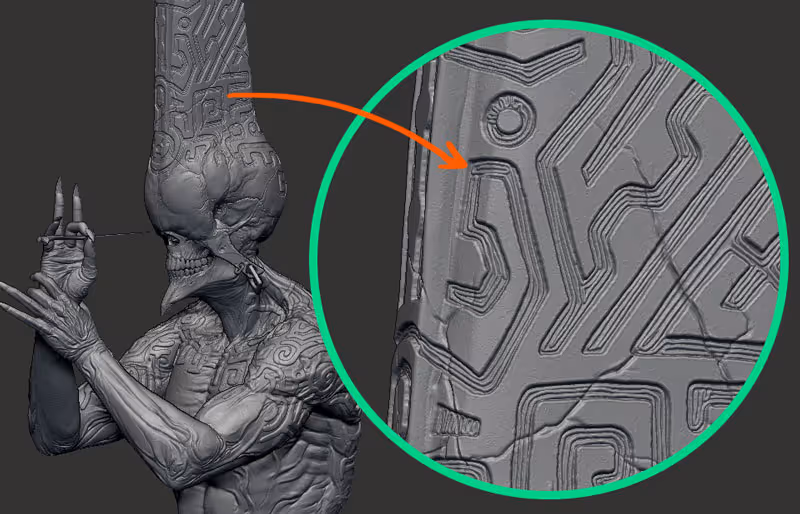
So here is the technique... it is basically a method to create consistent thickness around a masked area:
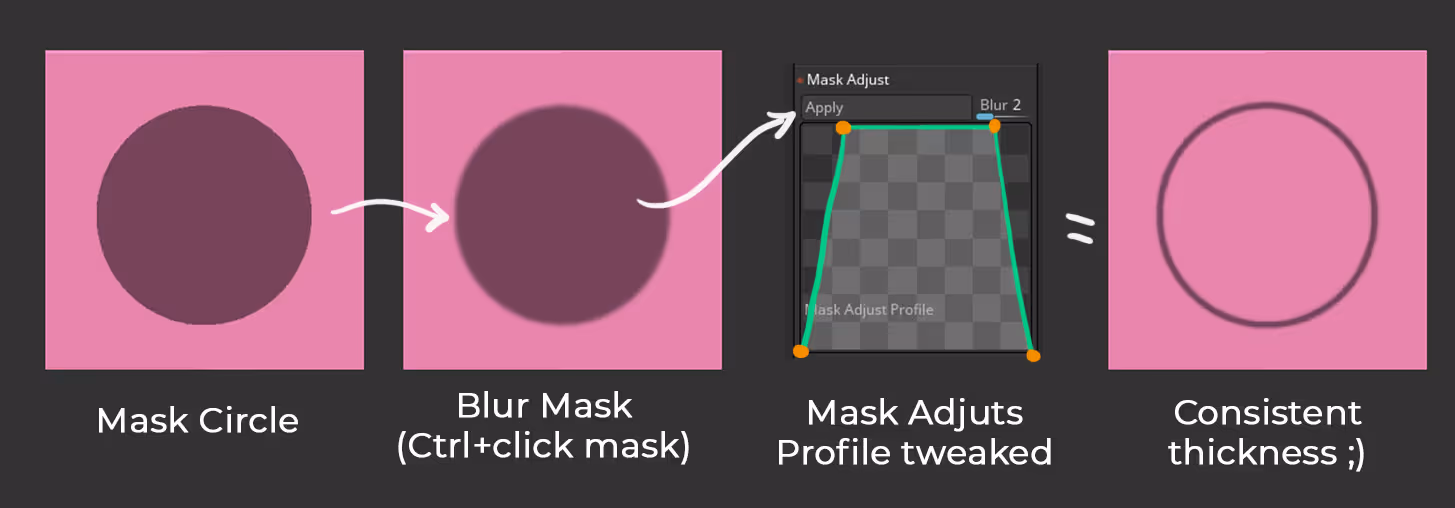
Mask adjust profile is the one that does the trick. Masking palette > Mask Adjust. you can click to add and move points in the profile... and did you know you can save your curve profiles??? you can download the one I use here if you want. The save and load buttons are below the profile curve.
You can then use the Grow Mask and Sharpen Mask to refine the thickness of the mask and use Ctrl + W to assign a polygroup to the mask... repeat the process to add more details if you want, but ultimately what you are creating is a controlled series of polygroups that you can use to SELECT areas.
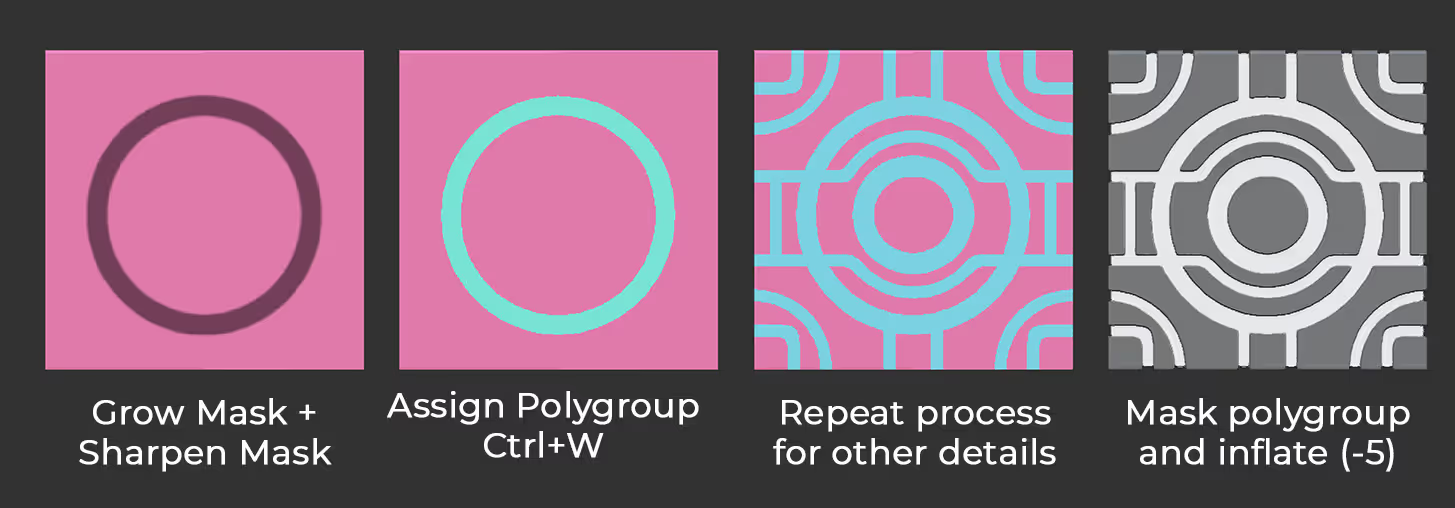
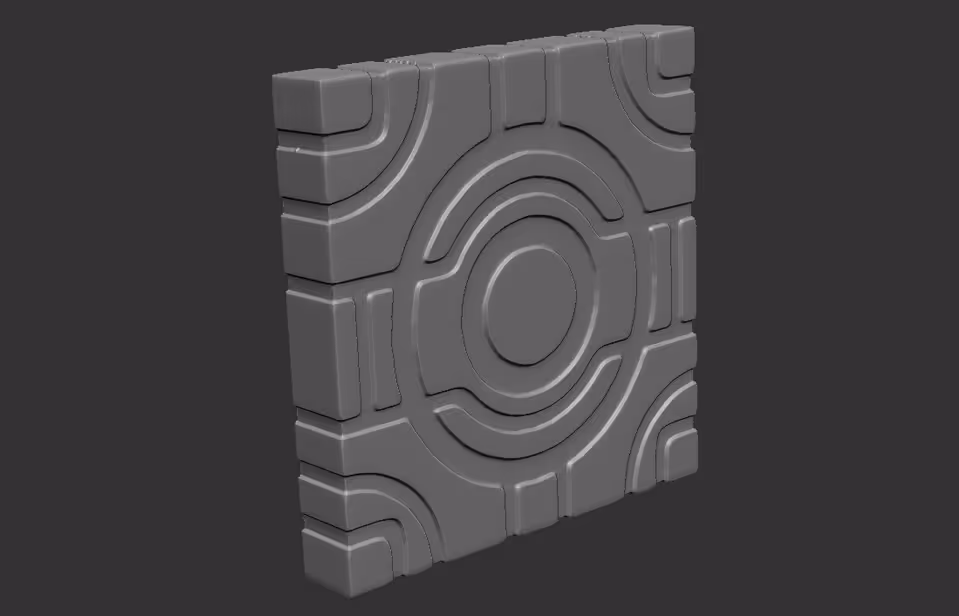
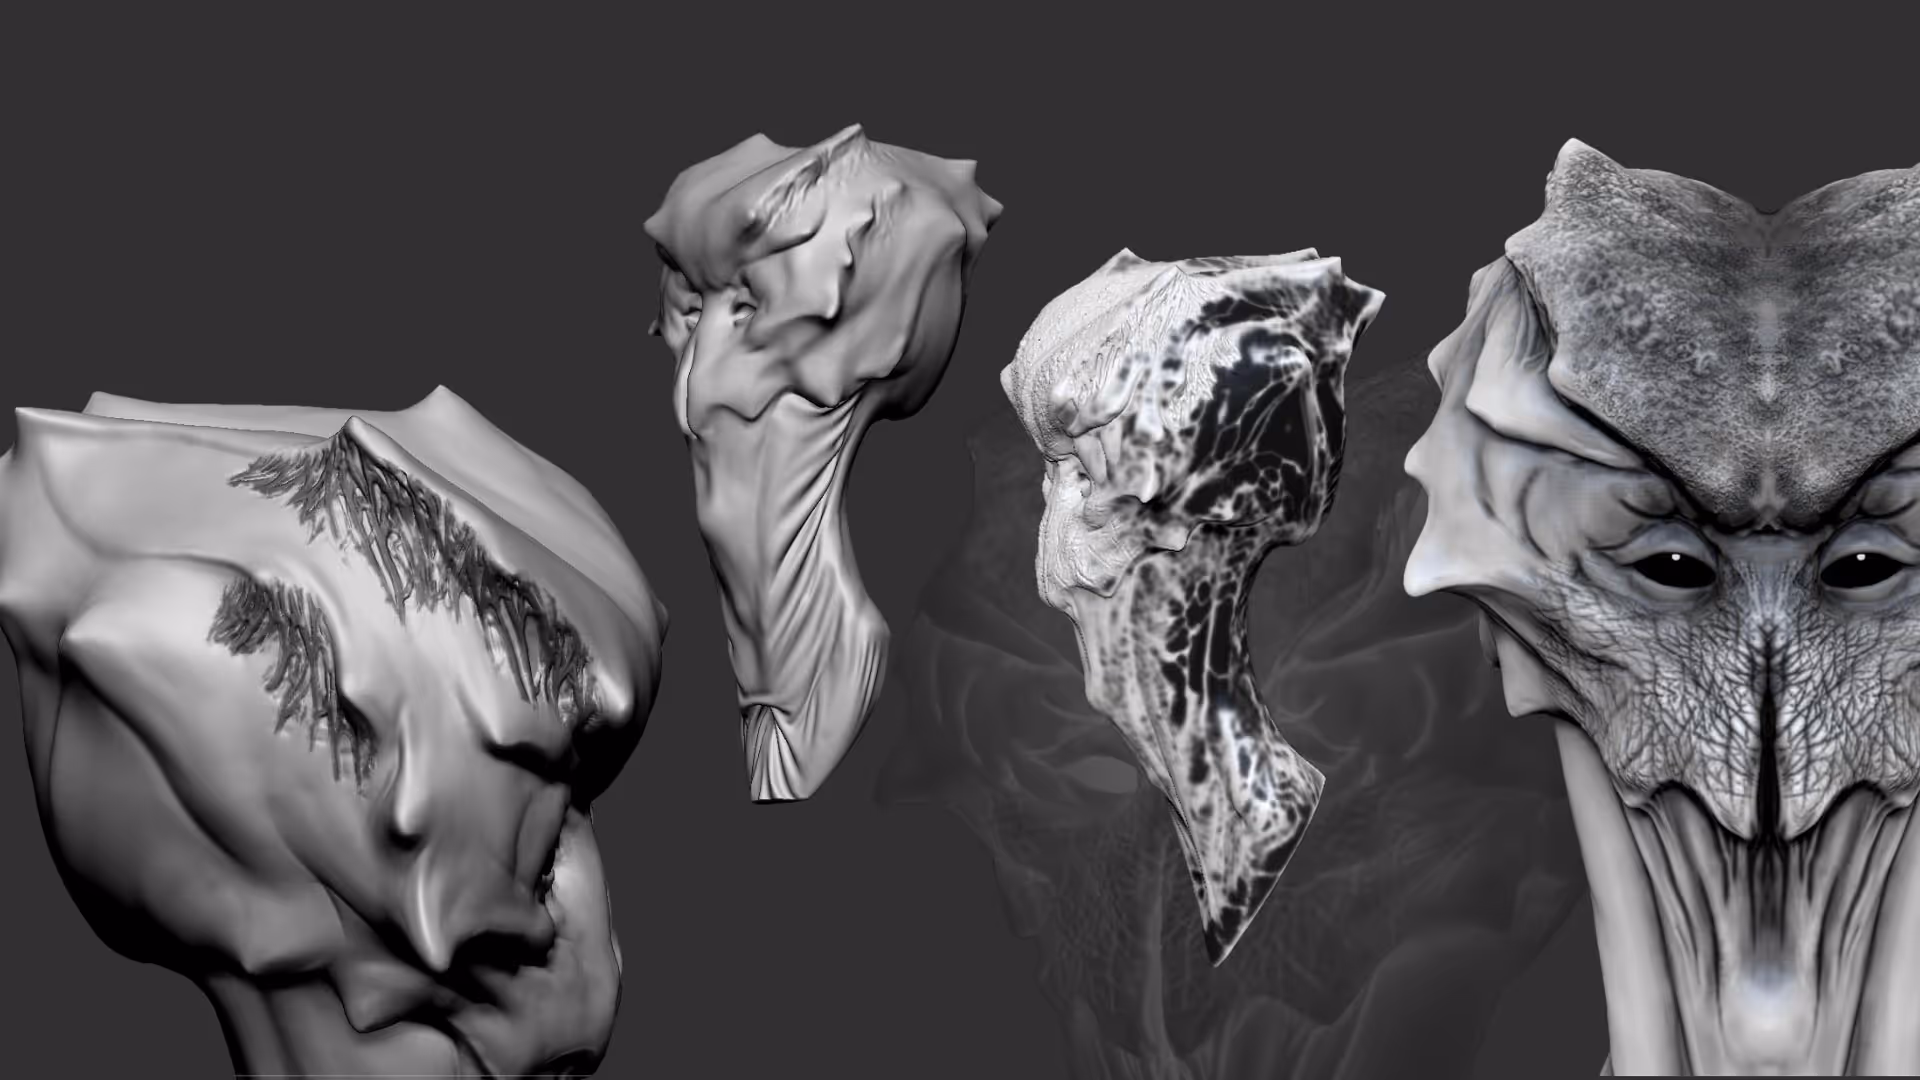
That's it. you can then mask one polygroup, use inflate to get the indentations and clay polish to refine the borders:
If for some reason you don't have polygroups assigned or you lost them... don't worry, the awesome PolygroupIt Plugin got you covered. Select the subtool you want, go to ZPlugin > PolyGroupIt and click the PlyGroupIt button.
From the PolyGroupIt app, click on the surface to add a seed and tweak the 'reach' slider of the seed:
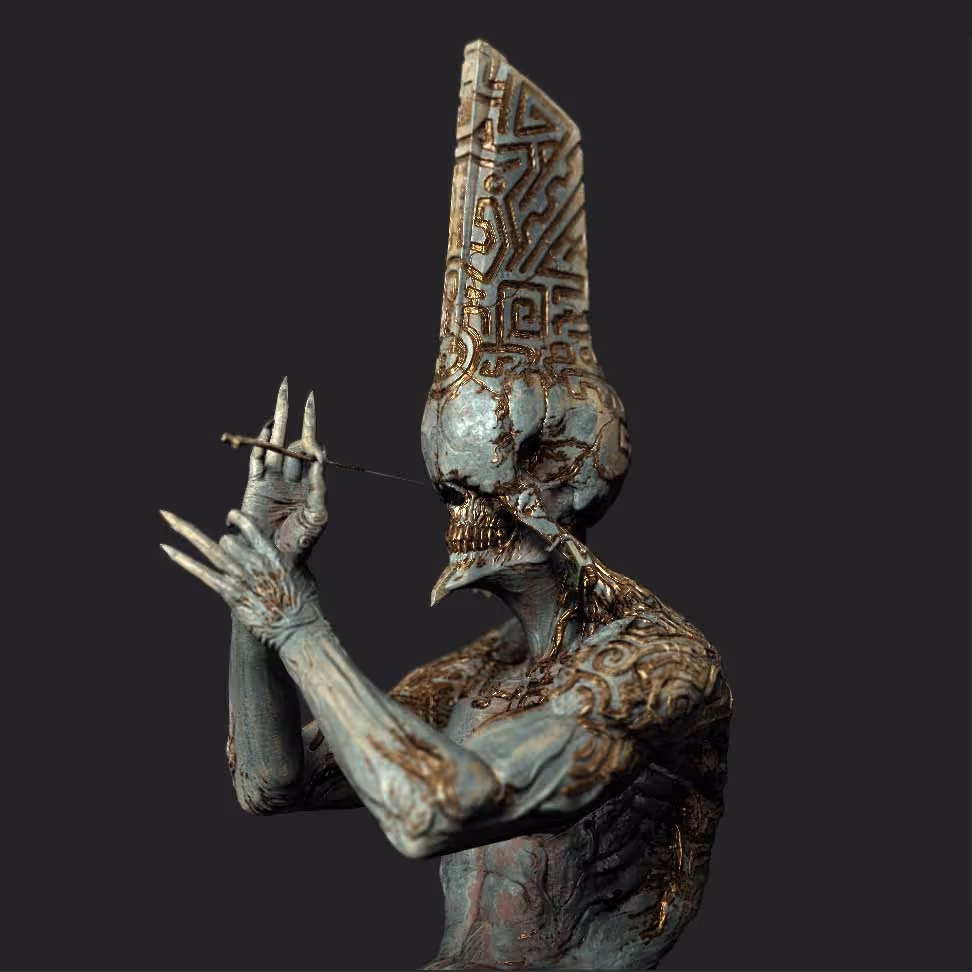
Once you have the details AND THE POLYGROUPS you can have fun selecting different areas and assign materials, play with the BPR filters or create an ID map for substance painter... which is what I did for this character so I could easily SELECT and assign different materials:
That's it for this tip. I hope this gives you some ideas for your own projects.


.webp)

.webp)