Alright, the first method is to simply use masking to define the areas where you want to generate the base of your suit, let’s call this ‘layer 1’. (for the design of my styles character I also smoothed out the ears and flattened them against the head):

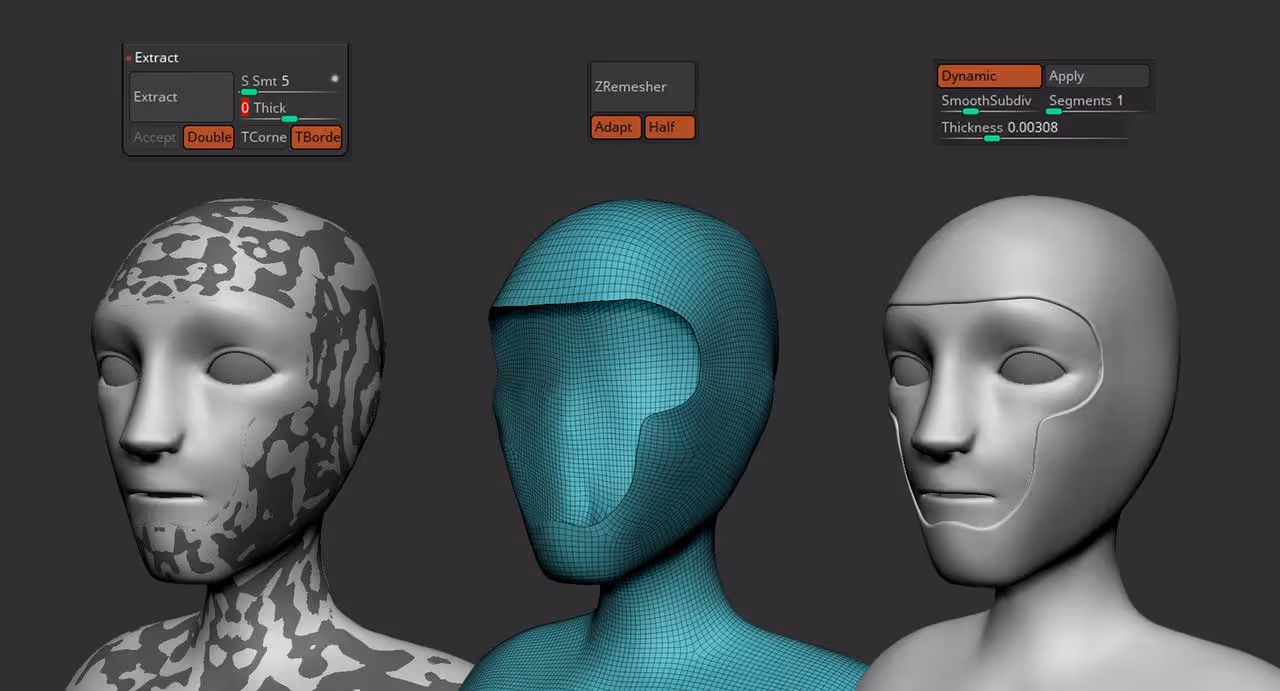
Once you have defined the area with the masking brushes, head over to the subtool subpalette and in the ‘Extract’ section, set the thickness to 0 and click the big ‘Extract’ button. If you are happy with the result click ‘Accept’.
The idea of creating geometry without thickness in this step is so that you can use the ZRemesher to quickly produce a better topology from the Extracted piece and then use the Dynamic subdivision to control exactly the thickness that you need for the piece:
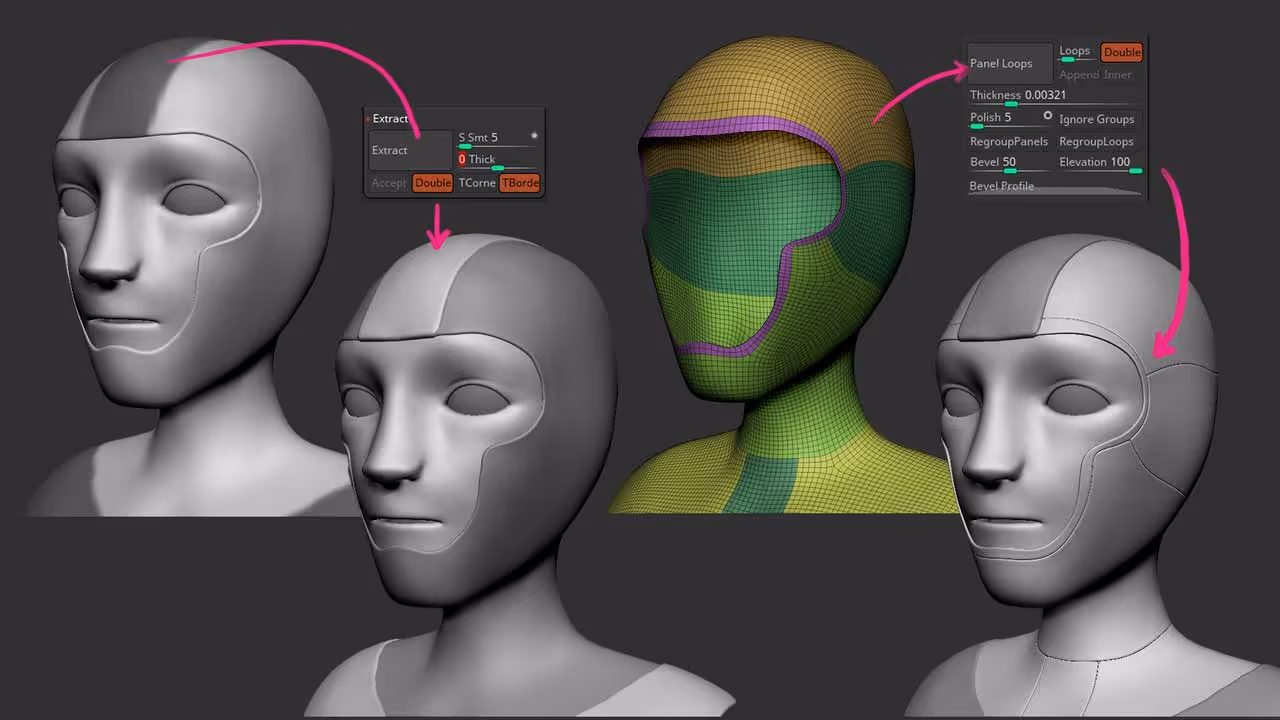
That is the basic workflow, but you can create a lot of additional complexity but ‘staking’ these objects like layers. So now that you have the base of the suit, you can apply the same process and extract additional pieces with different thicknesses to create a ‘second layer’ (like the piece over the head in my example below).
Another fantastic feature is the PannelLoops. Since we have a clean topology from the ZRmesher process, you can simply assign some polygroups and hit the ‘PanelLoops’ feature to generate additional ‘cuts’ in the base of the suit:
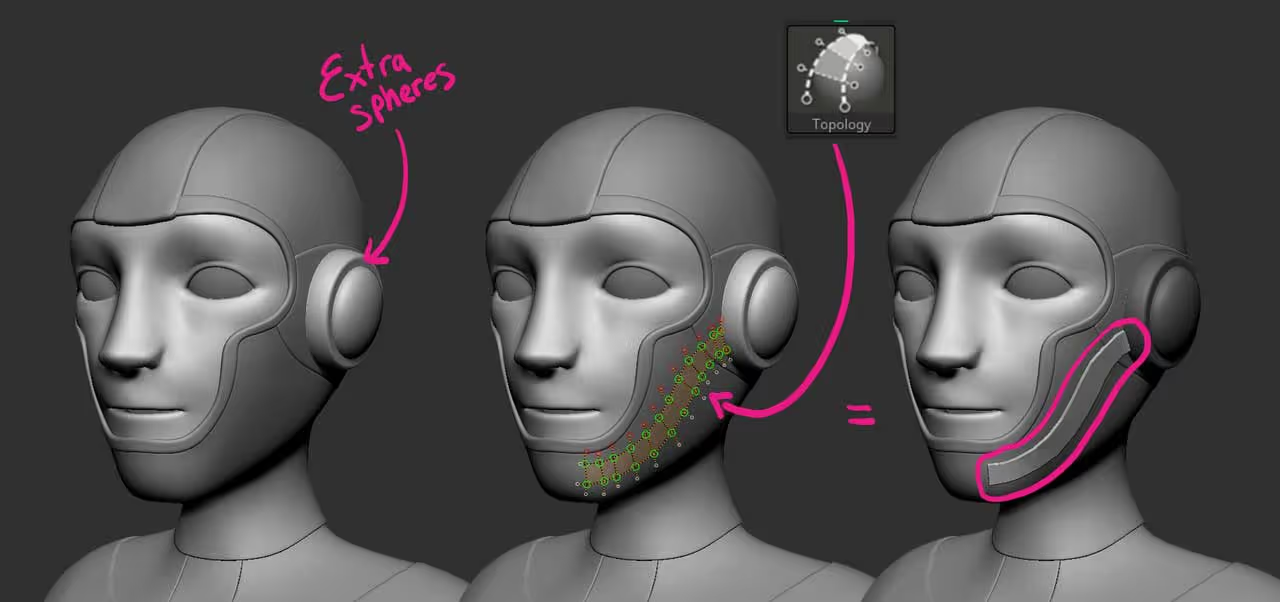
You can continue adding complexity to the design if you need to with other tools. You can simply append new primitive objects and tweak them a bit (like the piece on the ears) or use the Topology brush to literally draw the geometry you need to create a new object that follows the volumes:
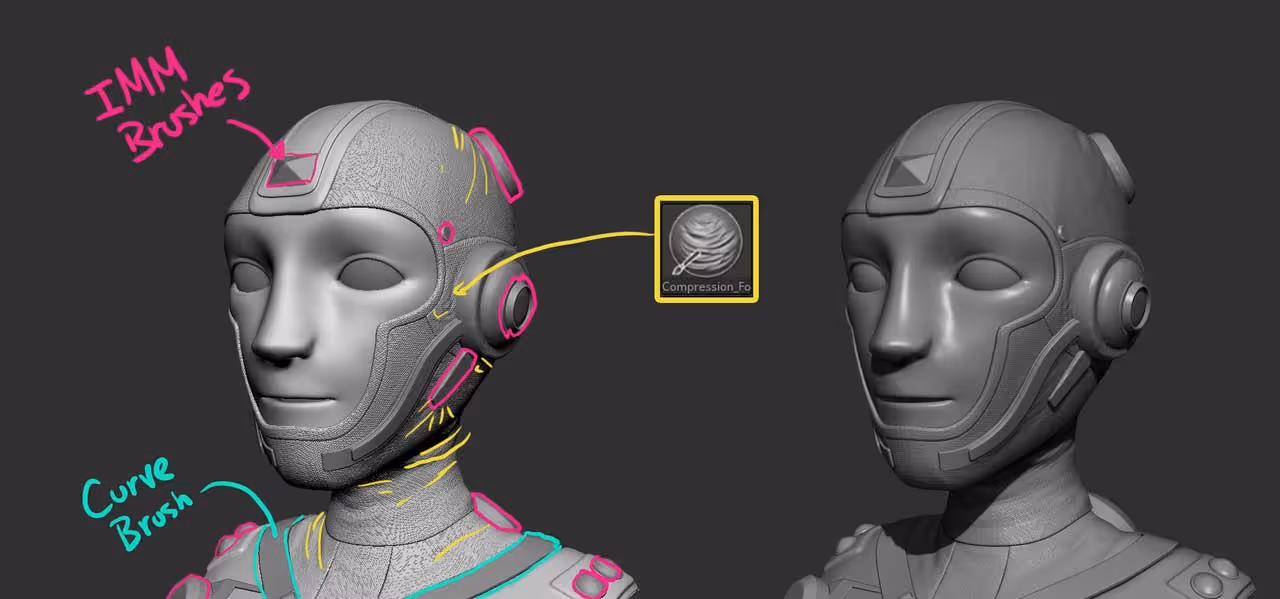
Once you have your blocking, you can use other useful tools to details the mesh, like IMM brushes and Curve brushes. For the base of the suit, I also use the compression folds brush (from the Cloth and drapery pack) and sculpted some folds and wrinkles to accentuate the quality of the material.
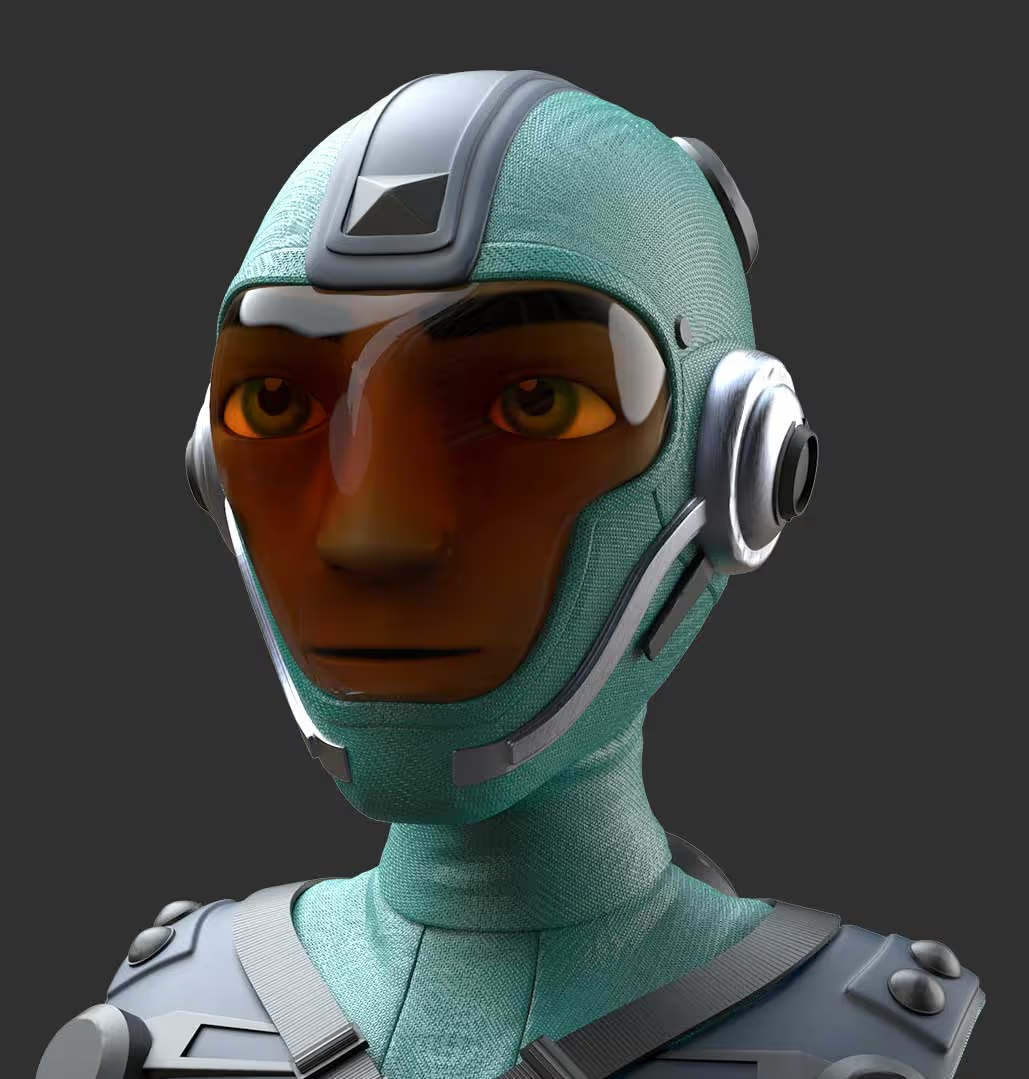
Also, since I had a clean topology with polygroups, I ran a quick UV master on the suit and then use the Noise Plugin (surface noise palette) to add the woven pattern for the suit.
That’s pretty much it. Once you get the hang of it and try out all these different processes you can produce variations of your concept very quickly.
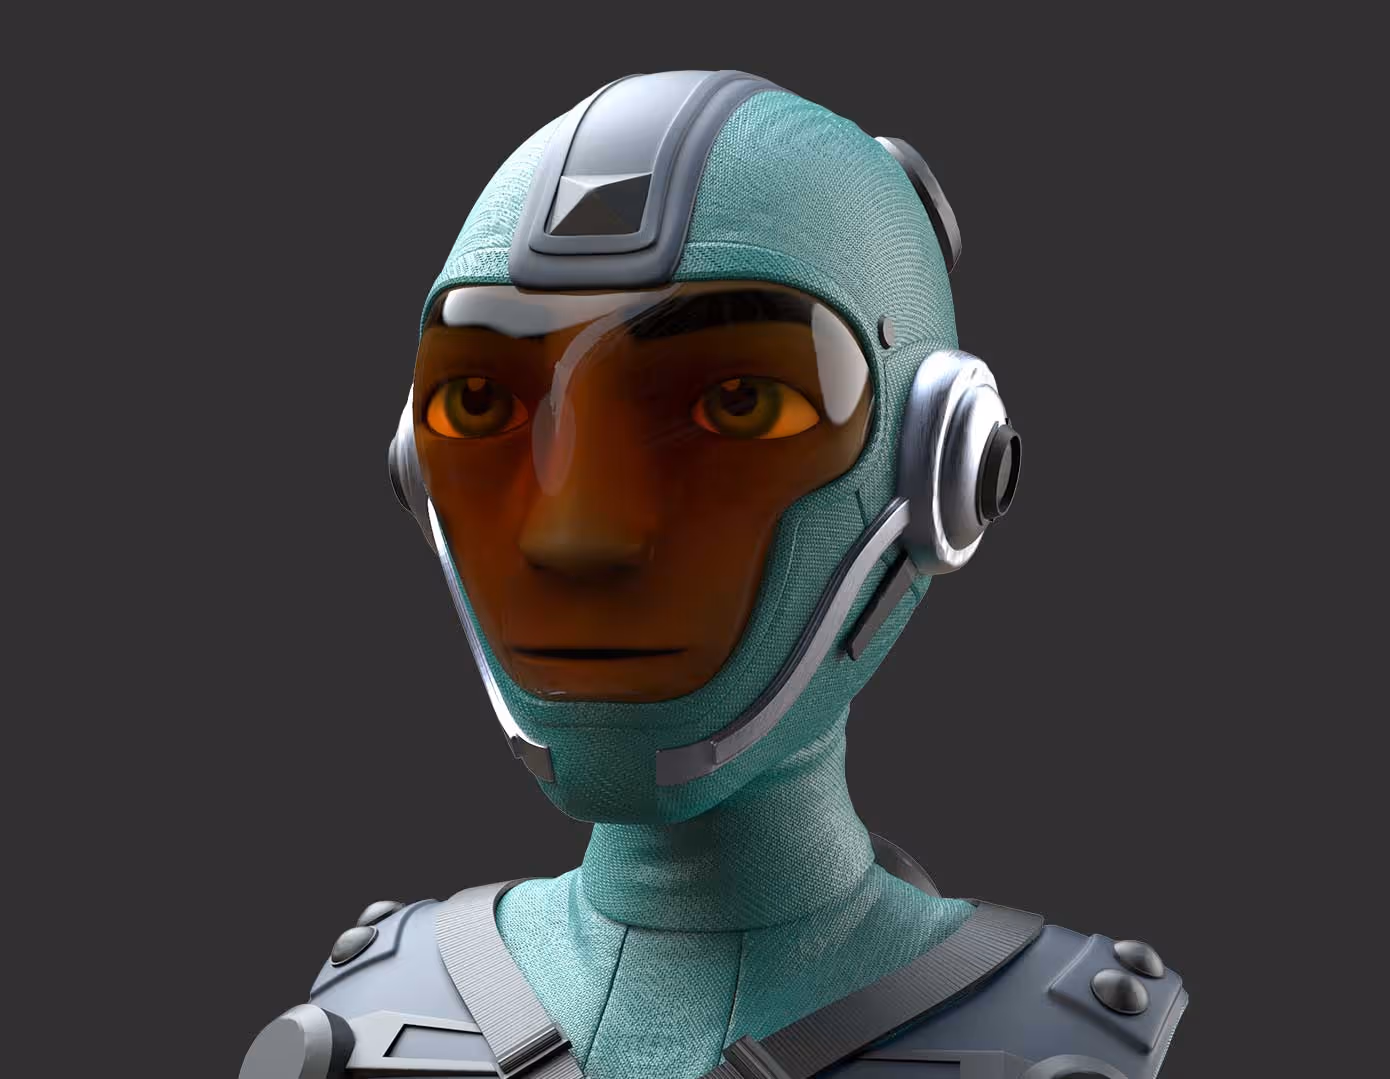
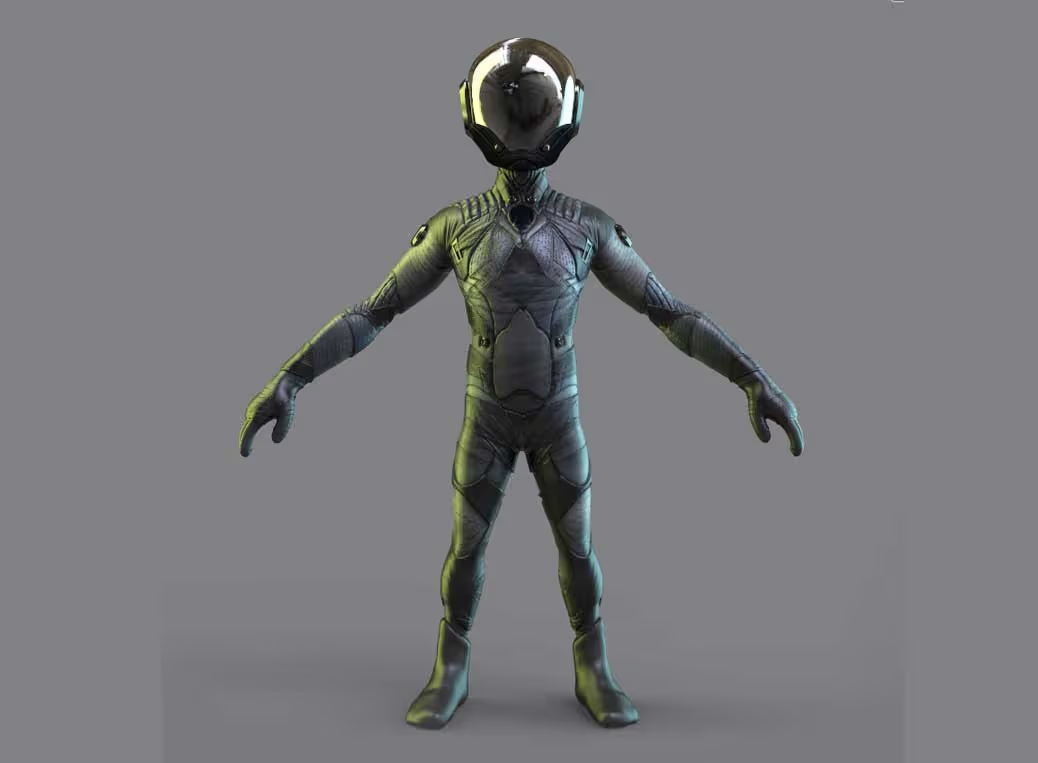
For the final render, I added a bit of polypaint for the eyes, I also added an extra sphere for the ‘visor of the helmet’ and send everything to keyshot:
That's it for today. I hope you find this series of tips useful!


.webp)

.webp)