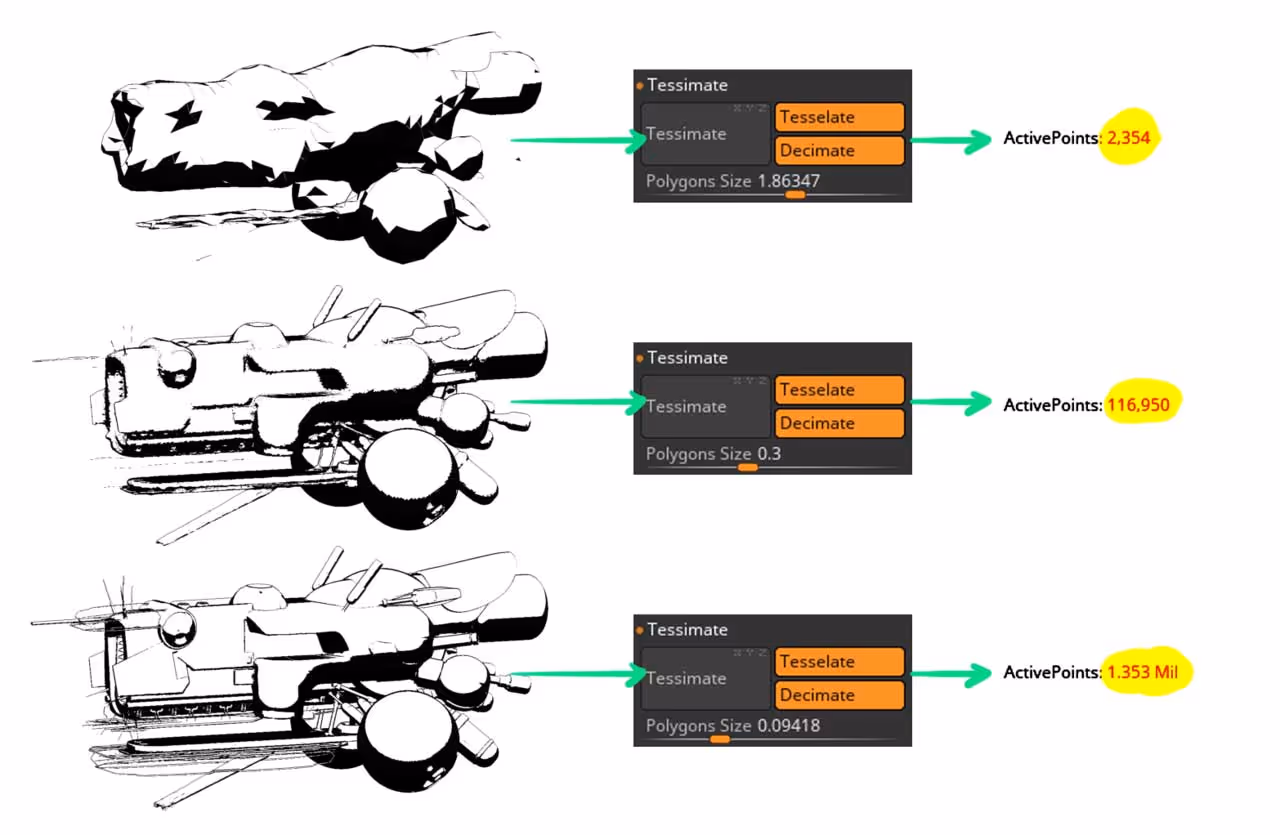
1. The first tip is about the 'Tessimate' feature in ZBrush
This tools is awesome to quickly reduce or increase the resolution of your mesh dynamically with a simple slider:
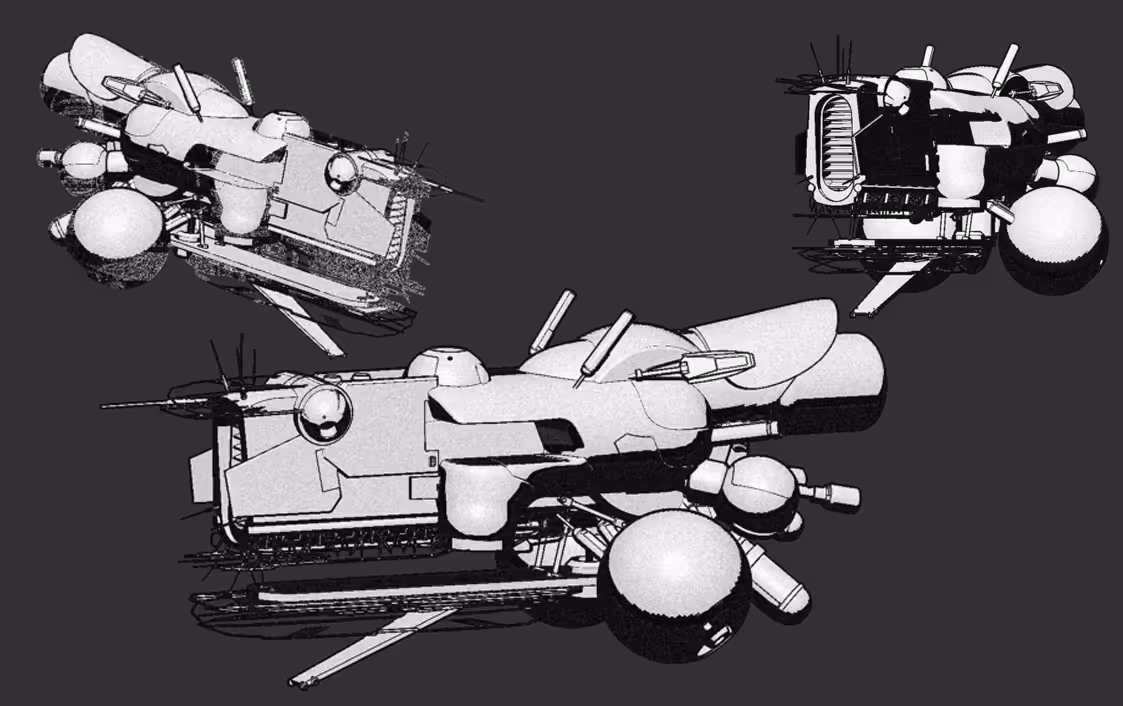
This is really useful to optimise assets in a larger composition (like the illustration I worked on for the workshop). You can test the volumes with the material you are going to render with and define the amount of polygons you need to describe the forms in elements that are far away or closer to the camera.
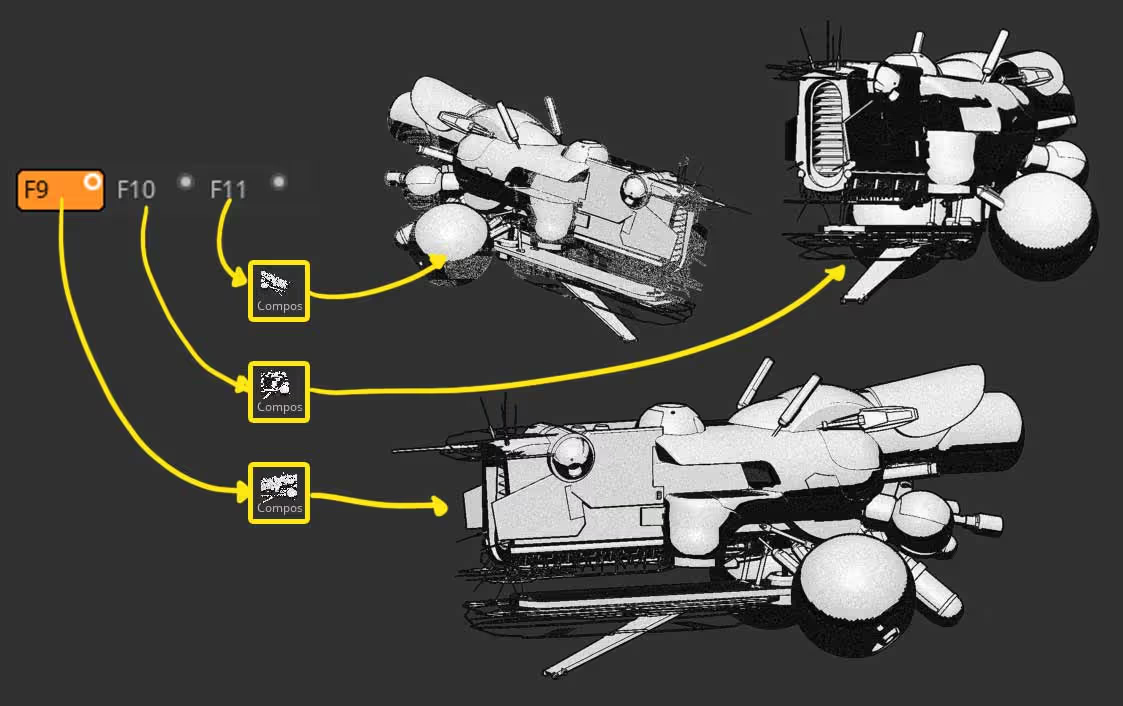
2. The second tip is about the 'Render composite' filter
The 'Render composite' is a filter from the NPR fitlers subpallete (render palette) that allows you to simply store a BPR render including any other filter/effect you have applied at render time.
There might not be much application for this as a 'filter', however, it is an awesome way to store multiple render from different cameras (not the same as storing cameras). This little filter keeps all the render settings so you don't have to RE-RENDER to check the stored alteration angles.
You can use various filters to achieve a particular look and then add the Filter composite after render to store that image in there (filter 9 in the example below).

So if you have some empty filters left, you can store different views (that include all the render effects) into those filters and you don't have to re-render simply enable/disable the 'Render Composite' that you stored.
Pretty simple but super useful in certain situations!


.webp)

.webp)