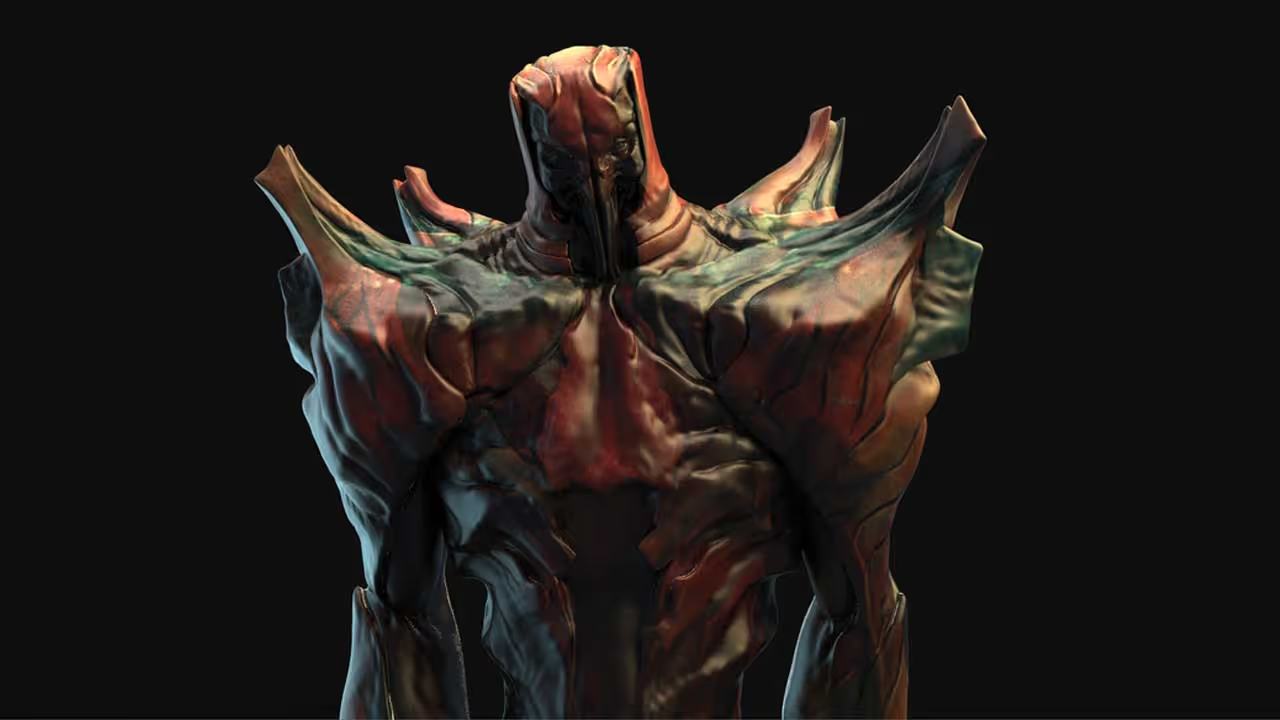
ZAppLink was probably one of the earliest tools I ever use in ZBrush back in the day when I was learning it for the first time... it was a revolutionary technique to texture 3D models using ZBrush and Photoshop. Fast forward 15 years and the ZAppLink is still going strong in my workflow.
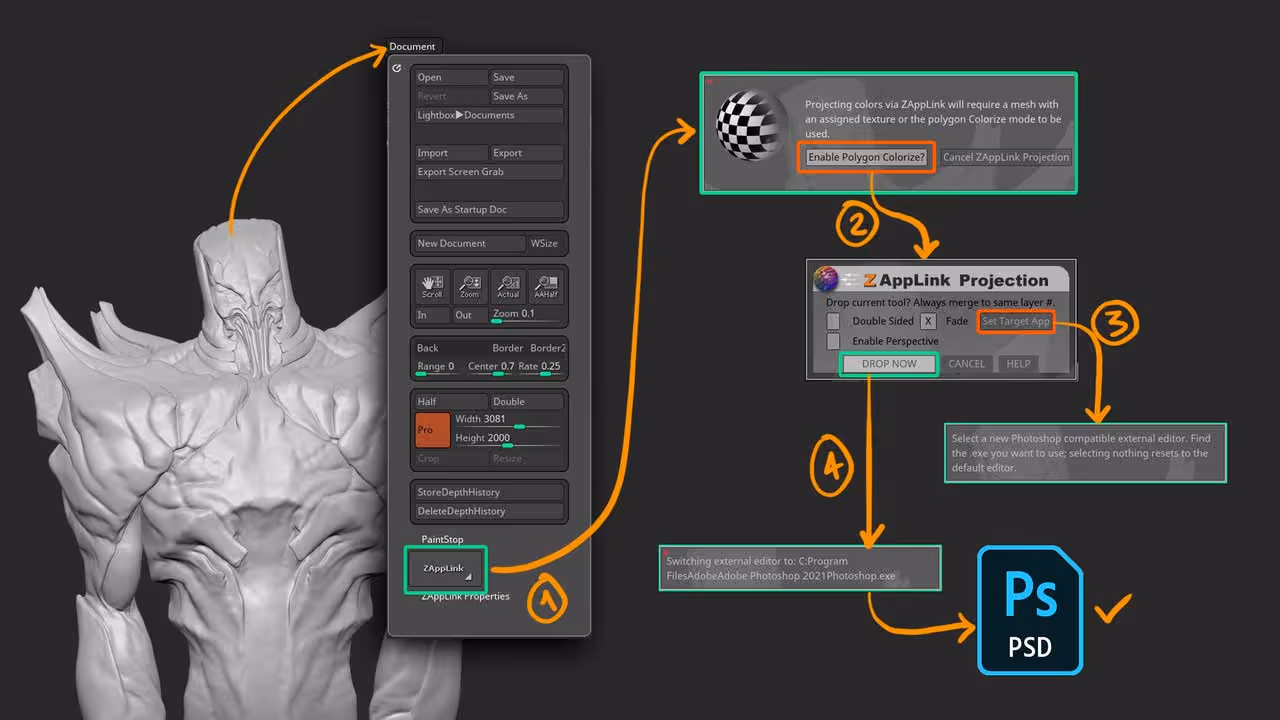
If you open up the Document Palette, you'll see a prominent button towards the bottom called 'ZAppLink'. What this tool does, is to send a 'screenshot' to Photoshop, where you can paint or texture anything using Photoshop tools, and then take the changes back into ZBrush with one click.
Here is how it works:
First, you need to have a model with enough geometry to paint details with polypaint, in the example I'll use I have about 5 million polygons.
- Click the ZAppLink button from the document palette
- You'll see a pop up asking you to enable 'Polygon colorize' (which is just turning on polypaint) in case you haven't... make sure you click 'Enable Polygon colorize'.
- A new window will appear with some extra settings. in this popup, you want to define your editing application (Photoshop) from the 'Set Target App' button.
- Once you have chosen the Photoshop.exe in your computer, click on the 'DROP NOW' button. This will initialise the process of sending the 'screenshot' to Photoshop.
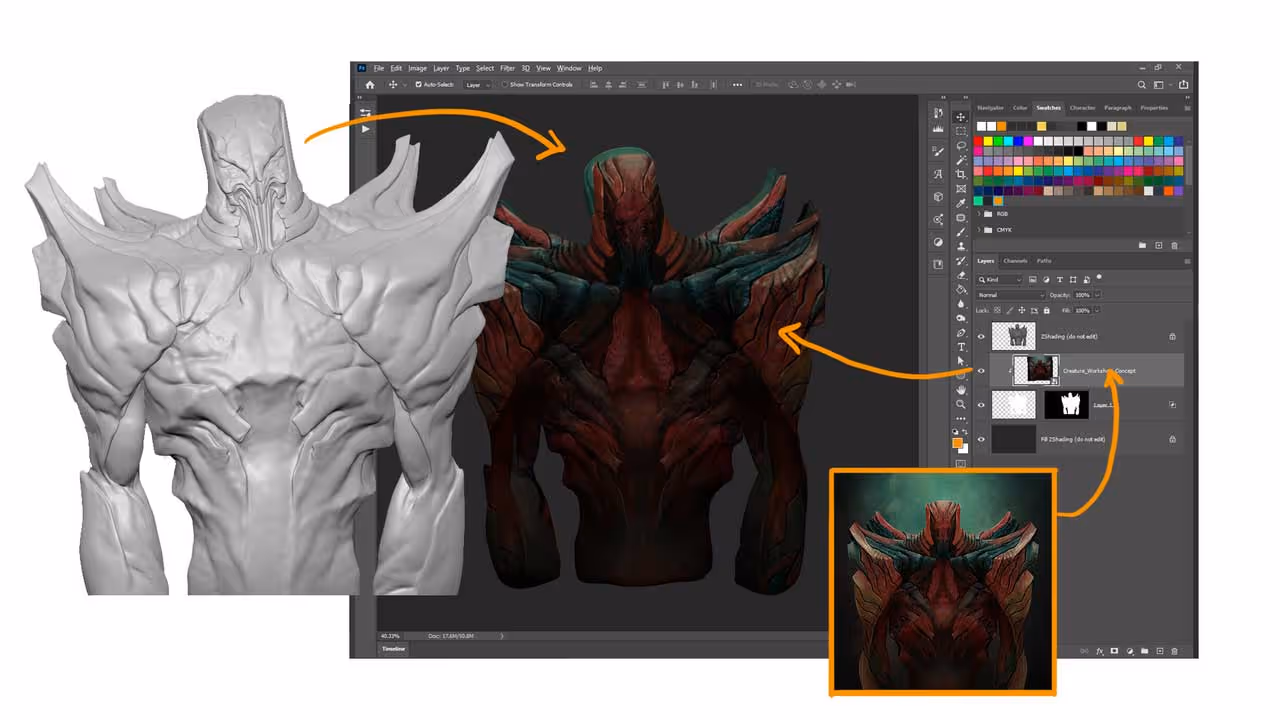
The ZAppLink does some magic and creates a document in Photoshop where you can use all the tools you want to texture your model from the angle you chose.
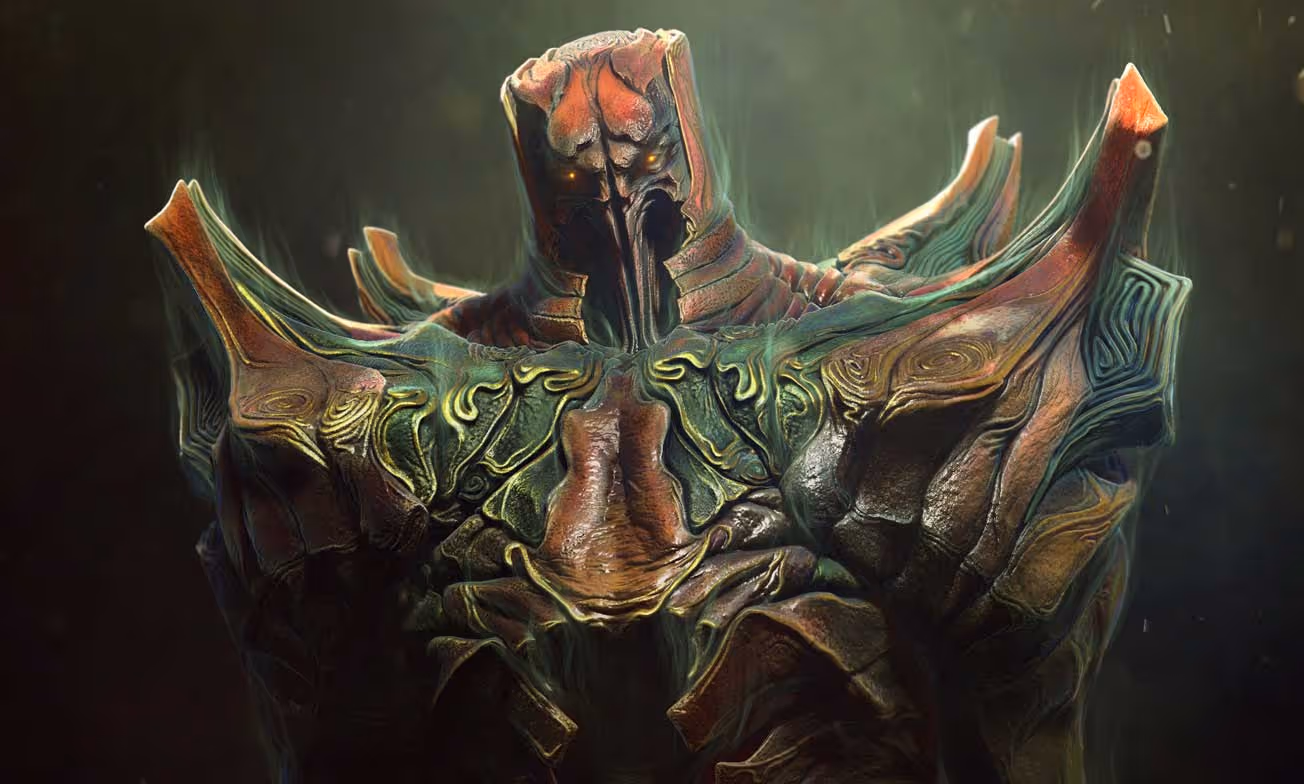
For a quick prototype of the concept, I just dropped the 2D coloured sketch of my creature into photoshop and clipped it (Alt + click in between layers) to the editable layer.
You can use any tool you want to texture the image in Photoshop and I mean anything... colour adjustment, liquify, paint brushes, blur effects, anything. I cut up pieces of the 2D concept and used the 'warp' tool to adjust the placement of the concept to fill the areas of the posed model.
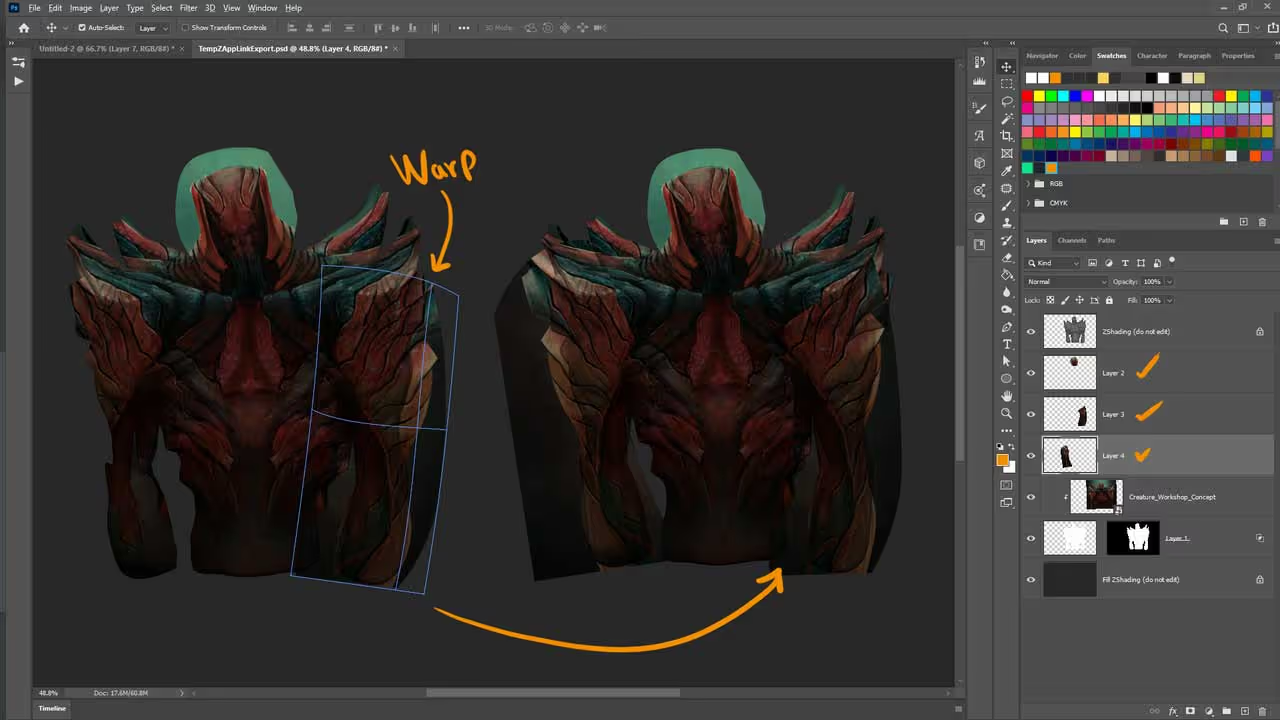
The only two things to keep in mind is that the top layer cannot be edited or modified (this is very important). and that at the end of the editing, you need to merge every layer with the one that ZAppLink created (the middle one):

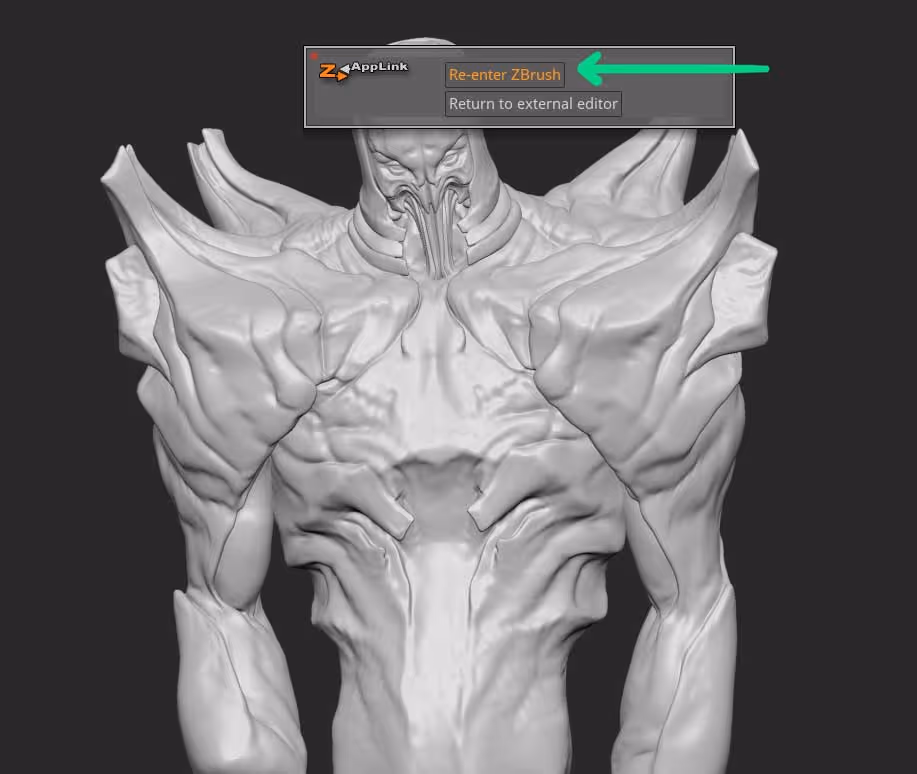
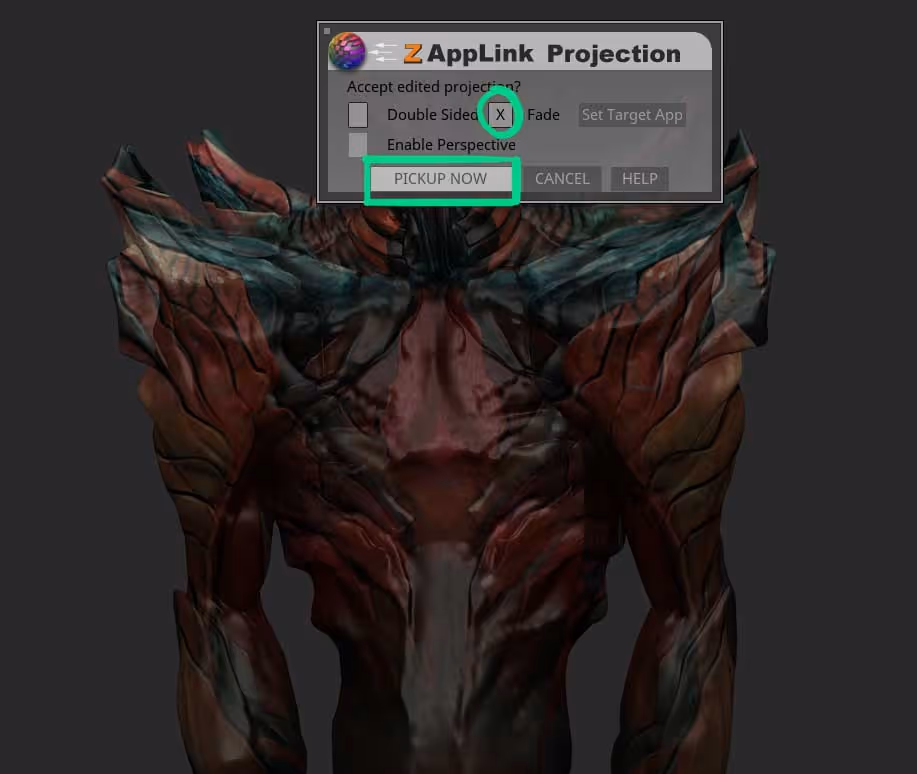
That's it, you can now click save or simply go back to ZBrush and you'll see a couple of additional popups. The first one is just asking you to bring the changes from Photoshop, so click on the 'Re-Enter ZBrush' and then a similar pop-up as before where you can 'PICKUP NOW' the mesh:
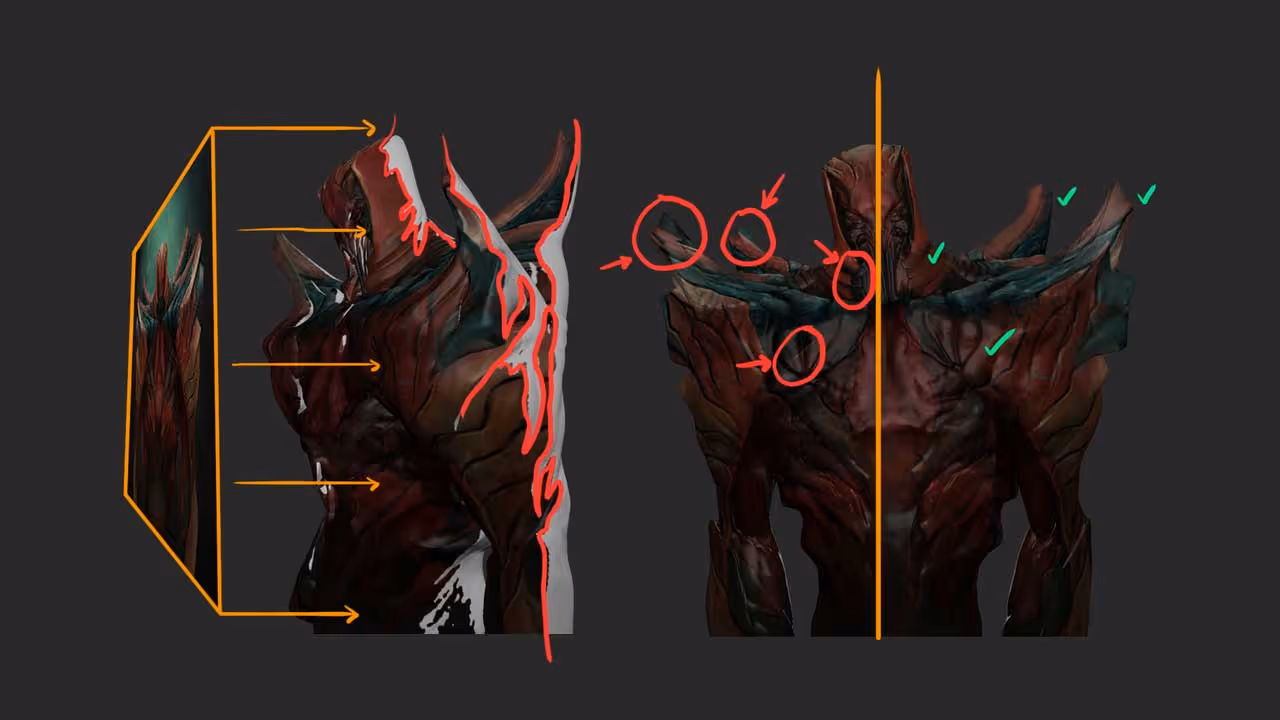
How cool is that? I love this trick... just remember that this is obviously a projection based on the camera angle you had when you click on the ZAppLink, so not everything will line up perfectly fine.
The additional checkboxes you see in the pop-up window are 'double sided' which will paint the front and back of the view with the same projection and 'Fade' which blurs the border of the projection a bit... I like to leave those two settings unticked.
With a little bit of extra time you can polypaint the weird bits of the projection for a quick fix:
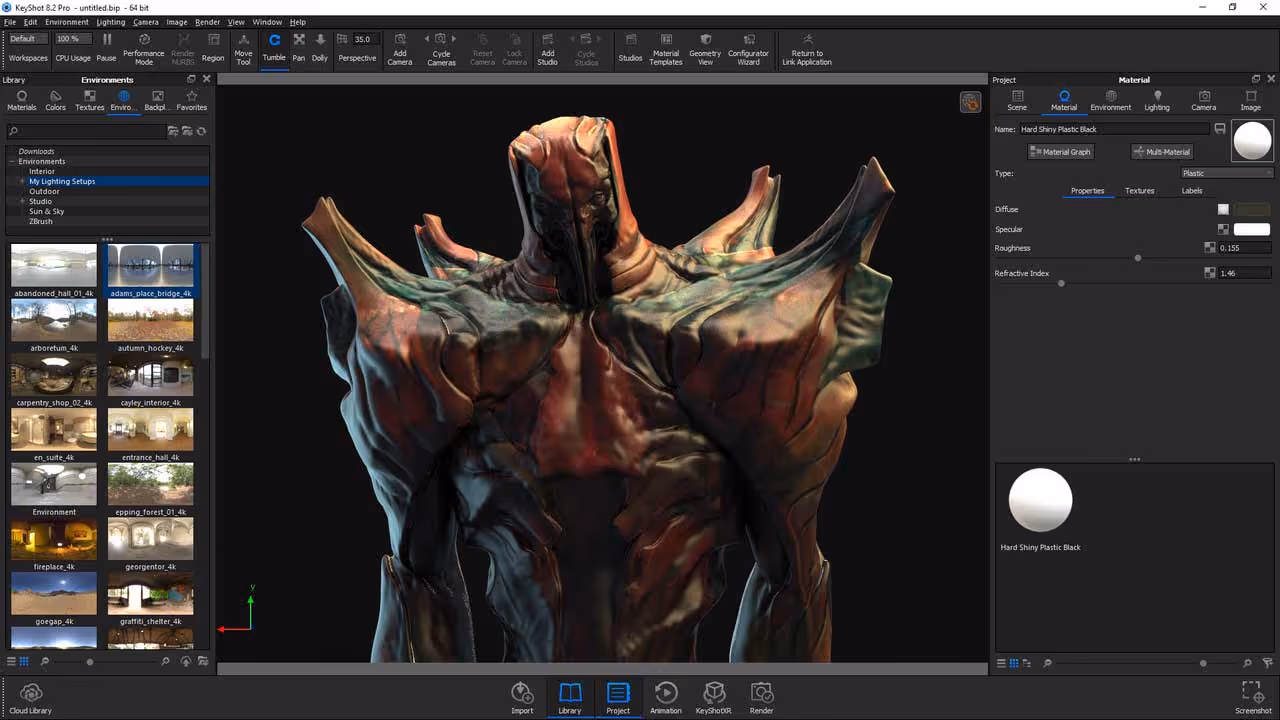
And in just a few minutes you can quickly test out your 3D sketch with some textures of colours from your original 2D concept... you can even send it to Keyshot to do some early 'look dev'.
NOTE: you can achieve similar results using the Spotlight in ZBrush and project your textures there. But this workflow allows you to use all the more advanced Photoshop tools that Spotlight doesn't have.


.webp)

.webp)