It basically allows you to interactively position your light by moving your mouse around the screen and getting instant feedback on your model:
Before I tell you how to use it, I need to give you a short warning/disclaimer:
SAVE your work before trying this tip. In my experience, there are some situations where this interactive light makes my ZBrush freeze or crash.
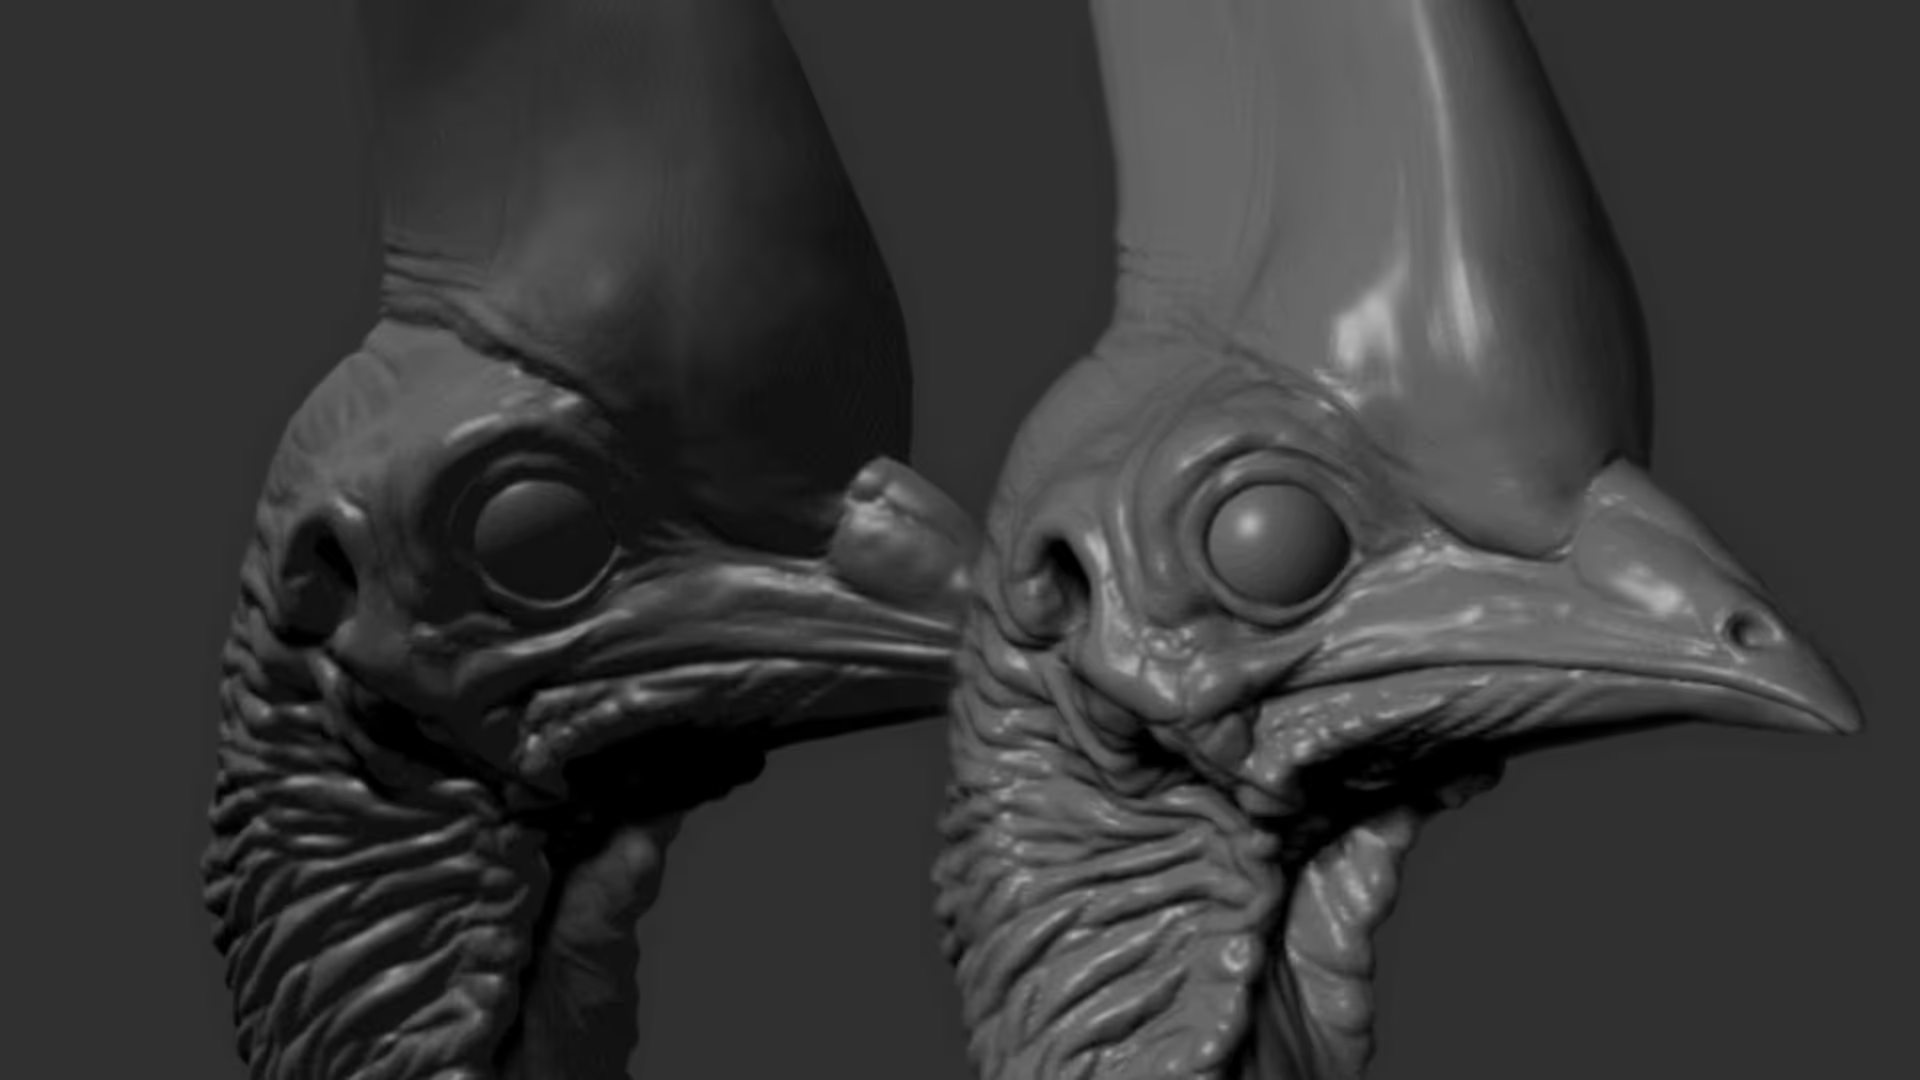
To use the interactive lighting in ZBrush, you just need to have a Standard Material on your model (lighting in ZBrush doesn't affect MatCaps as they already have the information baked in the material), so select something like the Skin Shade 4.
Then you can press anywhere the shortcut: Ctrl + P and as soon as you do that you are in the interactive mode and you can move your mouse to change the light direction.
Two things to avoid when using this feature (to prevent crashing ZBrush):
1. Move your mouse slowly, sudden or fast changes in directions might be tricky.
2. DO NOT CLICK anywhere on the canvas. Just move the mouse and avoid clicking the canvas.
To get out of the interactive light mode, press the ESC key on your keyboard.
2. Interactive FOG on the canvas!
This one is really cool (and no warnings, this one works perfectly fine), and with this tip, you can have a fog in your canvas while you sculpt or rotate around your model.
Not a lot of practical uses for this tip but I think is cool! - I'd say that it could be useful when sculpting and you want to focus on a very specific part of your model for instance, or if you want to do a quick WIP render / screenshot of a creature model and want to give it a more mysterious look ;)
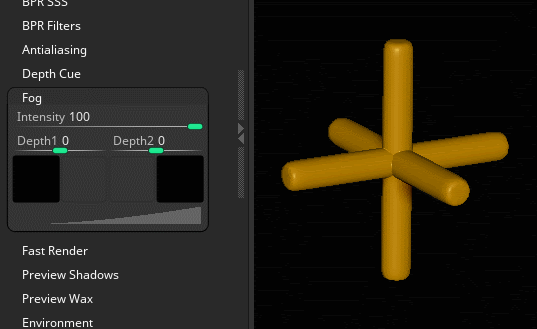
To get the interactive fog, you need to enable 'Fog' in the Render properties and expand the 'Fog' subpalette to edit the distance and colour:
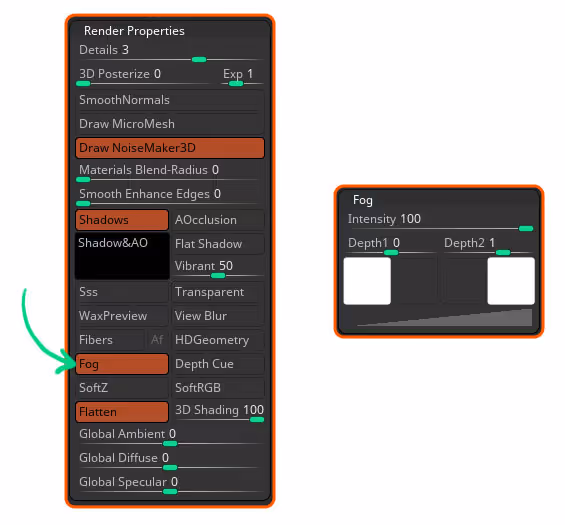
Then you can use the two swatches in the Fog subpalette to change the color of the Fog. The Intensity slider changes the strength of the fog, and with Depth 1 and 2 you can refine the reach of the fog over your model.
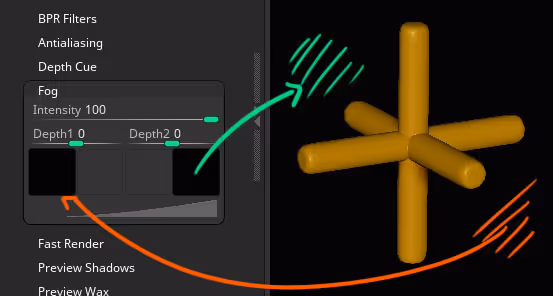
Obviously, how the fog looks and the distance that it 'covers' will depend on the object you have and how big it is, etc. So the easiest way to set the 'Depth 1' and 'Depth 2' sliders is by clicking and dragging from the slider to the closest point (depth 1) and the furthest point (depth 2) in the model:
That's it for this tip! hope you find this useful or 'mildly entertaining' ;)


.webp)

.webp)