

Overview
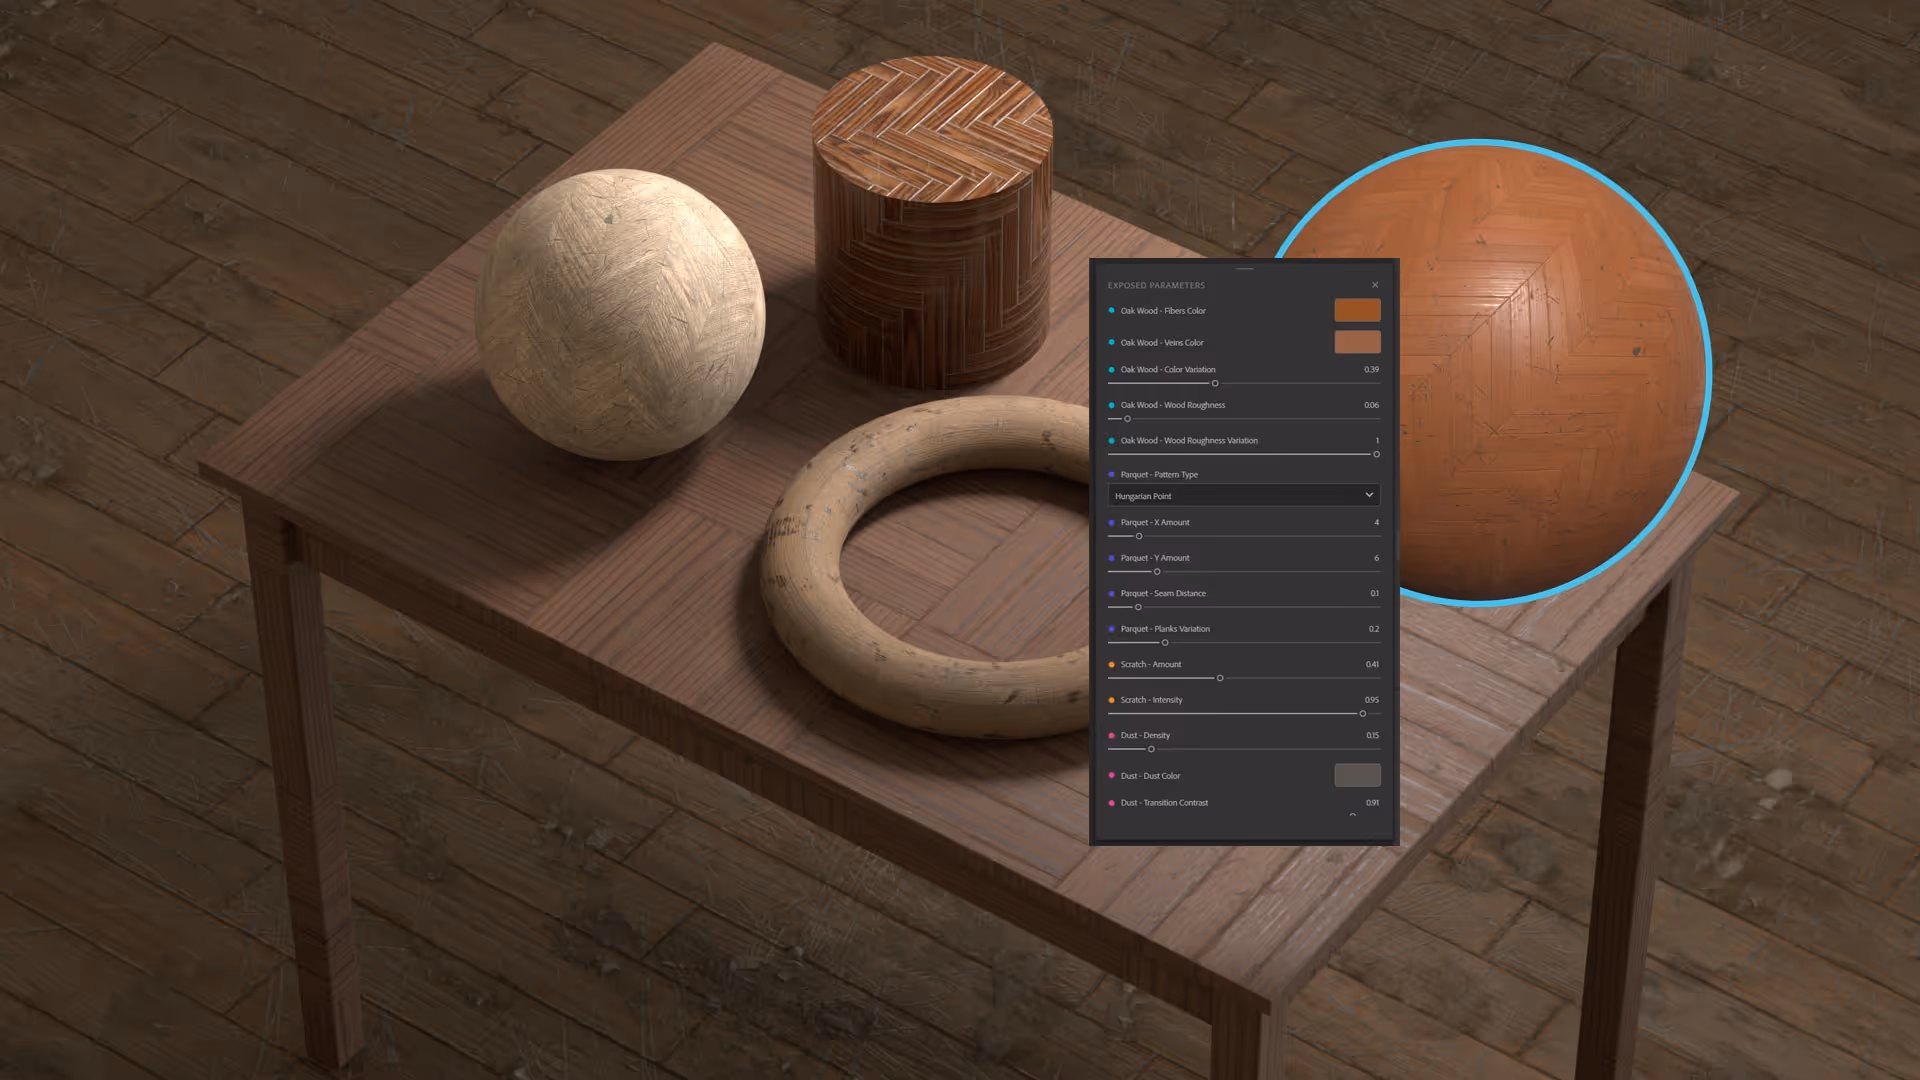
In this tutorial, I’m going to show you one of the coolest new features of Adobe 3D Sampler which is called ‘Exposed Parameters’. This new feature is a game changer for the simple fact that you can now create useful templates for your materials and adjust them as necessary in other software (3D Painter, Blender, etc).
Simple but effective update
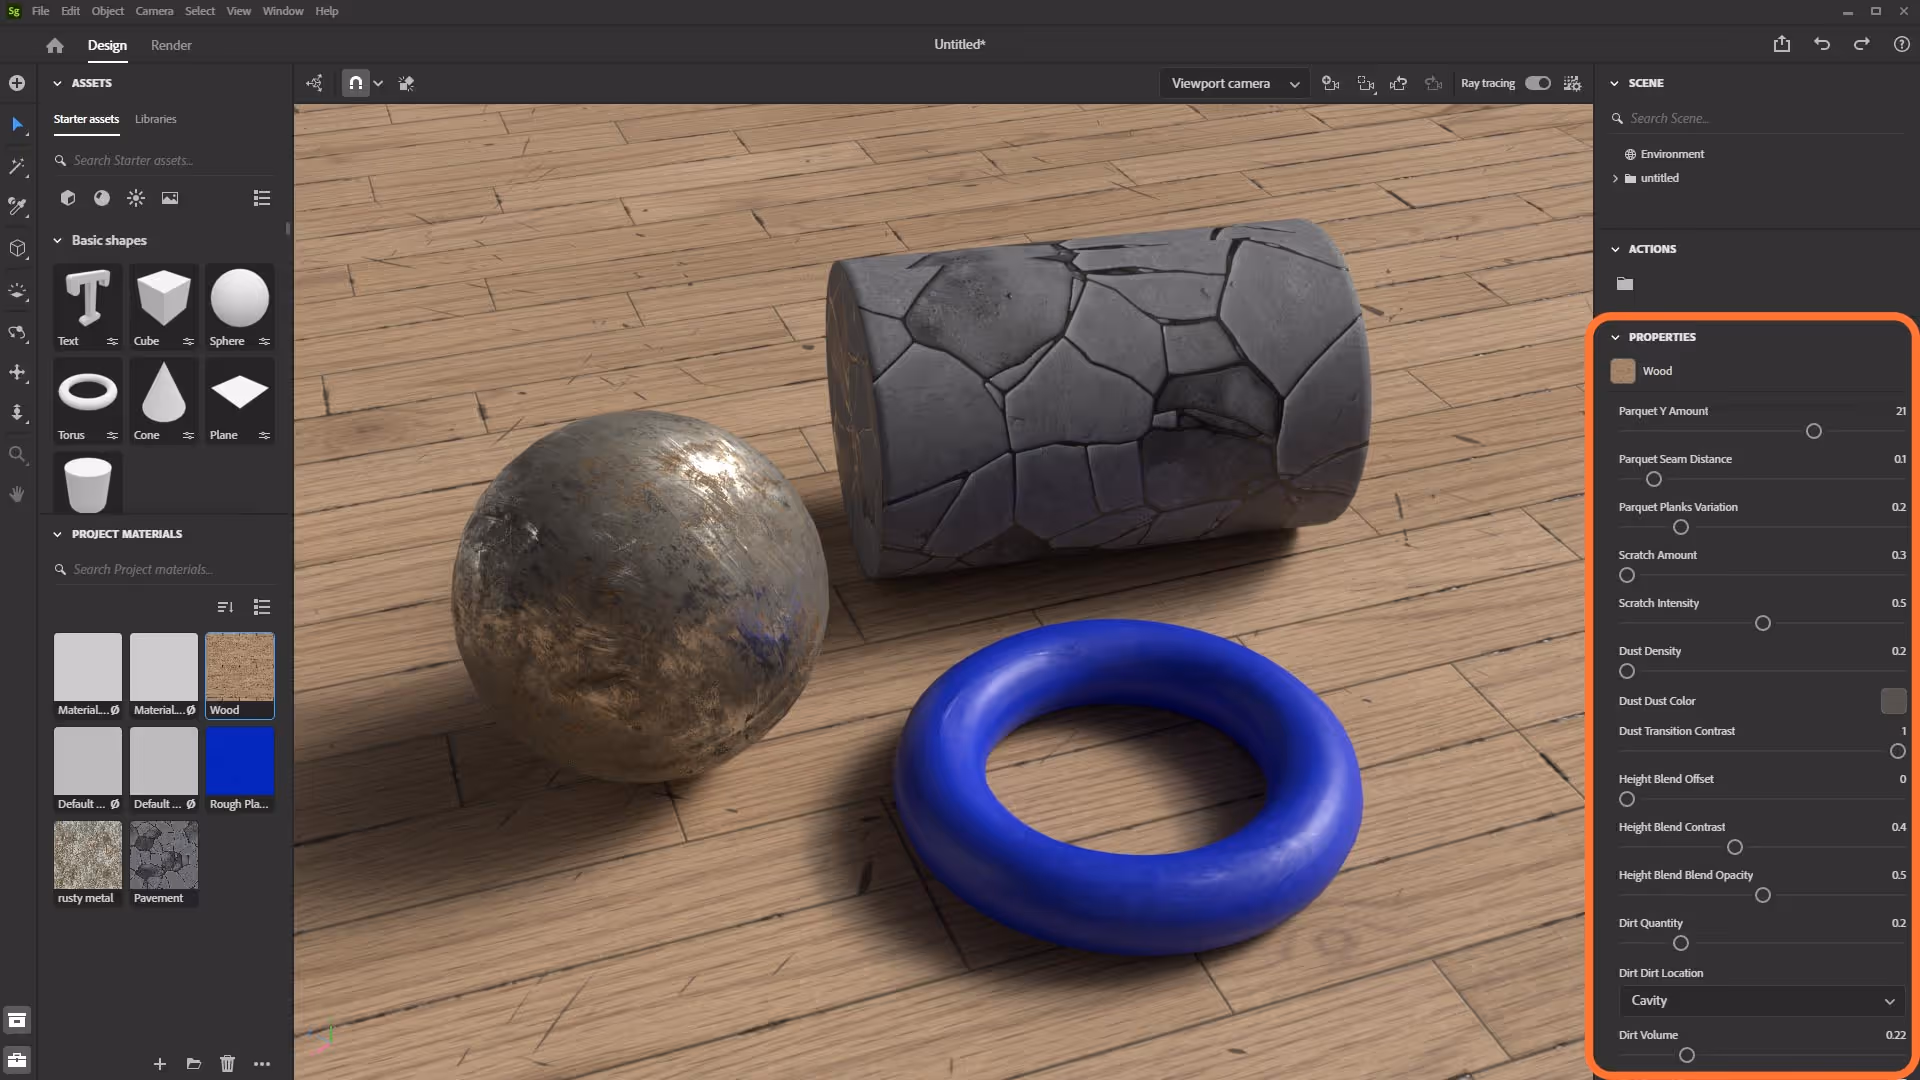
I think that the ‘Exposed parameters’ update in 3D Sampler is a huge deal. Not only makes it easier to fine-tune your materials in external applications, but it can also speed up the workflows quite a bit. For instance, since 3D Stager is also nicely integrated with 3D Sampler and 3D Painter, you can build your materials in Sampler and send them directly to Stager to test how things will look like in a render engine:
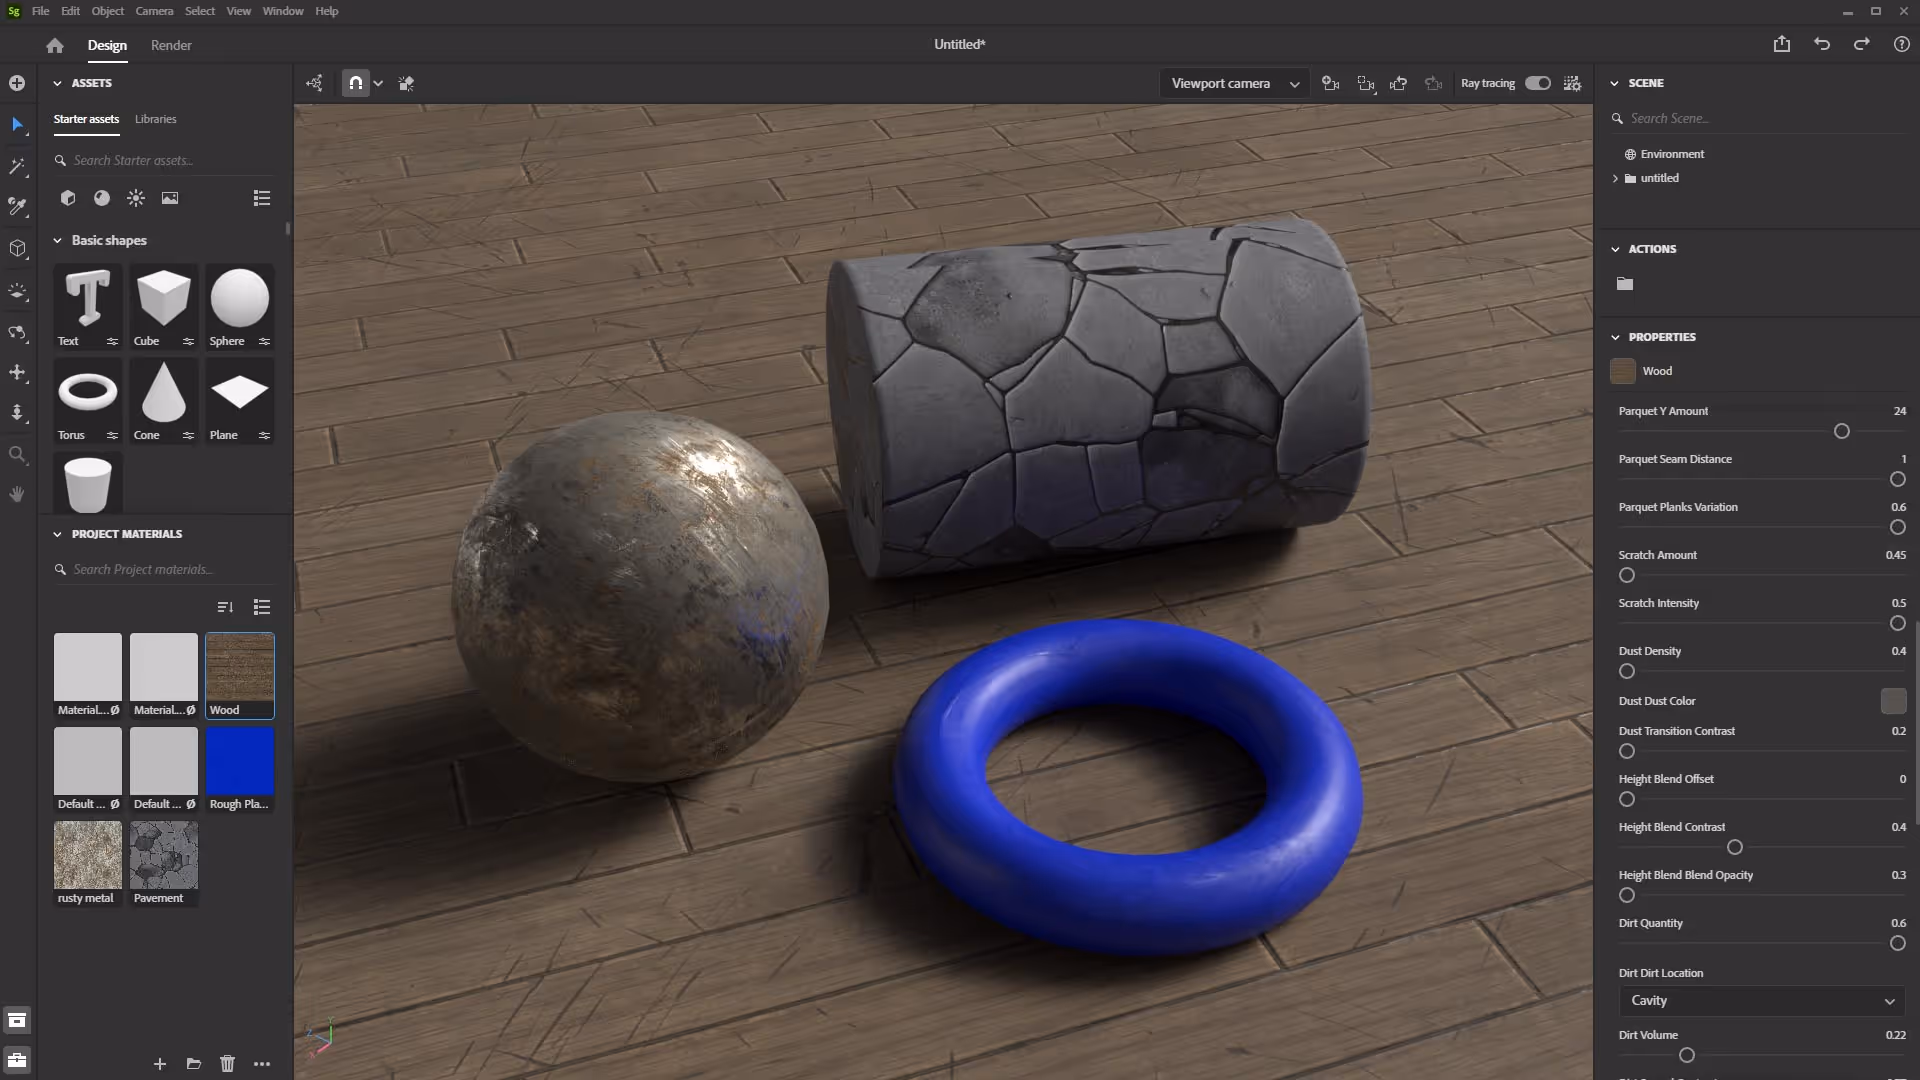
Sometimes you might want to do some subtle adjustments to the materials when you are setting up your lighting and getting ready to render. With the new exposed parameters, you can update material properties like roughness amount or scratches quantity to suit the render you are going for.
In the case of this very basic example, I think the original wood material for the floor is a bit dark and maybe too damaged for the render. So I simply tweaked some of the material properties within 3D Stager and saw the updates in real-time to generate more contrast and simply brighten up the scene.

Wood template sample (SPSAR)
This is the wood material I used as an example in the tutorial. I set it up in 3D Sampler using the assets and tool you can find by default there. The material is SBSAR so you can load it in any software that accepts this format from the substance, just remember to uncompress the file first so it loads properly.The exposed parameters should give you plenty of options to adjust the look and feel of the wood material to your liking or you can easily create your own template!
Check it out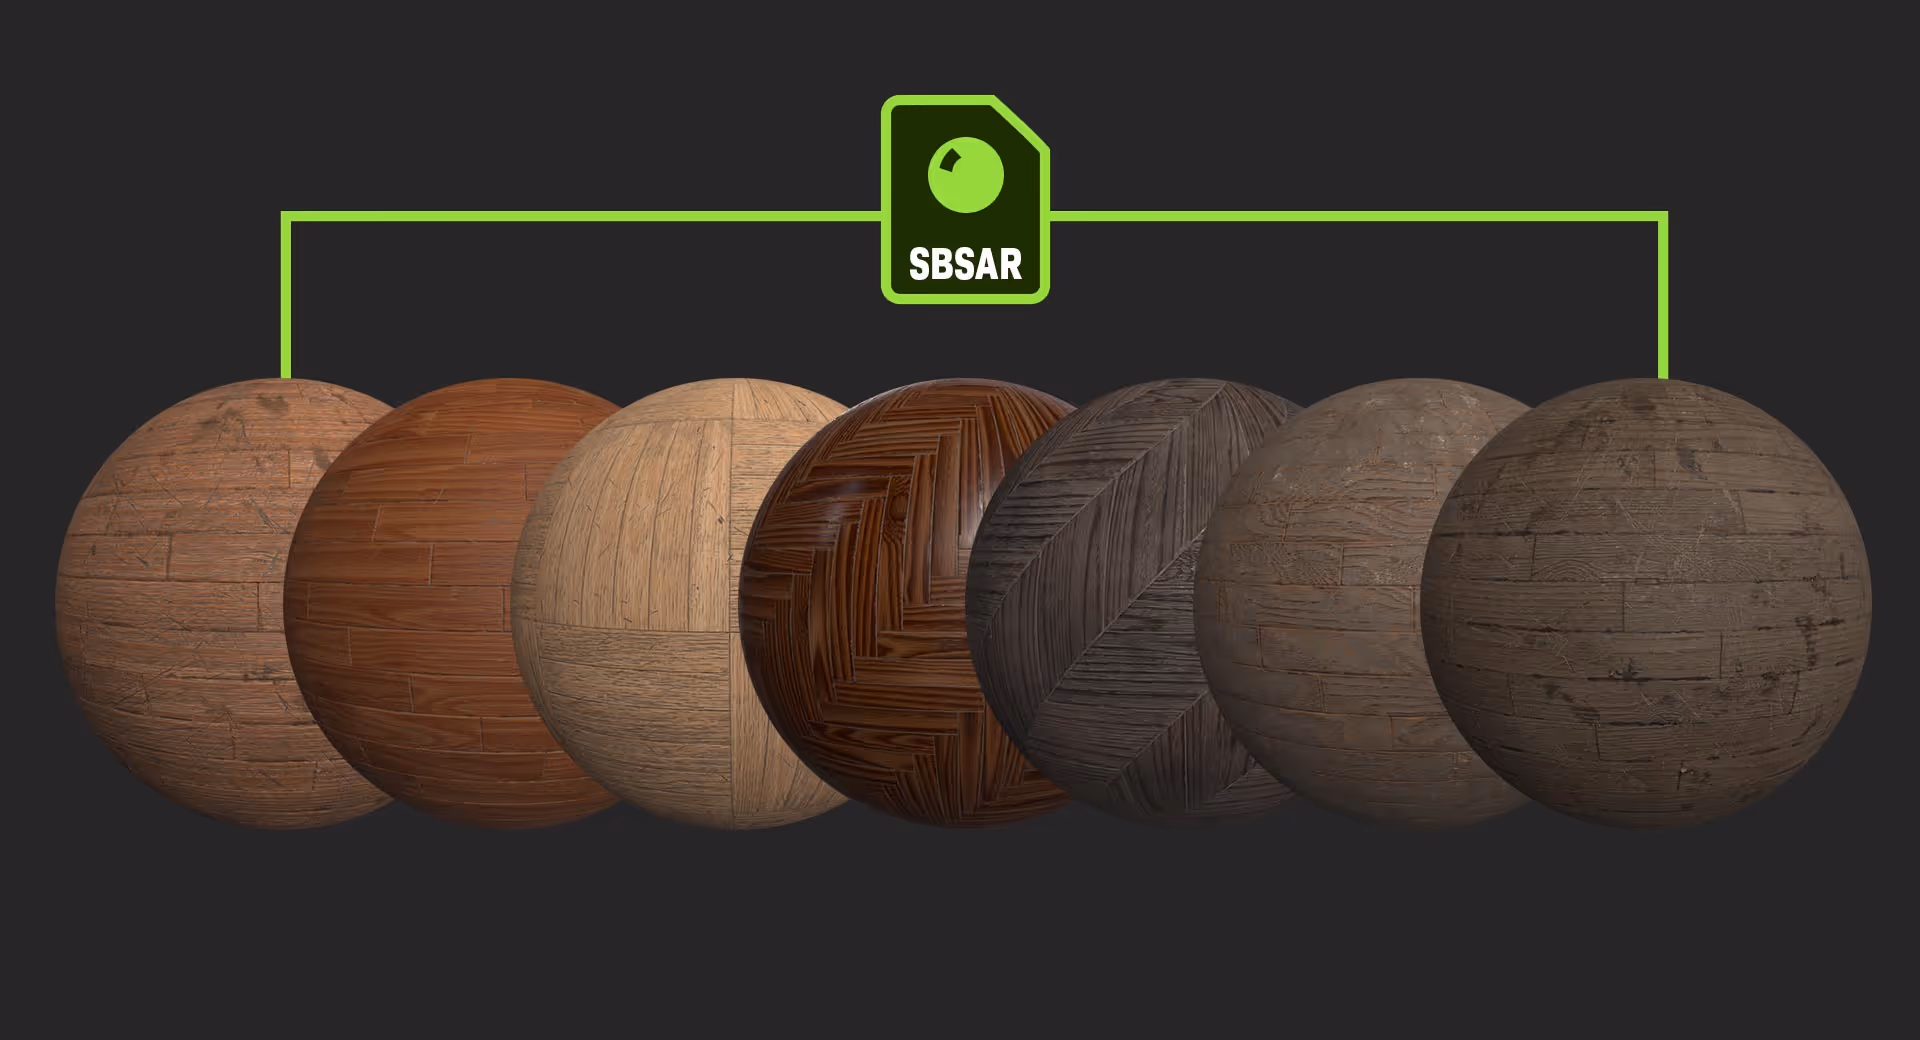


.webp)

