
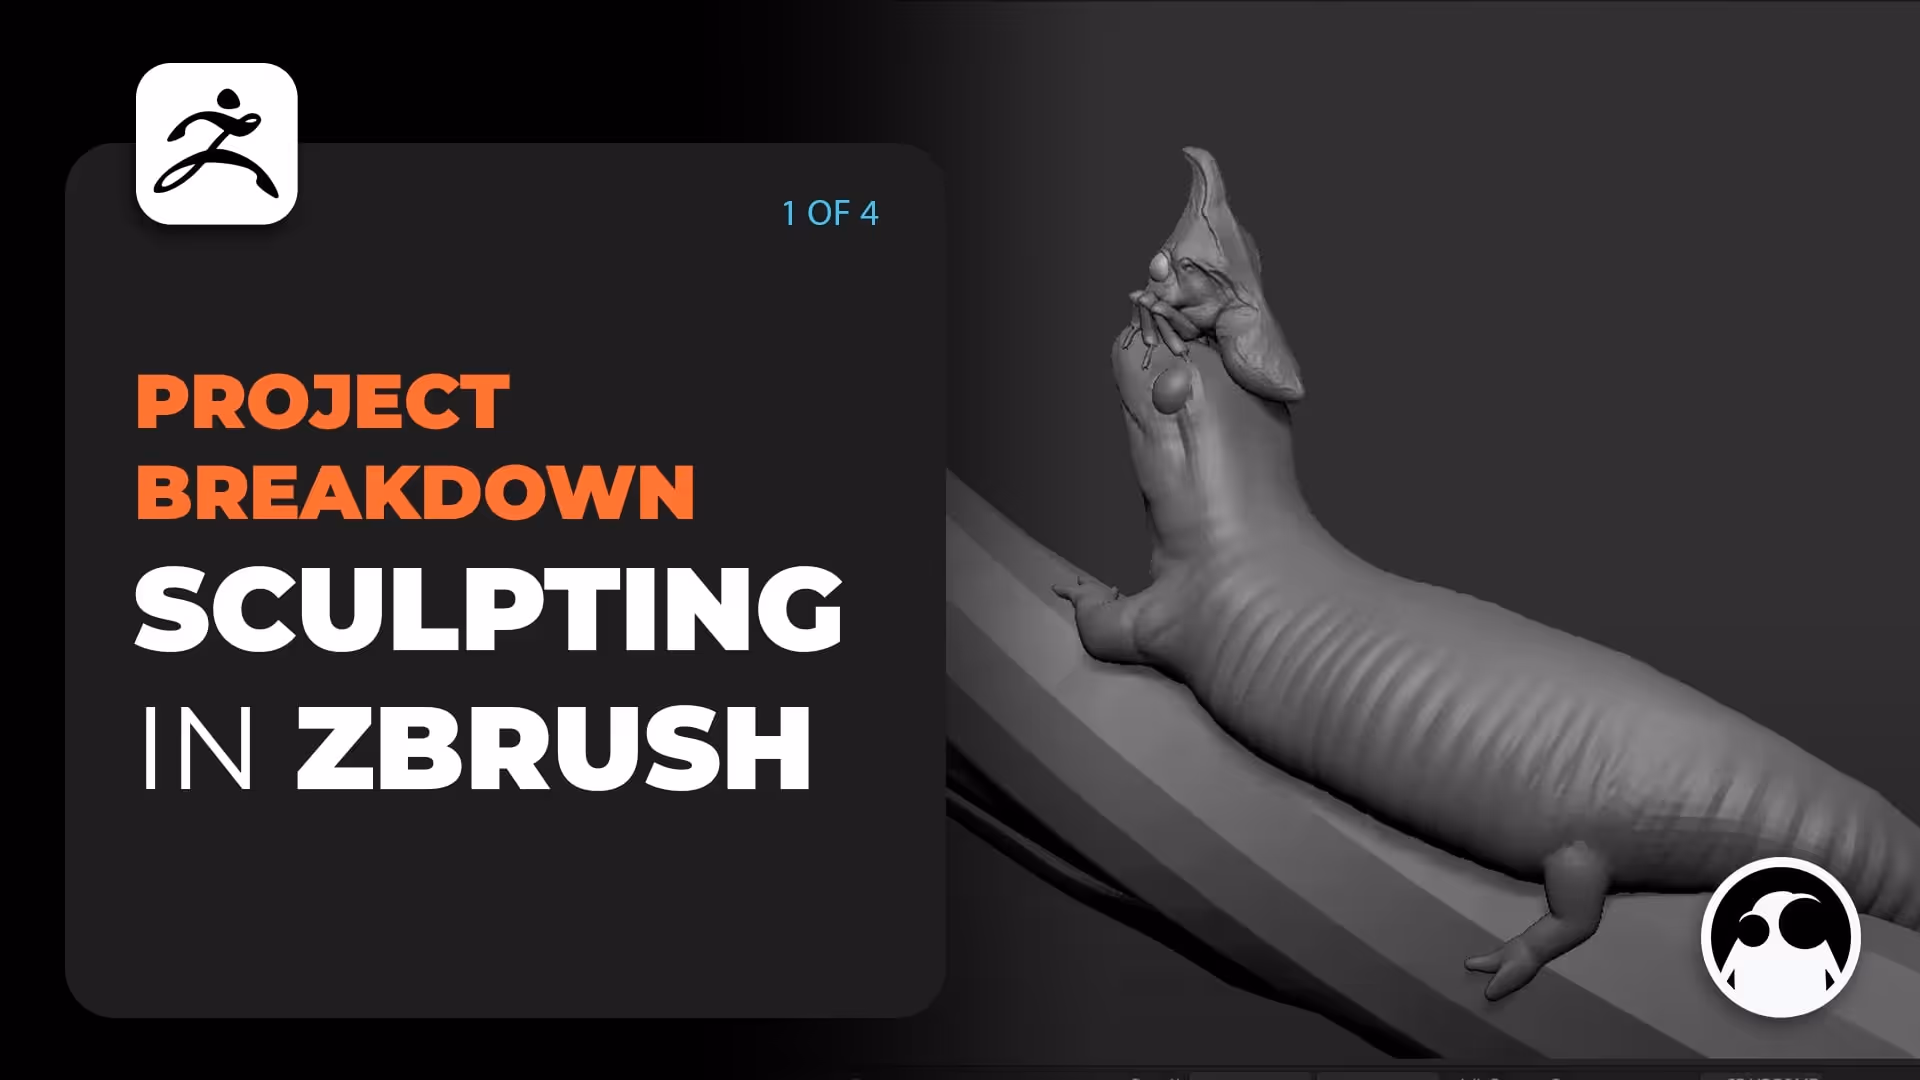


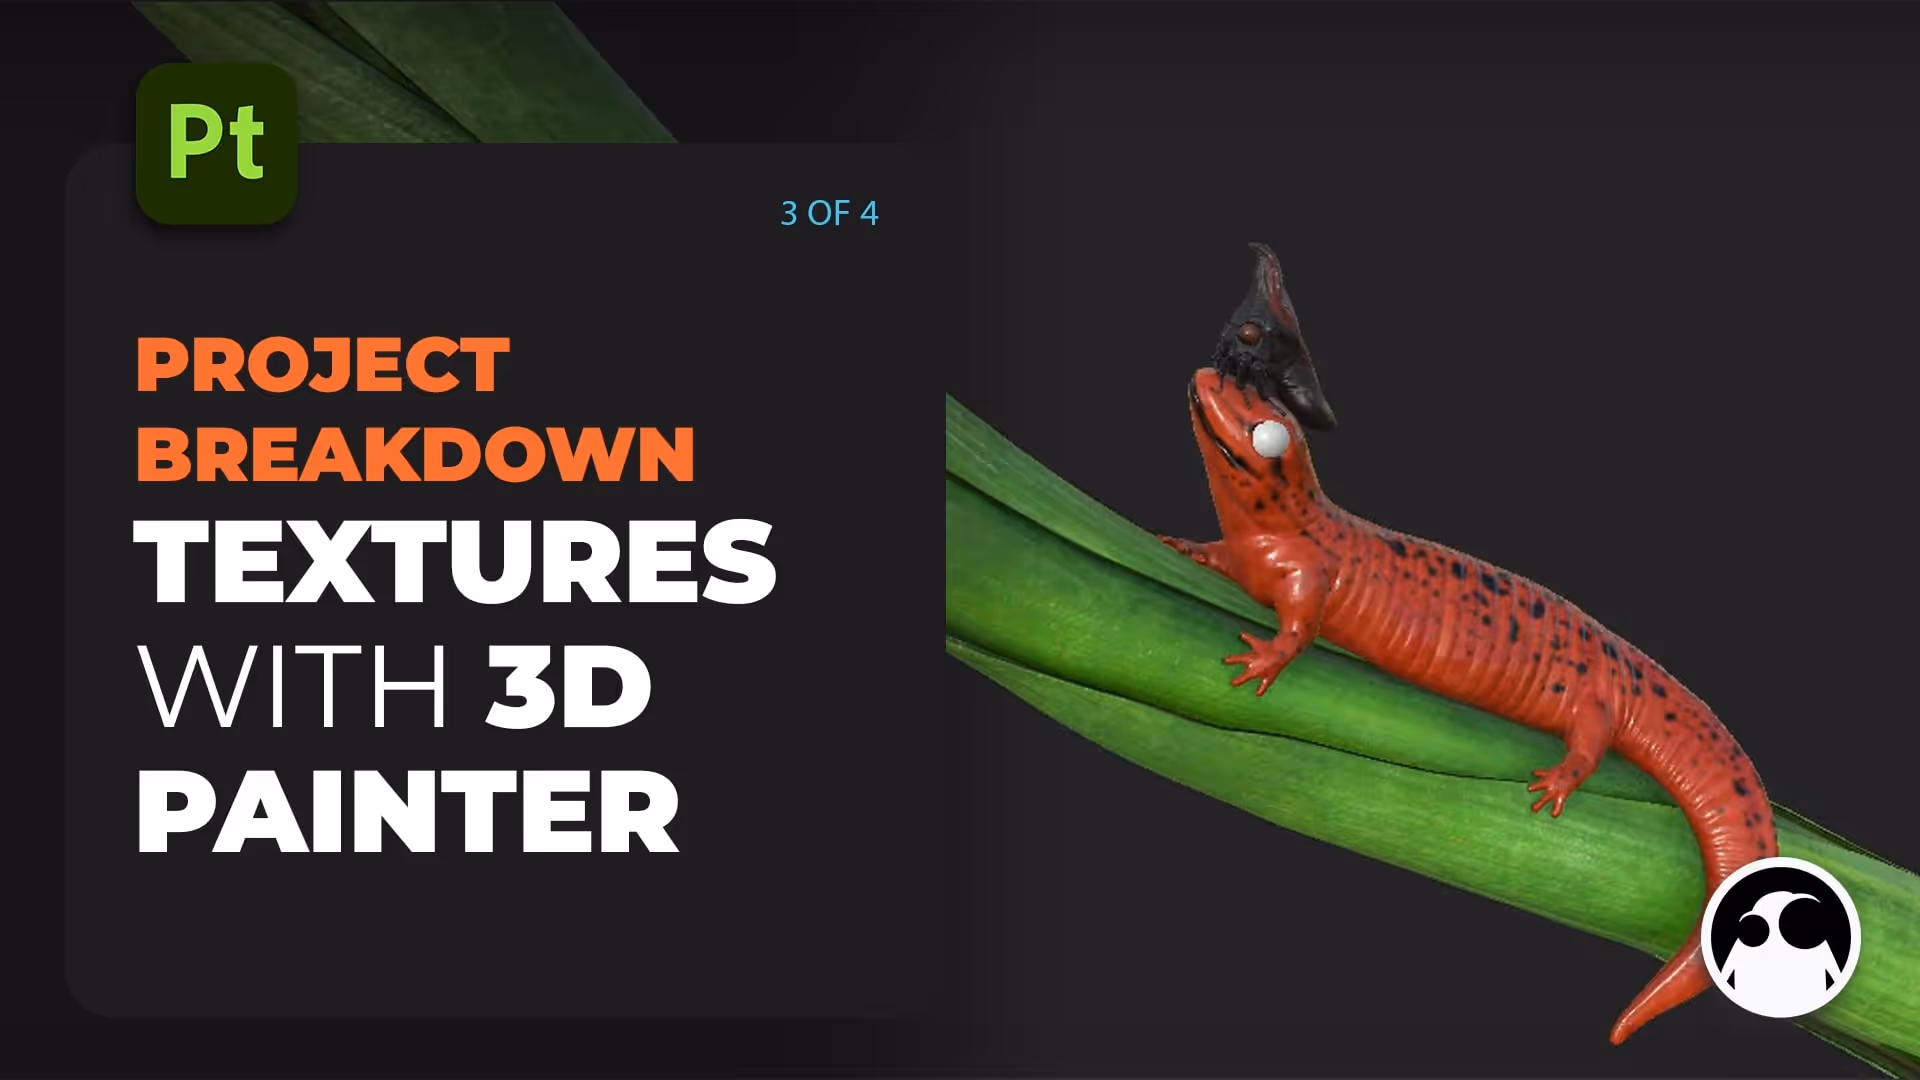
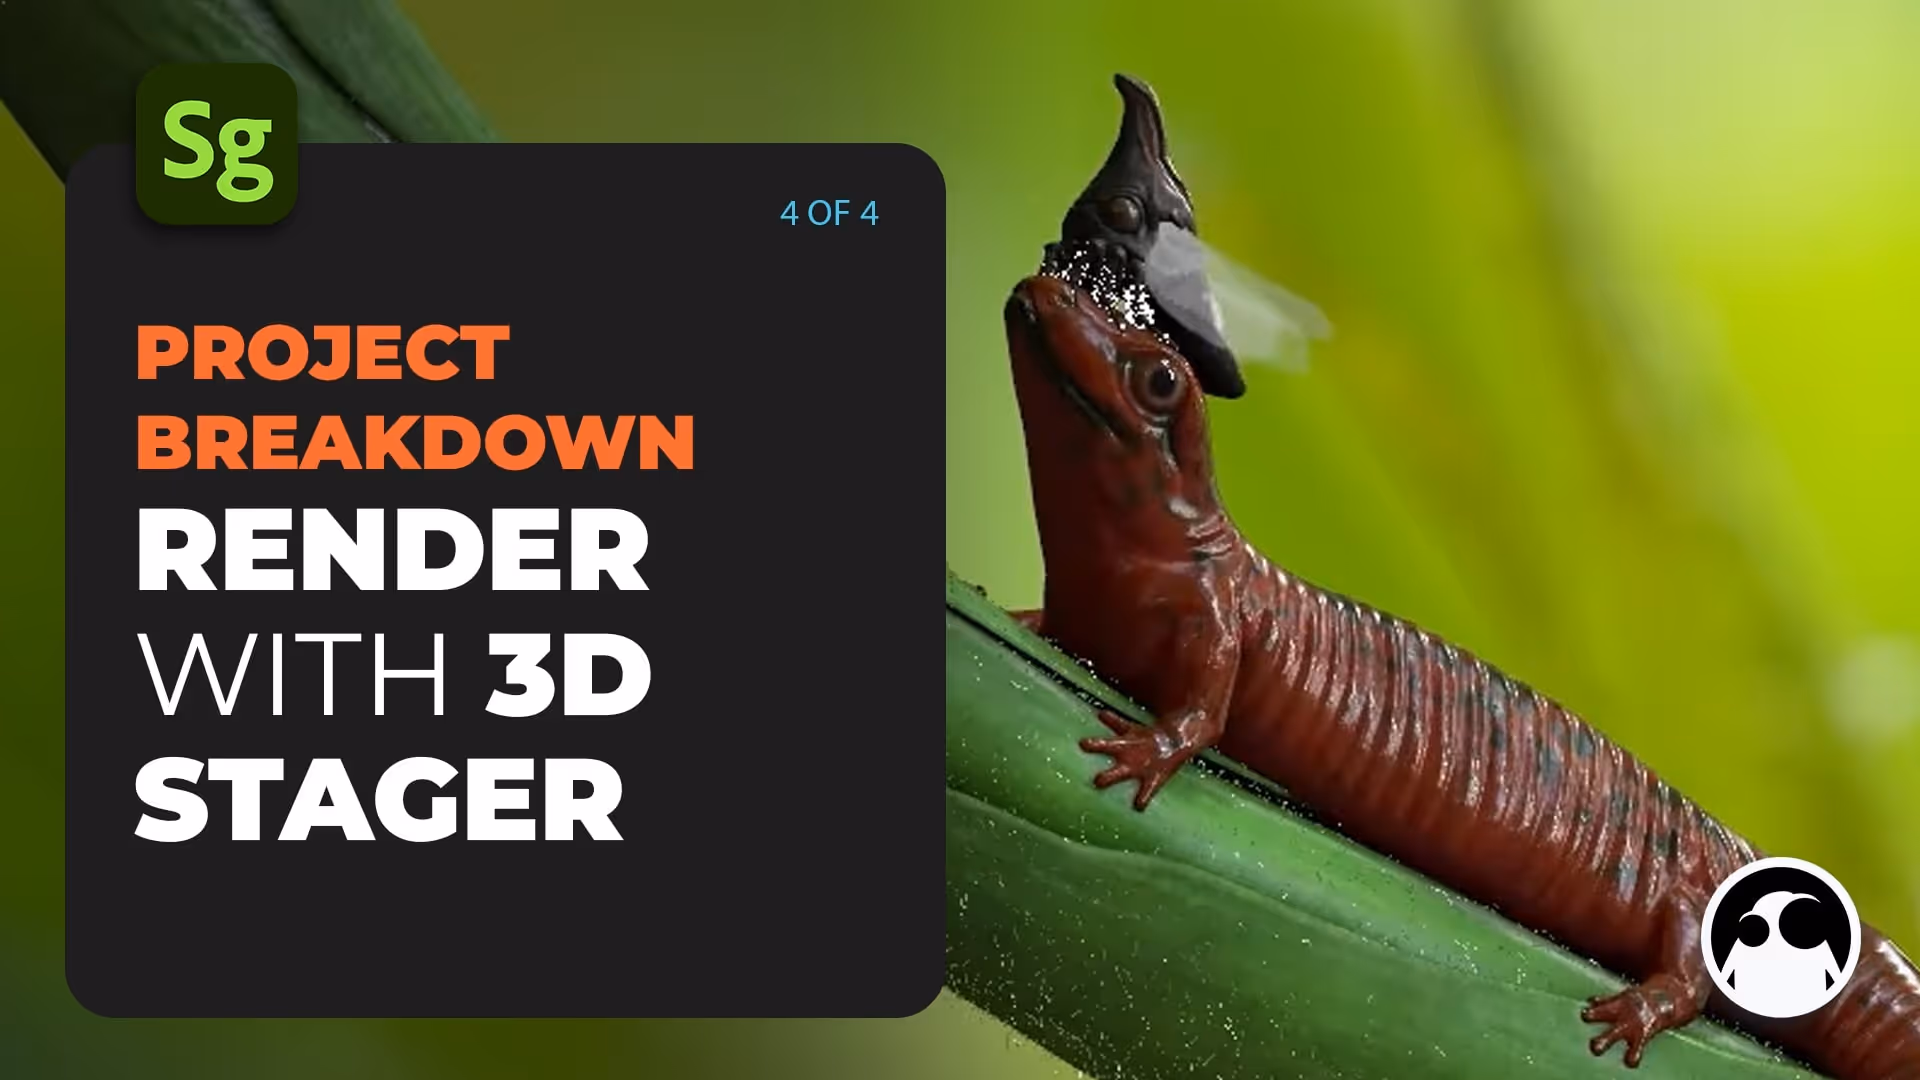
This is a short series of 4 videos where I'm going to break down a project that I used while I was testing the Adobe 3D Tools (3D Sampler, 3D Painter and 3D Stager). The tutorials are narrated time-lapses covering the process of sculpting, materials creation, texturing and rendering.
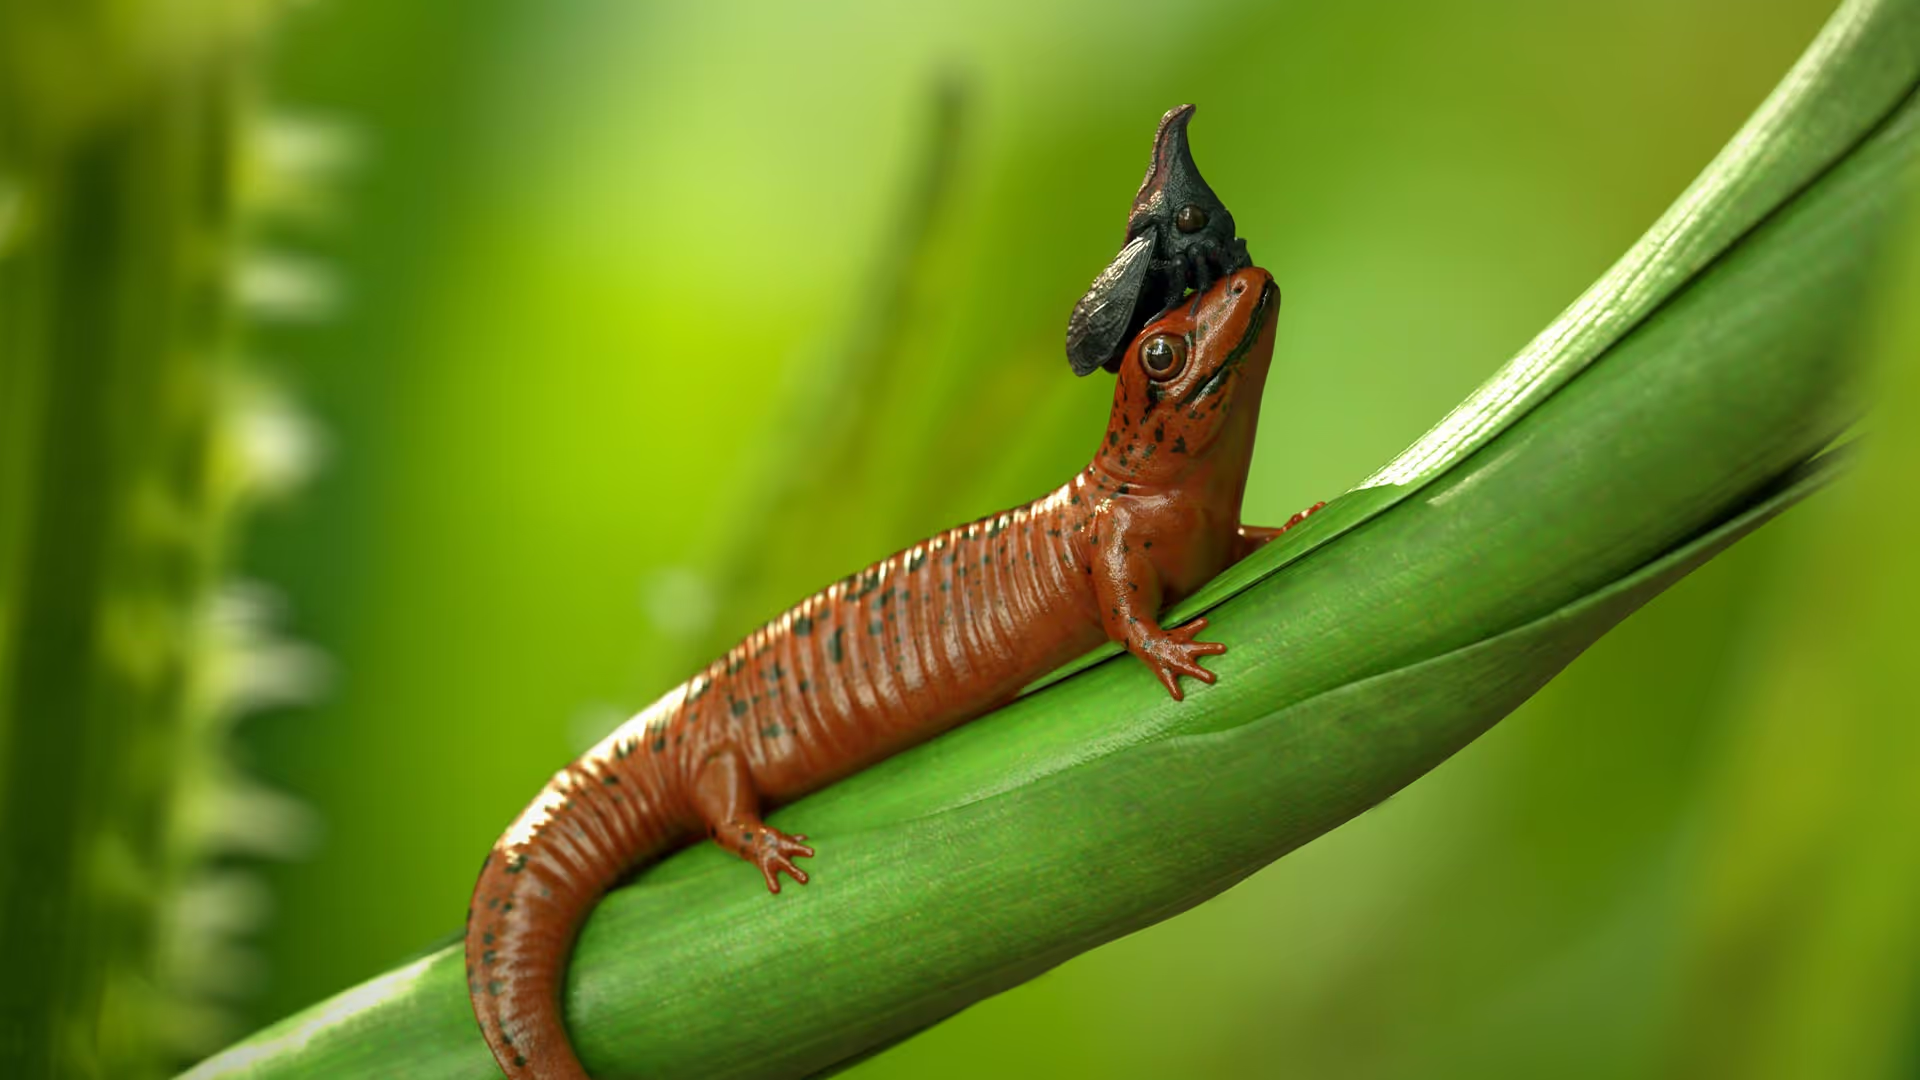
Final renders
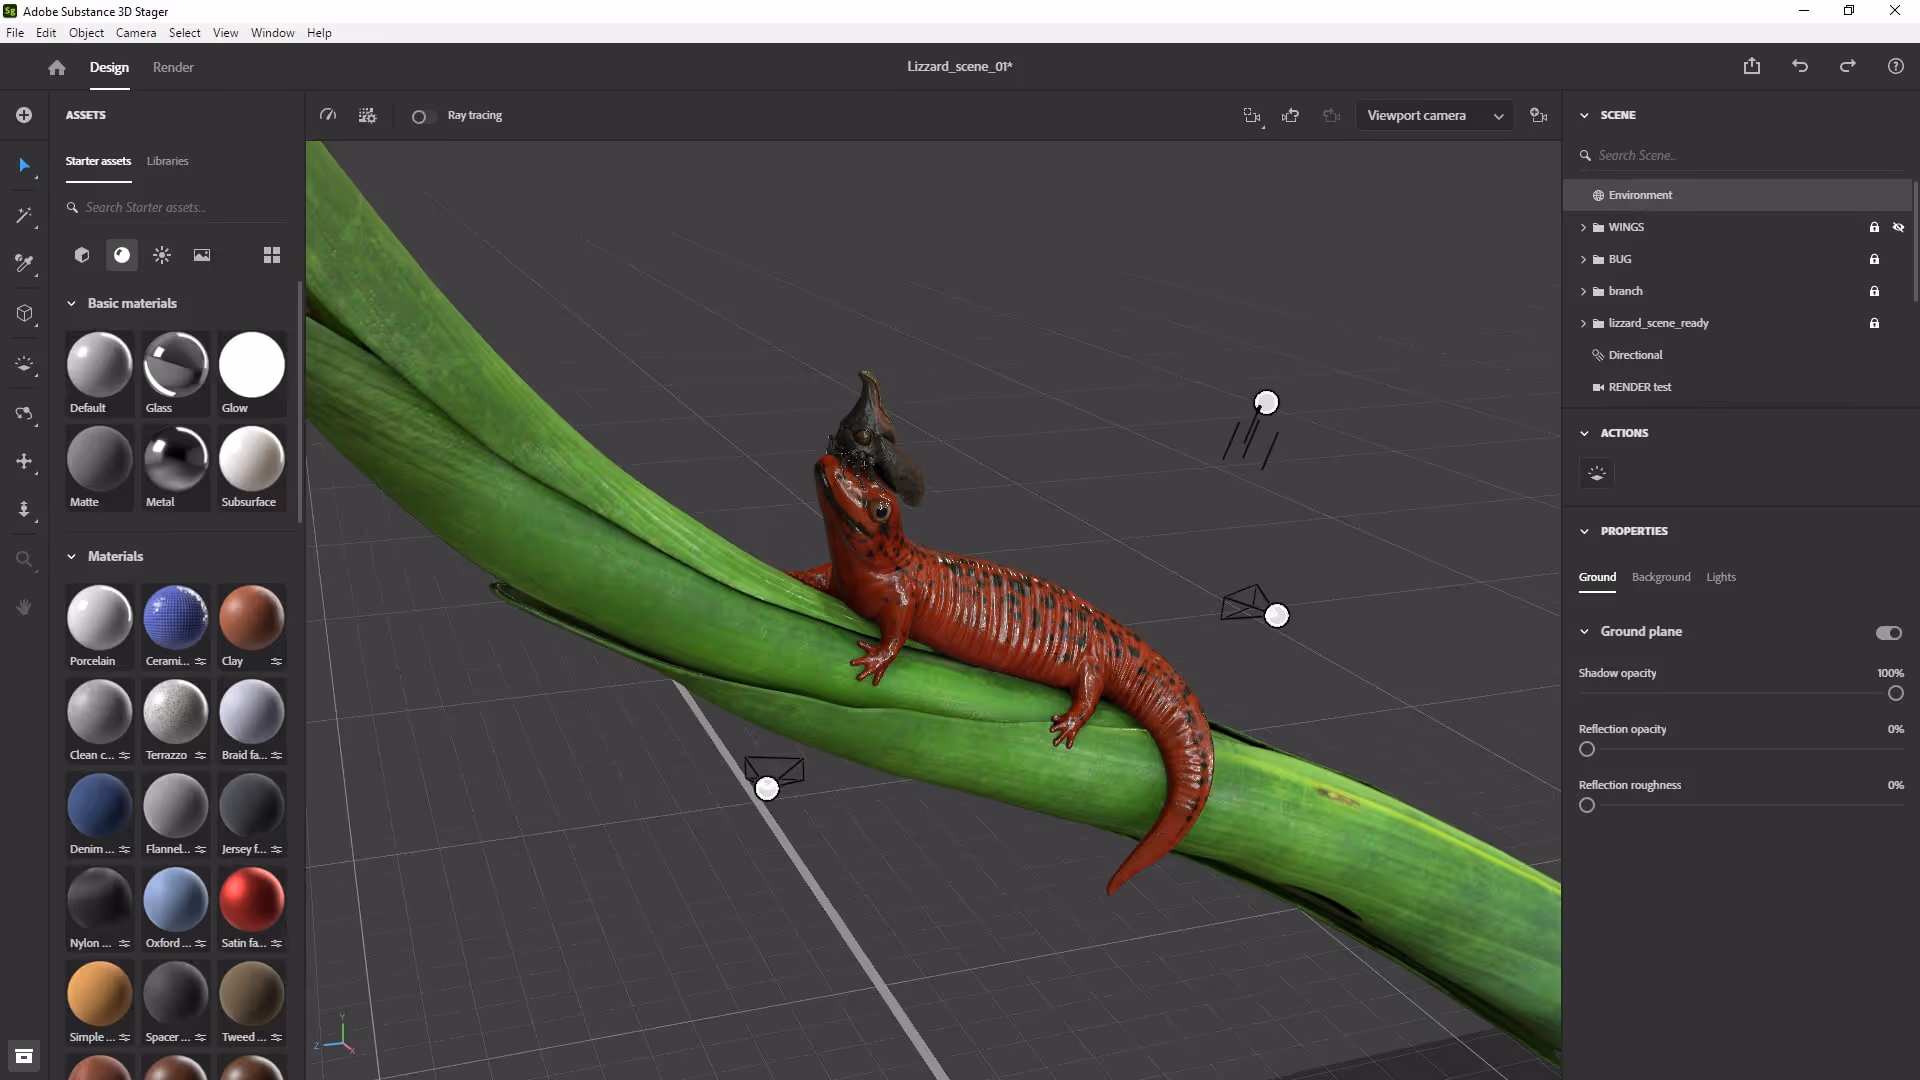
Below are some of the high-res images I produced from 3D stager for this project. As you can see in the closeup images, most of the high-frequency details on the insect and the skin details of the skink were achieved entirely in 3D Painter normal and height maps.
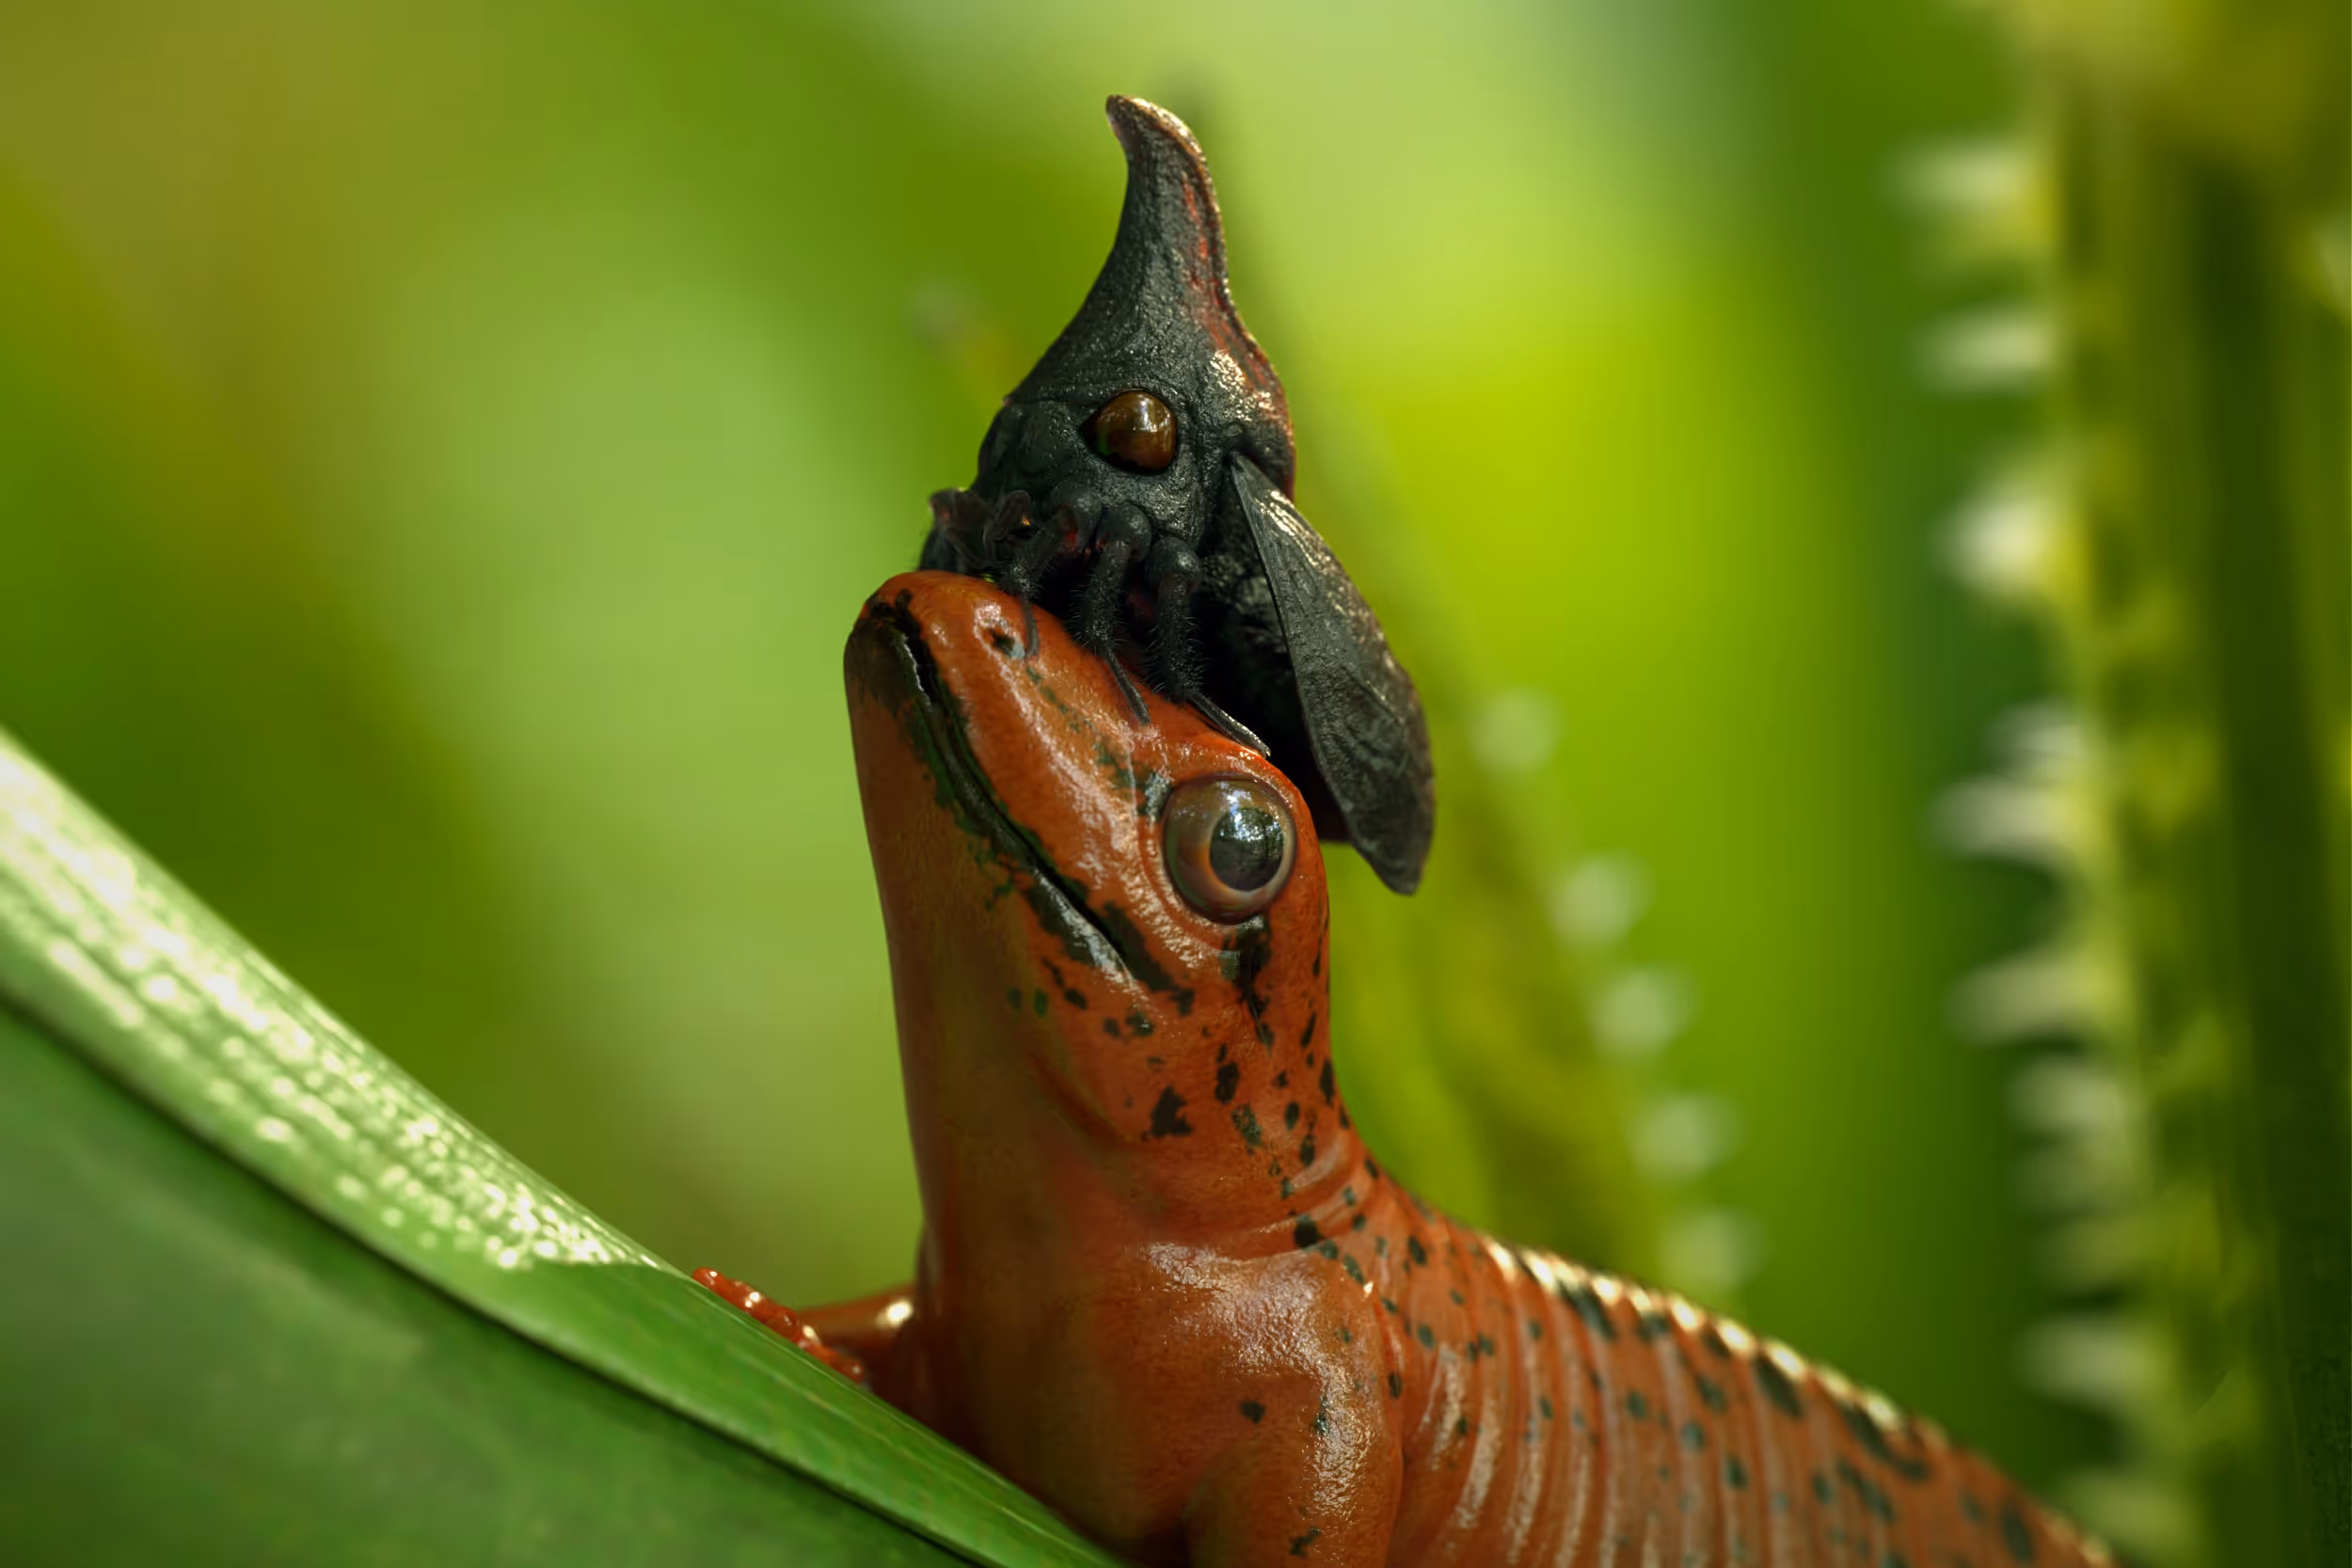
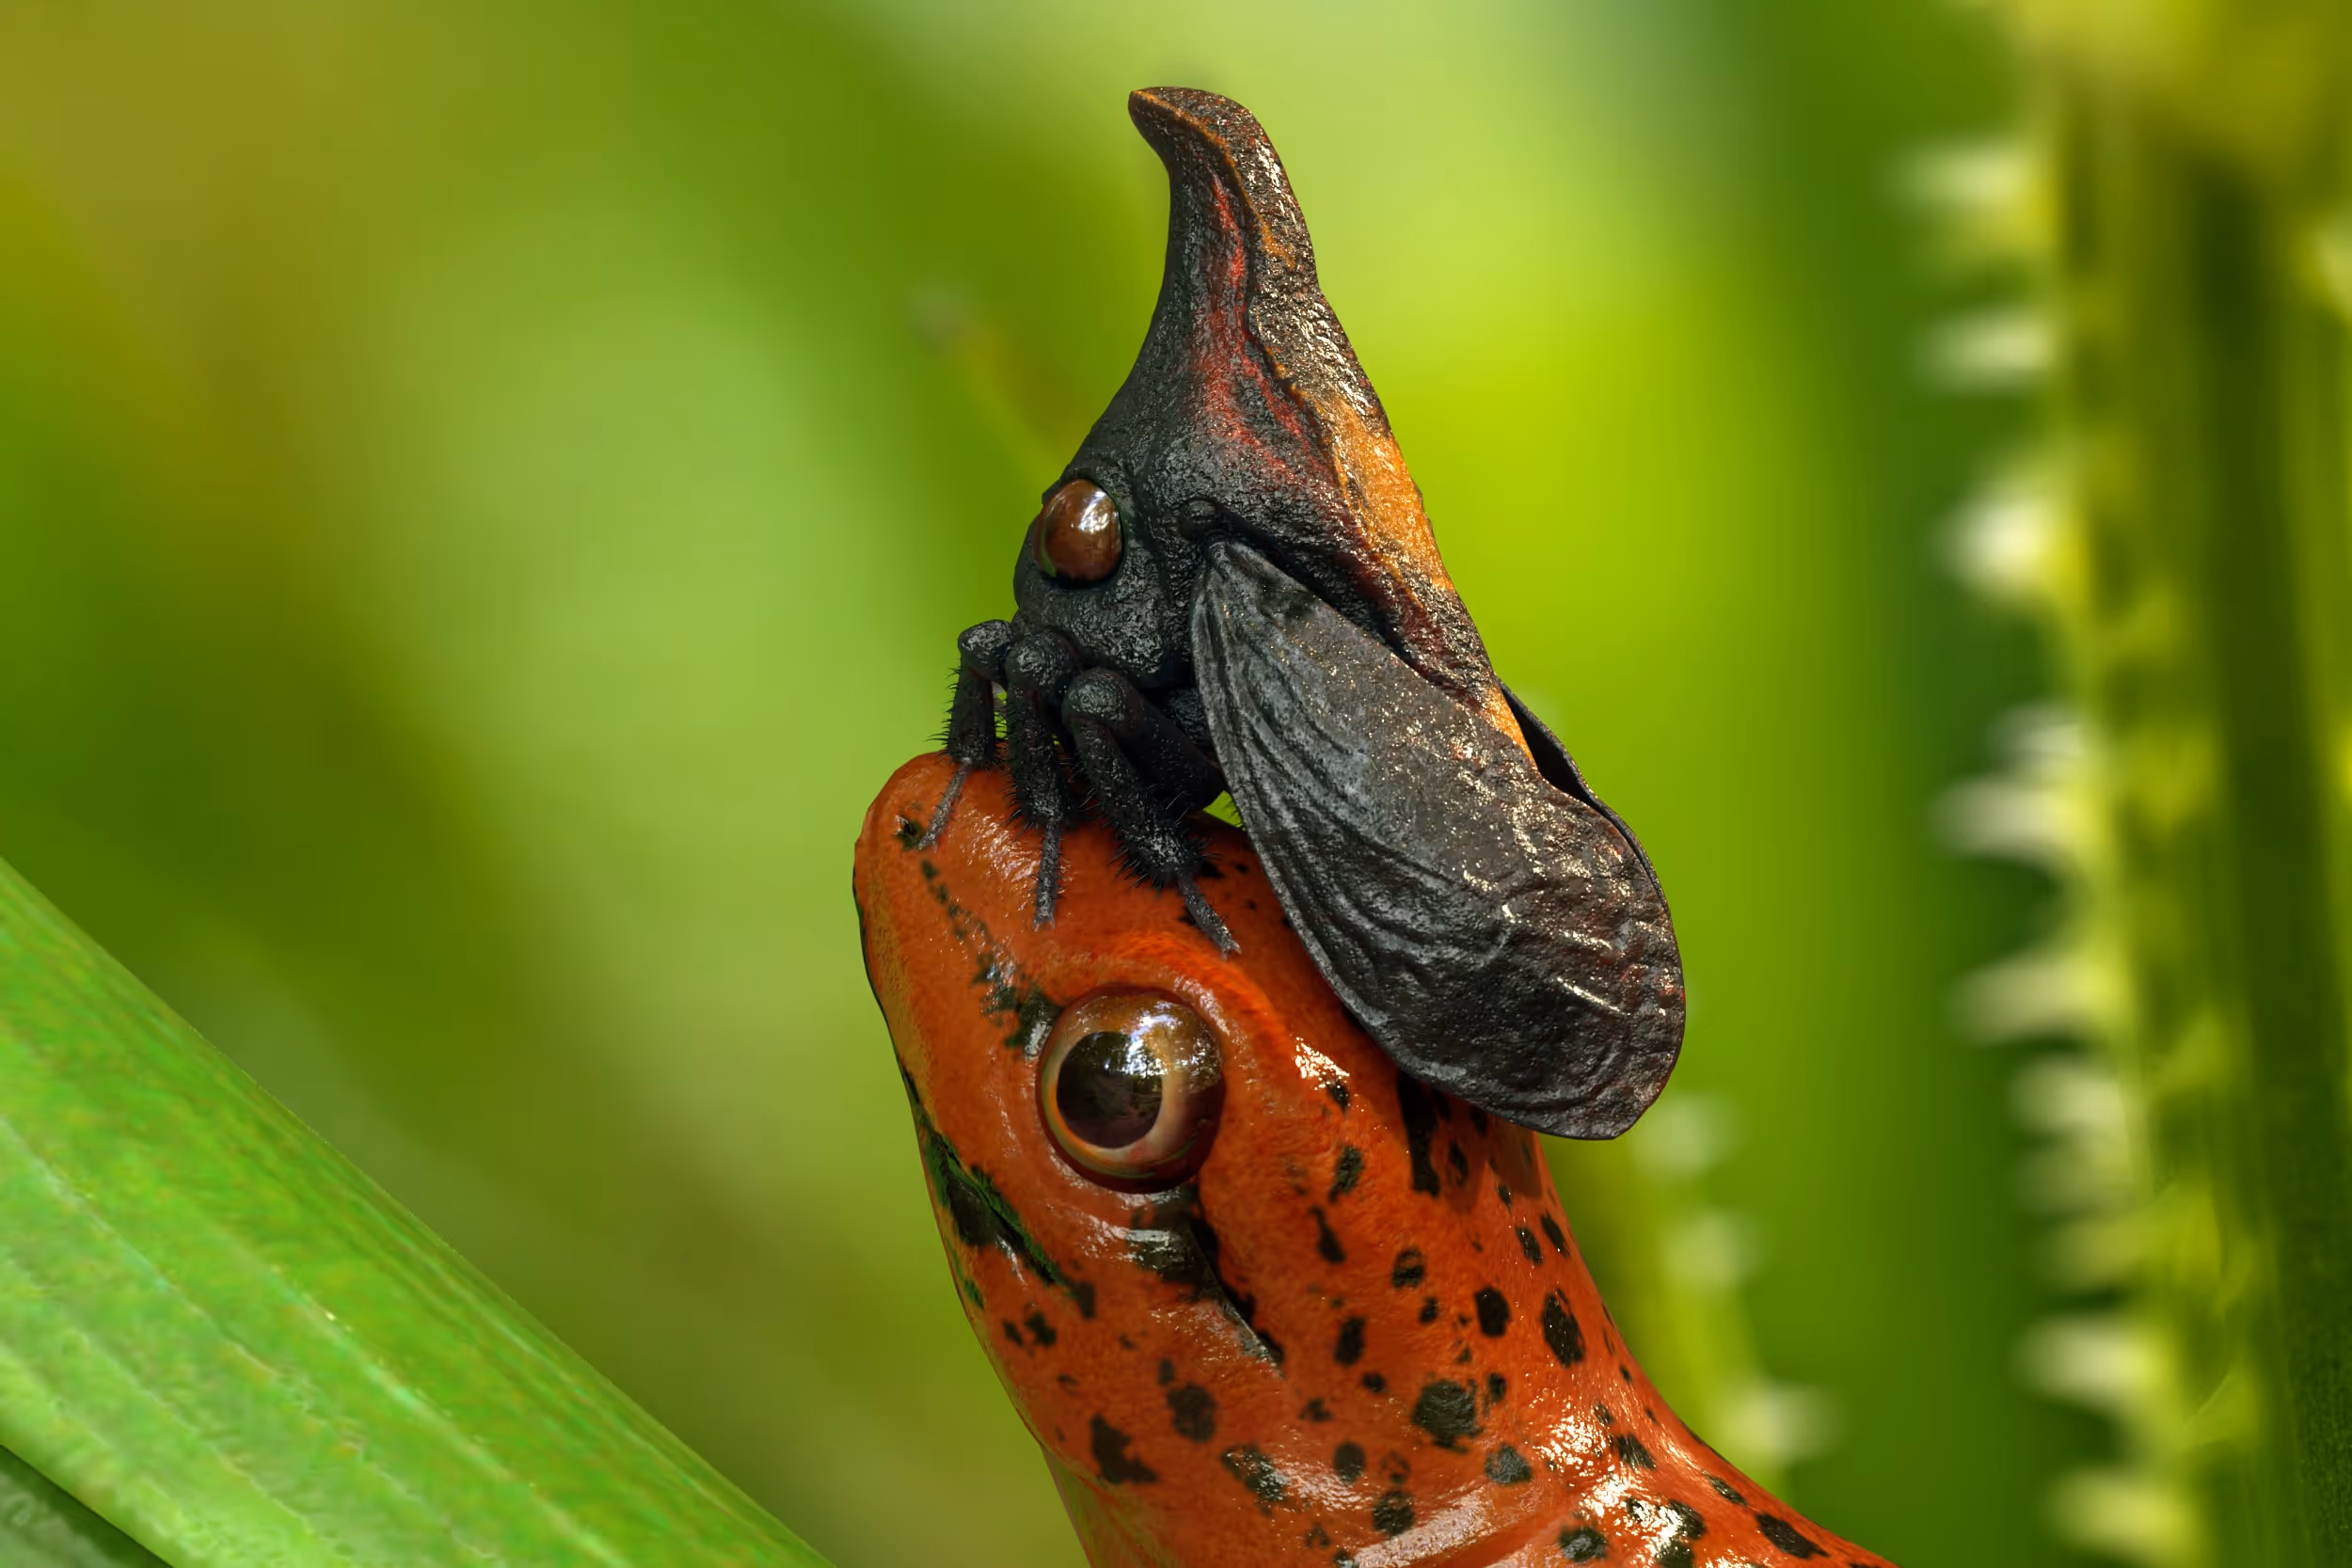
Also here is the reference for the very simple lighting setup of the render. I used an outdoors HRDI as the environment to get the reflections (more visible on the eye of the skink) and positioned the directional light roughly in the same position as the sun from the environment image. That's it! - The Ray tracing takes care of the rest.
You can see more on my ArtStation post here.
Similar process but for 'Hard Surface' models
If you are interested in 'hard surface modeling', you can totally follow the same workflow I explained in this tutorial series. As an example, I used ZBrush and 3D Stager in a similar way to create these robots for my 'Drained' concept:

Here are a couple of time-lapse videos showing the modelling and rendering setup of this project. One thing that is different from the video series in this tutorial, is that I didn't use 3D Painter or 3D Sampler and instead relied entirely on the default materials of 3D Stager to achieve a simple look.
MODELING IN ZBRUSH
RENDERING IN 3D STAGER
Insect Detailing Brushes for ZBrush
This is a pack of 34 sculpting brushes to detail insects in ZBrush. These brushes can also be used to generate a wide range of intricate patterns for all sorts of creature work
Get resource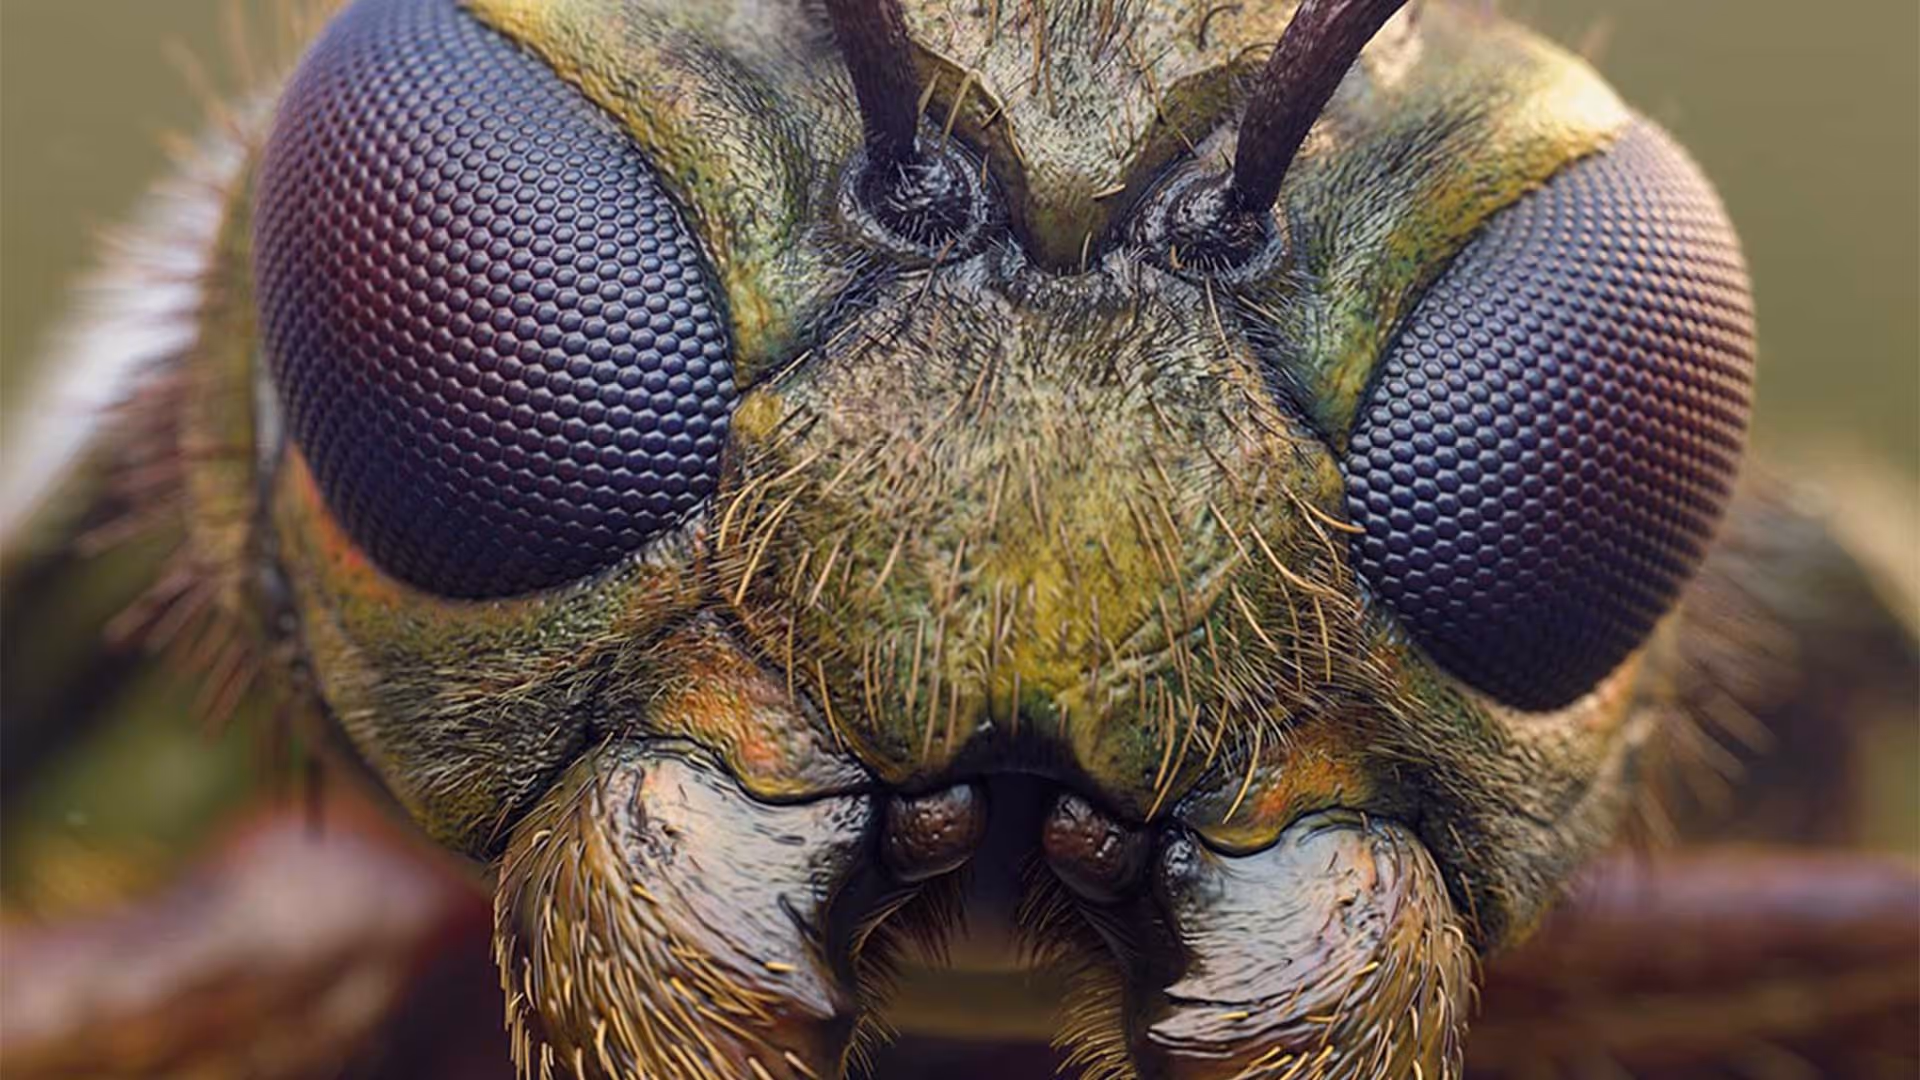


.webp)

