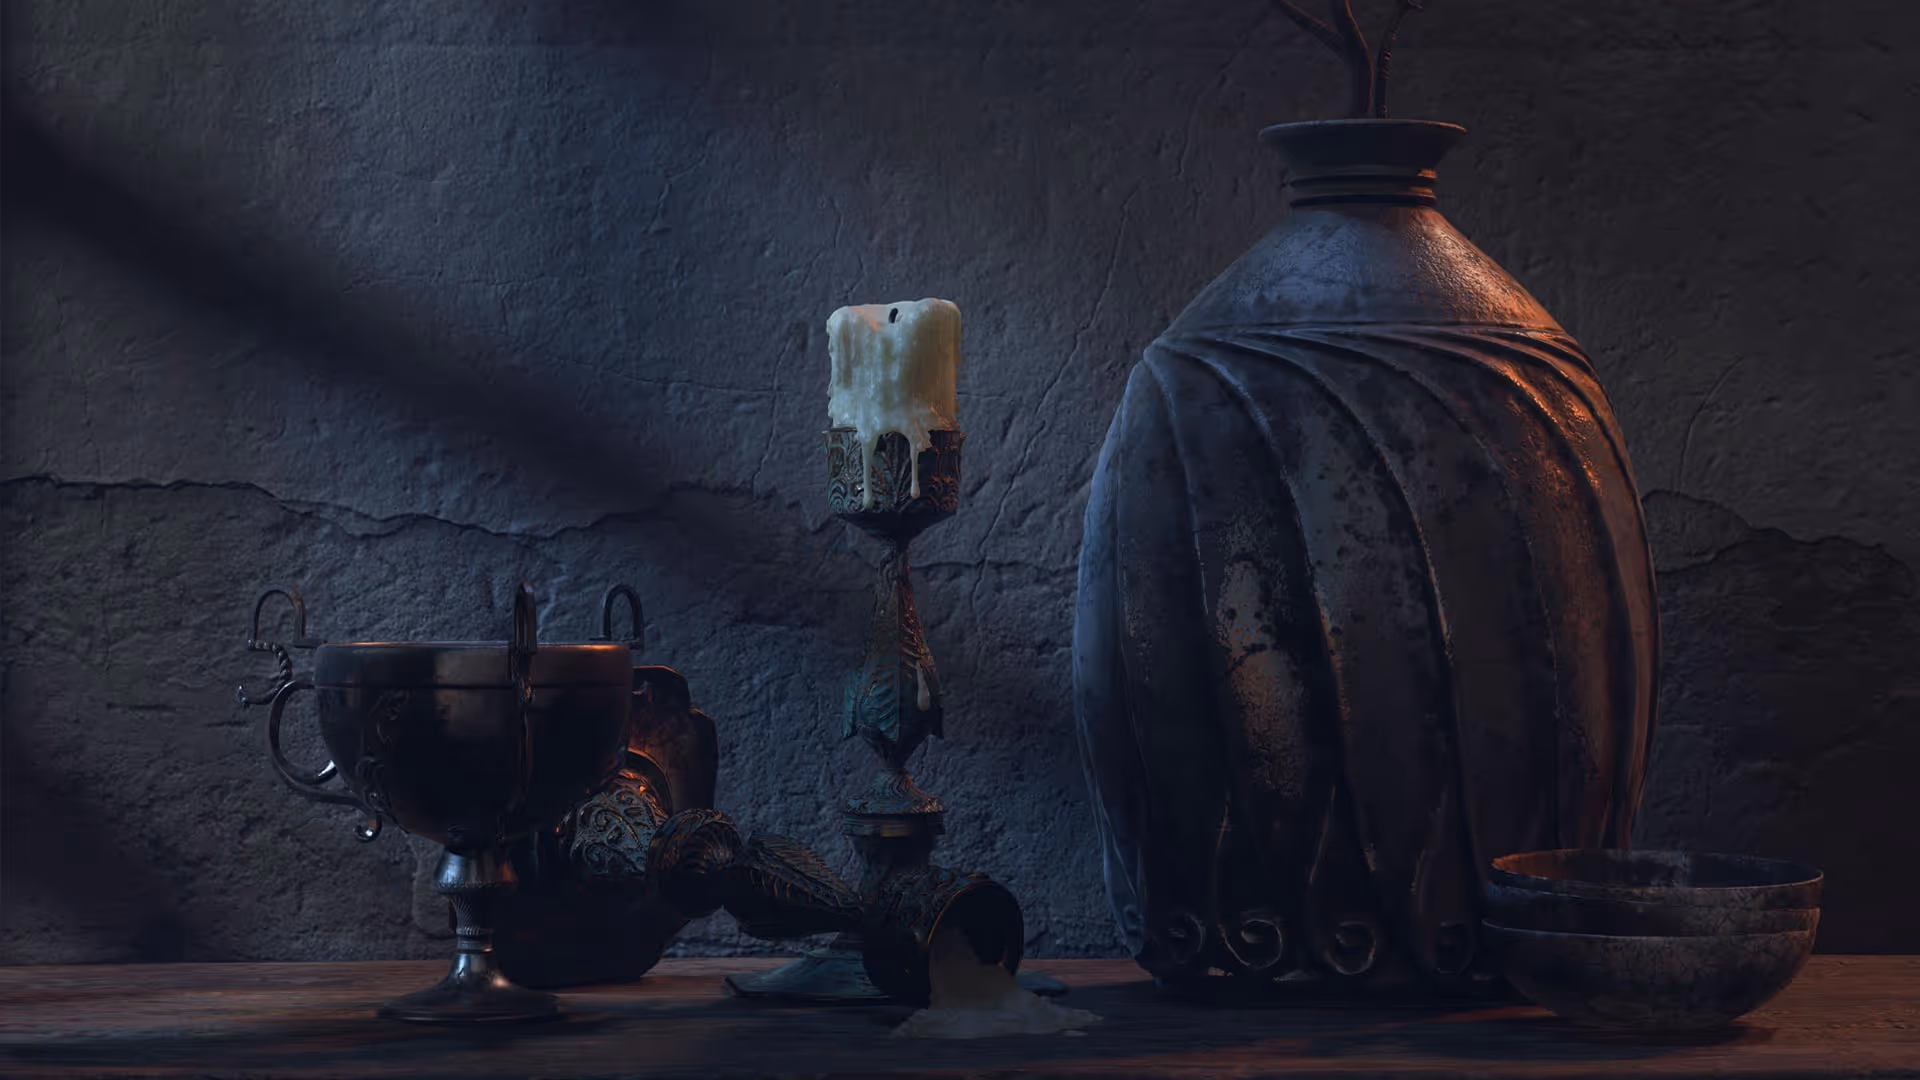


In this 4-part video tutorial, I’ll walk you through the process of creating a few assets based on simple techniques using the Radial Symmetry and the “Elastic” feature in the curve brushes. The tutorial is about the sculpting and modelling of objects that are of a ‘cylindrical nature’, like a cup, a vase, a bowl, a candle holder etc
In a nutshell…
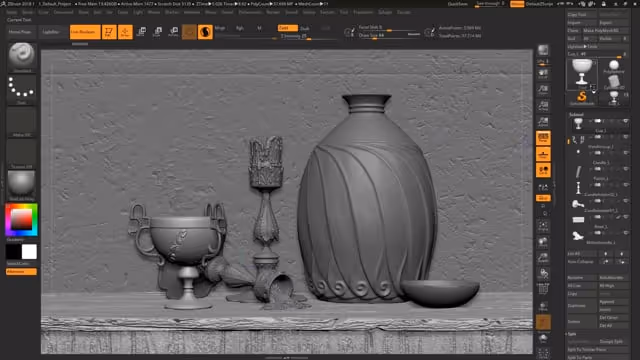
Here is the tutorial in a nutshell. These are the steps reduced to simple bullet points:
Modelling the Cup:
- Load a Plane 3D and turn it into a PolyMesh 3D
- With symmetry enabled and the ZRemesher guide brush, draw a curve right in the middle of the plane (vertically).
- Select the CurveLathe brush, turn OFF symmetry and from the Stroke palette enable ‘Lock Start’, ‘Lock End’ and ‘Elastic’.
- Start pulling the curve you drew on the plane to create the profile of the object.
- Once you are happy with the shape, go to the Subtool subpalette and from the ‘Split’ section click on ‘Split unmasked’ to separate the object from the plane.
Creating the cup handles
- Using the same plane from the previous step, turn on Radial symmetry with a radial count of 3 (or as many handles as you want). Draw the shape of the handle on the plan using the ZRemesher guides.
- Select the CurveMulti Tubes brush and click once on the curve to produce the geometry for the handles.
- Follow the same steps from the cup to split the handles and use any sculpting brushes with Radial Symmetry to edit the shapes.
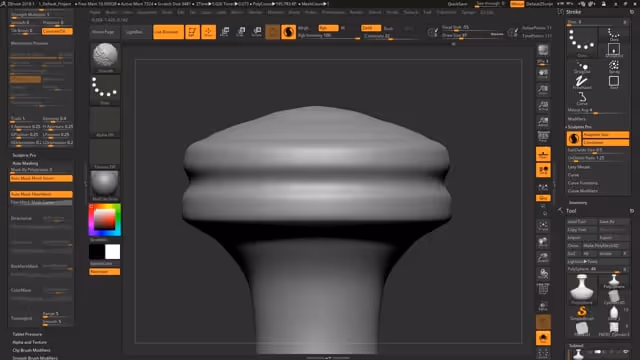
Creating the candle
- Start with a Cylinder (make sure is a PolyMesh 3D), enable the Sculptris Pro switch and start pushing geometry using the Clay brush.
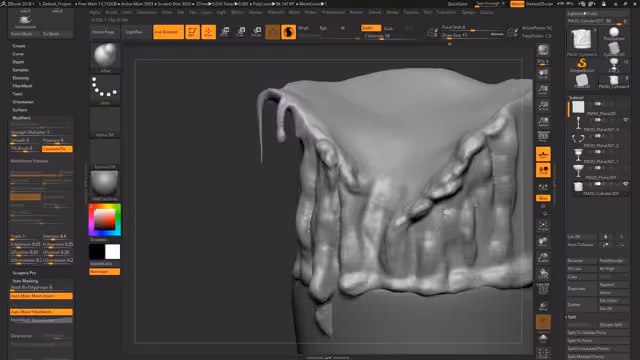
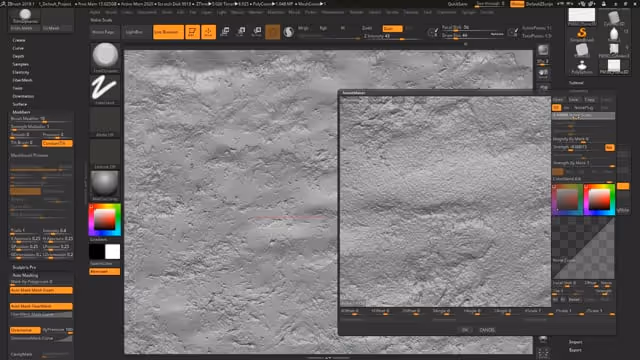
- Once the base is ready, load up the ‘Dripping Wax’ brush (from the resources) and start to detail the candle. Apply the strokes in a vertical fashion from bottom to top (to exploit the real effect of the brush).
- To create the buildup effect of the wax melting and overflowing, load up the ‘Melting Wax’ brush and sculpt details with a more horizontal motion.
Creating the Vase
- Start with a PolySphere. Enable Radial Symmetry with a high number in the ‘Radial count’ slider.
- Select the Move Brush and start pulling and pushing the sphere to set the basic shape of the object.
- Turn on Sculptris Pro and tweak to ‘SubDivide size’ from the Stroke palette > Sculptris Pro section to maintain a good resolution.
- Sculpt your shapes and add the ornaments or details that you want. Once finished, make sure that there is no ‘hole’ in the middle of the vase and use the ‘Slice Curve Brush’ to flatten the top and create two Polygroups.
- Use the selelection tools to isolate the polygroup that you want to keep and delete the rest.
- Store a morph target, Use the Inflate slider from the Deformation palette and increase the size of the mesh.
- From the Morph Targe subpalette, click on the ‘CreateDiff Mesh’ button to produce the thickness of the object.
- Use smooth brush and other sculpting brushes to polish the surface.
AFFILIATE DISCLOSURE: This tutorial may contain affiliate links which means if you decide to make a purchase through a link, I may earn a small commission at no additional cost to you.
Related Resource
Get resource
Download here
Wax brushes
In here, you’ll find a variety of custom brushes for general sculpting purposes. Some brushes will help you achieve specific effects (like the clay brushes) or simply block out volumes and secondary forms a bit faster.
Check it out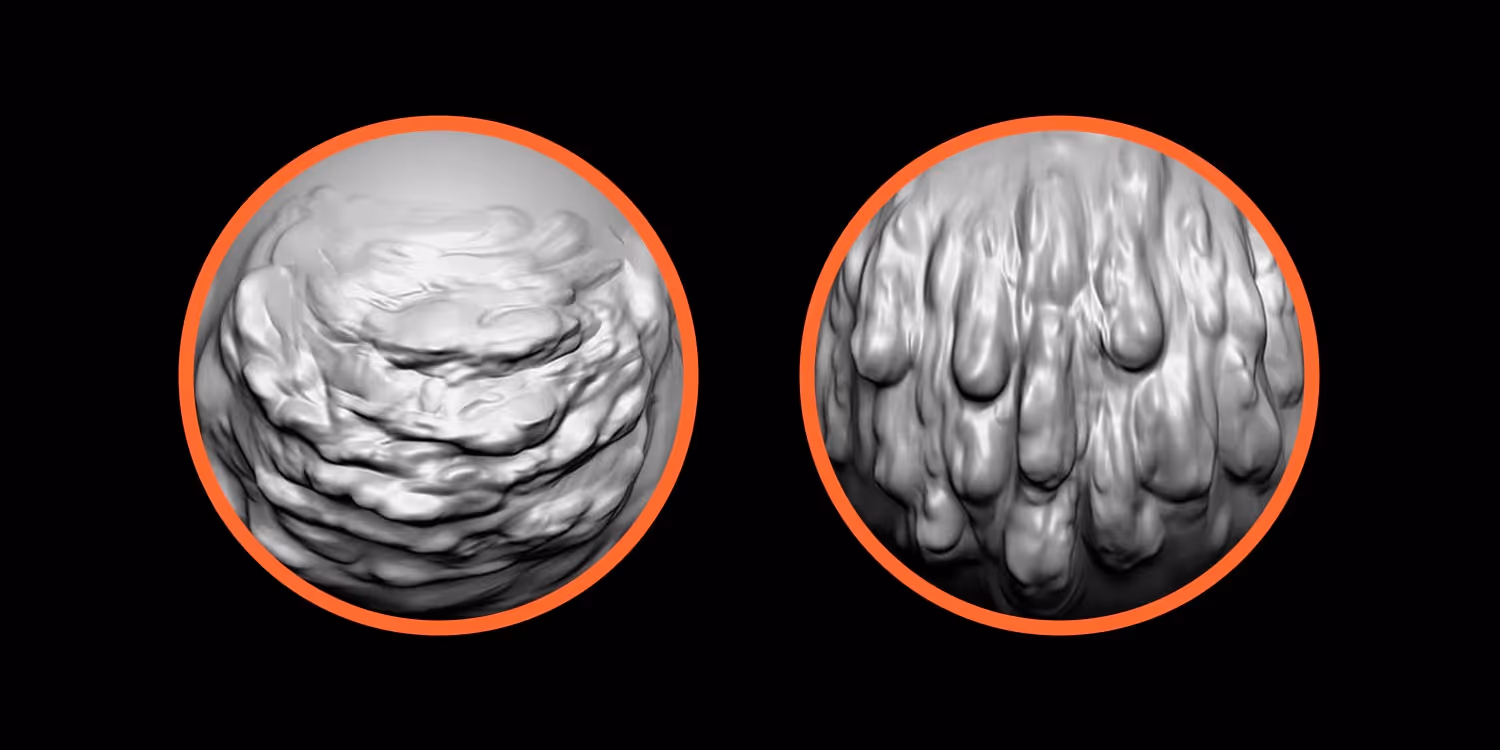
Tutorial Navigation
Tutorial References
Tutorial Software


.webp)

