.webp)


This workflow is especially useful for artists who sculpt high resolution detail in ZBrush but want to texture on a lighter, more efficient mesh in Substance Painter.
Why this workflow
Traditional ZBrush to Substance Painter workflows usually involve several manual steps:
- Exporting low resolution geometry
- Exporting or preparing high resolution geometry for baking
- Making sure UVs are present
- Importing everything into Substance Painter
- Setting up and running the bake manually
The official bridge simplifies that process. It sends the model from inside ZBrush, creates the Painter project, and can run the mesh map bake automatically.
That means less file management and a cleaner handoff between sculpting and texturing.
What you'll need
- ZBrush with the official Substance Painter bridge available in the Texture palette
- Substance Painter installed
- A model with subdivision levels if the plan is to use a low to high baking workflow
- UVs on the low resolution mesh for the most controlled result
Quick Overview: The Steps
- Prepare the model in ZBrush.
- Decide whether UVs need to be done manually or auto unwrap is sufficient.
- Choose what should be sent: all, visible, or active subtools.
- Set smoothing, PolyPaint, and baking options.
- Choose whether Painter should receive the current mesh or a low to high setup.
- Define texture sets by subtool or by polygroup.
- Send the model to Substance Painter.
- Check the imported texture sets and baked mesh maps.
- Rebake at a higher resolution if needed.
- Start texturing with generators, masks, and fill layers.
Step-by-Step
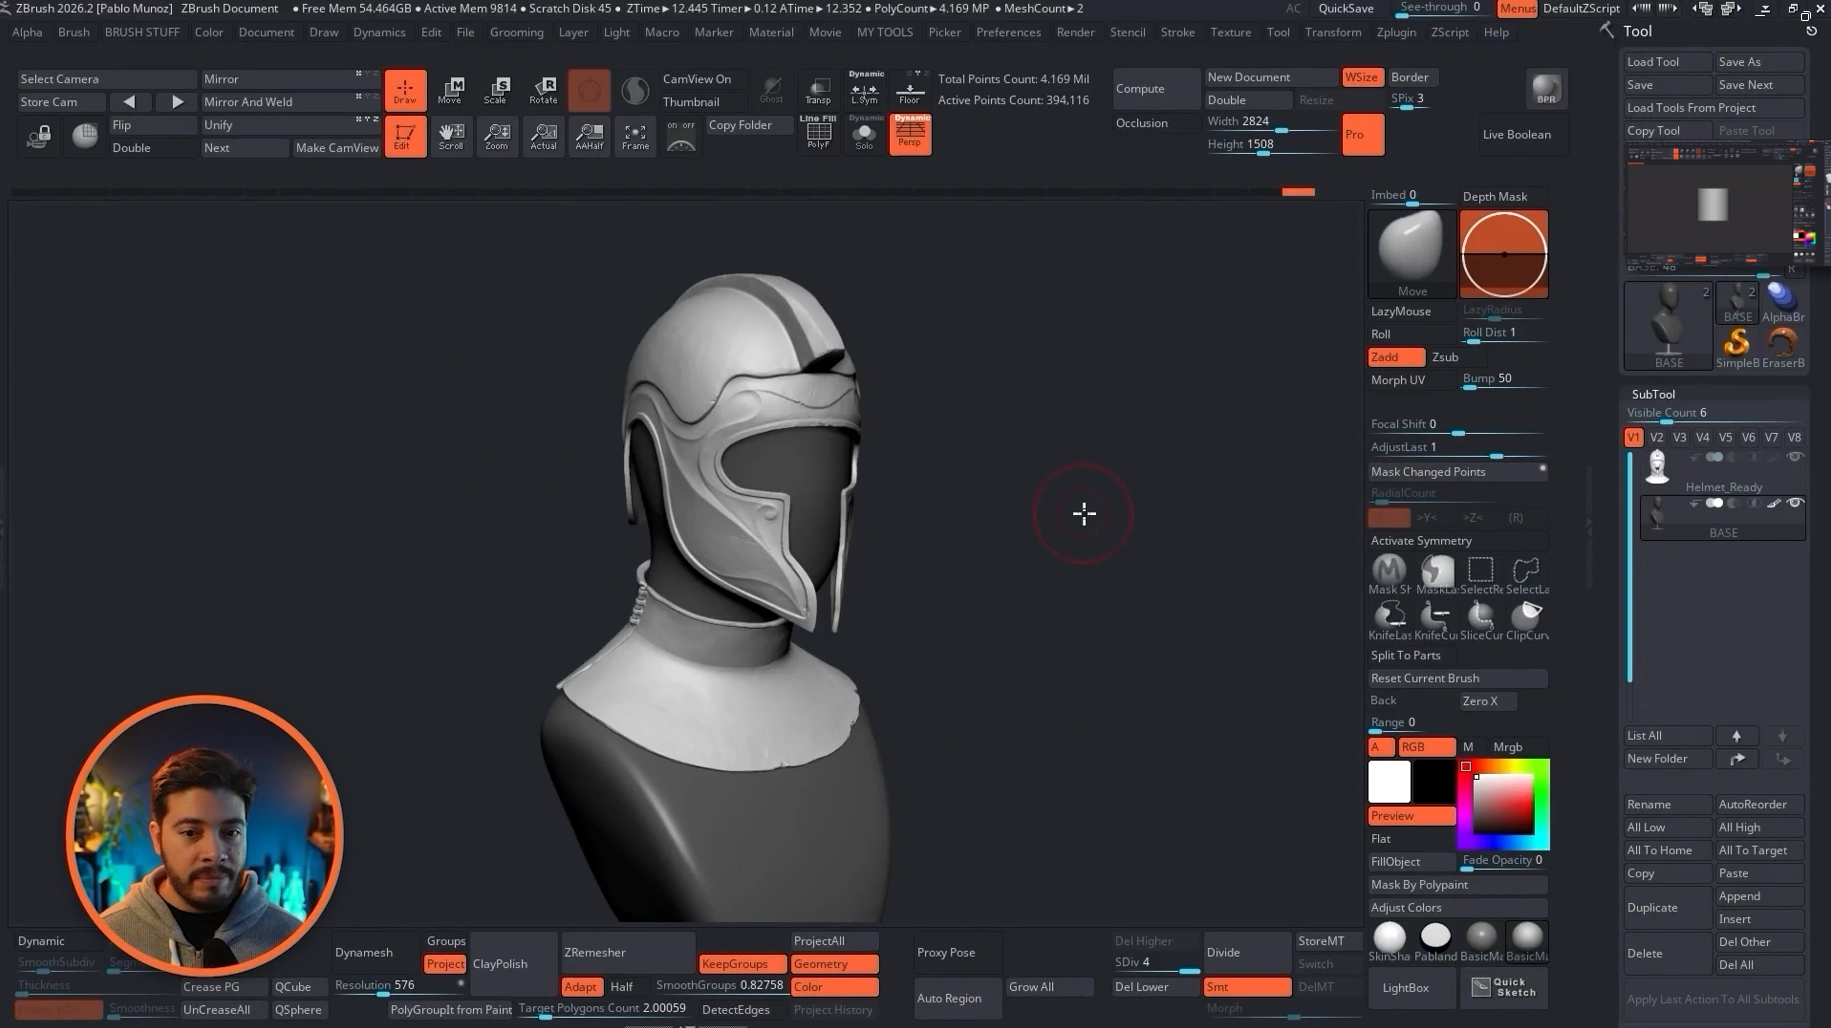
Step 1: Prepare the mesh in ZBrush
The cleanest workflow starts with a model that already has clear low and high subdivision states. In practice, that usually means sculpting detail on the highest subdivision level while keeping a lighter version available at the lowest subdivision level for texturing.
If the asset has multiple subtools, that is fine. The bridge can send more than one piece at a time.
A practical example would be a simple asset split into two subtools, such as a base and a helmet. Each subtool can keep its own subdivision stack, and both can be transferred together.
Step 2: Make sure the low mesh has UVs, or decide if auto unwrap is acceptable
Substance Painter is built around low resolution meshes with UVs, so this is one of the most important checks before sending anything over.
If the low mesh already has UVs, that is usually the best option. It gives far more control over the texturing process and avoids relying on an automatic unwrap.
The bridge also includes a Force UV Auto Unwrap option. This allows a model with missing UVs to be sent anyway, and Painter will generate the unwrap automatically.
That can be useful, but it is best treated as a fallback rather than the main plan.
Best practice:
- Use proper UVs whenever possible
- Use auto unwrap only if speed matters more than control
- Keep auto unwrap enabled only as a safety net if a small forgotten piece has no UVs
If only one tiny element is missing UVs, the auto unwrap option can prevent the transfer from failing while still preserving the existing UVs on the rest of the model.
Step 3: Choose what gets sent to Painter
The bridge gives three scope options:
- All sends every subtool, even hidden ones
- Visible sends only subtools that are currently visible
- Active sends only the selected subtool
For most cases, Visible is the safest choice. It prevents hidden helper meshes, backups, or test parts from ending up in the Painter project.
Use cases:
- Choose All if the scene is already clean and every subtool should transfer
- Choose Visible if only specific parts should go across
- Choose Active for quick testing on a single part

Step 4: Decide whether PolyPaint should be sent
If the model contains PolyPaint, the bridge can convert that vertex color information into a texture map during transfer.
Painter will then read it as a regular color texture, which can be useful as a starting base for texturing.
There is one important condition here: UVs are needed if PolyPaint is being converted into a texture map.
If there is no PolyPaint on the asset, this option can simply remain off.
Step 5: Enable smooth normals for a cleaner low poly display
Smooth normals help the low resolution mesh appear cleaner inside Substance Painter. Without them, the model can look visibly faceted, especially on rounded forms.
This is a small setting, but it has a big impact on how readable the transferred mesh feels in the viewport.
Step 6: Choose the right baking mode
One of the strongest features of the bridge is auto bake. When enabled, Painter creates the project and bakes the required mesh maps automatically.
For most artists, this should be the default choice because it removes one of the most repetitive parts of the pipeline.
The bridge also allows different geometry transfer modes:
- Current sends the mesh at its current subdivision level
- Low and High sends the lowest subdivision for painting and uses the highest subdivision for baking detail
Low and High is usually the ideal setup. It gives the best balance between performance and detail transfer:
- The low mesh stays efficient inside Painter
- The high sculpt detail is still captured through baked mesh maps
Current can be useful if the mesh is already at a resolution that Painter can handle comfortably, but it is generally less efficient than a proper low to high workflow.

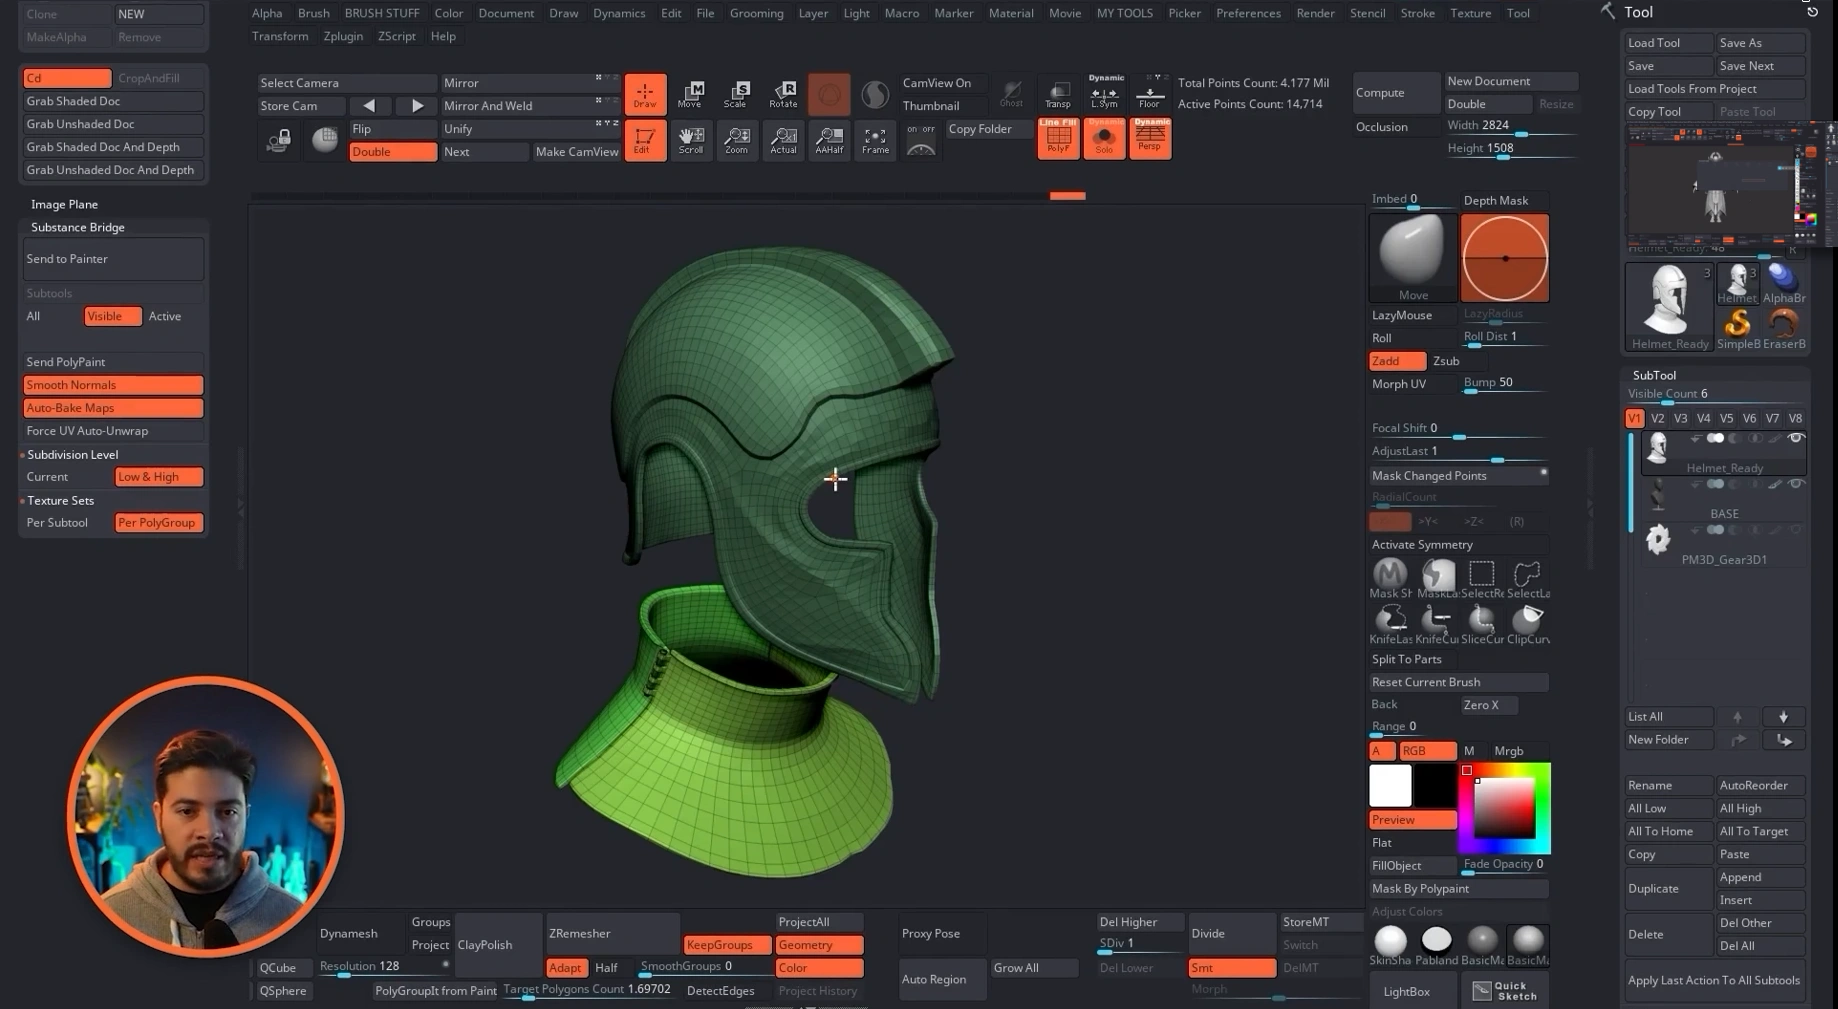
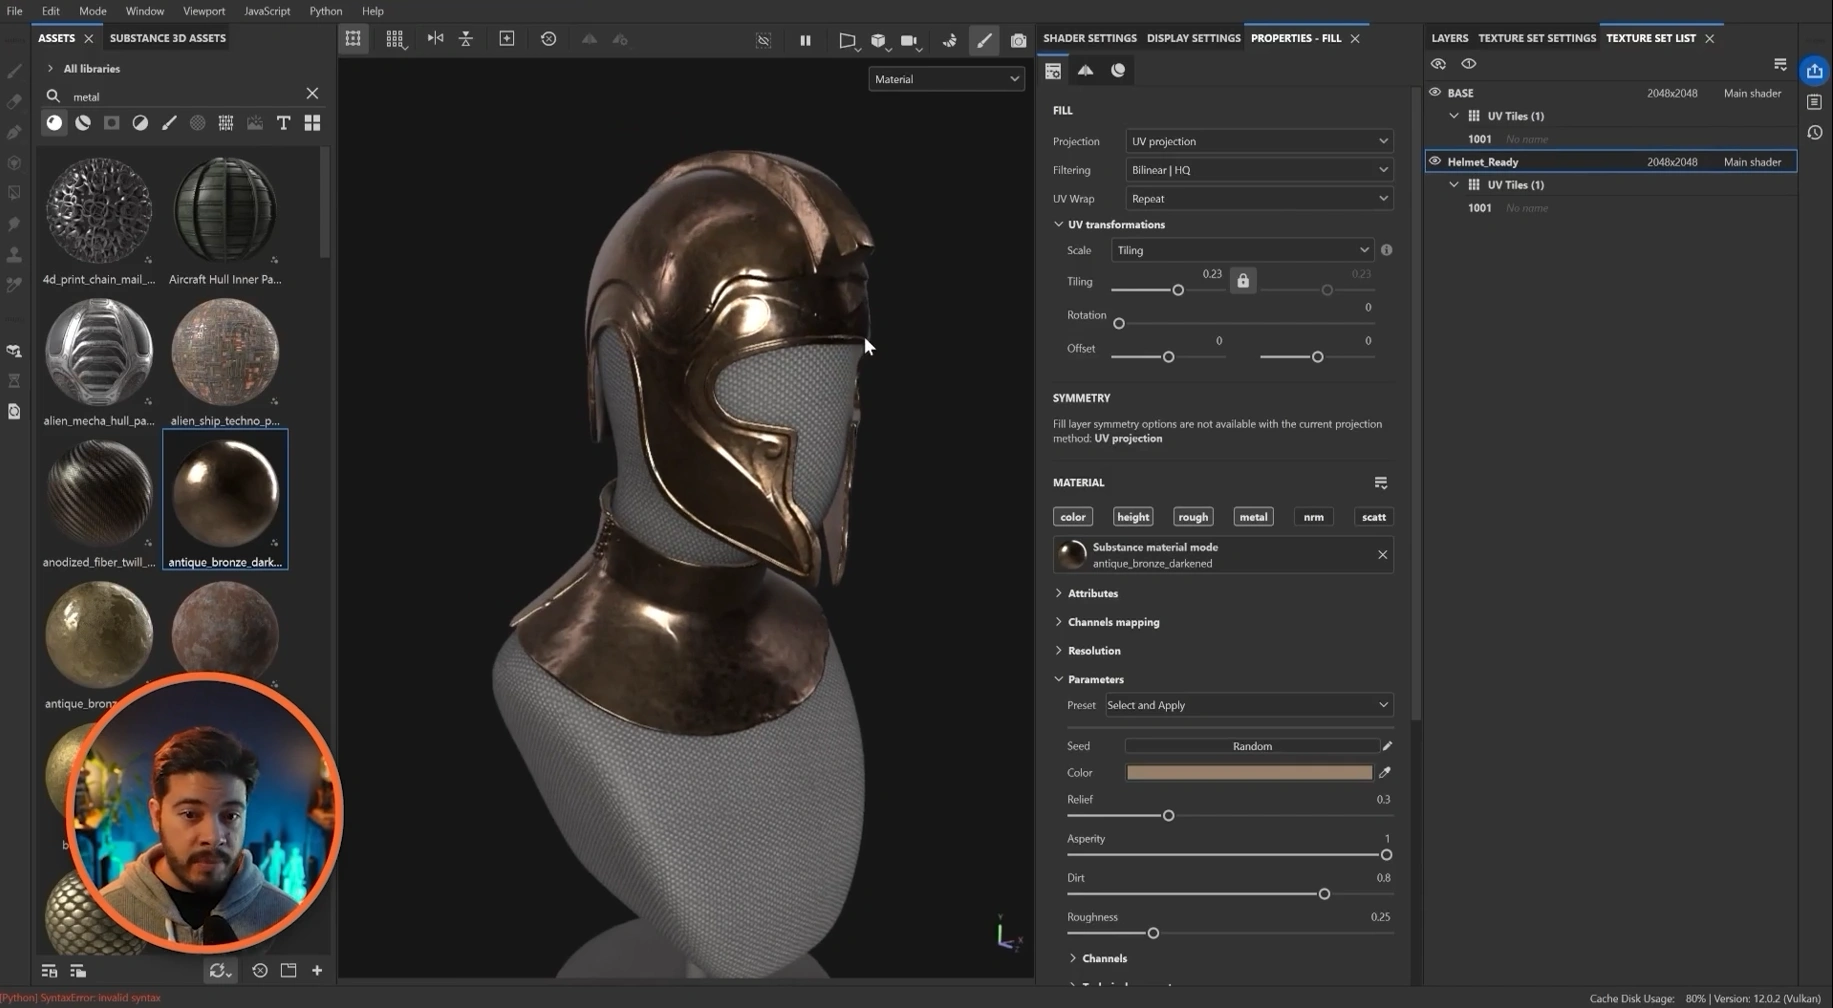
Step 7: Set up texture sets correctly
This is one of the most important decisions in the bridge, because it determines how the model is split inside Substance Painter.
The two main options are:
- Per Subtool
- Per Polygroup
Per Subtool creates one texture set for each subtool. If the model has a base and a helmet, Painter will create two texture sets.
This is simple, predictable, and usually the best option for most assets.
Per Polygroup creates texture sets based on polygroups instead. That gives more granular control and can be useful when different parts of a single subtool need independent texture resolution or separate material treatment.
That approach can feel somewhat similar to splitting a model into separate texture regions for more control, though it is not the same thing as a formal UDIM workflow.
A good rule of thumb:
- Use Per Subtool for simple, clean projects
- Use Per Polygroup when a single subtool needs multiple independent texture sets
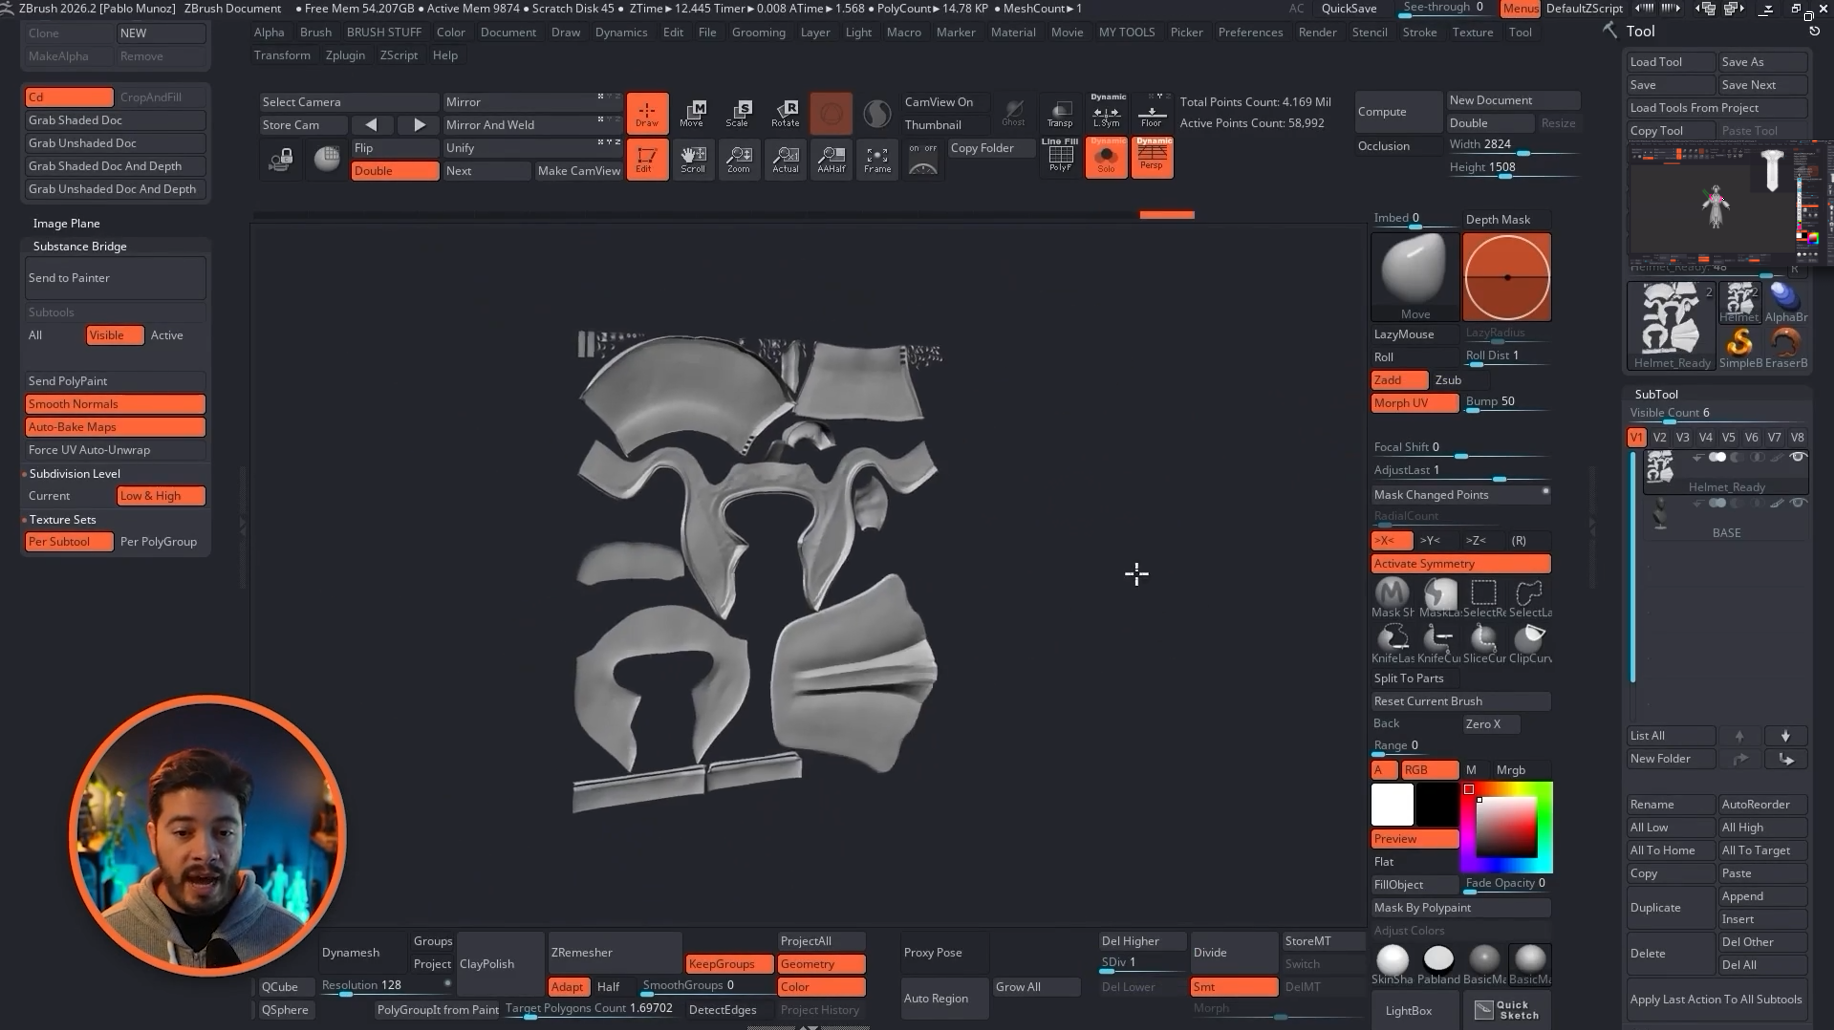
Step 8: Send the asset to Substance Painter
Once the options are set, the transfer itself is straightforward. Clicking Send to Painter launches the process and handles the rest automatically.
If Substance Painter is not already open, it should open as part of the process. The bridge then:
- Transfers the low mesh
- Exports the high mesh as a temporary reference for baking when low and high is selected
- Creates the Painter project
- Bakes the mesh maps if auto bake is enabled
This is the main reason the workflow feels so streamlined. There is no need to manually export separate low and high files just to start texturing.
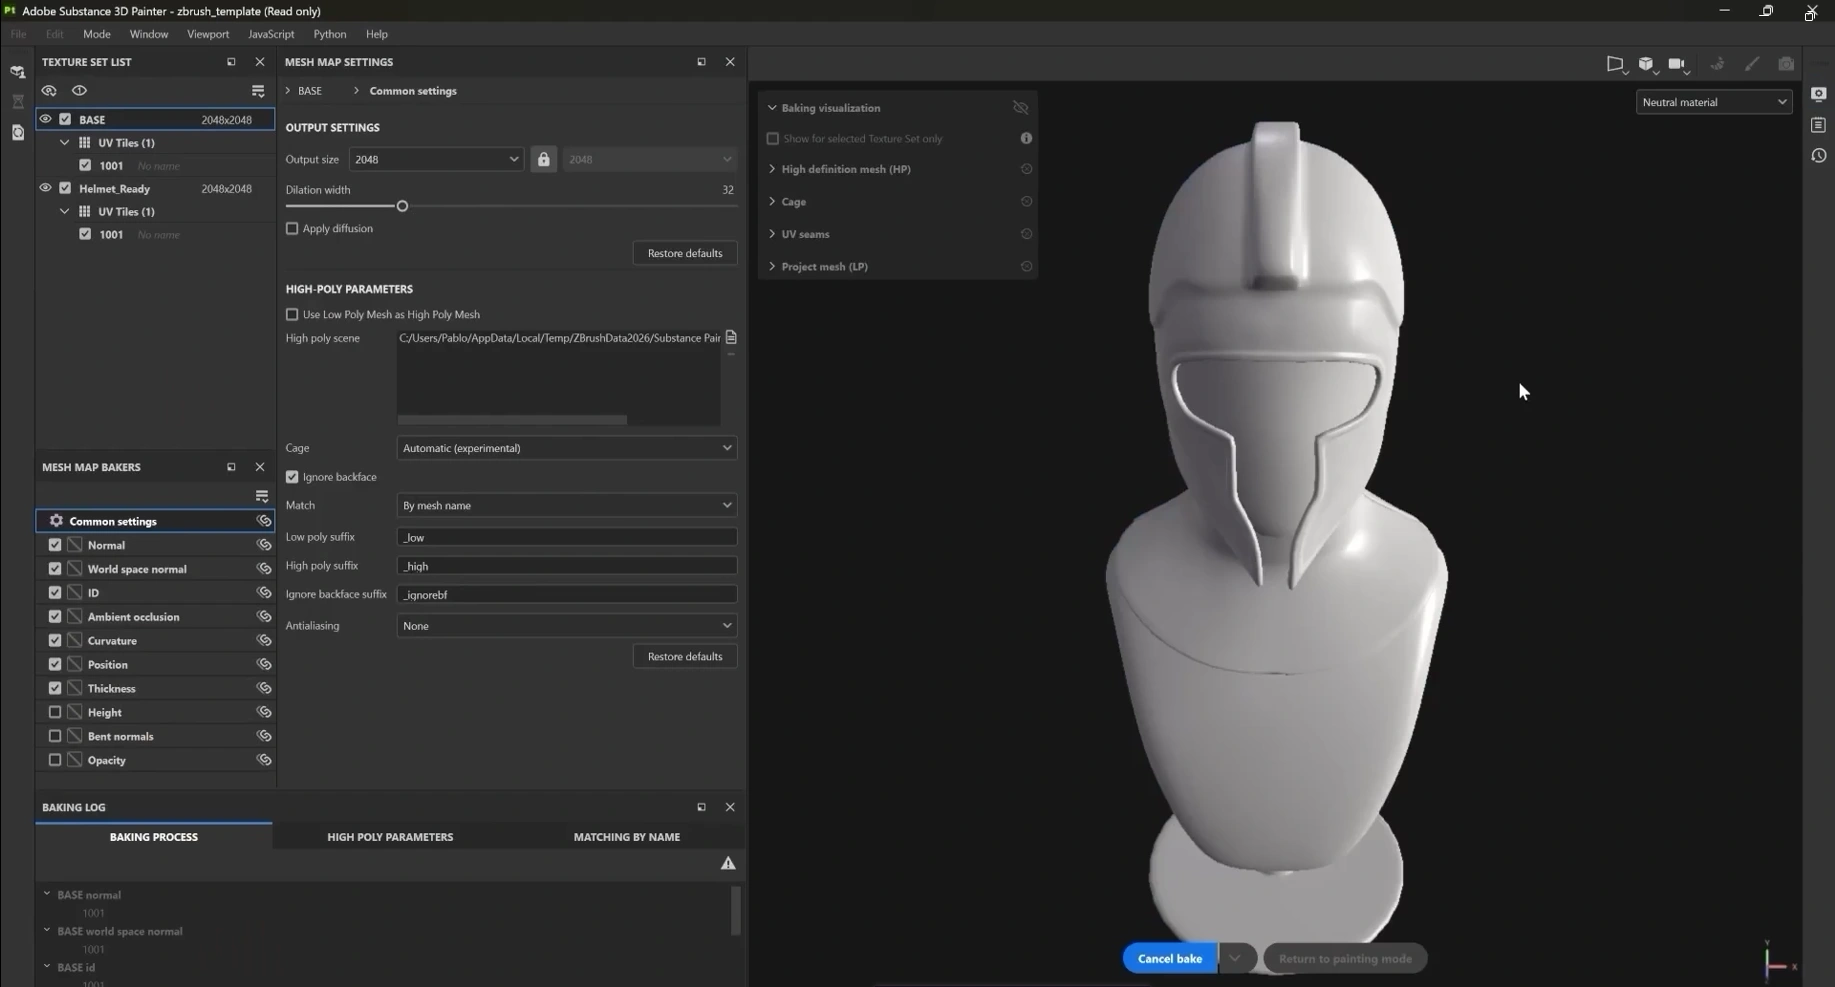
Step 9: Verify the result inside Substance Painter
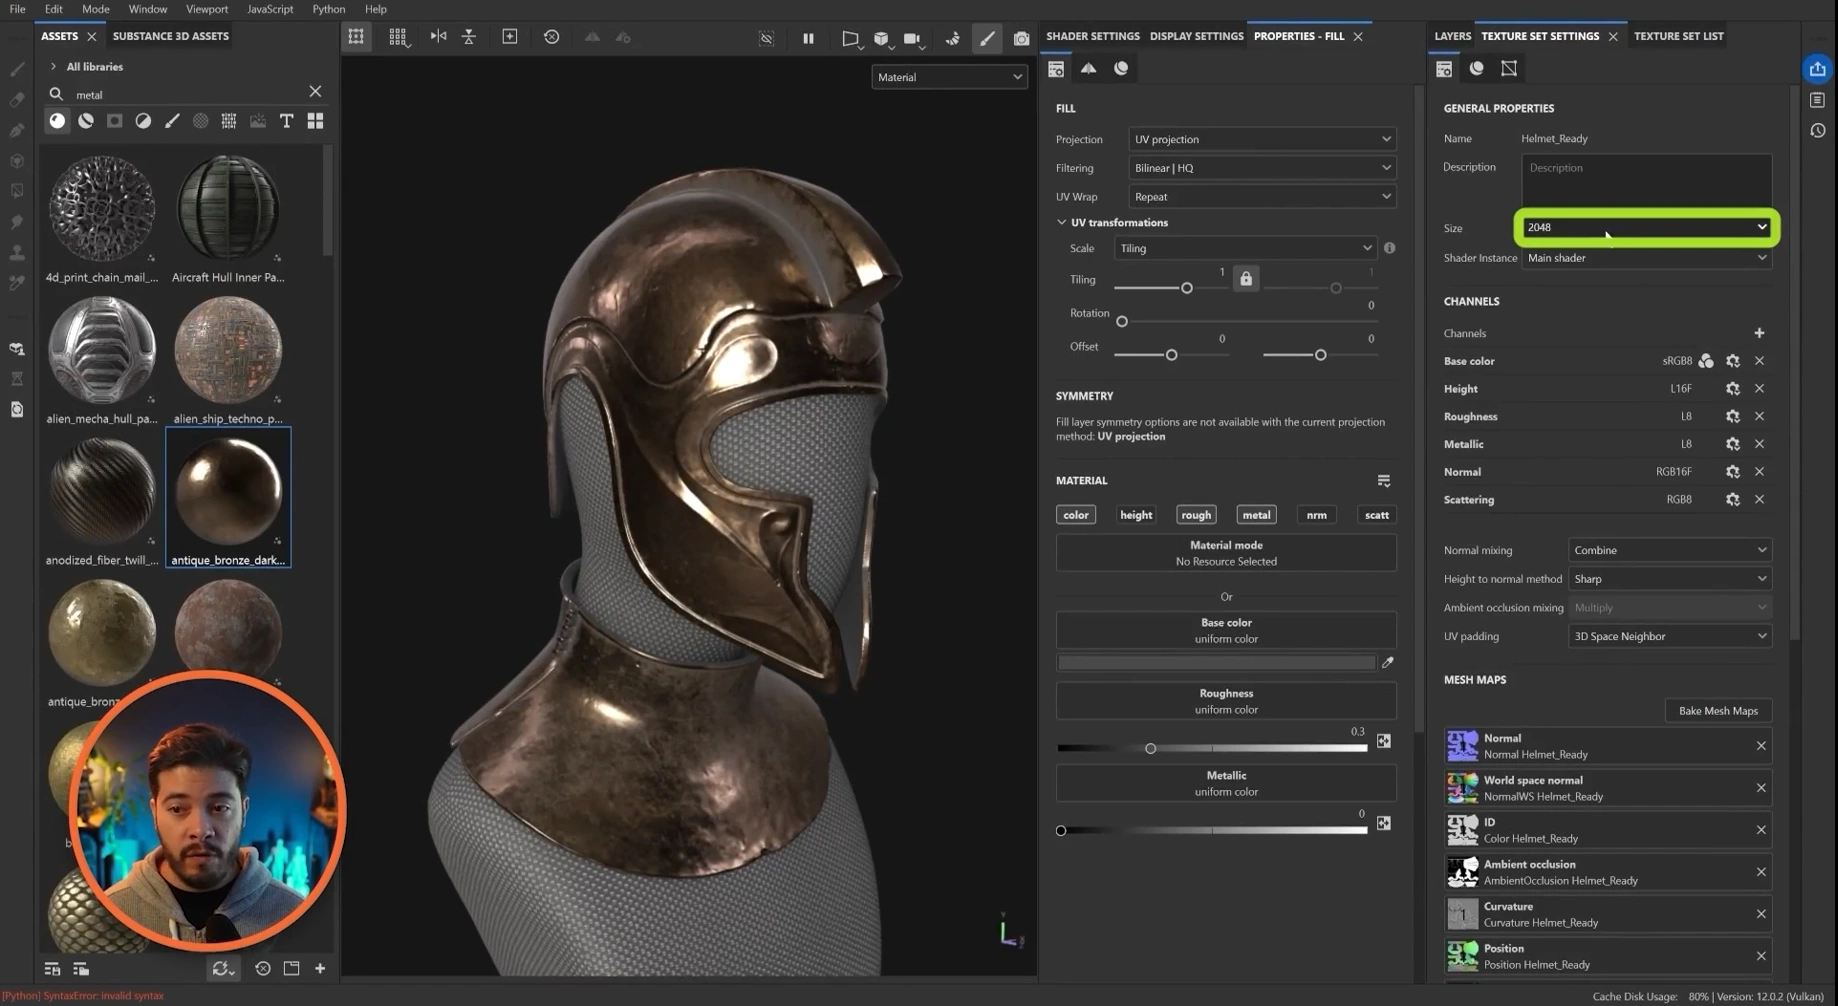
Once the project opens, the first thing to check is the Texture Set List.
If the asset was sent per subtool, each subtool should appear as its own texture set. If it was sent per polygroup, each chosen region should appear separately.
At this point, the model should already be ready for texturing.
The bake produced the mesh maps required by many of Painter's smart masks and generators, including effects driven by:
- Curvature
- Ambient occlusion
- World space normal
- Position
That means it is possible to start using non-destructive generators right away for dust, dirt, edge wear, and similar effects.
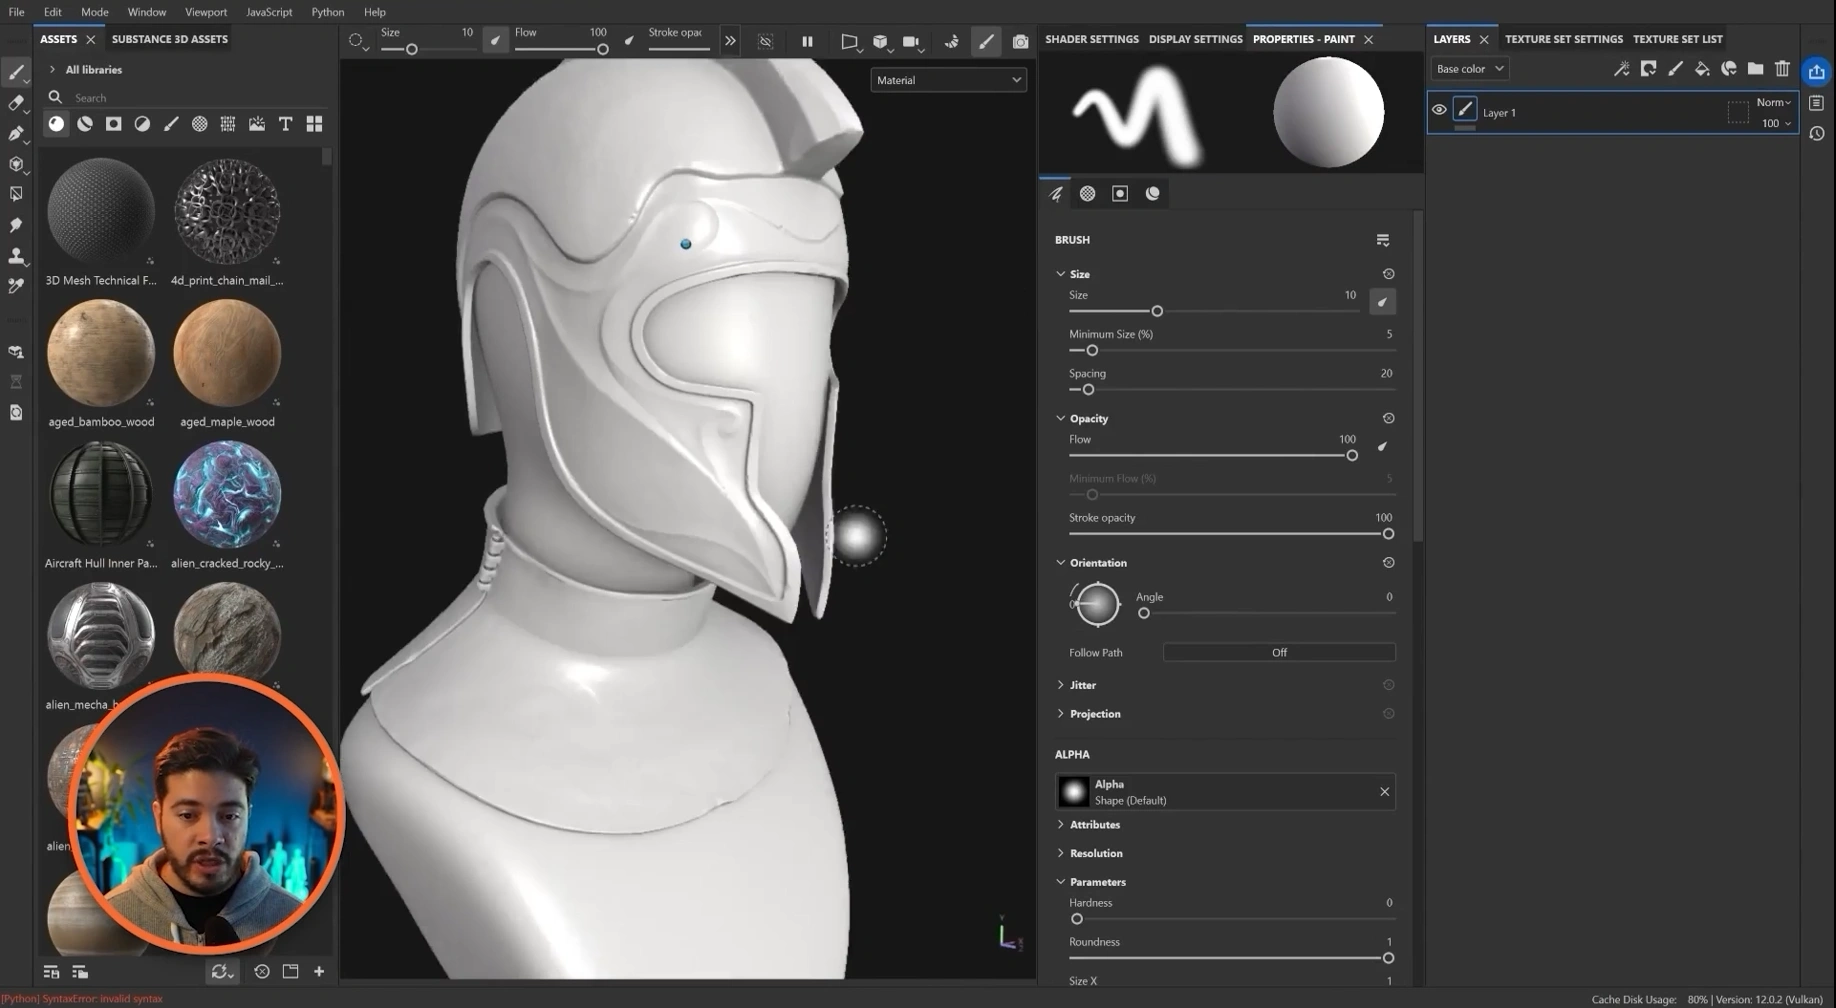
Step 10: Test the bake with a simple material or generator
A quick way to confirm that everything worked is to drop in a material, then add a fill layer and mask it with a generator such as dirt.
If the generator reacts properly to crevices, edges, and surface direction, the mesh maps are doing their job.
This matters because the bridge is not just transferring geometry. It is also preparing the technical foundation Painter uses for procedural texturing.
Once that base is in place, a typical workflow becomes very efficient:
- Add fill layers
- Use masks to isolate effects
- Control variation in color, roughness, and metalness
- Adjust everything non-destructively
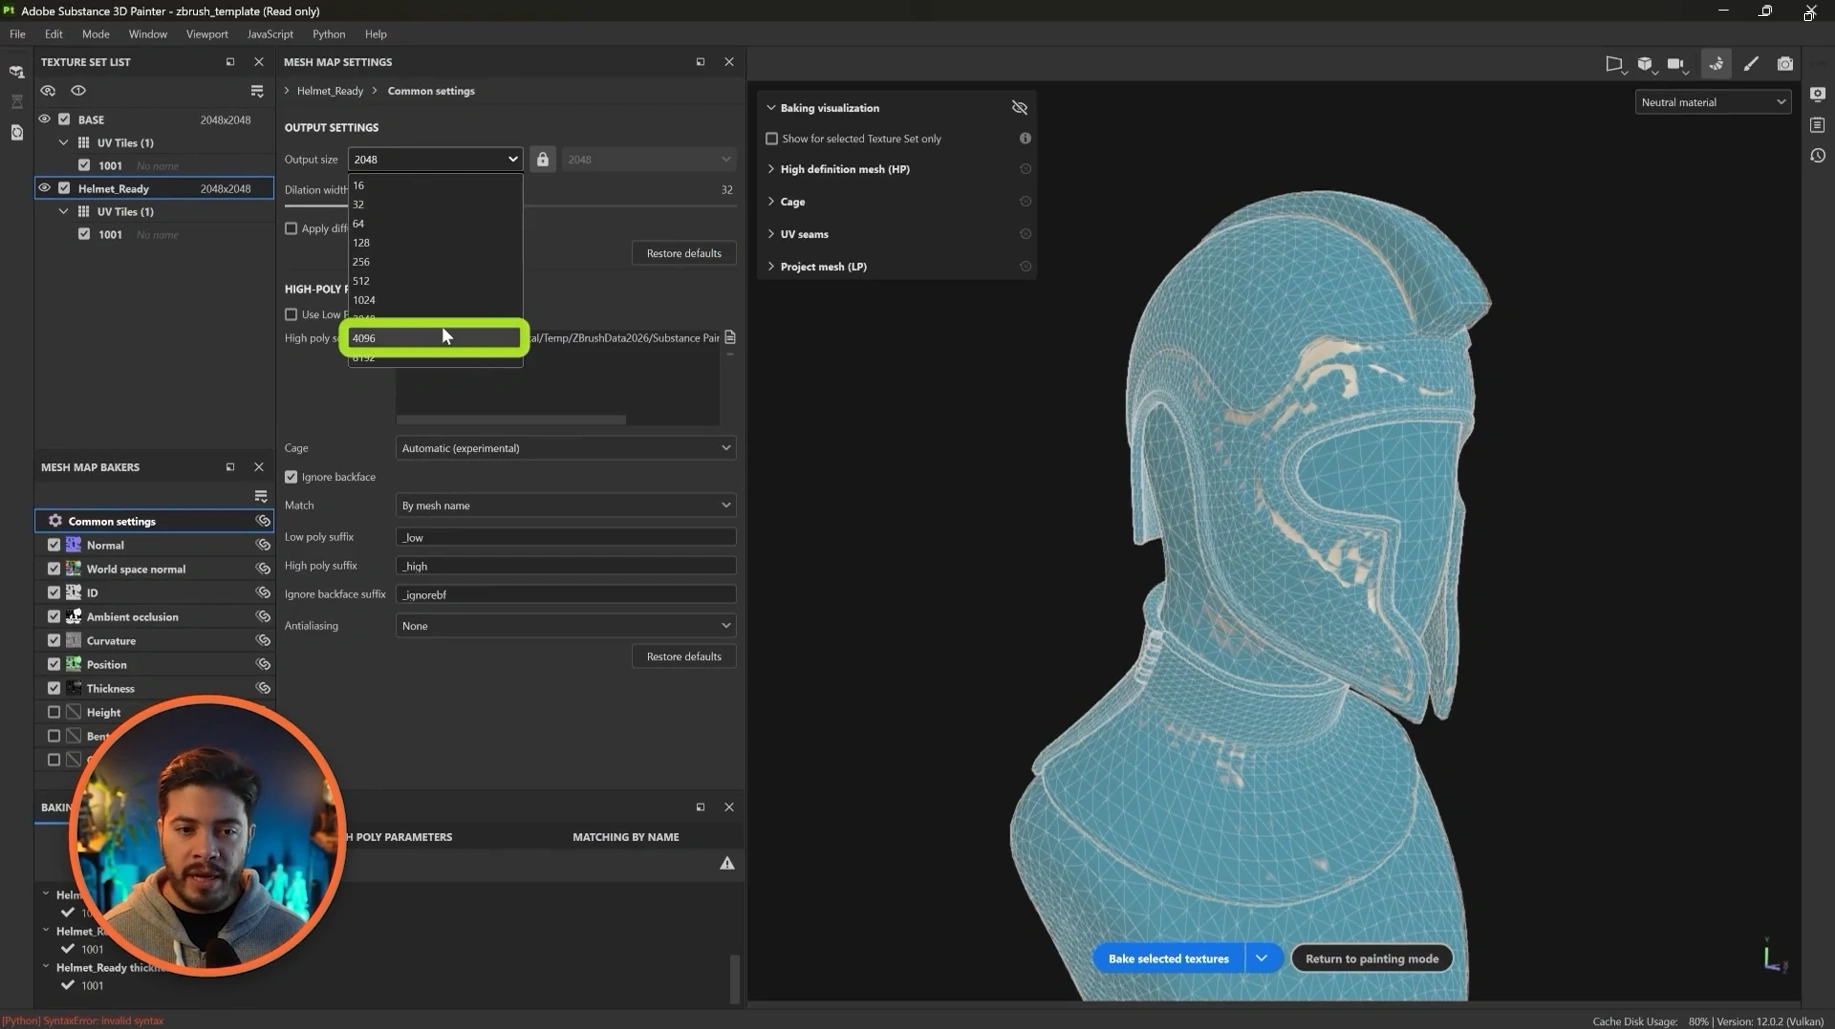
Step 11: Rebake mesh maps at a higher resolution if needed
The automatic bake does a solid job for getting started, but there are cases where higher mesh map resolution is worth it.
Inside Substance Painter, the Bake Mesh Maps panel can be opened to rebake and refine the result.
By default, the mesh map bake may be set to 2048. If a project needs more detail, this can be increased to 4K and baked again.
Not every map benefits equally from higher resolution. In general, higher accuracy matters more for maps such as:
- Normal
- Curvature
Other maps, such as position or world space normal, may not always need such high resolution depending on the asset.
Step 12: Understand how the bridge handles the high poly mesh
One detail that helps explain why this workflow is efficient is the way the high resolution mesh is used.
When Low and High is selected, Painter does not need to keep the full sculpt loaded as active scene geometry. Instead, the high resolution version is exported as a temporary file and referenced during the bake.
The practical benefit is simple:
- Painter stays lighter because it is working on the low mesh
- The sculpt detail is still captured in the baked maps
That is the core advantage of the workflow. The detailed sculpt remains valuable without forcing Painter to display millions of polygons as the main editable mesh.
Step 13: Match document resolution to the project needs
Mesh map resolution and document texture resolution are related, but they are not the same setting.
After rebaking mesh maps at a higher resolution, the texture set resolution may still remain at 2048. If the project needs more texture detail, the document resolution can then be increased separately to 4K.
This distinction is easy to miss.
Keep this in mind:
- Bake resolution controls the quality of baked supporting maps
- Document resolution controls the working and export resolution of the texture set
Common misconceptions
You must have UVs before using the bridge
Not strictly. The bridge can auto unwrap if needed. But for best control, proper UVs are still the better option.
The bridge only works for one mesh at a time
No. It can send multiple subtools, and those can become separate texture sets depending on the chosen settings.
Painter receives the full high poly sculpt as the working mesh
Not in the ideal low to high workflow. The low mesh is what Painter works with directly, while the high mesh is referenced for baking.
Automatic baking removes the need to understand mesh maps
It removes manual setup, but it is still important to understand what the baked maps do, especially when troubleshooting generators or rebaking at higher quality.
Troubleshooting & quick tips
- If the project fails to load: check whether one of the transferred pieces is missing UVs. Enabling auto unwrap can help in that specific case.
- If the model looks faceted in Painter: make sure smooth normals are enabled before sending.
- If expected detail is missing: confirm that low and high was selected and that subdivision levels exist on the ZBrush subtools.
- If generators do not behave correctly: inspect the baked mesh maps and rebake them if necessary.
- If texture sets are split incorrectly: review whether the bridge was set to per subtool or per polygroup.
- If the project looks too soft: increase the mesh map bake resolution and, if needed, also raise the document resolution separately.
- If only one part should transfer: use the active option rather than hiding and showing multiple subtools manually.
When to use Per Subtool vs Per Polygroup
This is one of the most practical decisions in the entire setup, so it is worth making it explicit.
Choose Per Subtool if:
- The asset is already logically separated into parts
- Each major part should have its own texture set
- The goal is a simple, easy to manage Painter project
Choose Per Polygroup if:
- A single subtool needs more than one texture set
- Different regions require separate resolution control
- The model is organized with meaningful polygroups already
For most artists starting with the bridge, Per Subtool is the cleaner first choice.
Summary… why this works
This workflow works because it keeps each application focused on what it does best. ZBrush handles sculpting and subdivision based detail. Substance Painter handles texturing and procedural masking. The bridge removes the repetitive transfer work between the two.
The result is a faster pipeline with fewer manual exports, automatic baking, and a clean low to high setup that preserves sculpted detail without making the Painter project unnecessarily heavy.
Final thought
If the goal is to move from sculpting to texturing with as little friction as possible, the official ZBrush to Substance Painter bridge is a very practical addition to the pipeline. Set up the low mesh properly, keep UVs under control, choose the right texture set strategy, and let the automatic bake handle the handoff. Once the project opens in Painter, the asset is already in a strong position for fast, non-destructive texturing.
Scales Brushes Pack
This is a collection of brushes designed to simplify the sculpting and detailing process for scales, scutes and reptilian skin patterns in ZBrush, allowing you to quickly establish convincing scale structures and surface variation on your meshes. The brushes in this pack are built to give you control over the placement and rhythm of scales, whether you're creating tight reptile skin, large armored plates, or subtle textured surfaces.
Get resource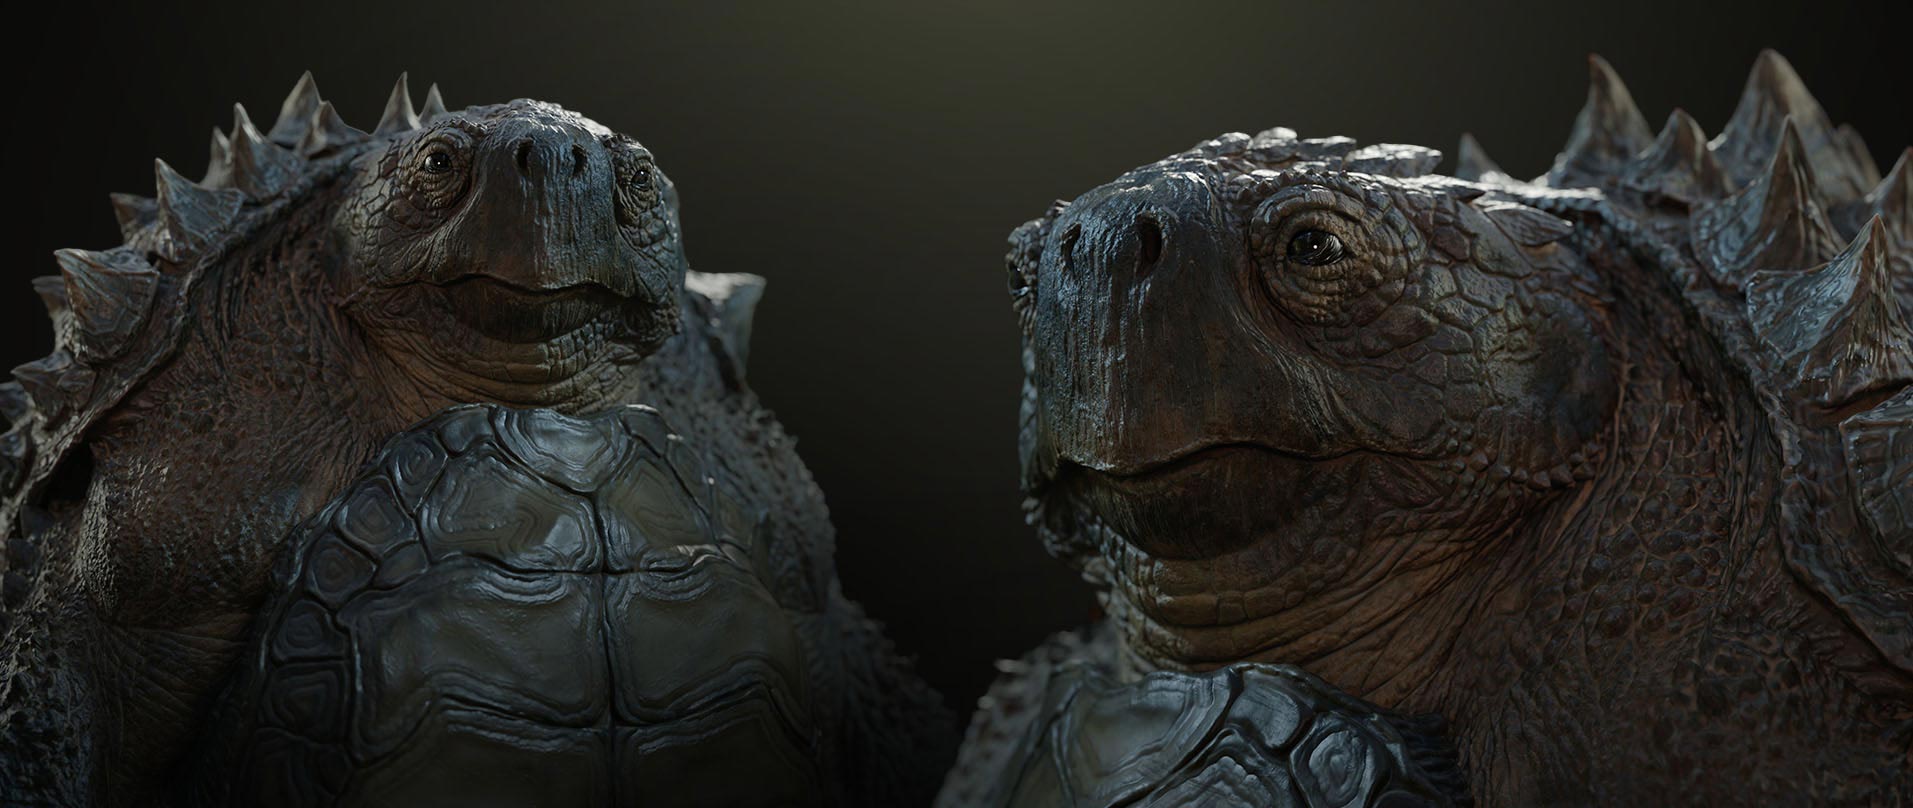
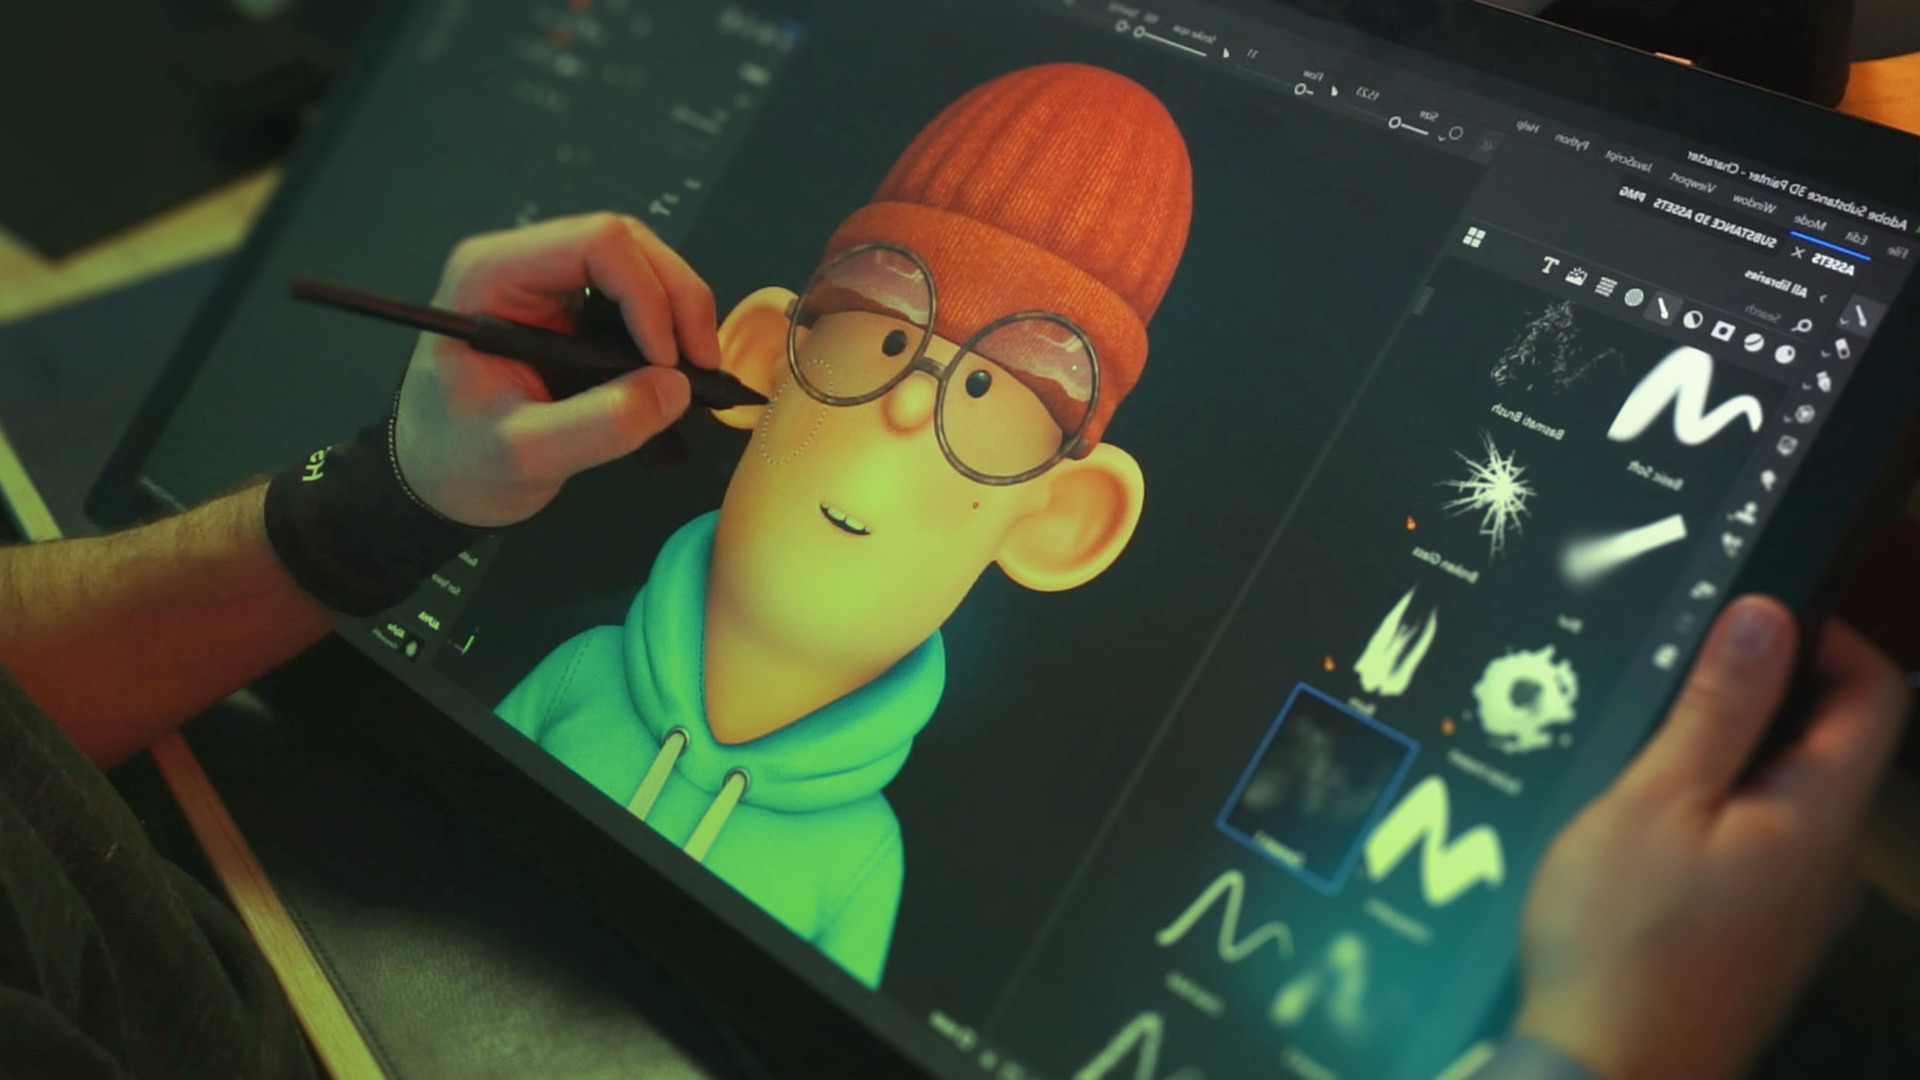
If You Know Photoshop, You Already Know 3D Painter
If you already know Photoshop, learning Substance 3D Painter might be easier than you think. In this video, I’ll show how things like layers, masks, and adjustment layers work similarly in 3D texturing.
Check it out