


Why this workflow
When you want quick concepts, portfolio shots or fast iterations, complicated texturing and baking slow you down. Polypaint keeps the focus on design… colour relationships, contrast and silhouette… without the overhead of UVs and maps. It’s ideal for pushing ideas quickly and producing clean, presentable results directly from ZBrush.
What you'll need
- ZBrush with Polypaint applied
- AO plugin (built into ZBrush’s ZPlugin palette)
- A renderer that supports vertex color (Marmoset Toolbag, Blender, most modern engines)
- Optional: a compositor (Photoshop, Affinity, etc.) for final tweaks
Quick overview: The steps
- Set a neutral material and fill the mesh with a base colour.
- Generate an AO mask and use the inverted mask to add depth.
- Introduce subtle accent colours and treat the character as a composition.
- Experiment freely… Polypaint is non‑destructive and fast to undo.
- Paint the eyes early to anchor contrast and saturation decisions.
- Reuse your palette across the model to keep things cohesive.
- Do a final pass: highlights, value tweaks and blending.
- Export as FBX/OBJ (vertex color) and render in your tool of choice.
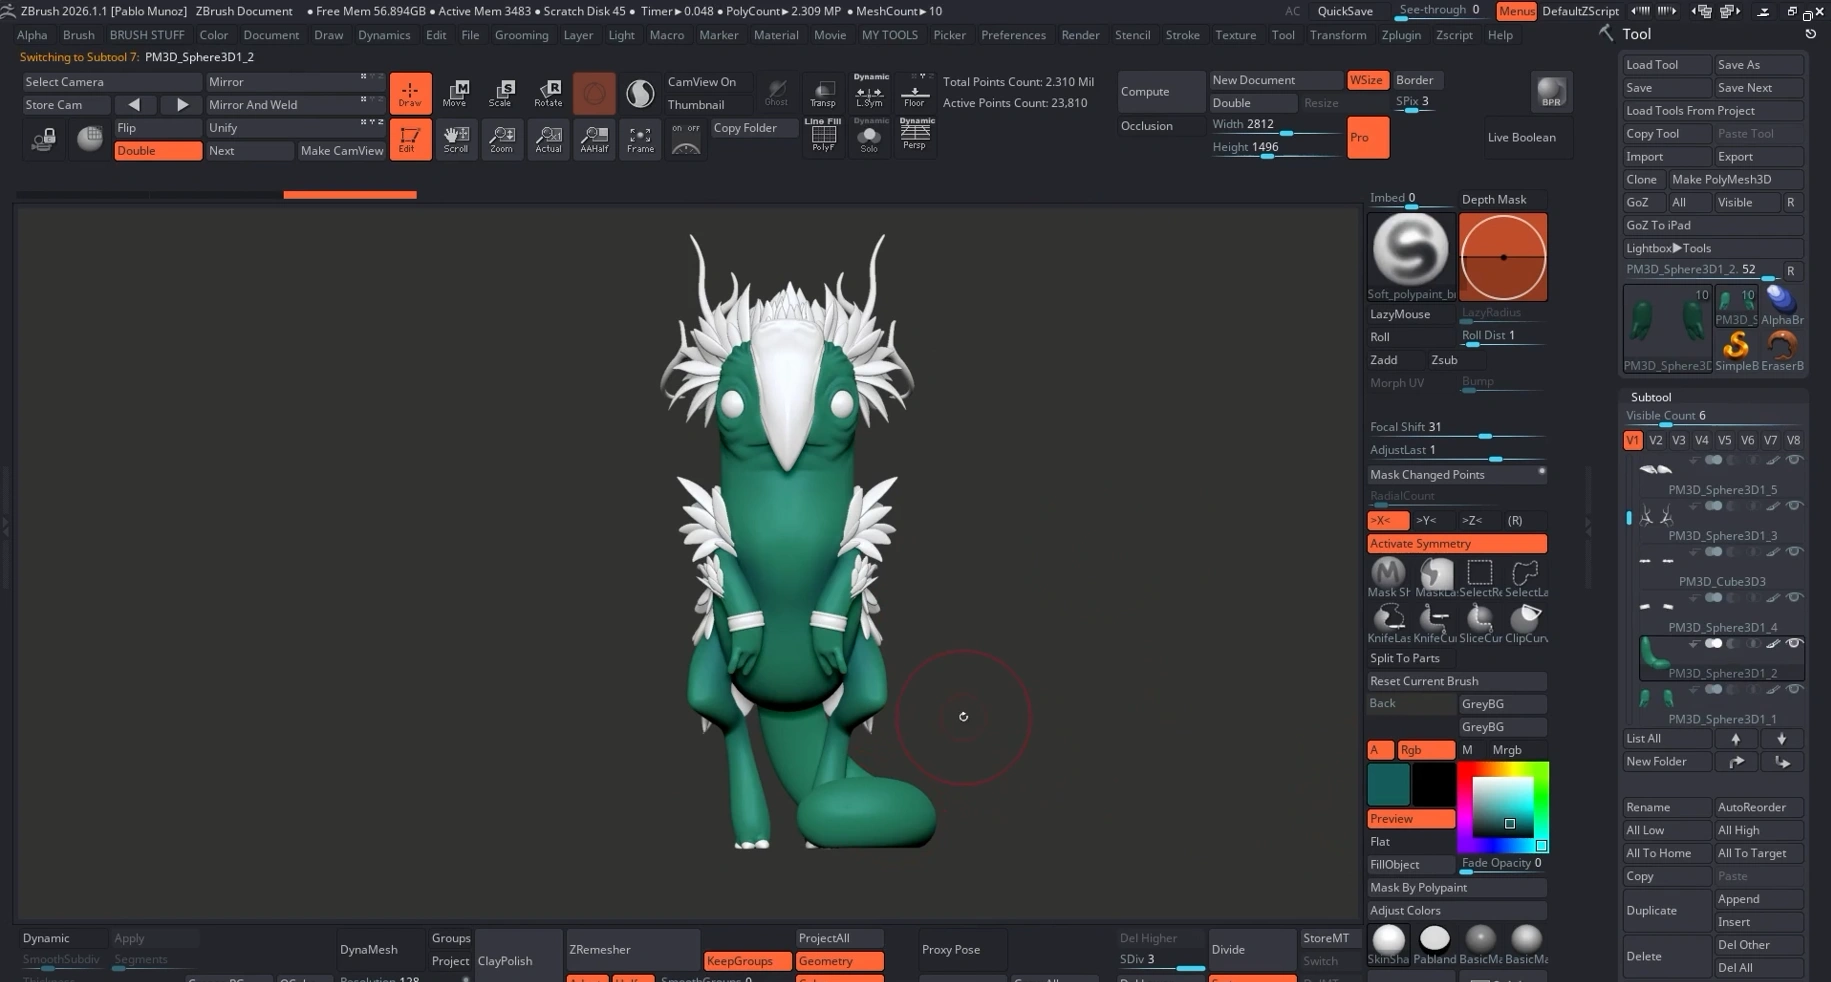
Step 1: Set a neutral material and a single base colour
Start with a simple, neutral material so colours and values read truthfully in 3D… nothing glossy or stylised. I often use a neutral skin material (SkinShade 4 or similar). Then fill the entire character with one base hue. This becomes the dominant colour for the palette and keeps the initial stage focused on broad colour relationships, not detail work.

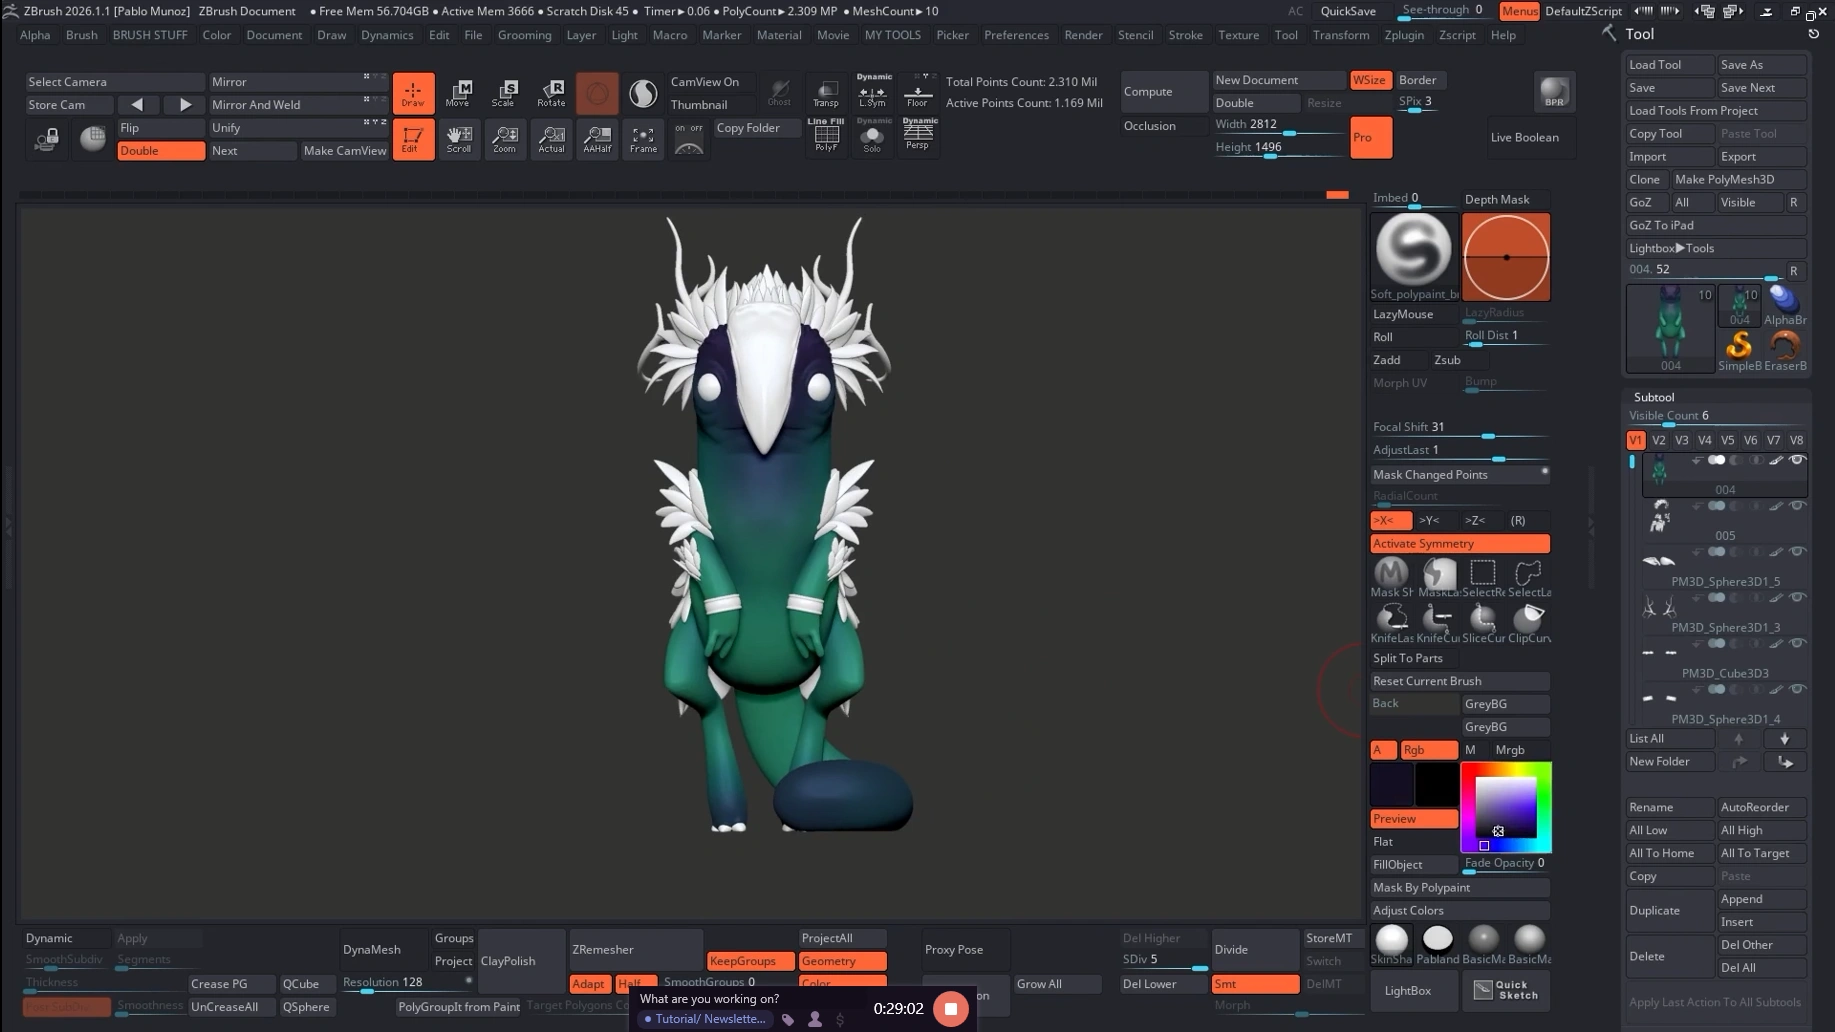
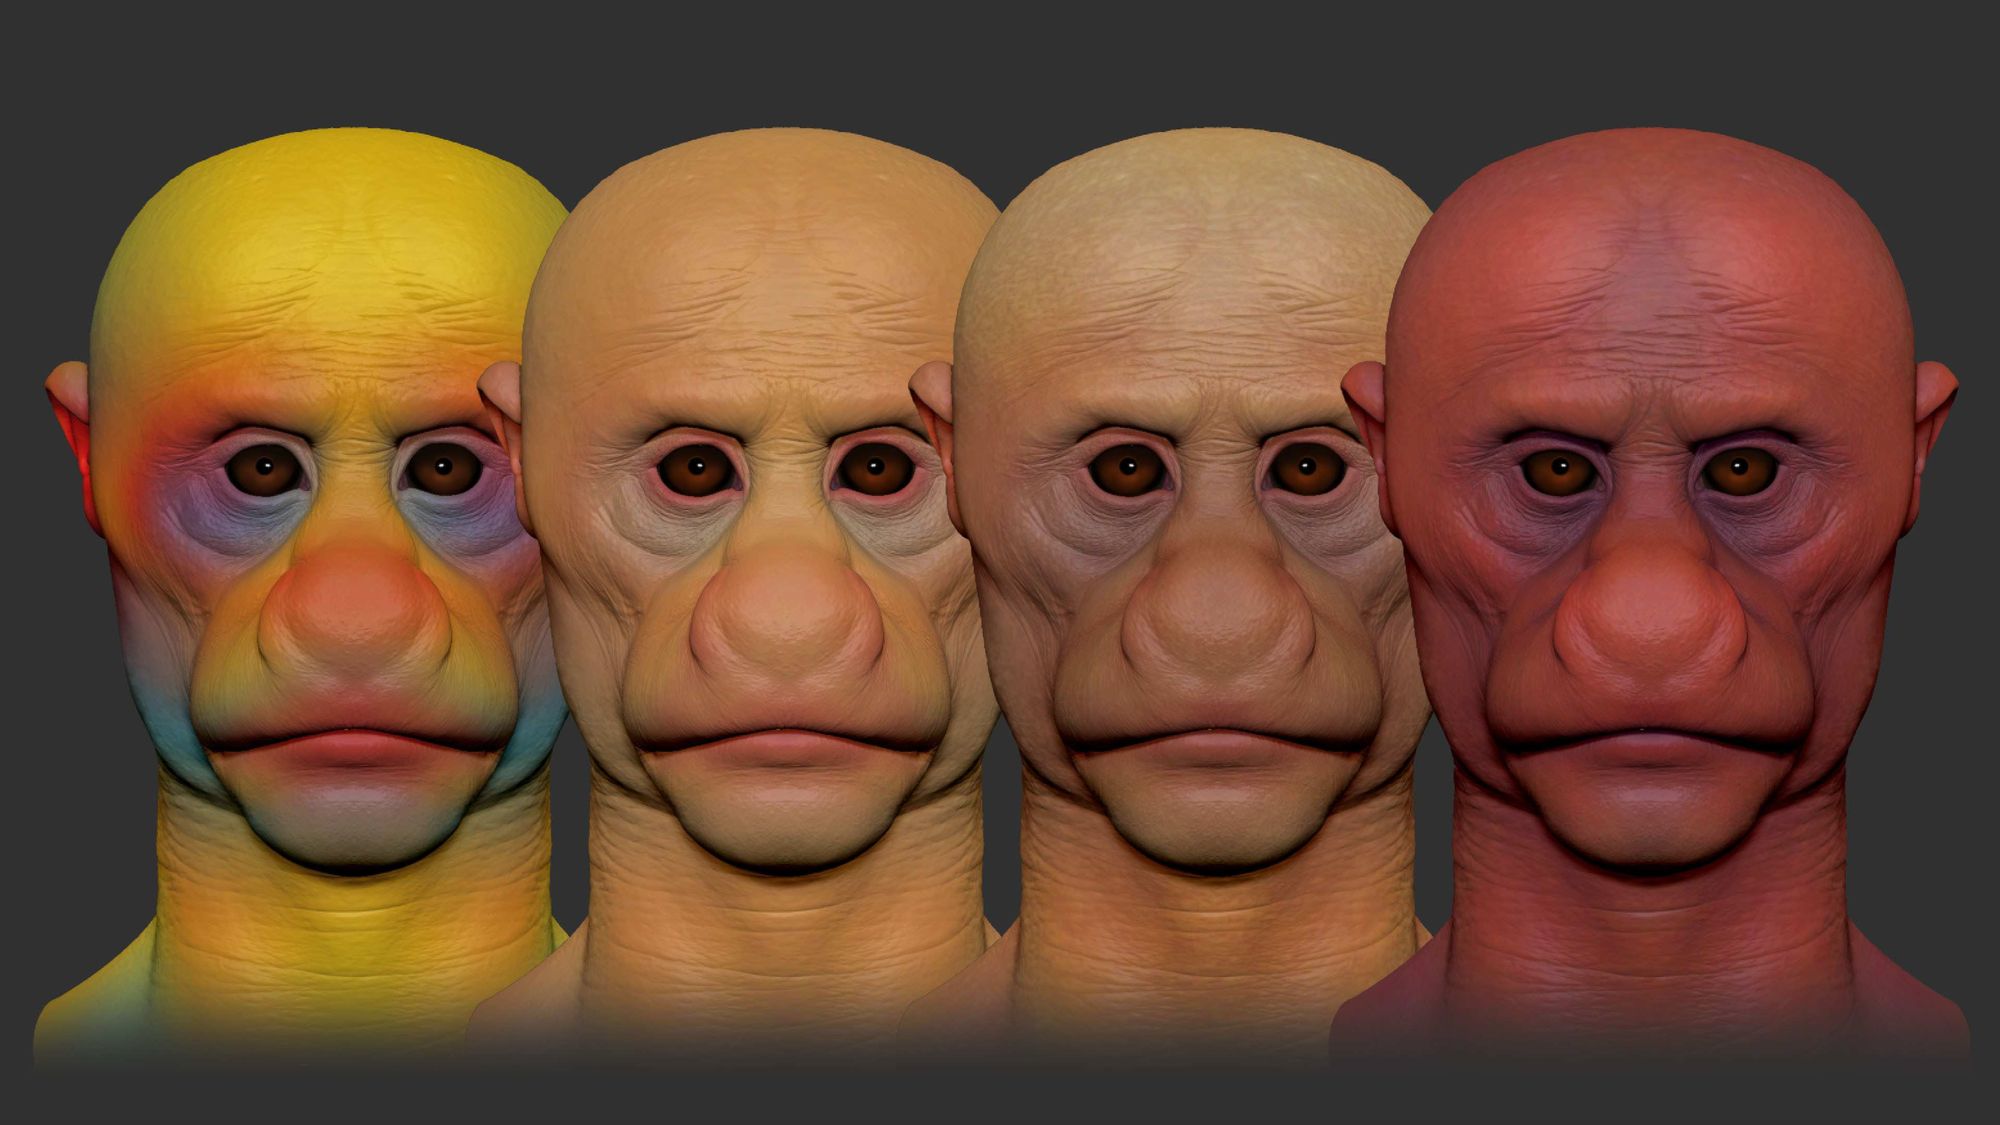
Step 2: Add depth quickly with an AO mask
Generate an ambient occlusion mask (ZBrush ZPlugin → AO). Invert the mask and paint the unmasked areas with a slightly darker version of your base hue. This instantly gives a subtle gradient and a sense of three‑dimensionality without manually shading every surface.
Step 3: Introduce accent colours and compose the character
Introduce a few accent colours. Stay close to the same hue family for cohesion, with small shifts in saturation or value. Read the model as a composition: choose focal points (typically the face and eyes) and guide the viewer’s attention with contrast and subtle gradients. More contrast and lighter values draw the eye, so push values strategically around your focal areas.
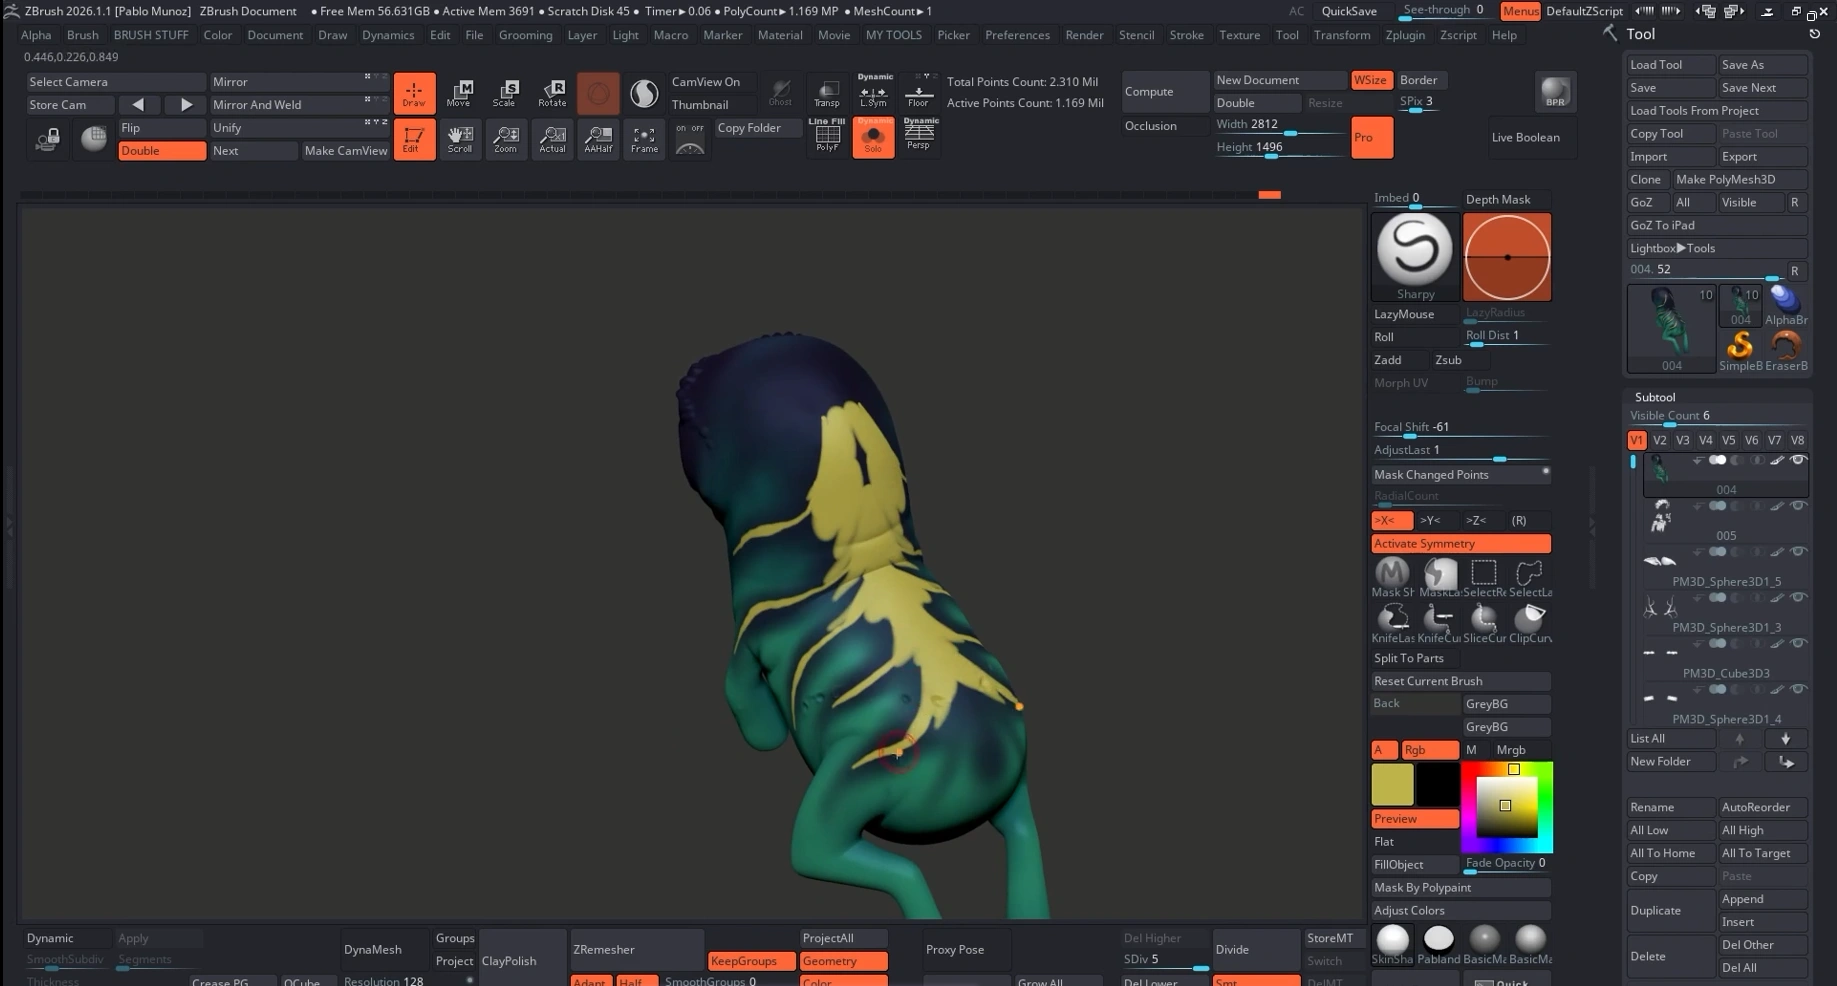
Step 4: Experiment fast - try ideas and discard quickly
One of Polypaint’s strengths is speed. Test patterns, markings or colour patches directly on the mesh. If something reads poorly in the full composition, undo or revert from history and iterate. The ability to try and discard ideas rapidly is invaluable for discovery and exploration.
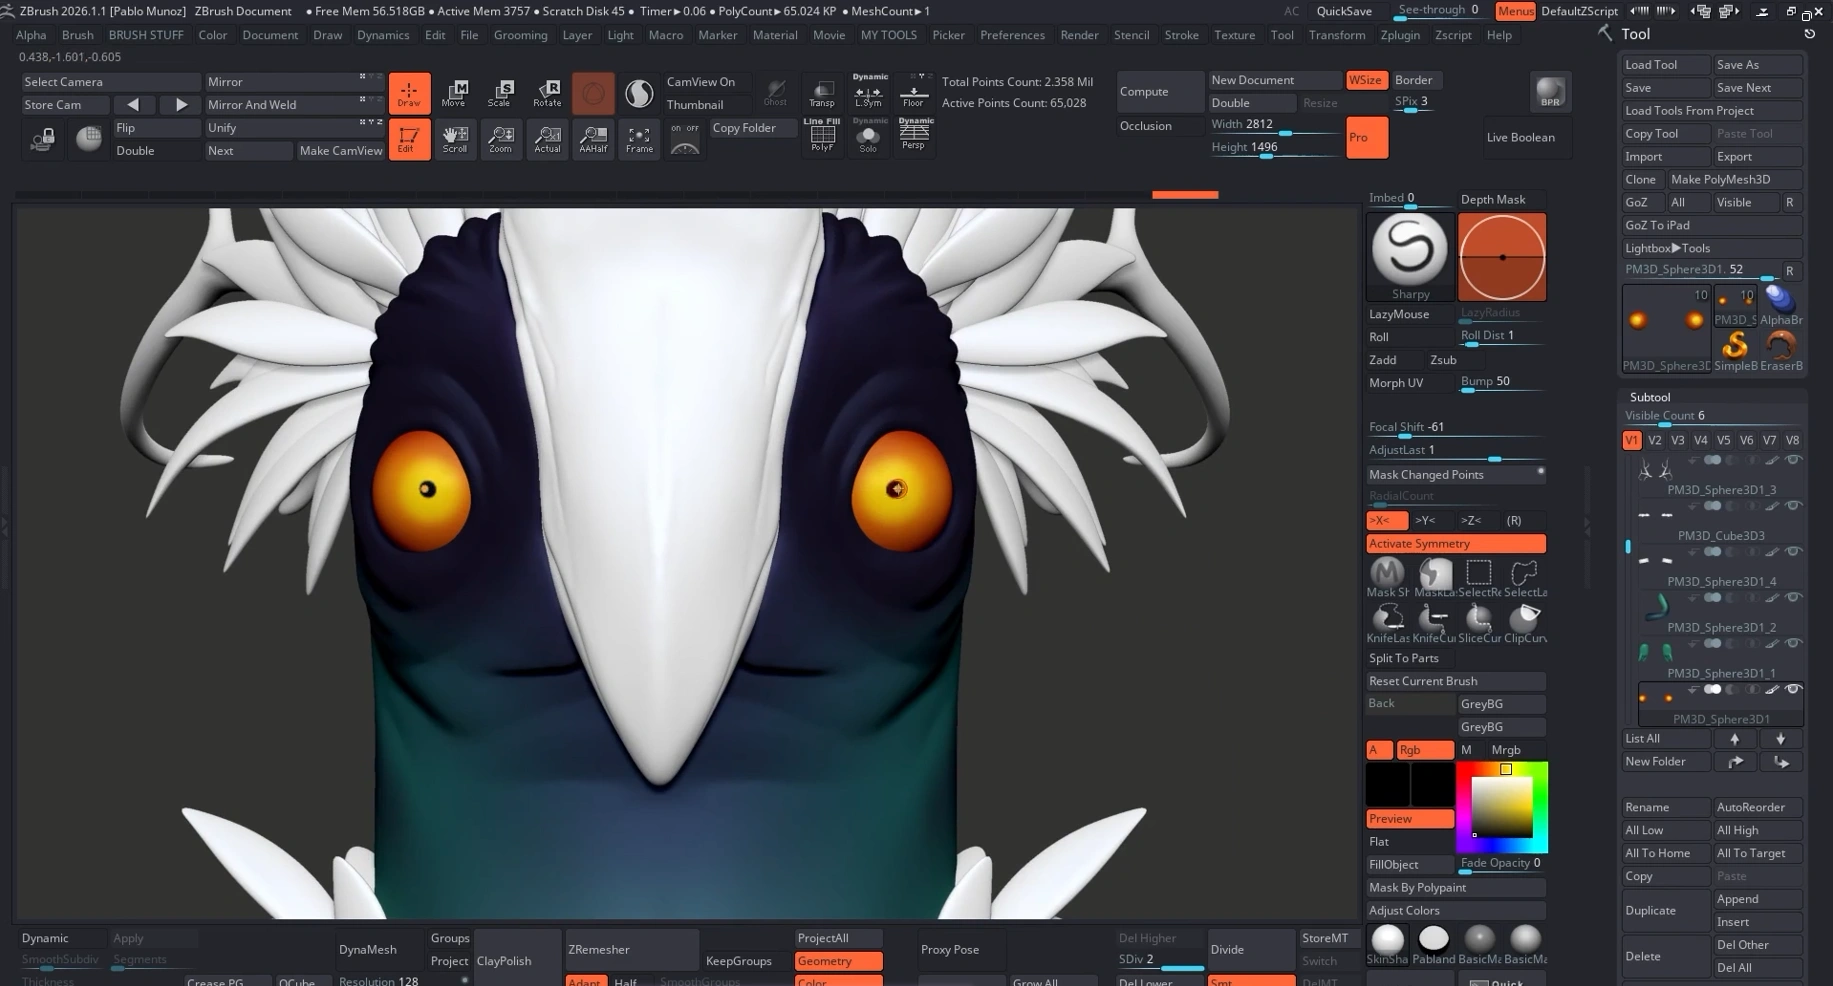
Step 5: Paint the eyes early
Paint the eyes early in the process. They provide a strong reference point for contrast and saturation and help you judge how the rest of the body should support and make the eyes pop. Keep the eye palette simple… typically a small set of colours (red/orange/yellow) plus a dark pupil, and refine later if needed.
Step 6: Reuse and support your initial palette
Once your main colours are established, reuse them across the model with small hue or value variations. This keeps the design cohesive. At this stage you’re not inventing new colours, you're supporting the palette, balancing hues and, crucially, ensuring your grayscale values are strong. Stylised characters rely heavily on clear value reads to read well at a glance.
Step 7: Final pass - highlights, blending and re‑evaluation
Do a quick pass for highlights and small value adjustments. Step back and re-evaluate the whole character: paint over areas that aren’t reading correctly or that need better integration (for example, blending a beak into a head colour to unify the design and increase contrast with the eyes). Because these changes are vertex-painted, they’re quick and painless.

Step 8: Export options - what you can do with Polypaint
Polypaint is simply vertex colour under the hood. Export your character as FBX or OBJ and import into any renderer that supports vertex colour. You can produce clean, presentable renders straight from Polypaint, no UVs required. If you want a polished look, use a renderer that supports keeping vertex colour as the material Albedo (Marmoset Toolbag, Blender, etc.) and set up a compact three‑light rig to sell the sculpt.
Troubleshooting & quick tips
- Colours look flat: check that your renderer is using vertex colour (PolyPaint) as the Albedo.
- Values aren’t strong enough: desaturate colours and focus on contrast. Value reads are more important than hue for stylised forms.
- Eye highlights missing: add a small specular or low‑roughness highlight to the eyes to create catchlights.
- Experimenting feels risky: use ZBrush history or duplicate subtools before big changes. Undo is your friend.
- Rendering issues: ensure the exporter preserves vertex colours; FBX/OBJ from ZBrush usually works fine when subtools are visible.
Summary… why this works
This Polypaint workflow is fast, flexible and design, rather than technical, focused. It lets you explore colour and composition quickly, iterate without heavy overhead and produce portfolio‑ready renders from vertex colour alone. Add baked maps and complex materials later when you need them; for concepting, iteration and quick presentation, Polypaint is often all you need.
Final thought
If your goal is speed and creative freedom, Polypaint is still a powerful tool. Keep the process simple: neutral material, one base colour, quick AO depth, focused accents, early eyes and consistent palette reuse. Iterate fast, export as vertex color and render, Polypaint will get you from sculpt to presentable result in a fraction of the time required by a full texture pipeline.
Want to take your Polypaint into a render? Import the FBX/OBJ into a renderer that supports vertex color, switch the material Albedo to Vertex Colour and use a compact three‑light rig for clean, portfolio‑ready images.

Marmoset Made Easy: From Import to Final Render


.webp)

