


What you'll need
- ZBrush (any recent version - this uses only PolyPaint and standard tools)
- A tablet or pen input for pressure-sensitive painting (optional but helpful)
- Basic familiarity with symmetry, masking and the Tool palette
Quick overview: The Steps
- Create a quad sphere (QSphere) and set subdivisions.
- Paint a red base (vessels) and a lighter sclera gradient.
- Add blood vessels using radial symmetry with varying counts.
- Paint the iris with layered hues and highlights.
- Mask + Adjust Color to fake concavity and depth.
- Add top ambient occlusion (subtle shadow from eyelid).
- Paint the pupil, bake a reflective material, duplicate and merge eyes, then save.
Step‑by‑Step
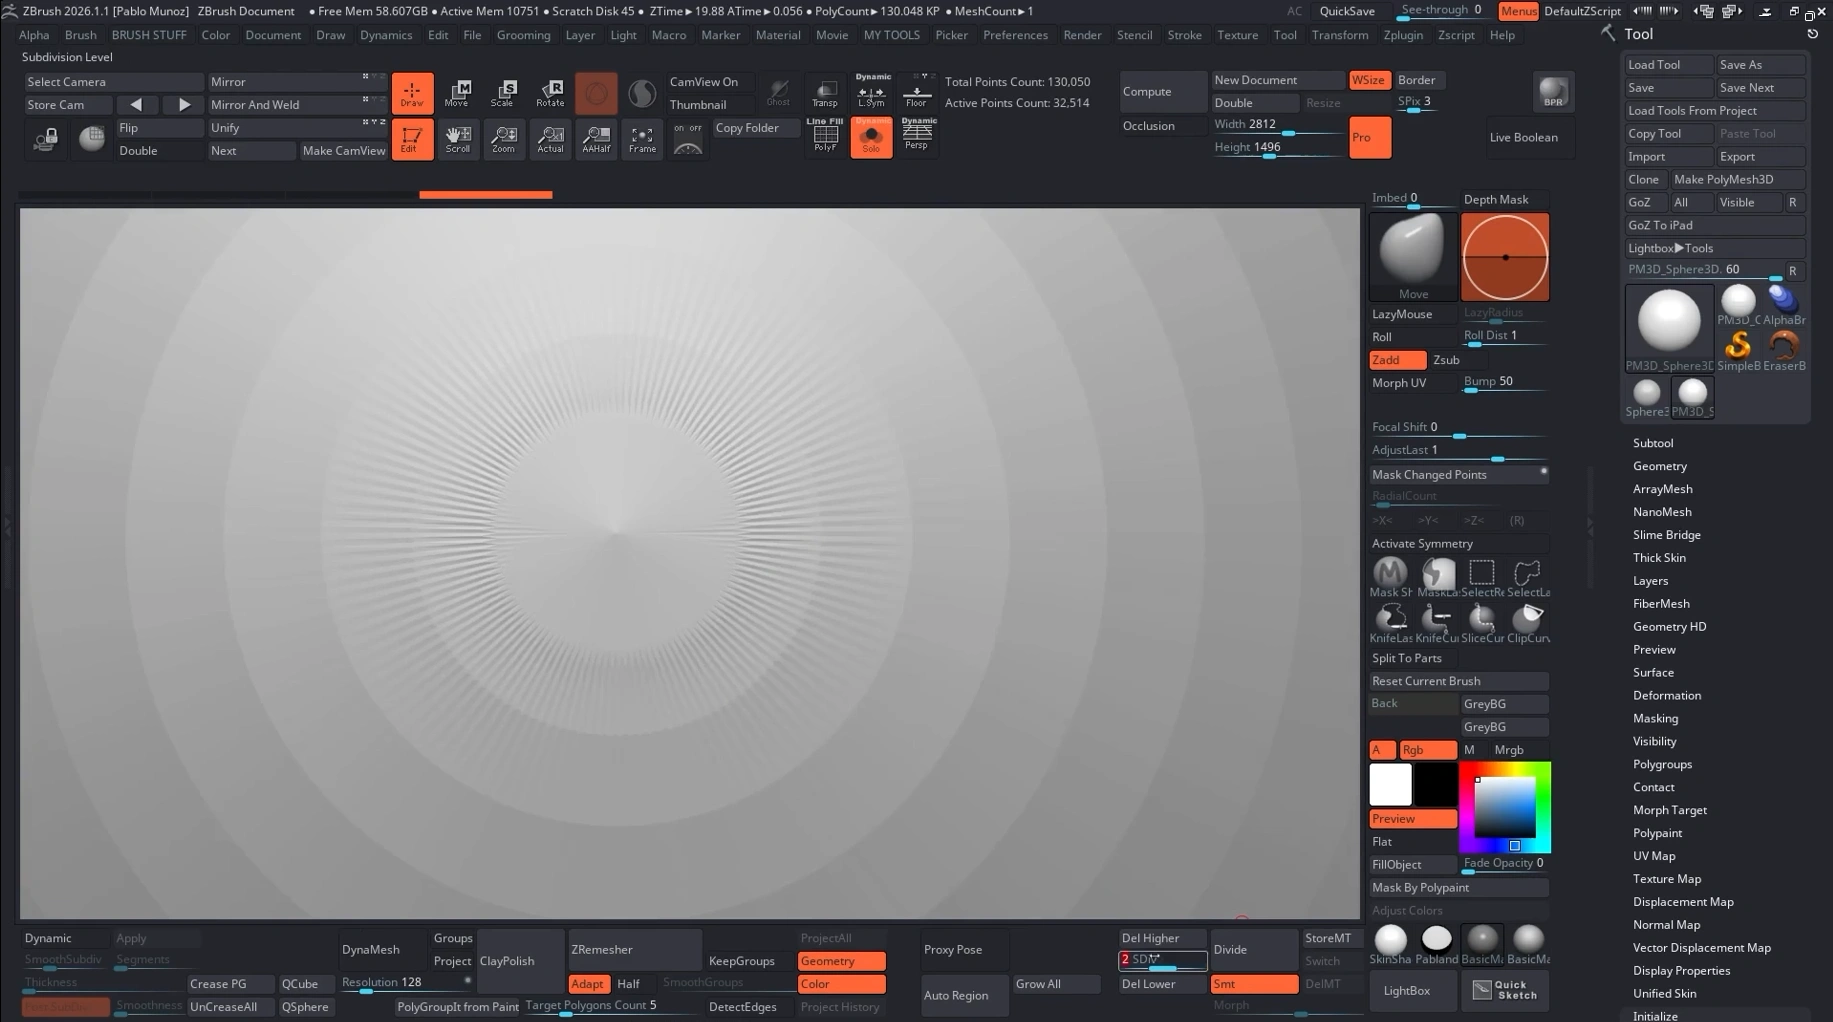
Step 1: Start with a QSphere and set resolution
Convert a Polymesh cube to a QSphere from the Initialize section and pick a generous resolution. I typically set the QSphere subdivision resolution high (the video uses an 8-step QSphere then subdivides further). The quad topology avoids pole artefacts that appear on a standard polysphere and cause ugly highlights later.

If you try a Sphere3D > Make PolyMesh3D then subdivide, you'll notice triangle poles that create visible artefacts near the highlight - avoid that for eyes you plan to present.
Step 2: Subdivide and prepare to paint
Subdivide until you have enough pixels for veins and iris detail. For most WIP/portfolio shots seven subdivision levels are plenty - not meant for a 4K close‑up but perfect for mid‑distance renders. Switch to a neutral material for painting (SkinShade4 is a good choice) and turn off Polyframe (Shift+F).

If you want a mathematically perfect sphere, use Deformation > Spherize at a mid subdivision level , then return to the highest level for painting.
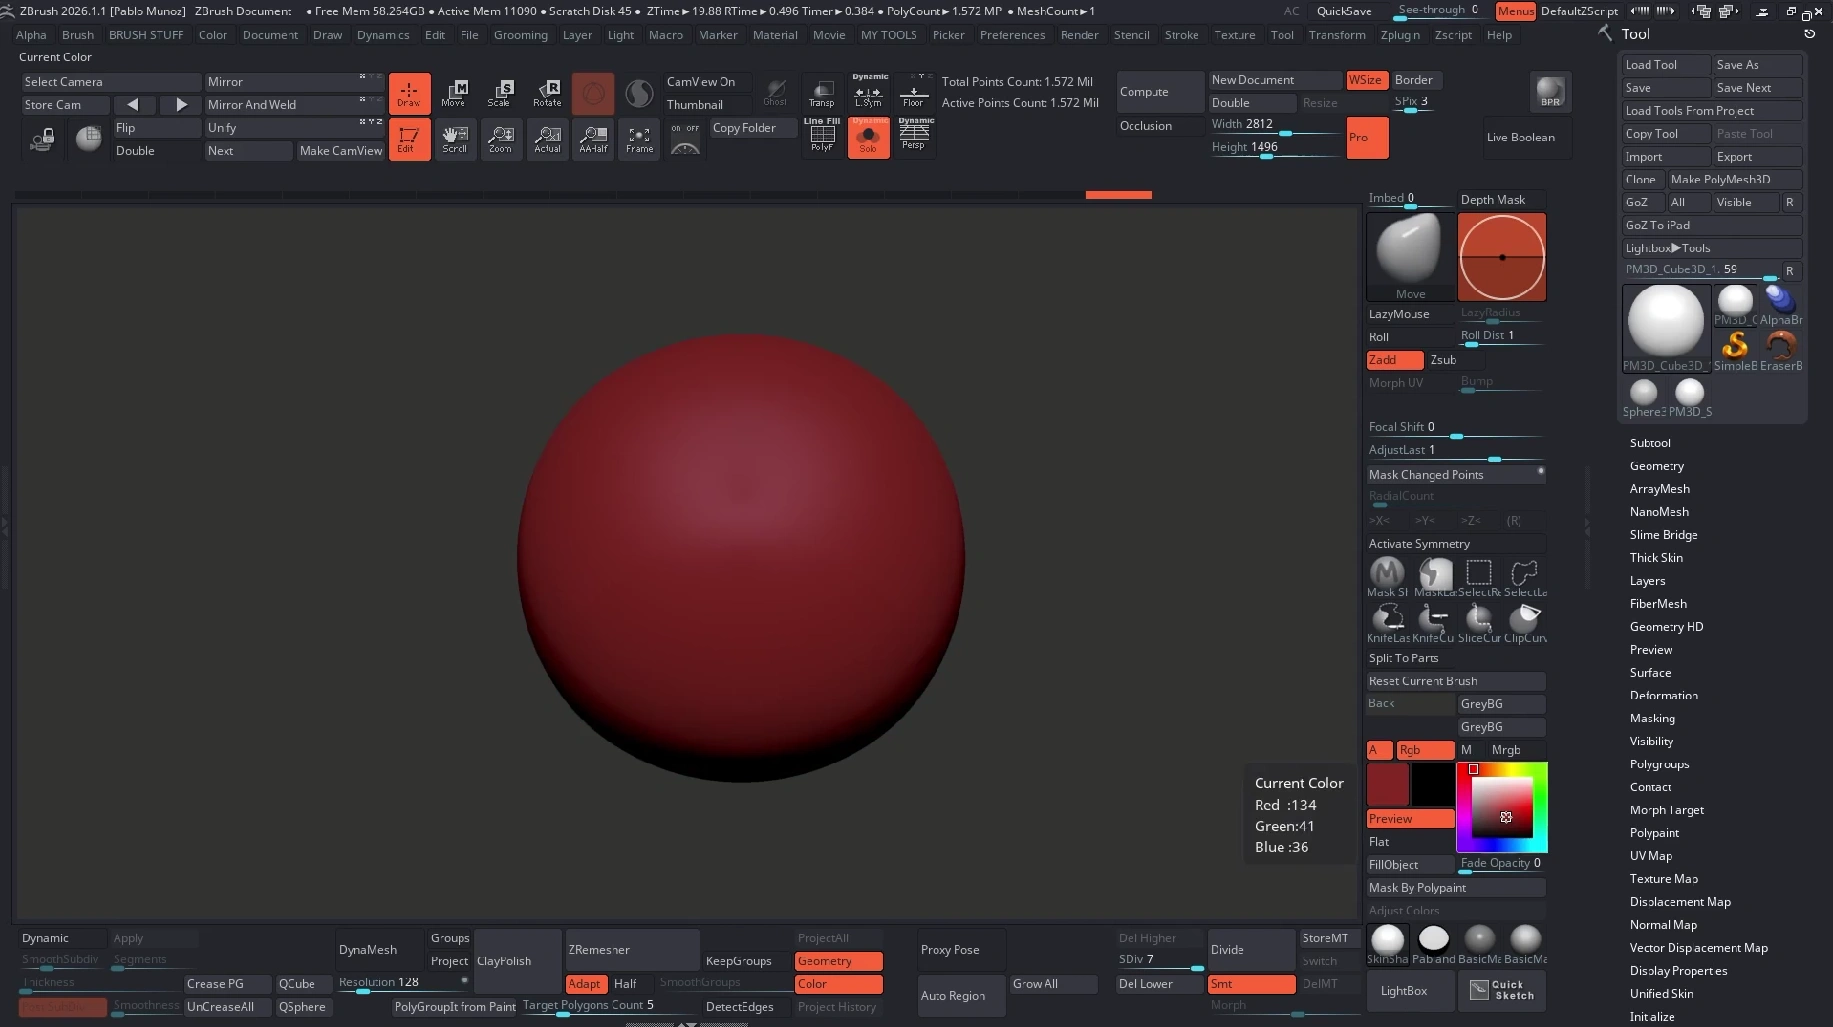
Step 3: Base colour - fill object with a red underpaint
Choose a dark red and Fill Object. This creates the underlying blood‑tone that shows through the sclera and veins when you paint on top.
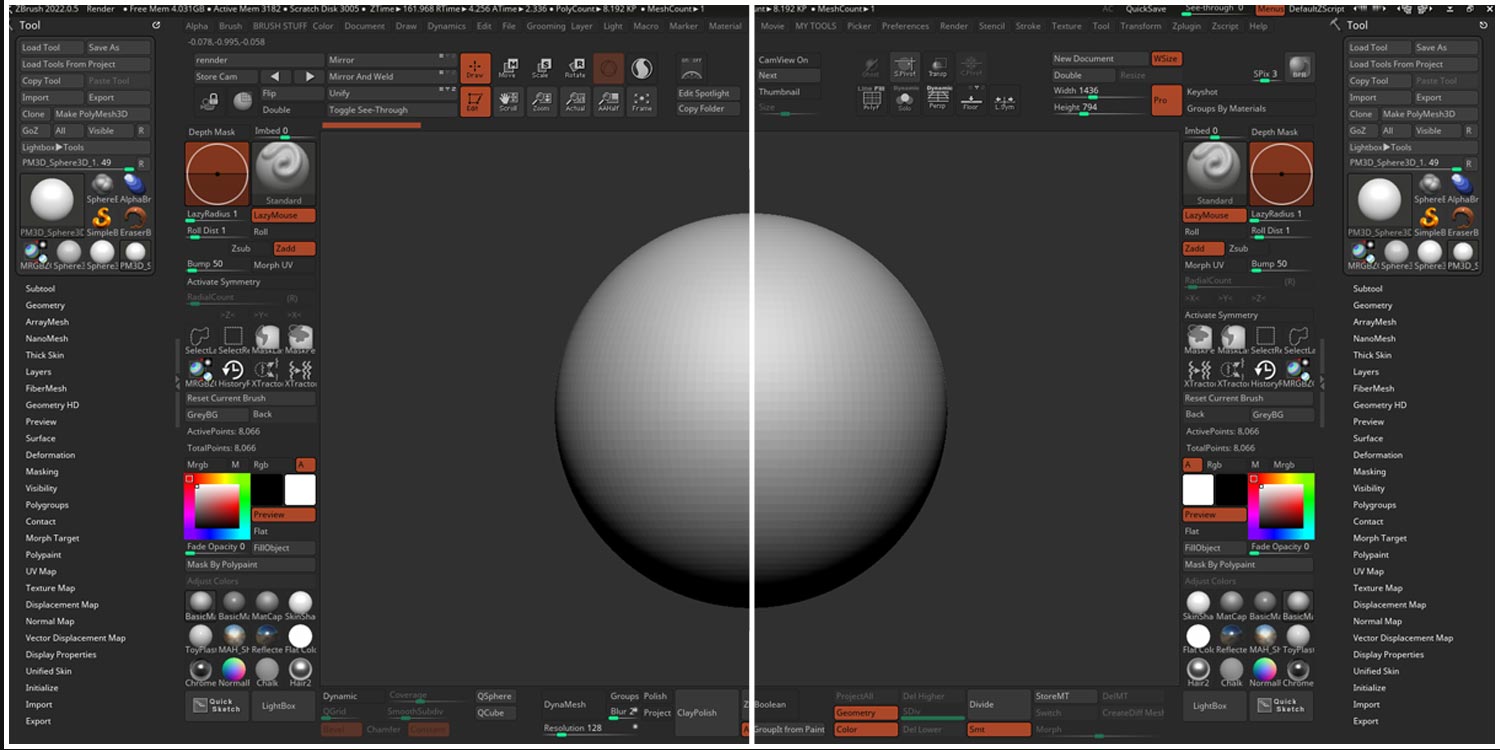
Step 4: Configure your brush and stroke
Use a soft brush with LazyMouse turned off and ZAdd off (so you only paint colour, not sculpt). Remove any alpha so the brush is smooth. This gives soft, painterly strokes suitable for PolyPaint work.
.png)
Step 5: Paint the sclera gradient
Enable radial symmetry (Transform > Activate Symmetry) on the Z axis and set a high radial count (32 works well) while blocking big shapes. Pick a lighter, slightly yellow‑white for the sclera and paint a soft gradient toward the centre. The red base will remain visible toward the back of the eye.
.png)
Step 6: Add blood vessels using varied radial counts
For veins, use a very small brush and paint with similar tones, then change the radial count to break obvious repetition. Odd radial counts (7, 3, etc.) help disguise the repeated strokes. Switch radial counts, extend a few lines manually and occasionally turn radial off for unique vessels.
.png)
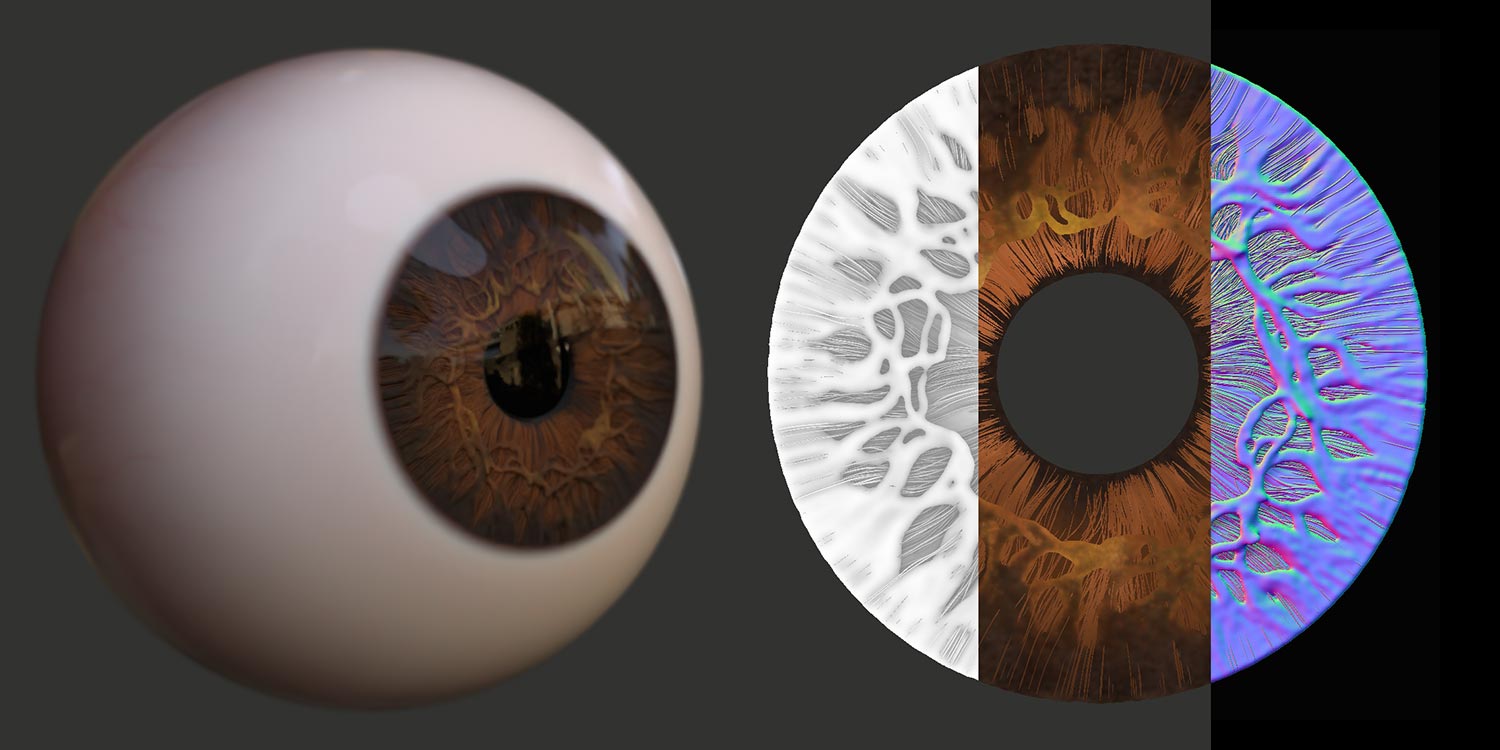
Step 7: Paint the iris - form, colour, and limbal ring
Return to a higher radial count (32) to block the iris shape, then lower to odd counts (7) when adding radial details. Choose the iris colour and paint layered values: dark outline (limbal ring), midtone gradient, then brighter radial highlights. Use saturation to control stylisation — desaturated browns read more realistic; saturated hues read stylised.
.png)
Step 8: Fake depth - Mask and Adjust Color
With the iris painted, use Control+paint to mask a bottom area and Blur the mask slightly (Masking palette). Invert the mask, then use Tool > PolyPaint > Adjust Color. Hide the mask and increase HSV / RGB intensity and contrast subtly to brighten the front of the iris area. This simulates the concave catchlight without changing geometry.
.png)
Clear the mask and you’ll have a convincing lit rim and implied depth when viewed from distance.
.png)
Step 9: Fake ambient occlusion from the eyelid
Turn symmetry back to X-axis, switch off radial symmetry, and paint a subtle dark band at the top of the sclera with a very low RGB intensity (around 20). Use a large soft brush and desaturated cool tones for a believable shadow cast by the eyelid. Keep this very subtle. It improves read‑ability in the character without fighting the light.
.png)
Step 10: Paint the pupil with radial masking
Re-enable radial symmetry (32) and mask the central pupil area using radial masking. Blur the mask and use Adjust Color to slightly brighten the inner ring as an edge. Clear the mask and fill the pupil with pure black. The prior brightening gives the pupil an apparent depth edge.
.png)
Step 11: Give the eye a reflective material
Switch the material to something glossy (ToyPlastic is a good quick option) and tweak material modifiers. Increase diffuse/specular as needed. To bake that material into the PolyPaint state, set Draw to Material (M) and Color > Fill Object. Now your eye retains the look even when you switch materials or import elsewhere.
.png)
Step 12: Duplicate, merge and manage subdivision levels
Duplicate the finished eye, mirror/move the copy into position for the other eye, then Merge Down to bring both eyes into the same subtool. That gives you matching subdivision levels across both eyeballs. If the polycount is too high, delete higher subdivision levels (Delete Higher) and keep a manageable level for insertion into characters.
.png)
Step 13: Save as a reusable ZTools
Save the eye subtool into your ZTools folder (Lightbox location) or use the User tab in newer ZBrush (2026.1 and up) versions to keep a portable folder. Save as a ZTools so you can drag/drop or double‑click to load the eye into any scene.
.png)
Step 14: Paste into your character and align
Paste the eye into your character file, use masking to center on one sphere, enable X symmetry and Local Symmetry if you want to scale each eye from its own pivot. Position, scale and rotate the eyes subtly, tiny outward and upward rotations reduce the dead, perfectly converged stare.
.png)
Step 15: Create variants - quick hue swaps
To make green, blue or stylised variations, mask the iris area, use Adjust Color to shift hue/saturation/brightness, then save each variation as a separate subtool or file. You can keep multiple eye variants inside the same tool and delete unused ones when you paste into a character.

Troubleshooting & quick tips
- Pole artefacts on highlights: use QSphere/quadsphere instead of a polysphere.
- Repetition in veins or iris: vary radial counts and occasionally paint with symmetry off.
- Eye looks flat after import: ensure you filled the material (Draw=M then Color > Fill Object) so the visual state carries over.
- Polycount too high: Delete Higher subdivision levels, keep a practical mid level for scene insertion.
- Dead stare: rotate eyes slightly outward/upward for natural binocular variance.
Why this works
The approach focuses on readable, presentable results rather than photoreal micro-detail. A carefully painted PolyPaint eye reads at a glance: good values, implied depth, and simple specular treatment sell the illusion. Because the workflow avoids extra geometry, it’s fast to produce, easy to save as a reusable asset, and simple to tweak for different characters or ages (use the limbal ring to indicate youth vs age).
Final thought
A small amount of focused polish on the eyes dramatically increases the perceived finish of a sculpt. Invest time in one reusable PolyPaint eye, save it as a ZTool, and you’ll instantly lift future work‑in‑progress and portfolio shots. Start simple, iterate on colour and material, and keep a few variations in your asset library.

Creating a realistic iris for an eye in ZBrush using FiberMesh


.webp)

