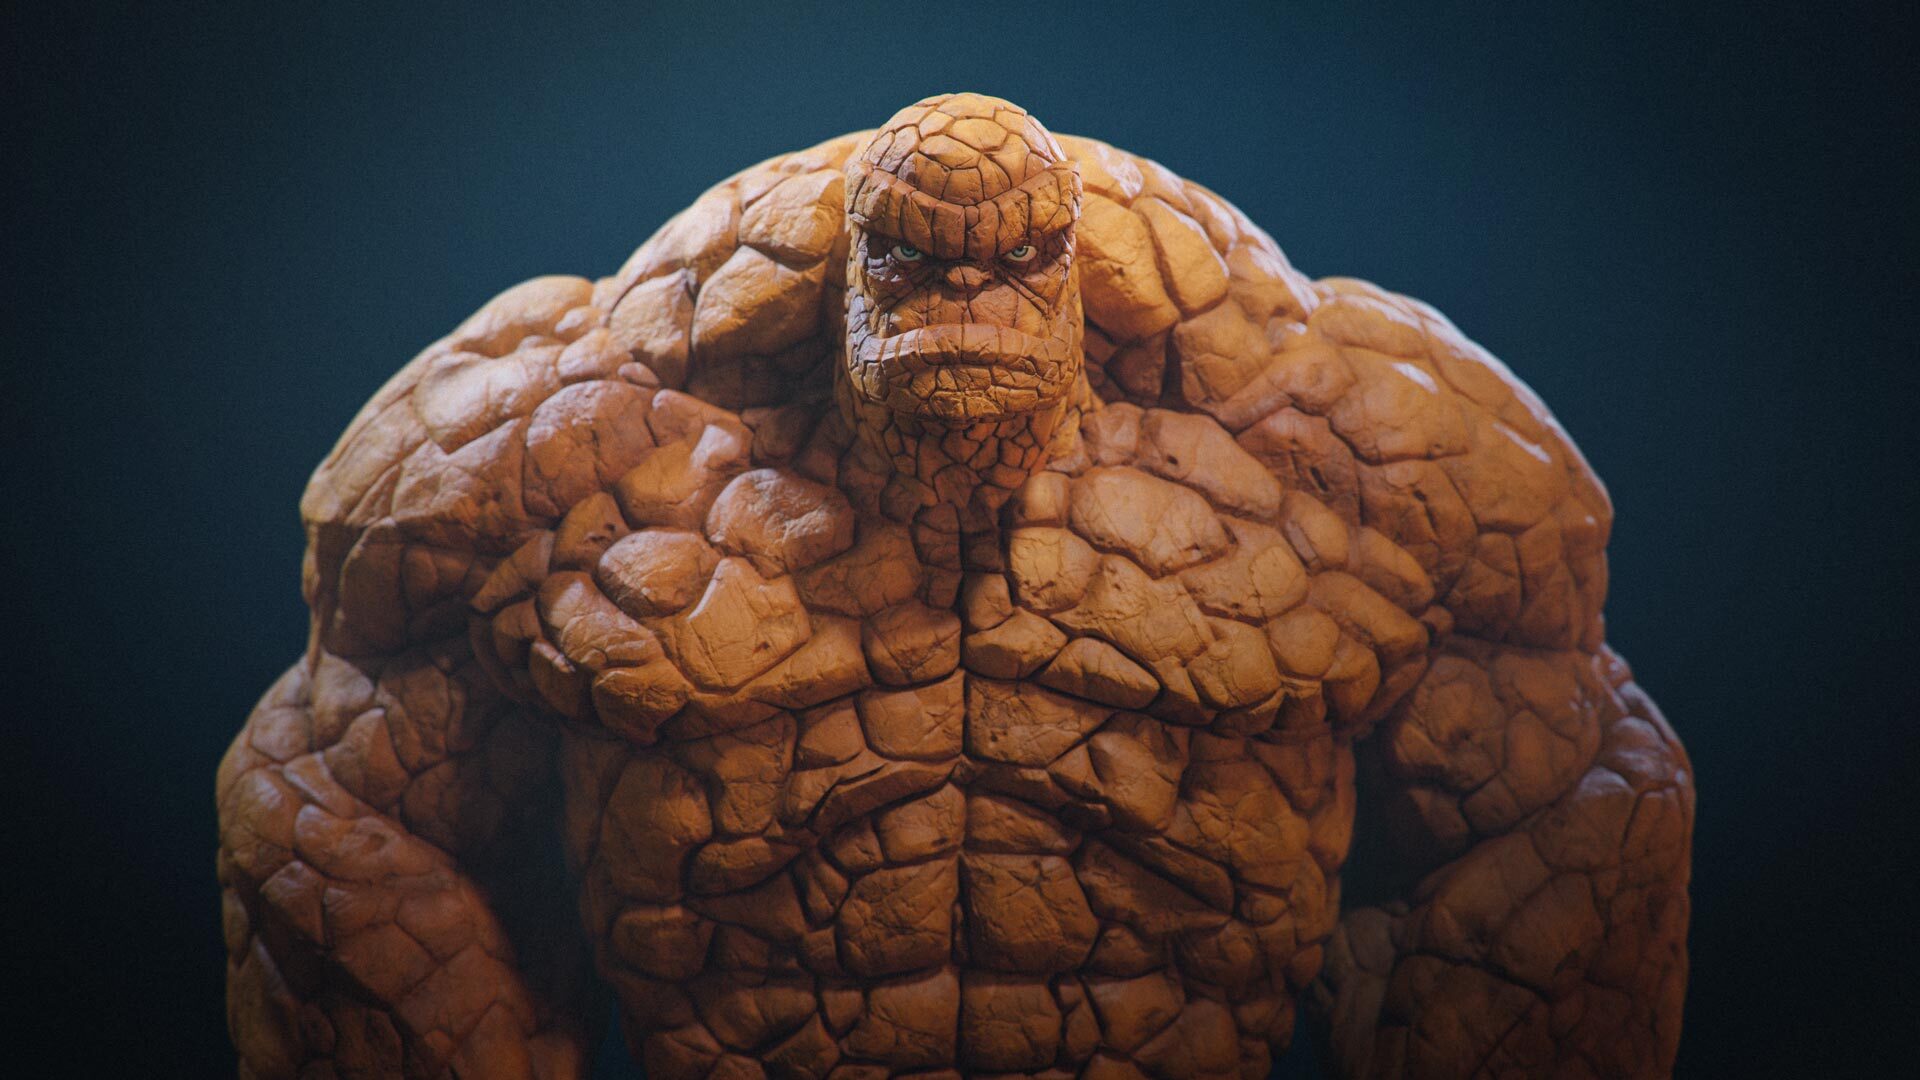


I’ve loved the Fantastic Four’s grumpy powerhouse, Ben Grimm. For this stylized fan art project, I wanted to break down my workflow into clear stages. Each step built on the last, and together they took me from raw primitives to a polished, rocky final sculpt.
From Concept to Blockout
I began by keeping things as simple as possible, just arranging basic shapes to establish the pose and silhouette.
- Started with simple primitives: spheres, cubes, and cylinders.
- Used Gizmo deformers (Bend Arc, Bend Curve, Taper) to shape volumes quickly.
- Focused only on silhouette and proportions, not detail.
- Stacked and resized shapes until the figure felt like The Thing.
.webp)
If the blockout doesn’t look right, don’t move forward. A solid blockout saves time later.
Unifying Primary Forms
Once the blockout was in place, I merged everything and began sculpting the broad masses.
- Merged subtools into a single mesh, using the Gizmo’s Remesh by Union deformer.
- Additionally you can use Dynamesh but I’ve found that Remesh by union keeps the crisp transitions between the subtools which helps with the ZRemeshing process.
- Sculpted broad anatomy using ClayBuildup, Move, and Smooth.
- Staying at low resolution keeps strokes bold and structural.
- Defined the head, torso, and limbs as one continuous mass.
.webp)
Think of this step like carving stone, big chips, no fine scratches yet.
Building Secondary Forms
After locking in the big shapes, I subdivided once to refine and add stylized anatomy.
- Subdivided once for more resolution.
- Defined stylized muscles in plate-like shapes.
- Used Clay, DamStandard, and TrimDynamic brushes to refine.
- Focused on flow, rhythm, and chunky design, not polish.

One clean subdivision is usually enough to refine forms without losing control.
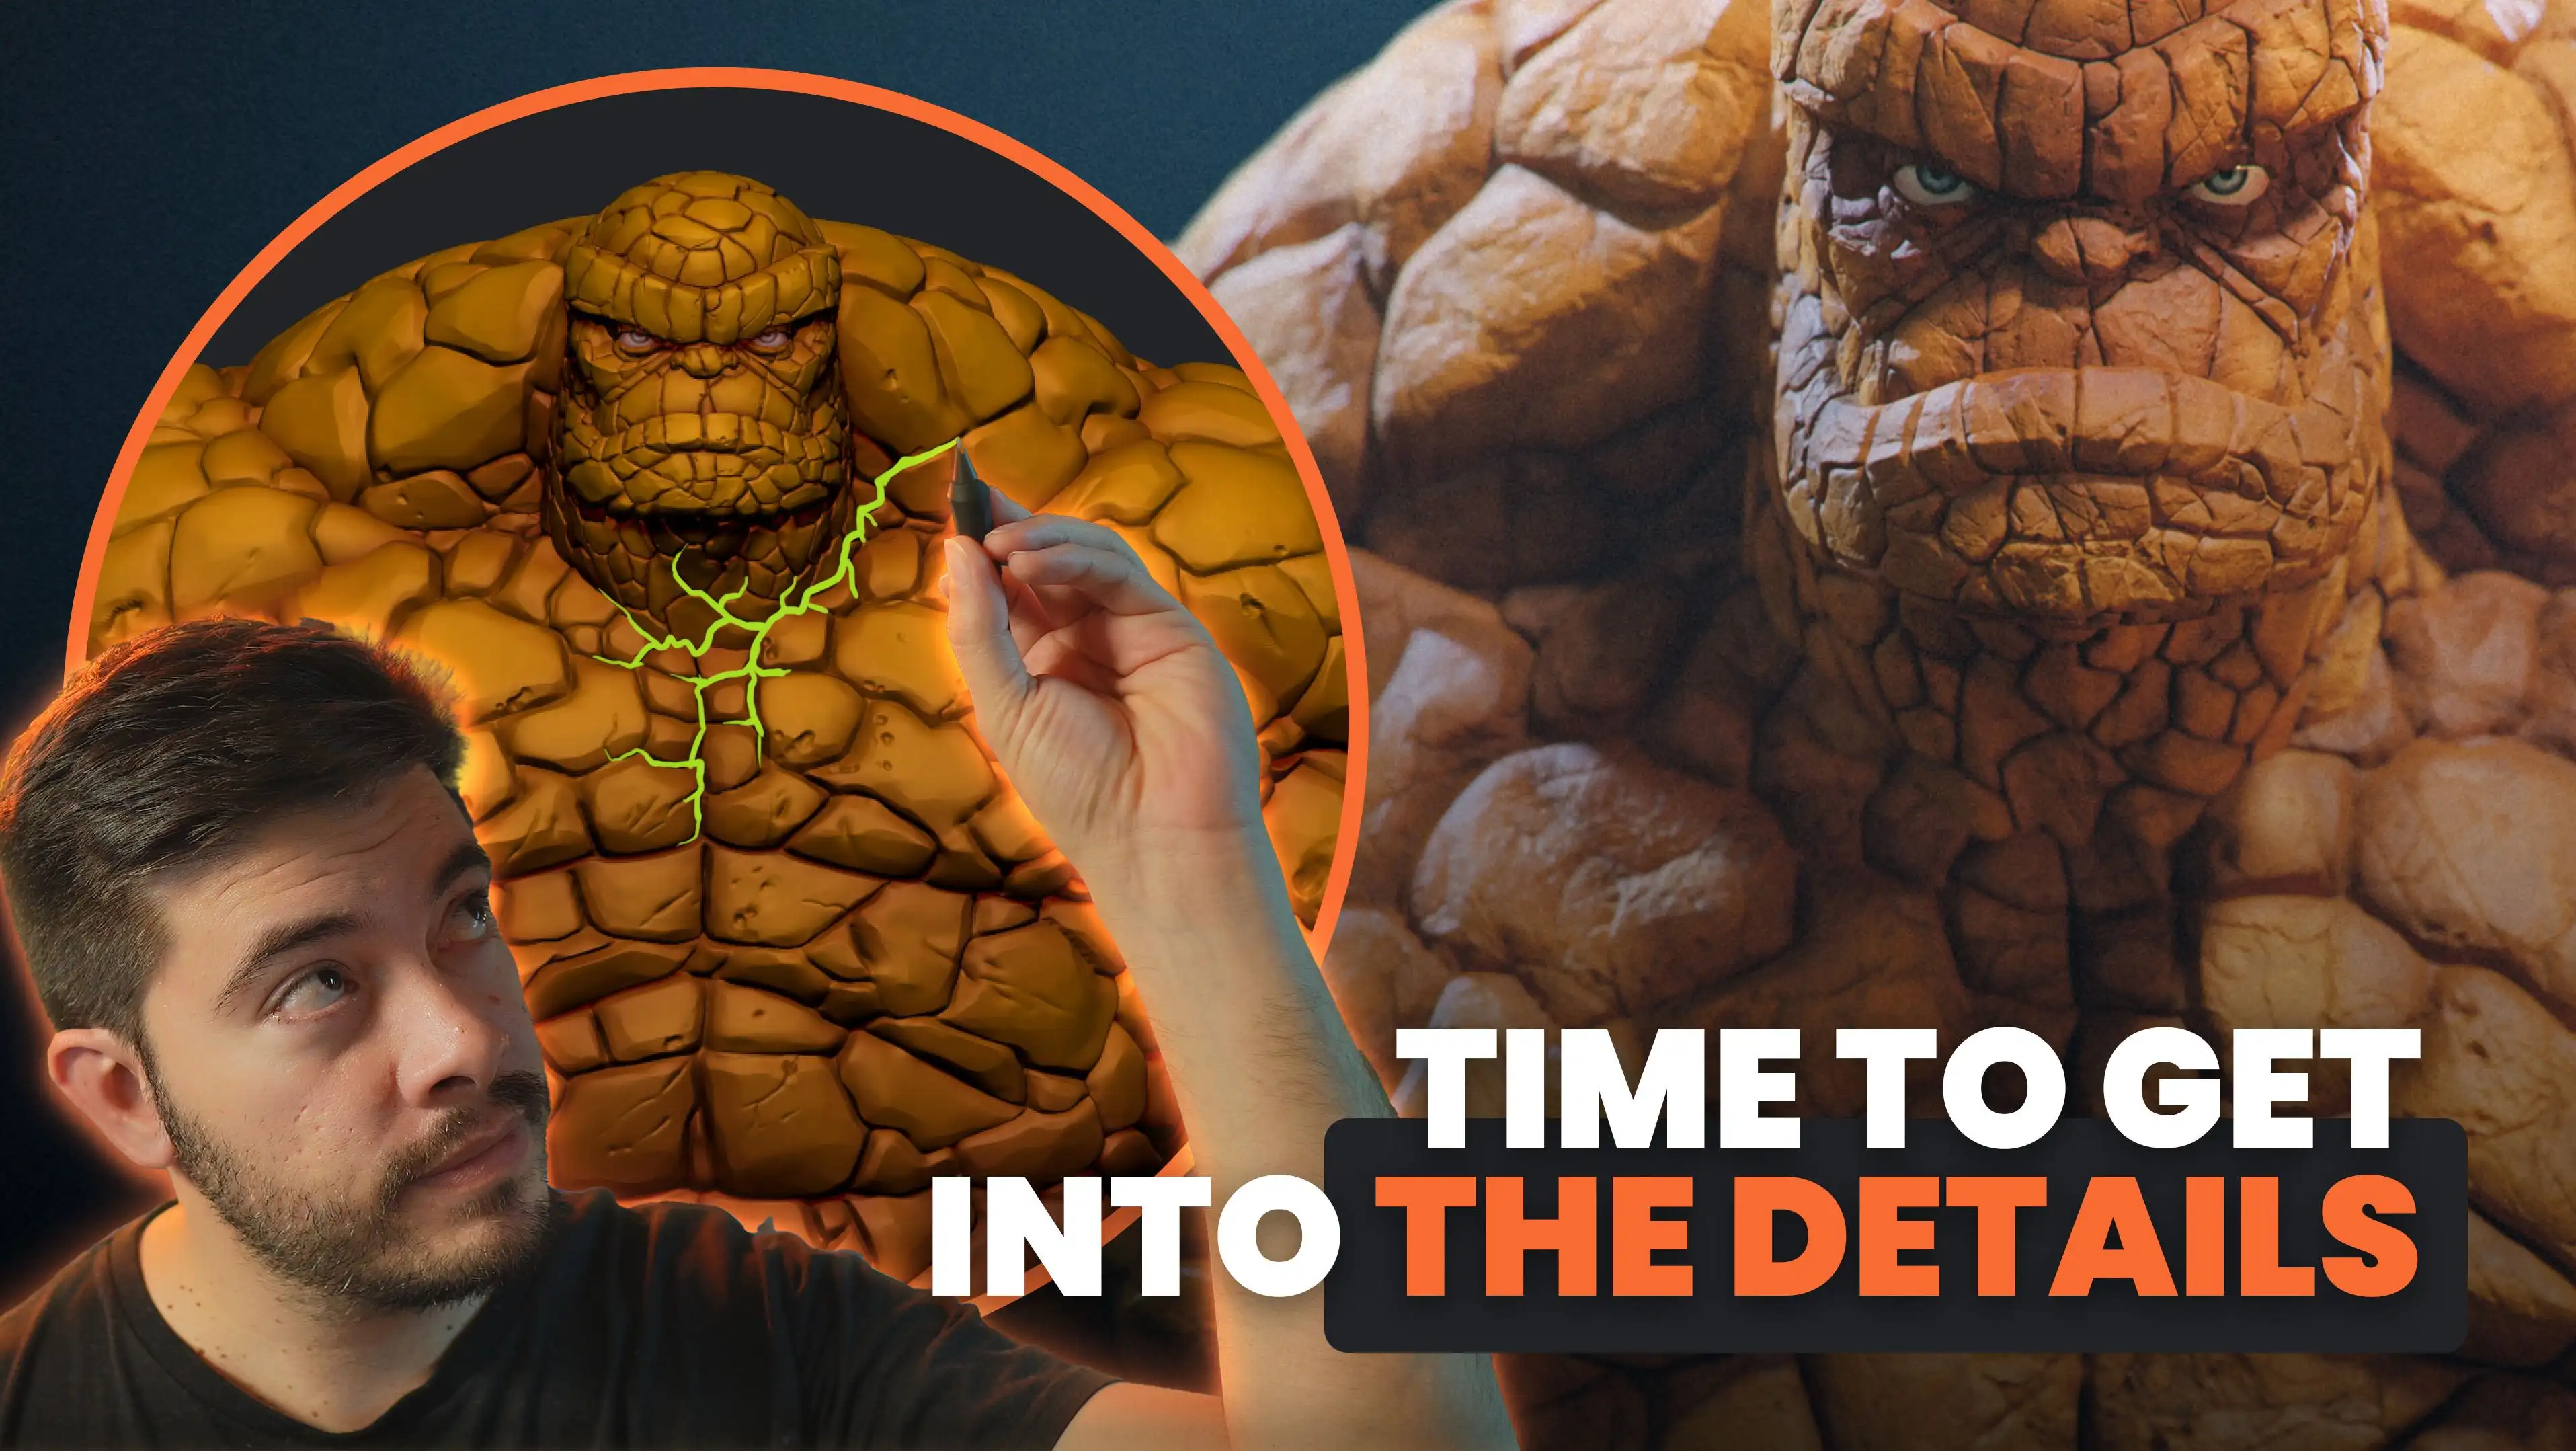
Carving Tertiary Details
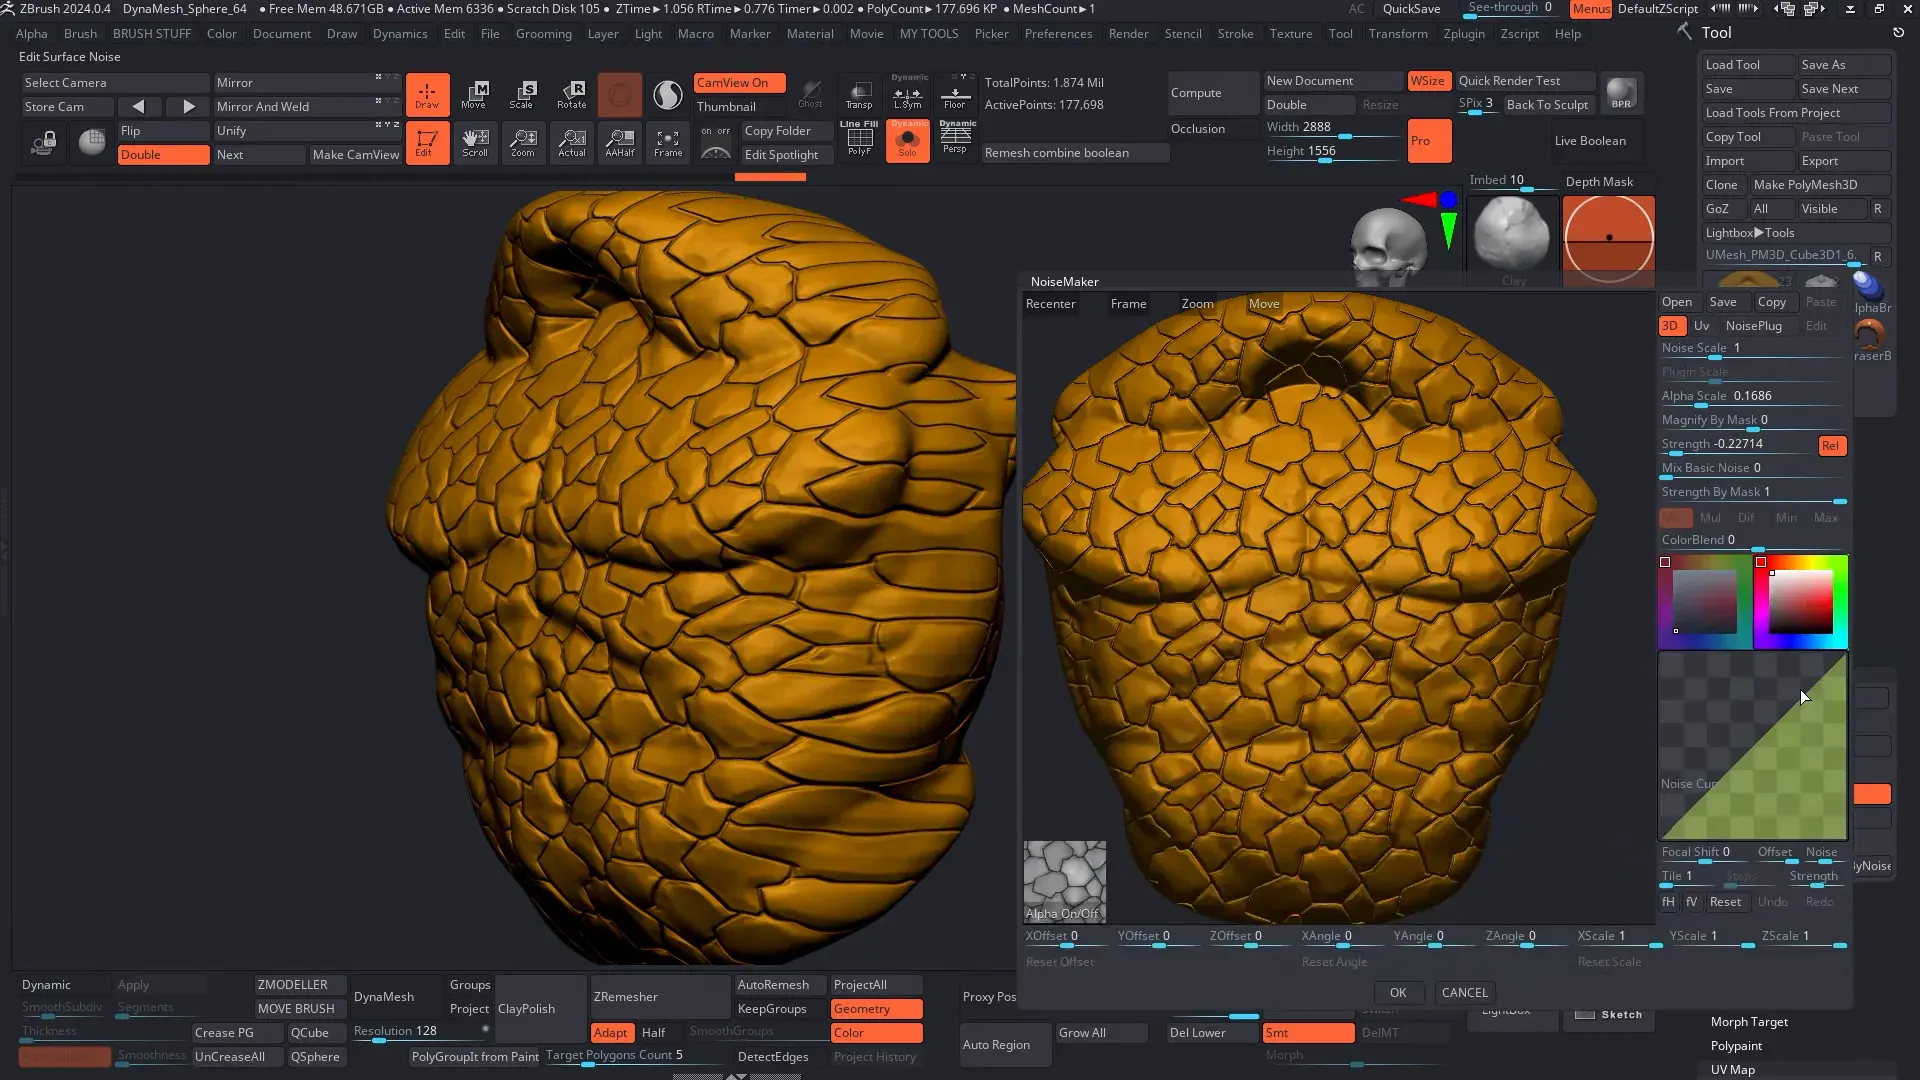
Here’s where the rocky surface really came alive, with cracks and plate variations across the body.
- Broke symmetry to make the surface feel natural.
- Added cracks and rocky plates using a custom tilable alpha via surface noise.
- Key thing in using this process to add the rocky texture is to make sure that you have UV’s, otherwise the texture will be projected from your camera view and you’ll end up with stretched lines around the body.
- You can use the UV Master plugin to quickly make UVs, additionally you can divide The Thing in polygroups for more controlled UV unwrap.
- Now all you have to do is set the texture projection from 3D to UVs in the Surface noise settings.
- This inevitably ends with visible seams where I used the DamStandard Brush to blend the details and clean the seams.
- Additionally I used the DamStandard and TrimDynamic Brushes to sharpen the rock feel.
- Paid attention to variation: large vs. small rocks, deep vs. shallow cracks.
Details should reinforce the form underneath. Don’t add noise for the sake of detail.
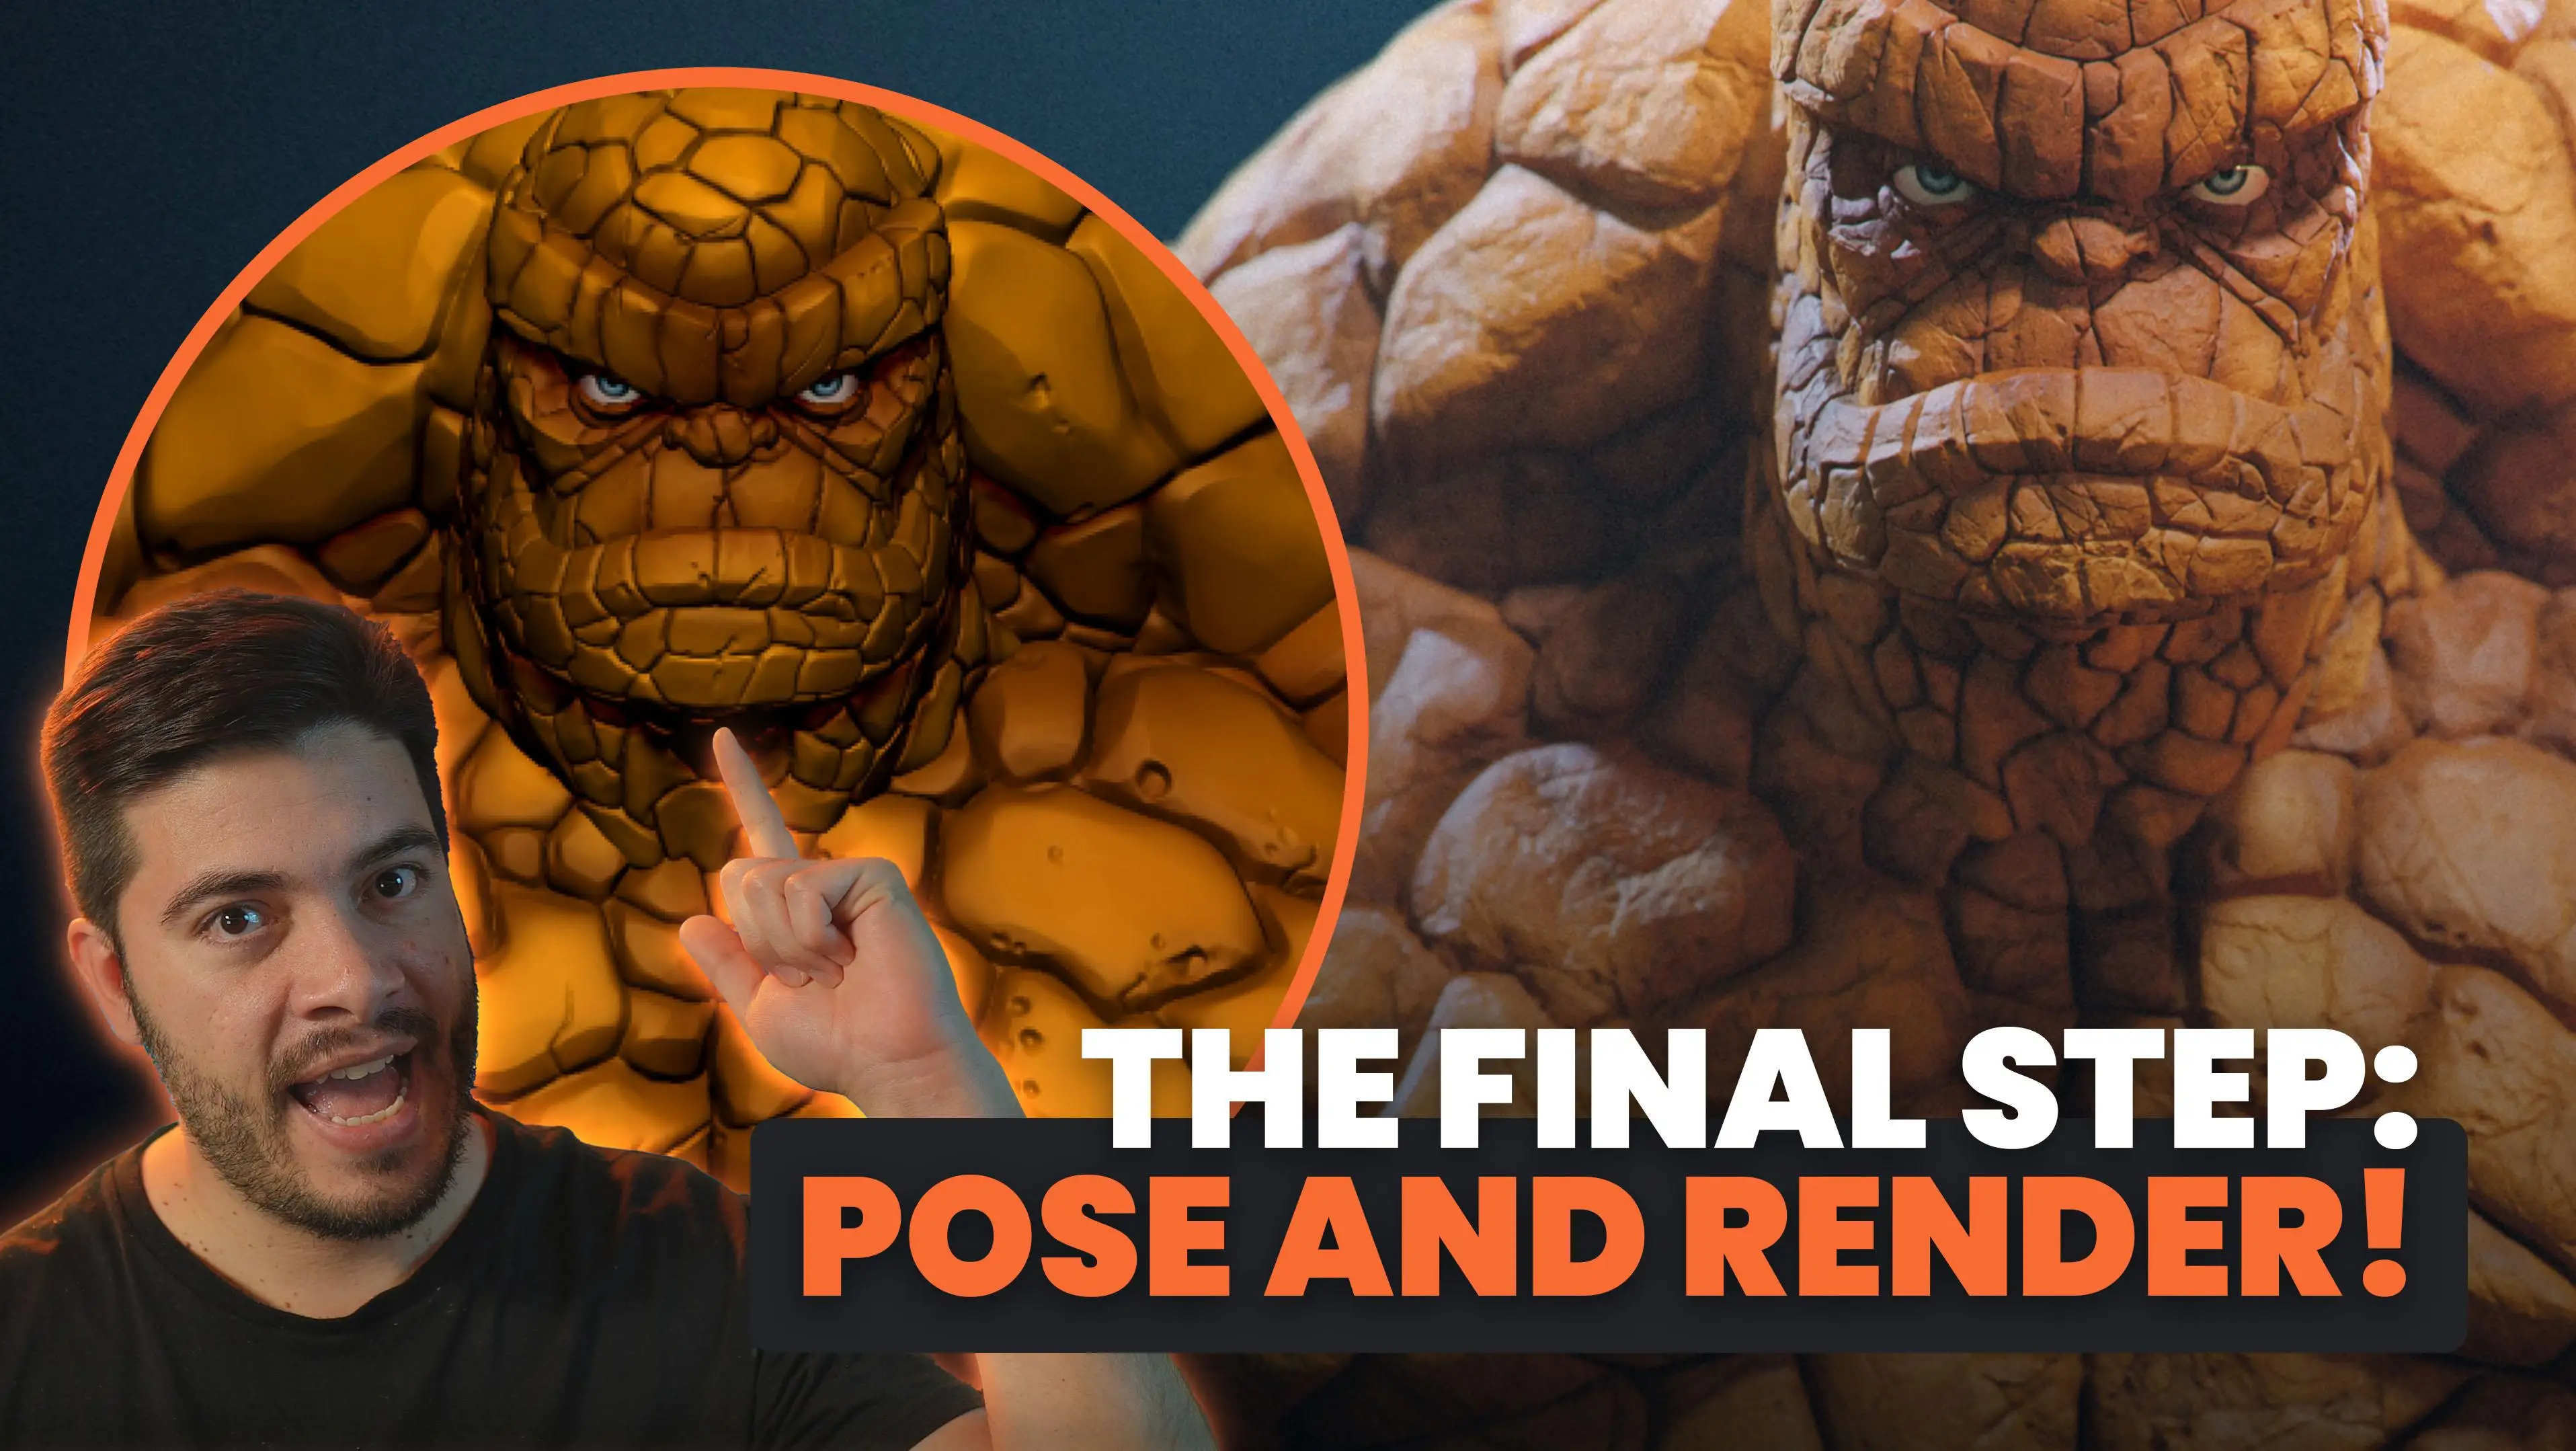
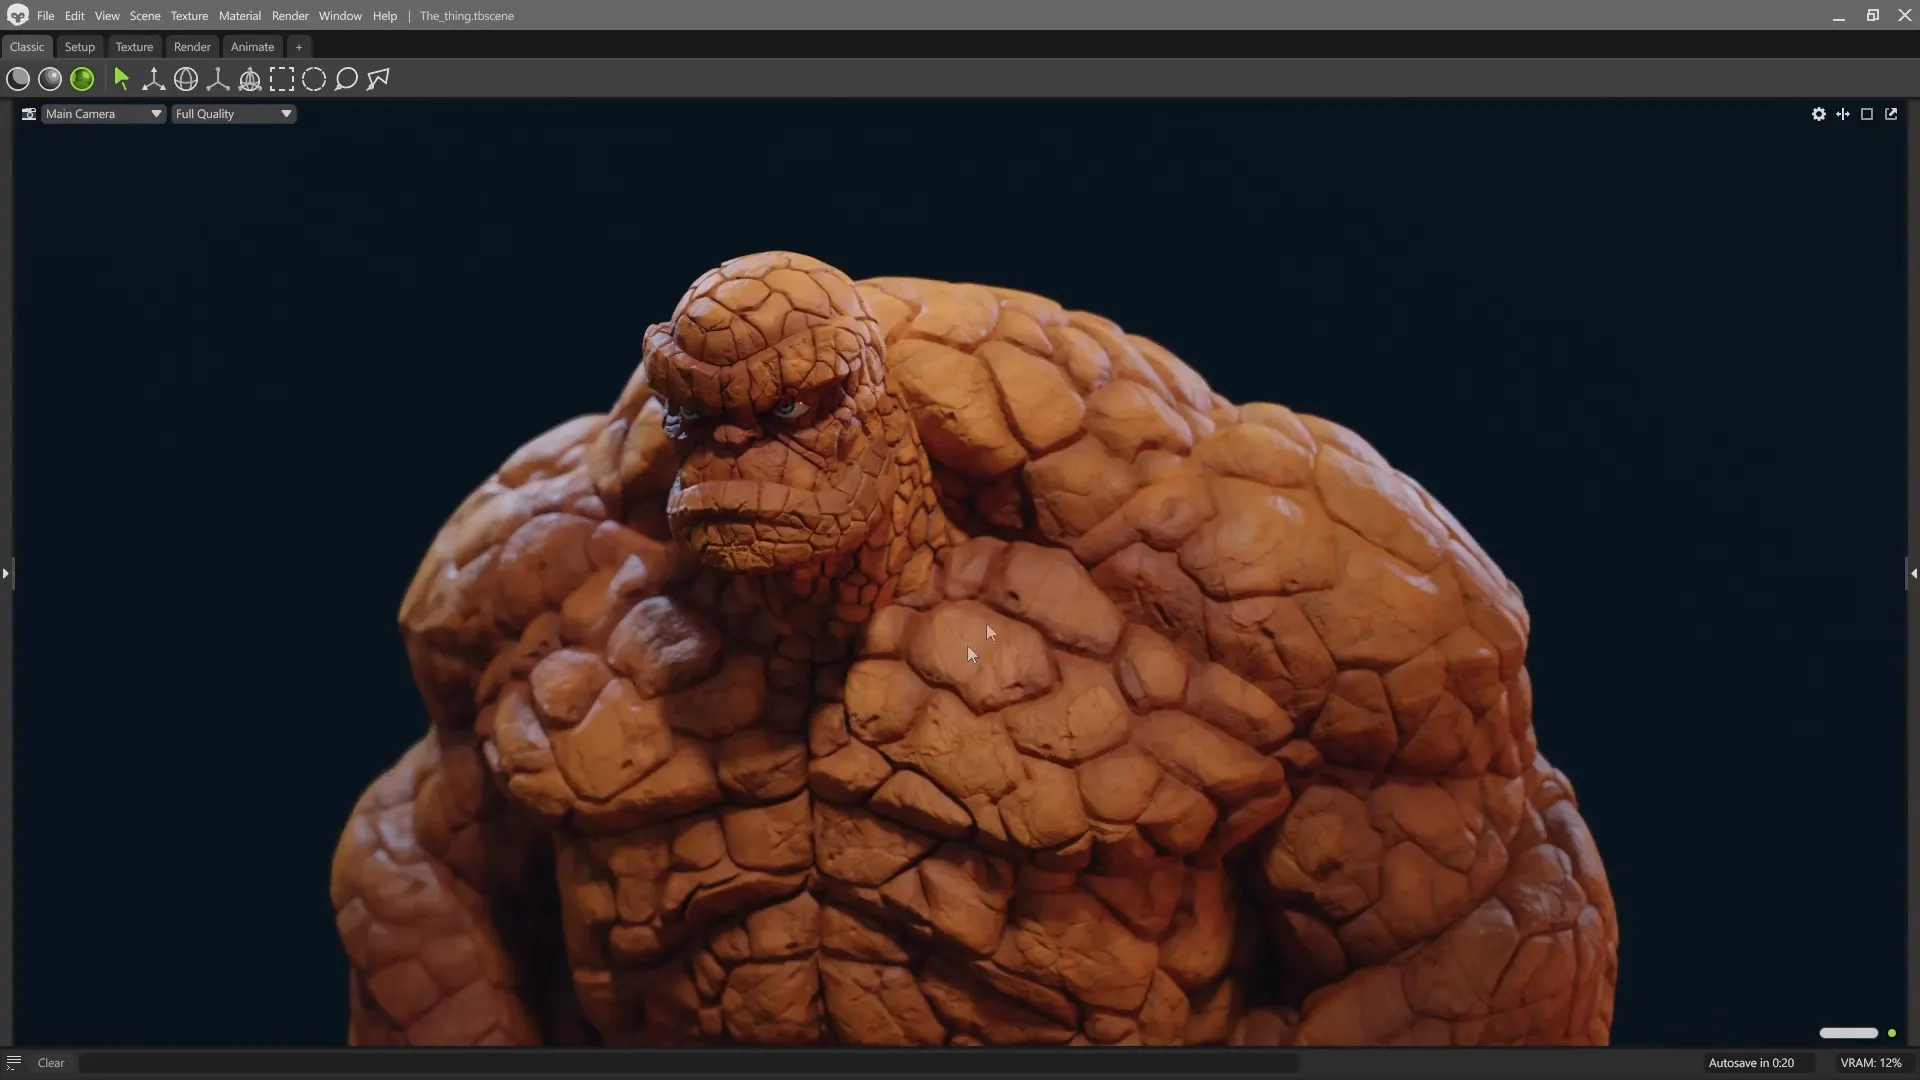
Polish & Presentation
To wrap things up, I refined the sculpt, tweaked the pose and set up a simple render pass for clarity.
- Tweaked the pose and refined transitions between the rock “plates” and the anatomy.
- Sharpened key cracks to hide the transition between objects as they were not merged and simplified noisy areas for clarity.
- Used Surface Noise again to add fine detail to the rocks and enhance the surface texture.
- Exported the files as fbx and imported them into Marmoset Toolbag.
- Don't worry, the color is there. All you have to do is select vertex color in the material ****properties and the color will appear.
- Further adjusted the materials, increased the roughness of the rocks and decreased the roughness of the eyes.
- Set up simple lighting scene in Marmoset (HDRI and three point lighting) to emphasise silhouette and chunky forms.
- Added some volumetrics (Fog) to add more depth to the scene
- Rendered the final scene!

Presentation matters. Good lighting can make or break the read of your sculpt.
Workflow Recap
Each stage had a clear goal, which made the whole process feel smooth and intentional.
- Blockout → Bold primitives, focus on silhouette.
- Primary Forms → Merge and unify anatomy.
- Secondary Forms → Stylized design, chunky rhythms.
- Tertiary Details → Rock cracks, plates, surface character.
- Polish & Presentation → Refine and showcase clearly.
Final Thoughts
Working in clear stages kept the sculpt under control and prevented me from rushing into details. The main lesson? Nail the big forms first. Once the foundations are solid, every detail on top feels intentional and supports the overall design.
Giger & Beksiński inspired pack
This is a collection of 45 custom ZBrush brushes inspired by the amazing work of Zdzisław Beksiński’s dystopian surrealism and Hans Ruedi Giger’s biomechanical aesthetic. The pack also comes with 35 noise maker presets and 11 custom MatCaps.
Get resource
Stylised Cracks
A seamless grayscale texture showing irregular stone-like shapes with smooth shading and dark edges. Useful as a height map, mask, or base pattern for creating cracked or tiled surfaces in 3D materials.
Check it out


.webp)

