

Five Game-changing PureRef Tips
Hey there! In this tutorial, I'm going to share with you five game-changing PureRef tips that I've found really helpful for organizing and using references effectively.
1. Custom Presets with Shortcuts
First up, let's talk about custom presets with shortcuts. I love this feature because it lets me customize the look and feel of PureRef, including the transparency settings, and assign a shortcut to access the preset quickly.
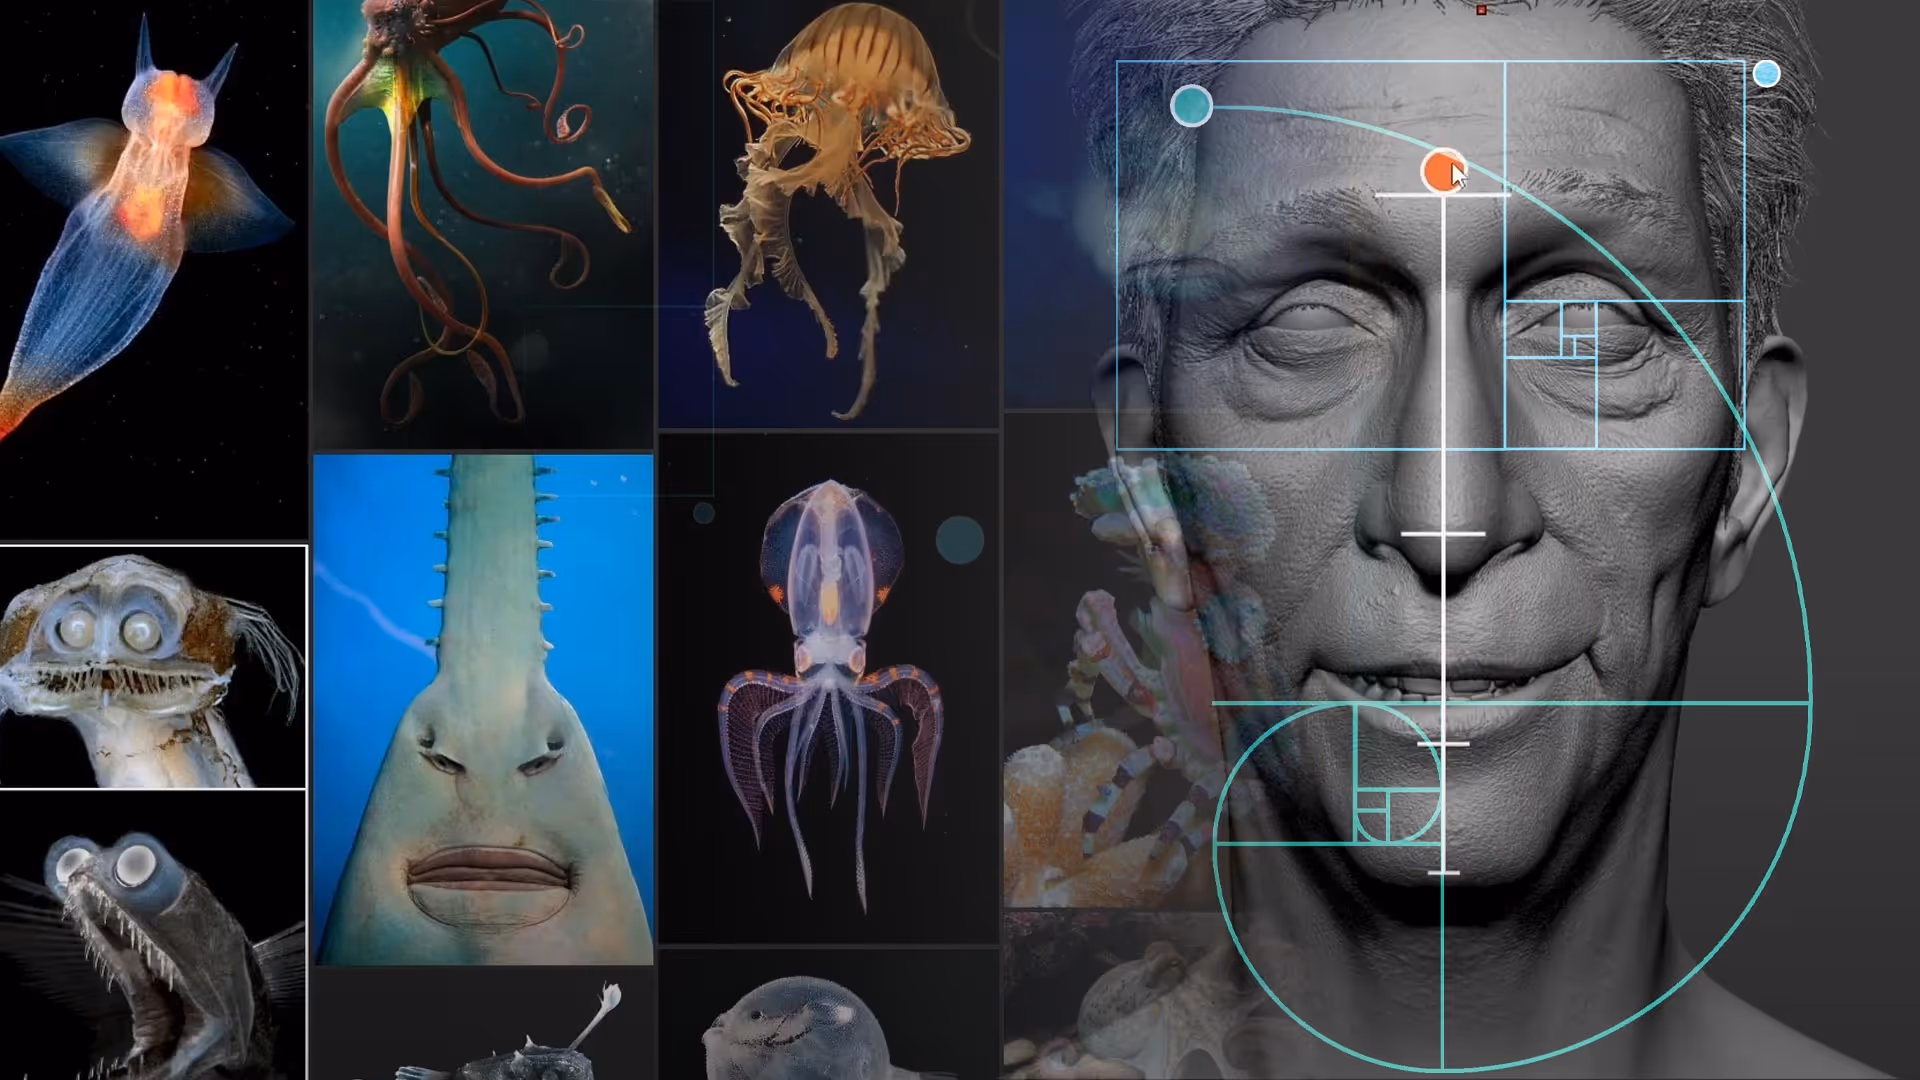
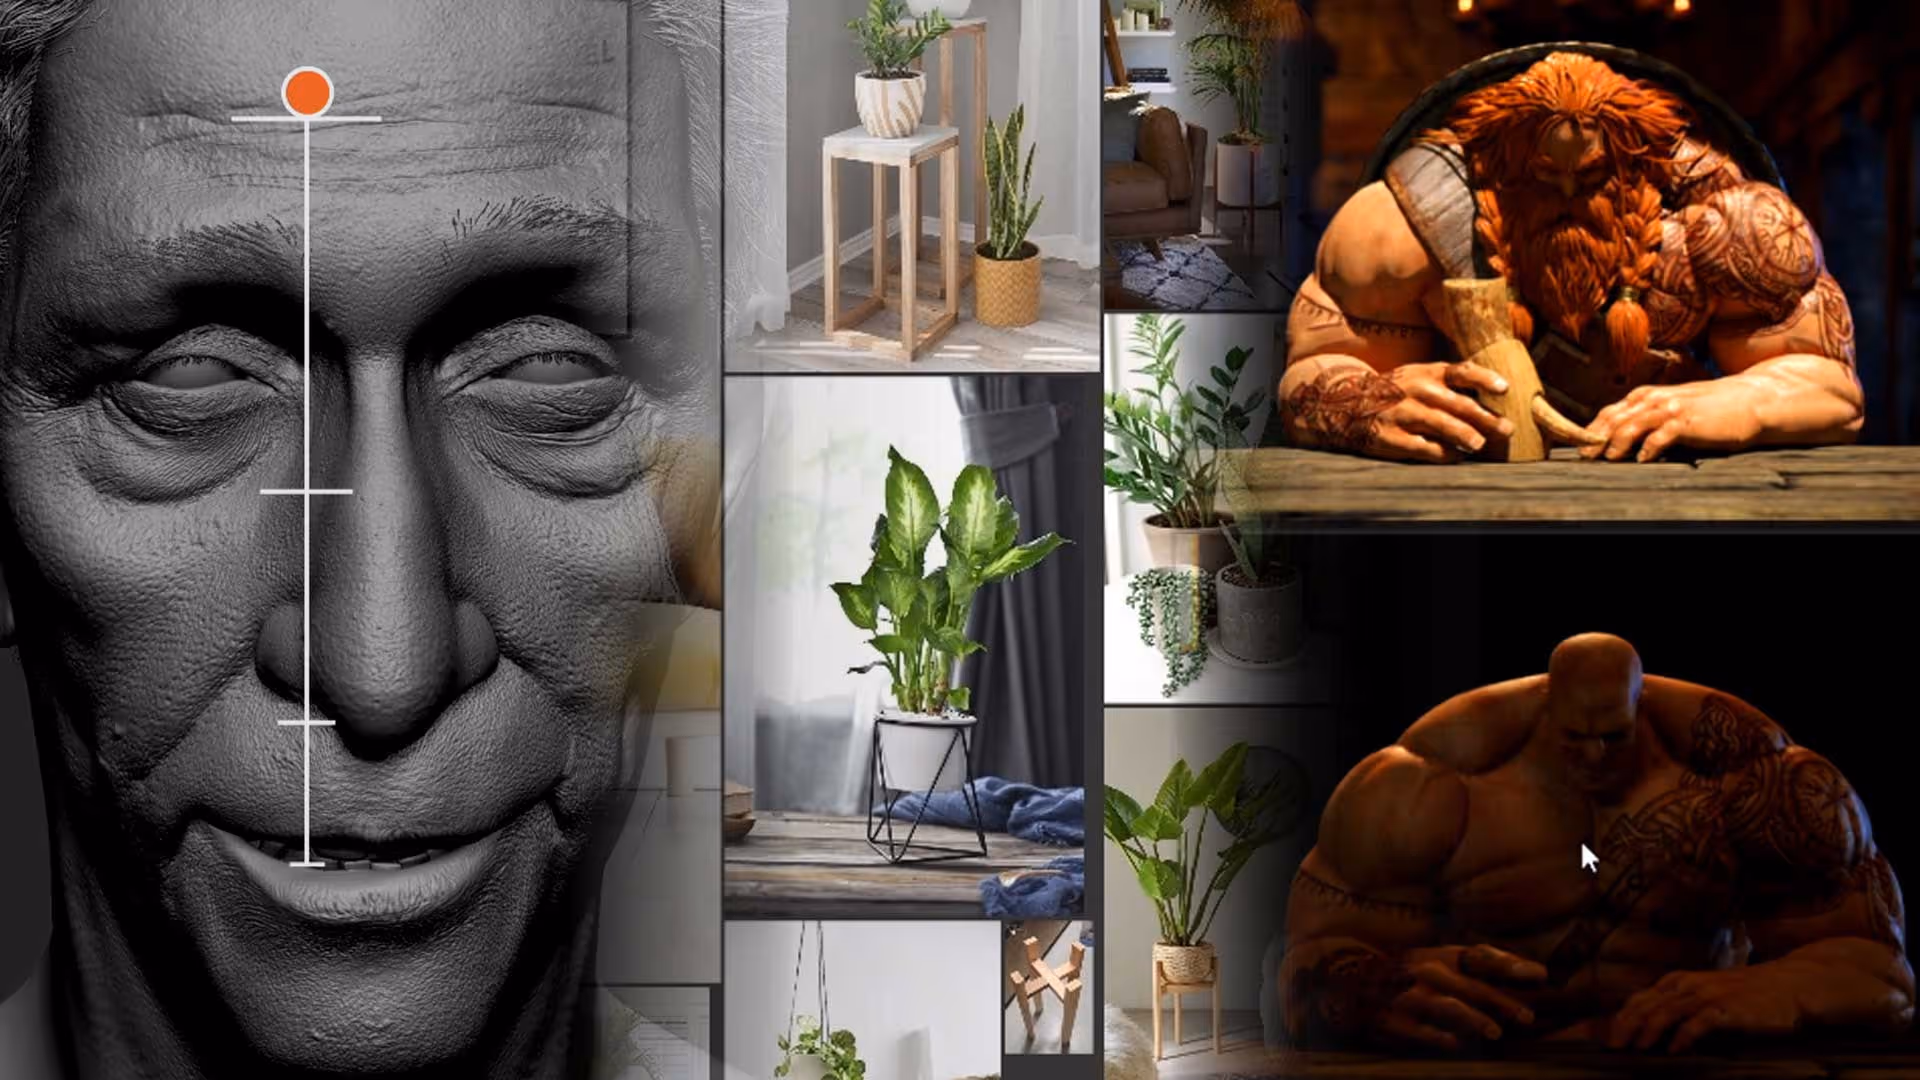
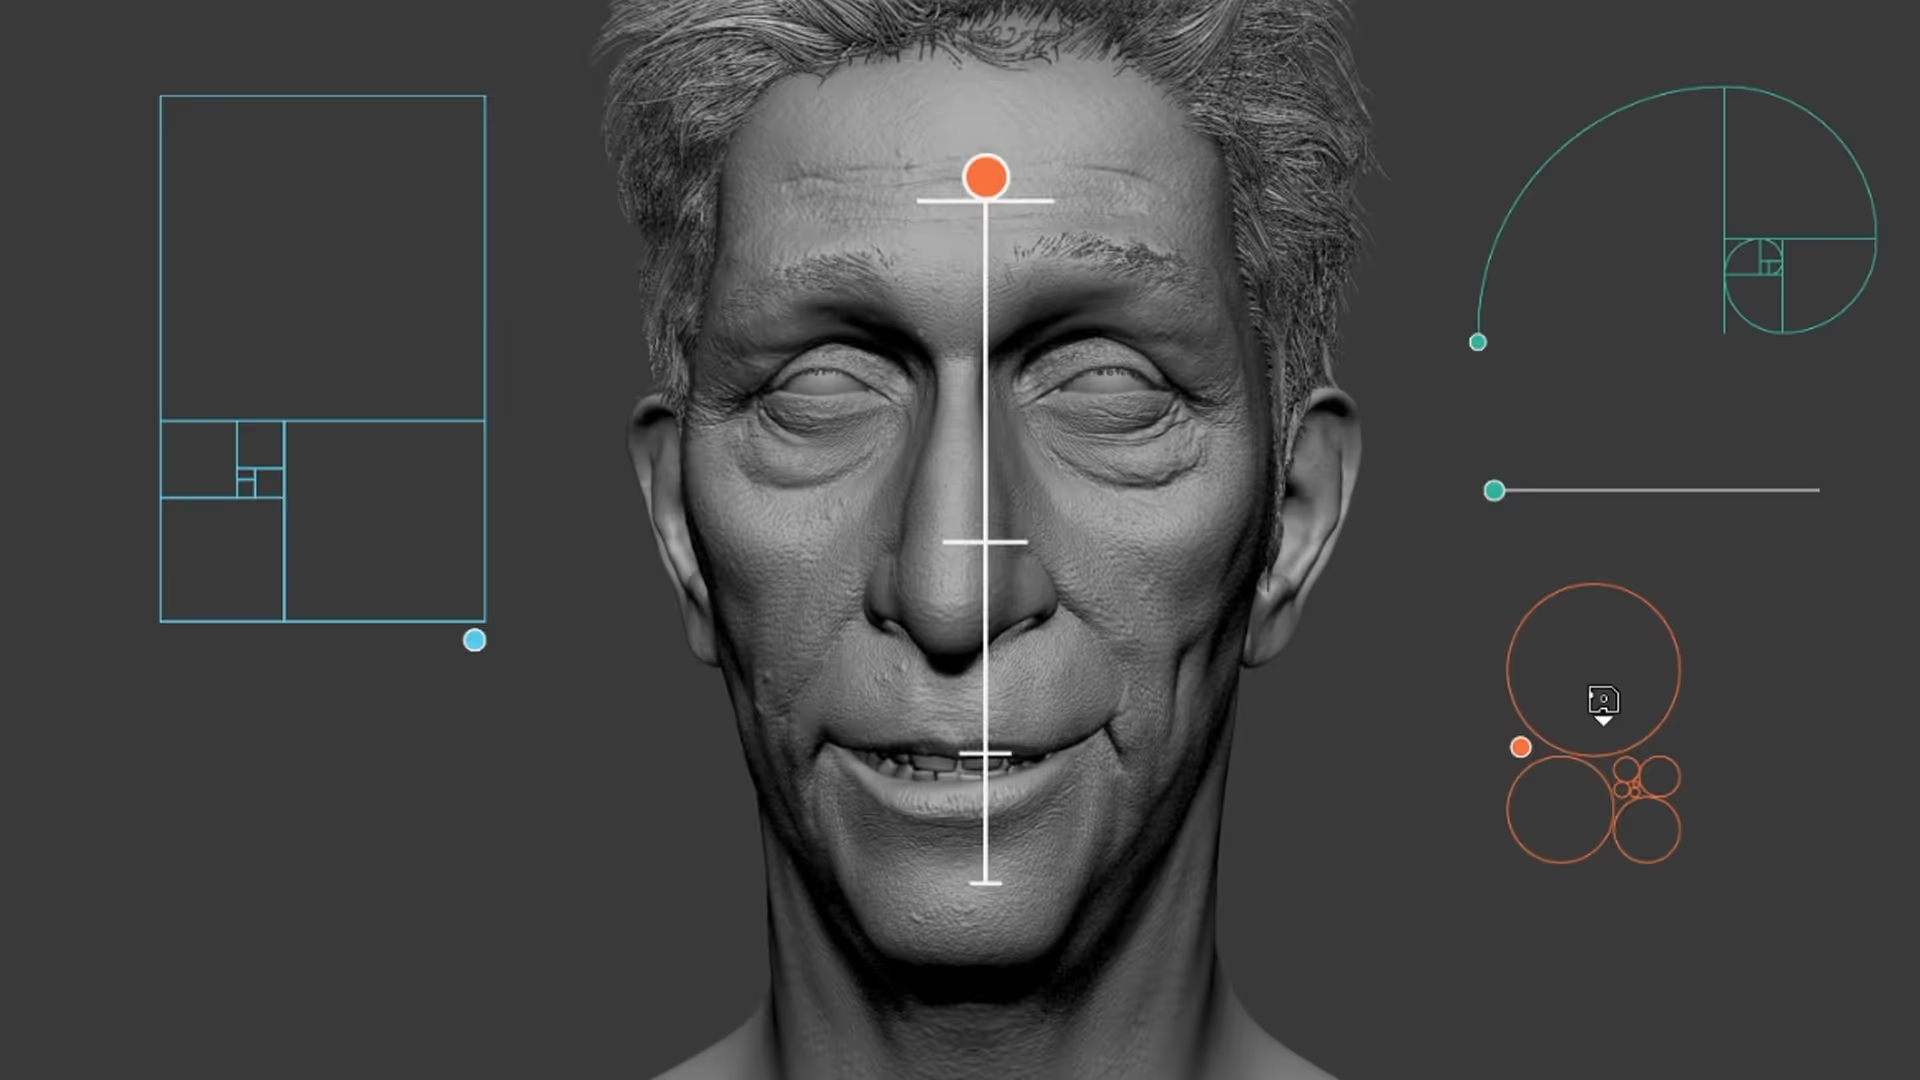
2. PureRef Guide
Another great tip is to use PureRef as a guide by creating a set of images as guides that can be loaded into PureRef and used for aligning, measuring, and compositing things with ease. This has been really helpful for me when I'm working on detailed projects.
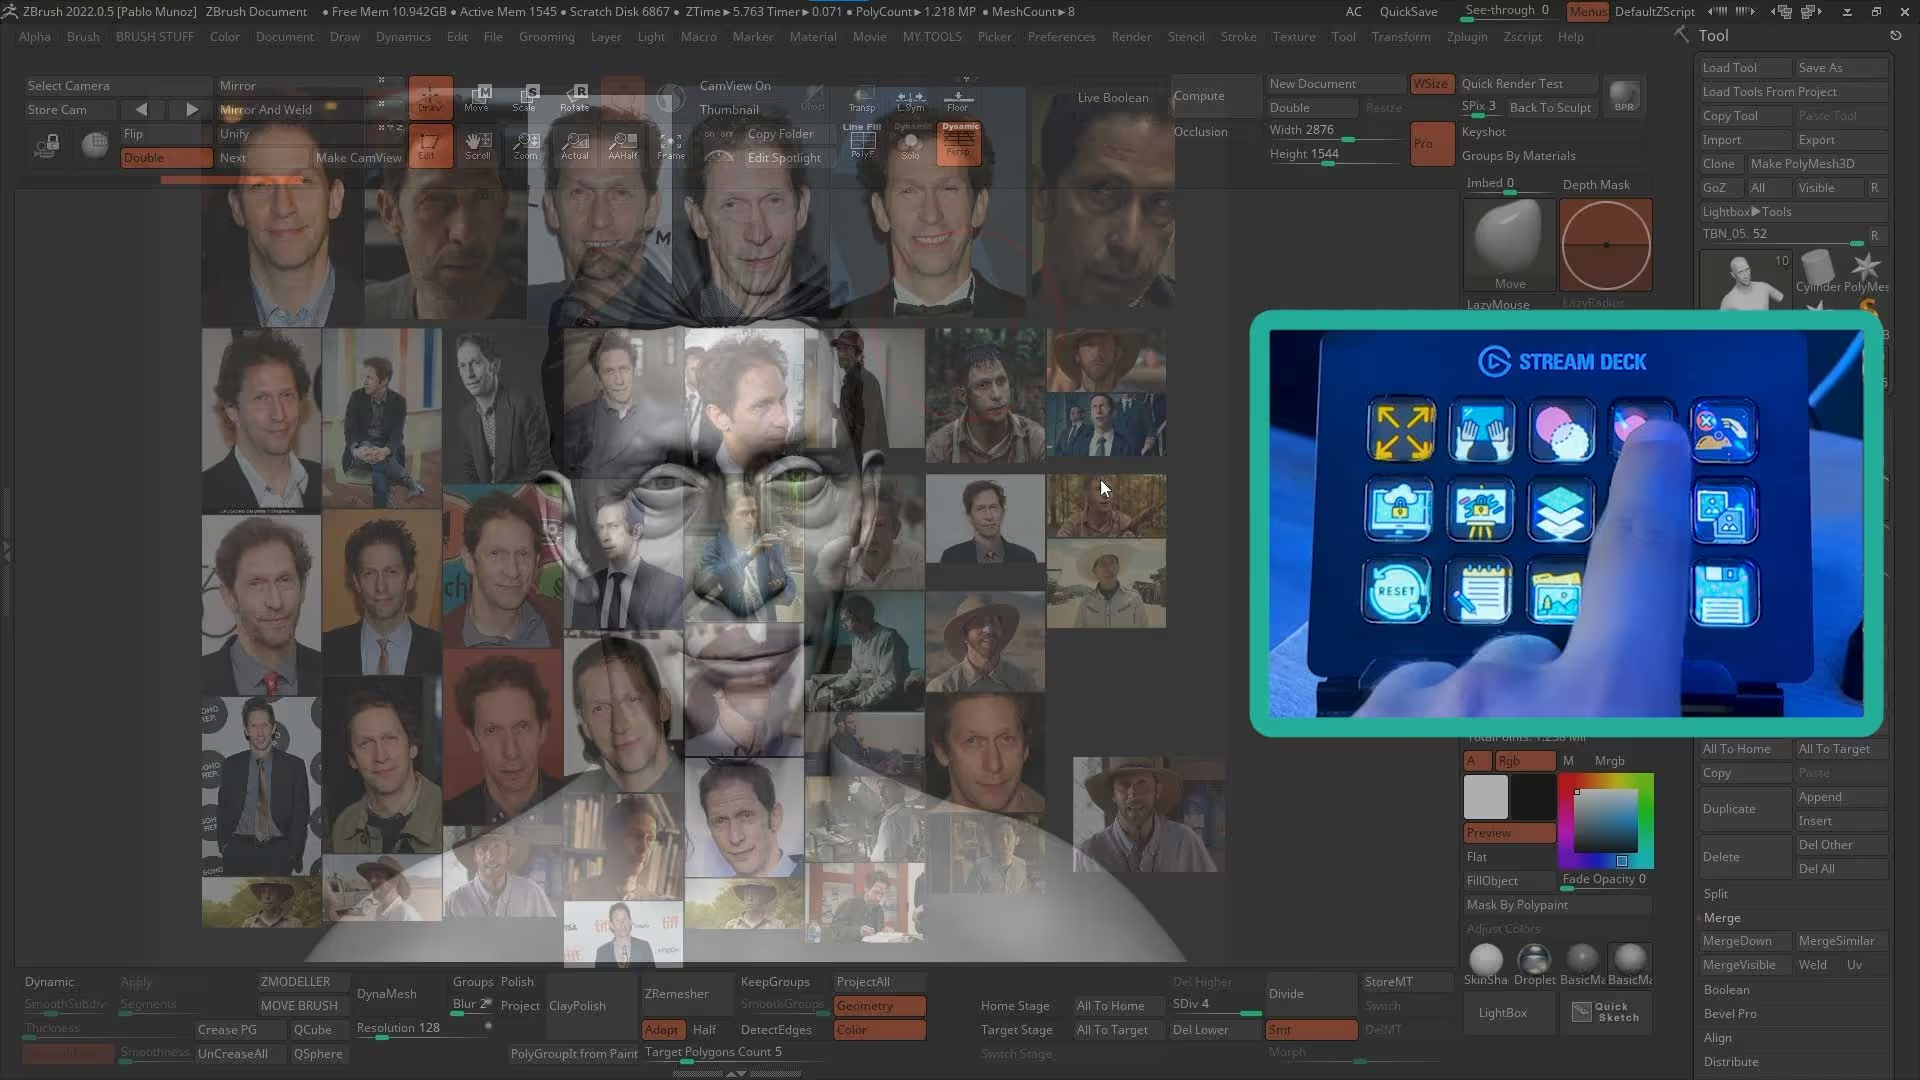
3. Image Color Picker
The third tip is the grayscale image and color picker, which is a super useful tool for avoiding color distractions while focusing on image values, silhouettes, shapes, and more. You can quickly turn images grayscale by using Alt + G or by creating a shortcut button in a stream deck. And if you need to select a specific color, just hold the ‘S’ key on your keyboard and left-click on an image.

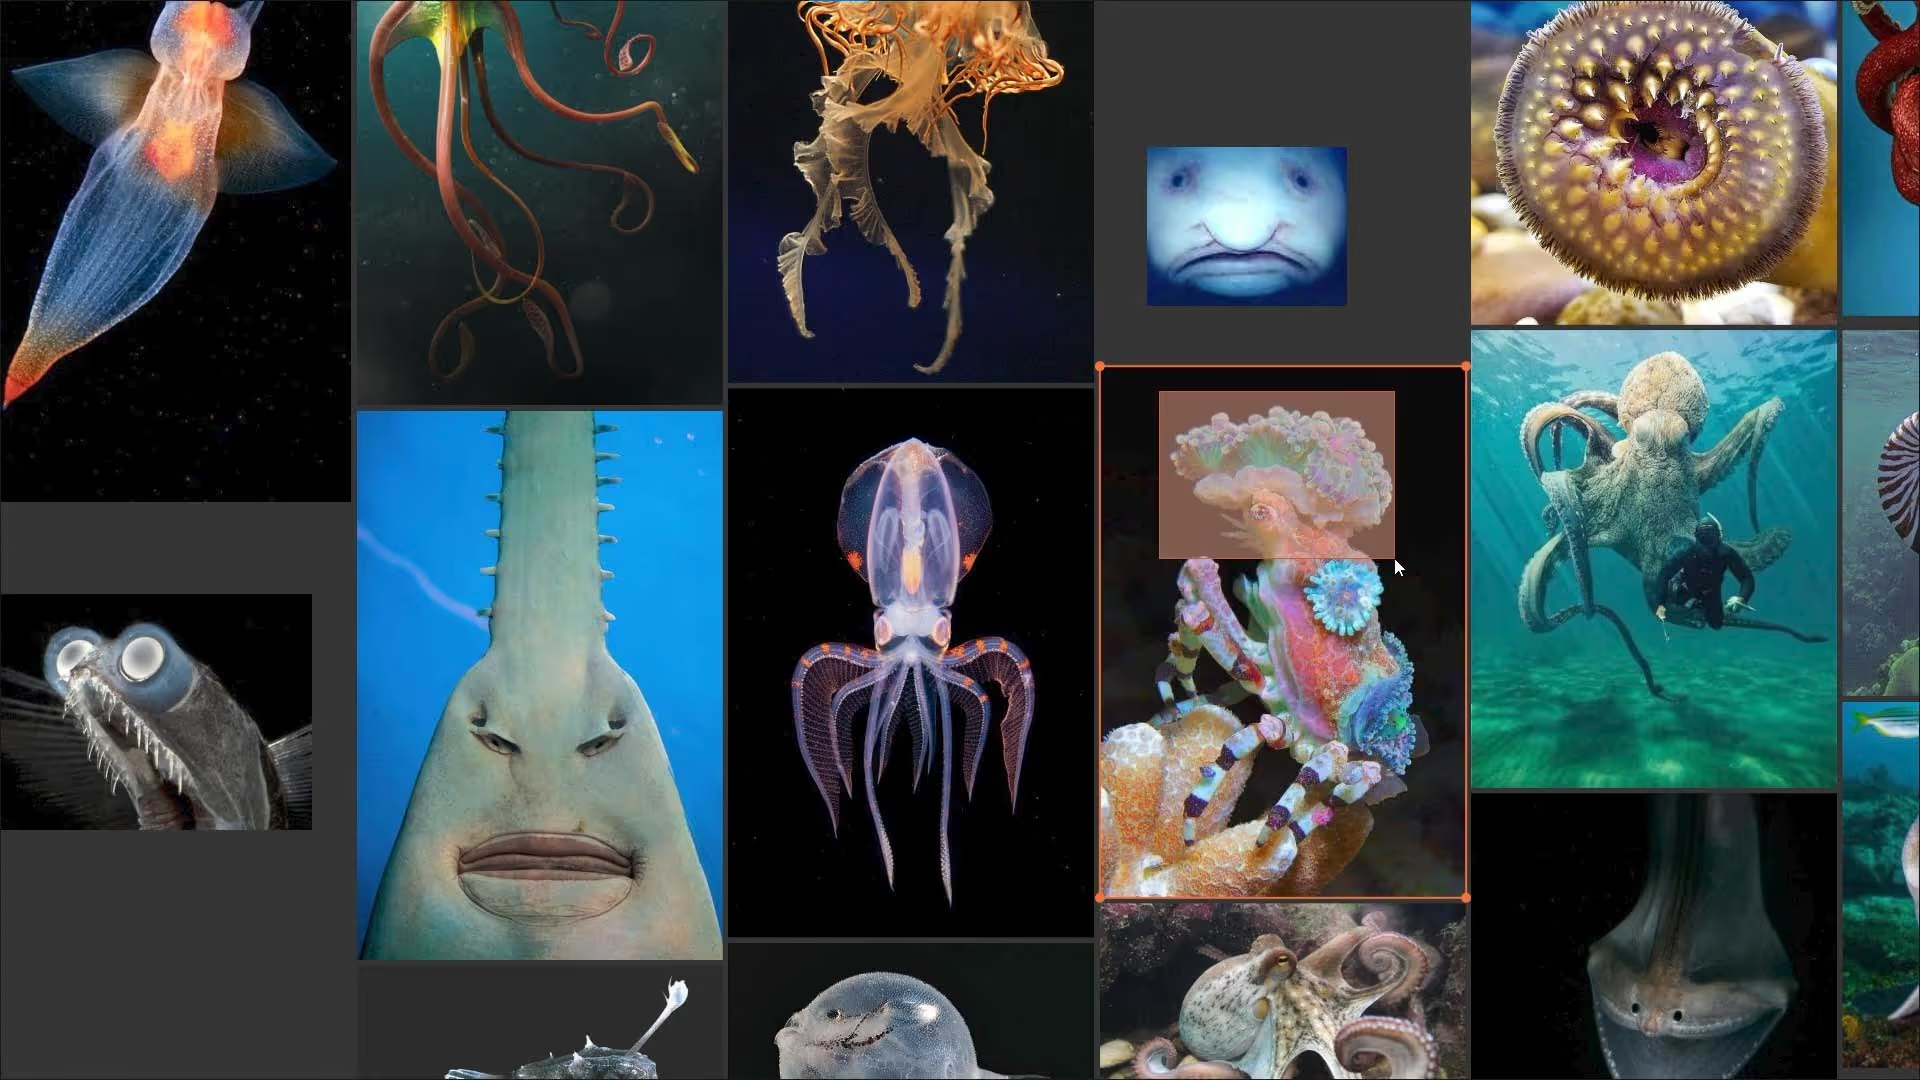
4. Cropping Tool
Another useful tool is the cropping tool, which can be activated by holding the C key and left-clicking and dragging the mouse around the desired area. Once you've cropped an image, you can move it within the cropped area by holding the ‘V’ key and dragging the mouse around.
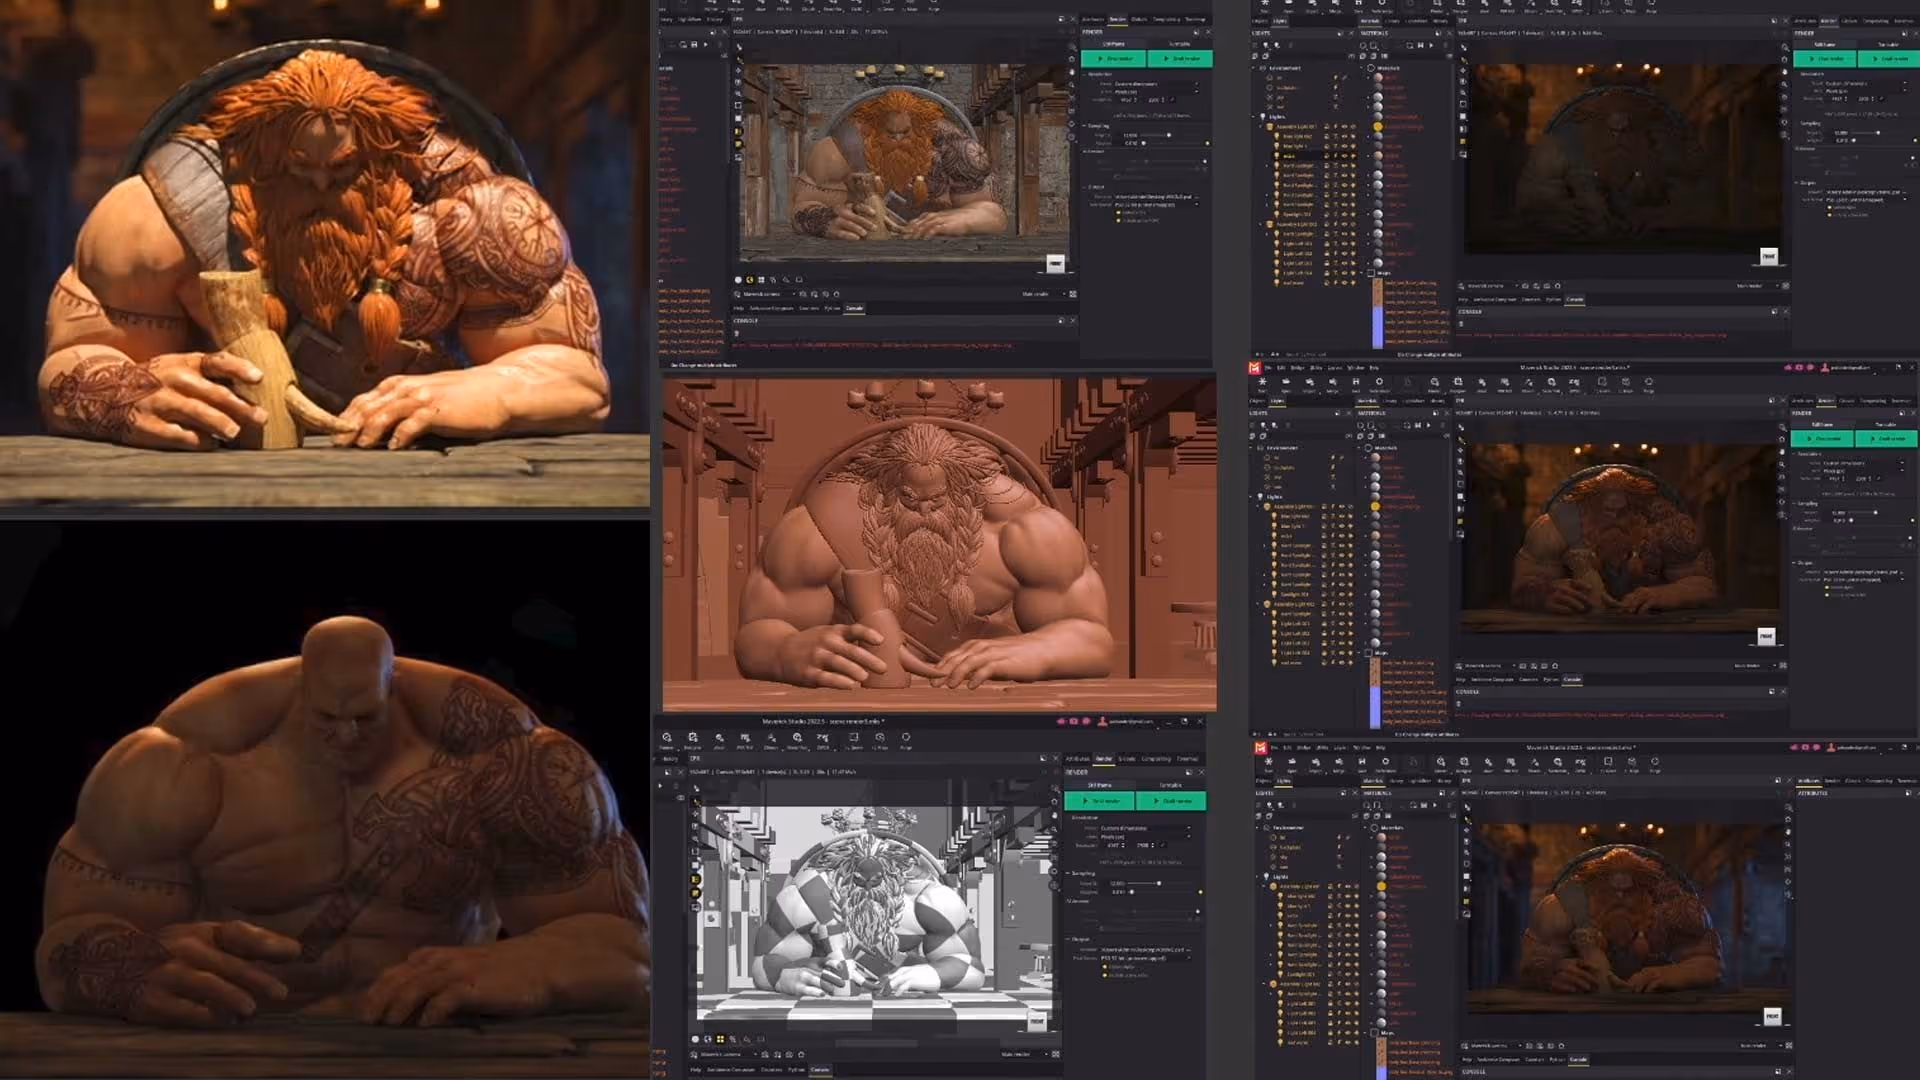
5. Progress Tracking
Finally, I recommend using PureRef to take screenshots of the creative process and cycle through them as a record of how your project has evolved. It's a great way to see how far you've come and to keep track of your progress.
I hope you found these tips helpful! Let me know if you have any questions.

Quick review of the SpaceMouse Wireless bluetooth
In this "Quick review of the SpaceMouse Wireless Bluetooth!" video, I’ll show you the compact, versatile SpaceMouse Wireless for its intuitive dial and seamless 3D navigation across applications like PureRef, ZBrush, Substance Painter, and Blender.
Check it out


.webp)

