

This tutorial is a bit long, but it covers everything from the setup of the tool for sculpting in ‘wrap mode’, to the rendering test using Marmoset toolbag 3. Although the tutorial shows the creation of a ‘stylised’ hand-painted texture, the same steps can be used to achieve a more realistic effect.
An important note about the tutorial…
Note that in the tutorial I end up exporting the ‘BaseColor’ texture while the ‘SkinShade4’ is selected. This process produces a ‘BaseColor’ that has some material properties baked into the map.
In most cases, for a PBR workflow, you probably want to have an Albedo map that has no ‘shading’ information (pure colour, no lighting, or anything else). To produce this type of Albedo map with just colour information, you can simply select the ‘Flat’ render mode from the Render palette to visualise just the polypaint and export that view.
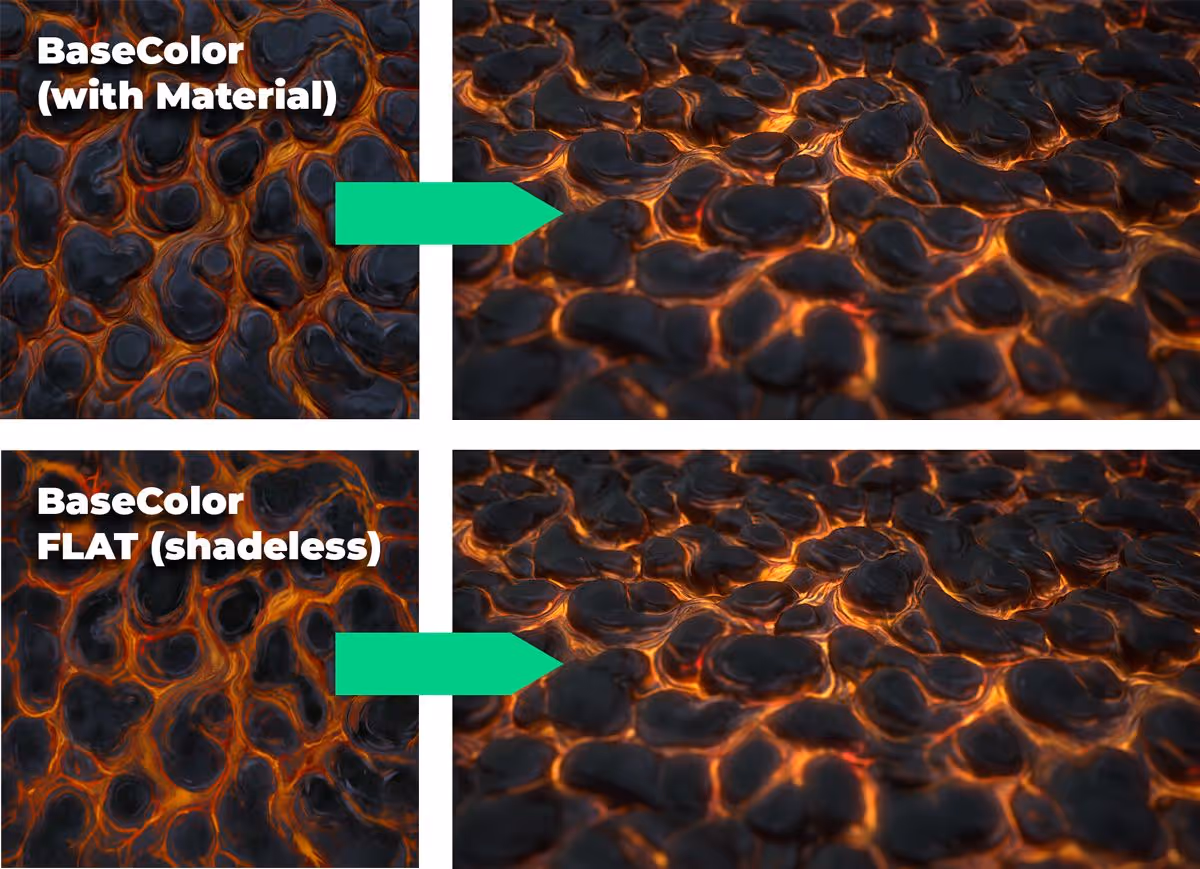
The reason I used the Albedo as a mix of polypaint and material, is purely to accentuate the stylisation of the texture and to bake some of the highlights/shadows into the colour map itself. However, in most cases you should aim for a flat color with no shading as the base colour:
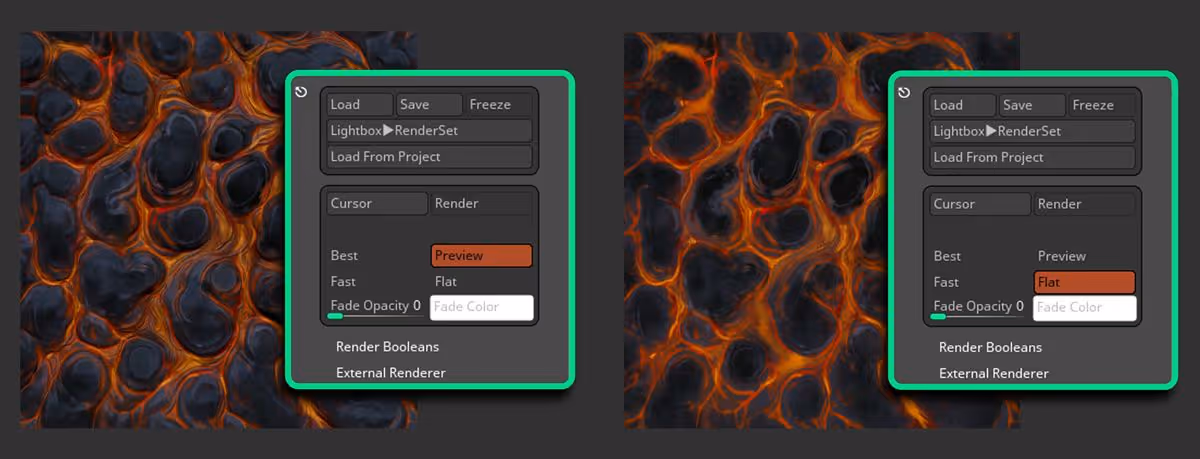
In the image below you can see the same scene using the same maps that were exported at the end of the tutorial and simply switching the Albedos (the on with material and the shadeless one).
There is not a huge difference but as I mentioned before, in most cases (for PBR workflow) if you want a more realistic effect for your materials, you don’t want to have any shading information within the Albedo map.
Renders
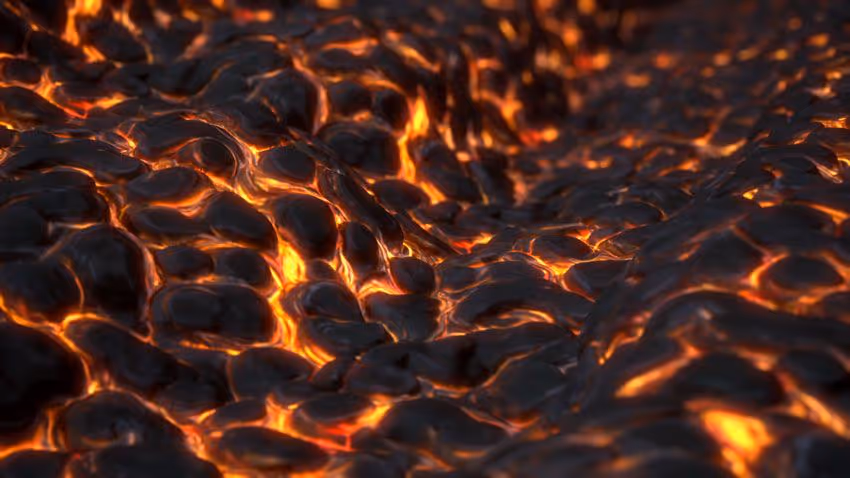
Below are a few images rendered with he maps from this tutorial. You can produce a very different effect by simply tweaking some of the maps (either from ZBrush, Alchemist or Photoshop).
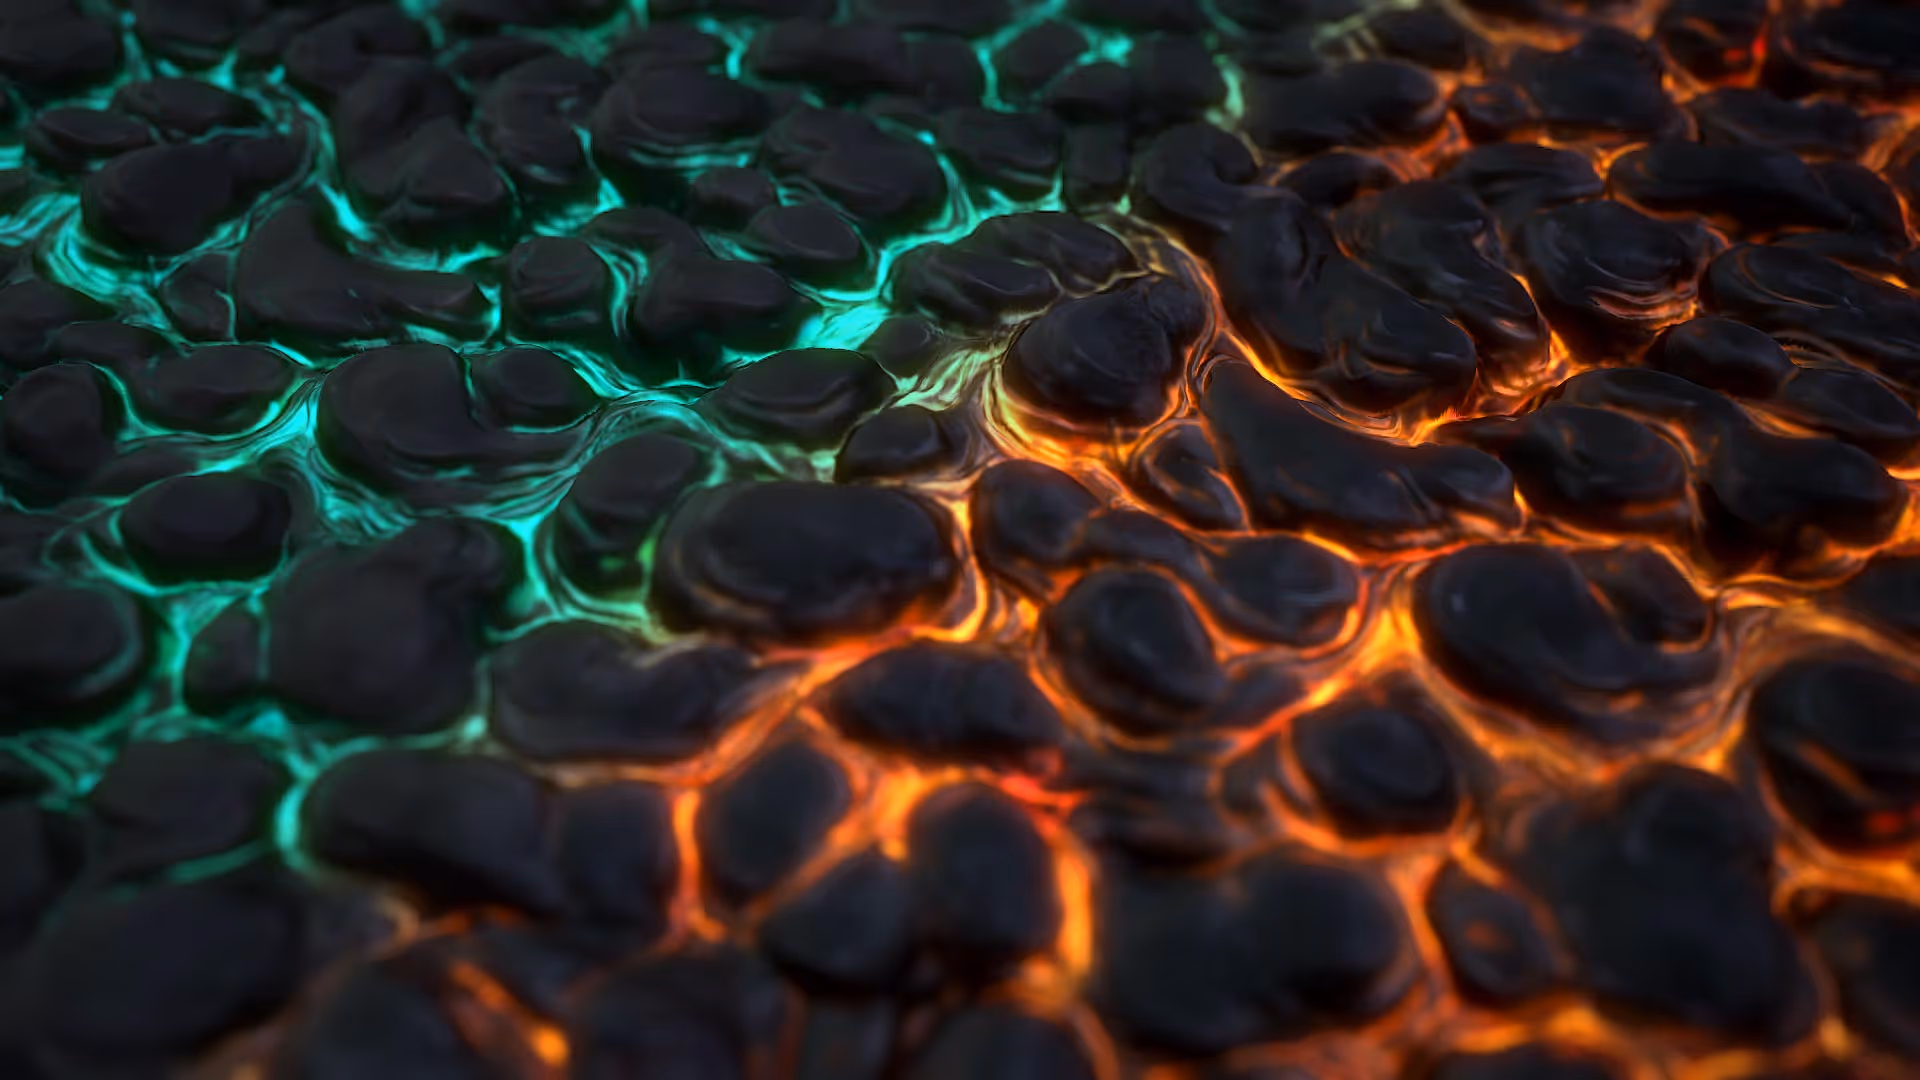
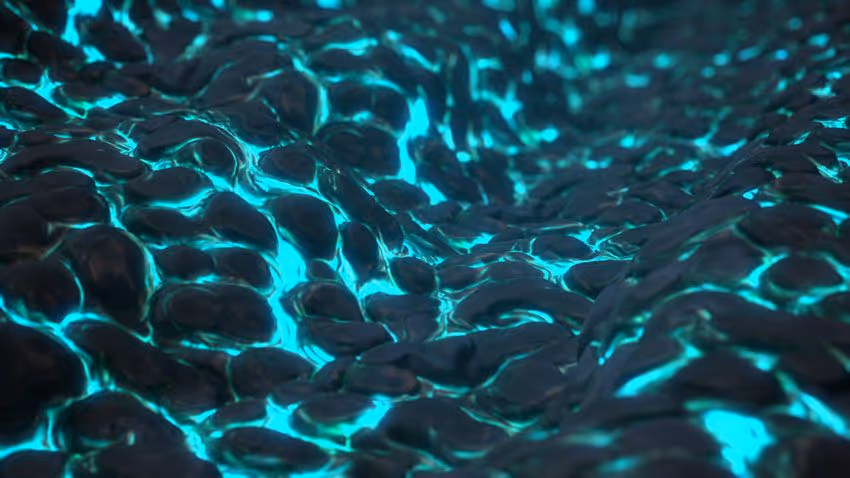
For the ‘blue alien terrain’ I changed the Hue of the Albedo map as well as the emissive.
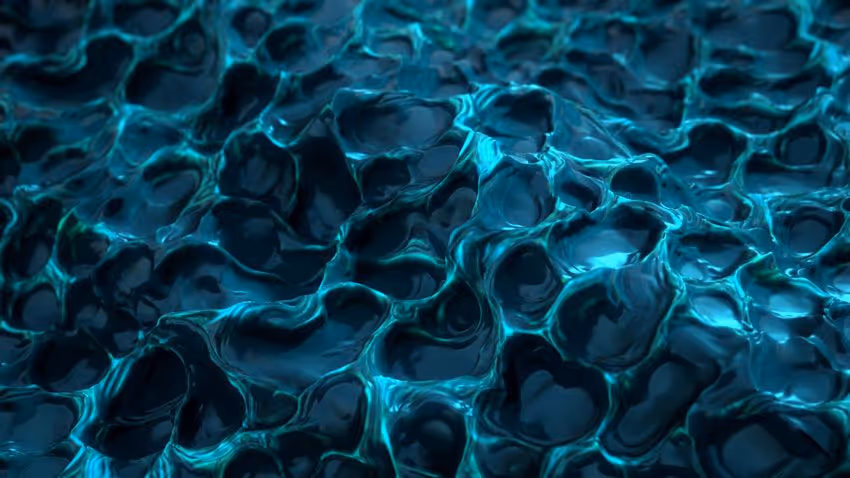
You could also play with other maps like the Height map. For the image below, I just inverted the alpha from ZBrush and exaggerated the ‘Scale’ value in marmoset:
Advanced ROCK brushes pack
This pack contains 70 custom brushes to create rocks in ZBrush, plus a couple of additional resources. These brushes are not just simple alphas, they allow you to sculpt as you would with a Standard brush or clay buildup brush, whilst creating interesting rock patterns with plenty of details.
Get resource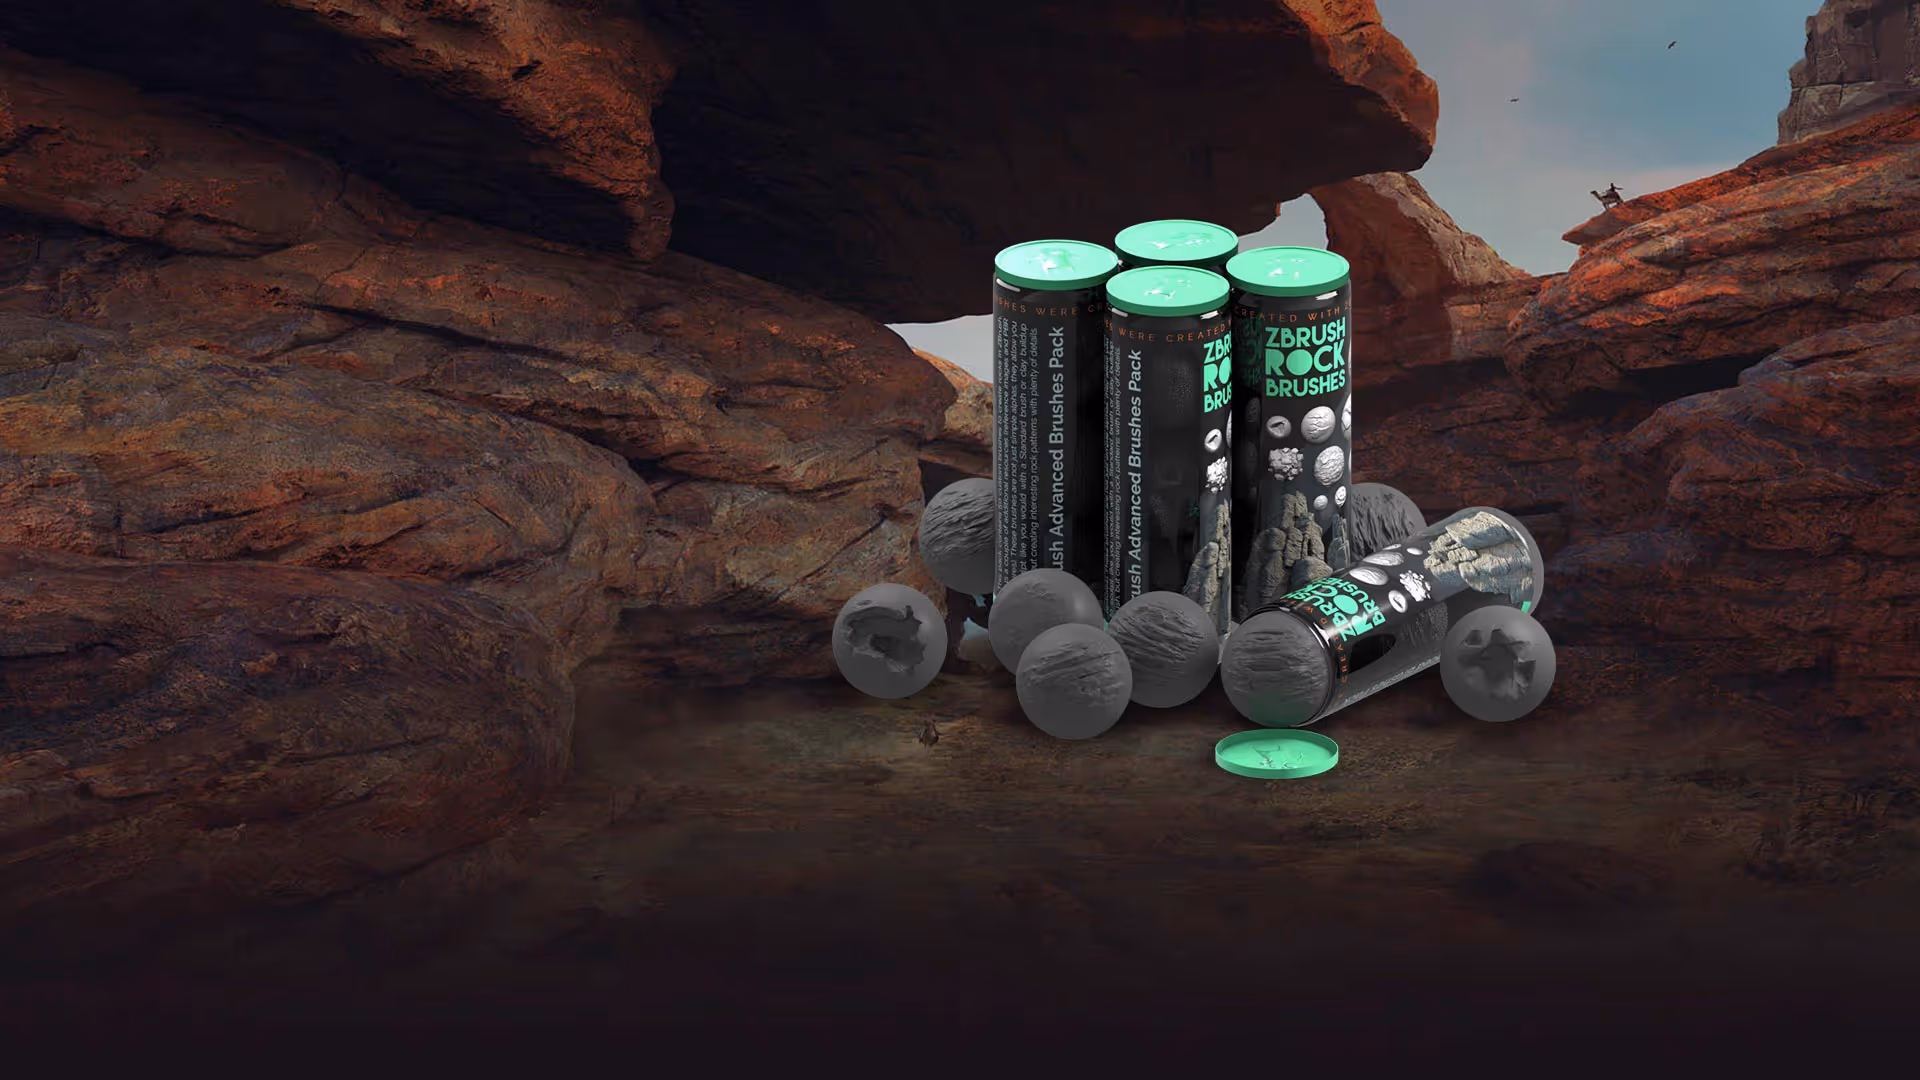
ZTools and Texture maps
The download button is a direct link to get a .ZIP file containing the resources for this tutorial. With the ZIP file you get the ZTool I used for the ‘Lava texture’, a ‘blank’ reference ZTool, and the exported texture maps in a folder. These resources were created with the 2020.1.4 version of ZBrush. If you haven’t updated you ZBrush version to 2020.1.4 or above, the ZTools might not work as expected.
Check it out


.webp)

