

Introduction
In this introduction to the ZBrush Compositor I’ll cover the basics of setting up the plugin, what it does, what to expect, and the main two workflows to produce awesome looking images using ZBrush in Combination with Substance Painter and/or Marmoset Toolbag 3 with no UVs!
You will learn:
- How to use the ZBrush Compositor plugin
- A simple workflow to create awesome concepts
- Rendering a ZBrush sketch in Marmoset and Substance 3D Painter
Note: Zbrush 2020 version was used in this tutorial.
Installation:
1. Download the ZBrush Compositor plugin from the Pixologic Download center.
2. Close ZBrush 2020
3. Extract folder from the Zipped file
4. Copy the contents of the folder ZBrushCompositor_Install (‘ZBrushCompositor_2020.zsc’ and the ‘ZBrushCompositorData_2020’ folder) to: Pixologic/ZBrush 2020/ZStartup/ZPlugs64/
5. Launch ZBrush again
ZBrush Compositor will be located in the ZPlugins Palette [ZPlugin > ZBrush Compositor]
Make sure you save your work before using it this plugin as it has limited testing.
Quick Start Guide:
1. Get your ZBrush sketch ready, remember you can use any process and you don’t need UVs.
2. Crop your canvas to a square format (any size will work as long as the canvas is square)
3. Choose your camera angle for the render
4. Choose a size for the maps and custom settings from the ZBrush Compositor palette
5. Click on either the ‘Create Substance Composite’ or ‘Create Marmoset Composite’ buttons.
When you click on ‘Create Substance Composite’ you’ll be asked to locate the installation folder of Substance Painter the first time you use it.
Use the ‘Reset Path’ button to re-locate the Substance Painter executable.
Full workflow
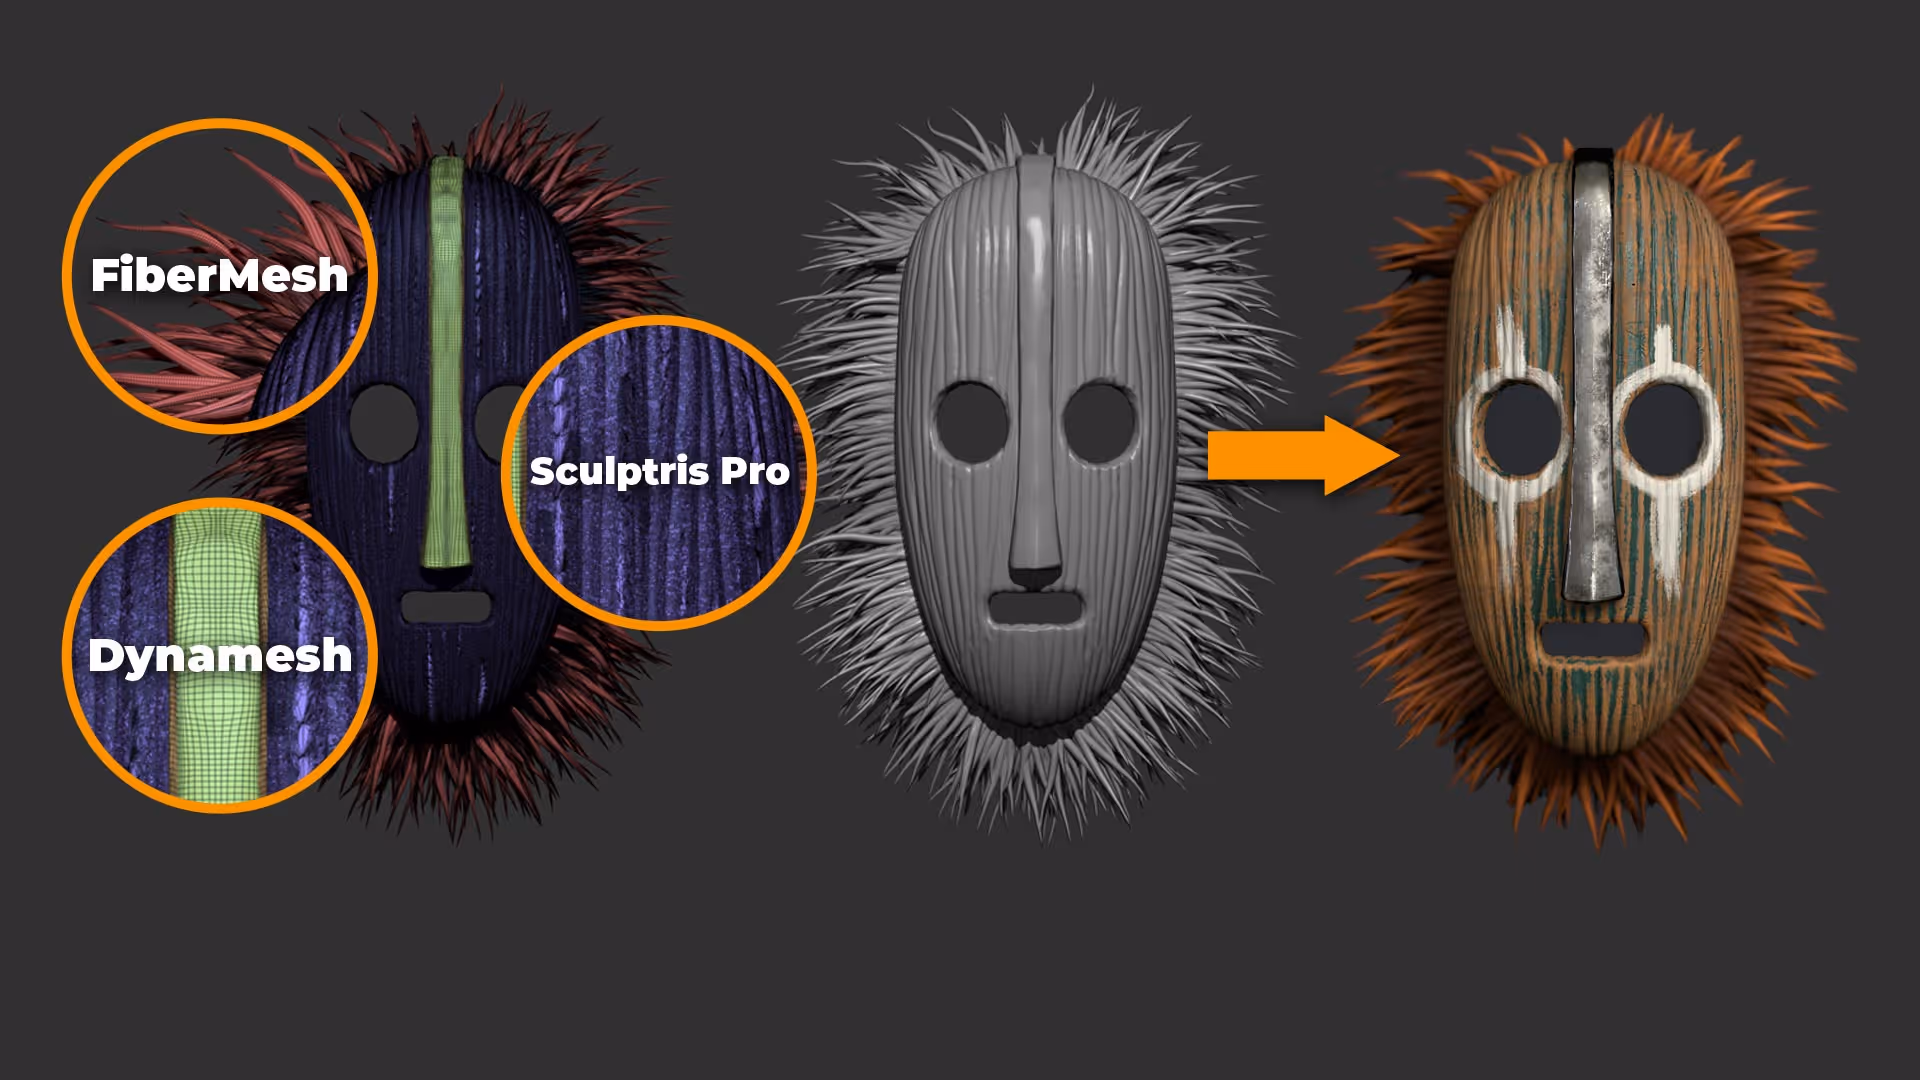
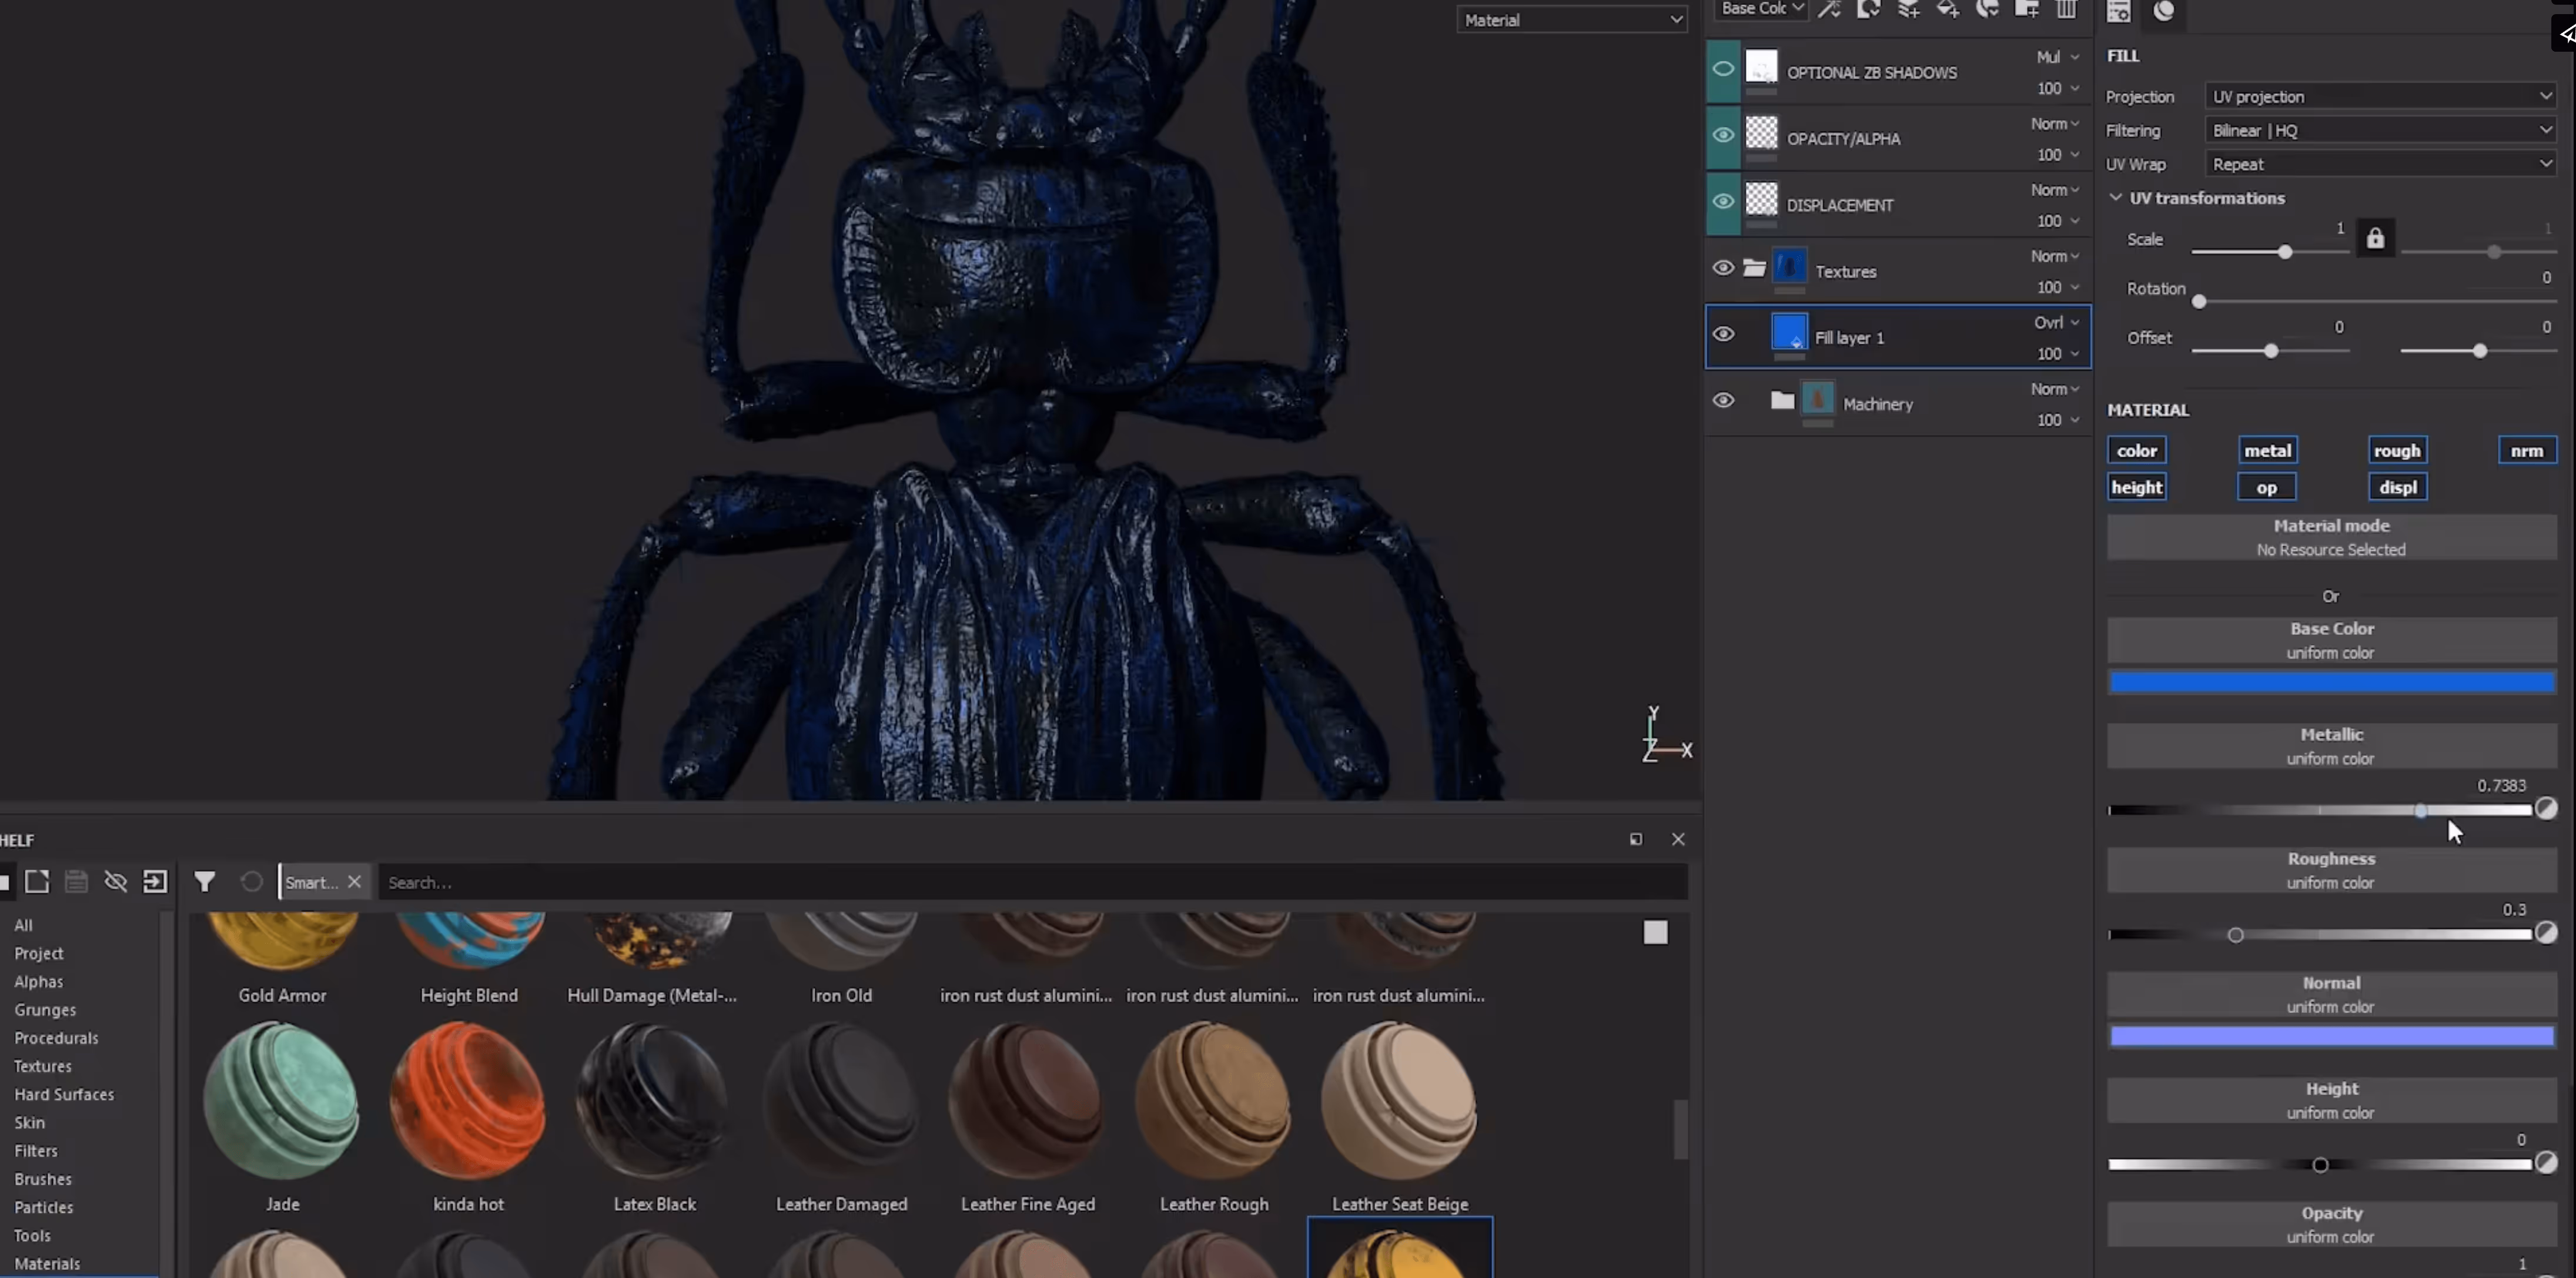
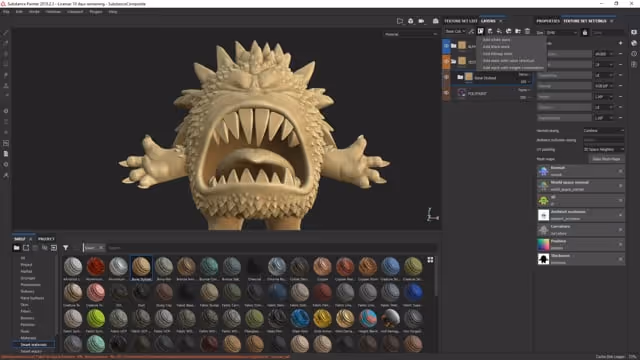
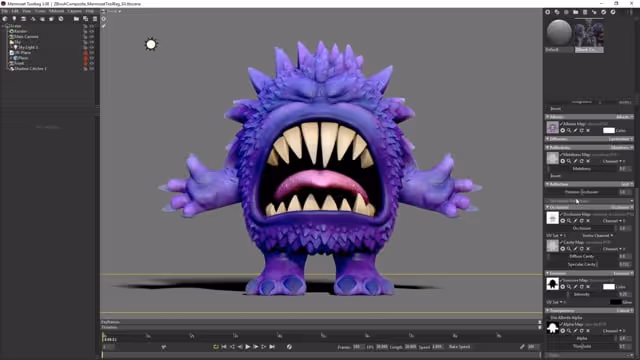
Grab a coffee or a cup of tea, this is a long video (1 hour and 20 min) where I cover the entire workflow on using the ZBrush compositor plugin. I’ll walk you through the blocking and sculpting process of a wooden mask in ZBrush and then the texturing process in Substance Painter using the ‘Substance Composite’. At the end of the video, I’ll show you how the ‘Marmoset composite’ work and shows you how to combine the two workflows (SP > MT3).
Advanced Tips
ZBrush compositor and Substance Painter Workflow
In these two additional videos of the series, I will share with you a breakdown of my work Salaputti Marionette and give you some more ‘advanced’ tips and tricks for the Substance 3D Painter workflow. On the additional techniques video, I’ll cover the same substance Painter workflow with a hard surface model.
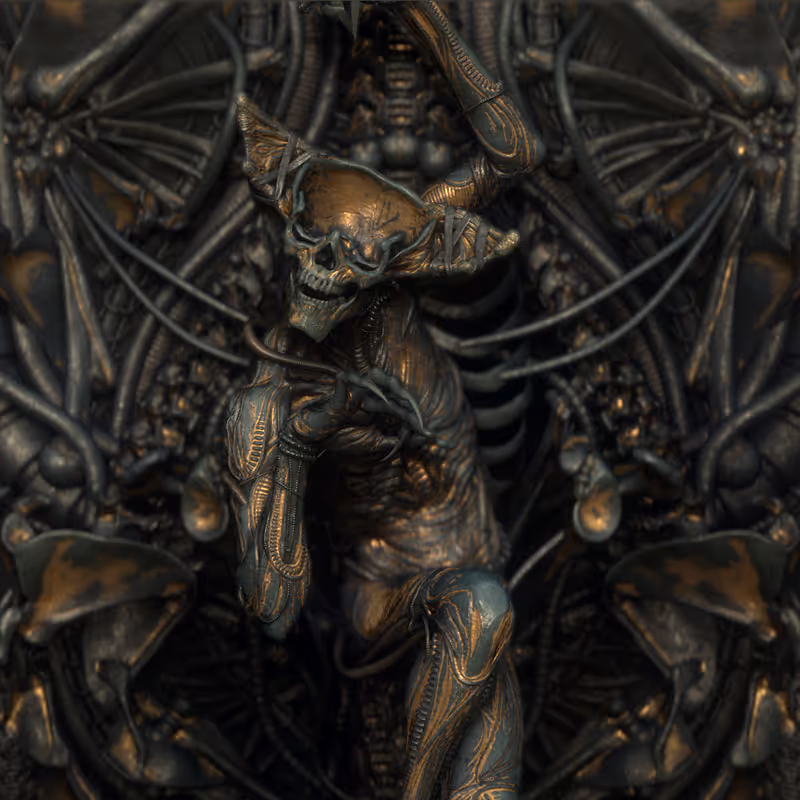
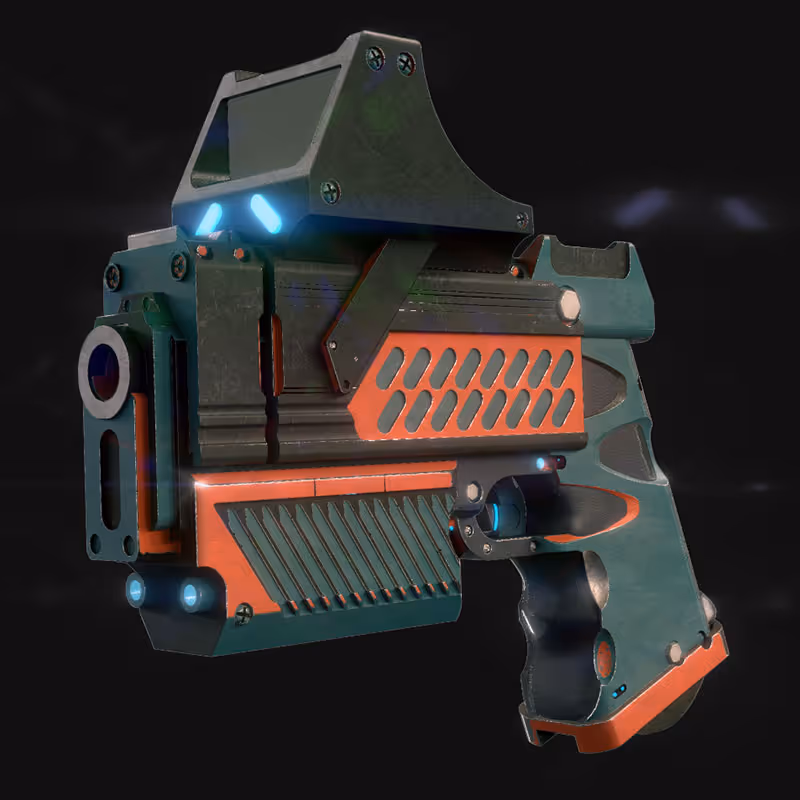
Examples rendered with this workflow


Compositing Cheat Sheet
If you are interested in learning more about the process of compositing ZBrush render passes in Photoshop, grab your FREE copy of The Cheat Sheet for Compositing: a simplified approach to set up, combine and enhance your ZBrush render passes in Photoshop.
Check it out


.webp)

