

In this short video tutorial, I'm going to show you a quick way to create custom alphas to details your ZBrush sculptures using custom (or standard) brushes.The purpose of this short tutorial is to show you the awesome possibilities you have in ZBrush to create useful resources for yourself using other custom brushes. The specific brushes I use to demonstrate this workflow are from the Giger & Beksinski tribute pack, but you can use any other set of brushes. Keep in mind that most brushes can be also turned into a painting brush when you remove the ZAdd or ZSub and use the settings of the brushes for polypaint!
Using custom brushes with Polypaint
Another really cool thing you can do with custom brushes is to take advantage of their settings and simply use them for texturing using ZBrush Polypaint. The idea is quite simple and you just need to select a brush, turn off the settings that affect the volume of the mesh (ZAdd, ZSubb or ZIntensity to '0') and enable the RGB switch.
Here is what I changed on the brush I used on the video tutorial as an example:

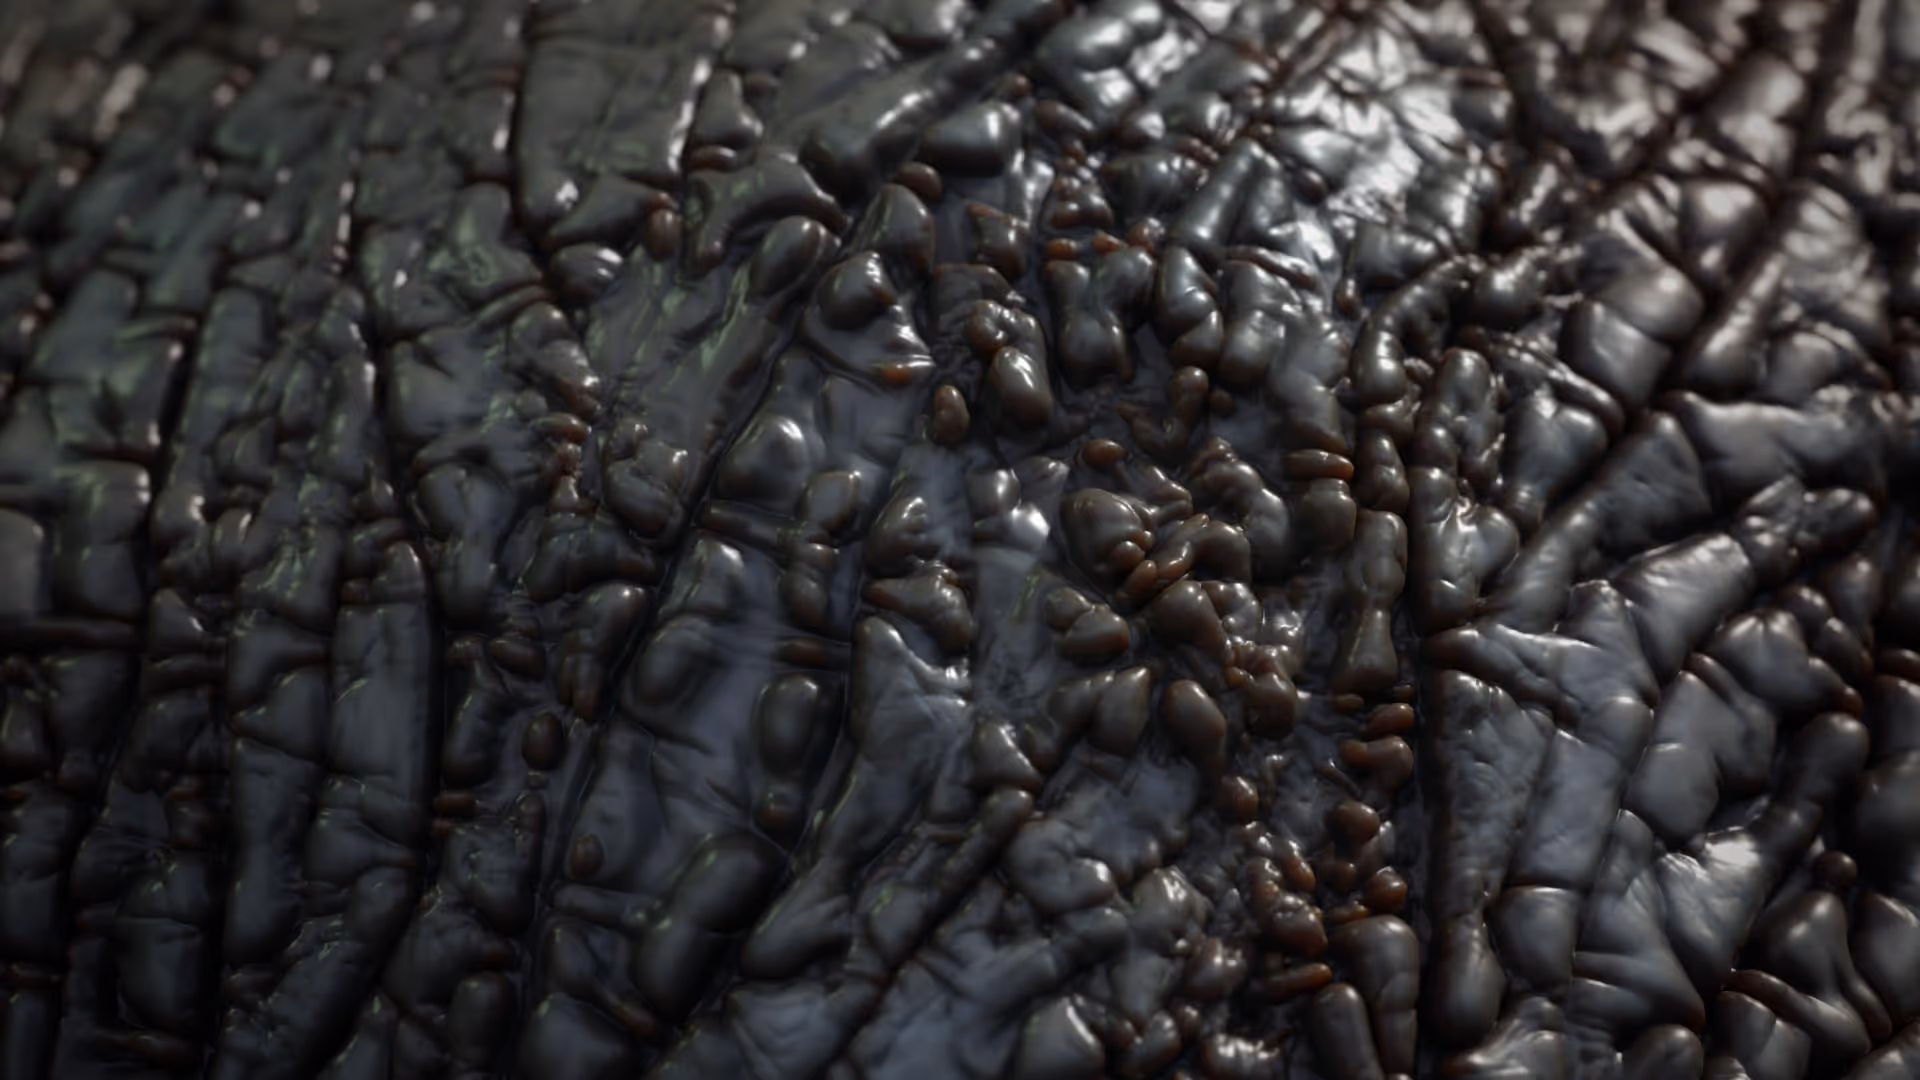
That is all you need to do. The next step is to pick different colours and start building a complex texture bit by bit. As a quick example, I took a sphere and started painting with the ZiBe_Bumps brush in 'circular motions' and constantly changing the hues and saturation of the colour. I didn't change anything else other than turning the Zadd off:

Different brushes will obviously give you different results so play around with a few and see what sort of effects they have when you paint with them. Also, keep in mind that you can have control over the intensity of the colour from the 'RGB Intensity' sliders (you can right-click or press the space bar to access it in the quick palette).
Giger & Beksiński inspired pack
This is a collection of 45 custom ZBrush brushes inspired by the amazing work of Zdzisław Beksiński’s dystopian surrealism and Hans Ruedi Giger’s biomechanical aesthetic. The pack also comes with 35 noise maker presets and 11 custom MatCaps.
Get resource


.webp)

