
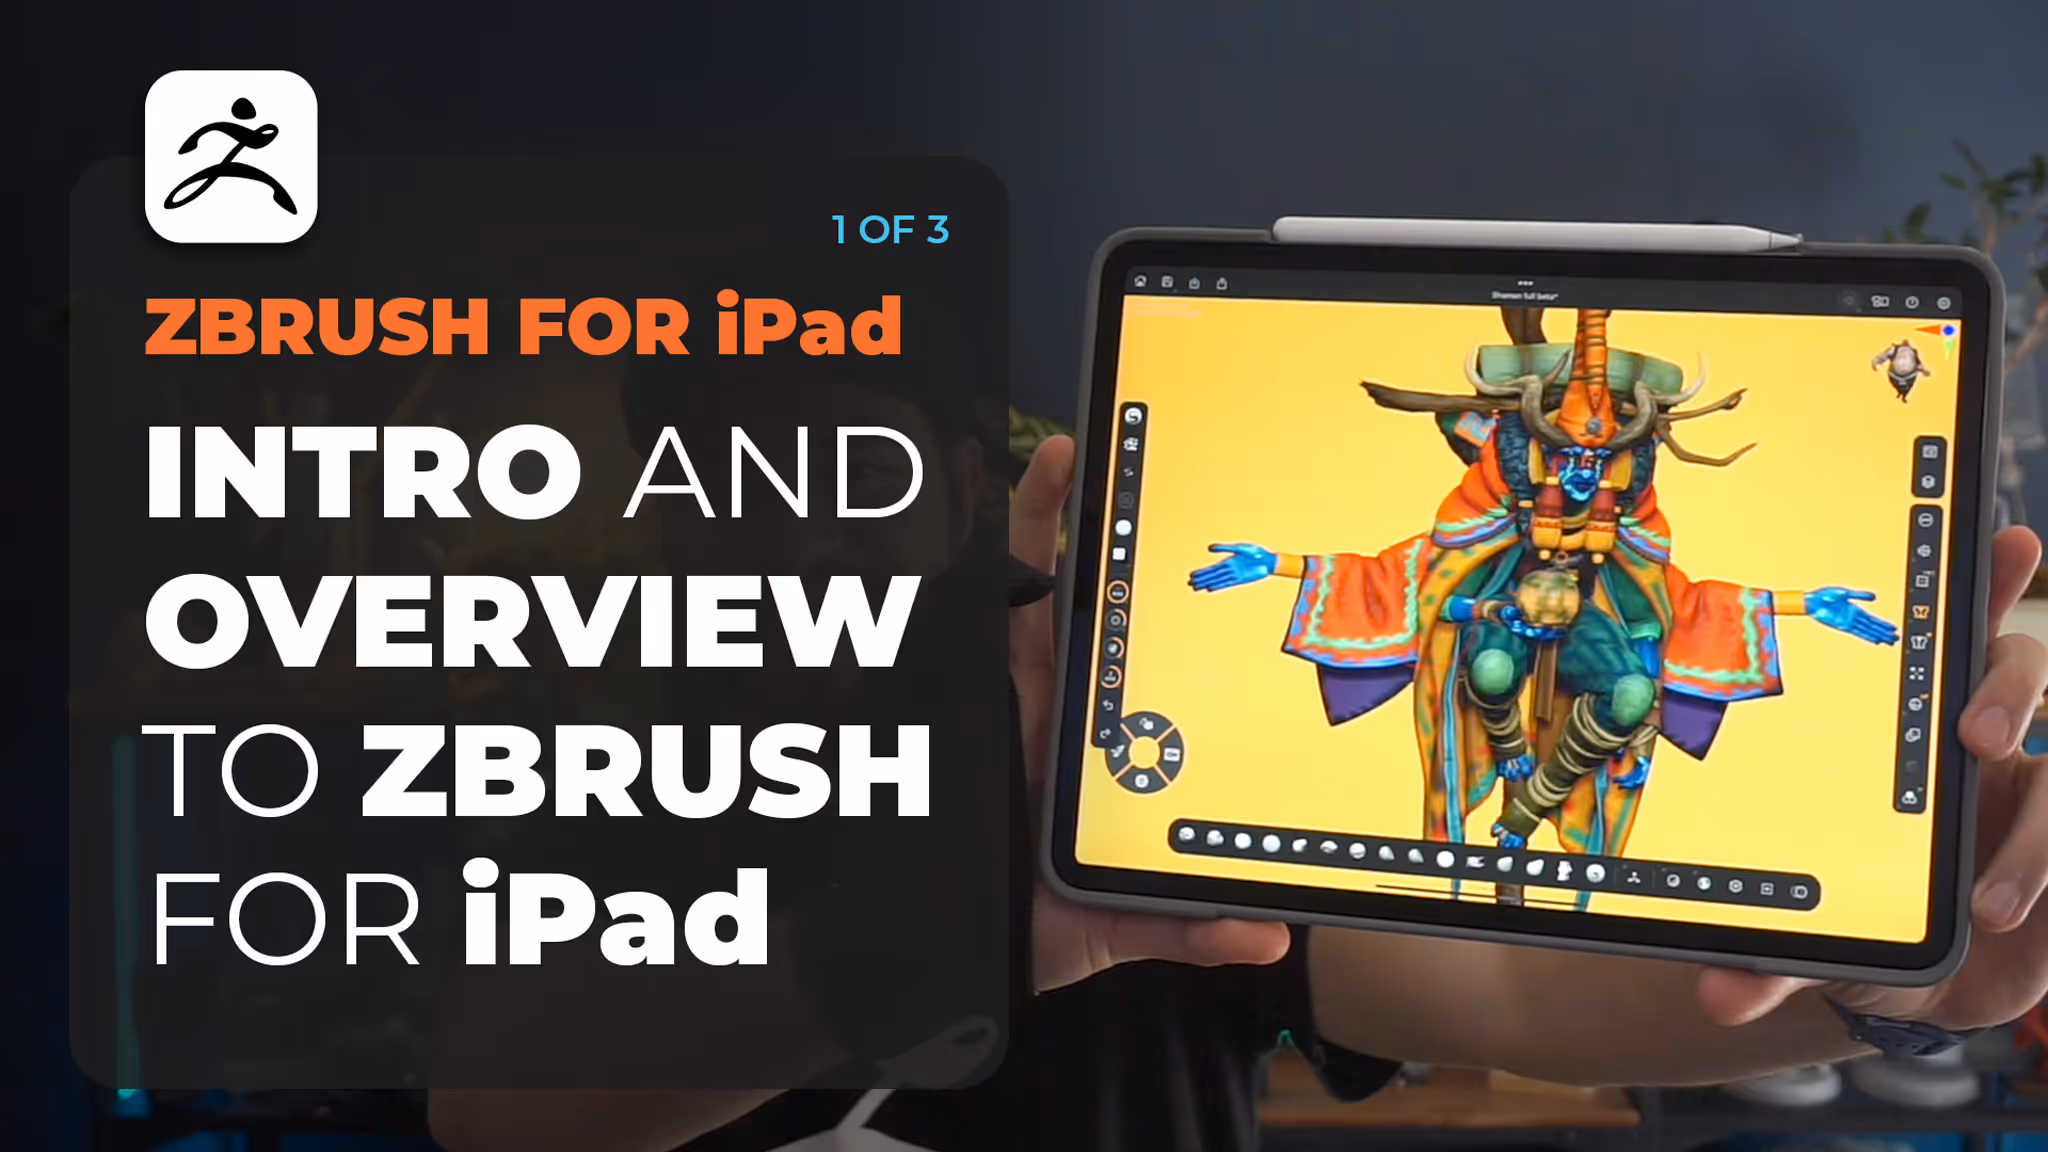

A Quick Overview
Hey there! I wanted to share some thoughts on the ZBrush app for iPad Pro. I had the chance to try it out during beta testing, and I’ve been really excited about how it brings ZBrush’s powerful tools to a more portable platform. Whether you’re interested in sculpting on the go or just curious about how it all works on a smaller screen, I hope this overview gives you a good sense of what it’s like to use ZBrush on the iPad. Let’s jump in!
First Impressions
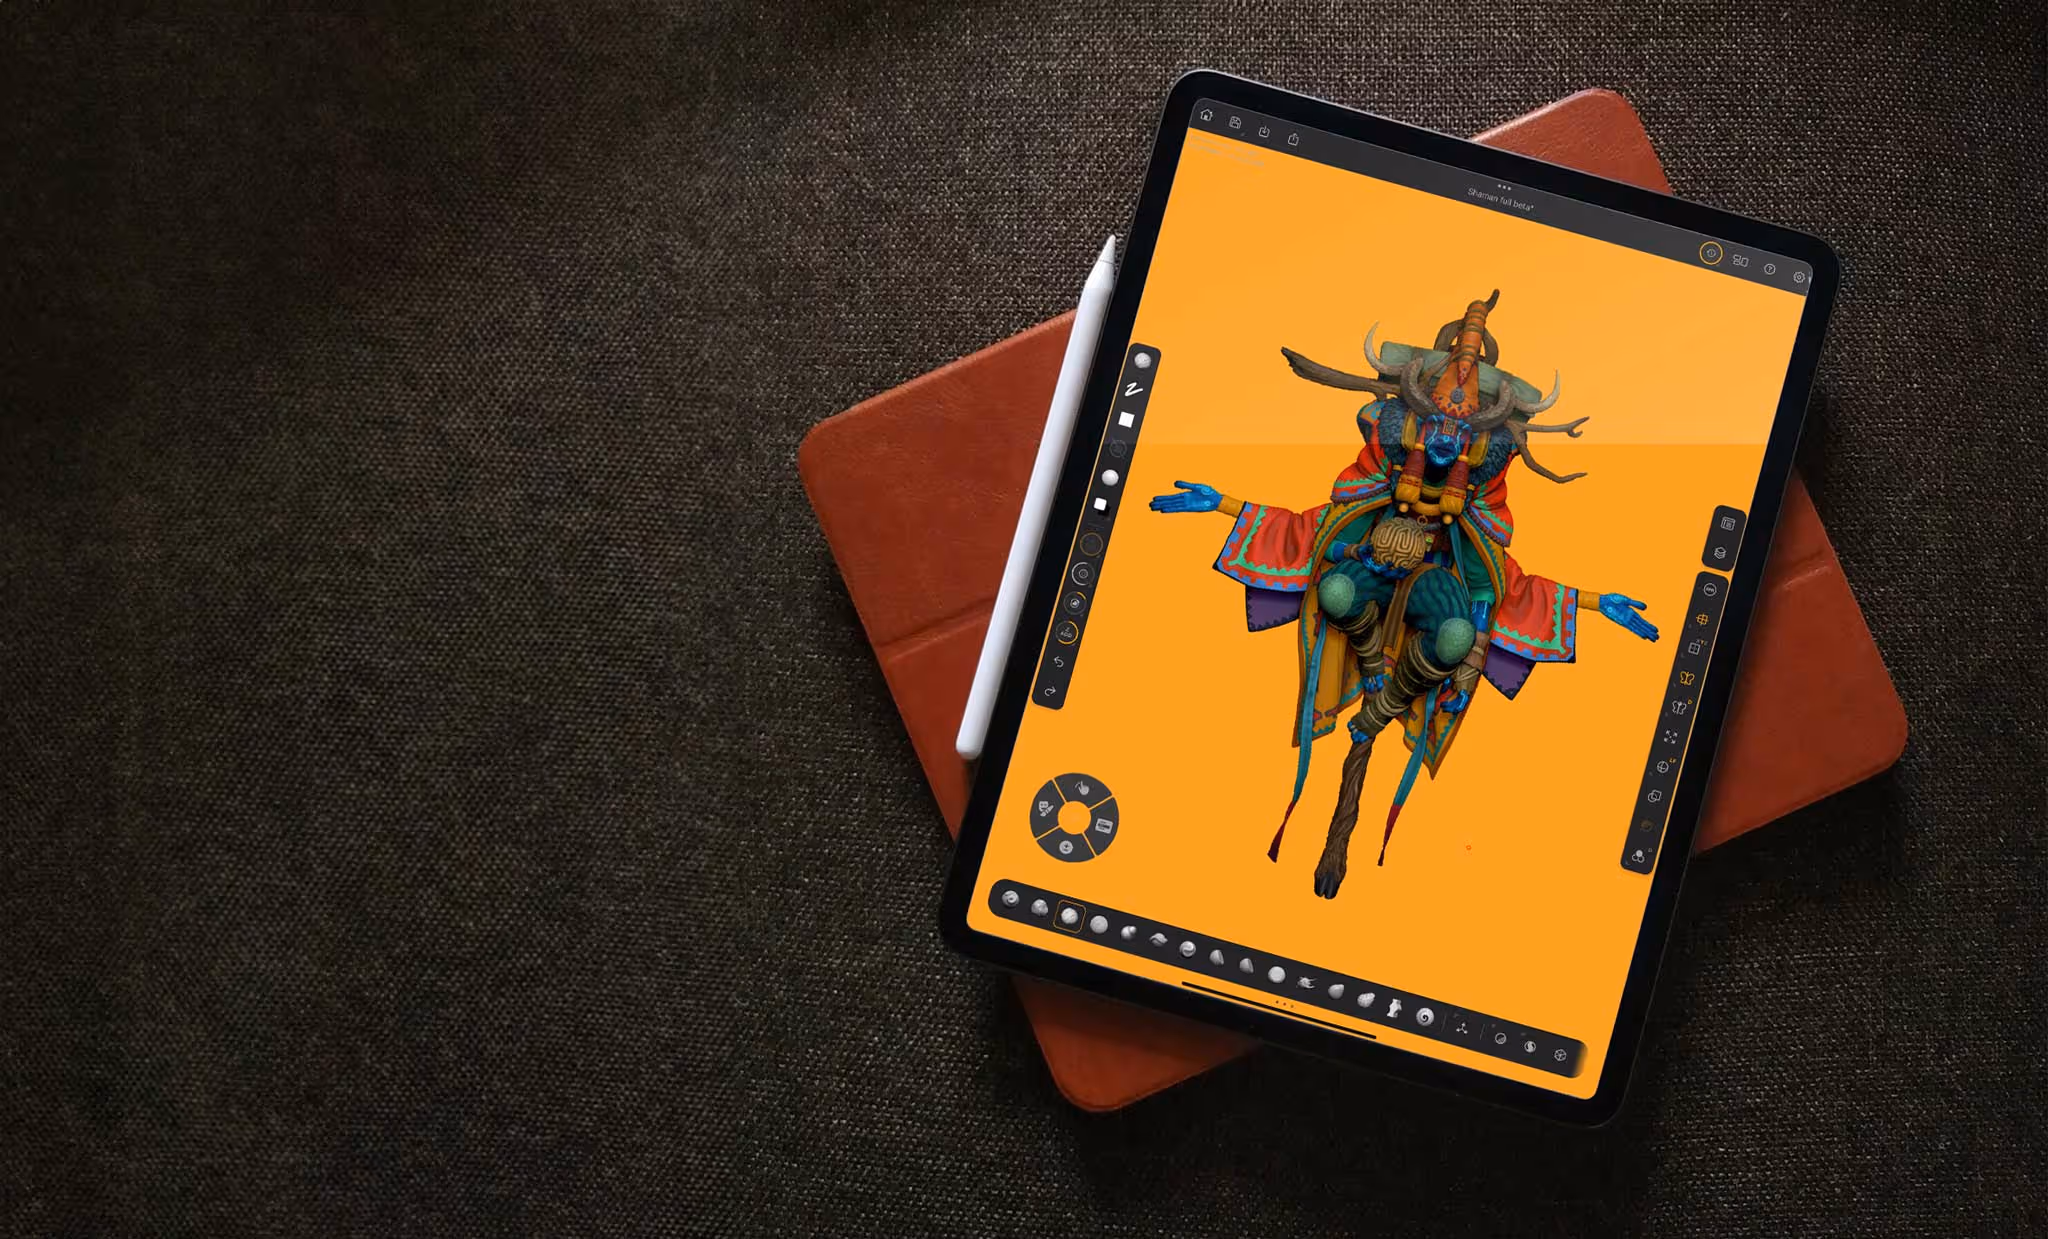
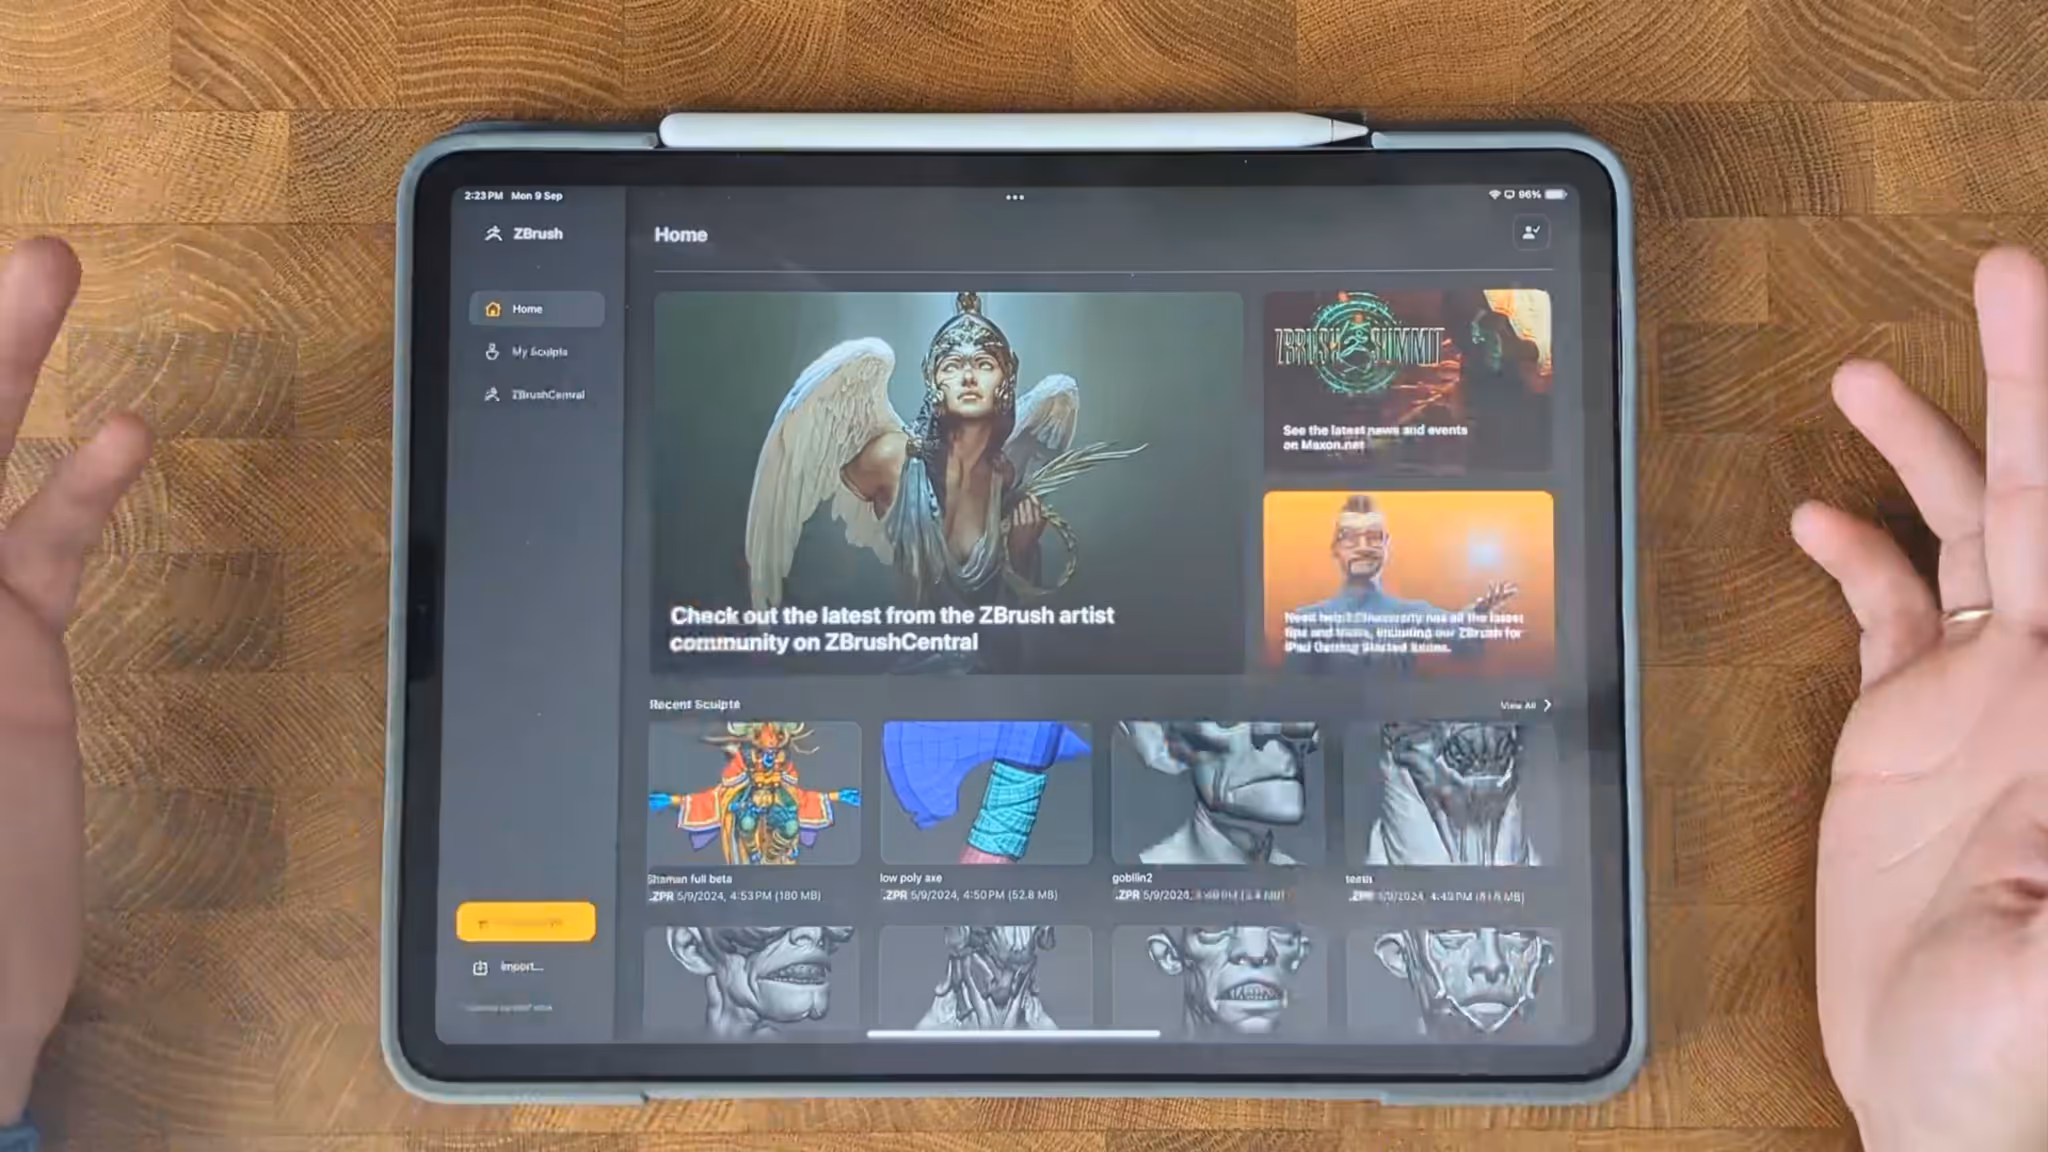
So, first things first: I was wondering how ZBrush would feel on a smaller screen like the iPad. Honestly, it’s pretty comfortable! The interface adapts nicely to the tablet, and I still have access to all the essential features I use regularly. You can check out news and articles on ZBrush Central right from the app, and importing and exporting files works smoothly. One of my favorite things is the GoZ feature, which lets you send files between the desktop and iPad versions. It’s super handy if you like to work across different devices.
I also really appreciate that I can use my custom brushes on the iPad version. Importing them is straightforward, and it’s great to keep things consistent whether I’m working at my desk or on the go. You can save your projects as either ZTools or full projects, so you’ve got options to stay organized.
Navigating the Main Palettes
Now, let’s talk about the main palettes and what they do. Here’s a quick breakdown of the ones I think are most useful:
- Brush Palette: It has all your brushes with categories and favorites for quick access.
- Stroke Palette: Controls different stroke settings, so you can fine-tune how each brush interacts with your sculpt.
- Alpha Palette: Manages textures that affect your strokes for adding more detail.
- Material Palette: This is where you choose different materials and see how they affect the look of your sculpt.
There’s also a Recent section that makes it easy to jump back to tools you’ve used recently—really helpful when you’re in the flow.
Handy Tools and Gestures
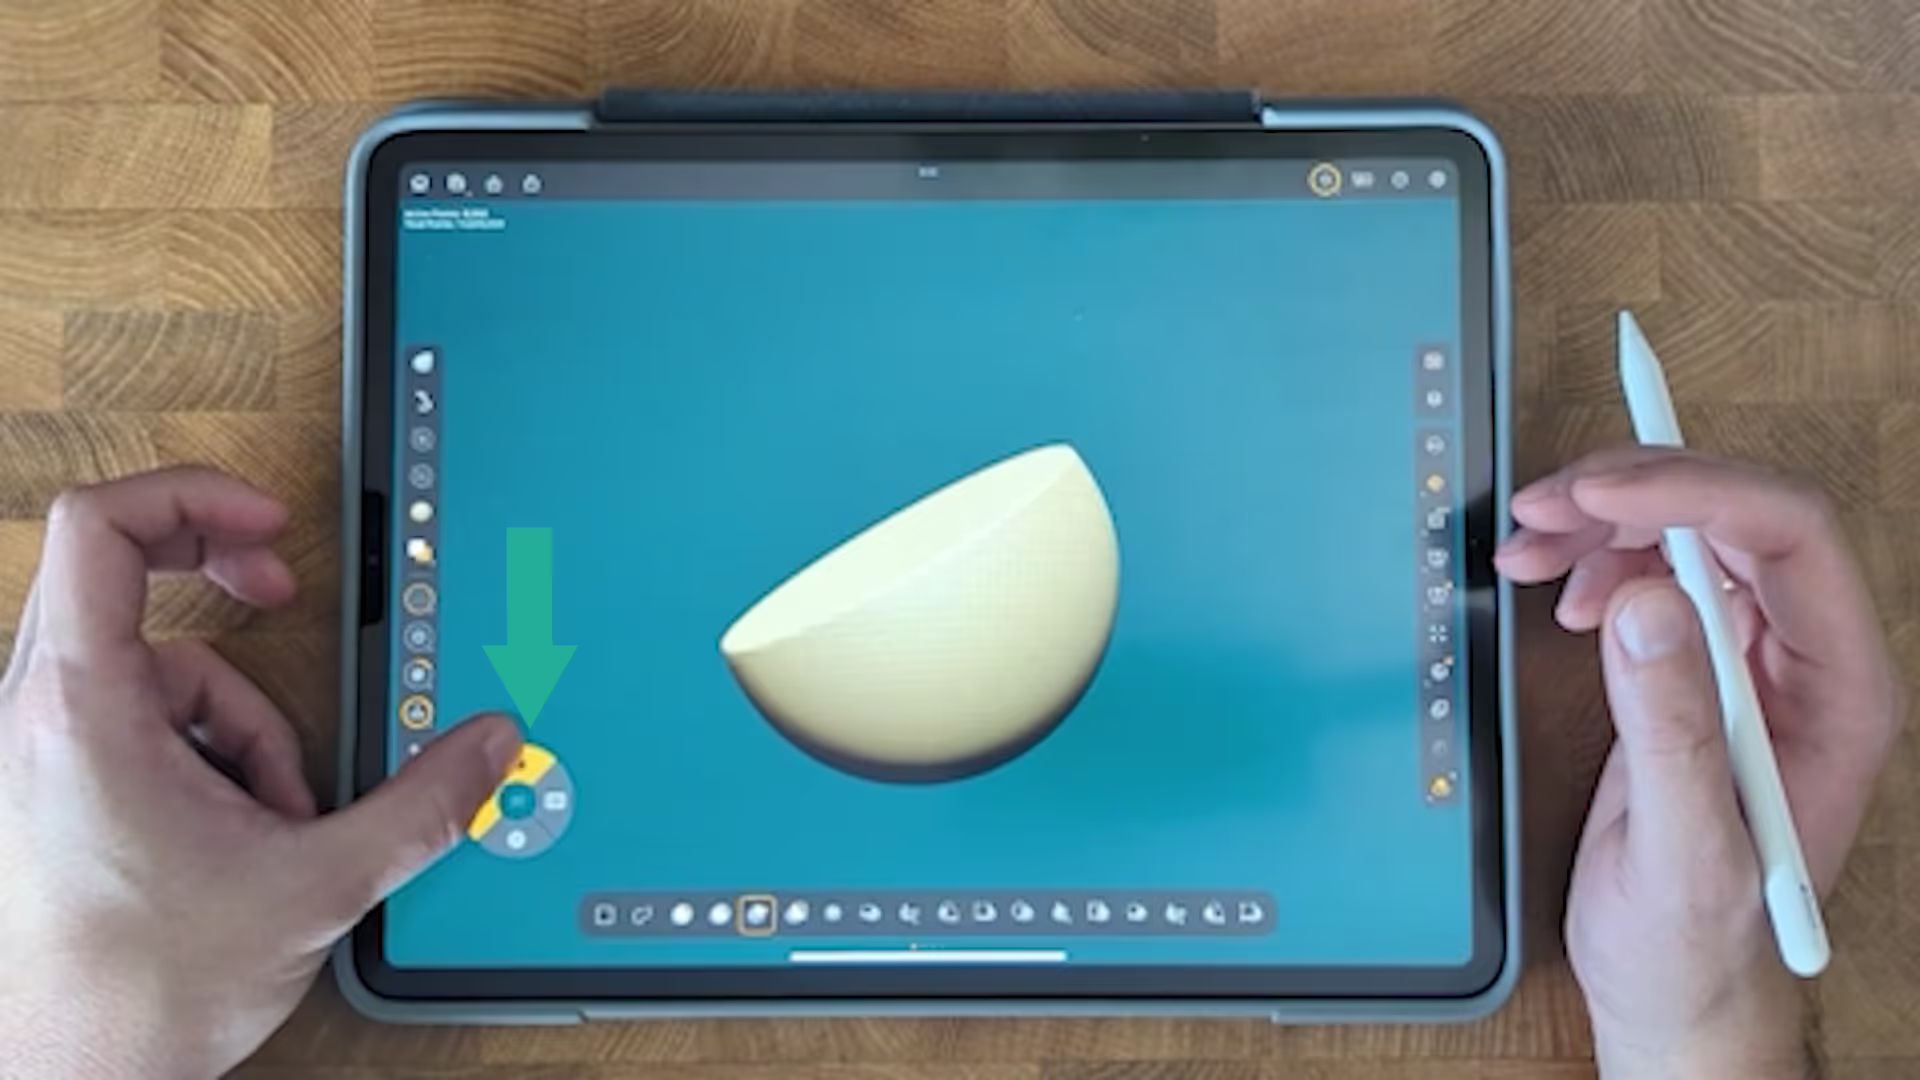
At the Left bottom of the screen, you’ll find some key tools like ZAdd, RGB, Undo, and Redo. You can tap and hold to adjust things like intensity and size, which is super convenient. A really cool thing about manipulating brush size is that you can change the brush size using a three-finger slide up and down gesture—nice and intuitive!
The iPad version also includes powerful features like Gizmo, DynaMesh, Sculptris Pro, ZRemesher, and Subdivide, all from the bottom bar. If you’ve used the PC version, you’ll recognize these tools. They’re nicely integrated, and it’s nice to have them all there when you’re sculpting on the go. I’ve found the interface to be simple but flexible, and you can even customize it more in the paid version.
Right Side Tools and Gestures
Over on the right side of the interface, there are some more useful tools:
- BPR Rendering: This is helpful for setting up quick renders.
- Perspective and Camera Adjustments: These controls help adjust how your model is viewed in 3D space.
- Floor Settings: Just a quick toggle for the floor grid.
- Symmetry and Dynamic Symmetry Icons: These are great for keeping things even and precise while sculpting.
- Transparency Options: Easily switch between transparent and opaque views, depending on what you need.
Gestures also come in handy for customizing how you work. For example, I setup solo mode to work by tapping 4 fingers so I can quickly enter Solo Mode there is also a customizable Quick Palette with just a tap from the modifiers wheel.

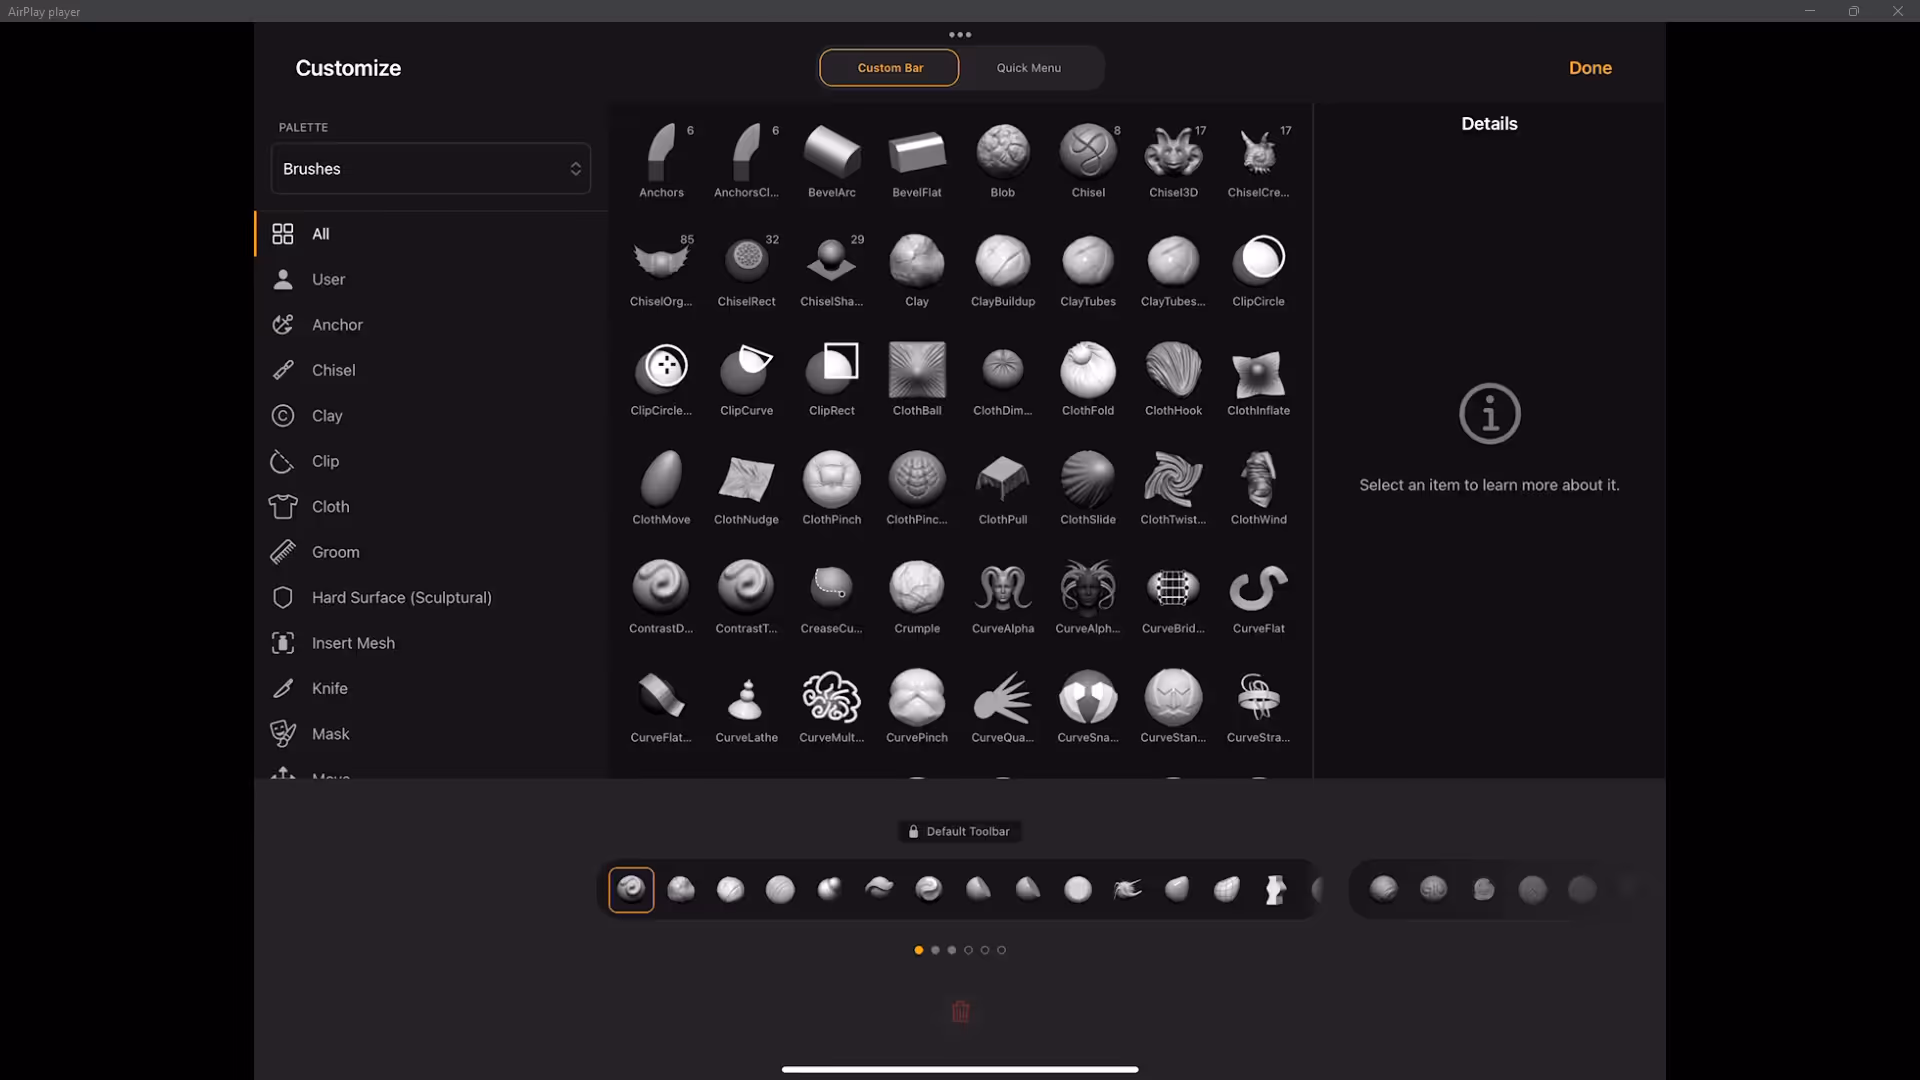
Customizing ZBrush on the iPad
One thing I love about the iPad version is how customizable it is. You can create custom menus filled with the tools and settings you use most often and place them wherever you want. It’s a great way to keep your workspace clean and efficient.
You can also add or remove palettes to the floating bars or collapse the left-hand menu to simplify the interface. Adding or removing palettes is pretty easy, letting you set up the workspace just how you like it (or for specific purposes).
Touch Navigation and Quick Access
The iPad version of ZBrush makes good use of touch navigation, which I’ve found pretty natural:
- One-Finger Navigation: Perfect for rotating around your model.
- Two-Finger Panning: Helps you move around the canvas without hassle.
- Three-Finger Gestures: Adjust brush size, when sliding up and down or the focal shift when sliding right to left.
I’ve also set up a custom bar at the bottom for my favorite custom brushes and use the Quick Menu for tools I use often. It really speeds up my workflow and keeps everything organized.
Final Thoughts
Overall, I’ve been really enjoying using ZBrush on the iPad. It’s versatile enough for quick sketches, detailing, or polishing projects, even though it doesn’t fully replace the desktop version. It’s a fantastic companion tool if you’re on the move and still want to get some sculpting done.
If you have any thoughts or cool tips you’ve discovered while using ZBrush on the iPad, feel free to share! And if there’s anything specific you’d like me to cover in future videos, let me know. Thanks for hanging out, and happy sculpting!
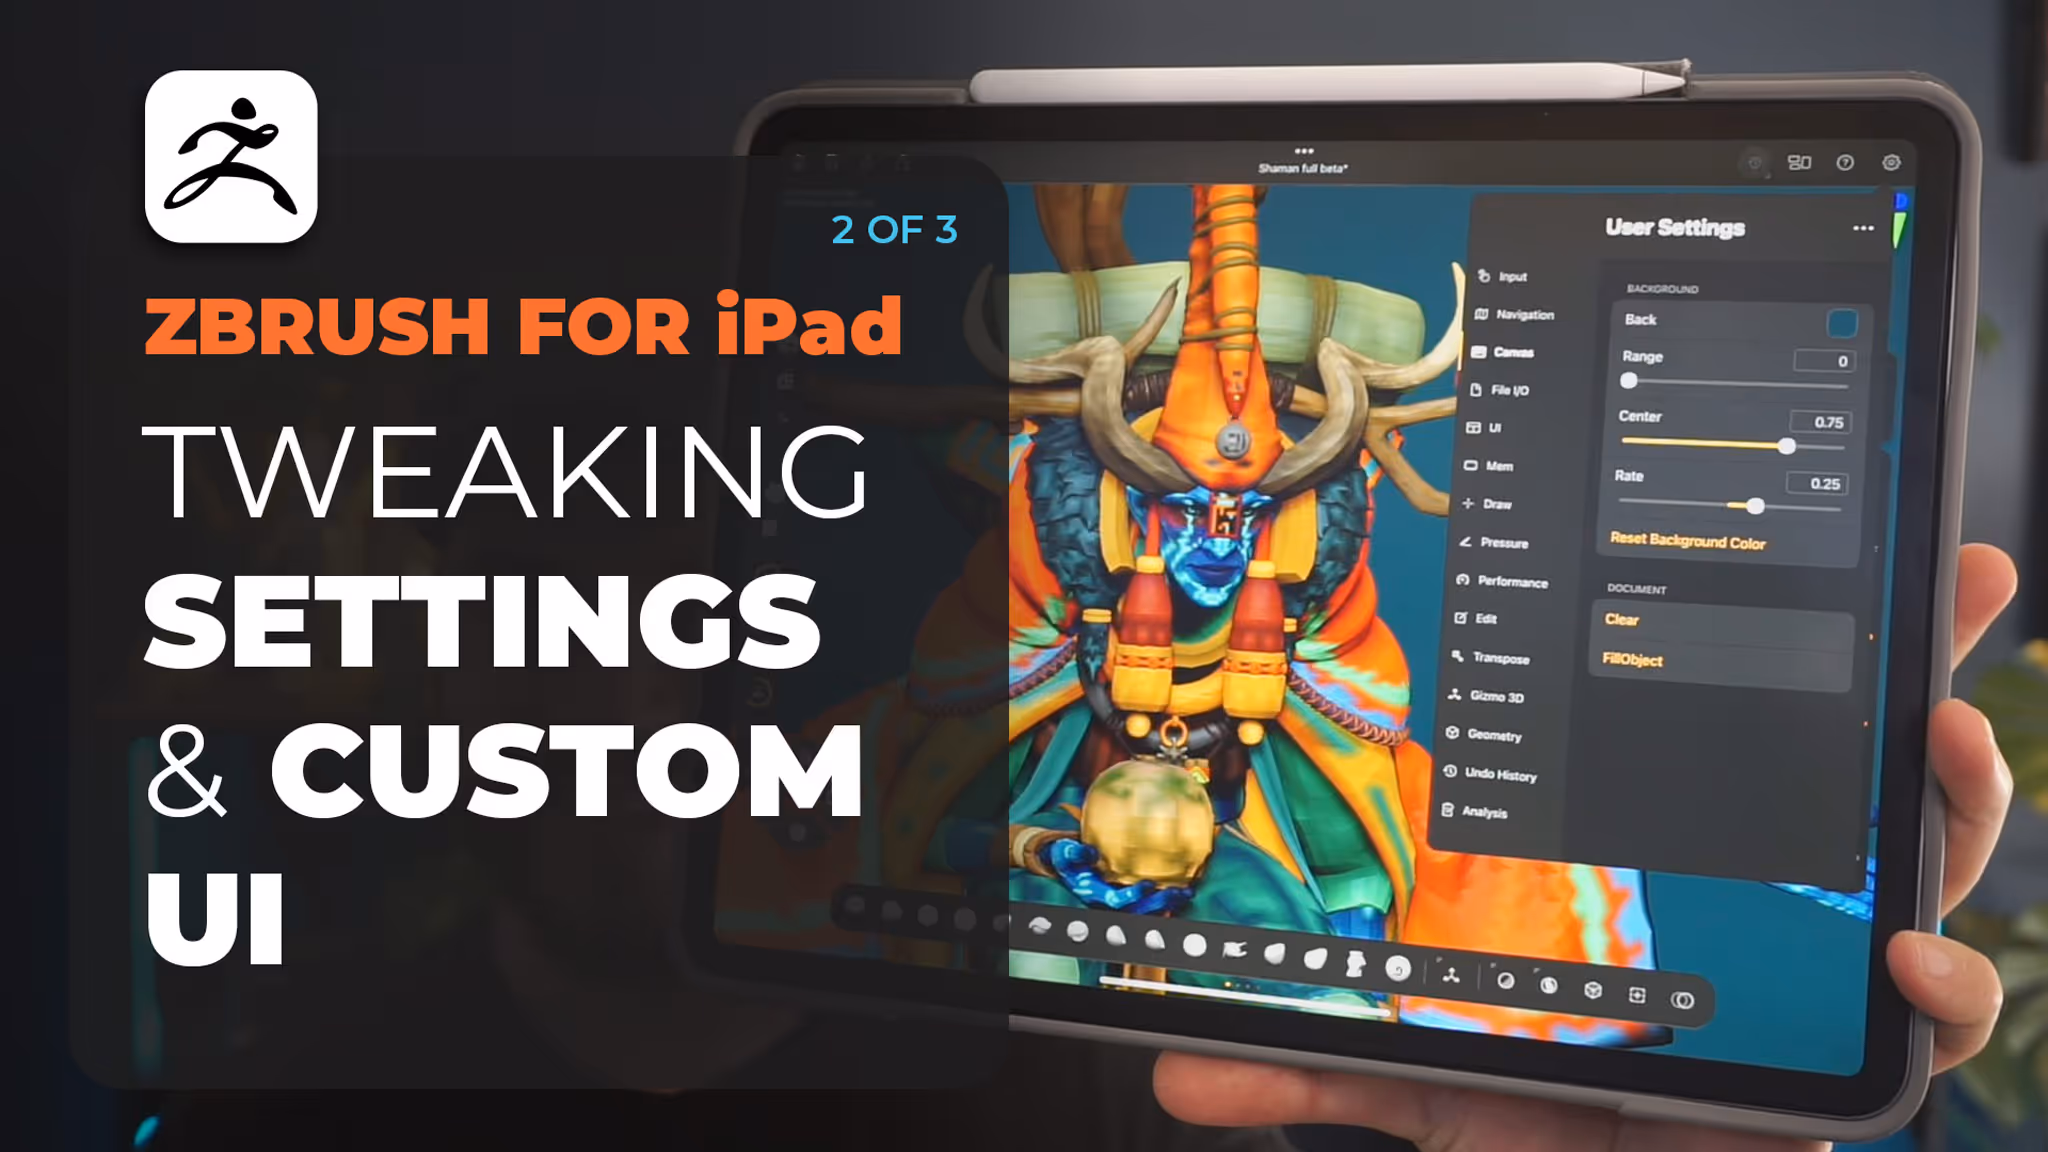
Customizing Settings and UI for a Smoother Workflow
In this second part from the series I’m going to show you how to customize the interface and settings in ZBrush for iPad. The iPad version of ZBrush has a lot of great features, but it’s always nice to tweak things a bit to fit your workflow better. I’ll go over how I set up my ZBrush for iPad, my personal preferences, and some features that might help you work more comfortably. Let’s get started!
Adjusting the Interface and Canvas
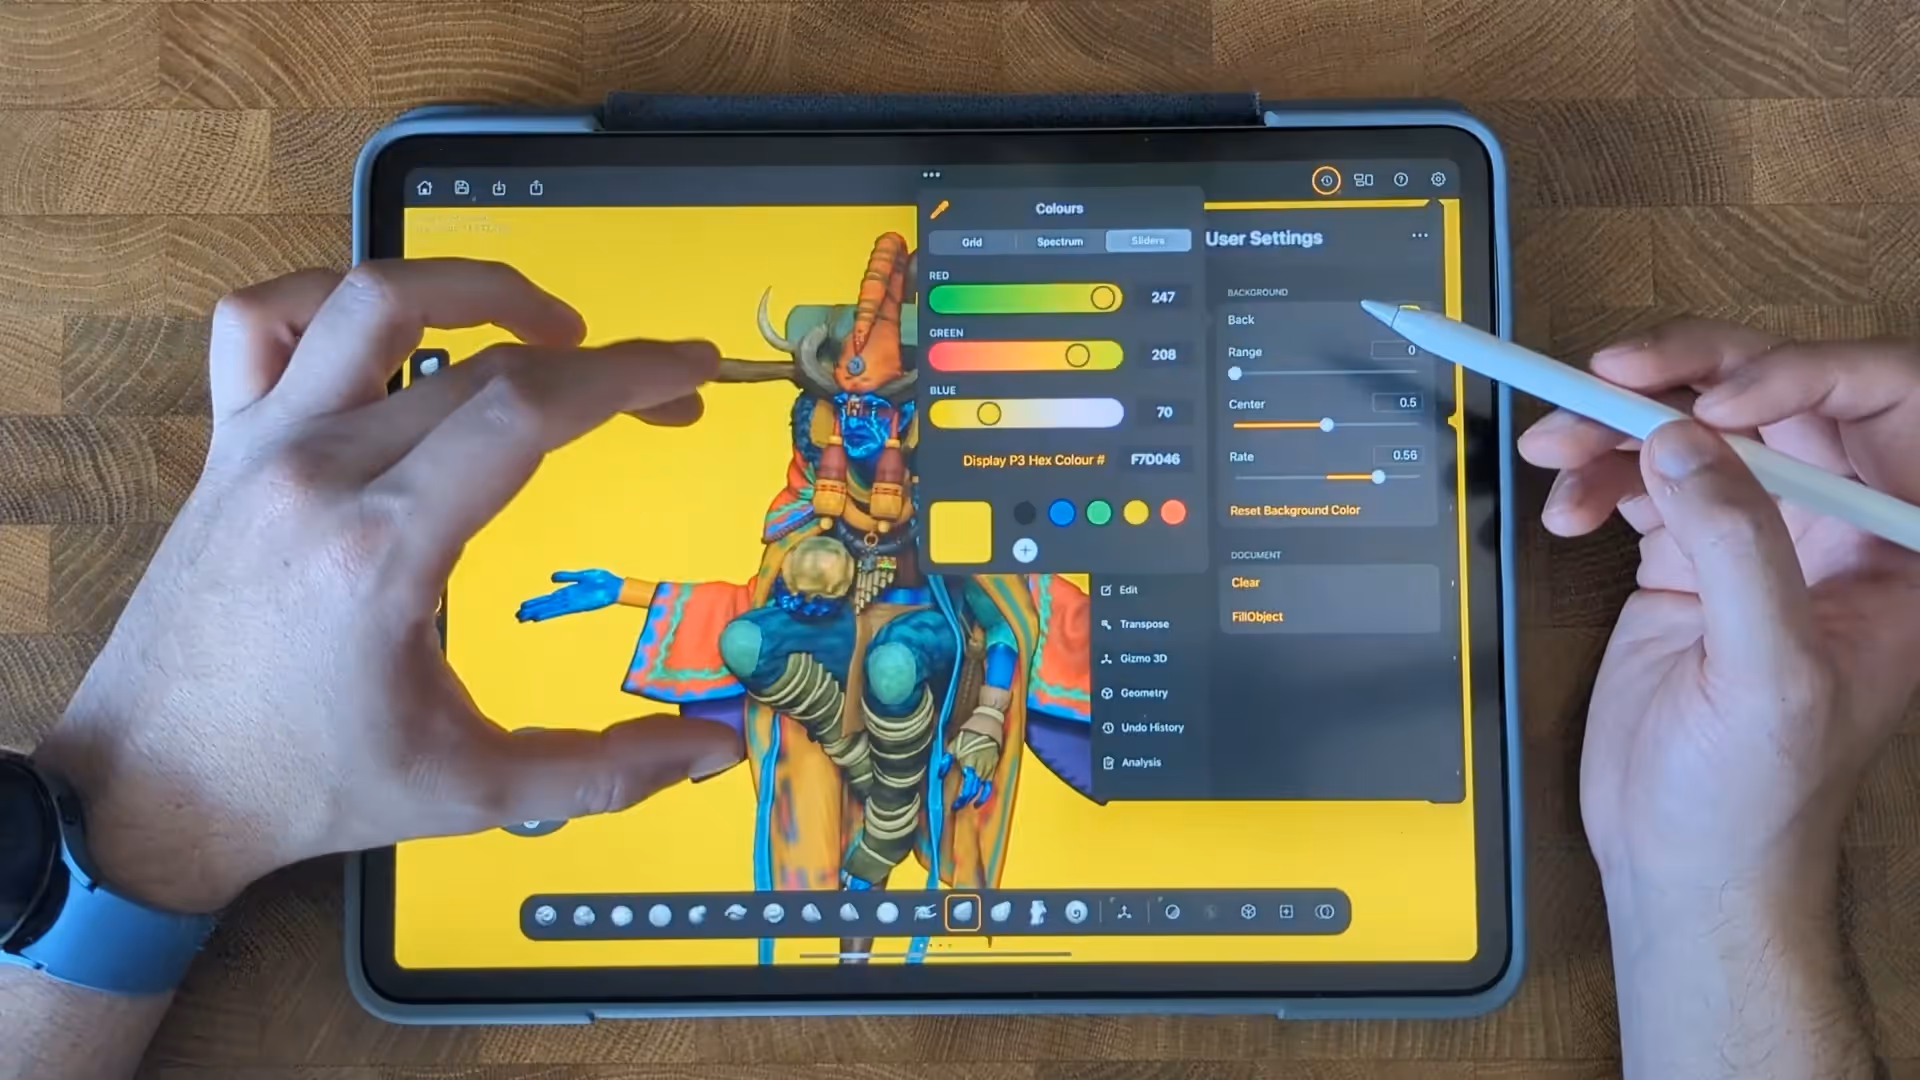
First, let’s talk about adjusting the interface and canvas settings. The iPad version is designed for efficiency, which means some features, like anti-aliasing, aren’t available. To start, I like to customize the canvas by changing the background gradient and colors to something that feels comfortable for me. You can also add your own colors and adjust the rendering settings if needed. These are simple changes, but they can help make your workspace more pleasant.
Tweaking BPR Shadows and UI
When I’m working on renders, I like to adjust the BPR (Best Preview Render) shadows. Increasing things like the number of rays, blur, and angle can help create nicer, more spread-out shadows for your model. This is especially handy if you’re looking to present your work directly from the iPad.
I also customize the user interface (UI) based on what I’m working on. For example, if I’m focusing on rendering, I’ll add my most-used palettes to a floating bar so they’re easier to access. This helps me stay organized and avoid going through menus all the time. Navigating the iPad interface is straightforward with gestures—rotating, panning, and zooming are all just a swipe away.
Navigation and UI Settings
Next up, let’s look at navigation and UI settings. You can enable pinch-to-rotate, change the modifier wheel position, and pick different icon sets to suit your preference. If you’re left-handed, you can also adjust the UI for that, which is a nice touch. You can toggle the thumbnail on and off or change the camera view, making the interface simpler and more efficient to use.
Working with Brushes and Tools
For those who work with brushes a lot, the iPad version makes it easy to use tools like the clip brush and masking functions without needing to use multiple keys. You can just hold and drag ‘Ctrl & Shift’ to activate them, which is really convenient. Also, it is pretty cool that when you hold the Ctrl key for masking or the Shift Key for smooth, the bottom bar displays the smoothing or masking brushes you can choose.
In terms of preferences, I like to tweak the preferences palette and input settings. I set the palm rejection to maximum and leave touch navigation on, so I can’t sculpt with my fingers as well as move the camera around. The two-finger tap for undo is also really useful.
Brush Settings and Save Preferences
When it comes to brush settings and saving, there are a few options to play around with. You can adjust brush size, enable symmetry, and customize gestures for undo and redo. I prefer using the subdivision menu for changing subdivision levels rather than the tab gestures—it just feels smoother for me.
For saving, the default option saves your work as a subtool, but you can change it to Save Next for bigger projects, which helps keep things organized. I also enable the option to save the undo history and adjust compression settings. These are my preferences, but you might find a different setup works better for you.
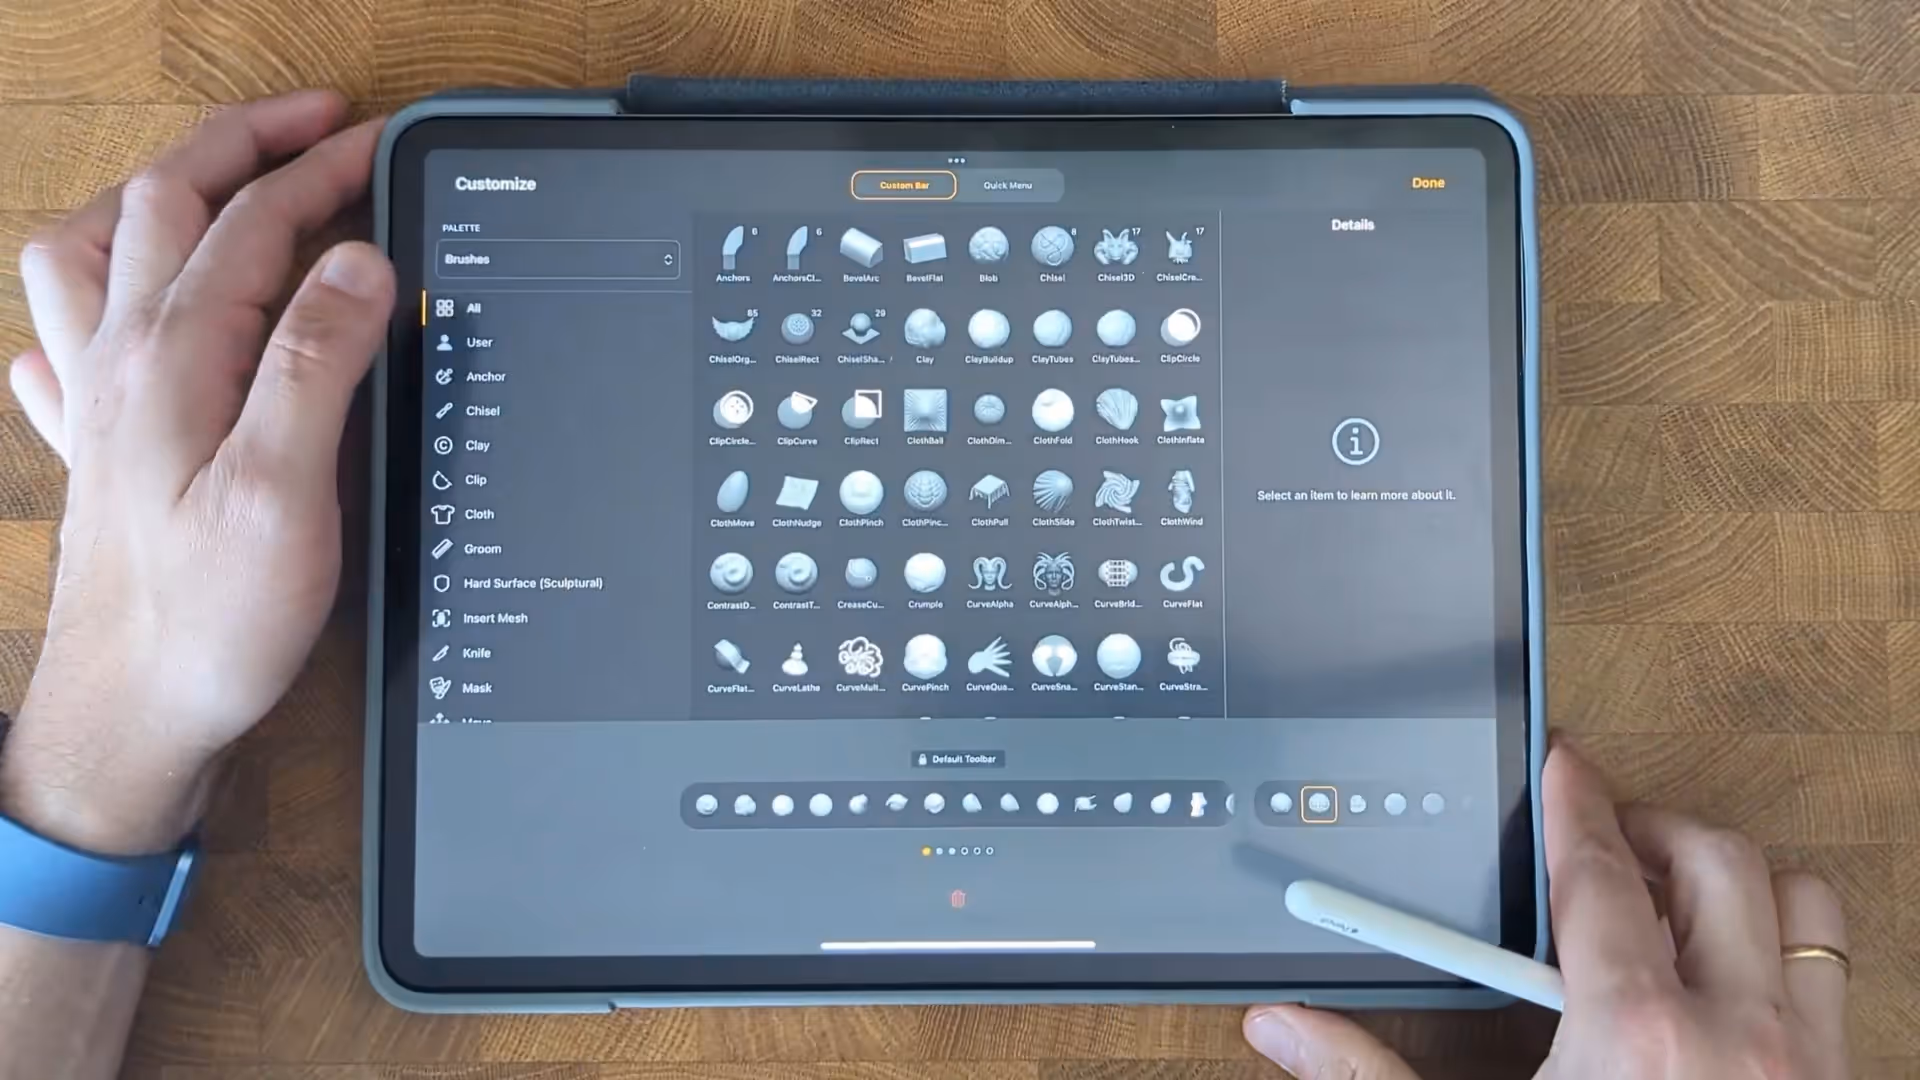
Organizing Your Workspace
Lastly, I like to organize my brushes and tools into custom bars for quick access. You can also customize the UI by changing the gizmo type and size, and adjust settings like the tap-to-exit gizmo mode. This keeps my most-used tools right at my fingertips and reduces the clutter.
You can also hold a brush you like and save it into your favorite. for instance, I use the smooth groups so I saved it as favorite so I know is there when I need it. t might take a bit of time to arrange your own UI, but it definitely helps keep things tidy and speeds up the workflow.
Final Thoughts
Overall, customizing ZBrush for iPad can make a big difference in how you work. If you use tools like Mirror and Weld or ZRemesher a lot, adding them to a custom menu can save you time. Organizing tools based on your workflow stages, like dynamesh, ZRemesher, and brush customization, keeps everything streamlined.
I hope these tips help you find a setup that works for you in ZBrush on your iPad. Feel free to share your thoughts or ask questions if there’s something specific you’d like to know more about. Happy sculpting!
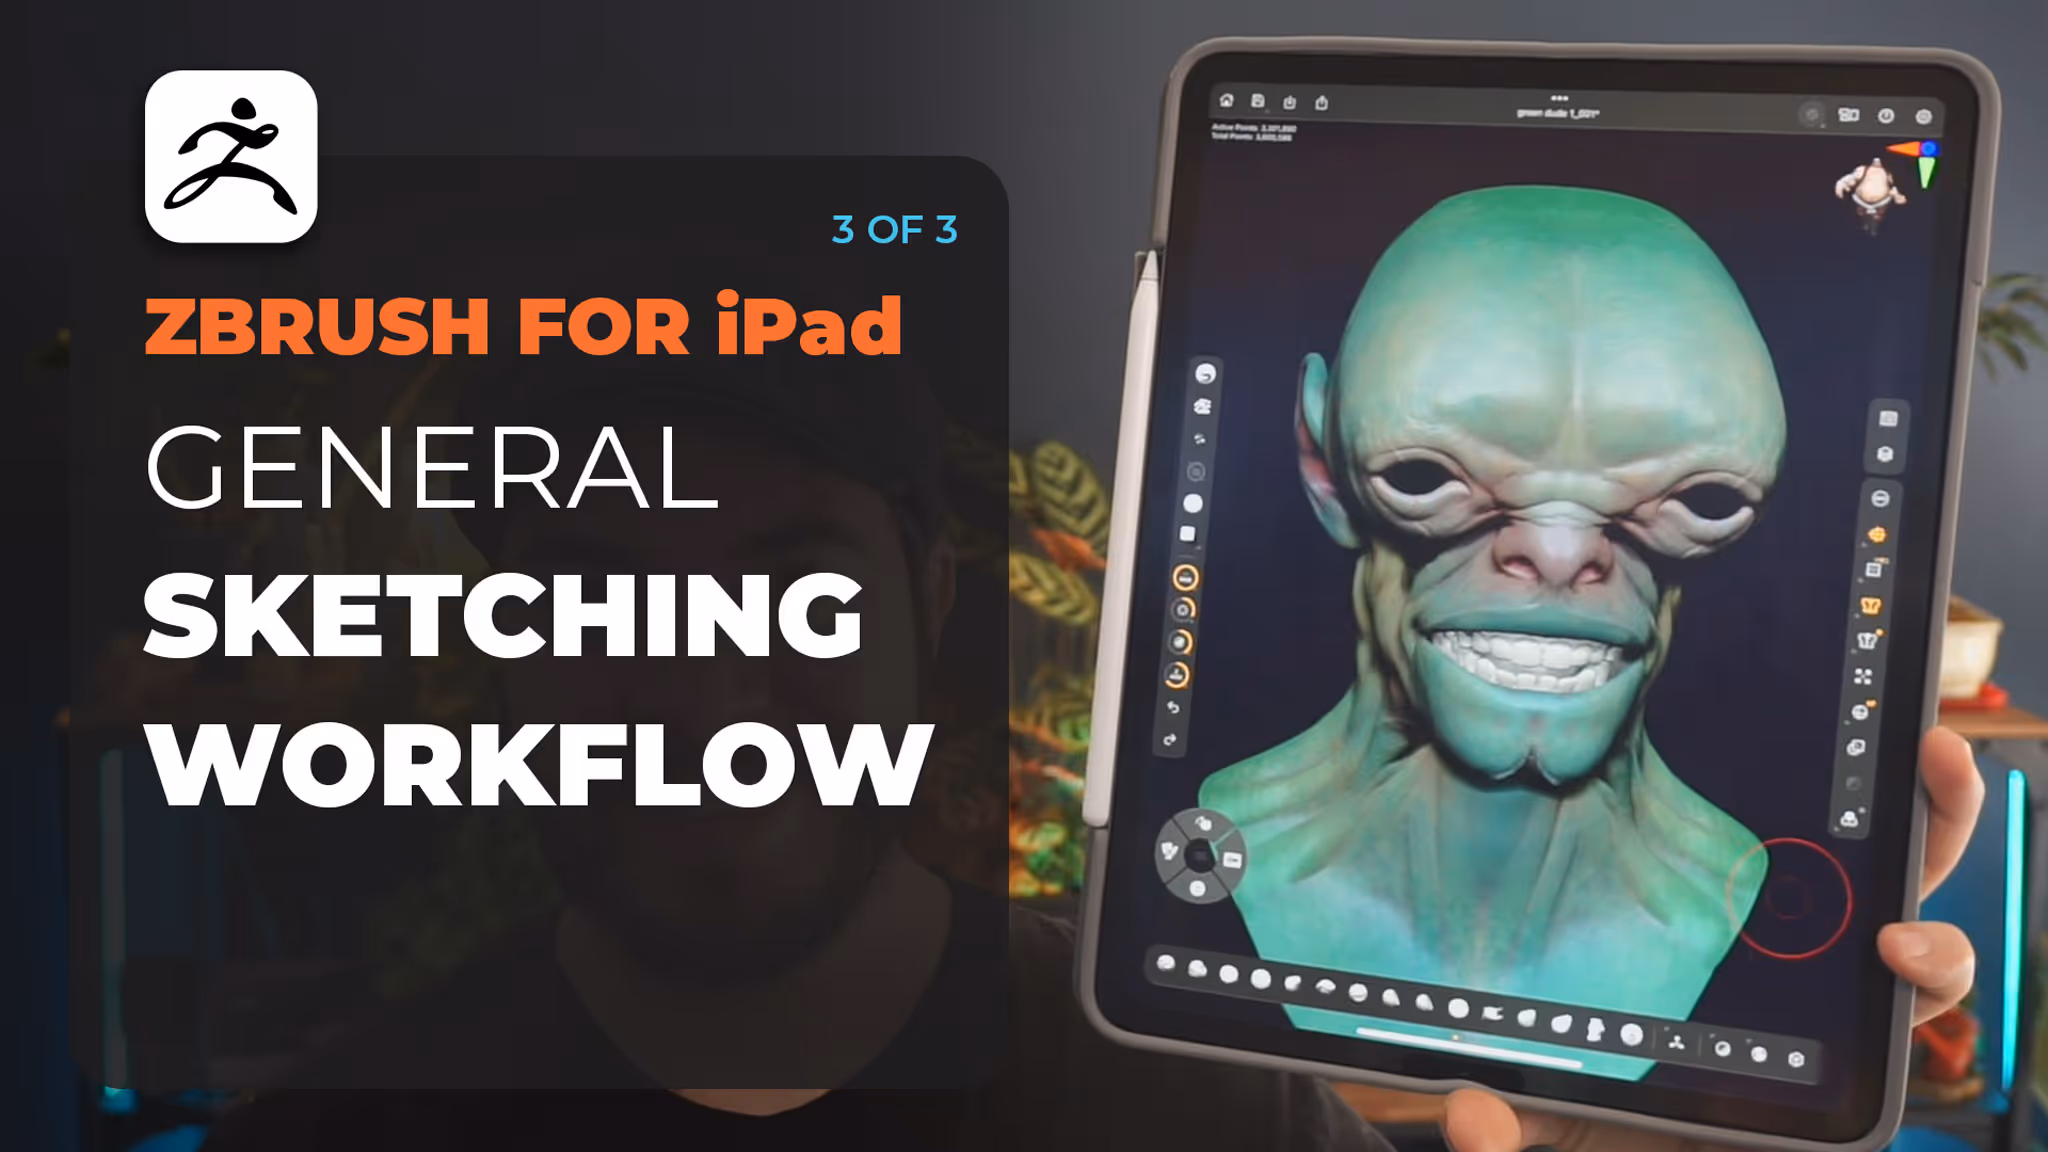
Simple Creature Sketch and Workflow
Hey everyone! In this video, I’ll walk you through a basic creature sketch using ZBrush on the iPad. It’s a pretty straightforward process, so let’s get started.
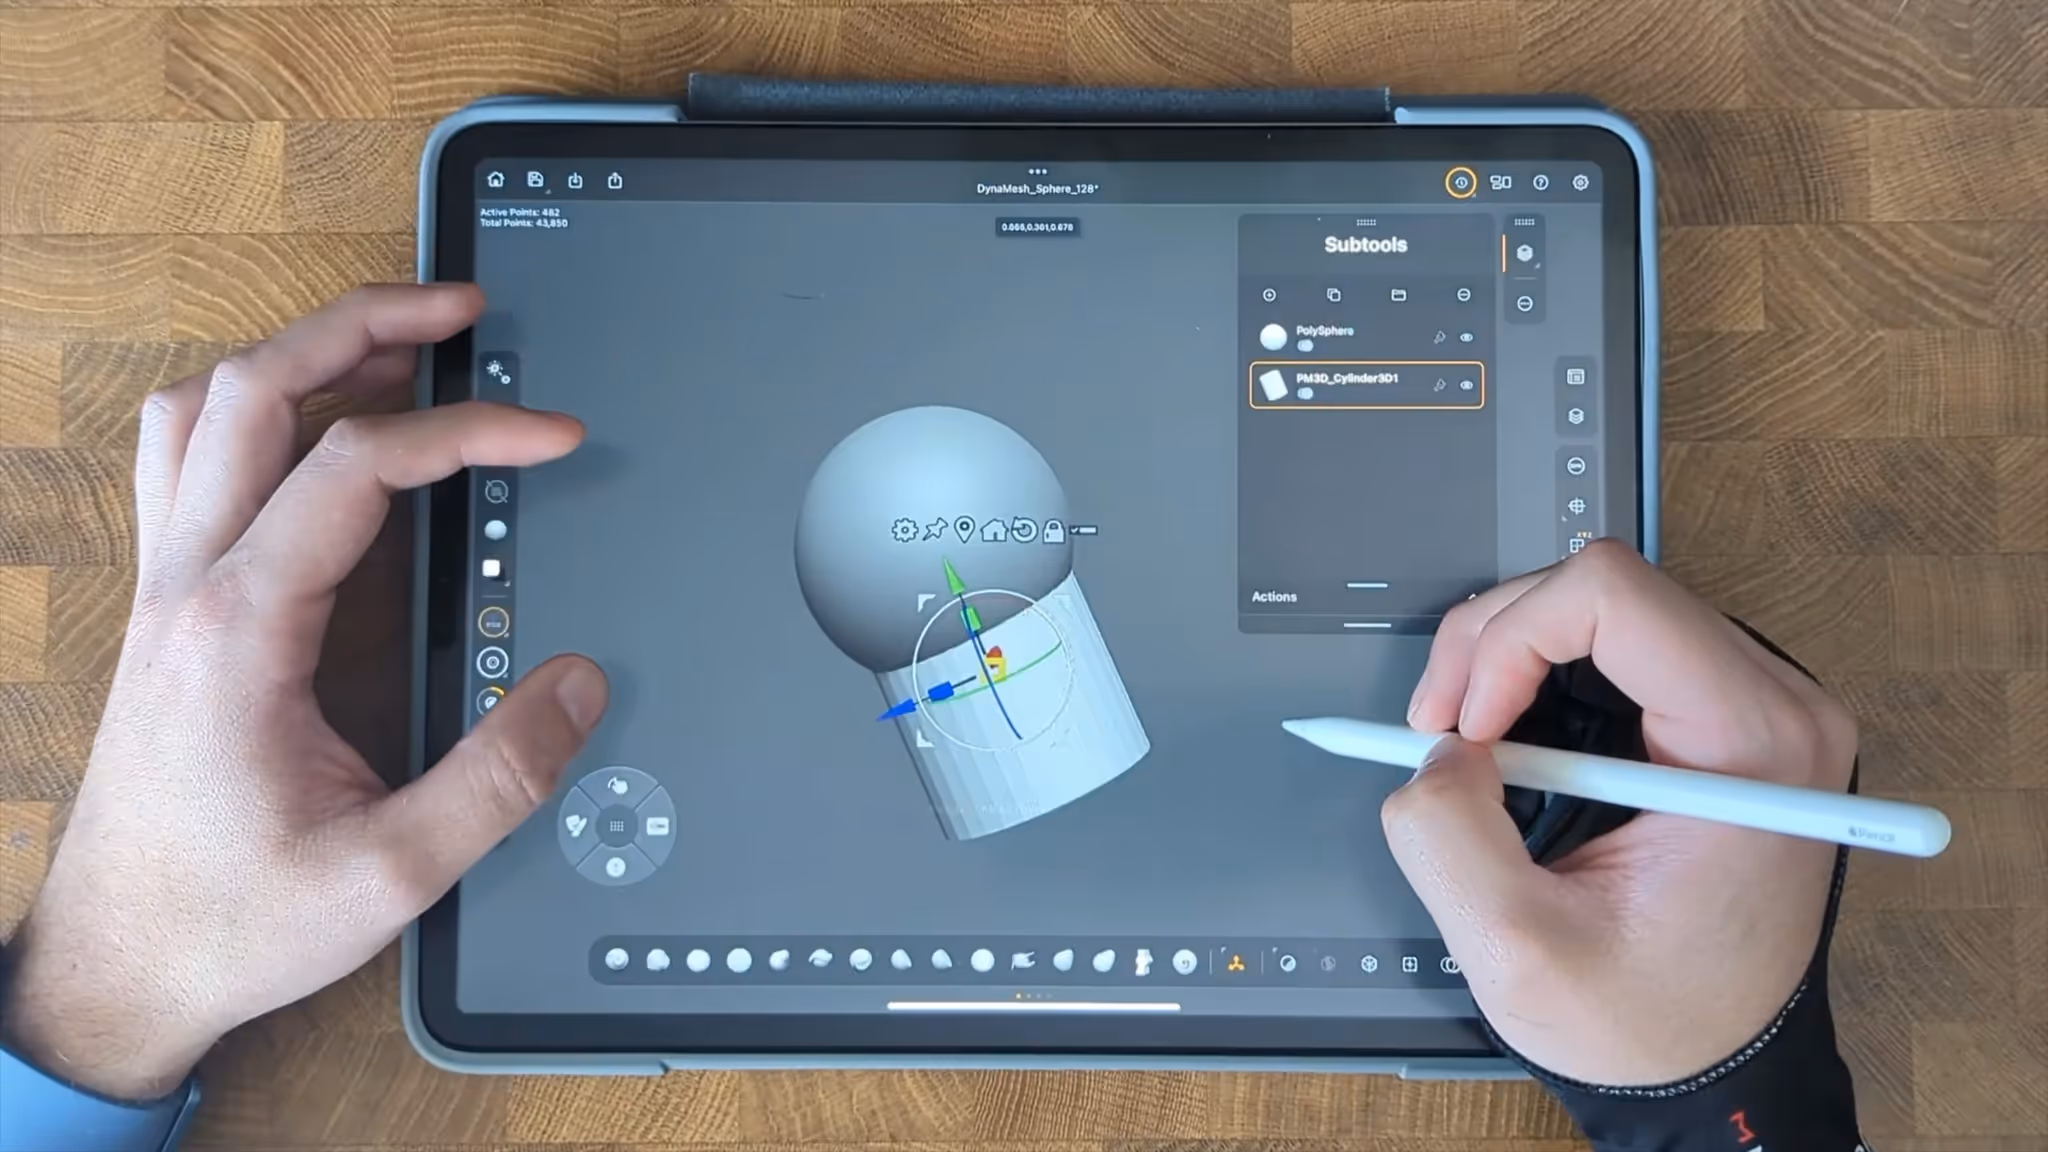
Starting the Creature Sketch
First, I’m starting a new project with a simple sphere and turning it into the creature’s neck by adding a cylinder. I’ll use symmetry to make sure both sides stay even. Duplicating subtools and adjusting them with the gizmo is easy on the iPad, and having all the tools readily available makes it convenient.
Adjusting the Model
Next, we’ll adjust the creature's profile, playing with different brushes to shape it. I’ll merge subtools, use dynamesh, and show how to customize the palettes so your favorite tools are always within reach. Working with symmetry and remeshing helps keep everything clean and efficient.
Using Brushes and Refining Shapes
I’ll use tools like the AccuCurve to tweak the shape, and brushes like clay buildup to add volume to the sketch. At this stage, I’ll also add a sphere for the creature’s eyes and use different brushes to start marking out areas for detail.
Refining and Adjusting Proportions
Now we’ll refine the rough shapes, like the jawline and neck. I’ll use the move brush to make adjustments and work on getting the proportions right. I’ll also show how to smooth things out and add some definition using different brushes. It’s a gradual process of adjusting and tweaking.
Adding Features and Simple Details
For the creature’s face, I’ll show how to use a few different brushes to define features like the eyes and ears. I’ll pull in a Insert Mesh brush to add the ears and adjust them into place. The focus here is more on getting the general shapes down, rather than fine details.
Adding Skin Details
Once the main shapes are in place, I’ll start adding some basic skin details using dynamesh and ZRemesher. I’ll also use a few custom brushes, like the lip detailer, to add texture to the skin. We’re keeping it simple but adding a bit of depth to the model.
Customizing Brushes and Adding Color
I’ll also show how to quickly customize brushes by adjusting the stroke and alpha settings. After that, I’ll use polypaint to add some basic colors to the model. You can also mask specific areas to apply color where you need it, making it easy to start bringing the creature to life with color.
Saving and Organizing Your Files
Before we wrap up, I’ll walk you through how to save your project in ZBrush for iPad. You can save it as a ZProject or ZTool, and I’ll share a few tips on organizing your files so they’re easier to access later.
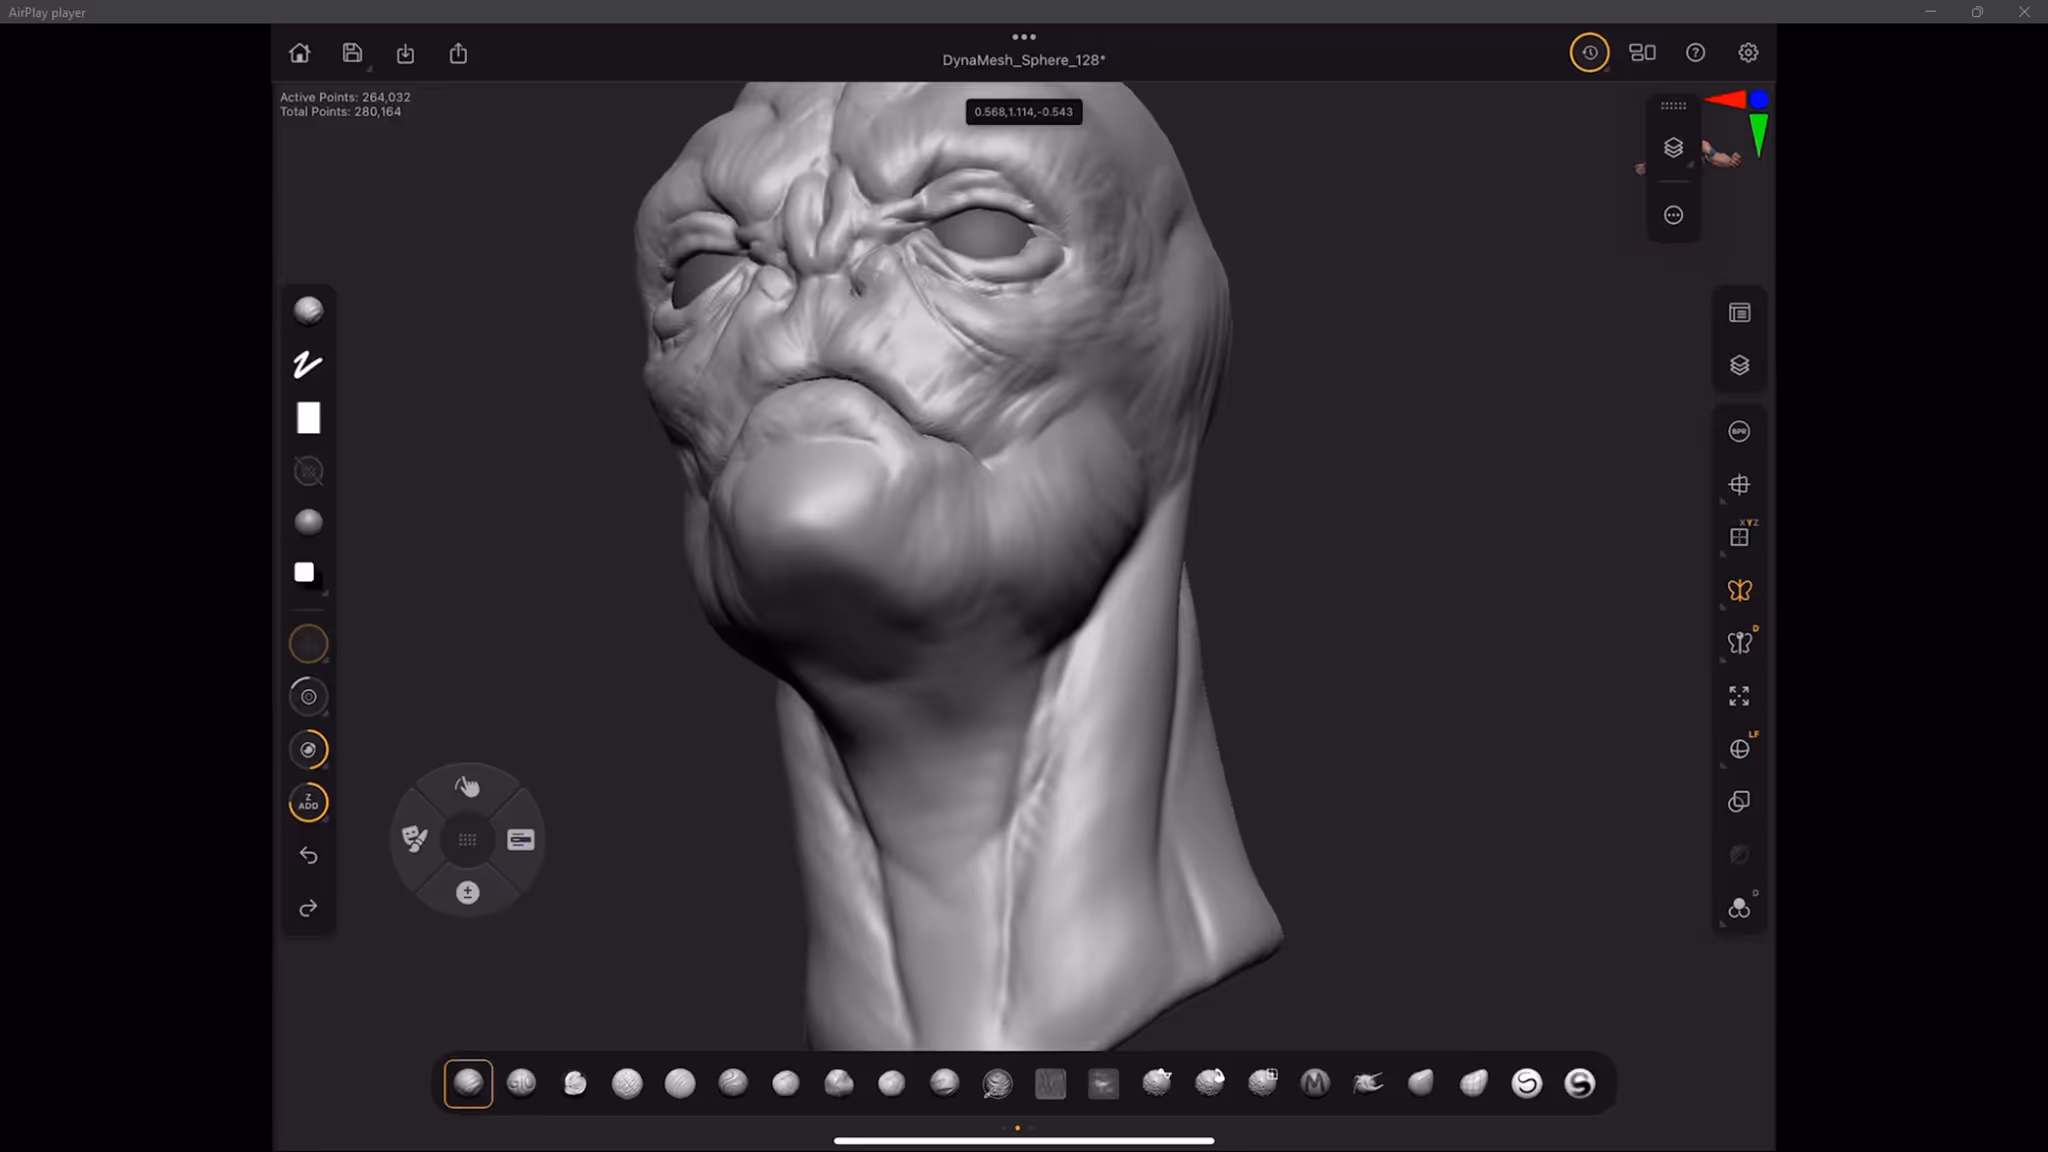
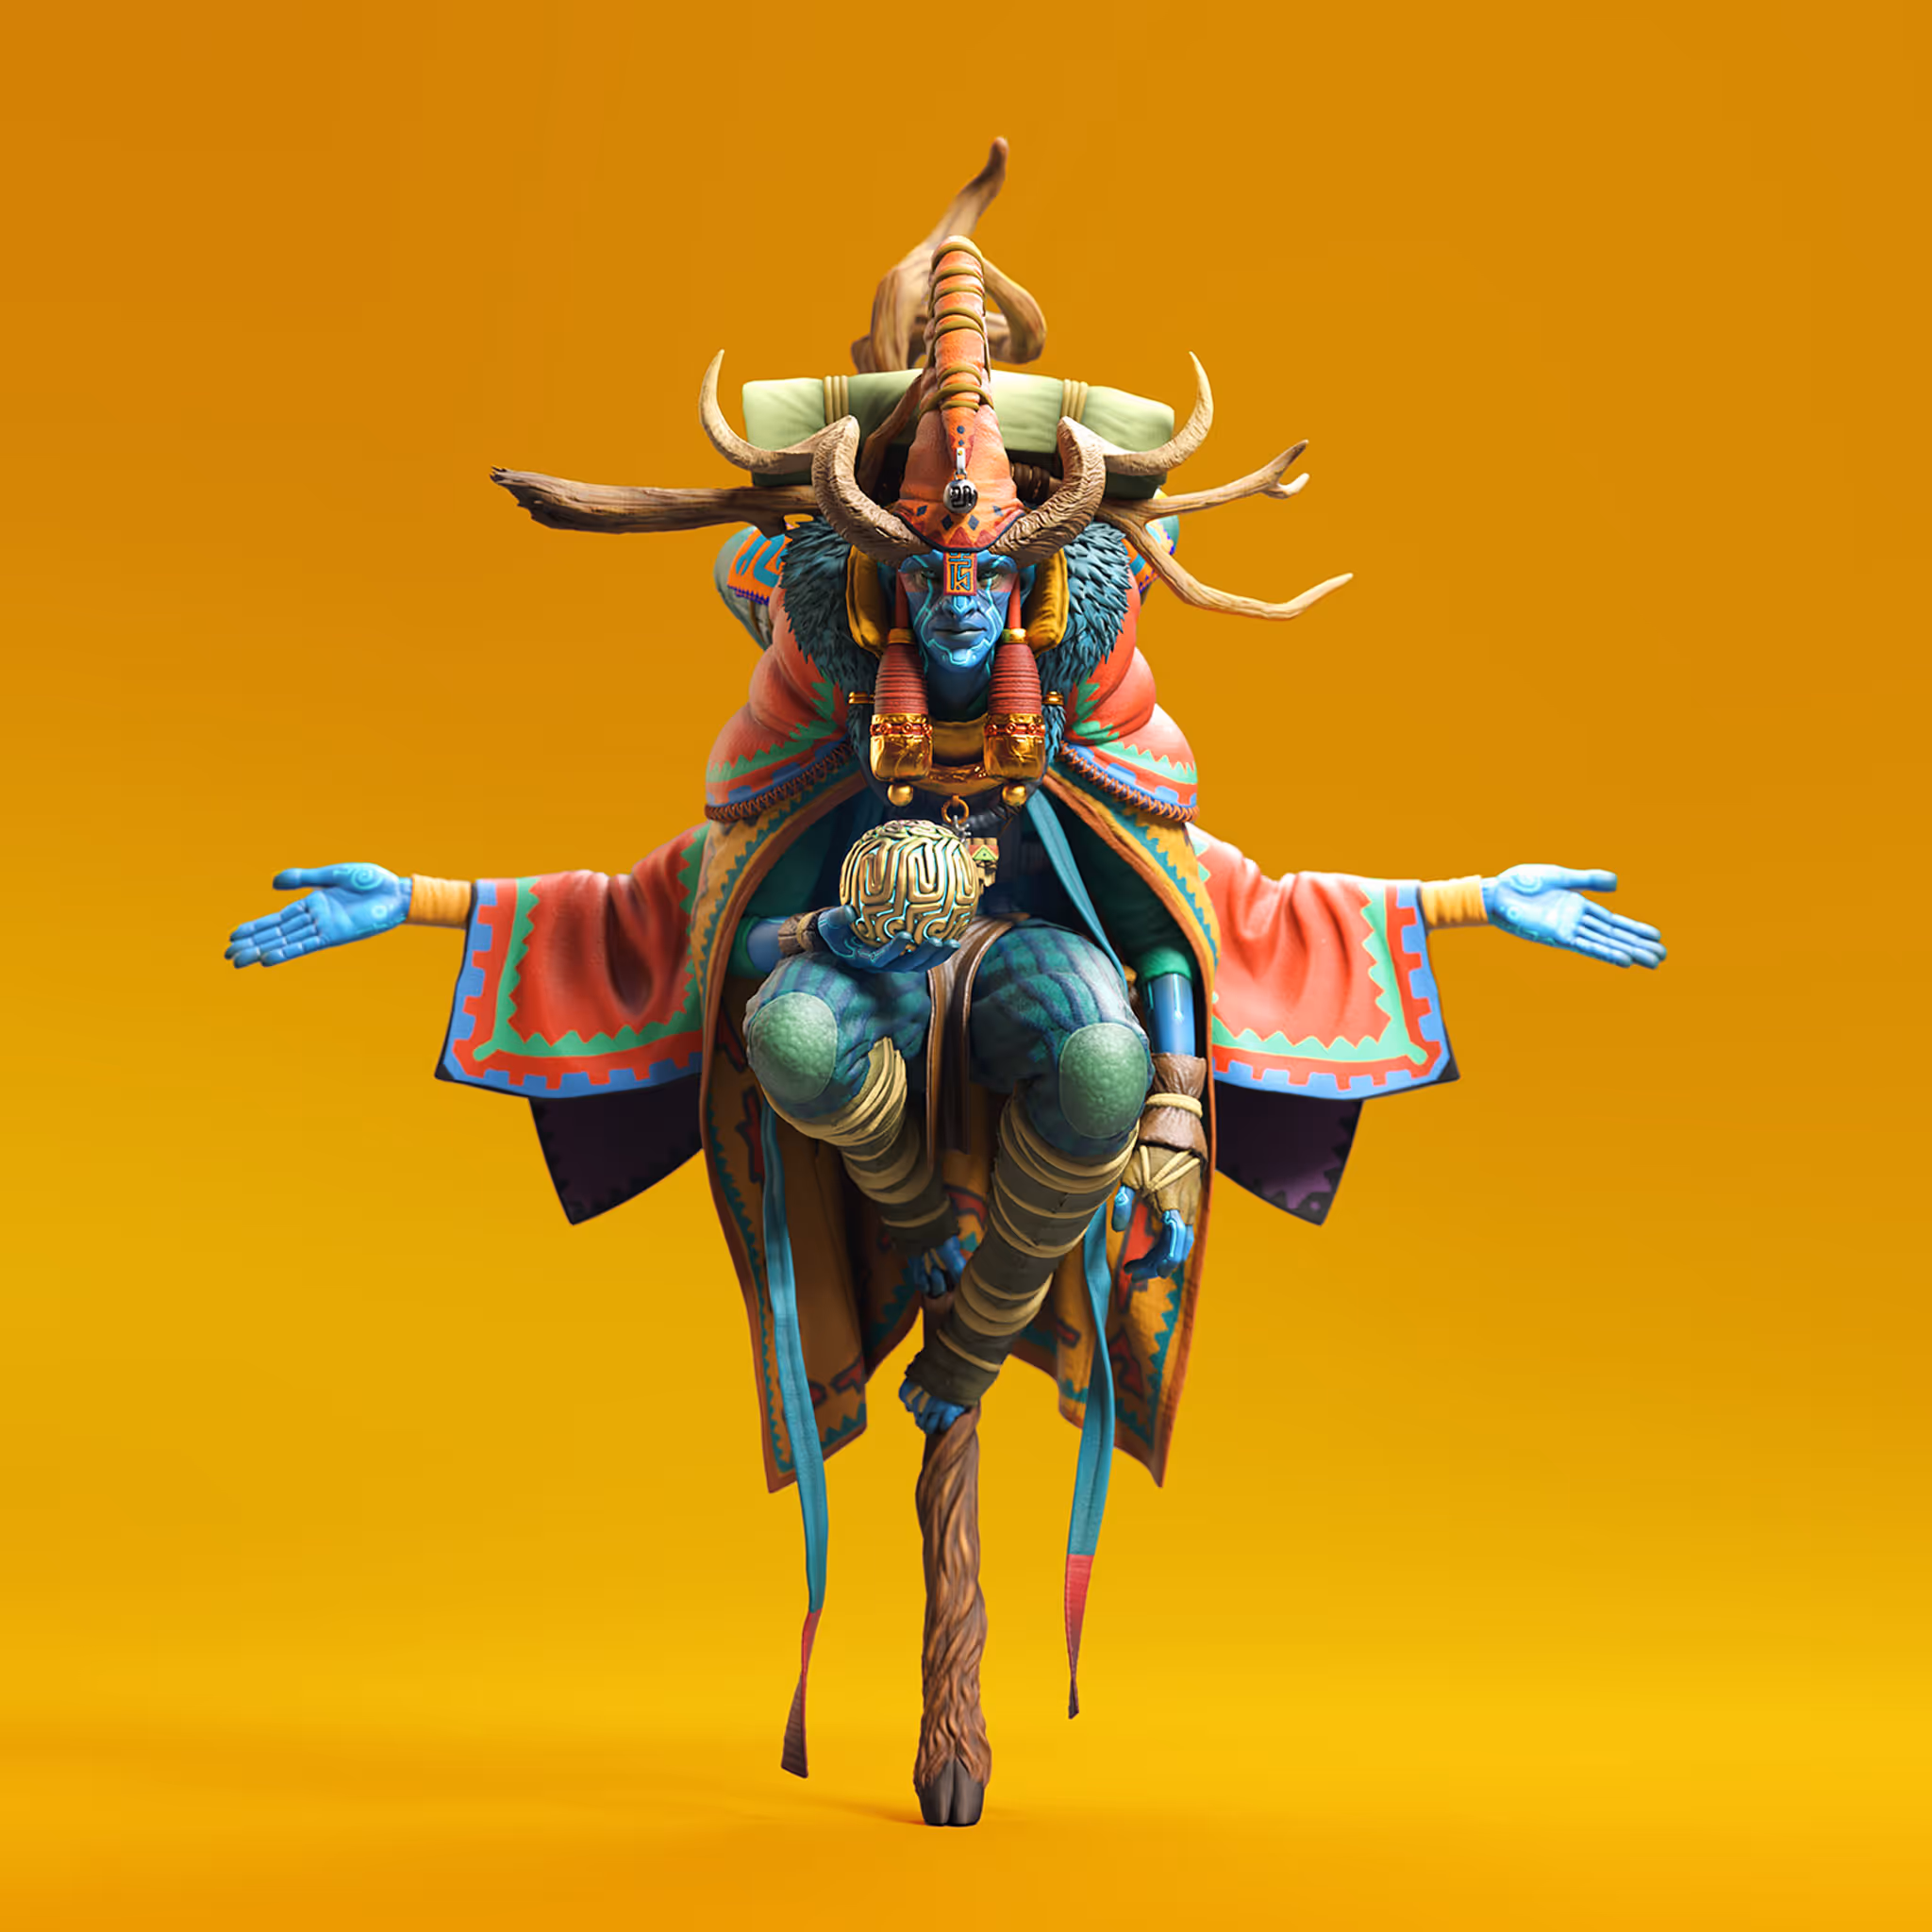
Here is the concept:
Here is just the clay render without the polypaint:
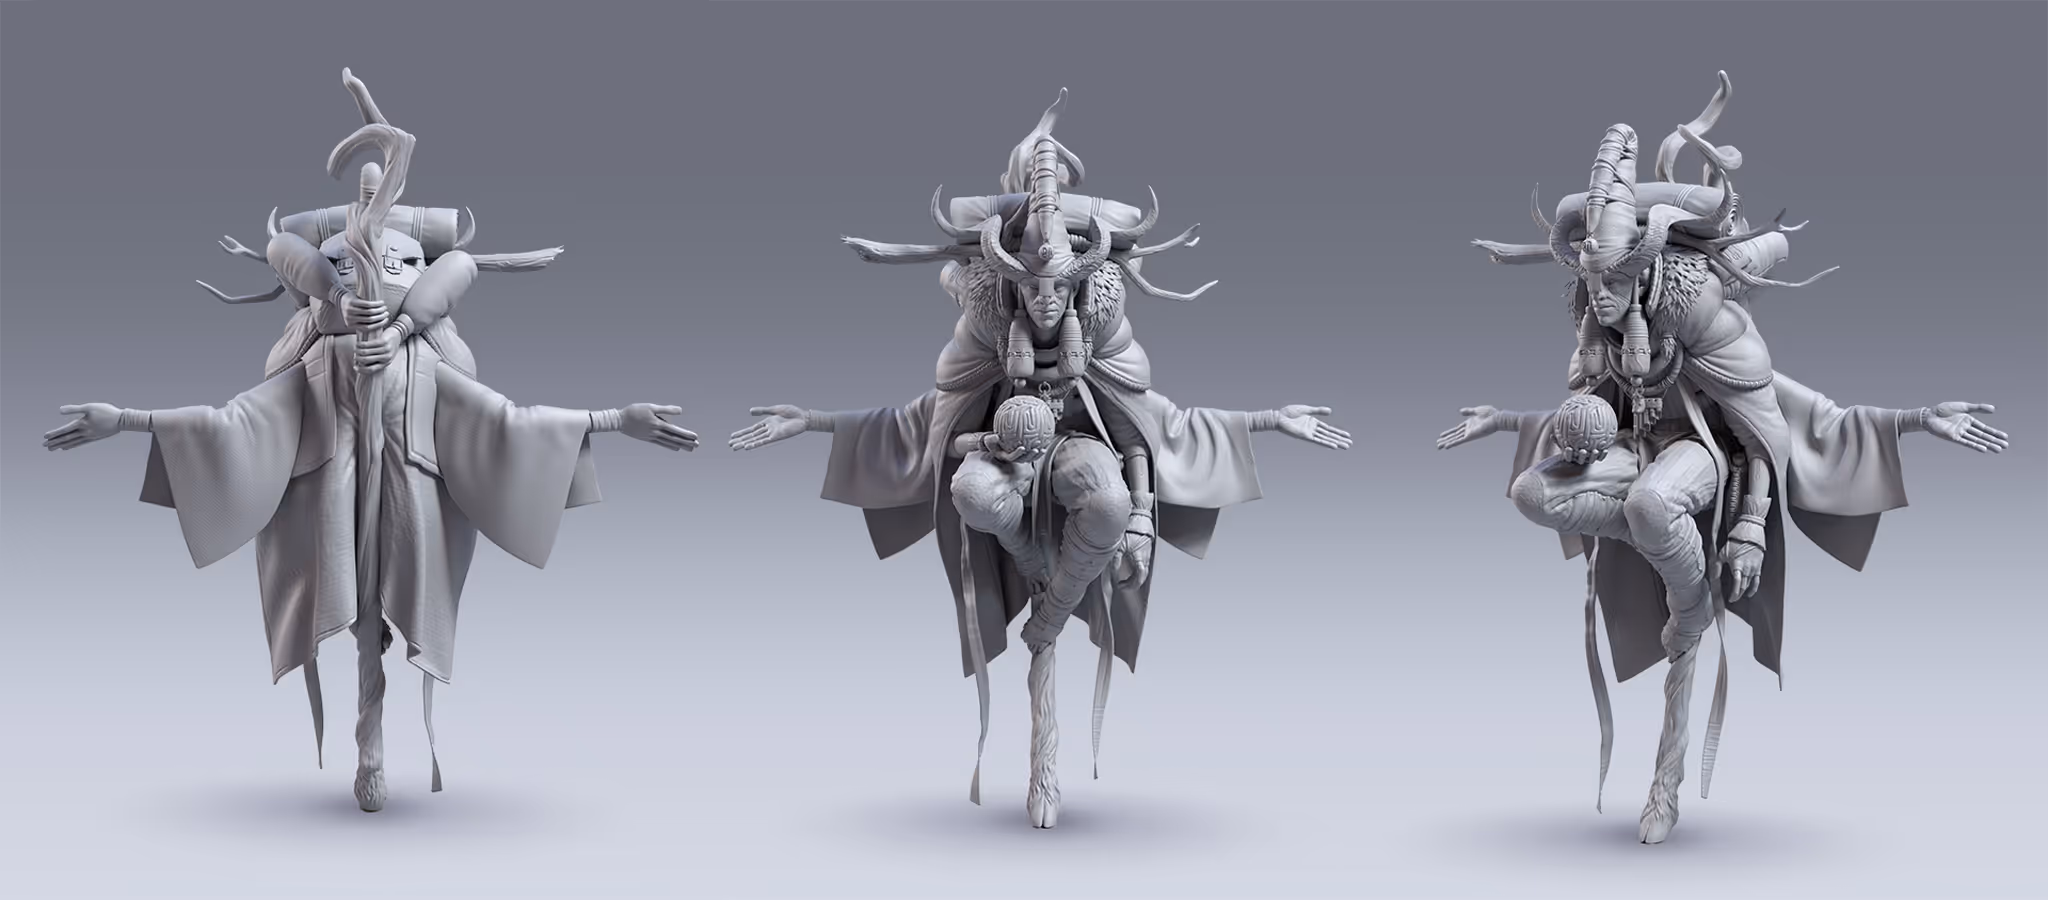
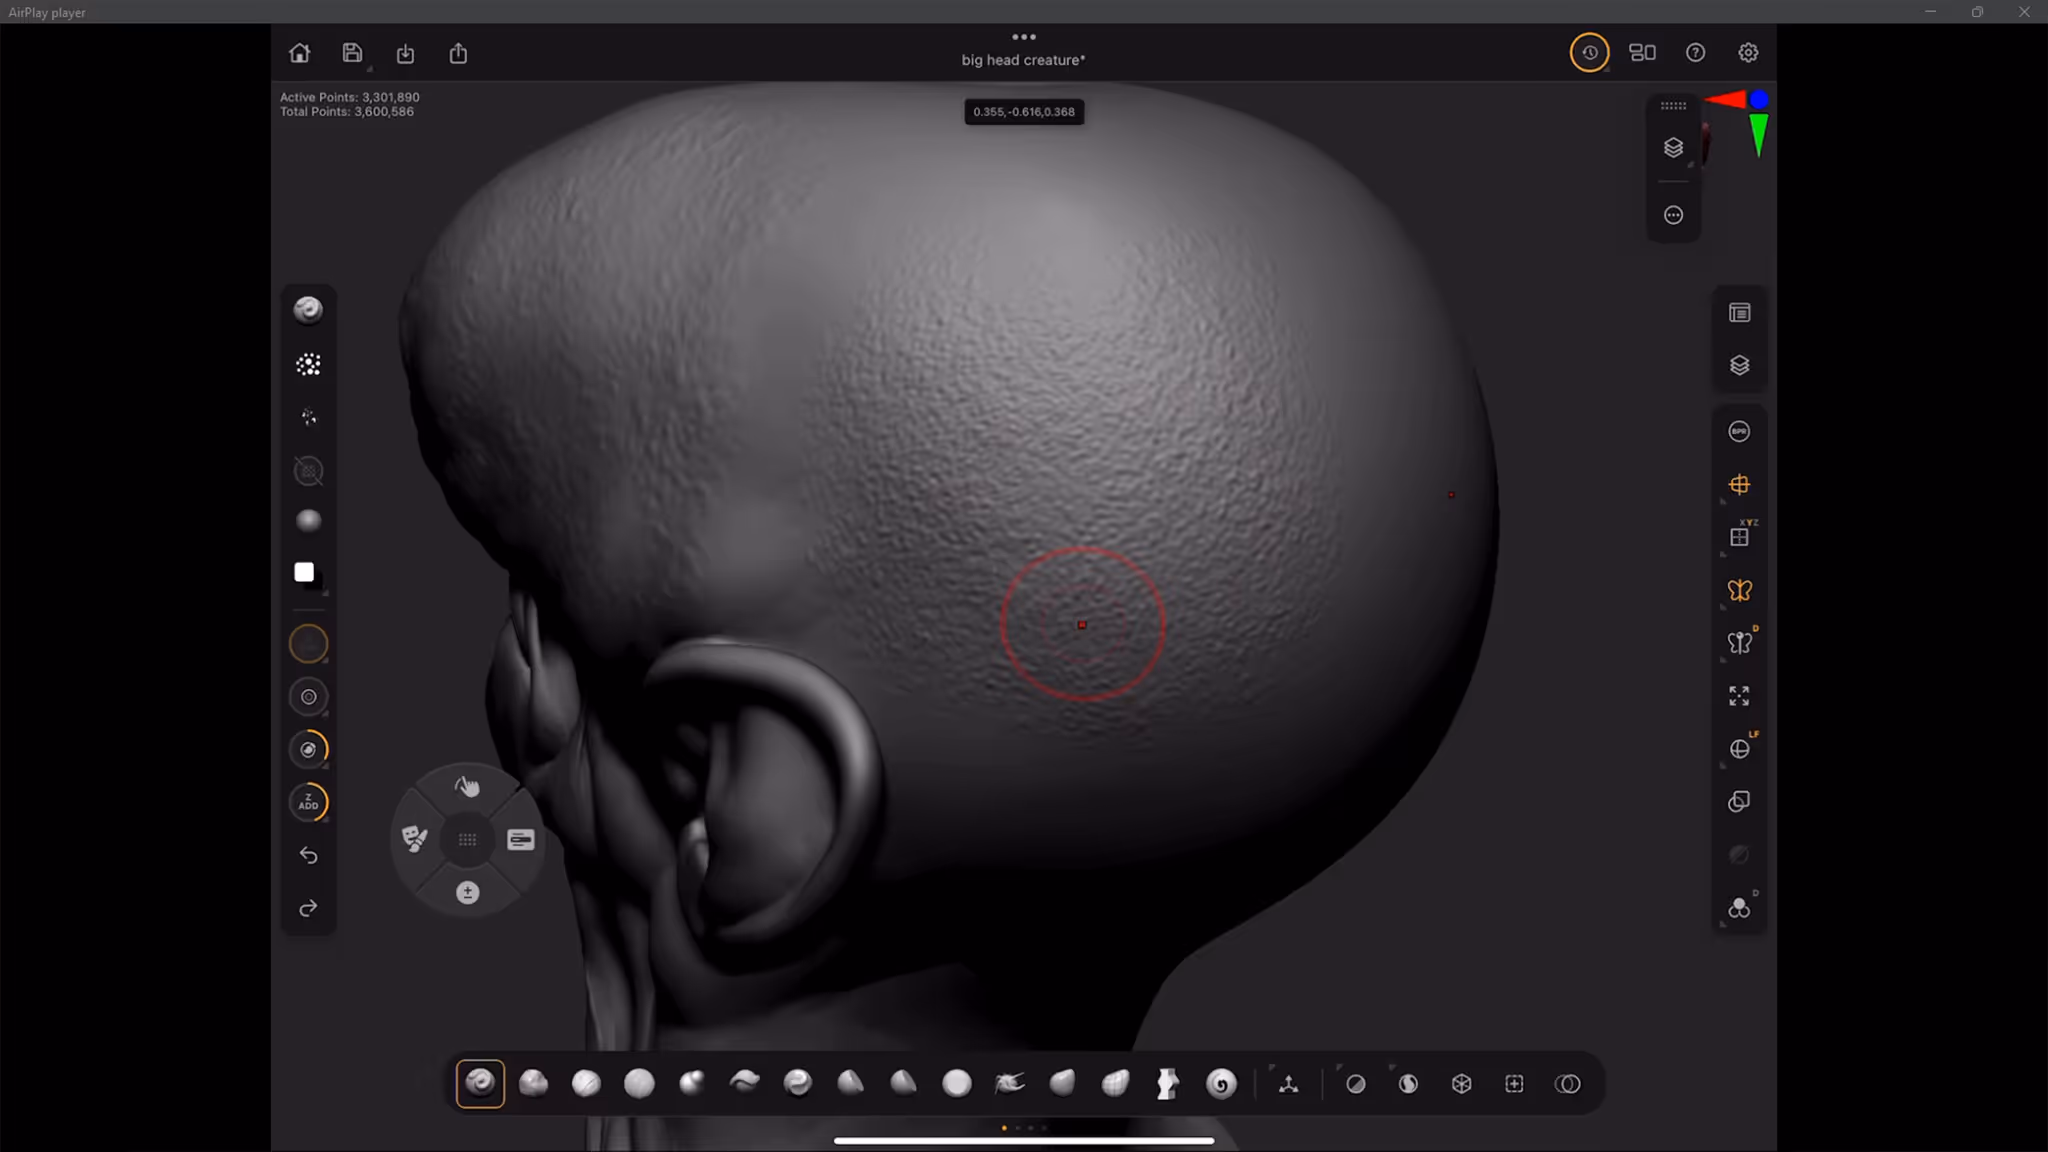
And a closeup:


ZBrush for iPad Short Tips
This is a playlist of iPad short tips and tricks that you can utilize onto your workflow and be more productive using ZBrush for iPad.
Check it out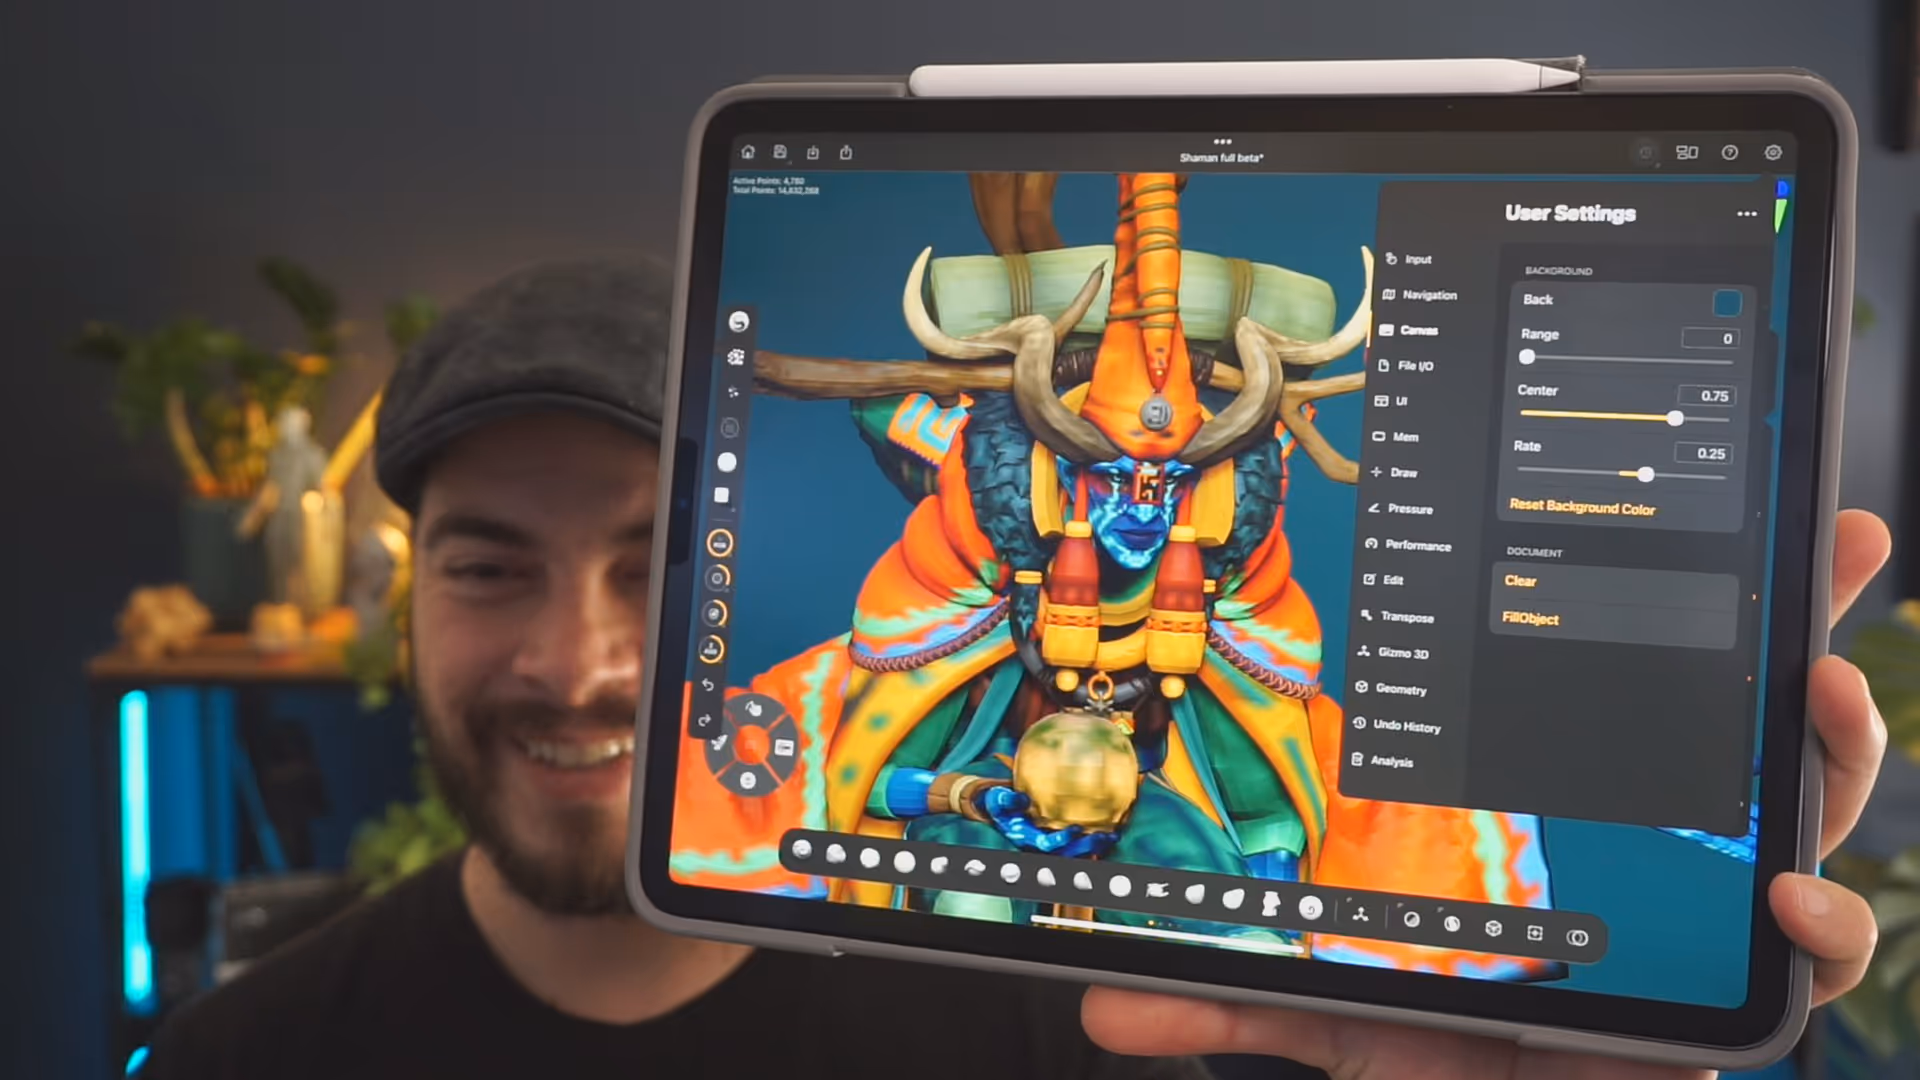


.webp)

