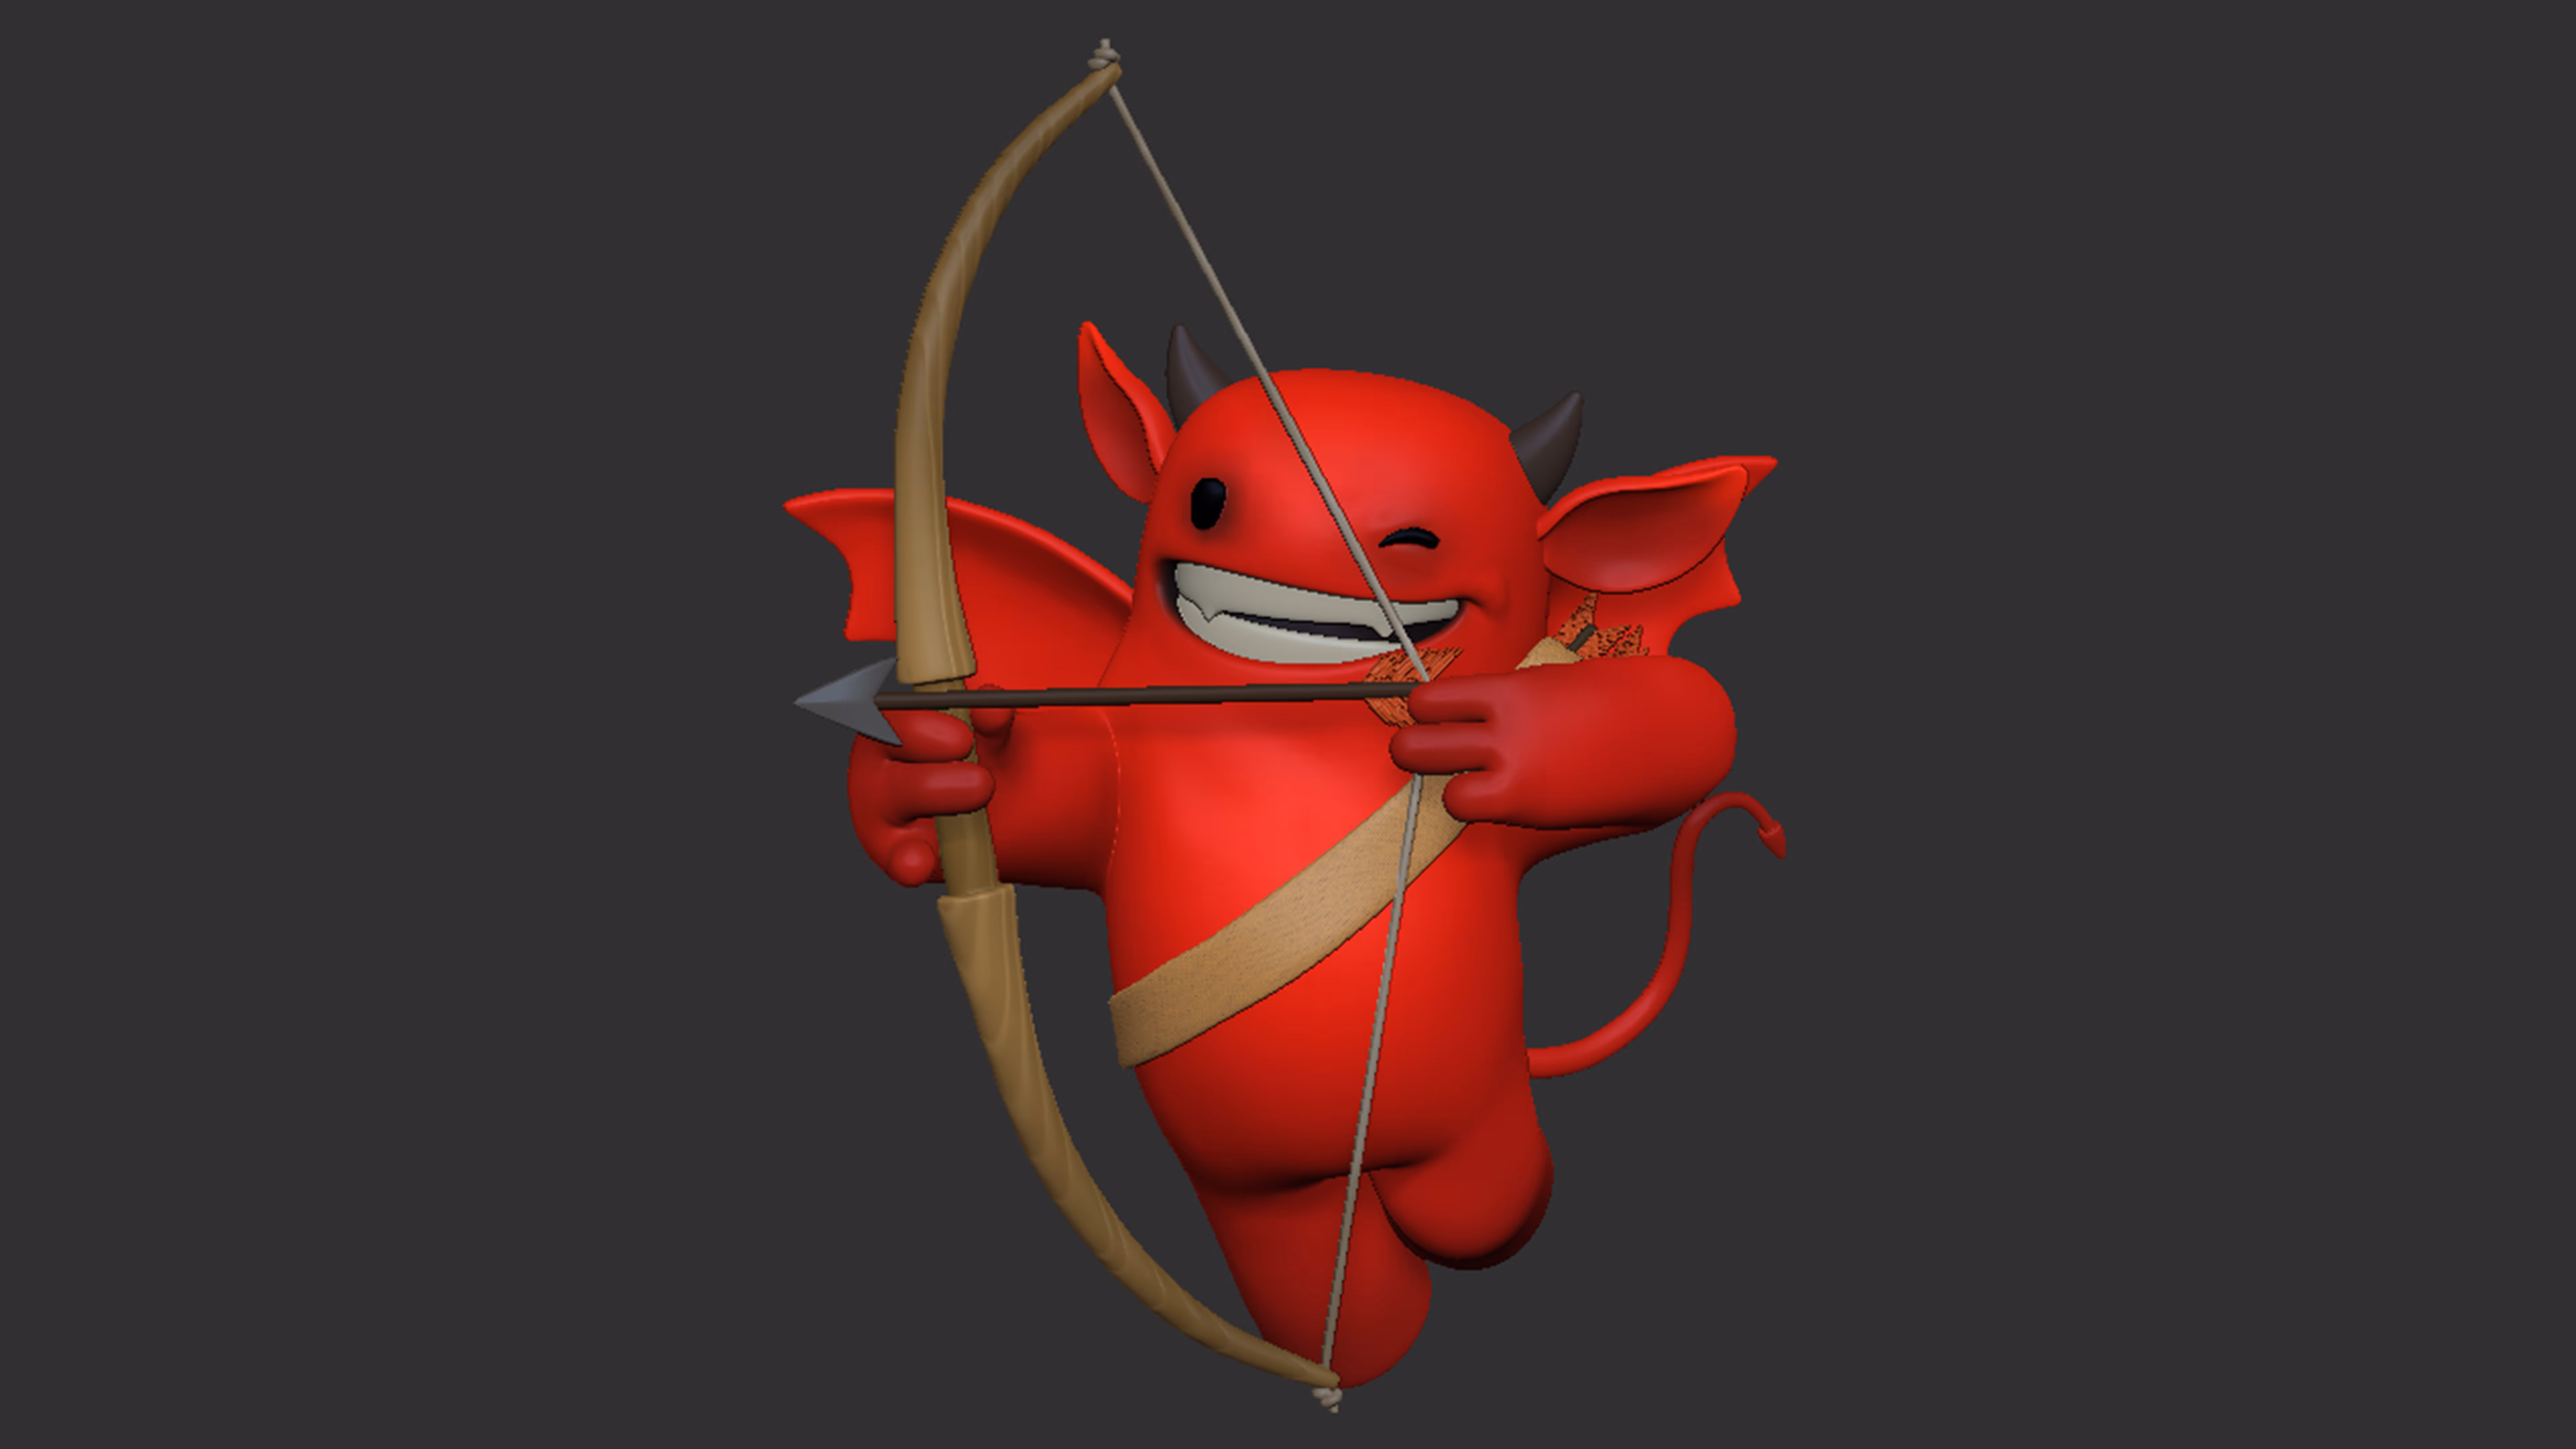
Here is the little creature that I'll use as an example. It is a concept from the #ZBrushLive streams in February and it's fairly simple (Part 1 and Part 2). I'll focus on the main volume of the body because the string, bow or arrows might not need to be hollow.

So, step #1 is to take the mesh you want to optimise for 3D printing (make it hollow so it is light and you don't waste resin, for instance) and duplicate it.
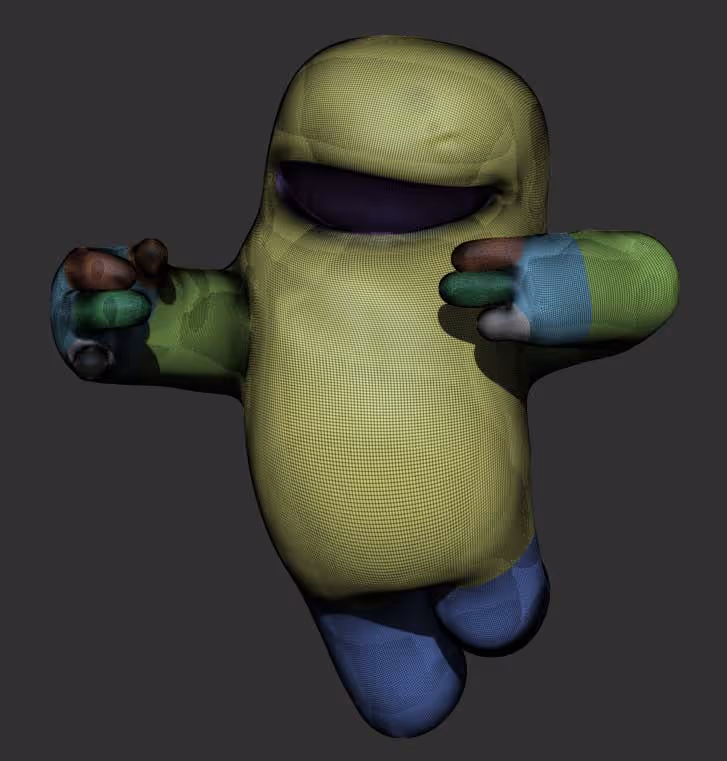
step #2 is to take the duplicated mesh, with the rest of the objects, visible and enable the 'Transparency' switch from the Transform palette so that you can see through the model.
Next, you can use the 'inflate' slider from the Tool > Deformation to 'deflate' the volume of the mesh... The duplicated body will basically become the volume that we will subtract and the distance between the original and the duplicate mesh is the thickness ;)
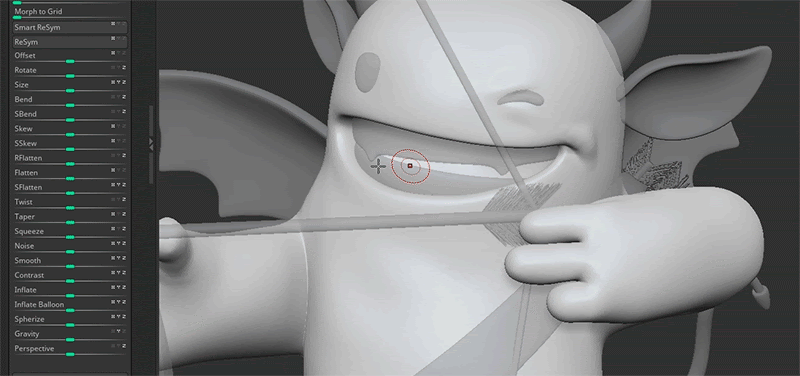
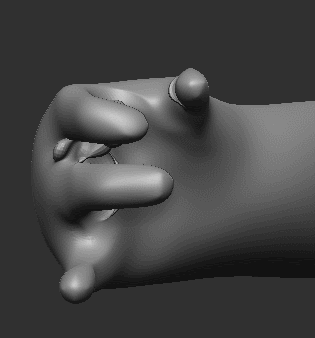
Depending on your model, you might notice a few weird artifacts... like around the fingers or areas with corners, this is to be expected since the inflate or deflate operation moves the polygons along their normal.

There is a fix for this and although it is a more 'manual' process, it is very easy.
Turn on the Sculptris Pro switch Stroke > Sculptris Pro and use the smooth brush with a relatively large brush to smooth out those areas and fix the intersecting weird artifacts
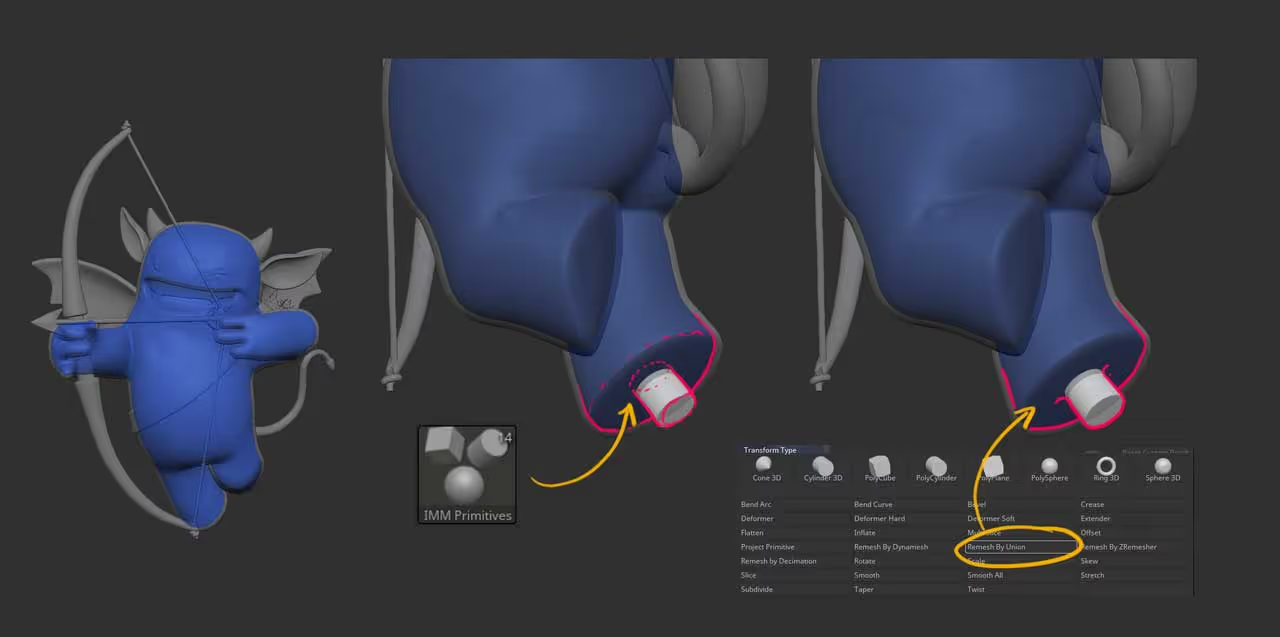
Now you basically have two meshes one inside the other one. All we have to do is connect the mesh in the inside with the 'outside' area using something like a cylinder that covers the thickness we create... in the example below I used the IMM Primitive to insert it at the bottom of the leg.
I also ran the 'Remesh by union' to combine the cylinder with the duplicate mesh, but it is not necessary as long as it is part of the same subtool.
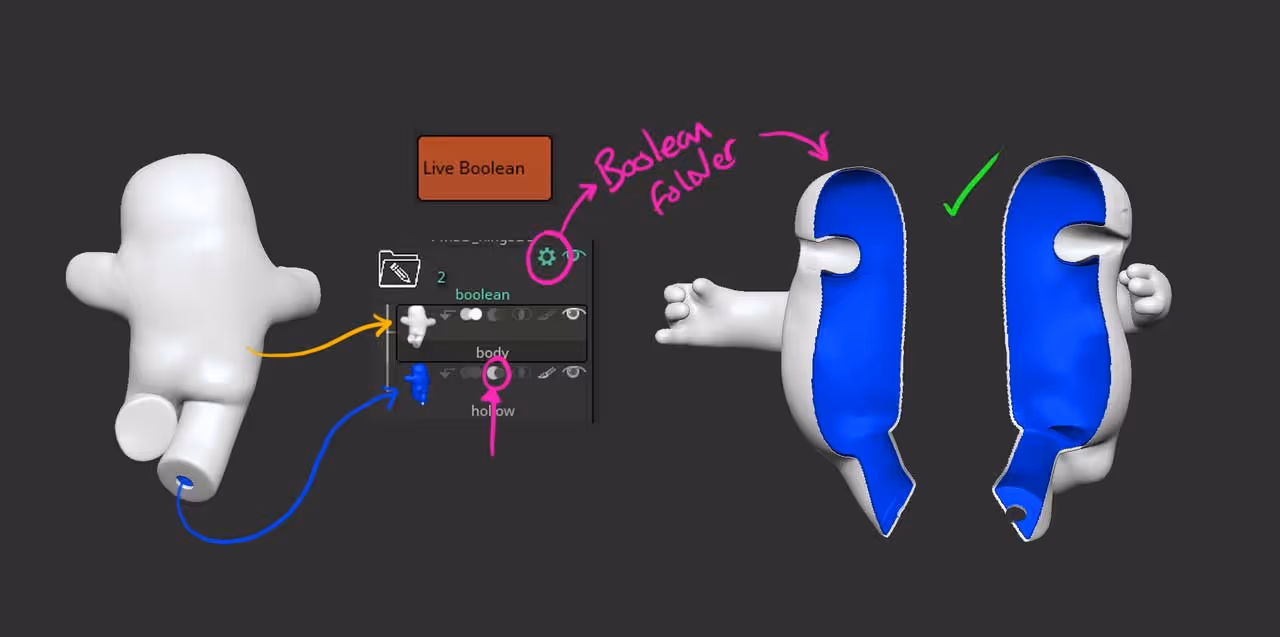
That's it, we now tell ZBrush to do it's magic with the boolean operation. Place the original into a new folder, and the duplicate right below it inside the folder. Choose the 'subtracting' option from the subtool of the duplicated mesh, eneable 'Live Booleans' (from the render palette) and finally, from the gear icon in the folder, choose 'boolean folder' and you'll end up with a hollow mesh.
Here is an example... I split it in have for illustration purposes and to show you the thickness
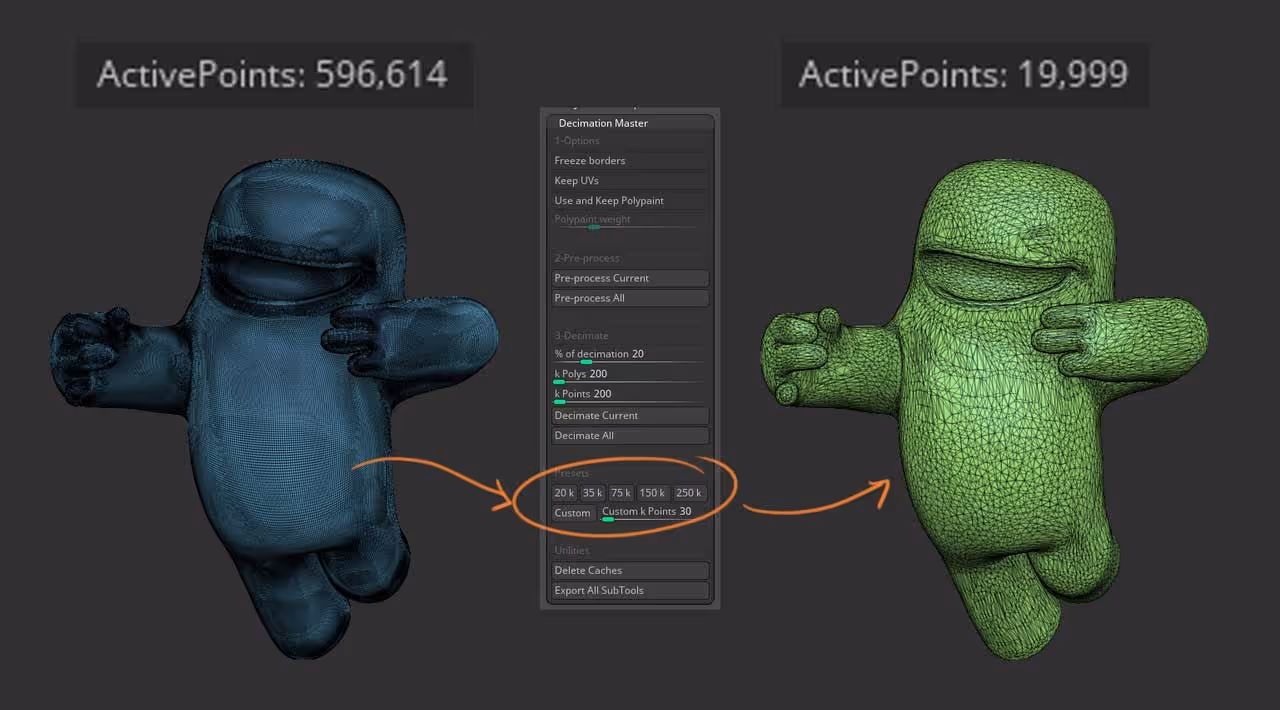
Another thing about printing in 3D is the optimisation of the amount of polygons, so once you are at this stage, you run a quick Decimation master preset to keep the volumes but reduce the amount of vertices:


.webp)

.webp)