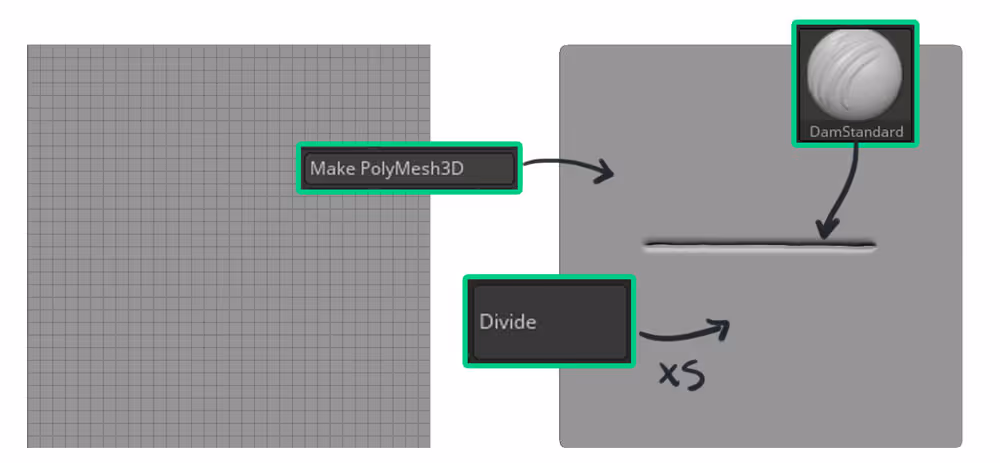
1. Create a plane (or anything, a sphere will work too). Make it a polymesh 3D, subdivide it and carve a line to create a 'seam' using the Dam Standard brush:
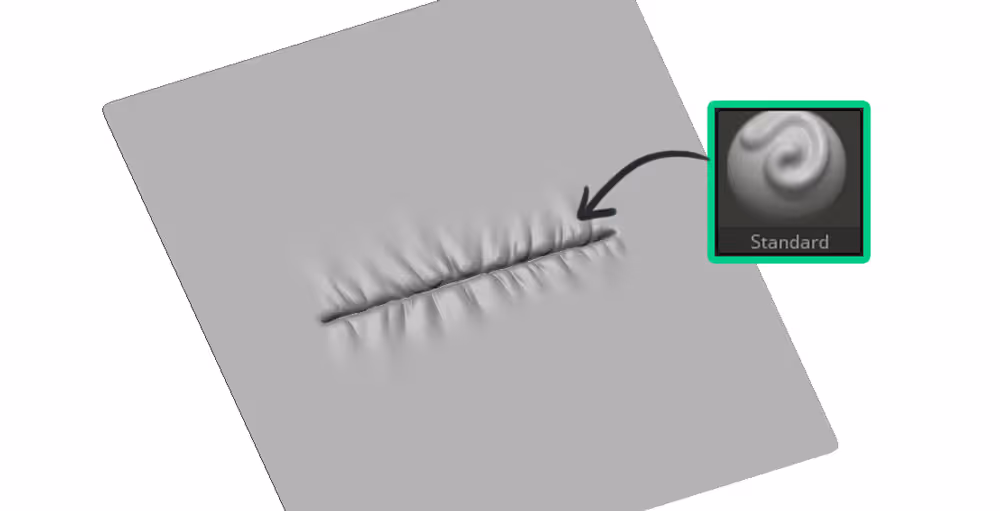
2. Use the standard brush to add some folds around both sides of the centerline. You can also use the 'Alt' key to invert the effect and the smooth brush to fade the folds.
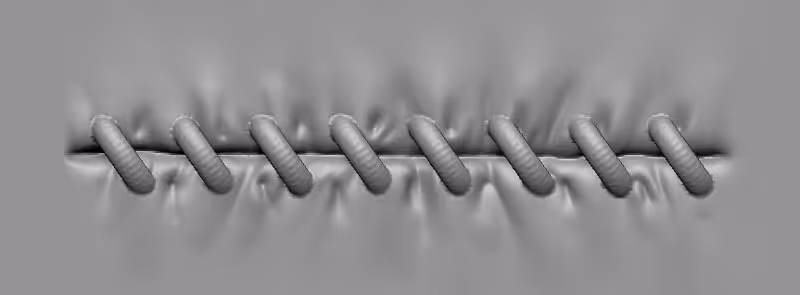
3. Now, the sculpting part is ready, but if you want to get fancy, you can sculpt some stitches with clay brushes or use alphas to add them along the seam.
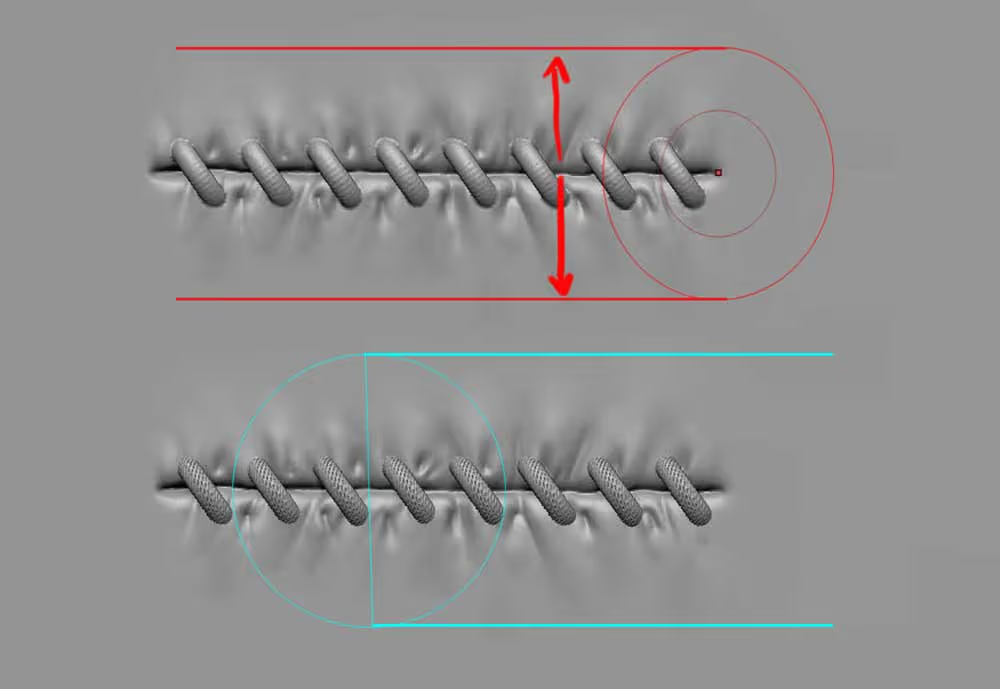
4. Now here comes the magic of ZBrush 2020... Select the new XTractor brush and Increase your brush size so that it covers the sculpted details. Press the 'G' key in your keyboard (you'll see the brush cursor change colours to a light blue) and click and drag along the seam you just sculpted.
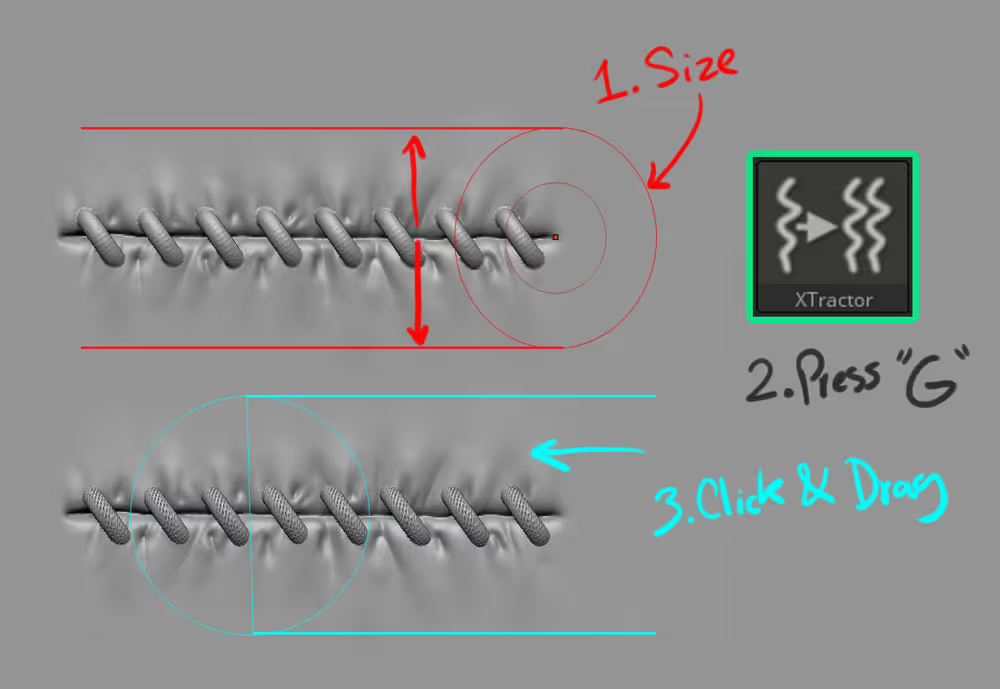
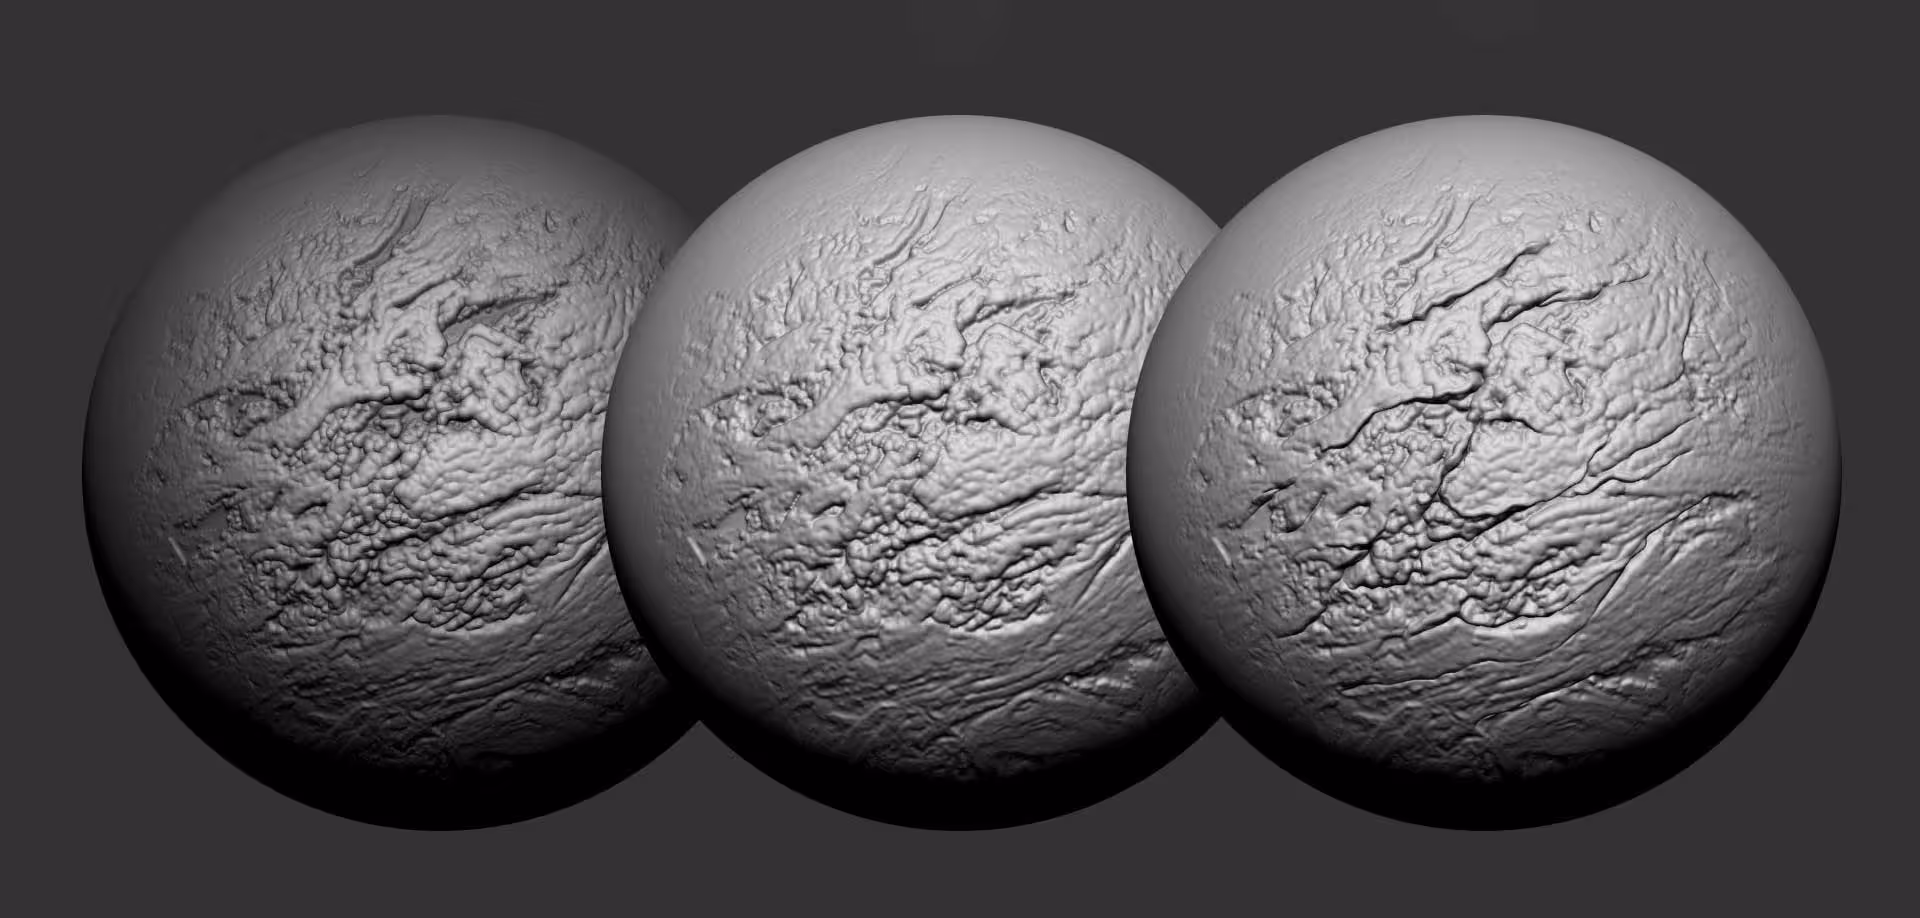
5. The XTractor brush should have picked up all the Z-depth you have in the mesh and it will create a pretty cool Alpha. Now, take another mesh like a sphere with subdivisions and with the XTractor brush selected, click and drag to apply the details!!!
How cool is that?!!! you can also pick up depth as well as color information ;)


.webp)

.webp)