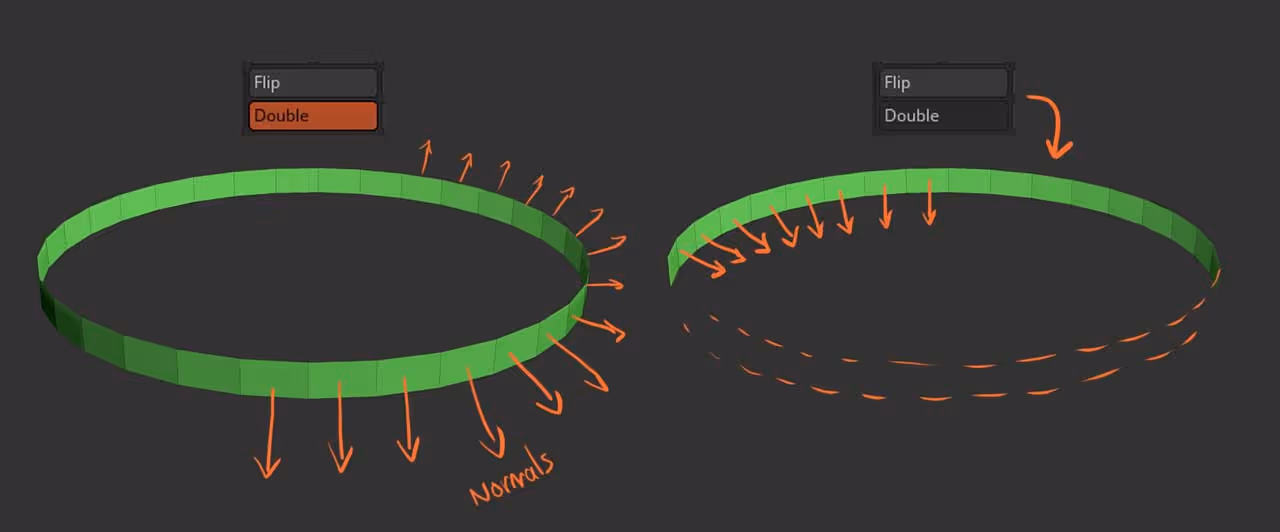
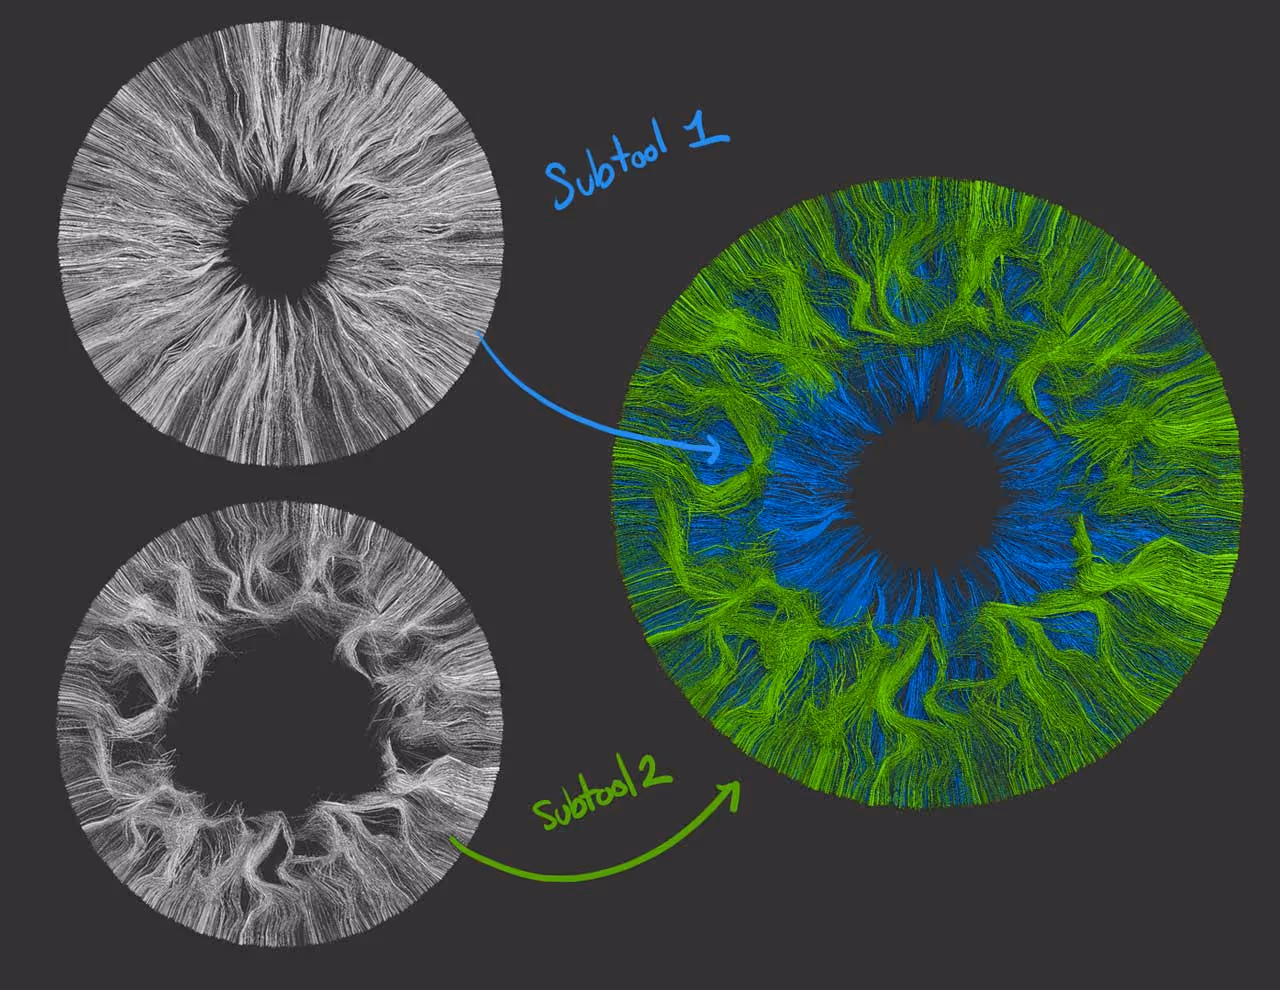
The first step is to create a cylinder and remove everything but a single PolyLoop… this will be the outer edge of the Iris. You also need to flip the normals so that they are pointing inwards and make sure that Double is turned off (in the display properties)… this last part is very important so that you don’t have Fibers growing in both directions.
The next step is to enable the Preview in the FiberMesh settings to adjust the Fibers. You can play around with the settings but you should be aiming for something with ‘straight’ fibres and a small circular gap in the centre (to emulate the pupil)… something like this:
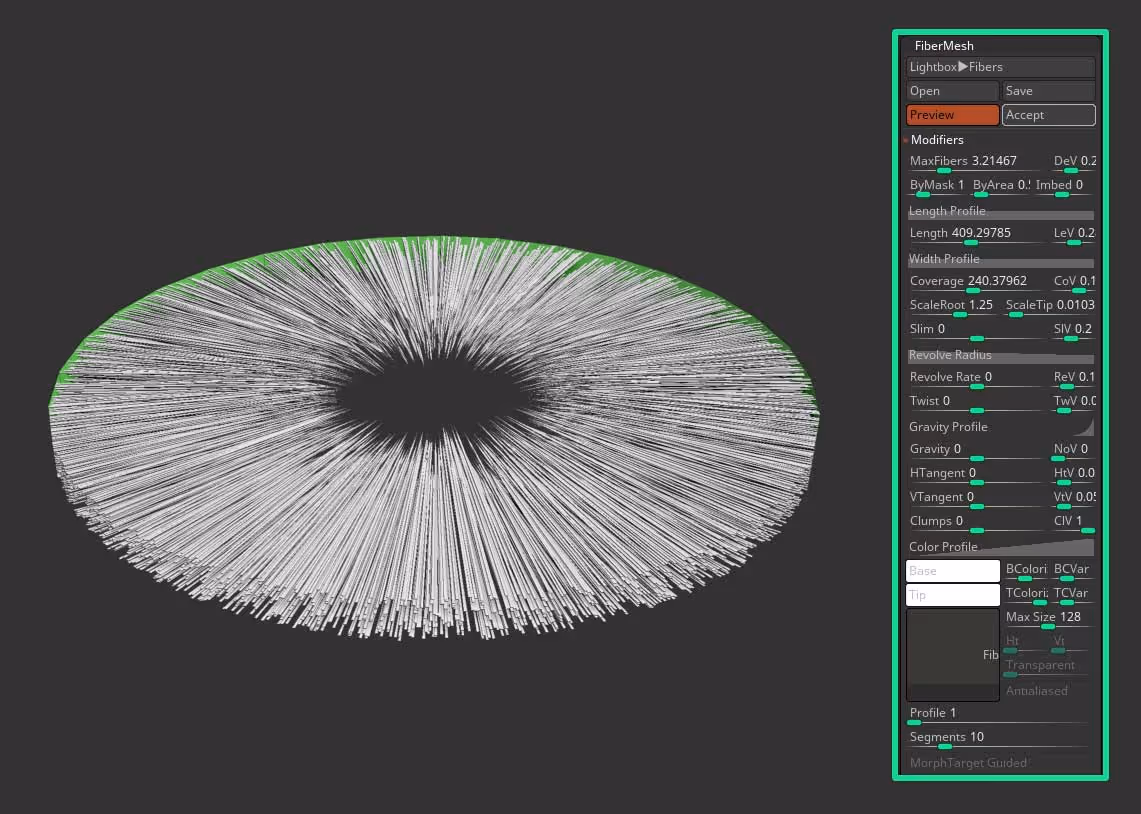
These are the settings I used… I’m sure you are already getting an idea of where we are heading with this technique ;)
You can go ahead and accept the settings and then use any Grooming brush to give shape to the main details of the eye… the more prominent custom details come after for now just try to make it look organic:
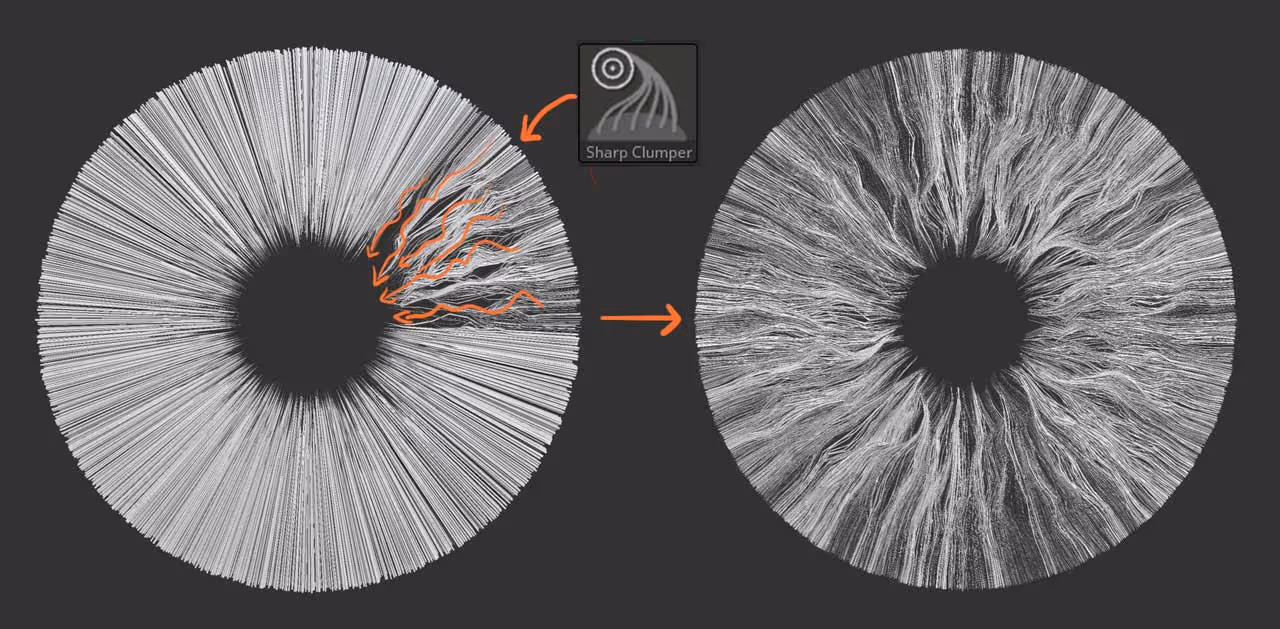
In my case, I used the Sharp Clumper brush from the FiberMesh grooming kit just to work a bit faster. This process shouldn't take too long but feel free to spend as much time as you need here to match a reference if you have one.
Once you are happy with the ‘base details’, you can repeat the process one more time but perhaps fewer with fibers and curl them a bit more to create the more prominent details (for the collarette of the iris):
The next step is quite weird haha but it is optional… You can make a duplicate or the second set of fibers and enable the Dynamic subdivision with a bit of thickness and apply it. This will convert the FiberMesh to a normal mesh that you can edit like any other mesh.
You can then use the smooth brush to create some more visible gaps and wholes and once you are happy with that, inflate everything a bit and Dynamesh it!
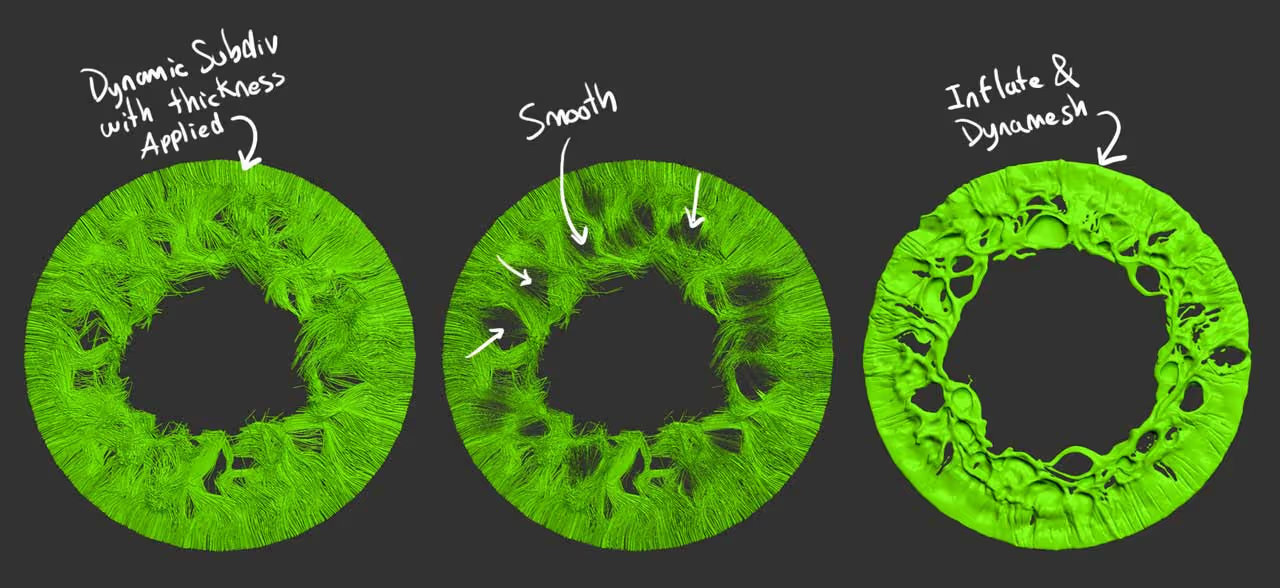
The result will depend on the Dynamesh resolution you choose and the thickness of the original fibers, but the complexity of this mesh is already there, thanks to the fibermesh so you can use other features like Sculptris Pro to adjust the mesh and remove floating pieces.
Once you are done polishing the second pieces, you can add a simple geometry at the back of the details so that is not transparent and use polypaint to set up the colour of the iris:
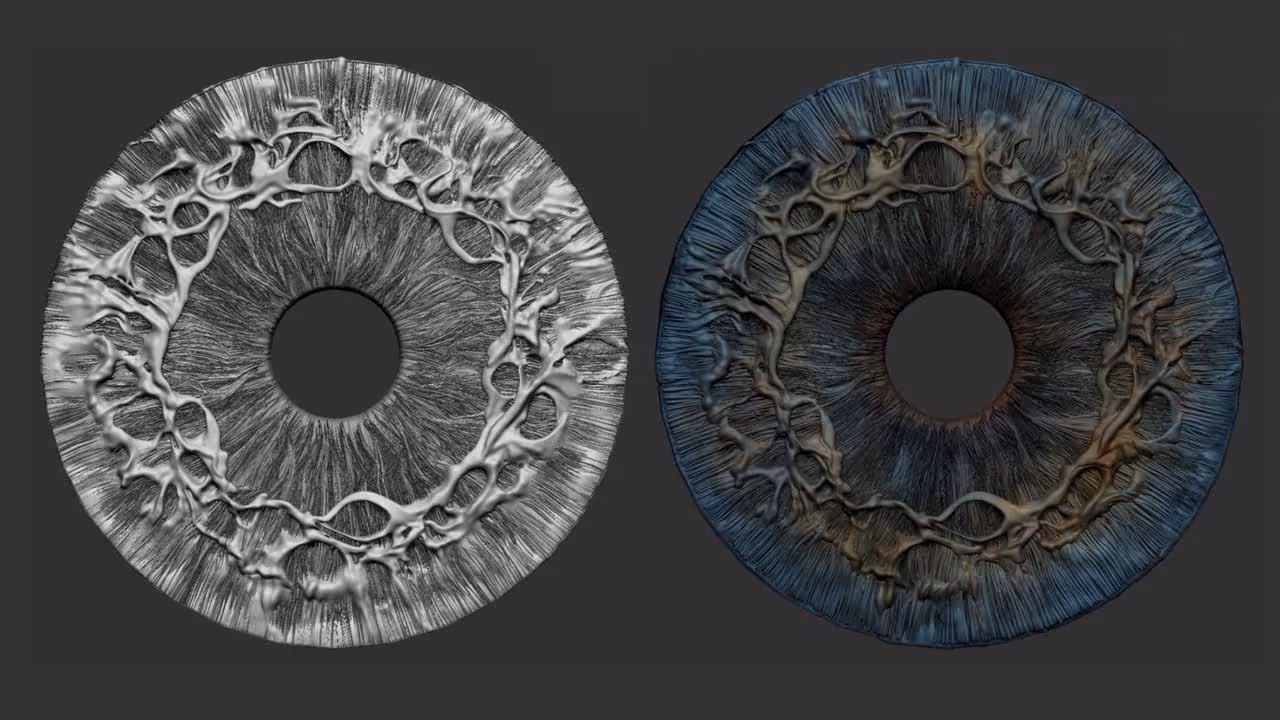
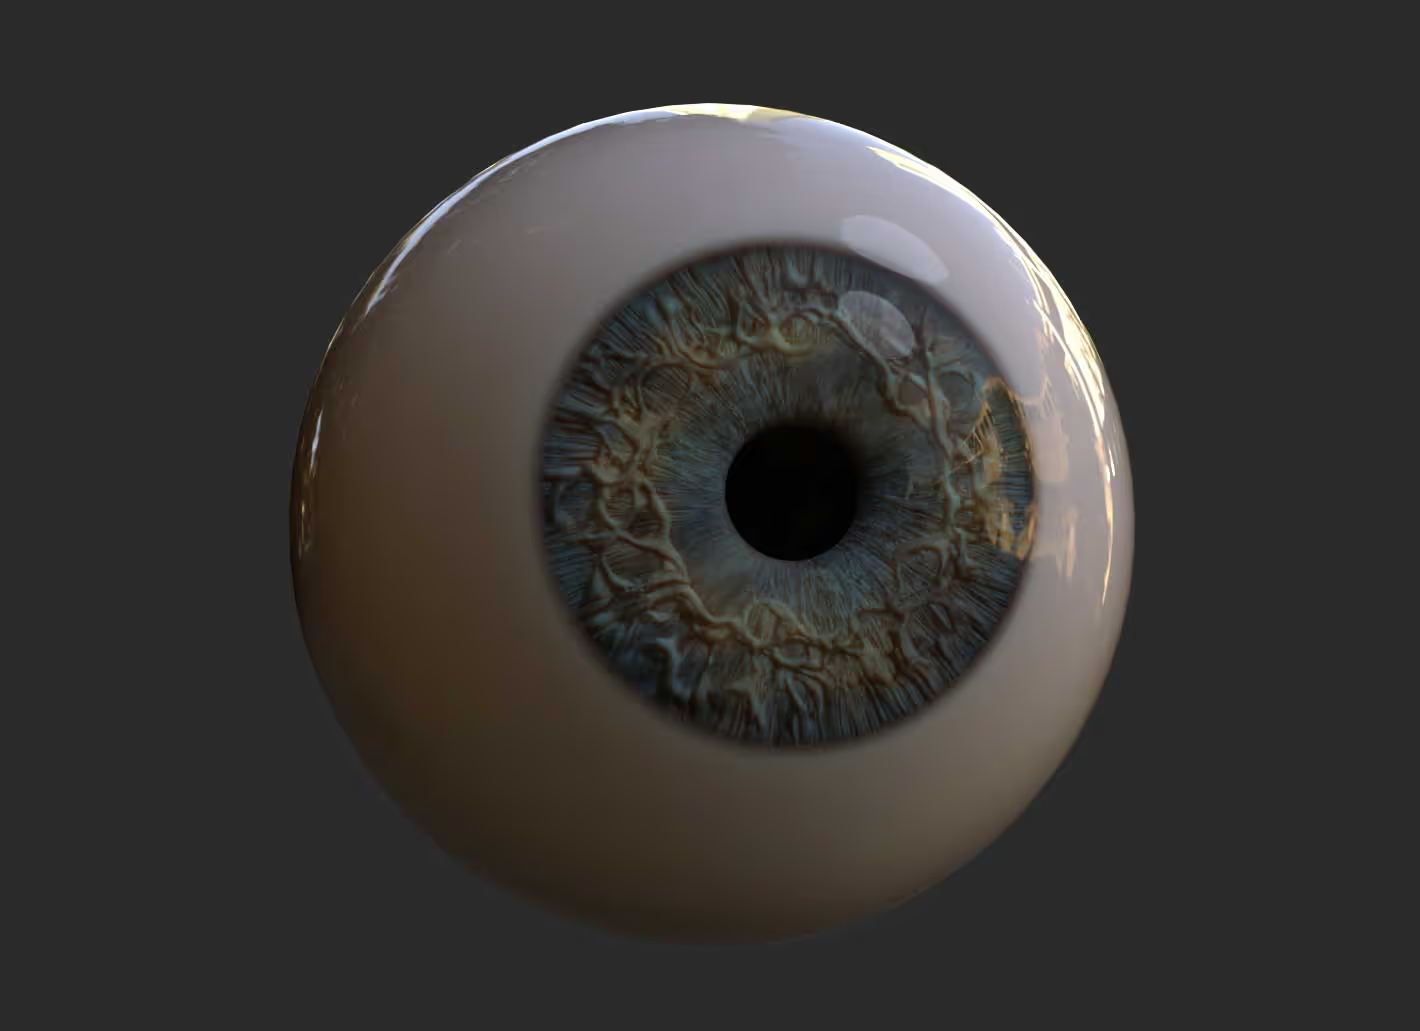
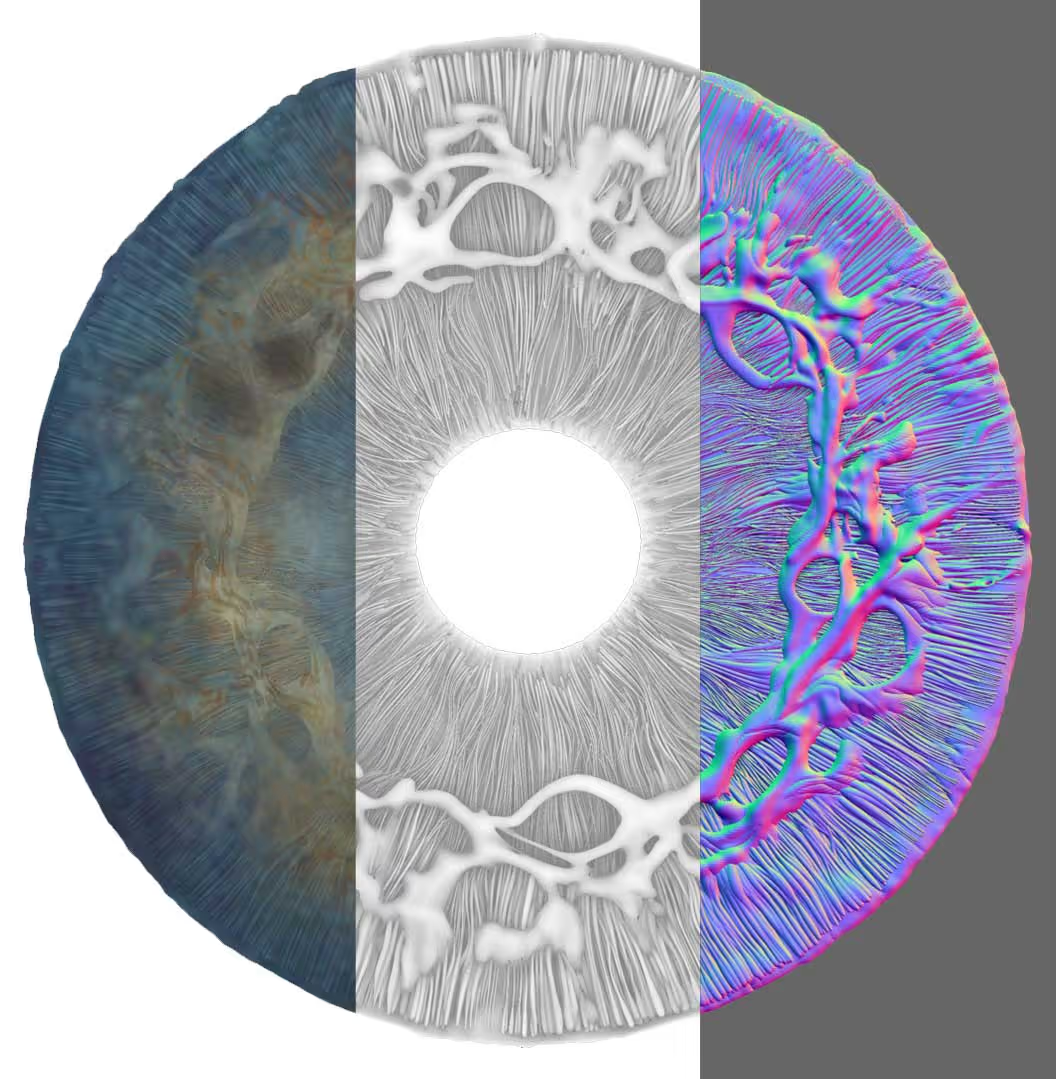
Keep in mind you can use masks like the AO or the mask by cavity to add some depth with just polypaint on the mesh. Once you have your iris sculpted and coloured, you can just project or ‘bake’ the details into a simpler geometry OR you can set up a front camera with perspective turned off and just export the document with passes:
That’s about it. This will definitely be at the top of the list for the upcoming tutorials, so make sure you turn on notifications on YouTube to get notified once the video is up!


.webp)

.webp)