The only thing you need is ZWrap but I’m sure other alternatives like the ‘skin wrap’ in Blender might also be an option. What I find annoying about creating VDMs is that I’m limited to the topology of the plane to create what I want… so I found a ‘hacky’ way to just convert anything into a VDM that works.
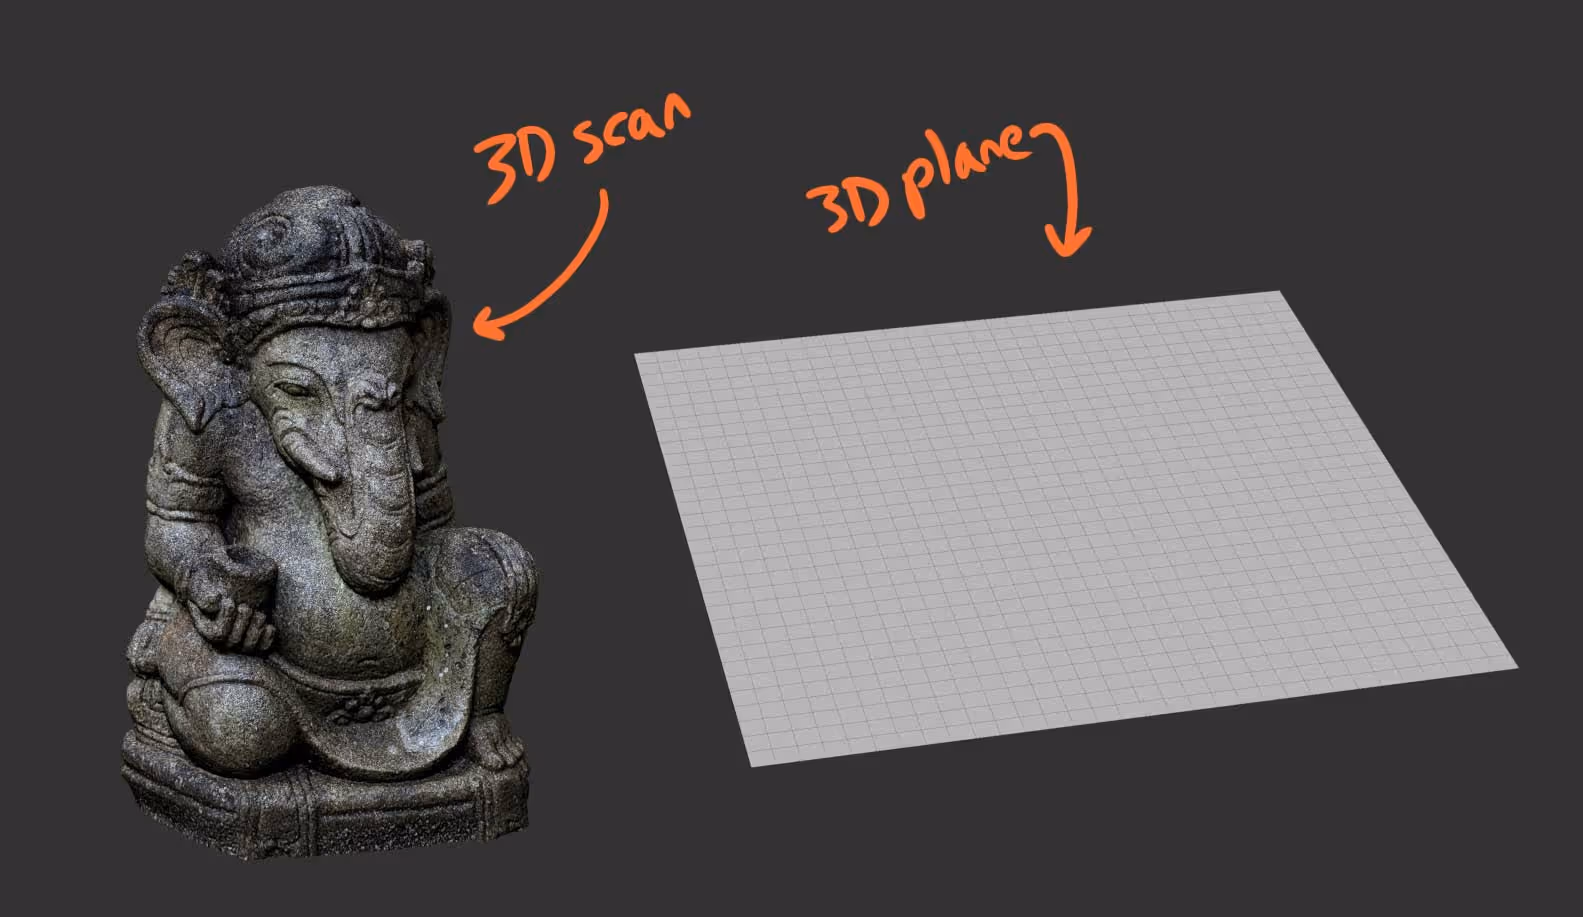
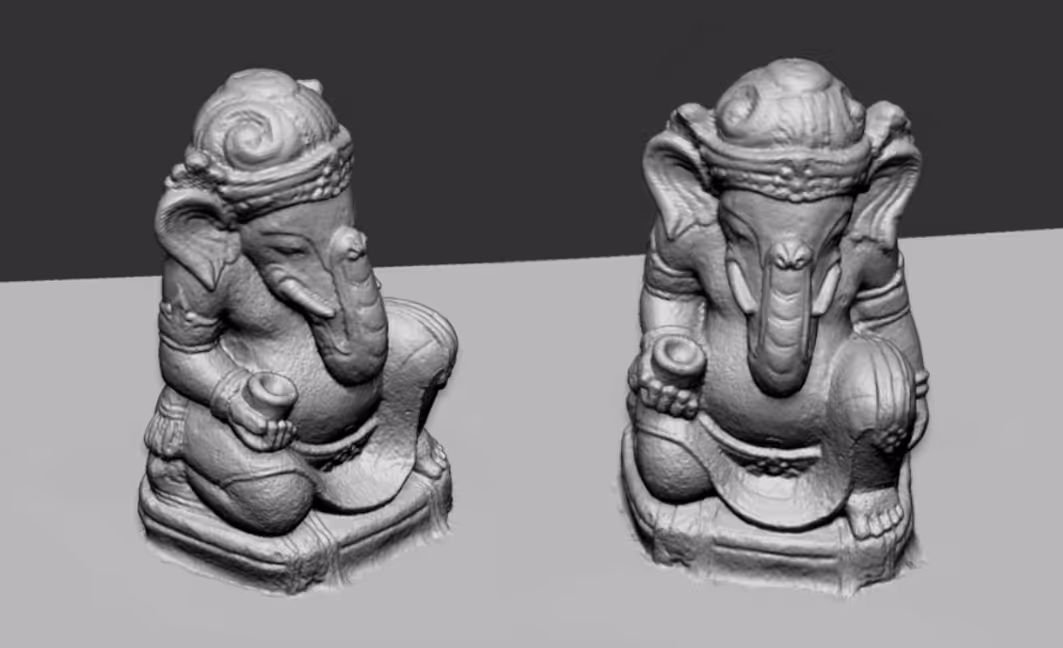
Alright, so you need an object you want to turn into a VDM (be reasonable… a tree with branches won’t be possible) and a Plane 3D to create the VDM from.
The first step is to add a plane at the bottom of your object and combine them. I added a cube, then combine them together and removed the bottom part of the cube.
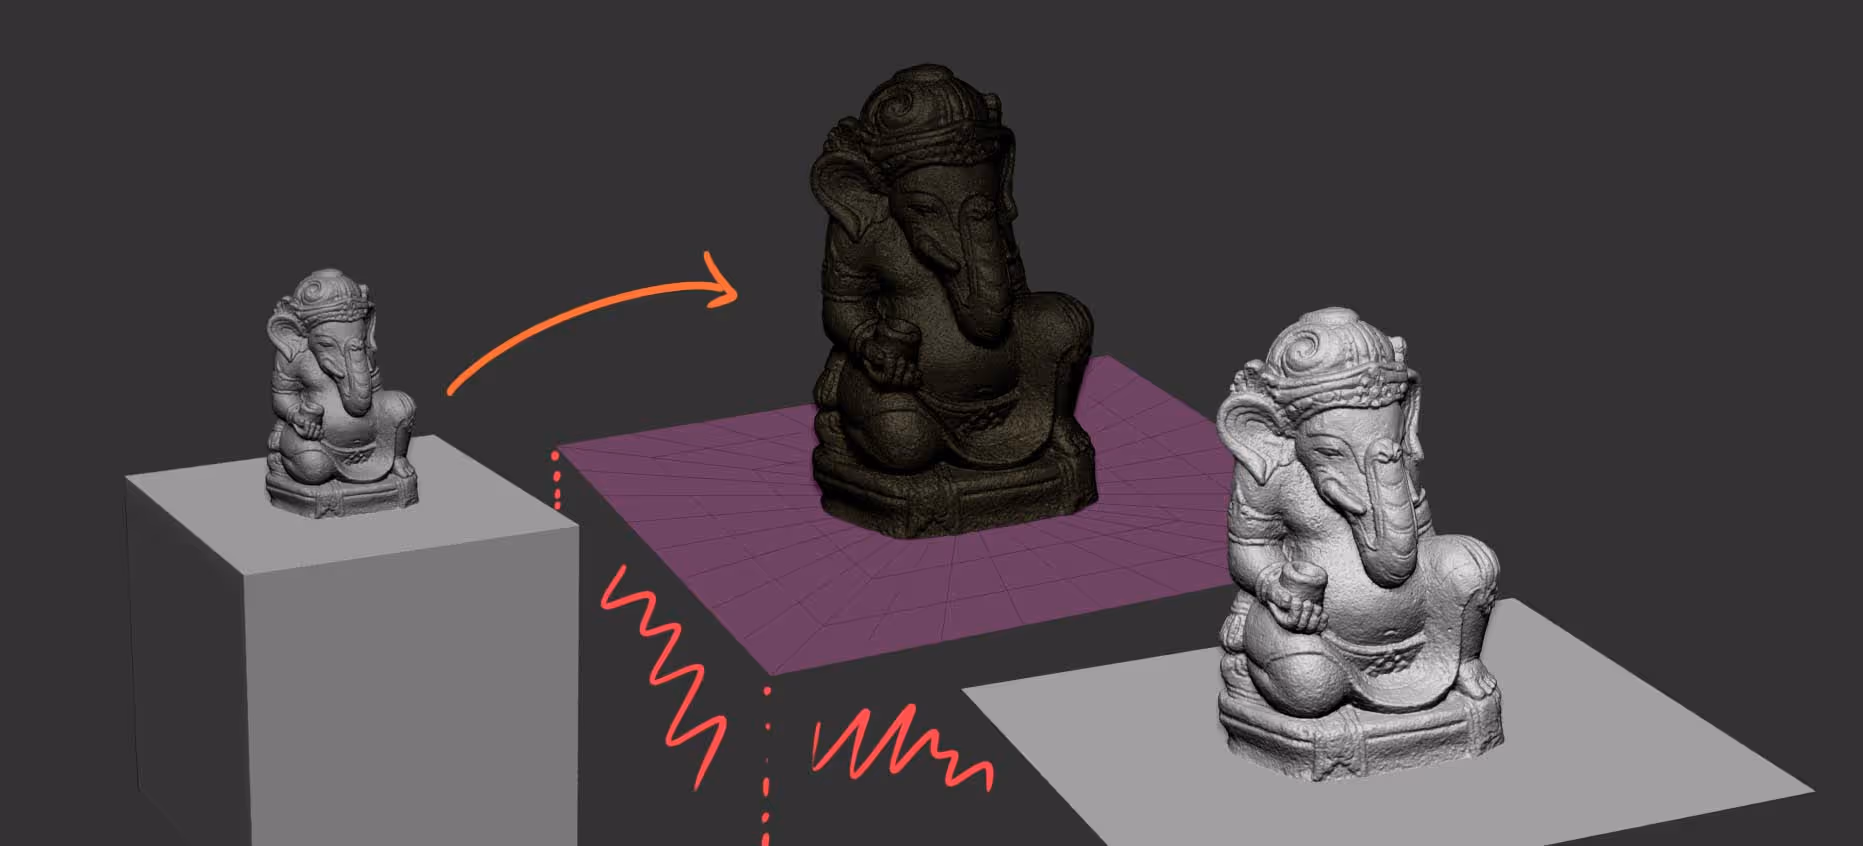
The next part is to have the plain and the object in the same tool and fire up ZWrap. This awesome little plugin allows you to wrap 1 geometry over another one… so I set some points on the plain and placed the equivalent points on the actual mesh
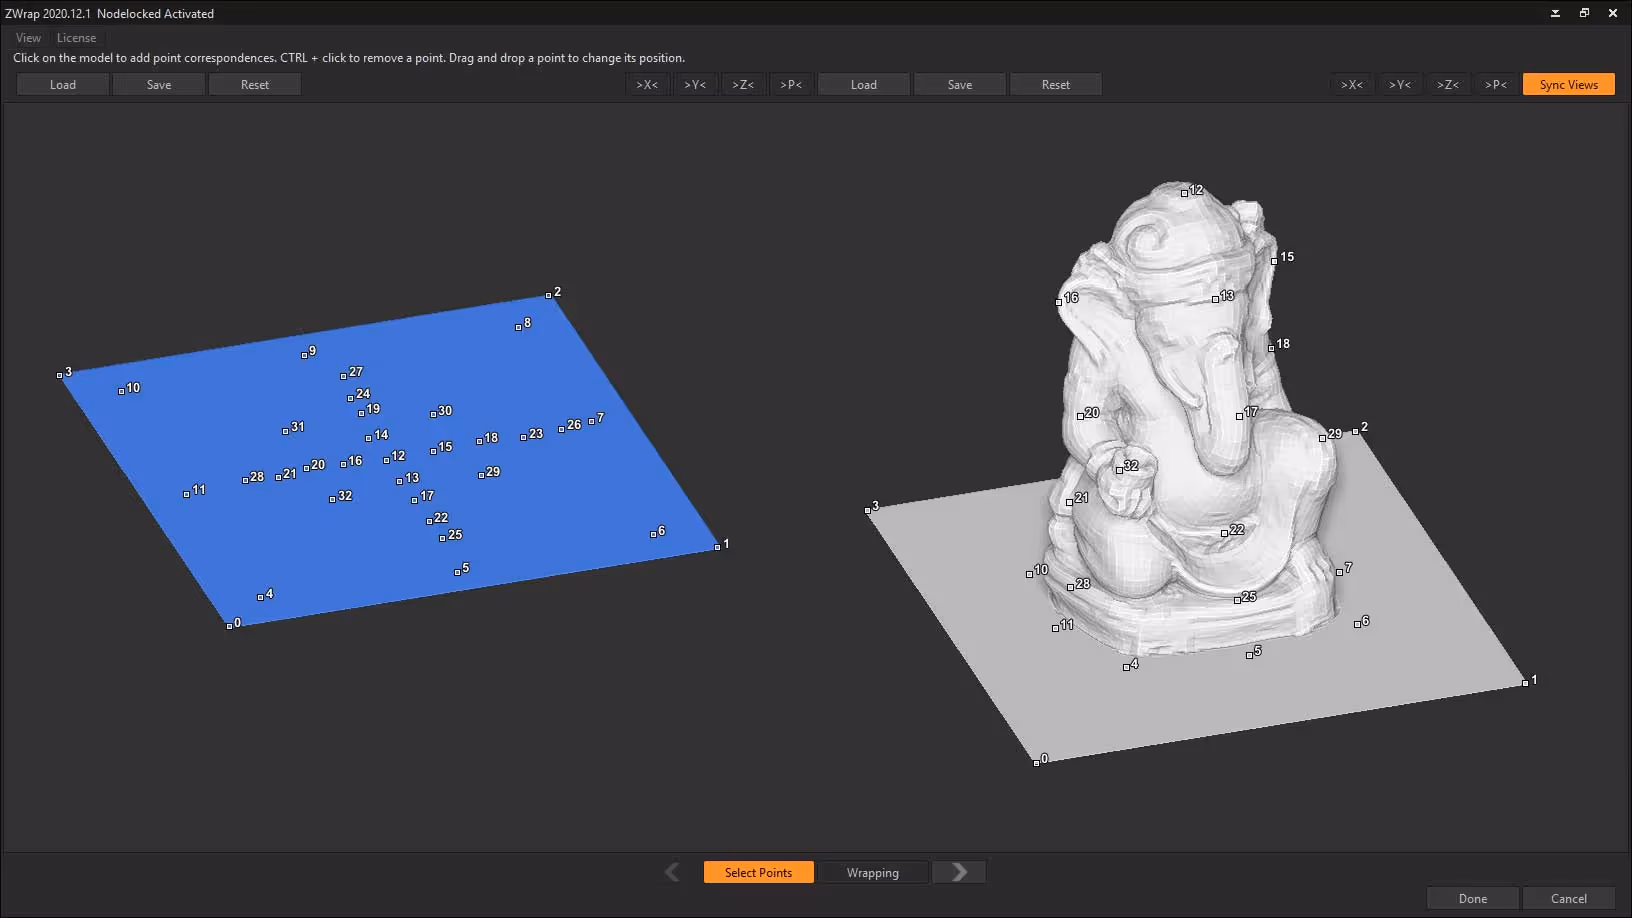
The wrapping process doesn’t take long and you end up with very decently distributed quads over the mesh. The issue of course is that the edges are totally distorted, but you can easily make them out and use the ‘Morph to grid’ slider from the deformation palette to get it back.

Now, you can simply project the distorted plane to the object, you can change the projection distance to increase the projection ‘cage’ and that’s it! you can obviously subdivide the mesh and re-project to get more details (depending on your object) just be careful and make sure you ‘morph the edges to grid’ again.
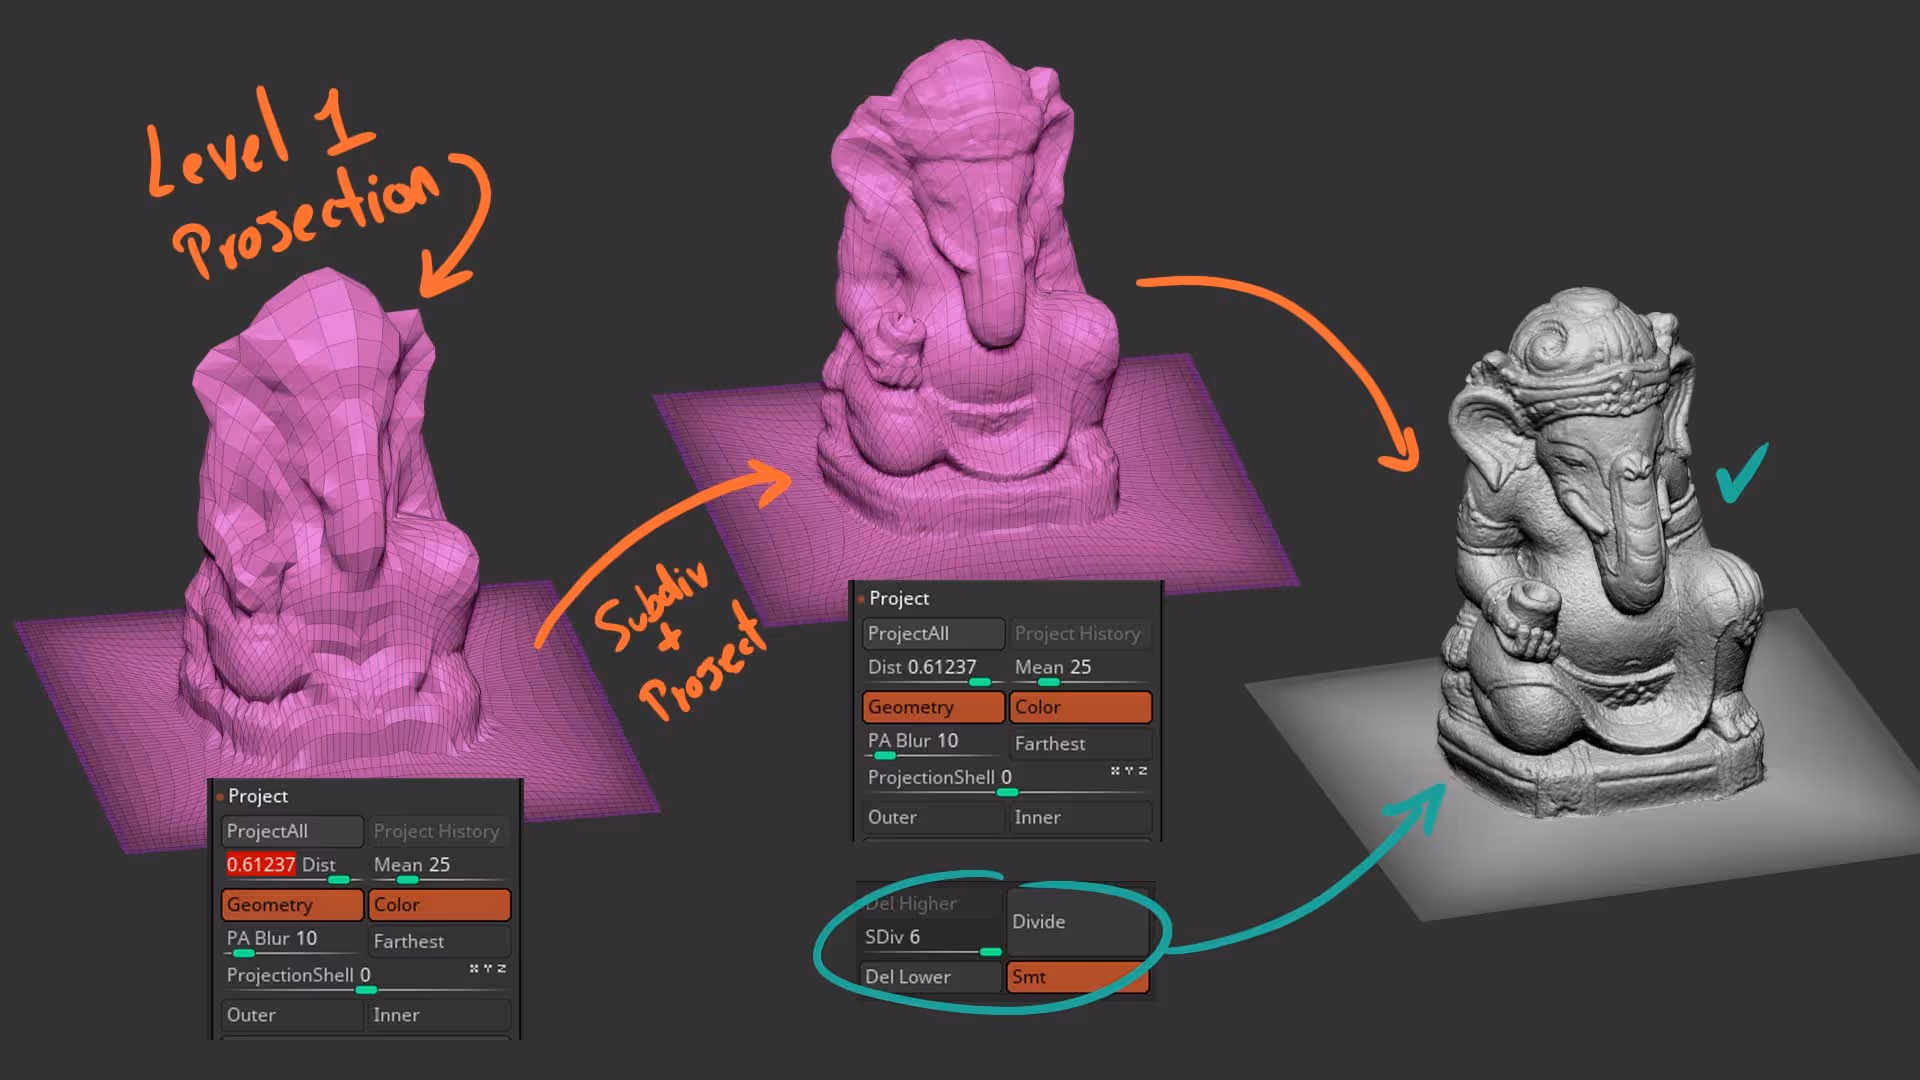
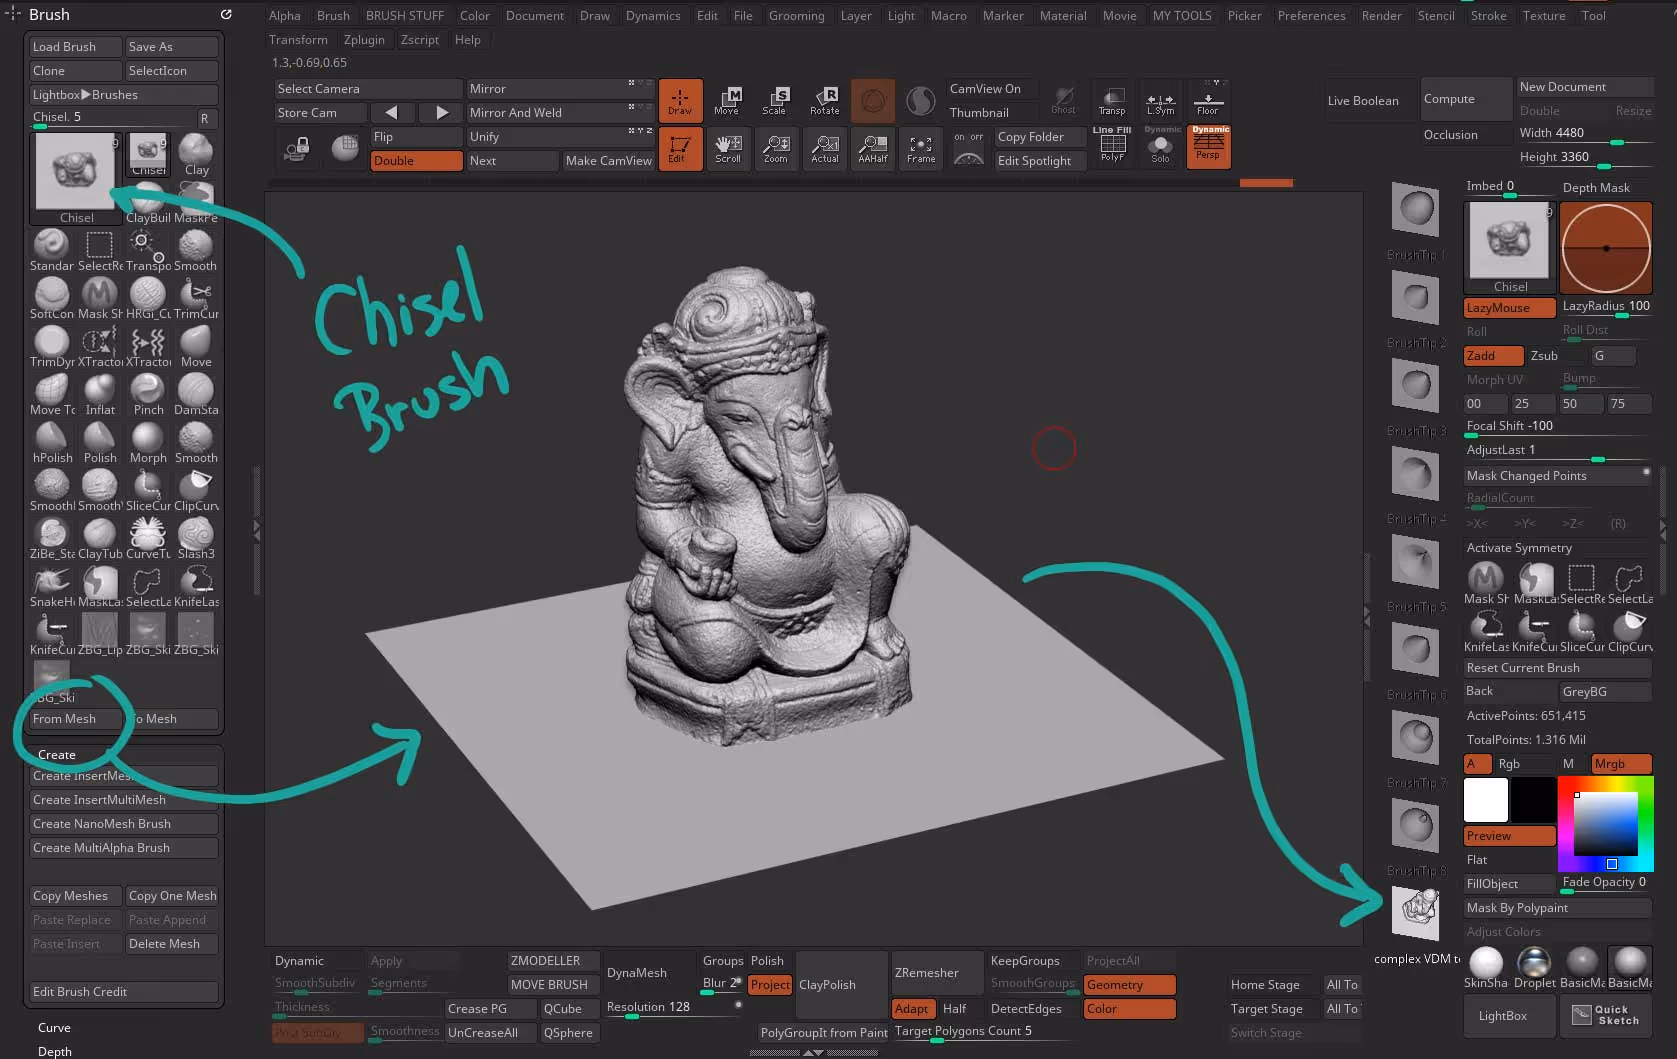
The final step is simply to turn it into a VDM using the Chisel brush (or similar) and from the brush palette clicking on ‘from mesh’.


.webp)

.webp)