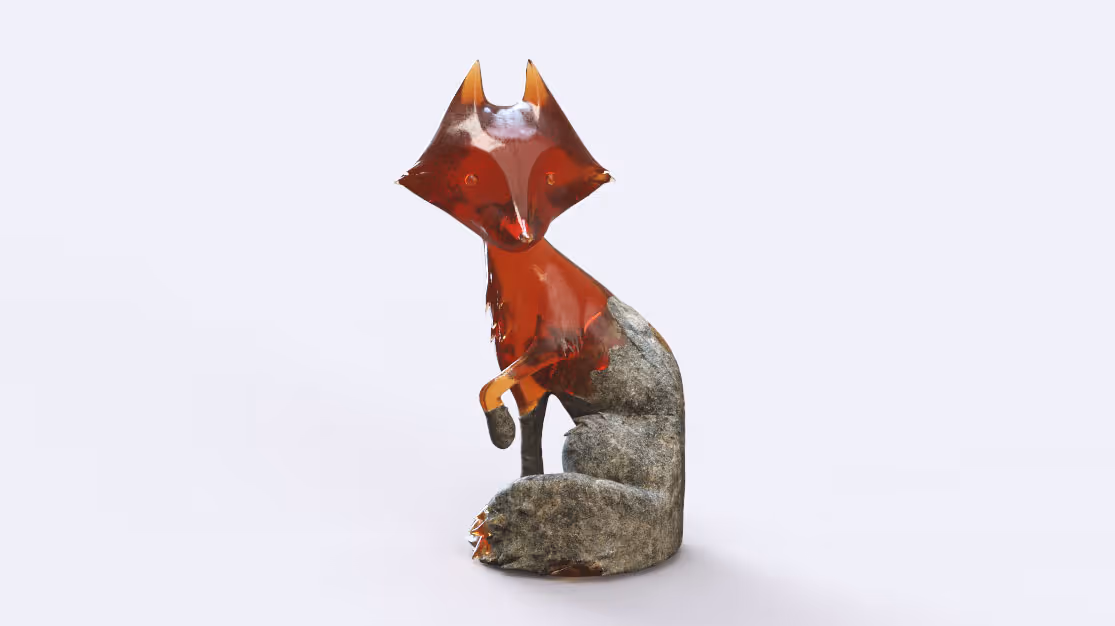
I want to draw your attention to the bottom part of the fox... the 'stone material'. This is a very simple material created with Alchemist and implemented in Keyshot... here is how it works:
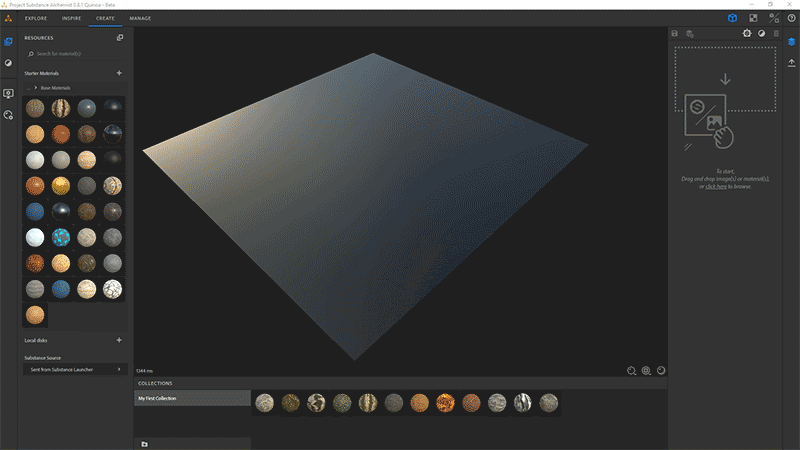
- Find an image that you like to base your material on (rock image in my case).
- Open Alchemist, select the 'Create' tab at the top left, and drag and drop the image in there. Select 'Birmapt to Material' and that's it... you'll get some awesome results straight away:
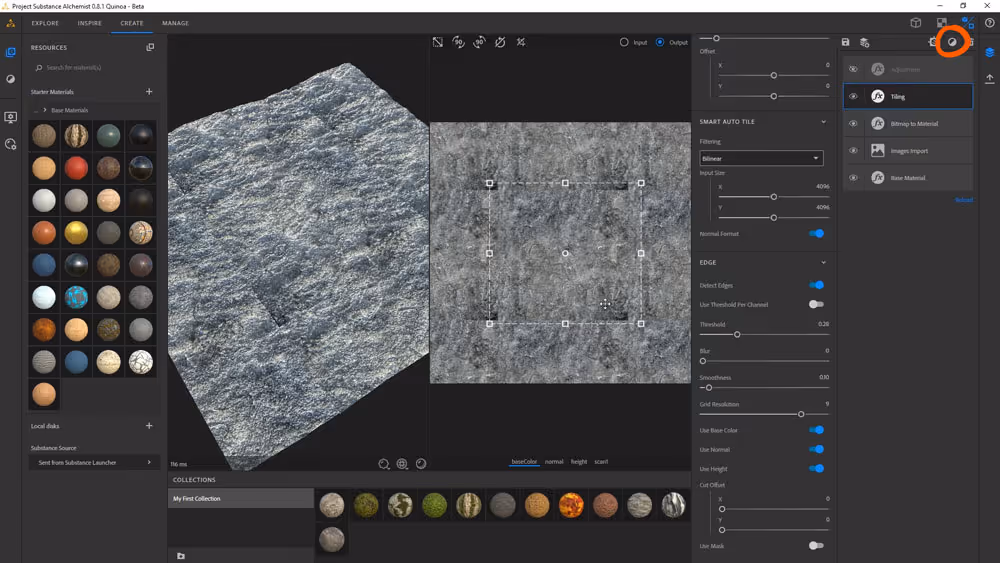
- The rest its all about fine-tuning the material. You can add all sorts of filters (from the black and white sphere icon at the top right), for instance, a 'Tiling' filter to make the material tileable or 'Adjustments' to refine the height, normal, saturation, etc...
- once you are happy with how the material looks in Alchemist, you can click the 'Export' icon on the far right. Then, from the left-hand side, choose which maps you want to export, select PNG as the format, choose the size, give it a name and export the material:
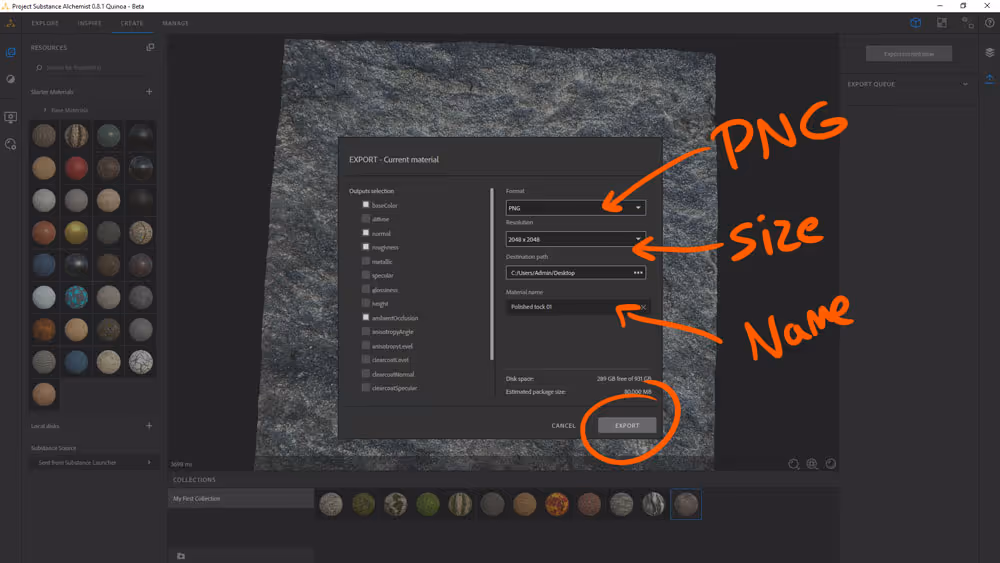
That's it... you'll end up with a series of images that make up the material. in my case I exported the base color, the normals map, the AO and the roughness (all these extracted from a single photo):

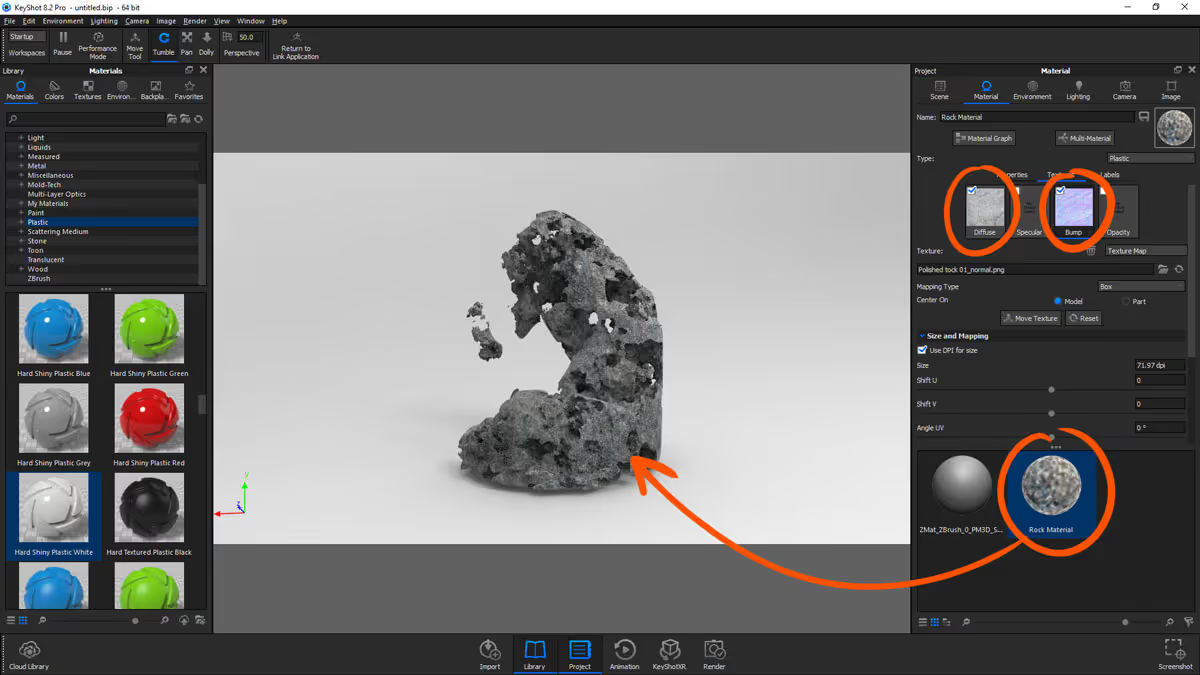
Once you have these maps, you can move on and connect them in your favorite rendering software. In my case, I use Keyshot so I can drag and drog the images into the material textures... Base color to Diffuse, Normal map to Bump, etc... and then assign the material to the object:
For the rest of the fox, I assigned a 'gem' material which has translucency to complete the effect.
That's it for this tip, I hope you'll find this simple workflow useful to create your own assets.


.webp)

.webp)