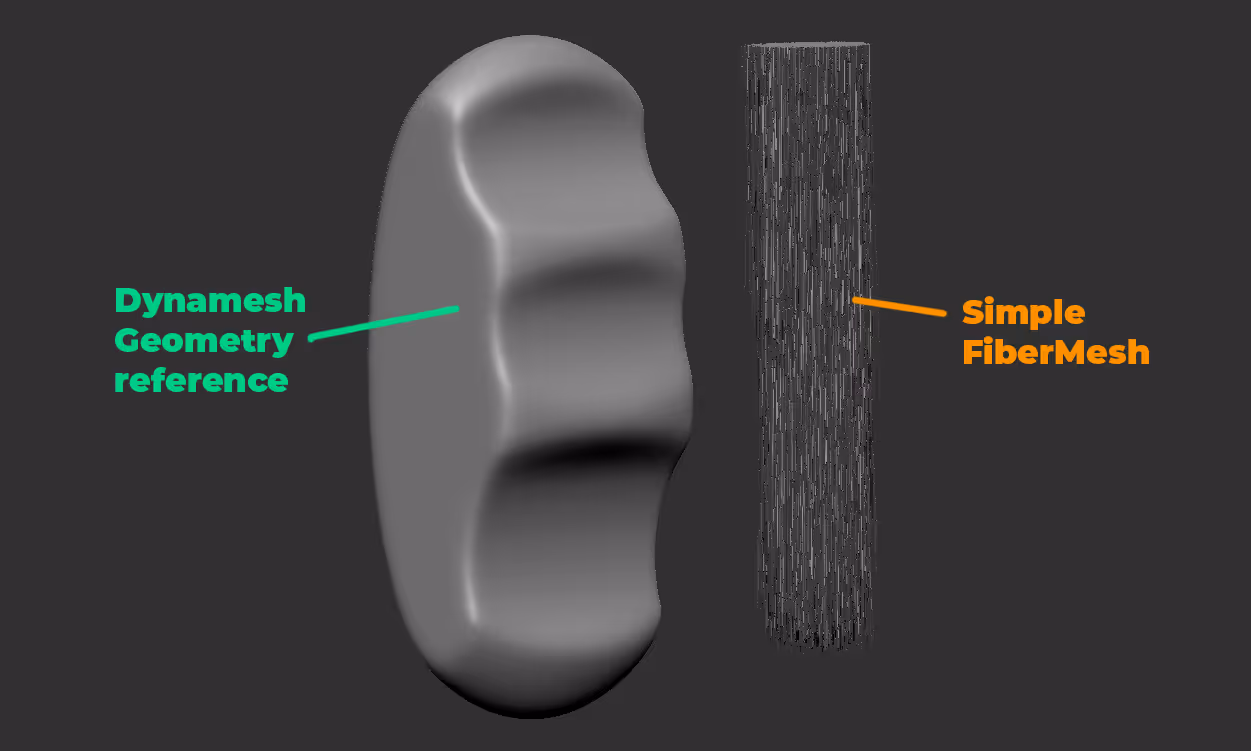
Once you have the FiberMesh and the 'deformation mesh' you can bring in the MartchMaker brush. Then with the fibers selected, click and drag to make the 'hair clump' conform to the geometry. This process is based on the camera:

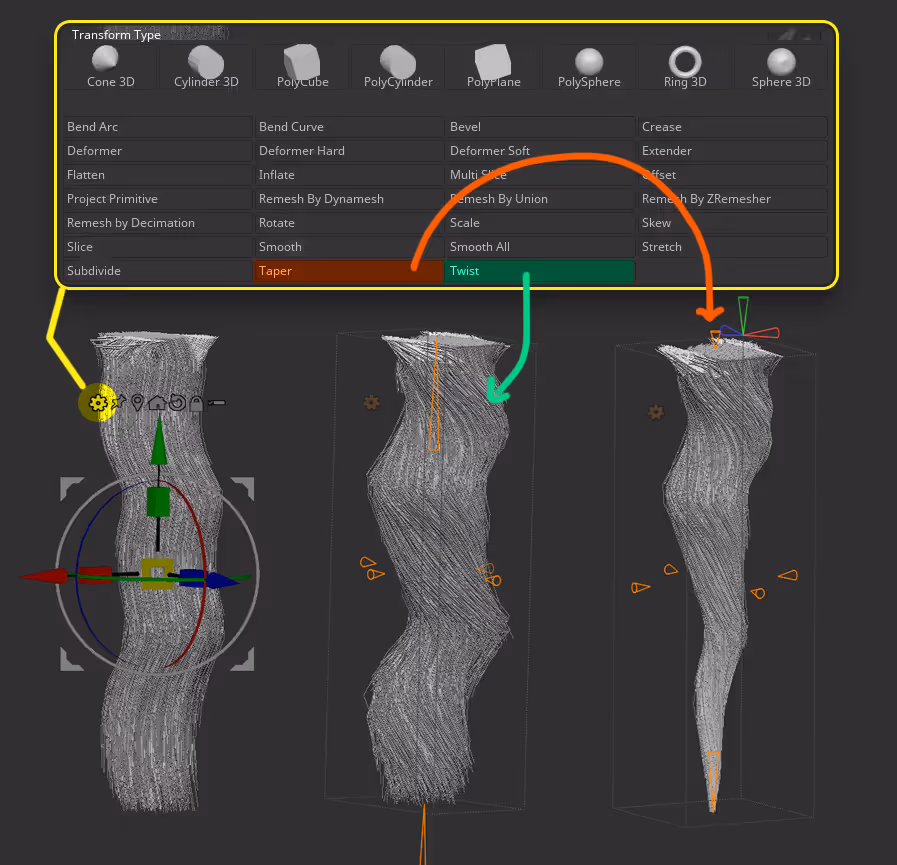
This is very cool! and you can make use of other features in ZBrush to further refine the hair... in this case, I'm just using a single clump of hair, but you can bring in the 3D Gizmo and used the deformers to refine the overall shape (from the cog icon):
I hope this gives you ideas on how to use alternative tools with the more familiar features in ZBrush.


.webp)

.webp)